You’ll find towers scattered throughout Hyrule, and aside from being striking landmarks that can help you navigate the world (just look out for the four guide lights on the corner - you can spot them from quite a distance!), they’re also useful as fast travel locations and for arguably their primary purpose - unveiling obfuscated map regions. Enter a tower, interact with the terminal, and you’ll be propelled into the sky, from which vantage Link will survey the land around him. The first tower you claim is a simple, story-driven affair, but later towers are often puzzles, requiring you to figure out how to get inside or where to find a nearby character capable of getting the tower functional again. Since exploring a region before dispelling the fog of war on the map makes it much easier to navigate, you’ll want to seek out towers and complete them before you start exploring a region in earnest. This page will provide a walkthrough for the Hyrule Field Skyview Tower in The Legend of Zelda: Tears of the Kingdom.
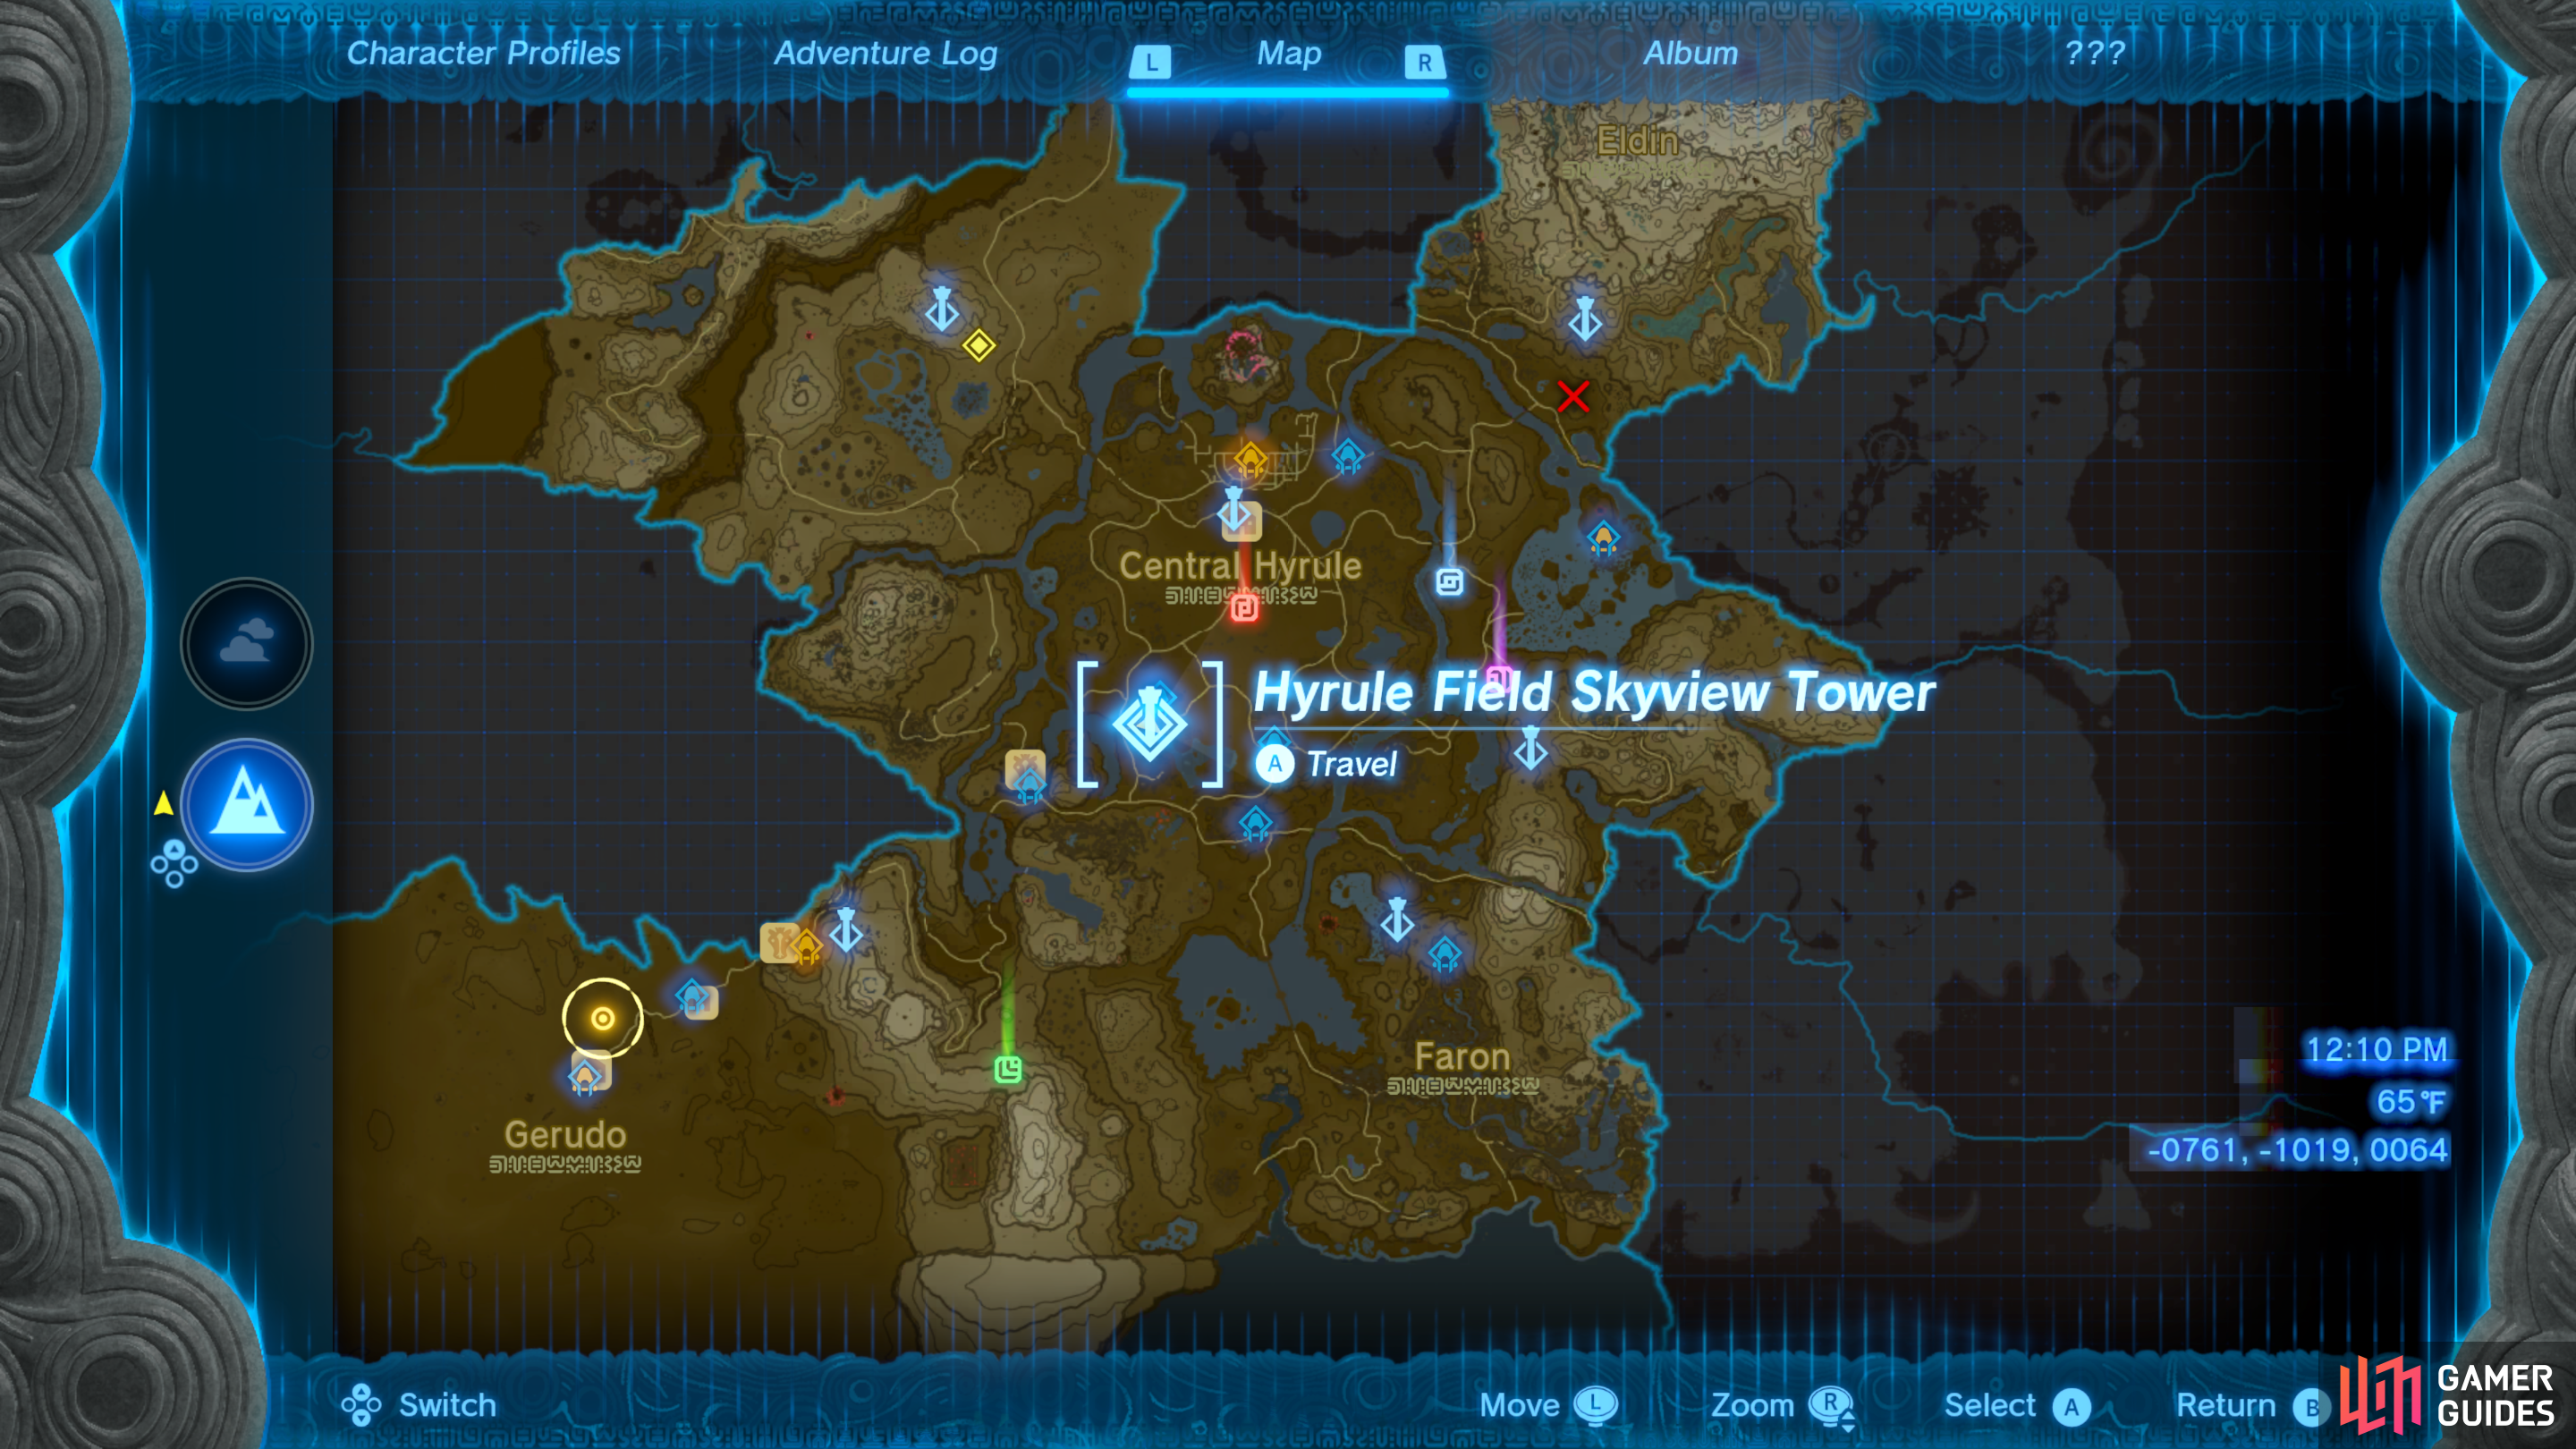
Hyrule Field Skyview Tower is along the southwestern edge of Central Hyrule.
Where to find the Hyrule Field Skyview Tower in Tears of the Kingdom
Hyrule Field Skyview Tower is along the southwestern edge of ![]() Central Hyrule, in the Hyrule Field subregion, southwest of
Central Hyrule, in the Hyrule Field subregion, southwest of ![]() Lookout Landing. It’s just southwest of the nearby Mayachin Shrine, and given the dangers posed by this tower, you may want to activate the shrine so you have a fast travel spot handy.
Lookout Landing. It’s just southwest of the nearby Mayachin Shrine, and given the dangers posed by this tower, you may want to activate the shrine so you have a fast travel spot handy.
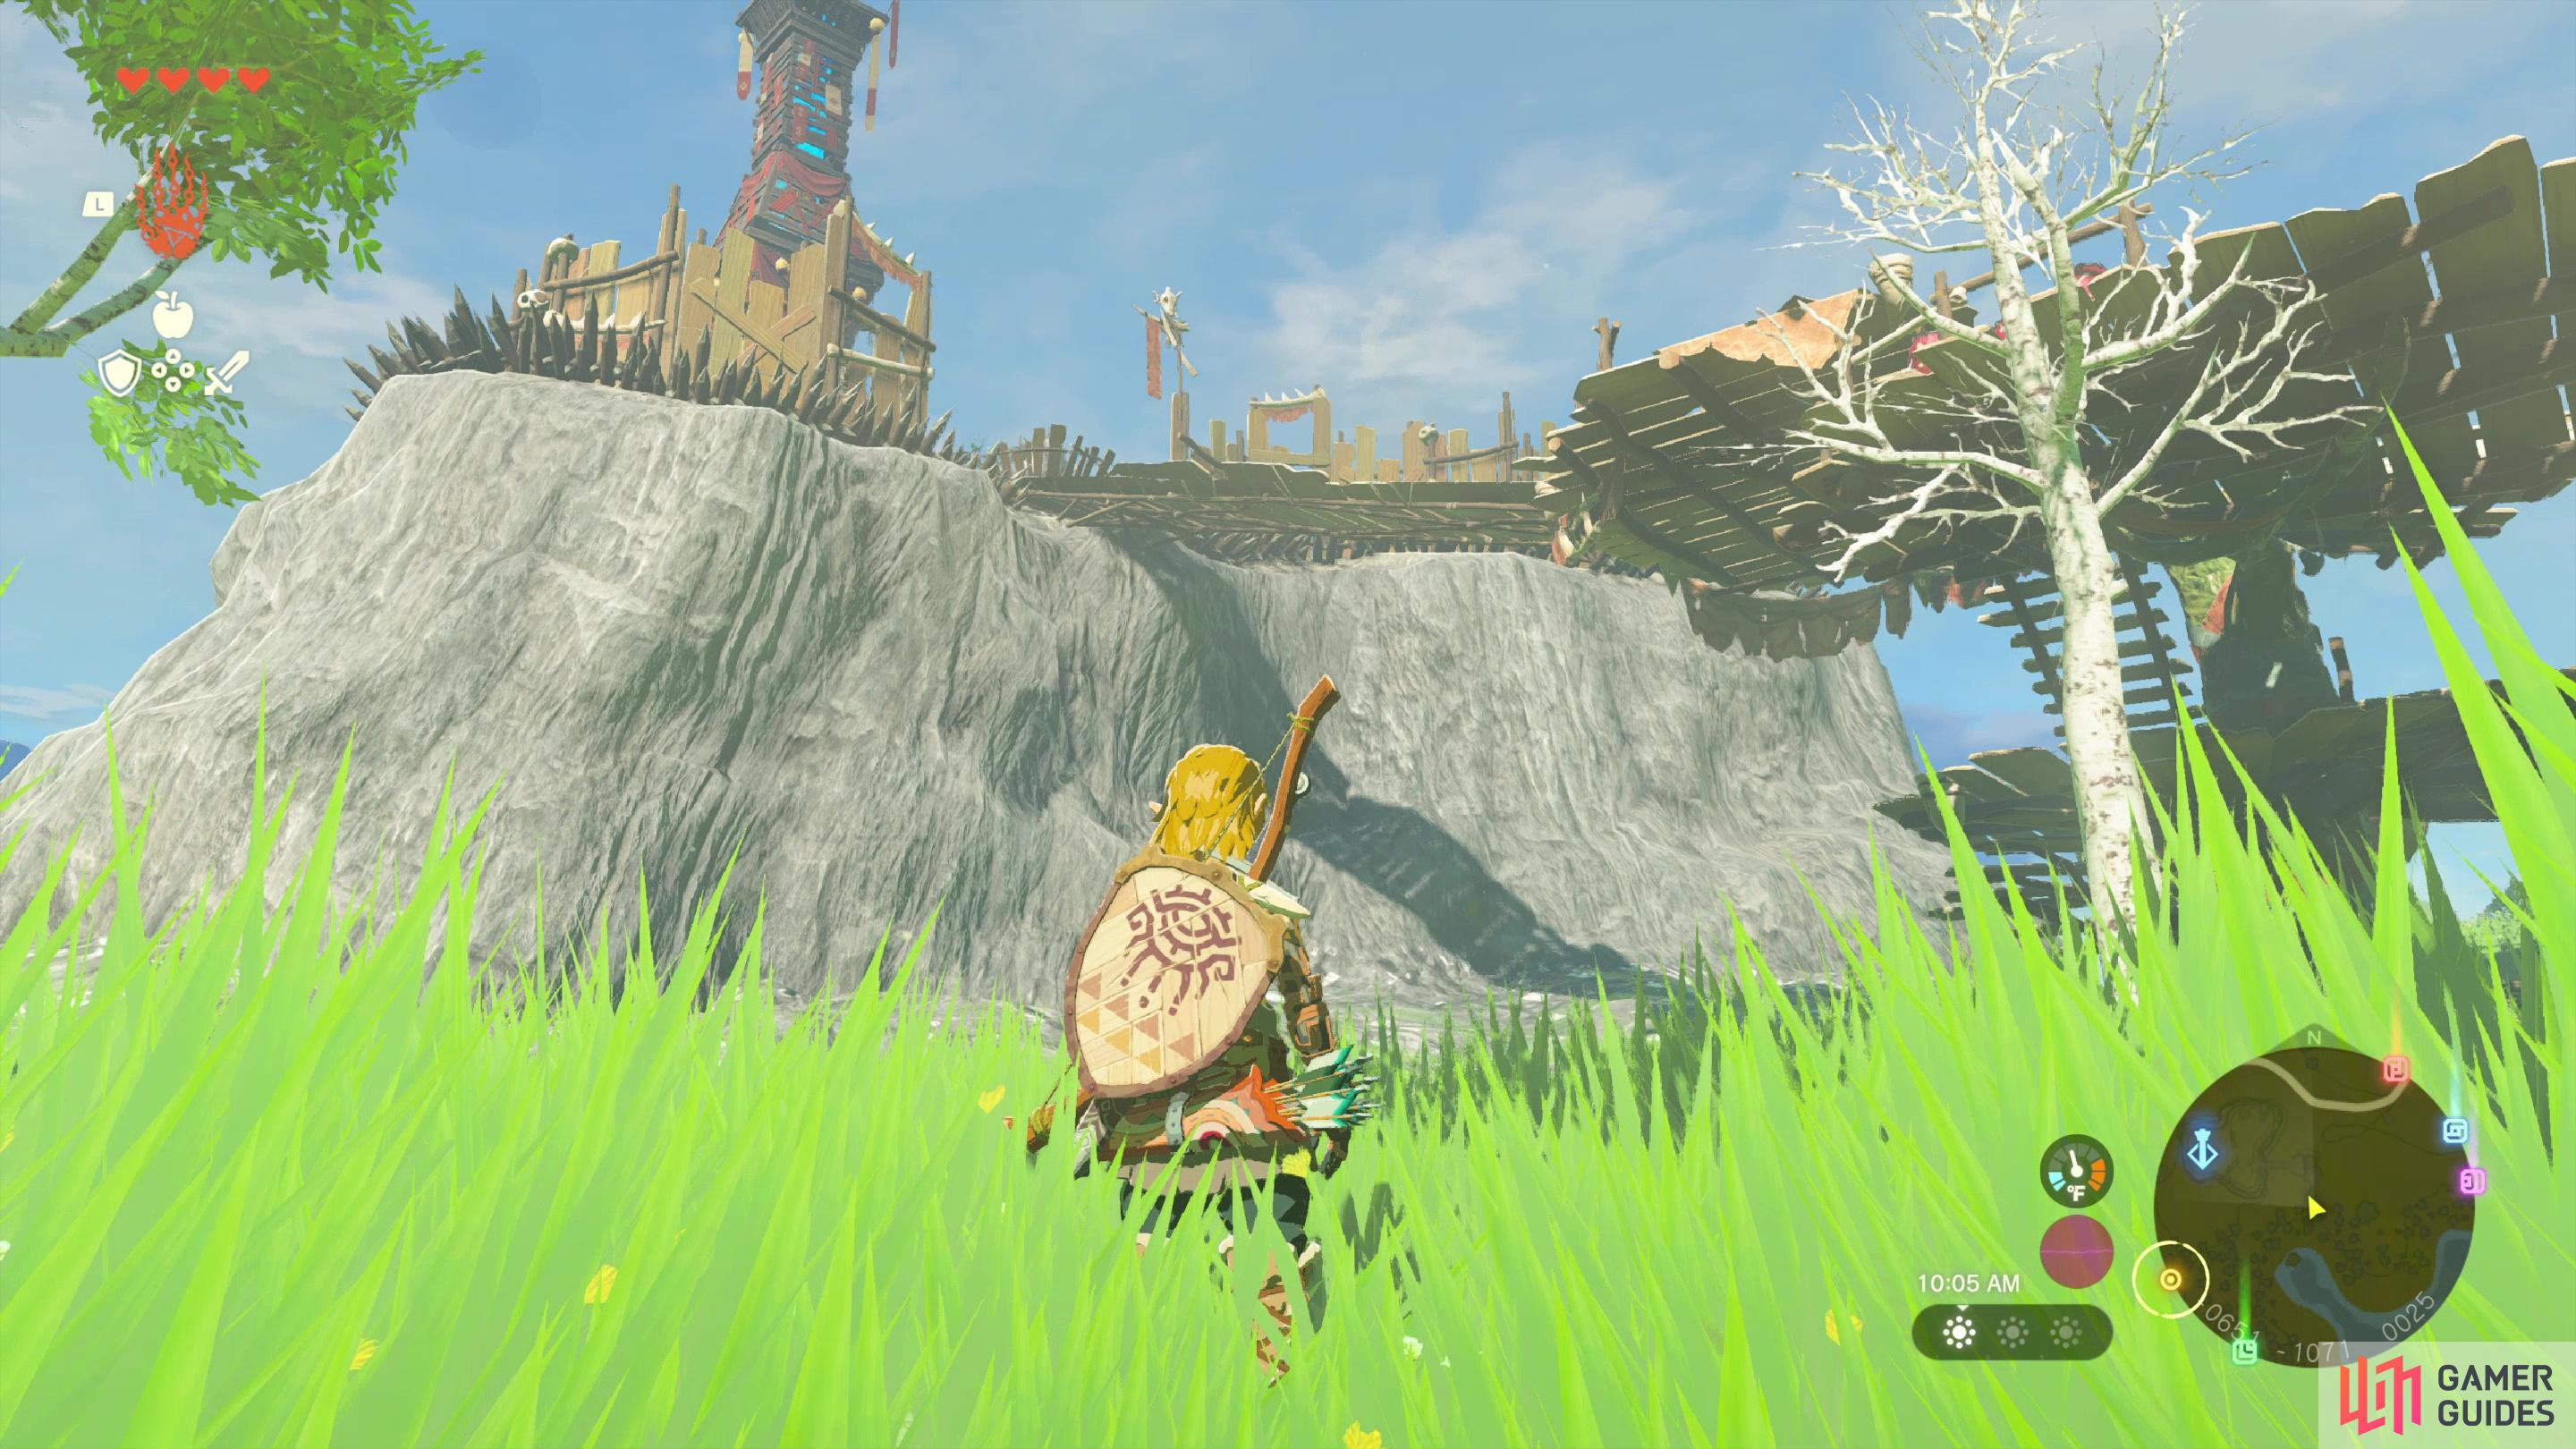
(1 of 3) Along the eastern end of the hill upon which the tower is perched you’ll find a bridge.
How to Complete the Hyrule Field Skyview Tower in Tears of the Kingdom
To complete this tower, all you have to do is get inside and examine the terminal, then stand on the launch platform so you can survey the area. Simple, right? Well, sure. If you ignore the fact that the tower smack dab in the middle of a ![]() Moblin/
Moblin/![]() Bokoblin fort. The spikes surrounding the top of the hilltop fort hinder simple attempts at climbing, but your adversaries aren’t the most clever lot. The main means of entrance is a ramshackle bridge to the east, but you’ll run afoul of a few enemies - nothing a few arrows can’t fix. The Bokoblins and Moblins in the main camp are far more numerous, however, and probably not a force to be challenged lightly.
Bokoblin fort. The spikes surrounding the top of the hilltop fort hinder simple attempts at climbing, but your adversaries aren’t the most clever lot. The main means of entrance is a ramshackle bridge to the east, but you’ll run afoul of a few enemies - nothing a few arrows can’t fix. The Bokoblins and Moblins in the main camp are far more numerous, however, and probably not a force to be challenged lightly.
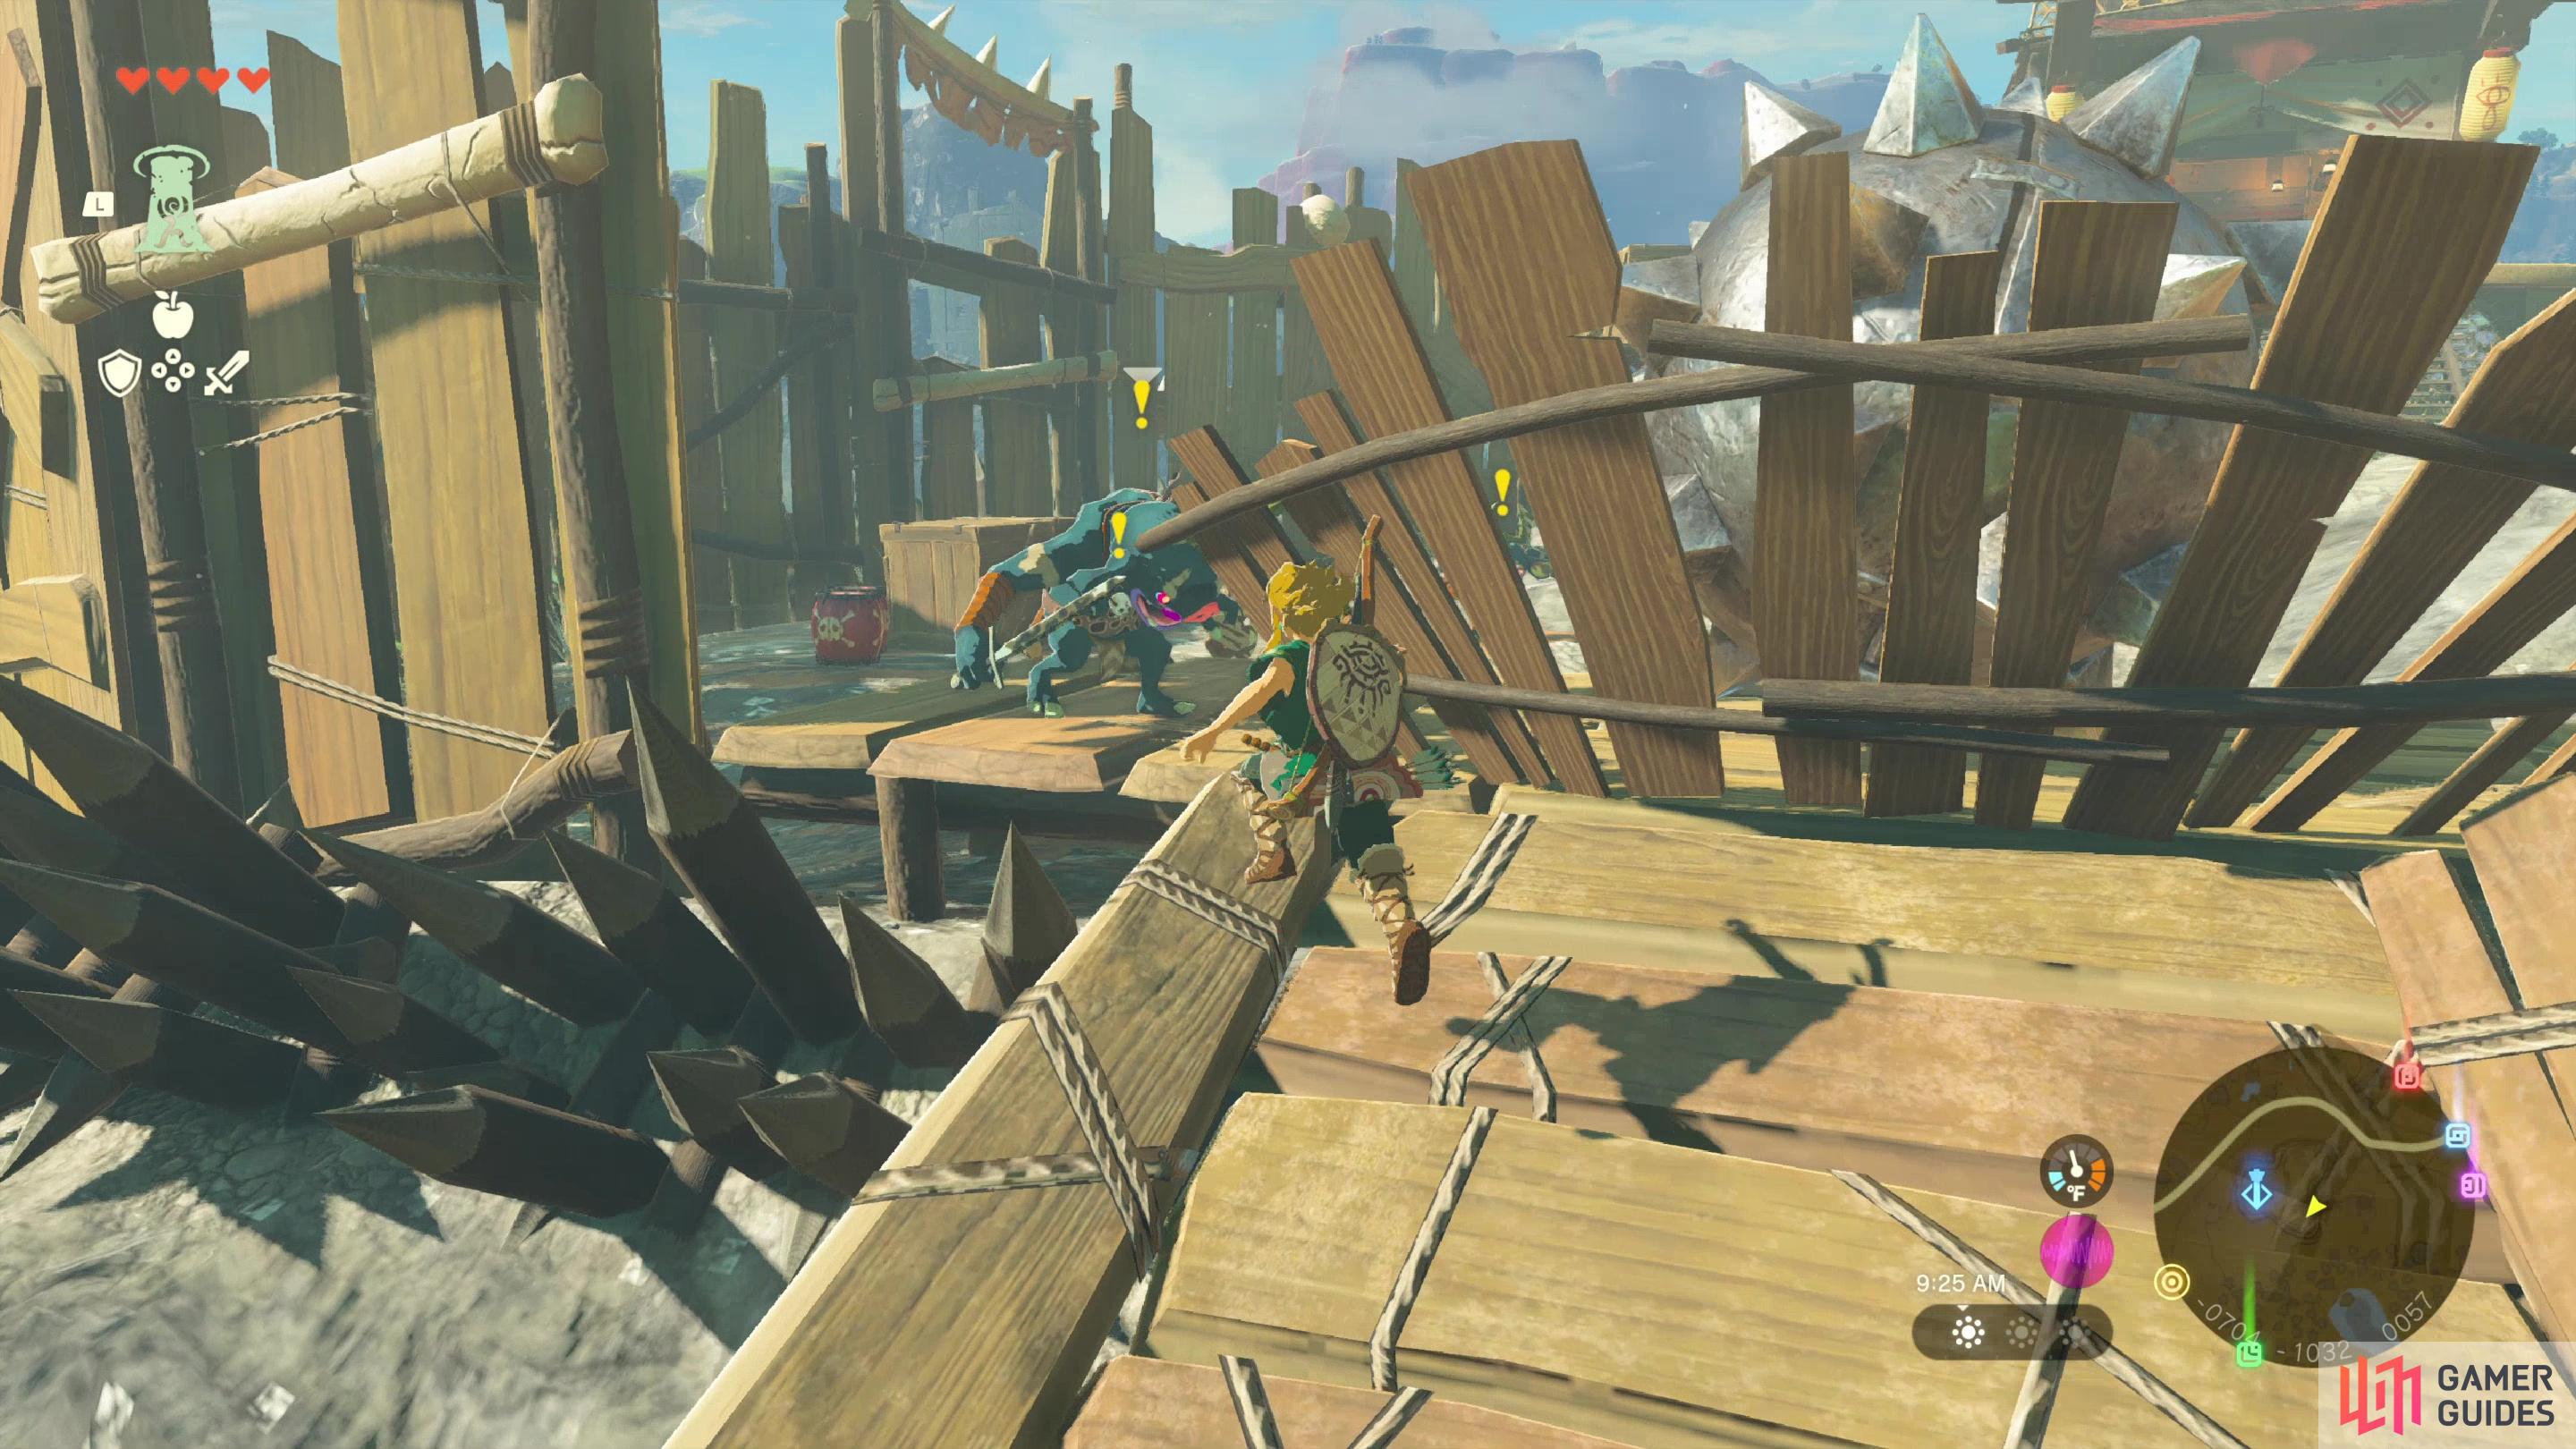
(1 of 4) Before you commit, assess the situation and be wary of a Bokoblin who will smash a gate and free a spiked ball.
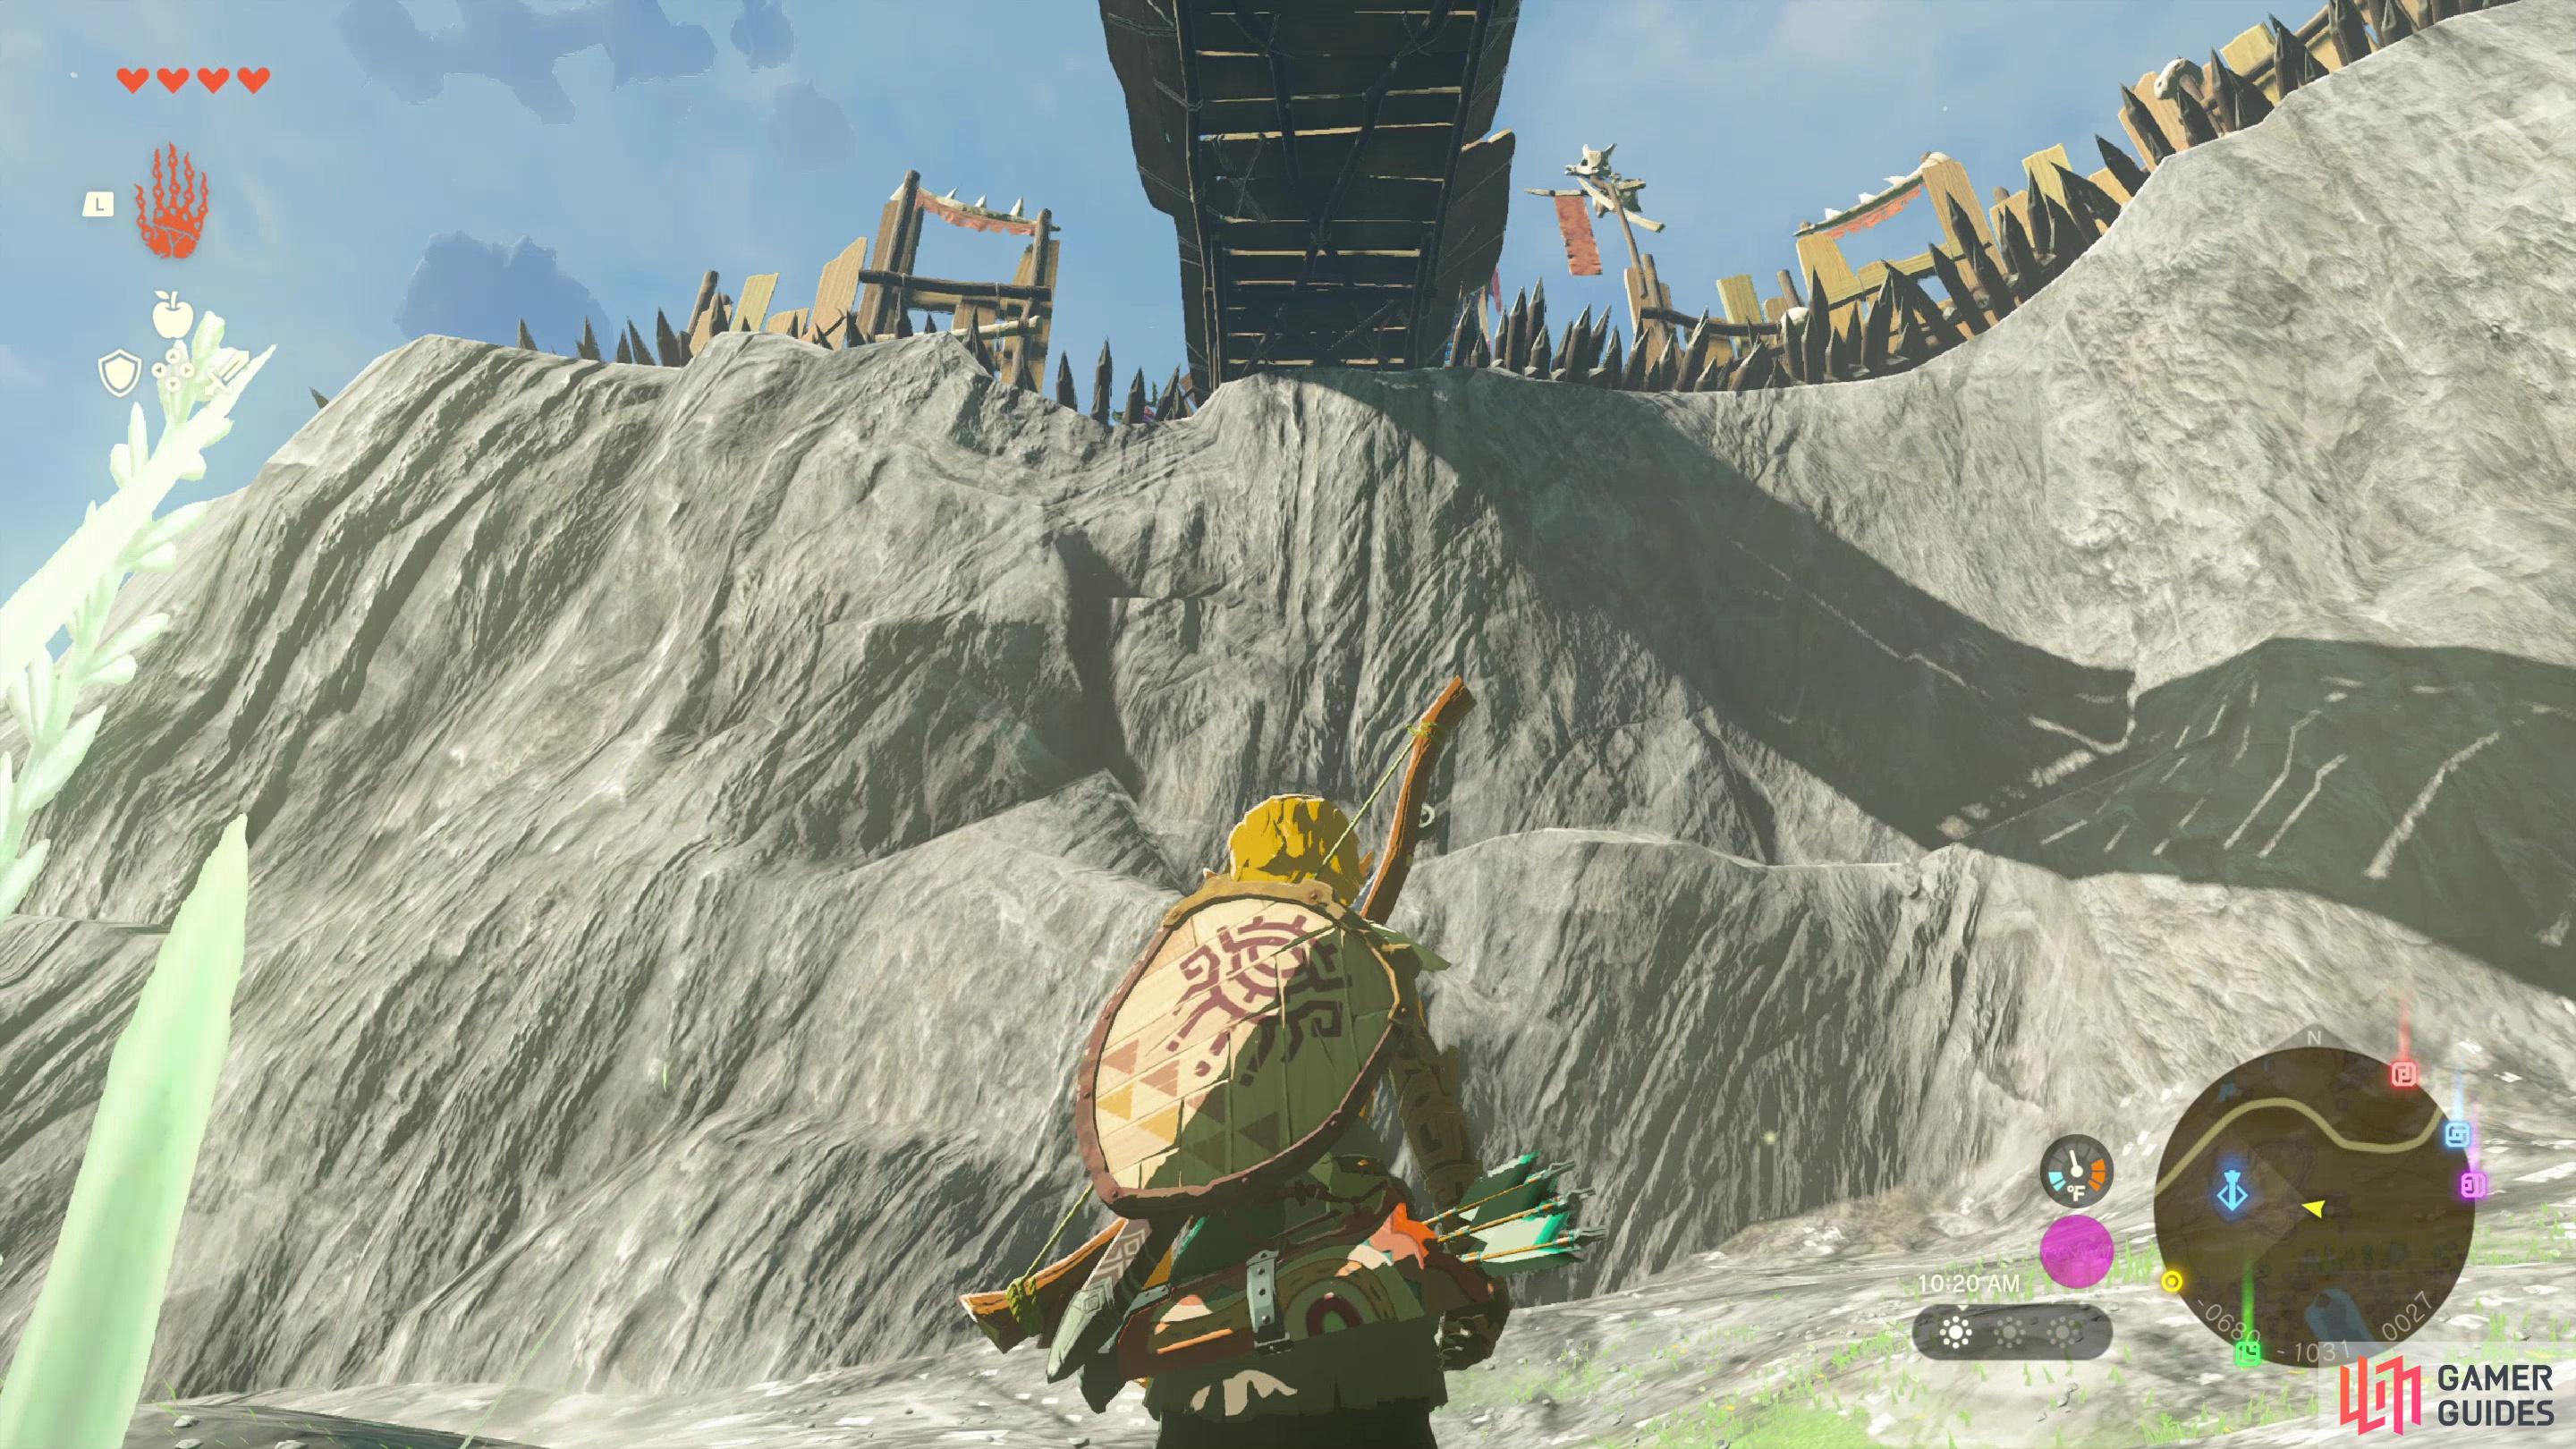
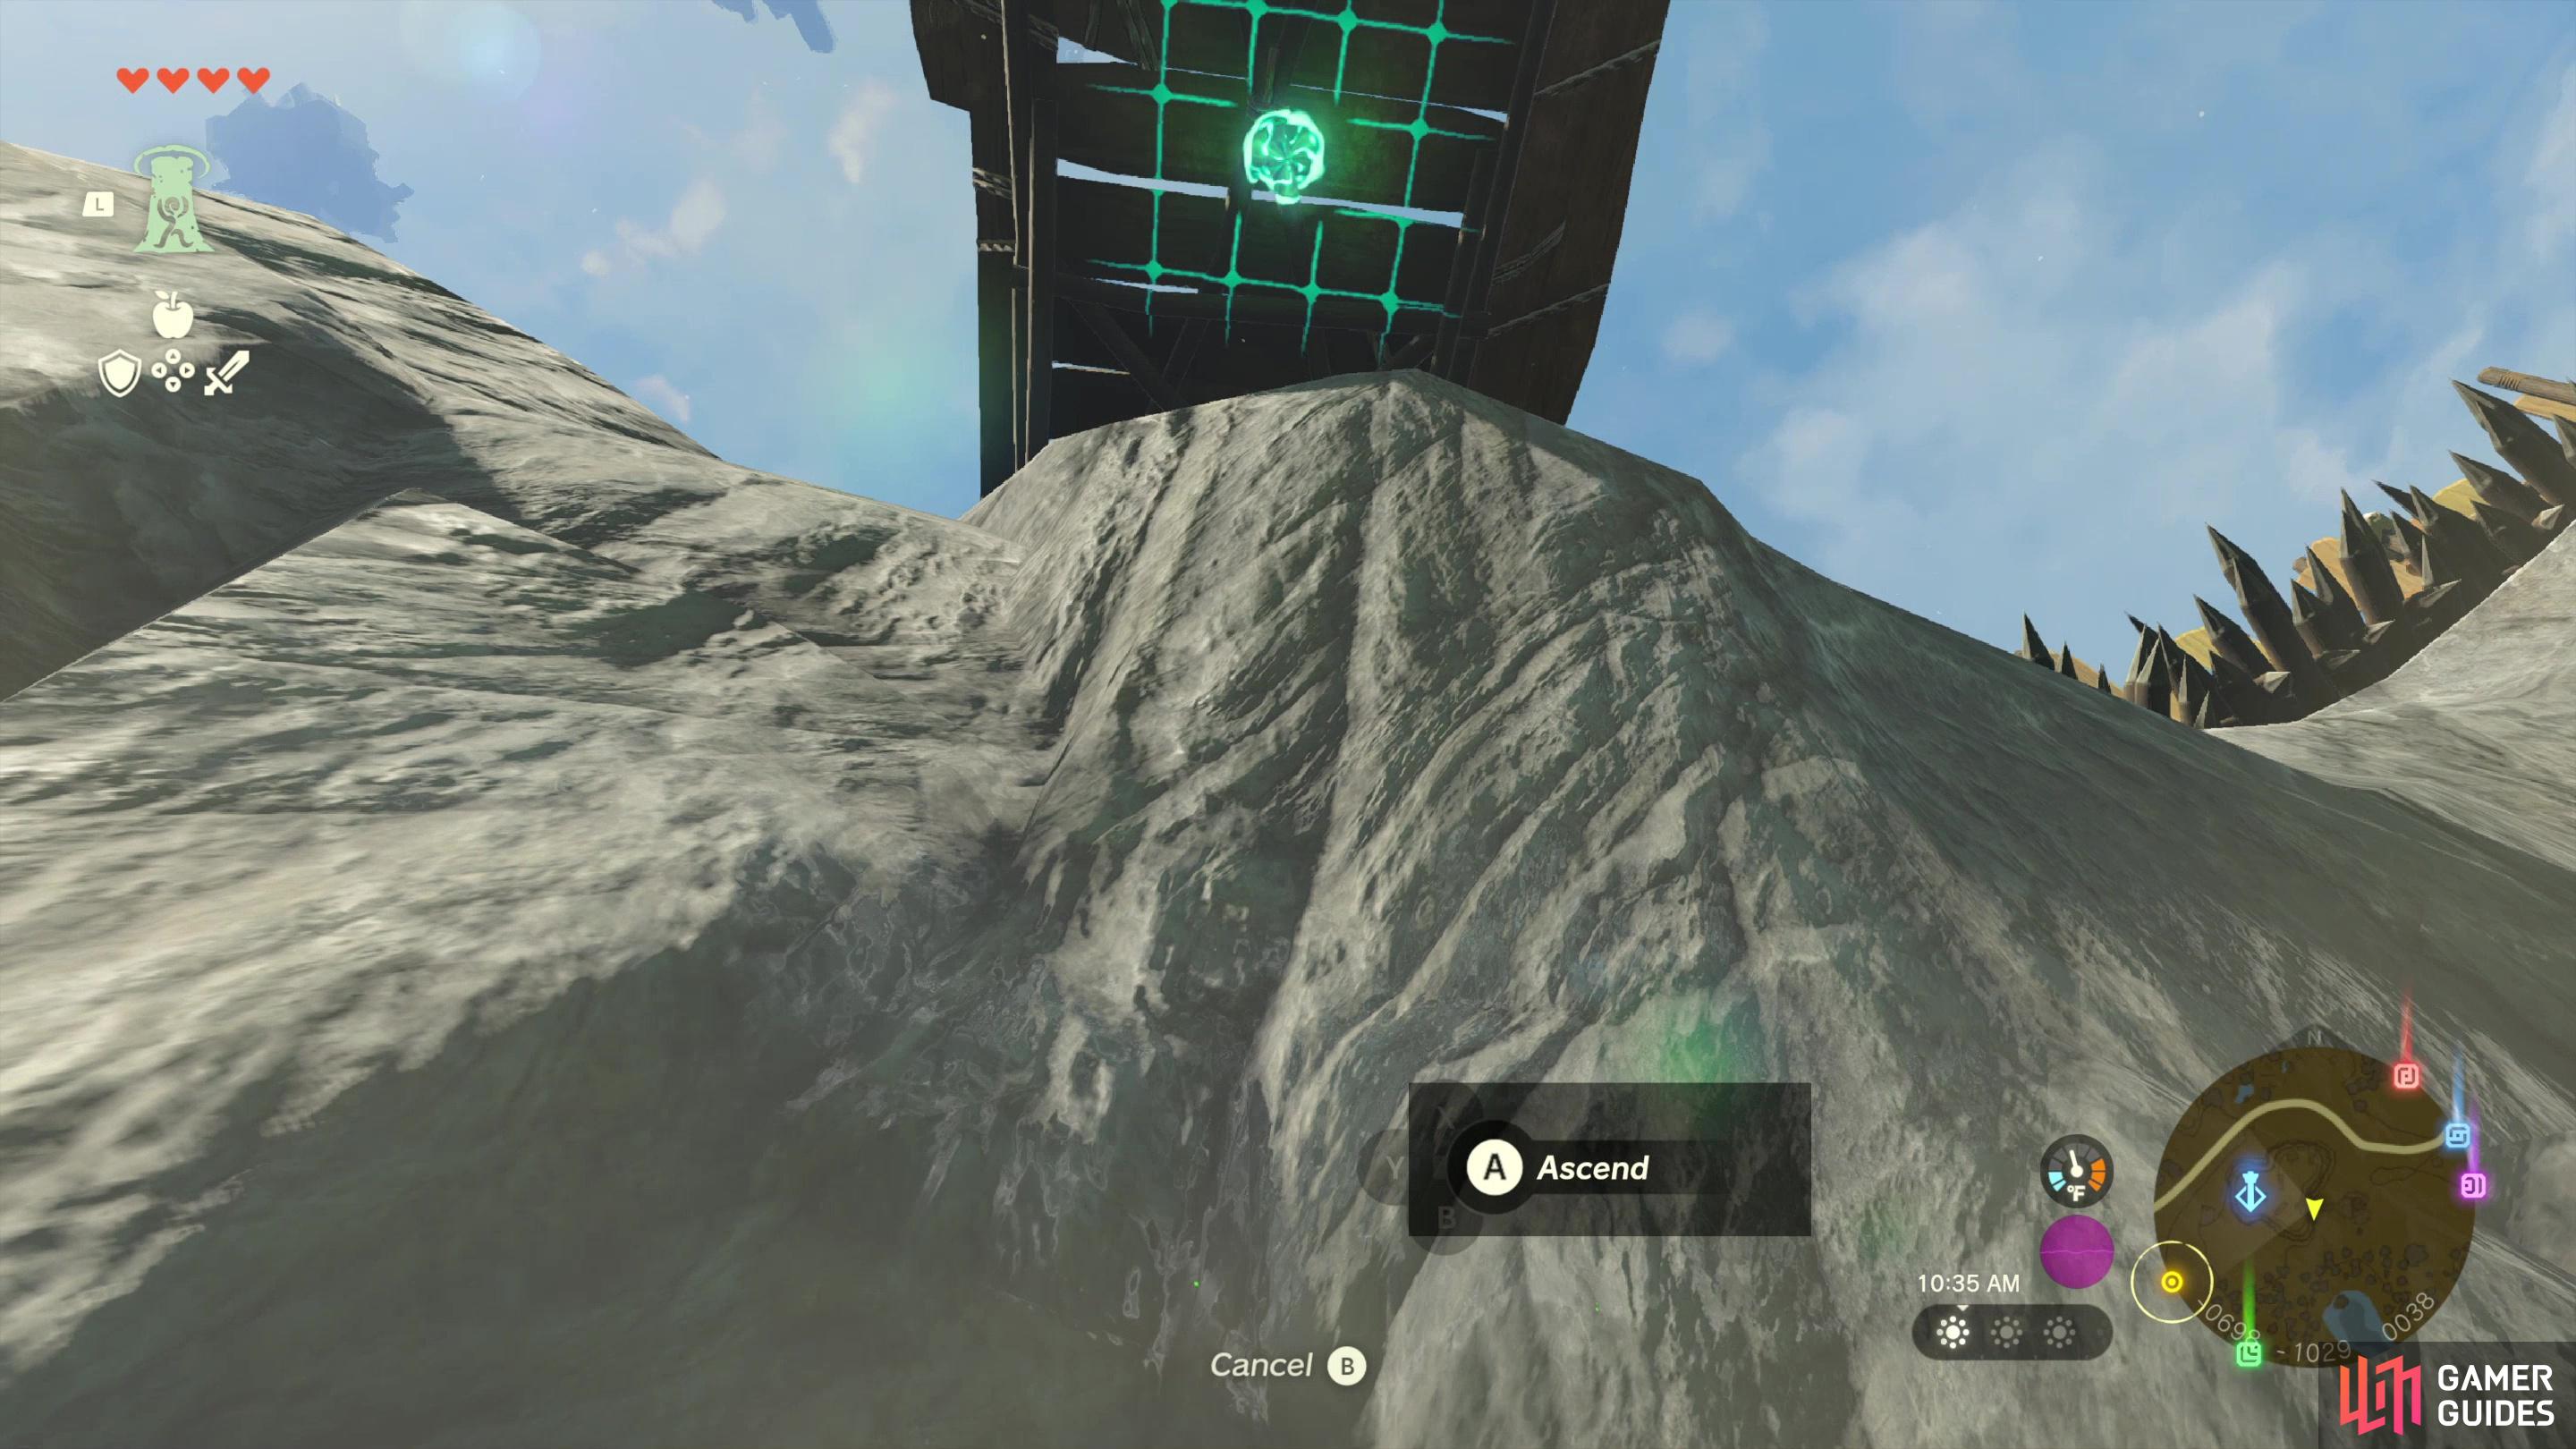
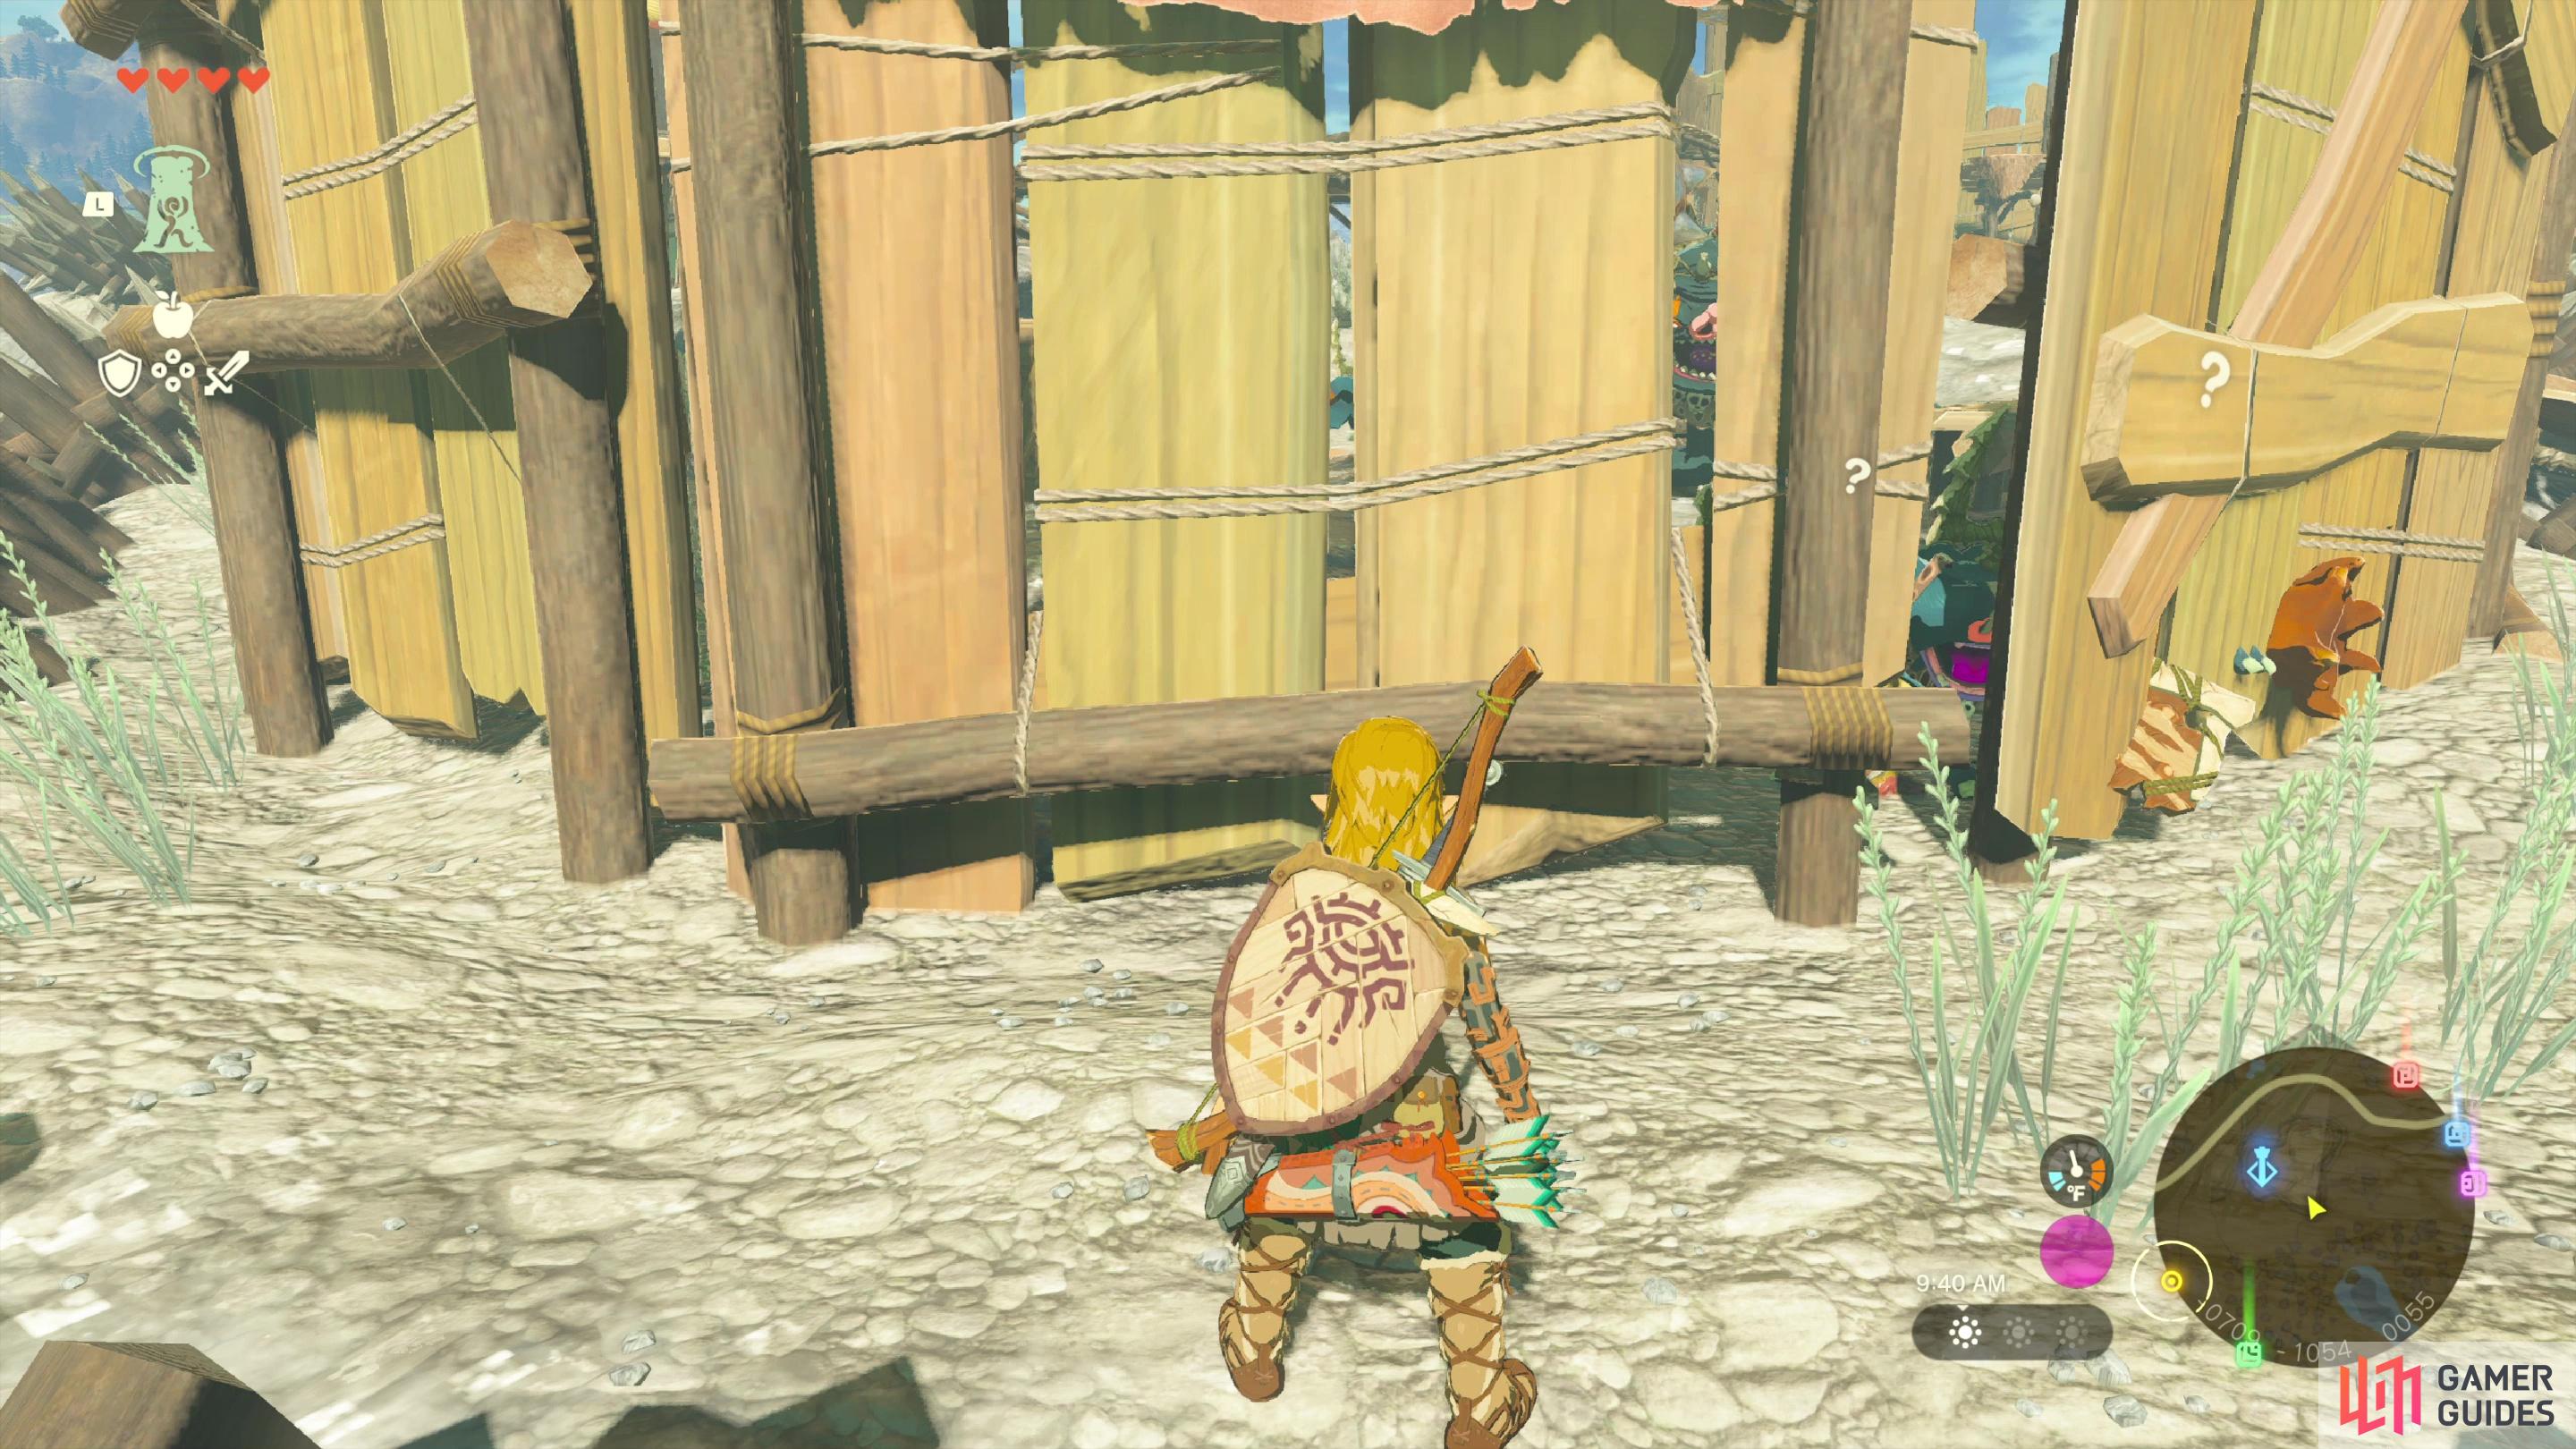
Fortunately you don’t have to kill many - or any, if you’re sneaky enough - enemies to get to the tower. Sneak under the bridge (staying away from the prying eyes on the spiral staircase, if possible) and climb the cliff immediately under the bridge so you’re high enough to use ![]() Ascend, then zip up through the bridge. Before you confirm the jump, look around - you’ll alert some Bokoblins, one of which guards a gate holding back a spiked ball. Its chief goal in life is to ruin your day by smashing that gate and sending the spiked ball down the bridge at you, but if you’re quick and jump over the spiked palisade to the left you’ll find yourself between the spikes and a wooden wall, where the Bokoblin are too stupid the follow. They’ll smash the gate and send the spiked ball down the bridge, and a host of your foes will gather on the opposite side of the wall, but if you just make your way a little to the left of the bridge and wait, they’ll get bored, lose track of you, and go about their business.
Ascend, then zip up through the bridge. Before you confirm the jump, look around - you’ll alert some Bokoblins, one of which guards a gate holding back a spiked ball. Its chief goal in life is to ruin your day by smashing that gate and sending the spiked ball down the bridge at you, but if you’re quick and jump over the spiked palisade to the left you’ll find yourself between the spikes and a wooden wall, where the Bokoblin are too stupid the follow. They’ll smash the gate and send the spiked ball down the bridge, and a host of your foes will gather on the opposite side of the wall, but if you just make your way a little to the left of the bridge and wait, they’ll get bored, lose track of you, and go about their business.
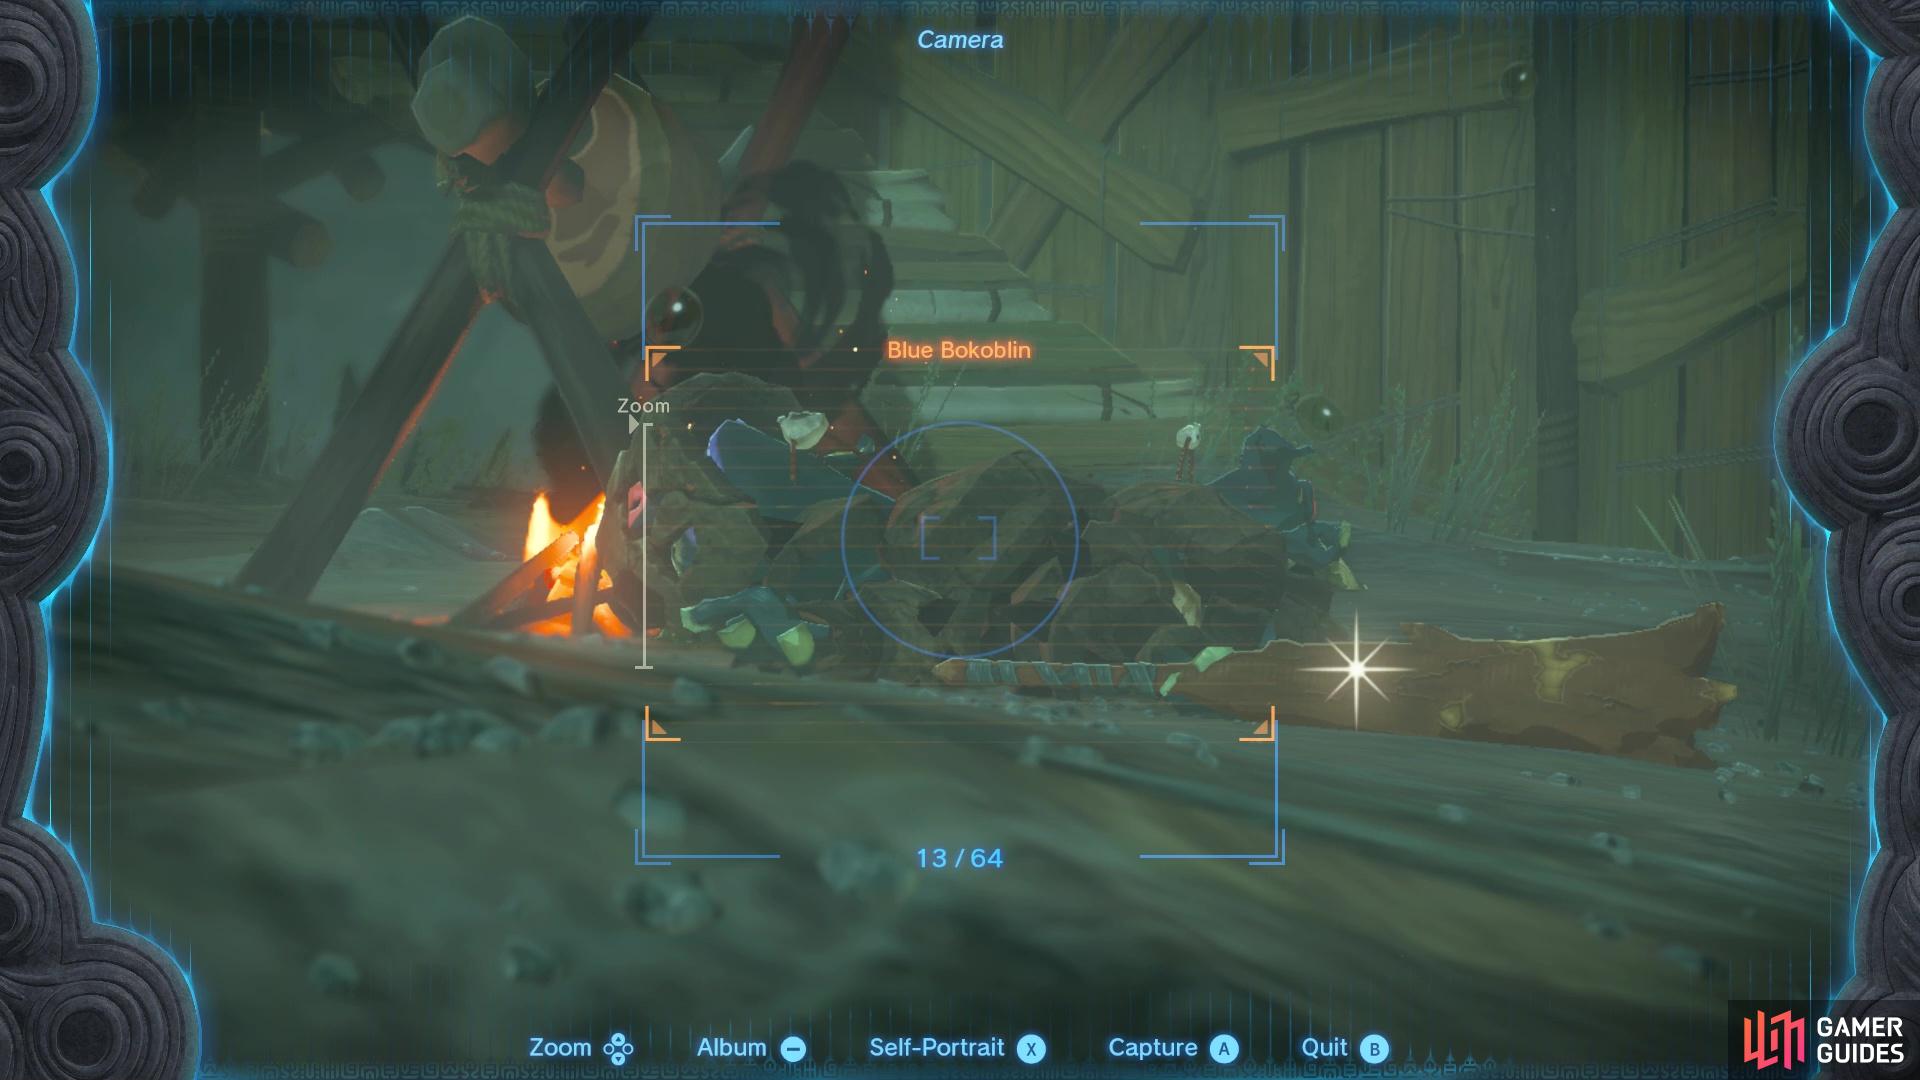
(1 of 2) The enemies here should go to sleep at night
The enemies here should go to sleep at night (left), which allows you to sneak by them and avoid conflict (right)
From here, you’re pretty much in the clear. Just wait for the Bokoblin to lose interest and when they do, sneak west and northwest between the spikes and the wall until you spot the tower ahead of you. You should be in the clear now, some Bokoblin may become somewhat alerted when you make for the tower, but as long as you don’t dawdle, you’ll slip in before they become fully aware that you’re here. Just open the door, activate the terminal and launch into the sky to complete this tower.




 Sign up
No Comments