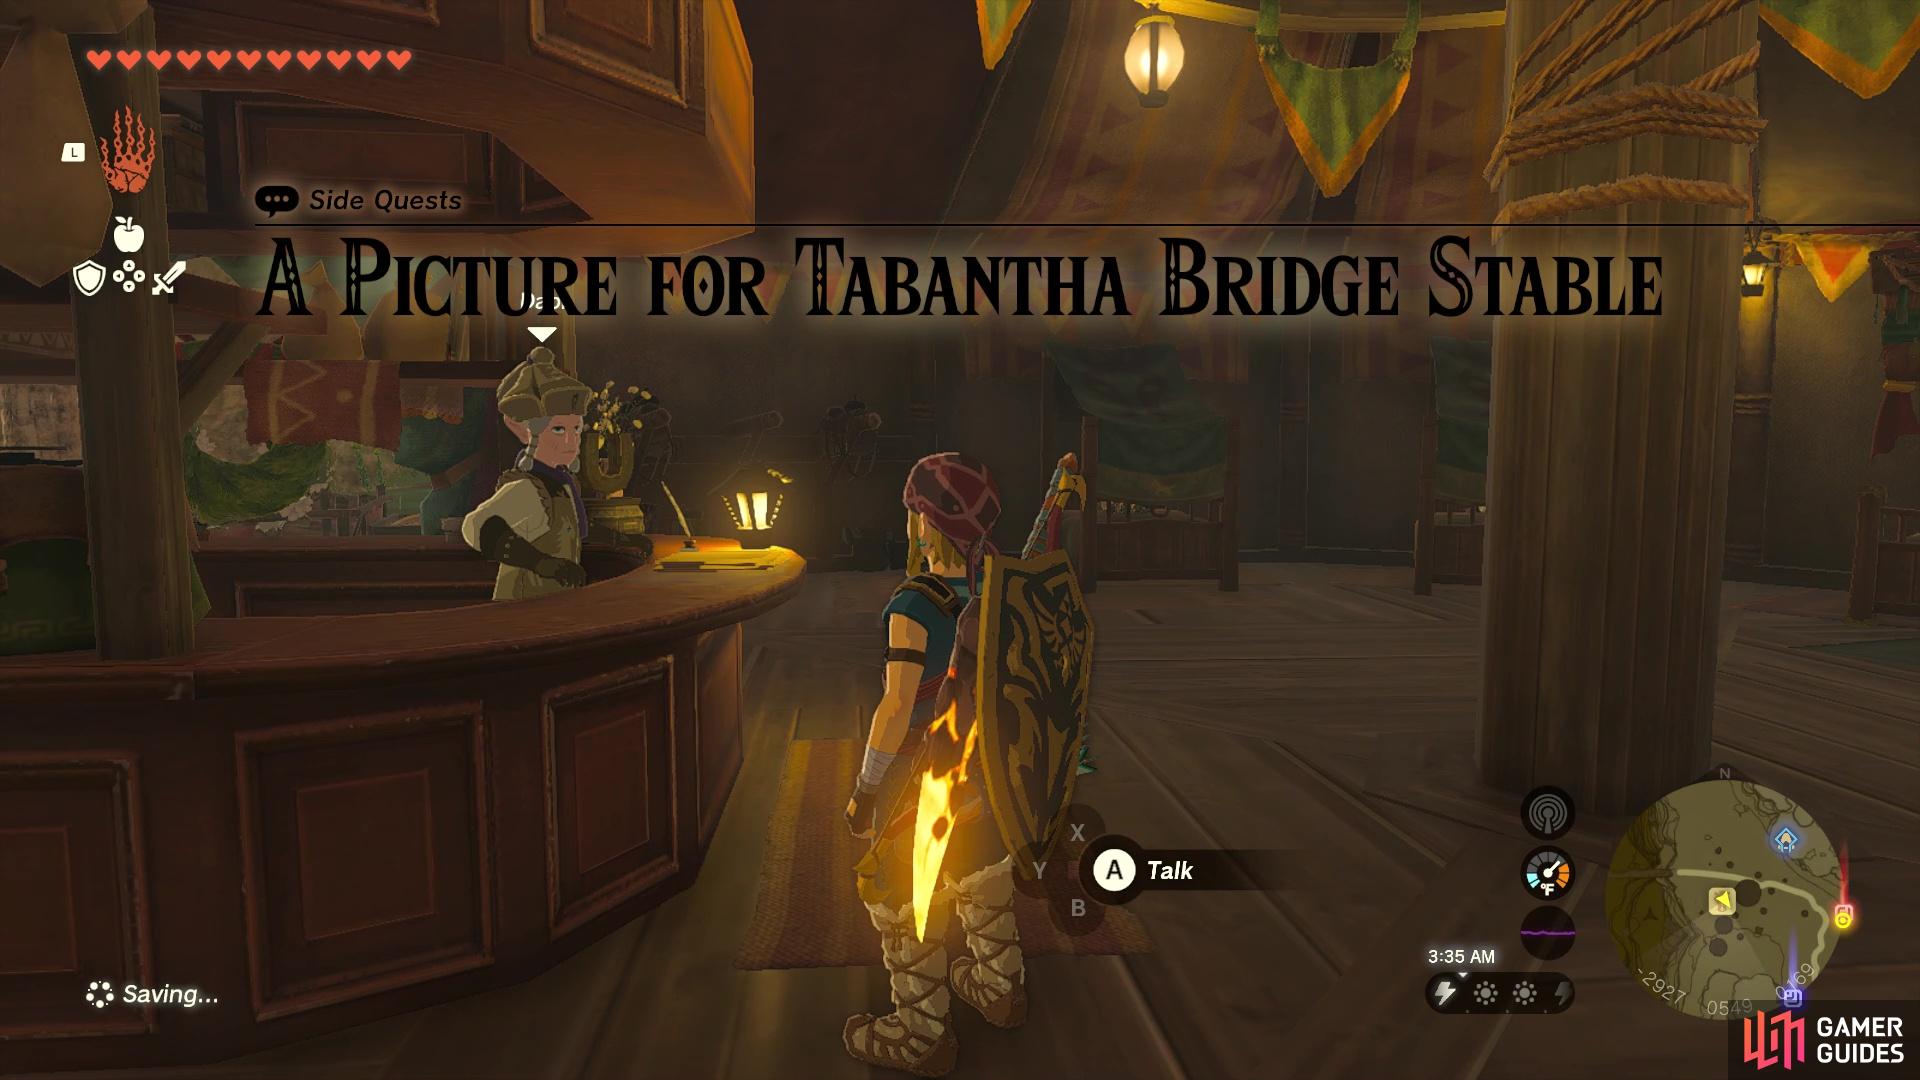
You will happen upon a large number of side quests, as you explore the world of The Legend of Zelda: Tears of the Kingdom. A decent amount of these will appear at the various stables that hold your horses, with each of them having at least one side quest related to the empty picture frame. This page will focus on A Picture for Tabantha Bridge Stable.
Head to the Tabantha Bridge Stable for this side quest.
Where to Start A Picture for Tabantha Bridge Stable in Tears of the Kingdom
As the name implies, you will be heading to the Tabantha Bridge Stable for this side quest. Make sure you’ve done the ![]() Camera Work in the Depths main quest, as you will need the
Camera Work in the Depths main quest, as you will need the ![]() Camera for this side quest. You will find this southwest of the Lindor Brow’s Skyview Tower, right past Mount Rhoam. In fact, if you have the Makurukis Shrine already, then that will be right outside of the stable. Once you’ve found it, head inside and inspect the blank picture frame on the wall to start the quest.
Camera for this side quest. You will find this southwest of the Lindor Brow’s Skyview Tower, right past Mount Rhoam. In fact, if you have the Makurukis Shrine already, then that will be right outside of the stable. Once you’ve found it, head inside and inspect the blank picture frame on the wall to start the quest.
Where to Find the Ancient Columns in Tears of the Kingdom
Dabi, the owner of the Tabantha stable, wants a picture of the nearby Ancient Columns ruins, but he wants them “bathed in the light of the sunrise.” This means that you will need a specific timeframe, which might be annoying, if not for the ability to rest at a campfire for a specific time of day. If you want to make your own campfire, you will need some ![]() Wood, which you can get by chopping down a tree, then hitting the log while it’s on the ground. If you have anything that can create fire, like a
Wood, which you can get by chopping down a tree, then hitting the log while it’s on the ground. If you have anything that can create fire, like a ![]() Fire Fruit, then that’s everything you need, but you can also use
Fire Fruit, then that’s everything you need, but you can also use ![]() Flint here.
Flint here.
(1 of 3) The bridge you need to cross is right next to the stable.
To get to the !Ancient Columns location, exit the stable and cross the Tabantha Great Bridge to the west. As you cross the bridge, follow the road a little more to the west, then look to the south to spy a mountainous area. Atop this plateau will be the !Ancient Columns, but you will want to be a little careful here. The reason for this is that a ![]() Flame Gleeok is found guarding the main path to the ruins (this was the monster that Dabi mentioned), which is one of the more powerful enemies in the game.
Flame Gleeok is found guarding the main path to the ruins (this was the monster that Dabi mentioned), which is one of the more powerful enemies in the game.
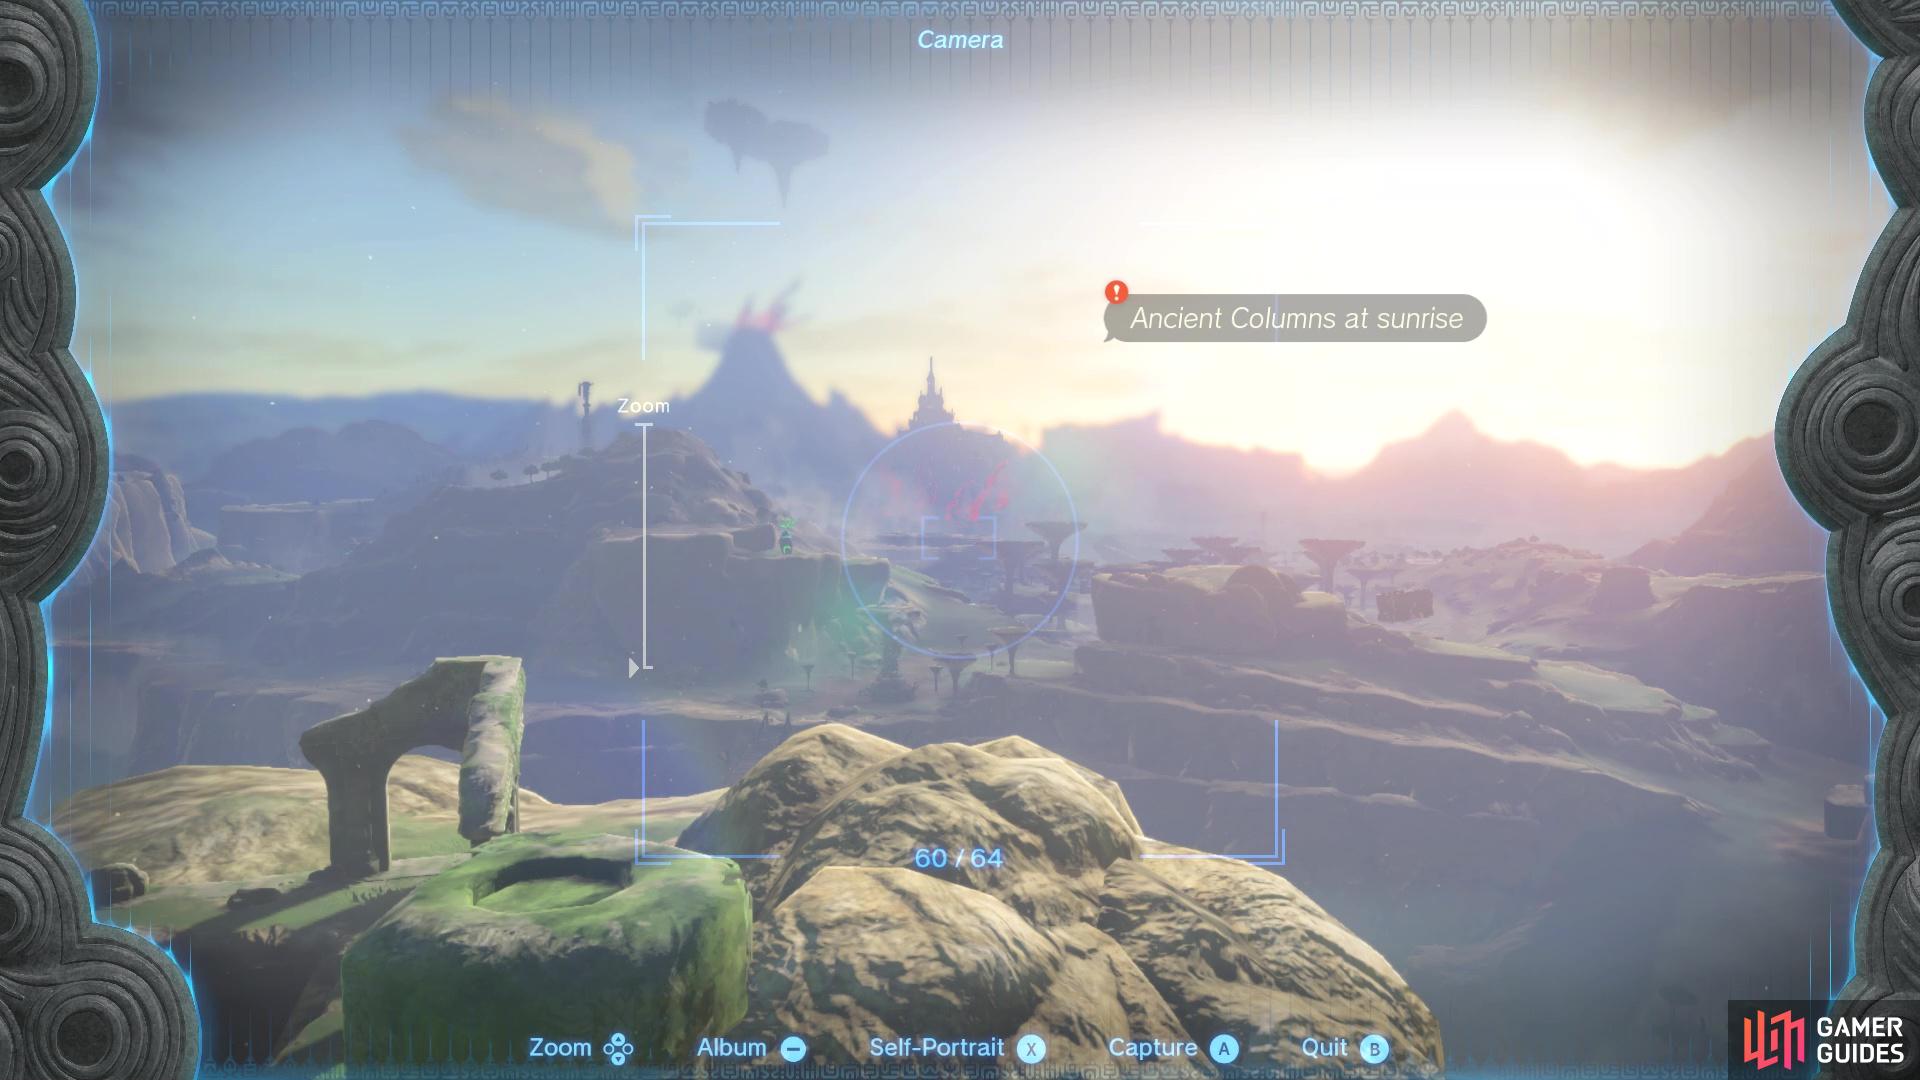
Thus, if you have the stamina for climbing a lot, you might be better going up from the eastern side. If you need to replenish stamina, you can either do so through food, or by finding a spot that allows you to stand. Once you make it to the ruins, look for the one pillar with a button on top (this will open a cave for the ![]() Tunic of Awakening). Head one more column over, on the same side, which will be your point of taking a picture. Should you not have arrived at the correct time, head to solid ground down below the column and take out the Wood and Flint.
Tunic of Awakening). Head one more column over, on the same side, which will be your point of taking a picture. Should you not have arrived at the correct time, head to solid ground down below the column and take out the Wood and Flint.
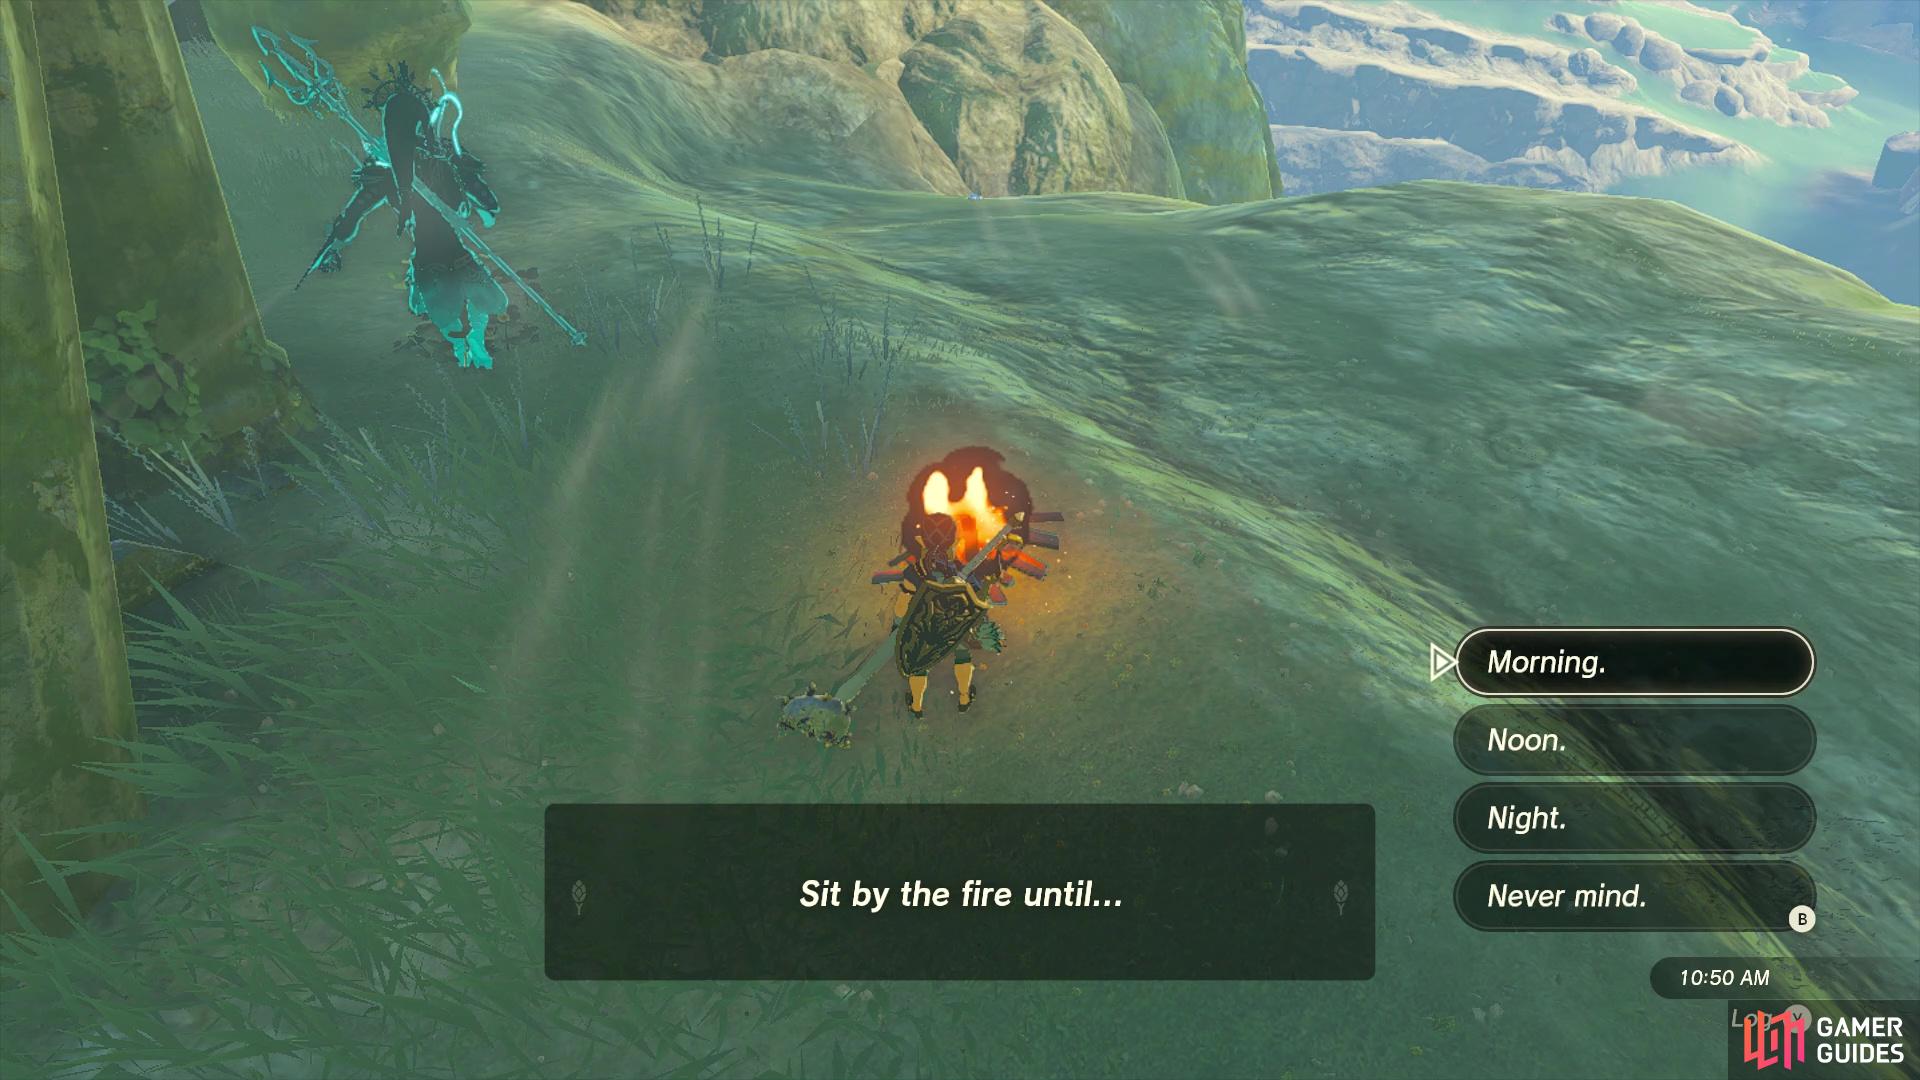
(1 of 2) You can make a campfire if you need to change the time of day.
You can make a campfire if you need to change the time of day. (left), As always, make sure you have the quest icon in the photo, or it won’t count. (right)
Place them on the ground next to one another, then strike them with a metal weapon, which should produce a campfire. You can now interact with the campfire and choose to rest until Morning, so do that now. From there, you can climb back up to the top of the pillar, don your camera and look towards the east when taking the picture. It’s important that you might need to rest again, should it be raining or is super cloudy, since you won’t see the sunrise then. Whenever you get the picture, make sure you have the quest icon in it, or it won’t count.
Once you do have the picture, return to the stable and inspect the frame to be able to turn it in. Not only will you receive one Pony Point, but Dabi will give you a ![]() Hasty Elixir, too.
Hasty Elixir, too.


 Sign up
No Comments