You will come across plenty of Shrines in The Legend of Zelda: Tears of the Kingdom, since they are important and contribute to increasing your overall health and stamina. Some of the Shrines are out in the open, too, so you don’t have to do much to uncover them, unlike others that might be hidden in a cave or require a side quest. One such Shrine that’s easy to find is the Kamatukis Shrine, on which this page will focus.
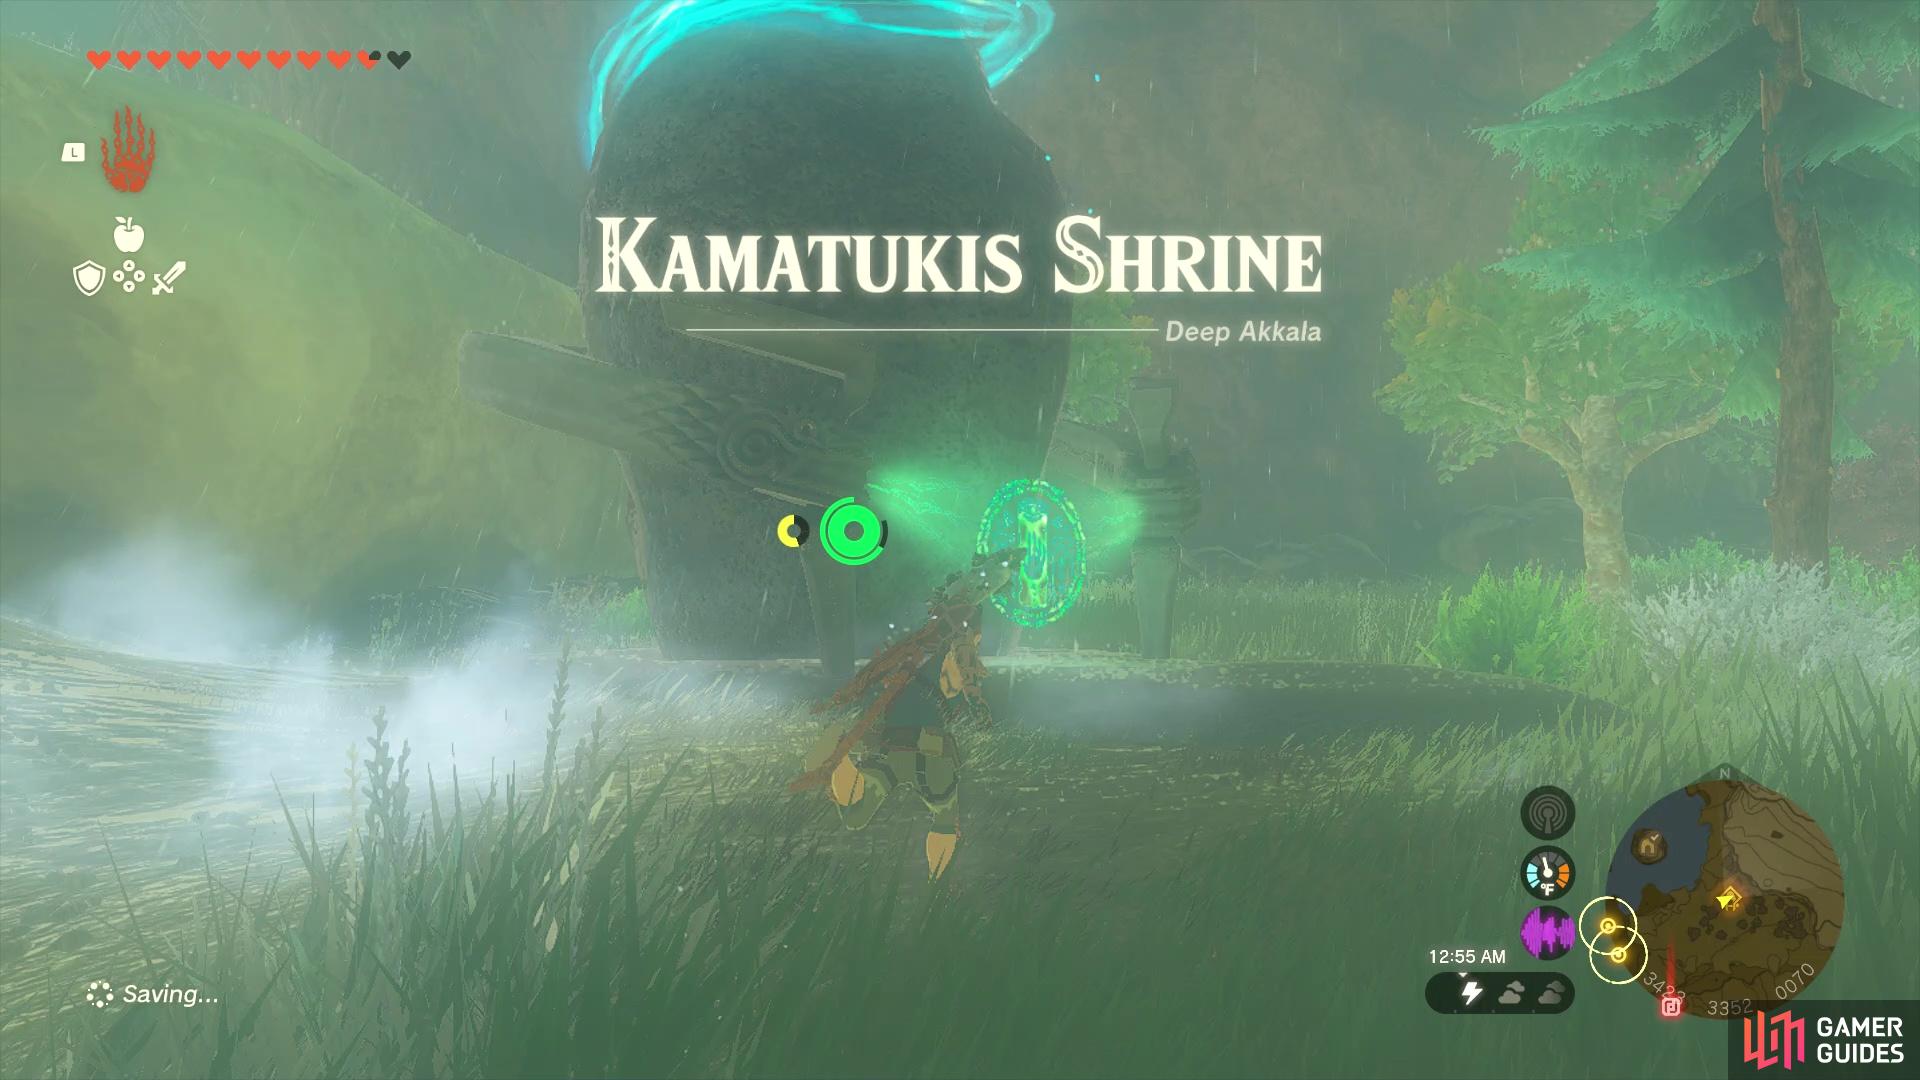
Kamatukis Shrine is found right next to Skull Lake, in the Akkala region.
Where to Find Kamatukis Shrine in Tears of the Kingdom
![]() Kamatukis Shrine is located towards the northeastern corner of the map, in the Akkala region. To be specific, it is located in the Deep Akkala portion, right next to Skull Lake. This is very easy to find on the map, as the lake is actually in the shape of a skull. The shrine will be on the eastern side of the lake, not too far from the actual cliffs that surround the lake.
Kamatukis Shrine is located towards the northeastern corner of the map, in the Akkala region. To be specific, it is located in the Deep Akkala portion, right next to Skull Lake. This is very easy to find on the map, as the lake is actually in the shape of a skull. The shrine will be on the eastern side of the lake, not too far from the actual cliffs that surround the lake.
A Precise Strike - Kamatukis Shrine Walkthrough
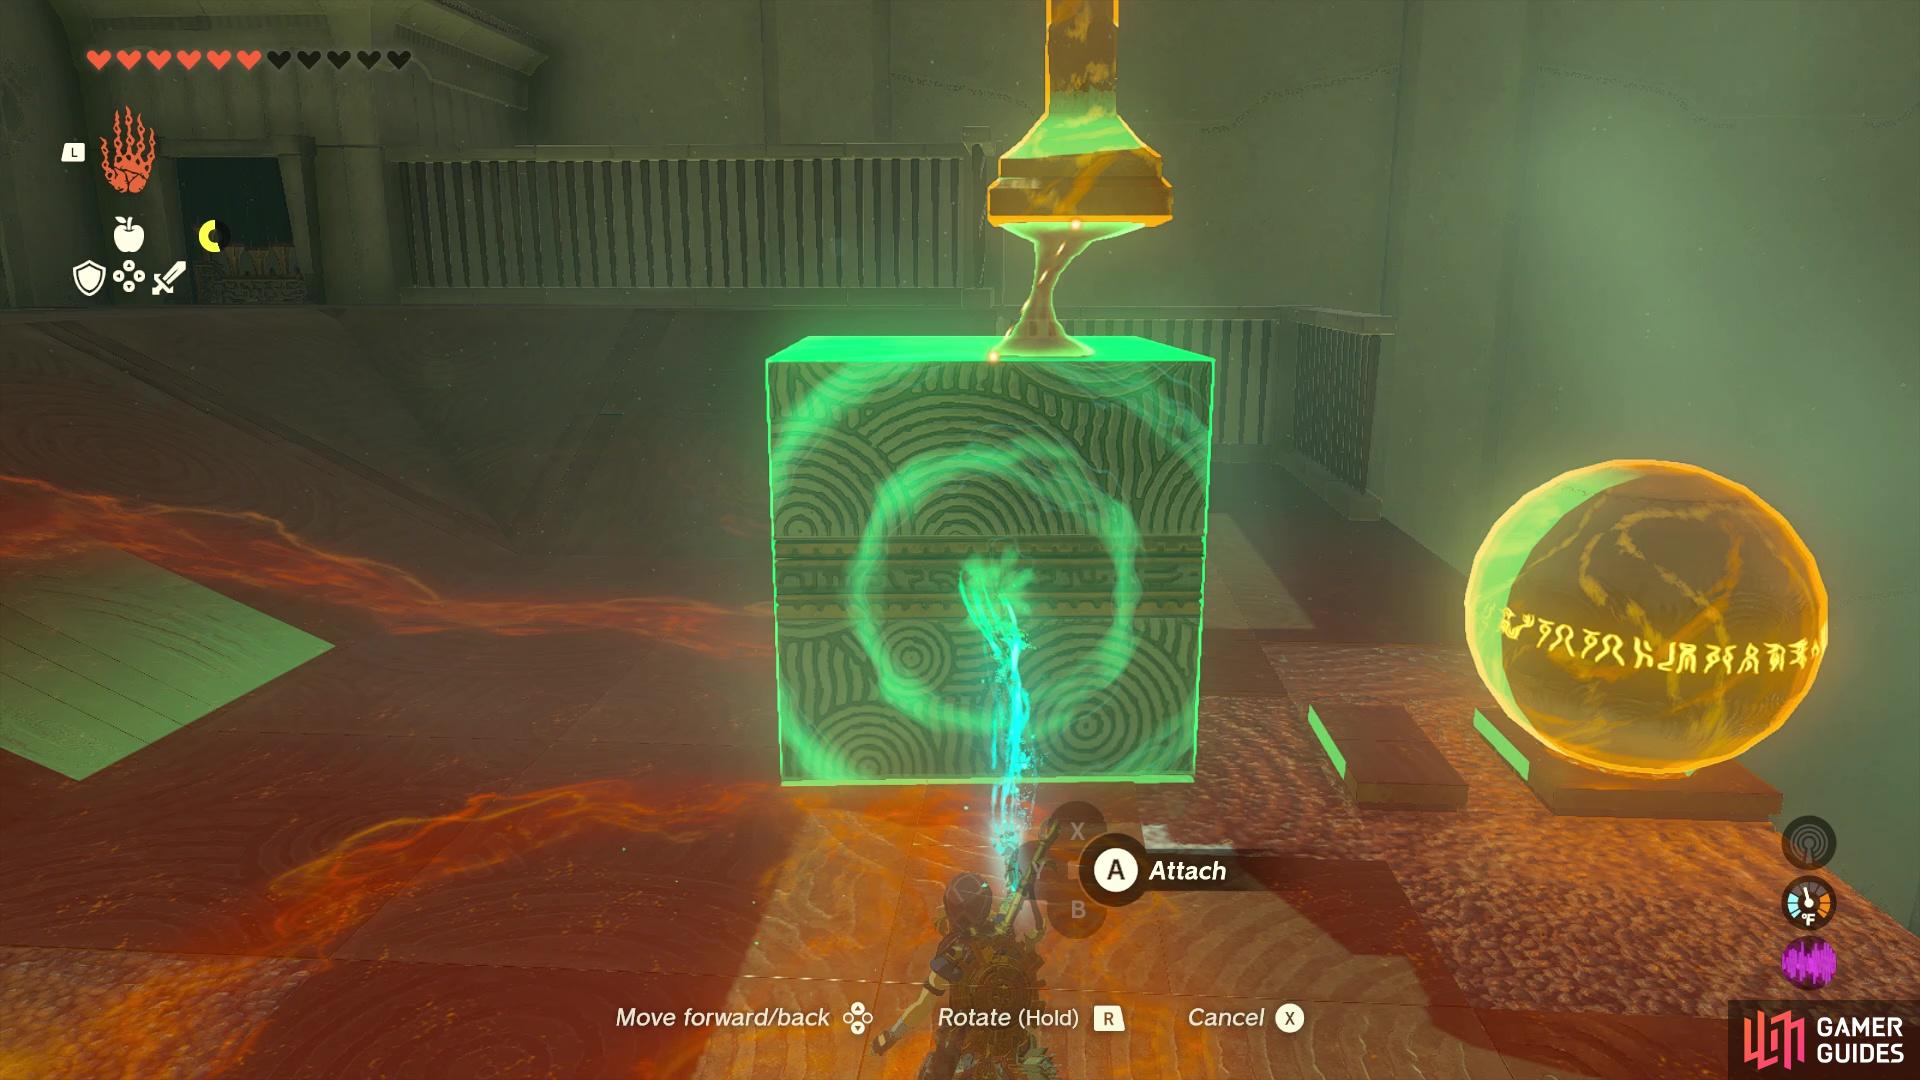
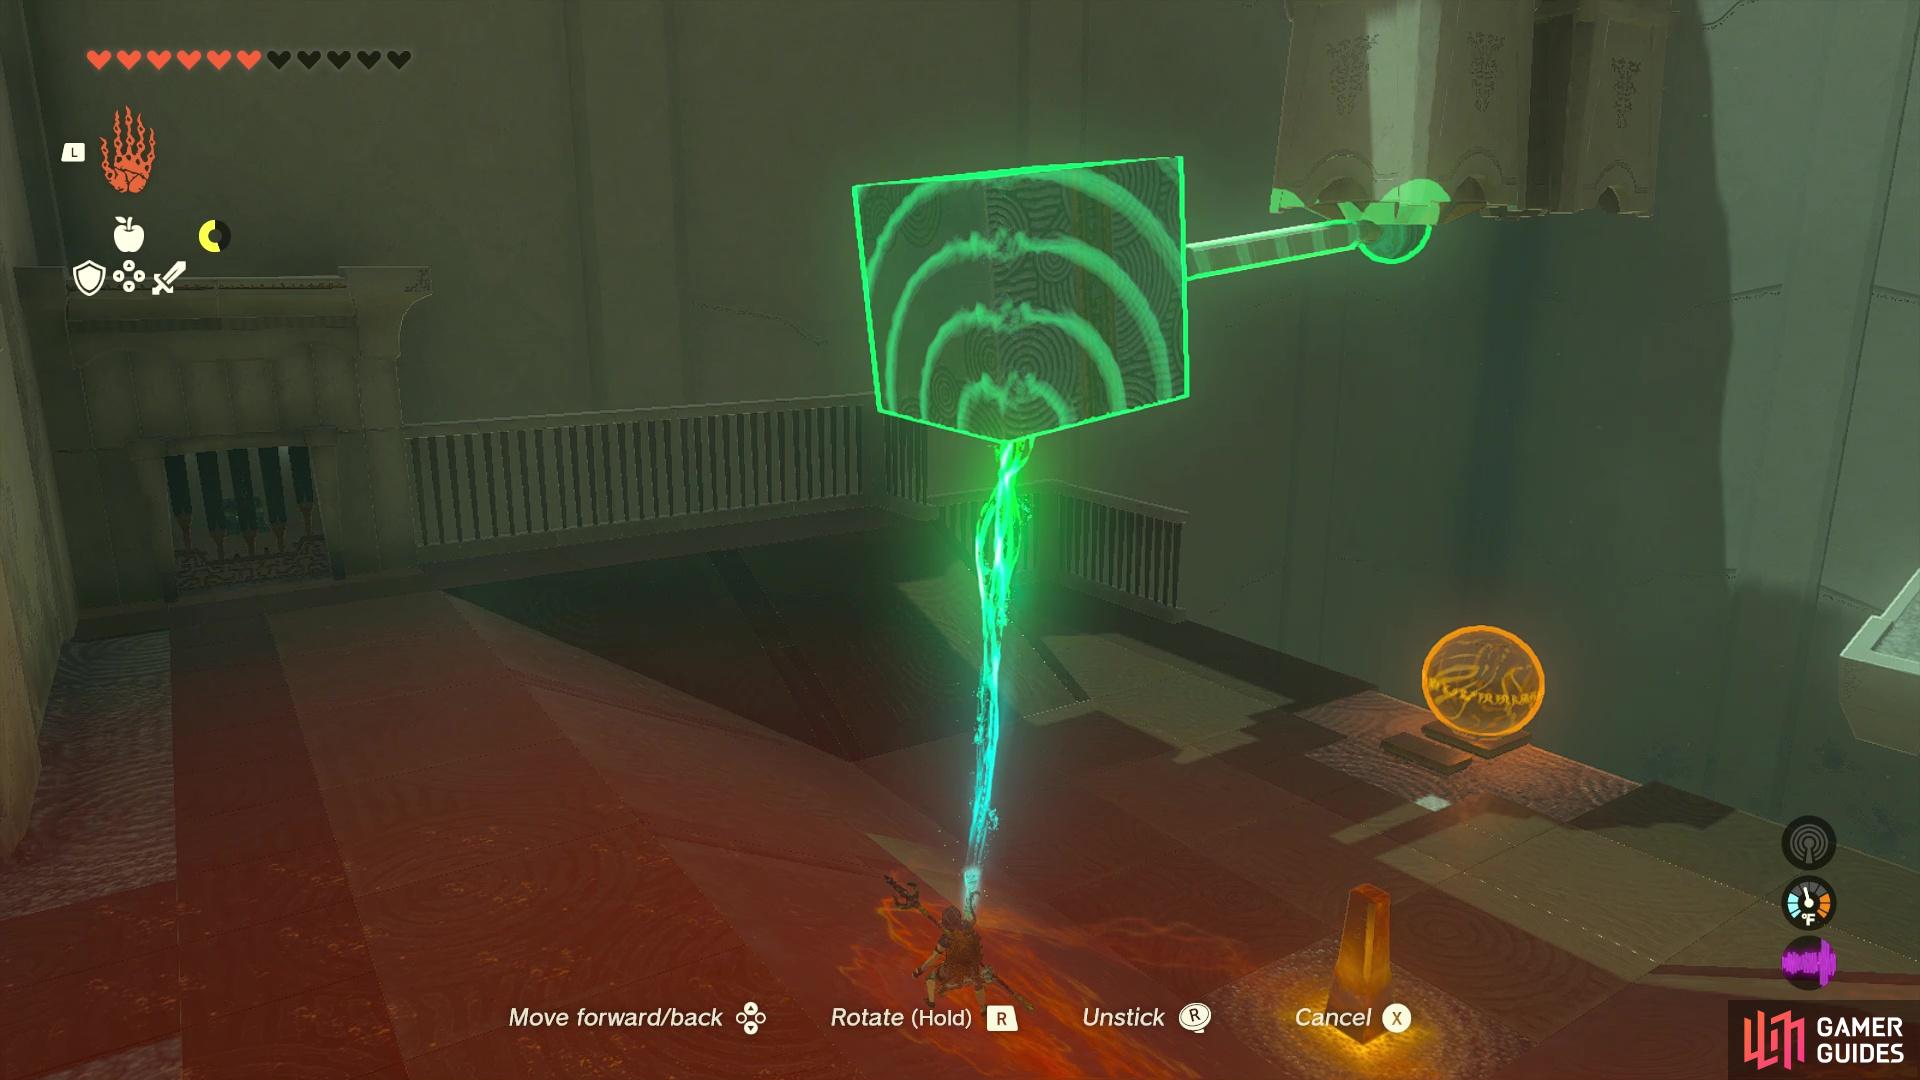
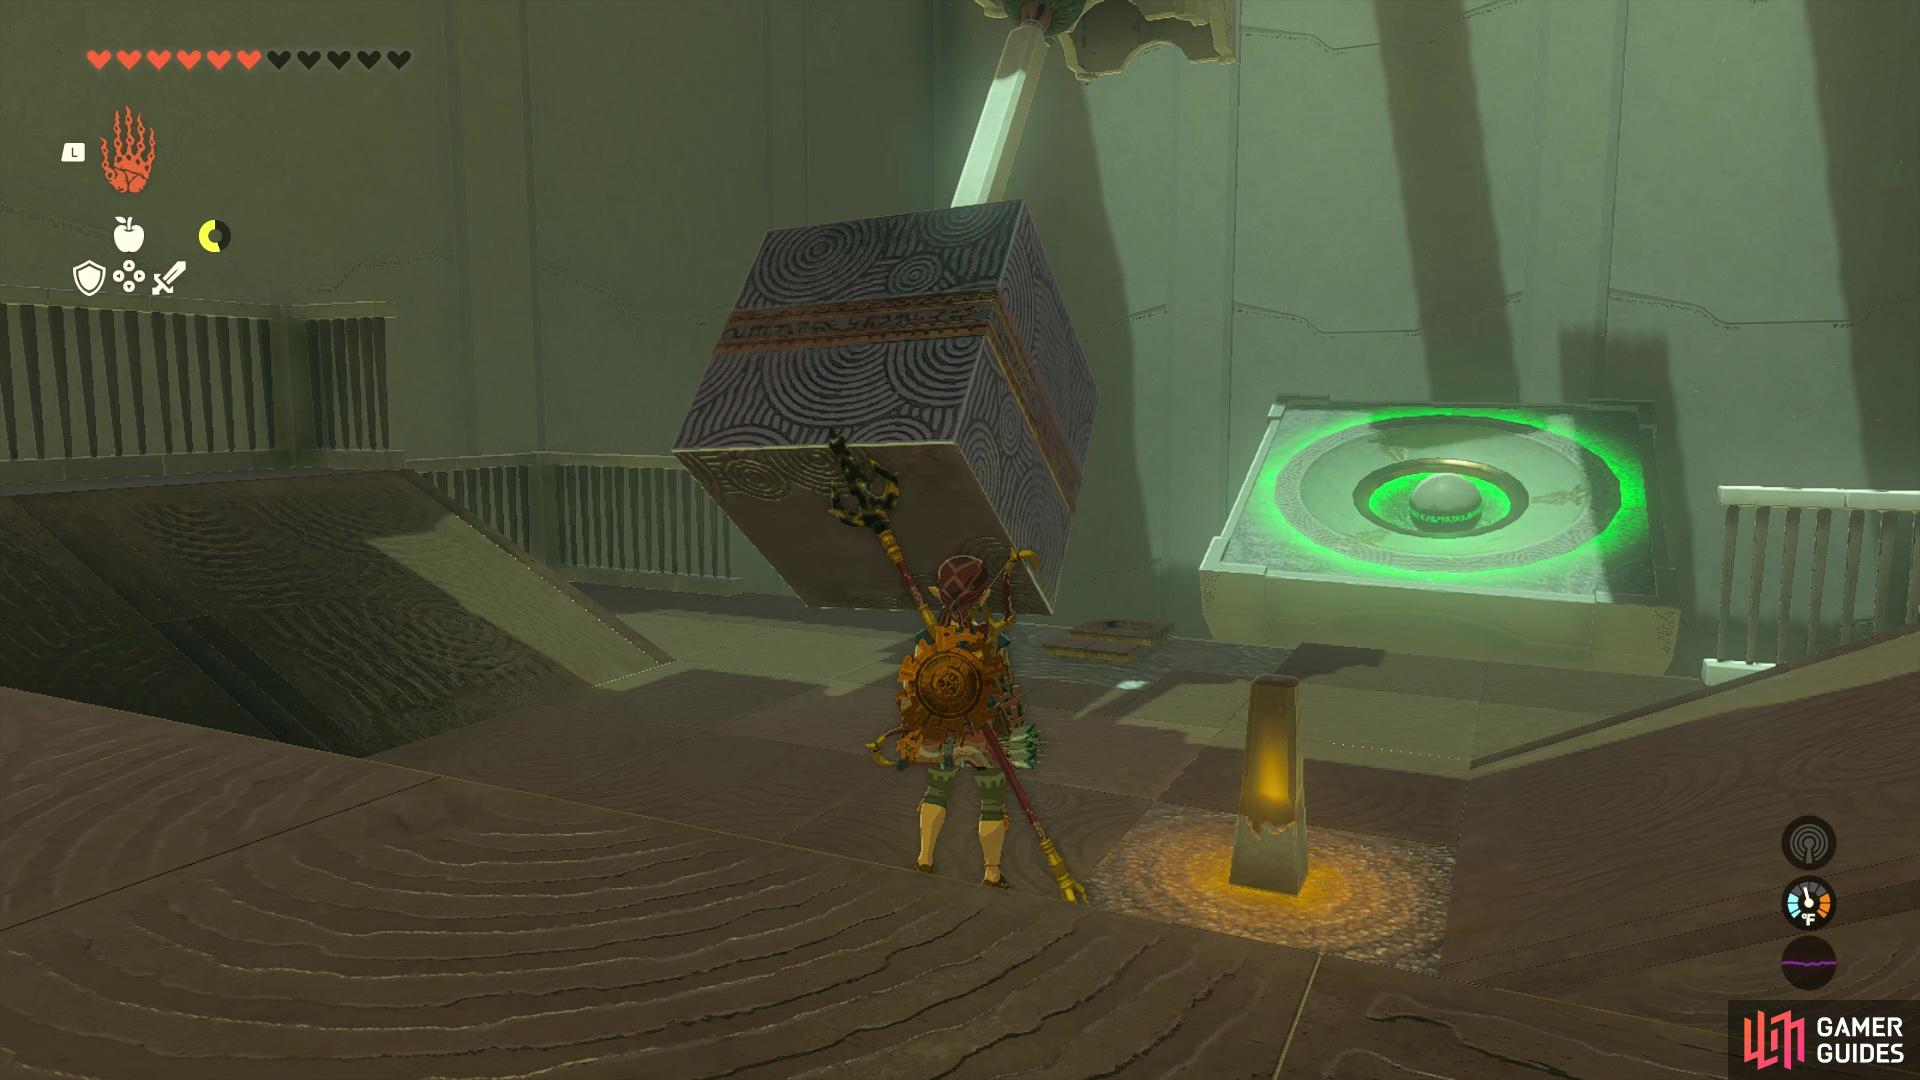
The puzzle found within Kamatukis Shrine is pretty simple, but it can also be incredibly annoying, as there is a little bit of randomness to actually completing it. This shrine centers around using a block, attached to a pendulum, to hit an orb into a hole (kind of like a miniature golf course). When you first enter the shrine, ignore the first room, as that’s the main puzzle, and head off into the side room. Use ![]() Ultrahand to attach the block to the swinging mechanism, and you will then use the same ability to pull it back and swing it at the orb.
Ultrahand to attach the block to the swinging mechanism, and you will then use the same ability to pull it back and swing it at the orb.
(1 of 4) Use Ultrahand to attach the block to the swinging device.
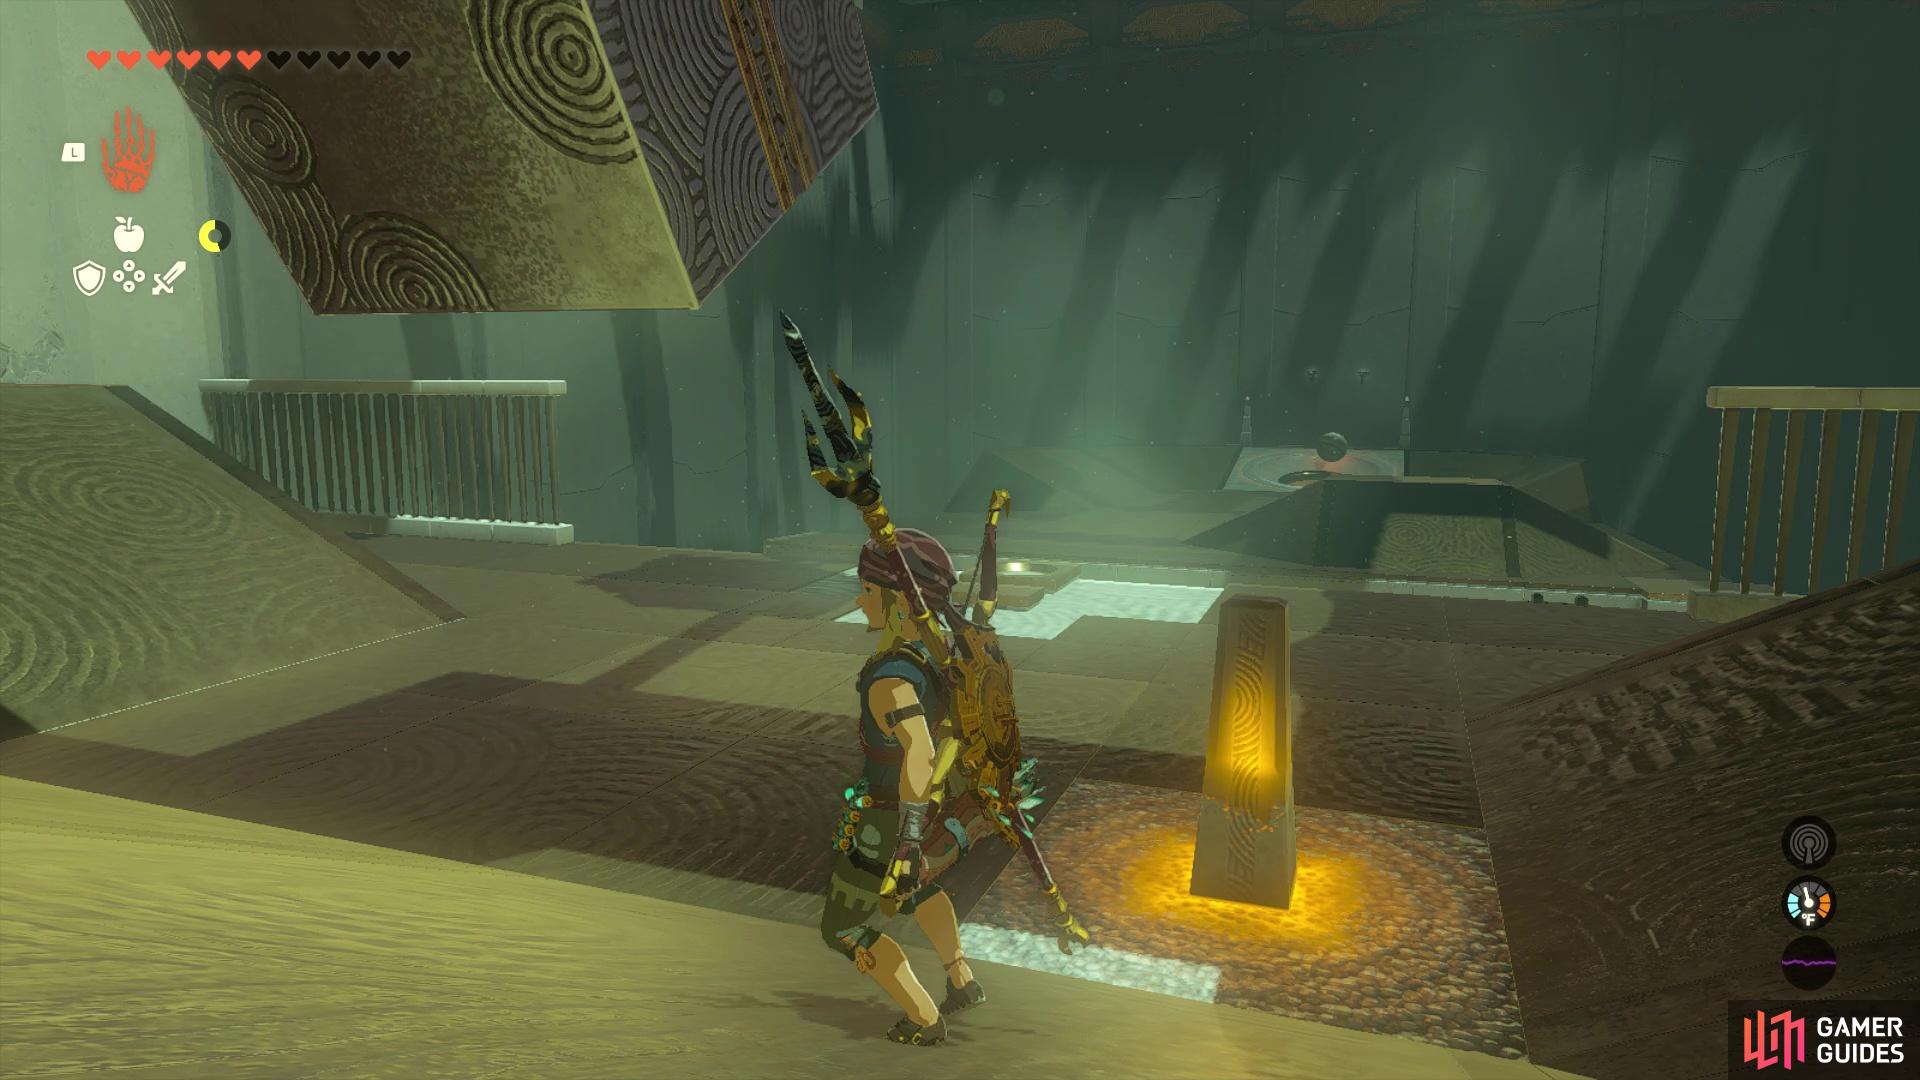
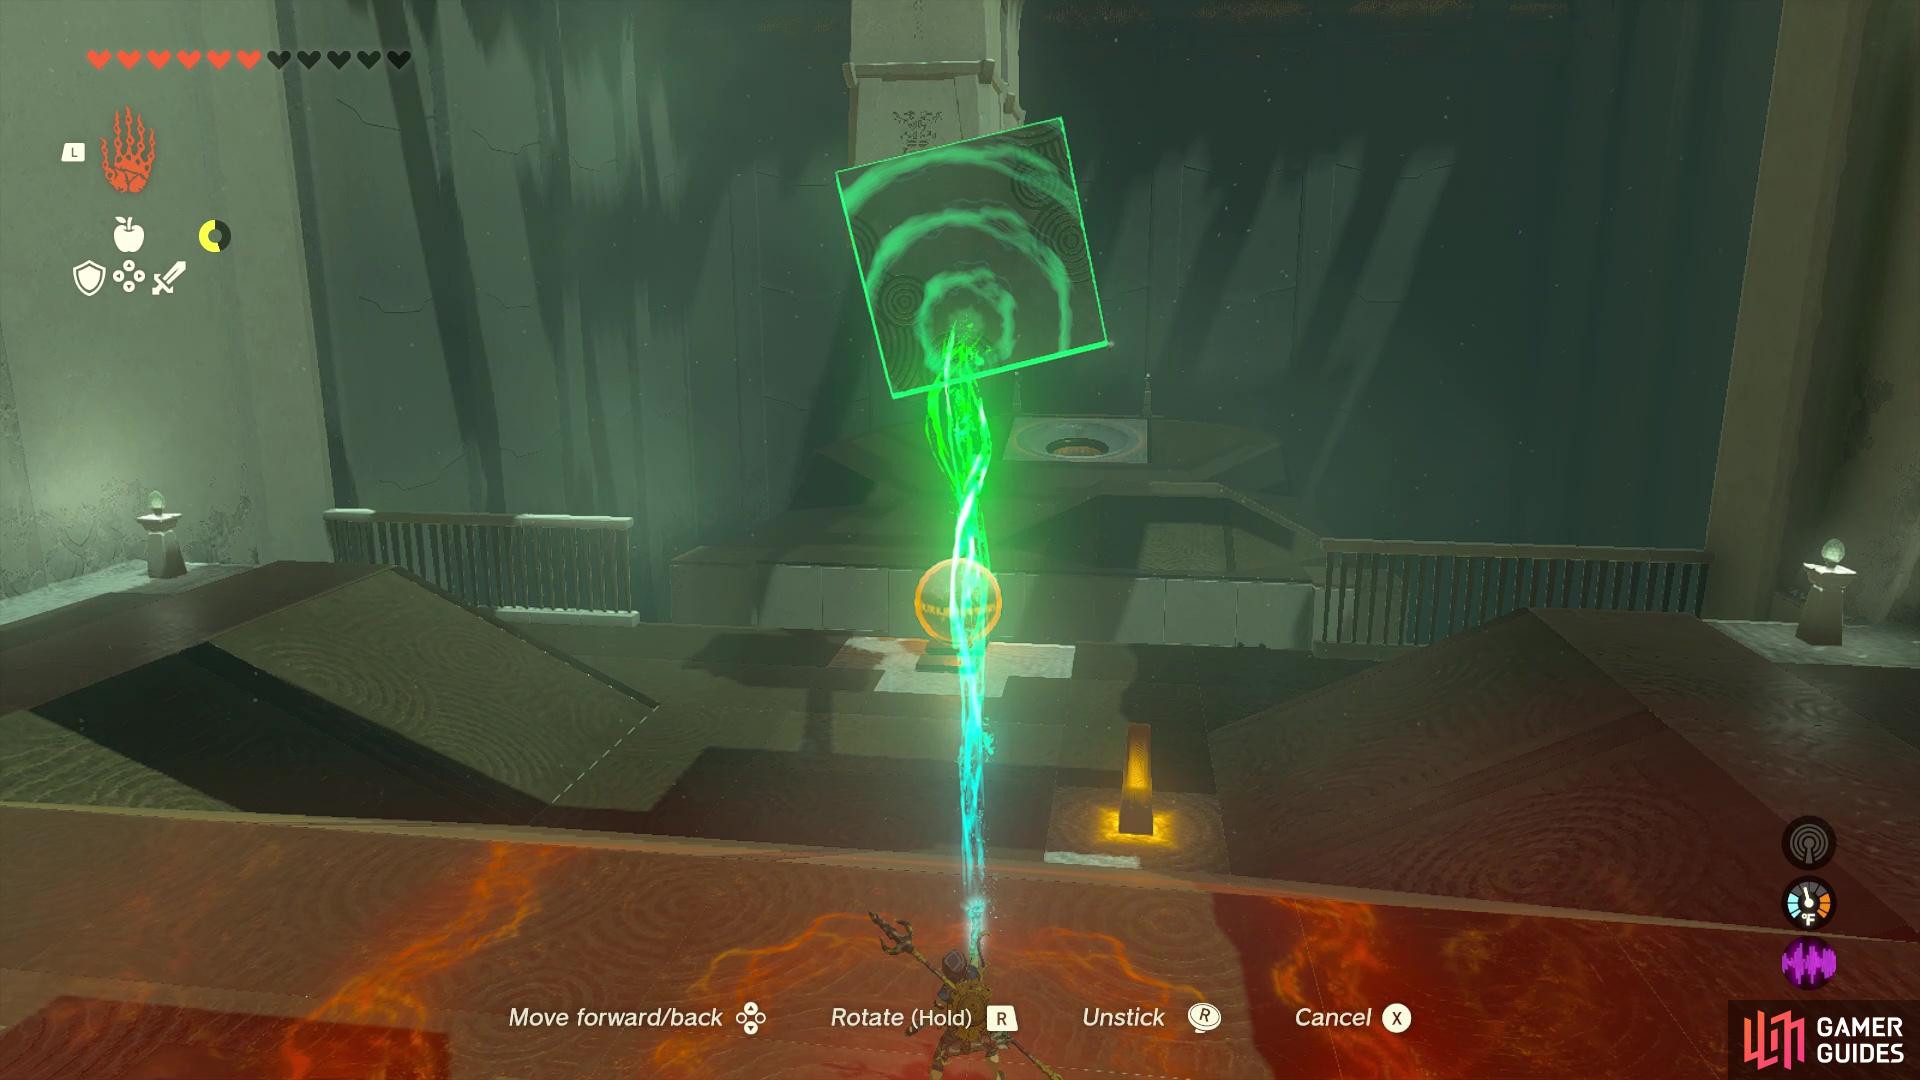
If you miss the moving platform, then you can hit the orange glowing switch to respawn another orb. Once you’ve gotten the orb into the hole on the moving platform, the nearby gate will open and you can grab the ![]() Mighty Zonaite Longsword from the chest inside. Return to the first room and you’ll be doing the same thing here. The only problem is that the hole you need to shoot for is further away, although it won’t be moving. One thing you can do is get behind the pendulum, so you have better aiming on your shot.
Mighty Zonaite Longsword from the chest inside. Return to the first room and you’ll be doing the same thing here. The only problem is that the hole you need to shoot for is further away, although it won’t be moving. One thing you can do is get behind the pendulum, so you have better aiming on your shot.
(1 of 2) The main portion of the puzzle can be tricky to get just right.
The main portion of the puzzle can be tricky to get just right. (left), Try pulling the block slightly to the right and see if that works. (right)
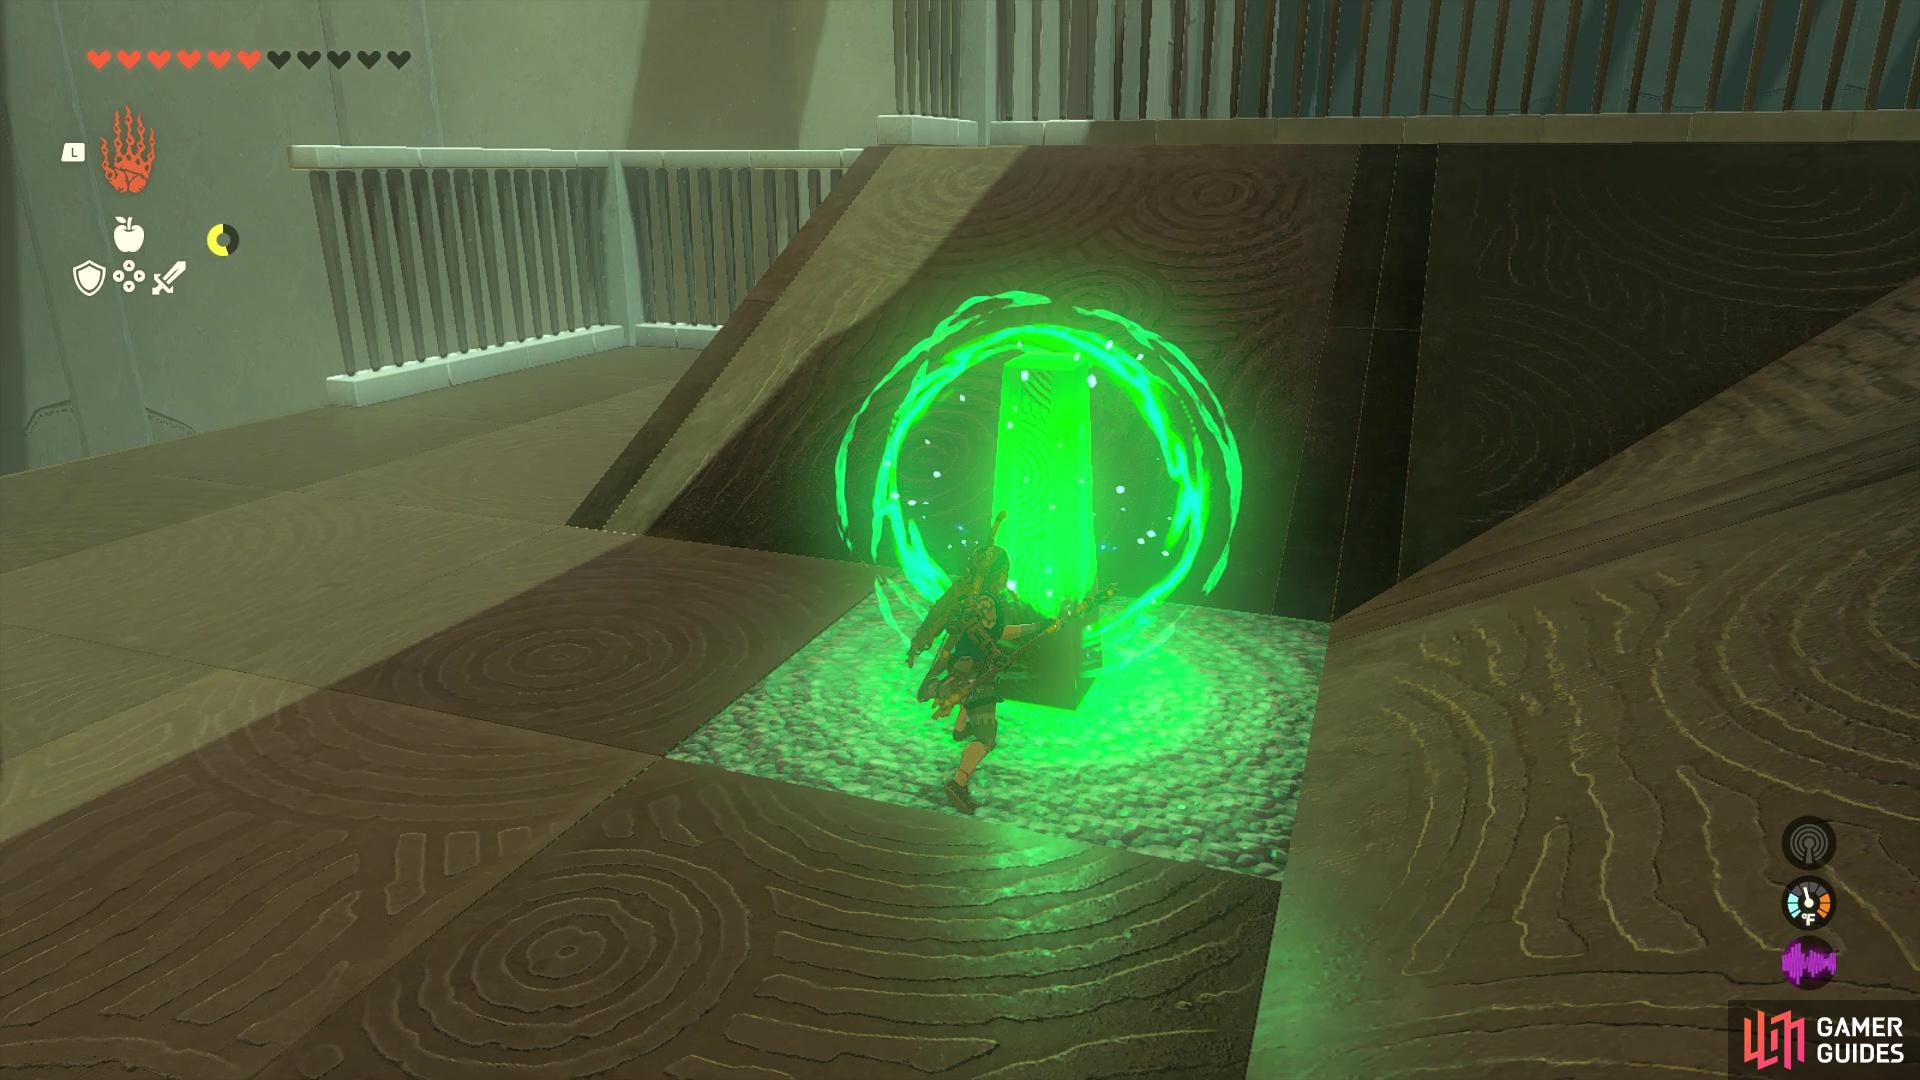
There will also be two hills here, one on either side, which can disrupt your shots. You just need to keep trying over and over, so that’s where the bit of randomness will be coming into play here. It does seem like pulling the block a little bit to the right of the ball will help more, since this might make it bypass the first hill a bit. Once the ball finally goes into the hole at the far end, the door leading to the altar will open, allowing you to get the ![]() Light of Blessing.
Light of Blessing.

 Sign up
No Comments