This page offers a guide on how to complete ![]() Mayachideg Shrine, which is found on the border of the Akkala Region and Eldin Region in The Legend of Zelda: Tears of the Kingdom (TOTK). On this page, you’ll find information on where to locate Mayachideg Shrine and how to complete the combat trial!
Mayachideg Shrine, which is found on the border of the Akkala Region and Eldin Region in The Legend of Zelda: Tears of the Kingdom (TOTK). On this page, you’ll find information on where to locate Mayachideg Shrine and how to complete the combat trial!
Time to show off your offensive Zonai device skills in !Mayachideg Shrine.
Where to Find Mayachideg Shrine
Mayachideg Shrine is found northwest of South Akkala Stable, on the border between Akkala and the Eldin region (Map Marker). From the stable, walk up the path heading north and head up the cliffy slope to the left of the path to find the shrine. It’s not hard to spot from the path so you shouldn’t have any issue finding it!
Mayachideg Shrine is one of the Proving Grounds shrines, which are combat focused shrines that ask you to battle a series of Construct enemies without your gear. It encourages you to fight the Constructs in creative ways, using the materials and zonai devices found throughout the shrine. This guide will offer some advice on the best zonai devices to use and the best route to take through the shrine to beat the Construct enemies easily.
Mayachideg Shrine - Proving Grounds: The Hunt Walkthrough
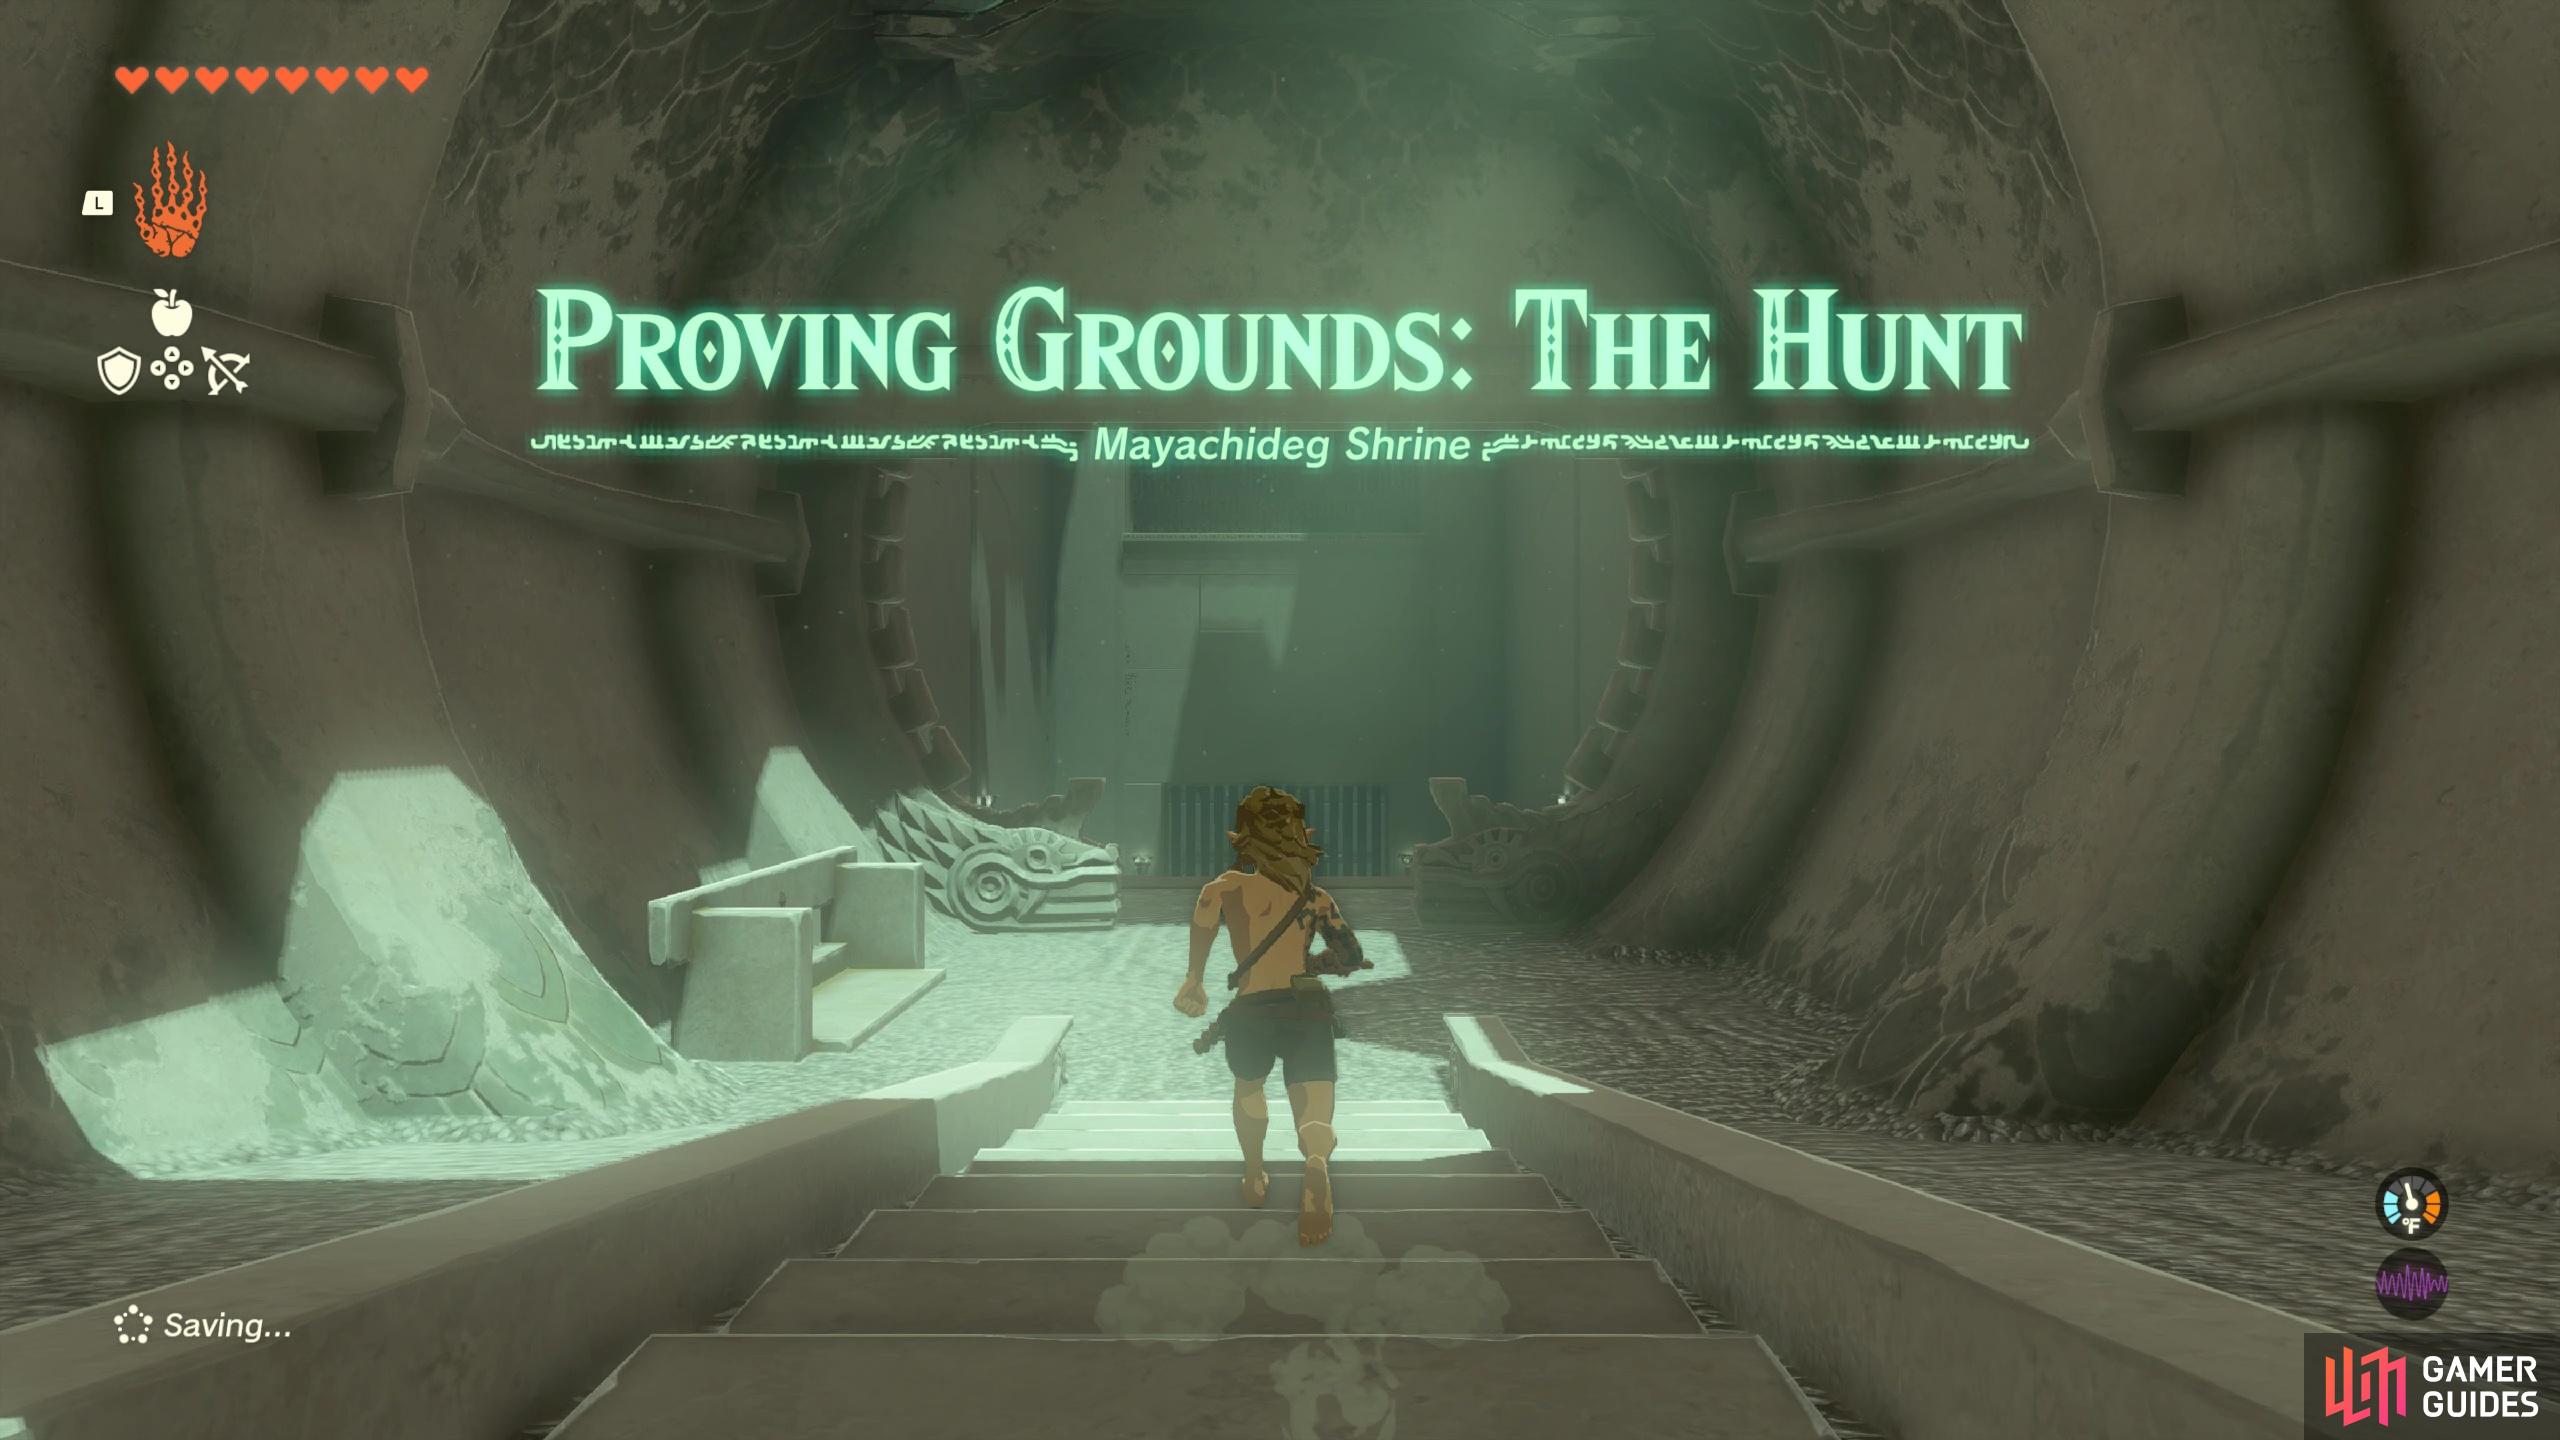
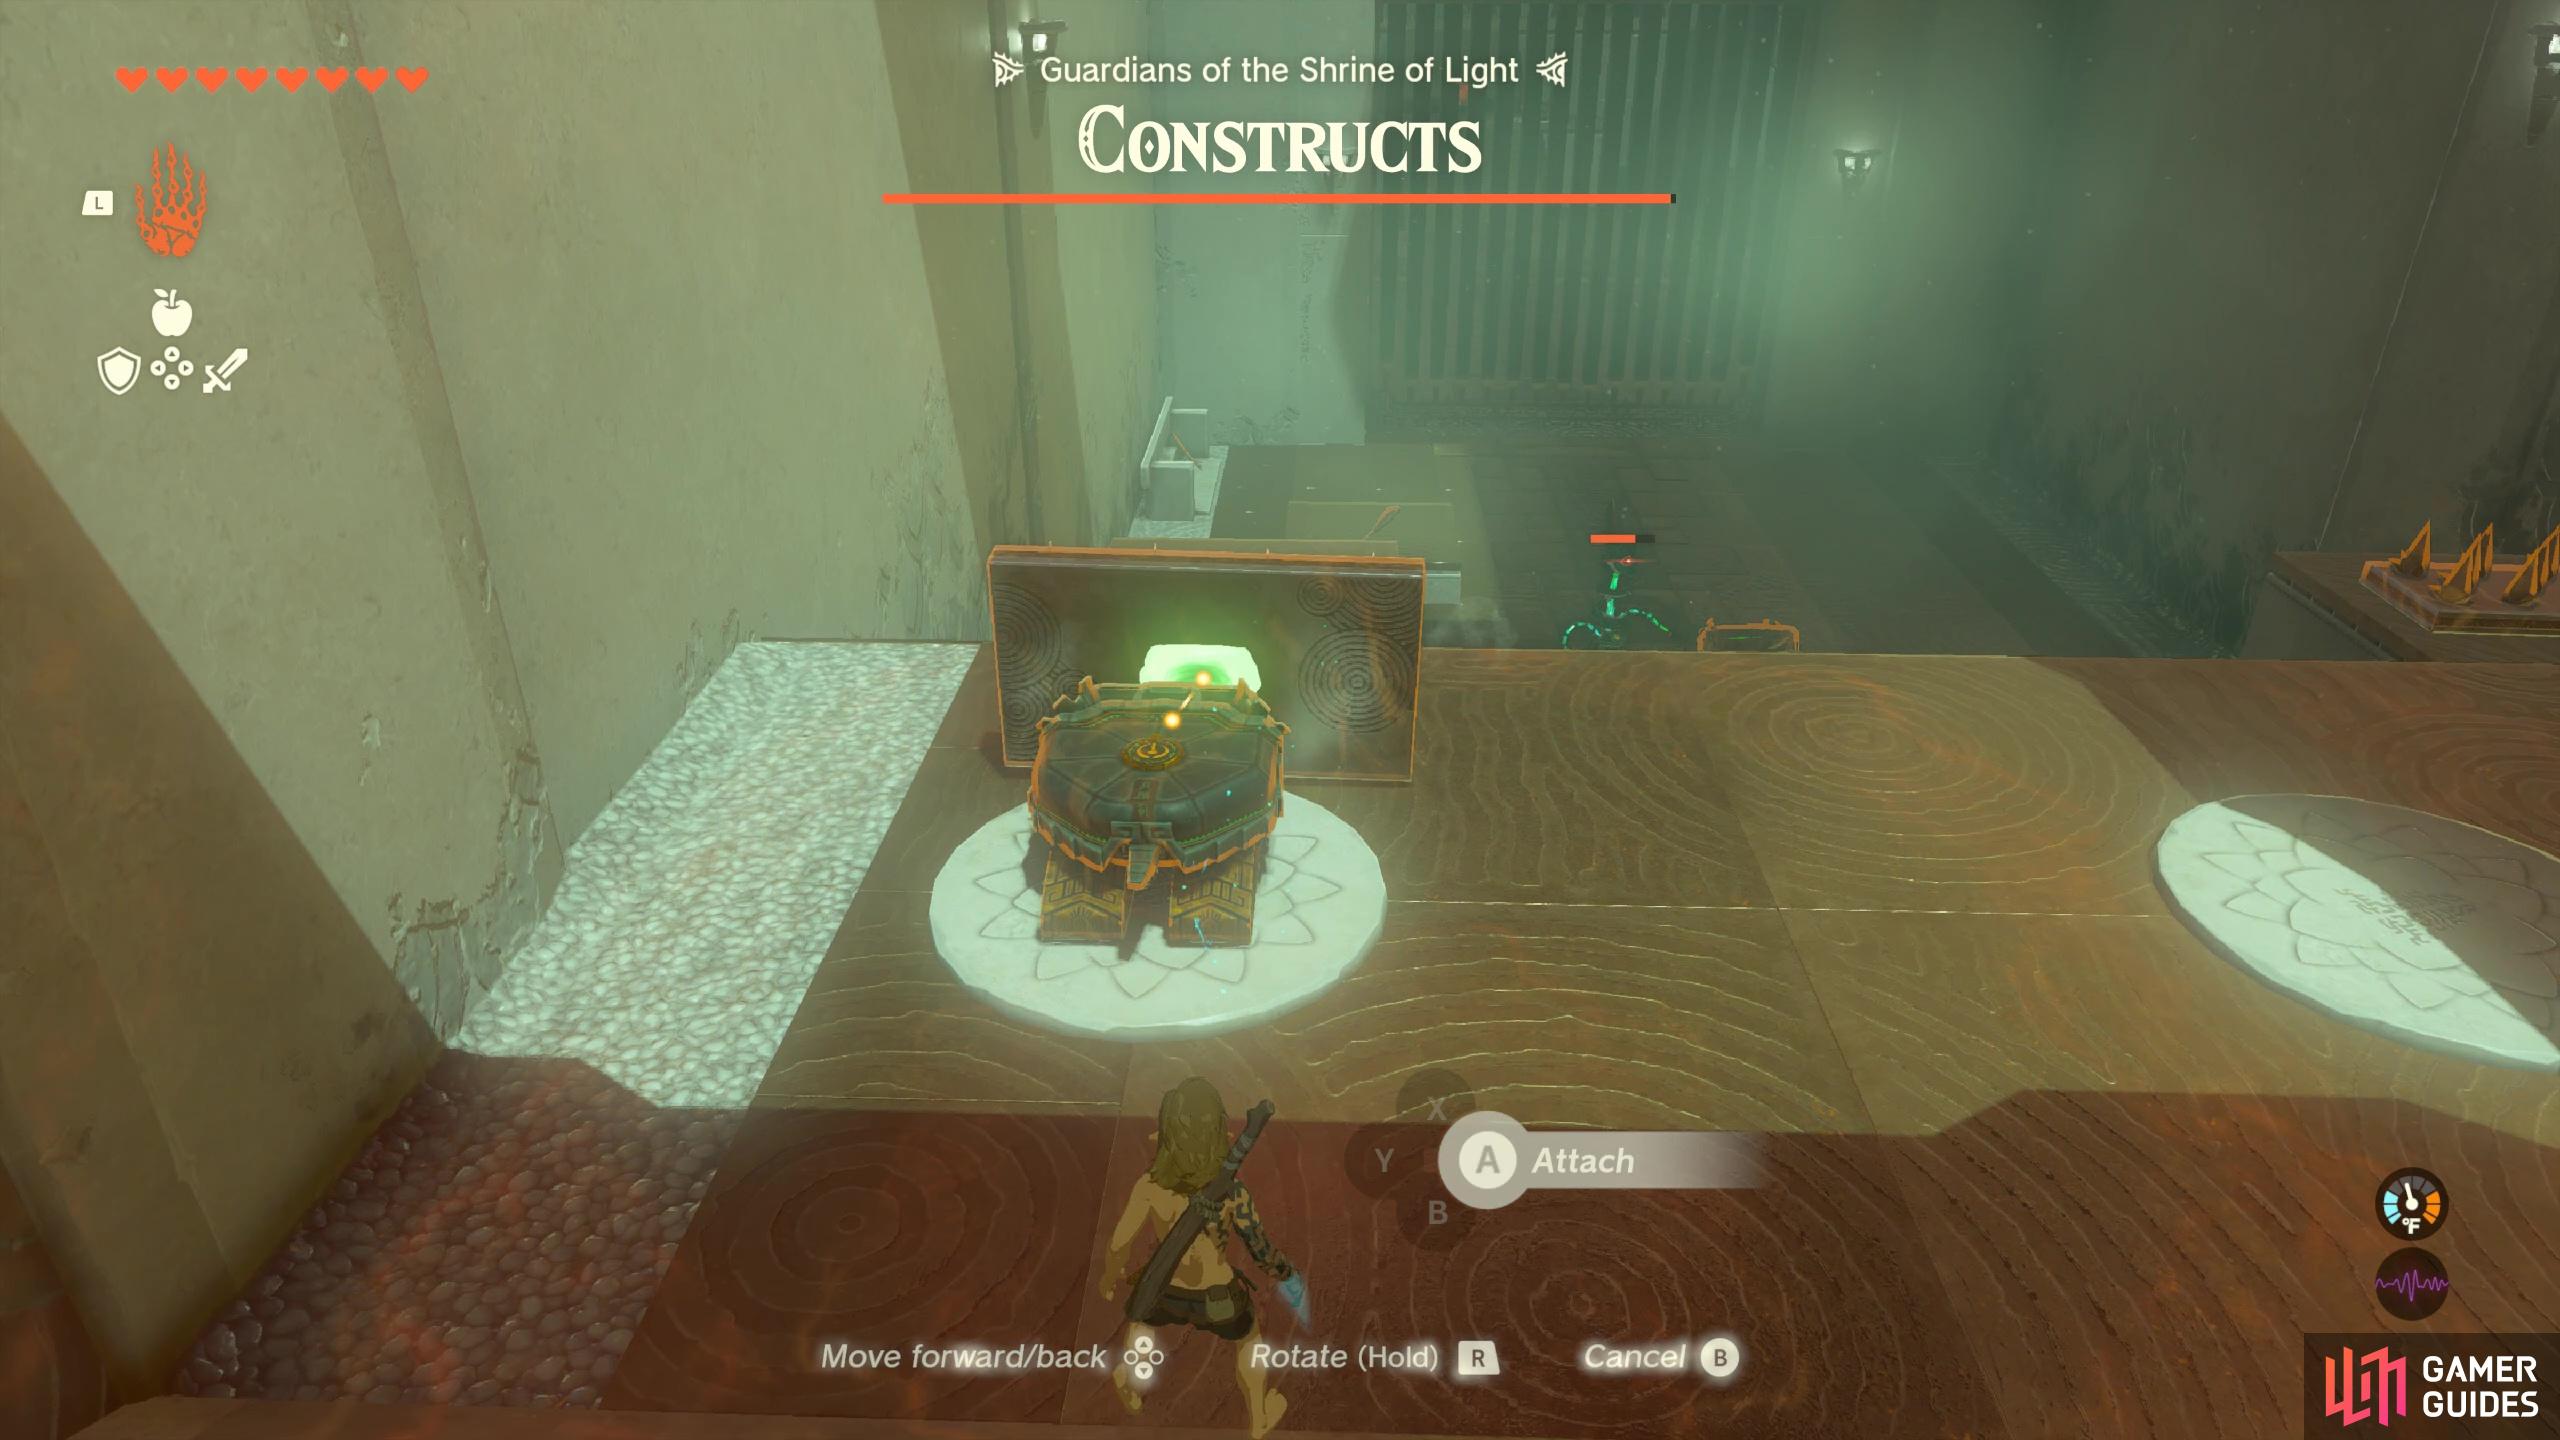
When you first enter into the shrine you’ll be stripped of all your armor and weapons (and food and materials!), but you can head down the steps to grab the ![]() Wooden Stick weapon on the left. Head further into the shrine and you’ll spot an enemy at the bottom of the slope. Before you charge in head first, consider using the Homing Cart zonai devices atop the slope. To turn them on all you’ll need to do is hit them and they’ll go charging towards any hostile enemies. You could even use
Wooden Stick weapon on the left. Head further into the shrine and you’ll spot an enemy at the bottom of the slope. Before you charge in head first, consider using the Homing Cart zonai devices atop the slope. To turn them on all you’ll need to do is hit them and they’ll go charging towards any hostile enemies. You could even use ![]() Ultrahand to attach some of the spiked platforms onto the front of the homing cart so they do extra damage to the Construct Enemy.
Ultrahand to attach some of the spiked platforms onto the front of the homing cart so they do extra damage to the Construct Enemy.
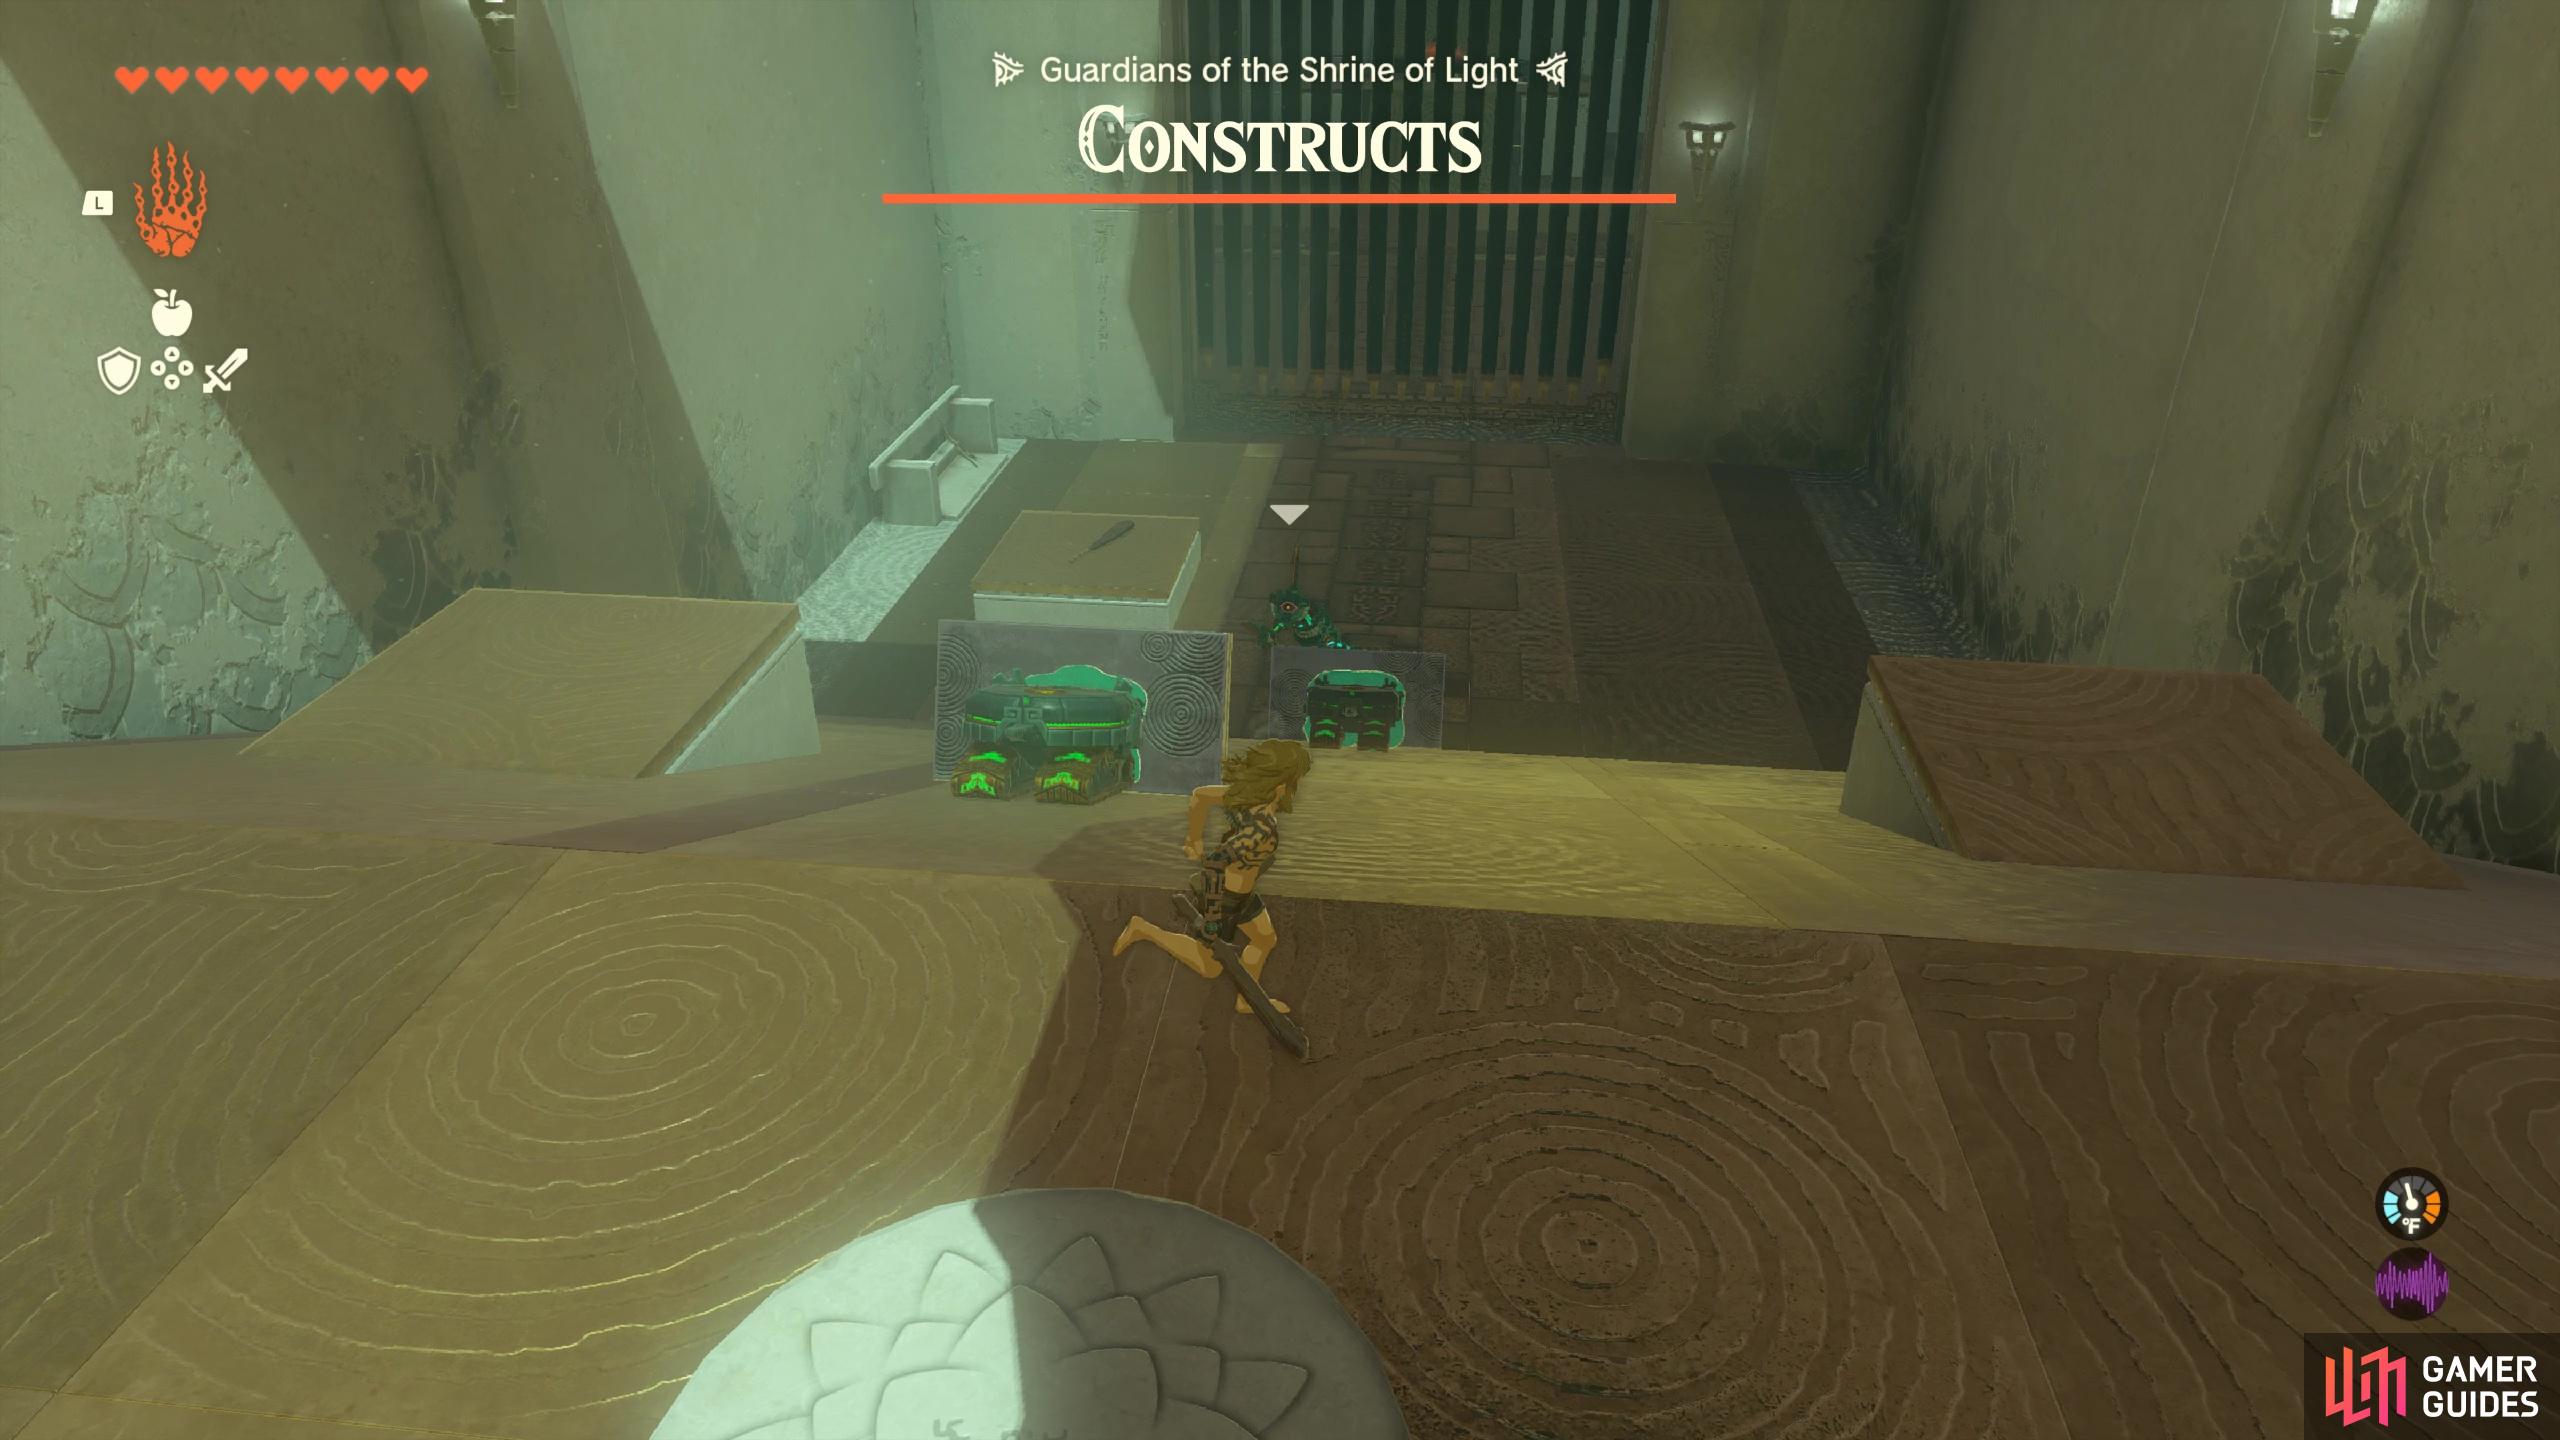
(1 of 2) Use the !Homing Carts to take down the Construct enemies
Use the !Homing Carts to take down the Construct enemies (left), and you could even add spikes to them to do extra damage! (right)
The way that the Construct Enemies interact with these carts can be hit or miss - sometimes they get distracted by the carts and sometimes they will try to get past them to reach you. Either way, the carts do a pretty good job of keeping close to the enemies and pushing them about. You might want to speed up the process a bit and get into close combat to smack the Construct a couple of times with your wooden stick.
Once the singular Construct enemy is defeated, you can loot the weapon rack to the left for a Wooden Bow and x10 ![]() Arrows, as well as a
Arrows, as well as a ![]() Thick Stick which will do a bit more damage than the wooden stick you picked up earlier. The door in front will also open up when you defeat the Construct enemy, allowing you to go into the main room of the shrine.
Thick Stick which will do a bit more damage than the wooden stick you picked up earlier. The door in front will also open up when you defeat the Construct enemy, allowing you to go into the main room of the shrine.
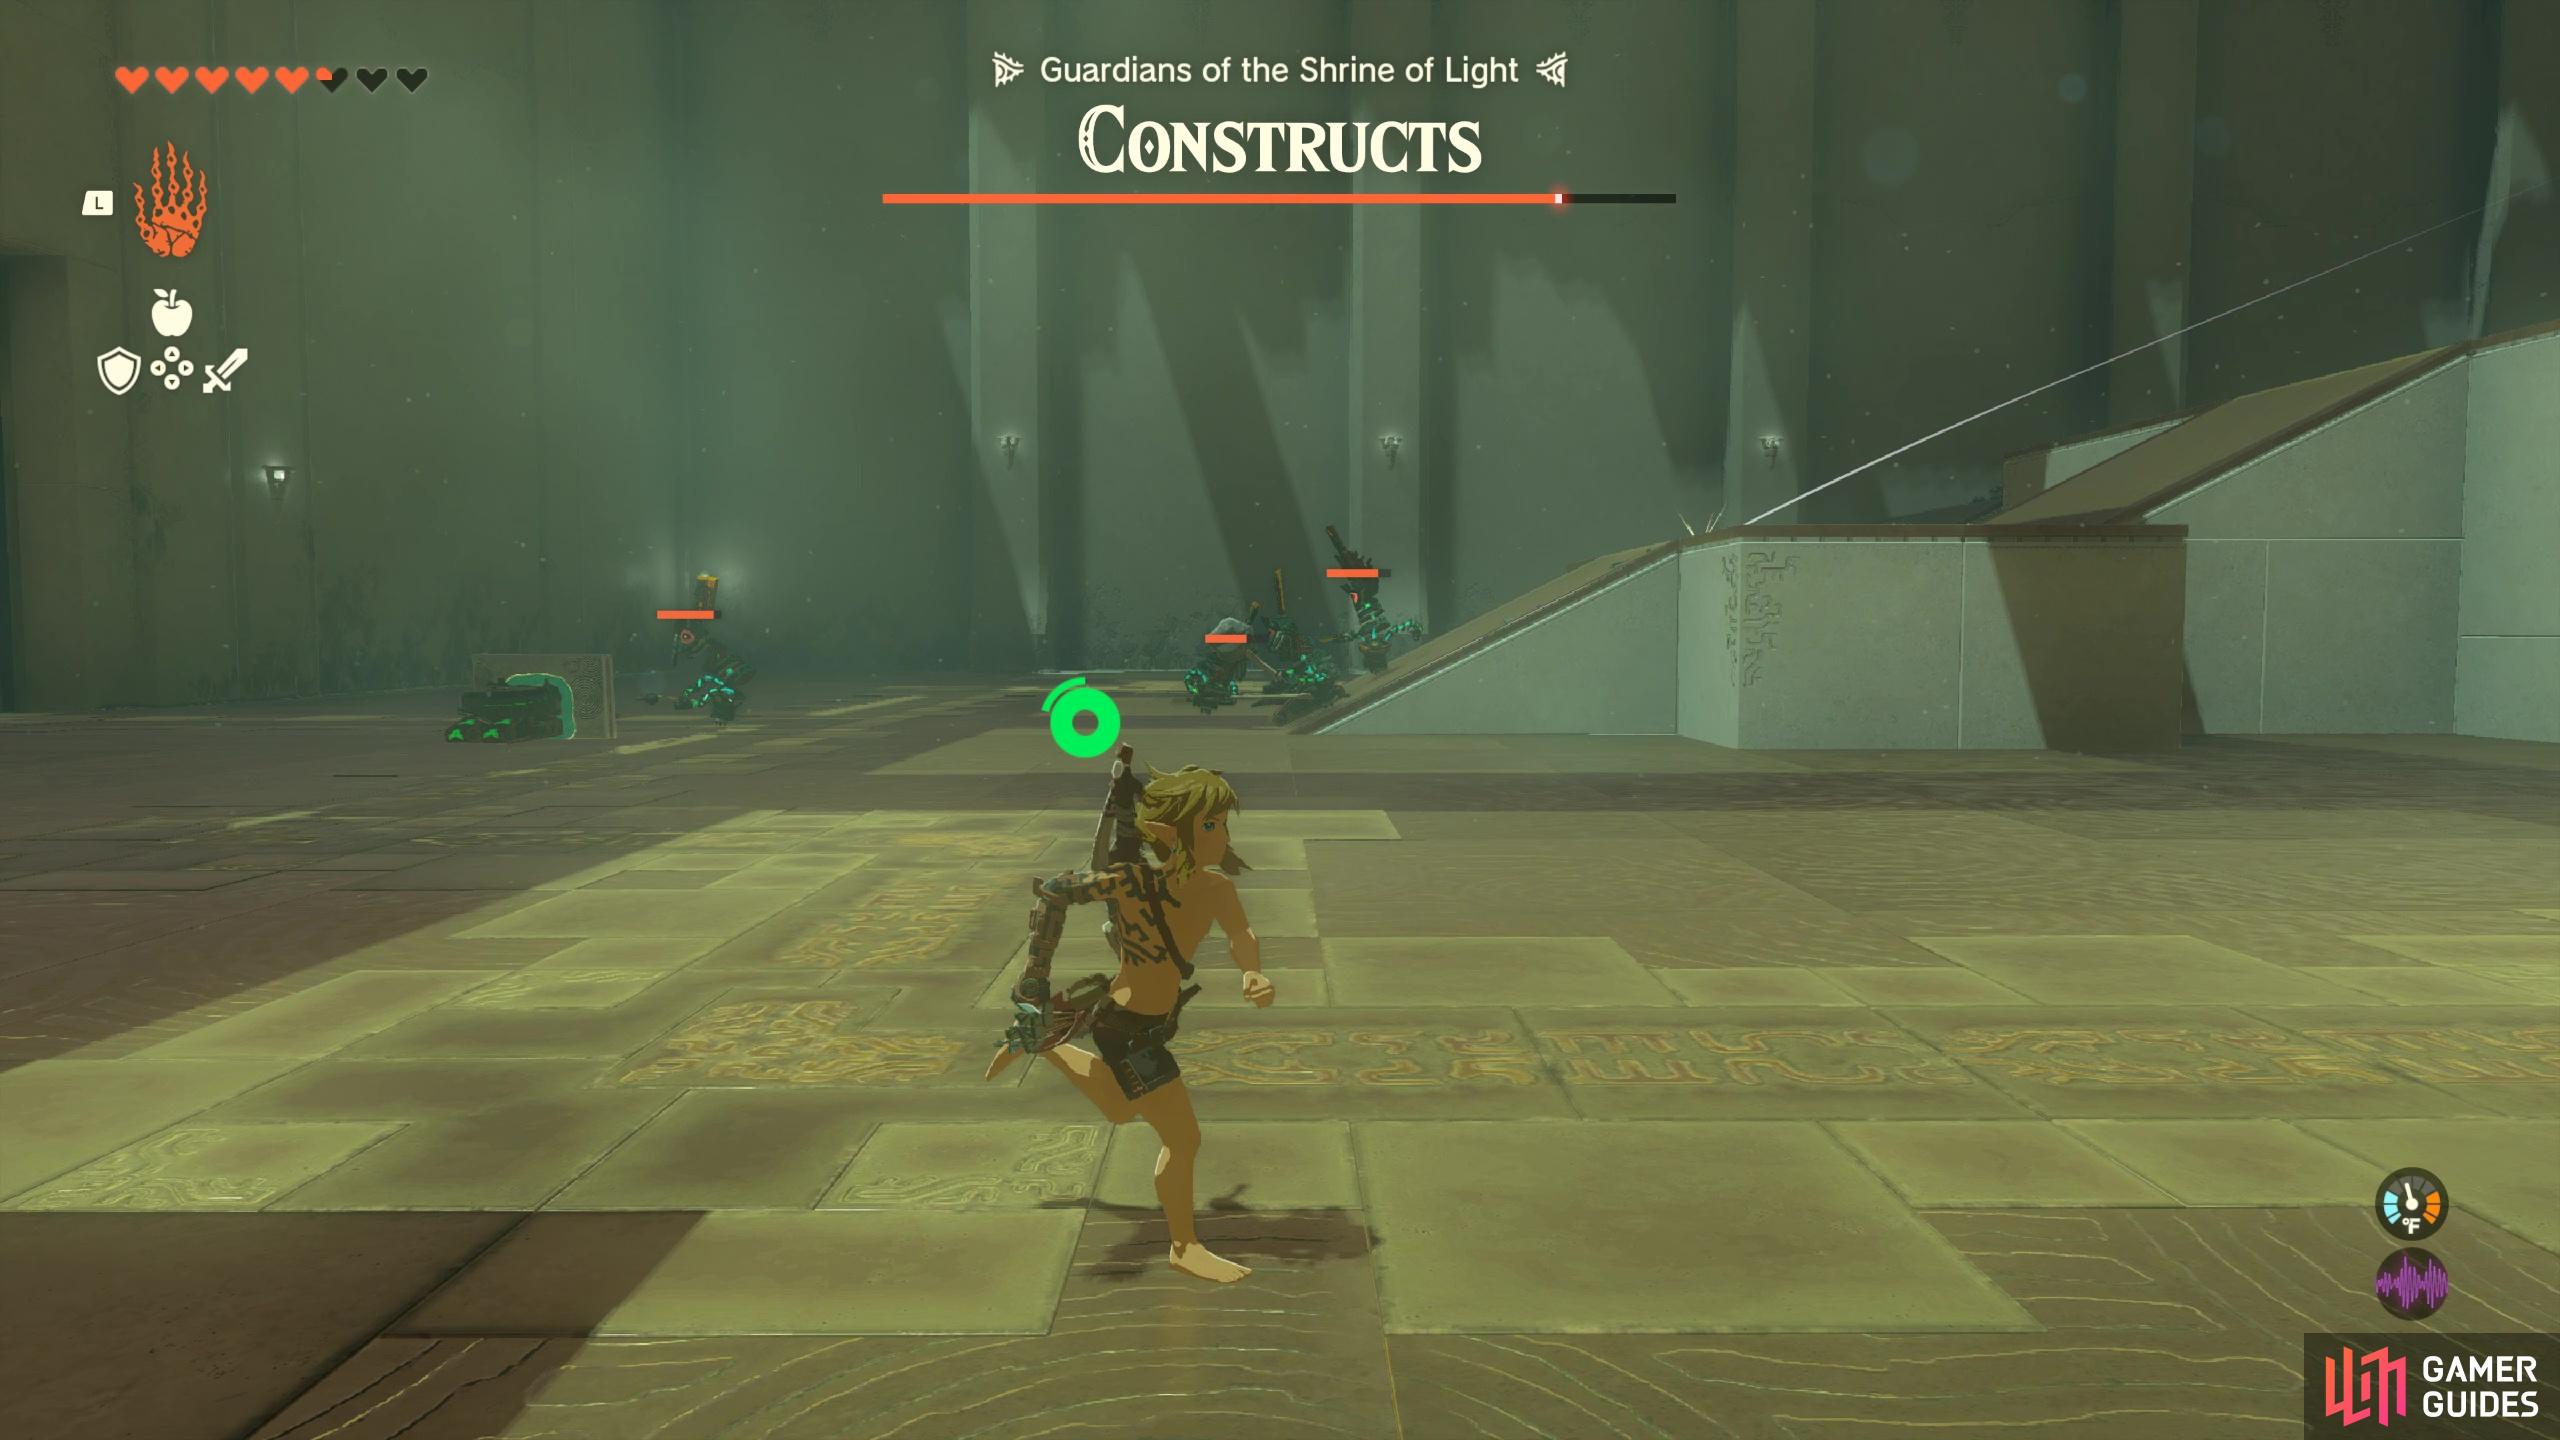
In this room, you’ll find a lot of Construct enemies and you’ll want to deal with them carefully otherwise you’ll get one-shot quite quickly - especially if you only have a few hearts. Before heading in, we recommend reusing the homing carts you just made by moving them slightly into the room. They’ll then home in on the Construct enemy up the slope in the middle of the room. Whilst they make their way over (they’re a bit slow!), shoot the homing cart to the right of the center Construct and that lil guy will also start pushing the enemy about. At this point, you’ll probably have been spotted and once you’re spotted by one they all kinda start charging at you.
There’s an absolute ton of Construct enemies in this room so do your best to avoid them at first!
At this point, run straight through and head up the center slope, veering to the right to hop onto an isolated upper platform that the Construct enemies can’t reach (they will try to shoot you though). This platform will give you a bit of reprieve whilst you create some offensive Zonai devices. On this platform you’ll find a Shock Emitter (looks like a unicorn head) and another homing cart. Once you’ve attached them together, use ultrahand and move it over to the main platform area. Direct it up the slope towards the Construct enemy on the highest platform. Whilst that Construct enemy is being dealt with, you can make another offensive Zonai device using the Beam Emitter and another homing cart near the back of this upper platform area. A word of caution using the beam emitter though: if you get caught in the laser you’ll take some damage!
(1 of 4) Make some offensive zonai carts with the Shock Emitter.
Now that you have two pretty strong Zonai homing carts at your disposal, head up to the highest part of the platform. Drop the homing carts down and they’ll start chasing the other Construct Enemies that you left behind earlier. Now if you want extra cool-points then you can attach the Cannon Zonai device to your weapon of choice and start swinging your weapon to release a cascade of cannonballs on the enemies. It can be hard to aim but it looks cool at least!
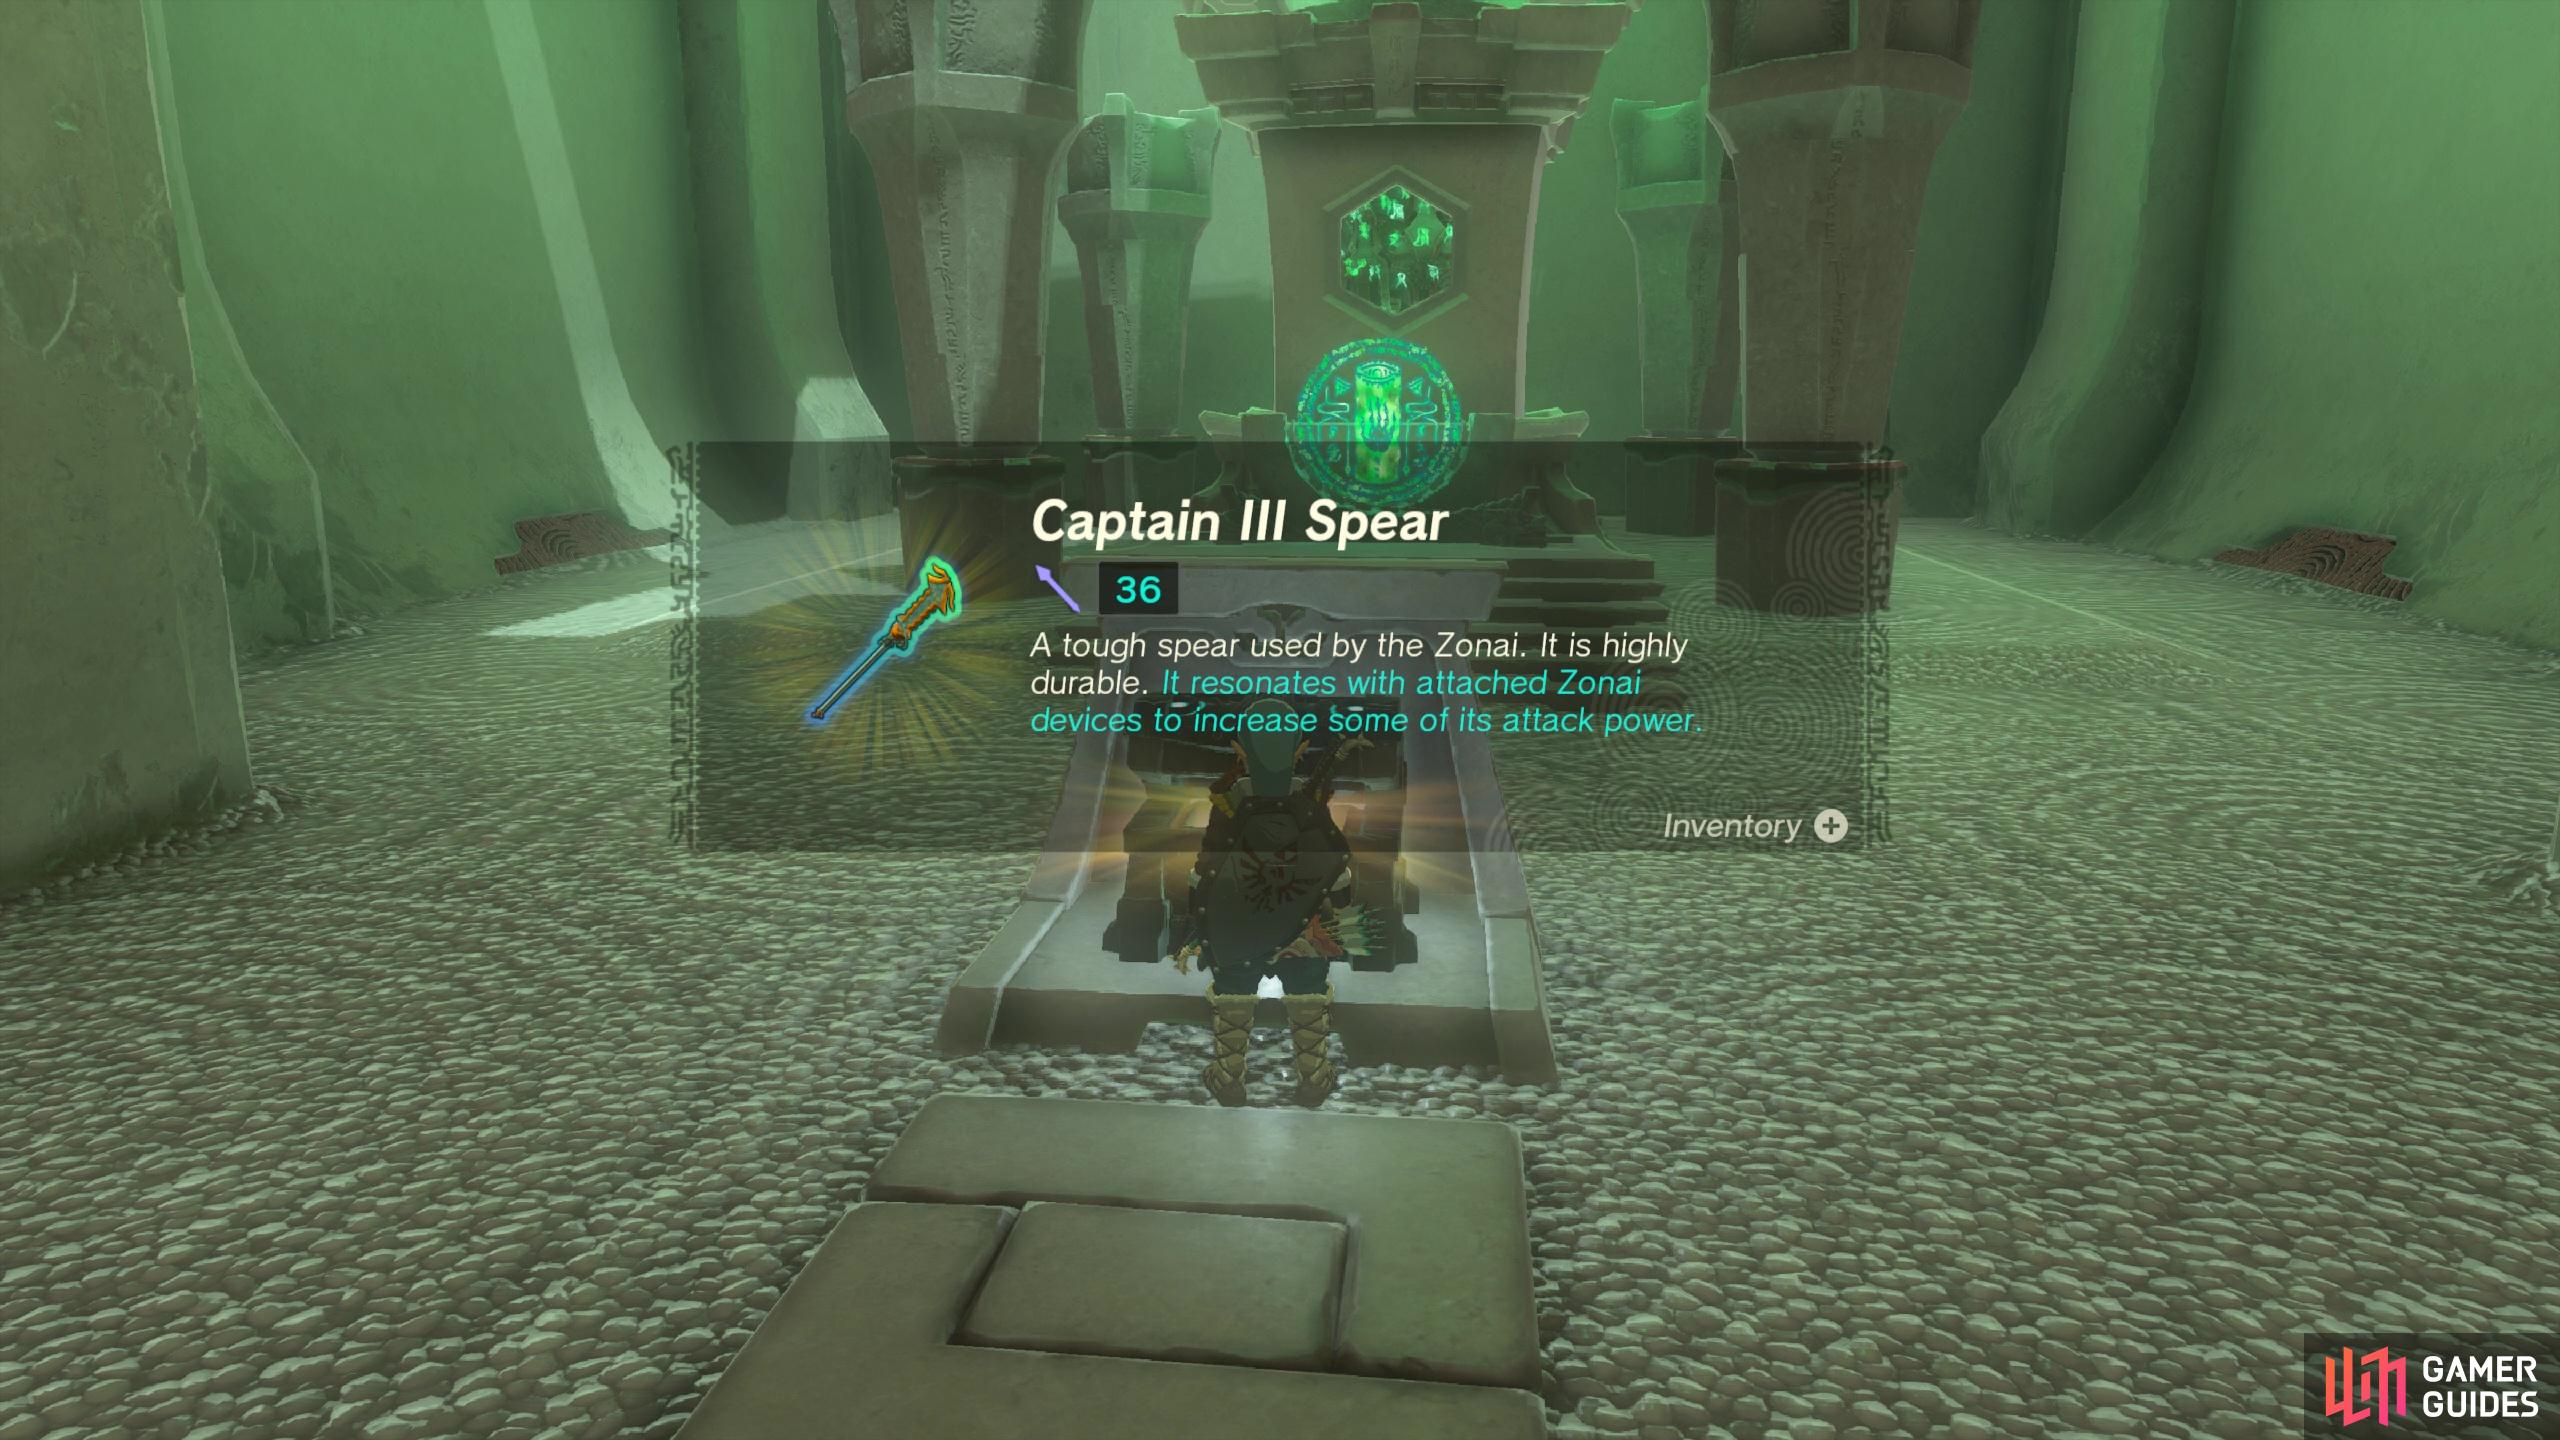
Once the enemies have all been defeated, you can head to the end of the shrine (with all of your gear returned to you!) to loot the treasure chest for a powerful ![]() Captain III Spear with 36 power! You’ll also get another
Captain III Spear with 36 power! You’ll also get another ![]() Light of Blessing - hurray!
Light of Blessing - hurray!
Looking for another Proving Grounds Shrine? Head over to our guide on Joku-Usin Shrine if you want another combat challenge!



 Sign up
No Comments