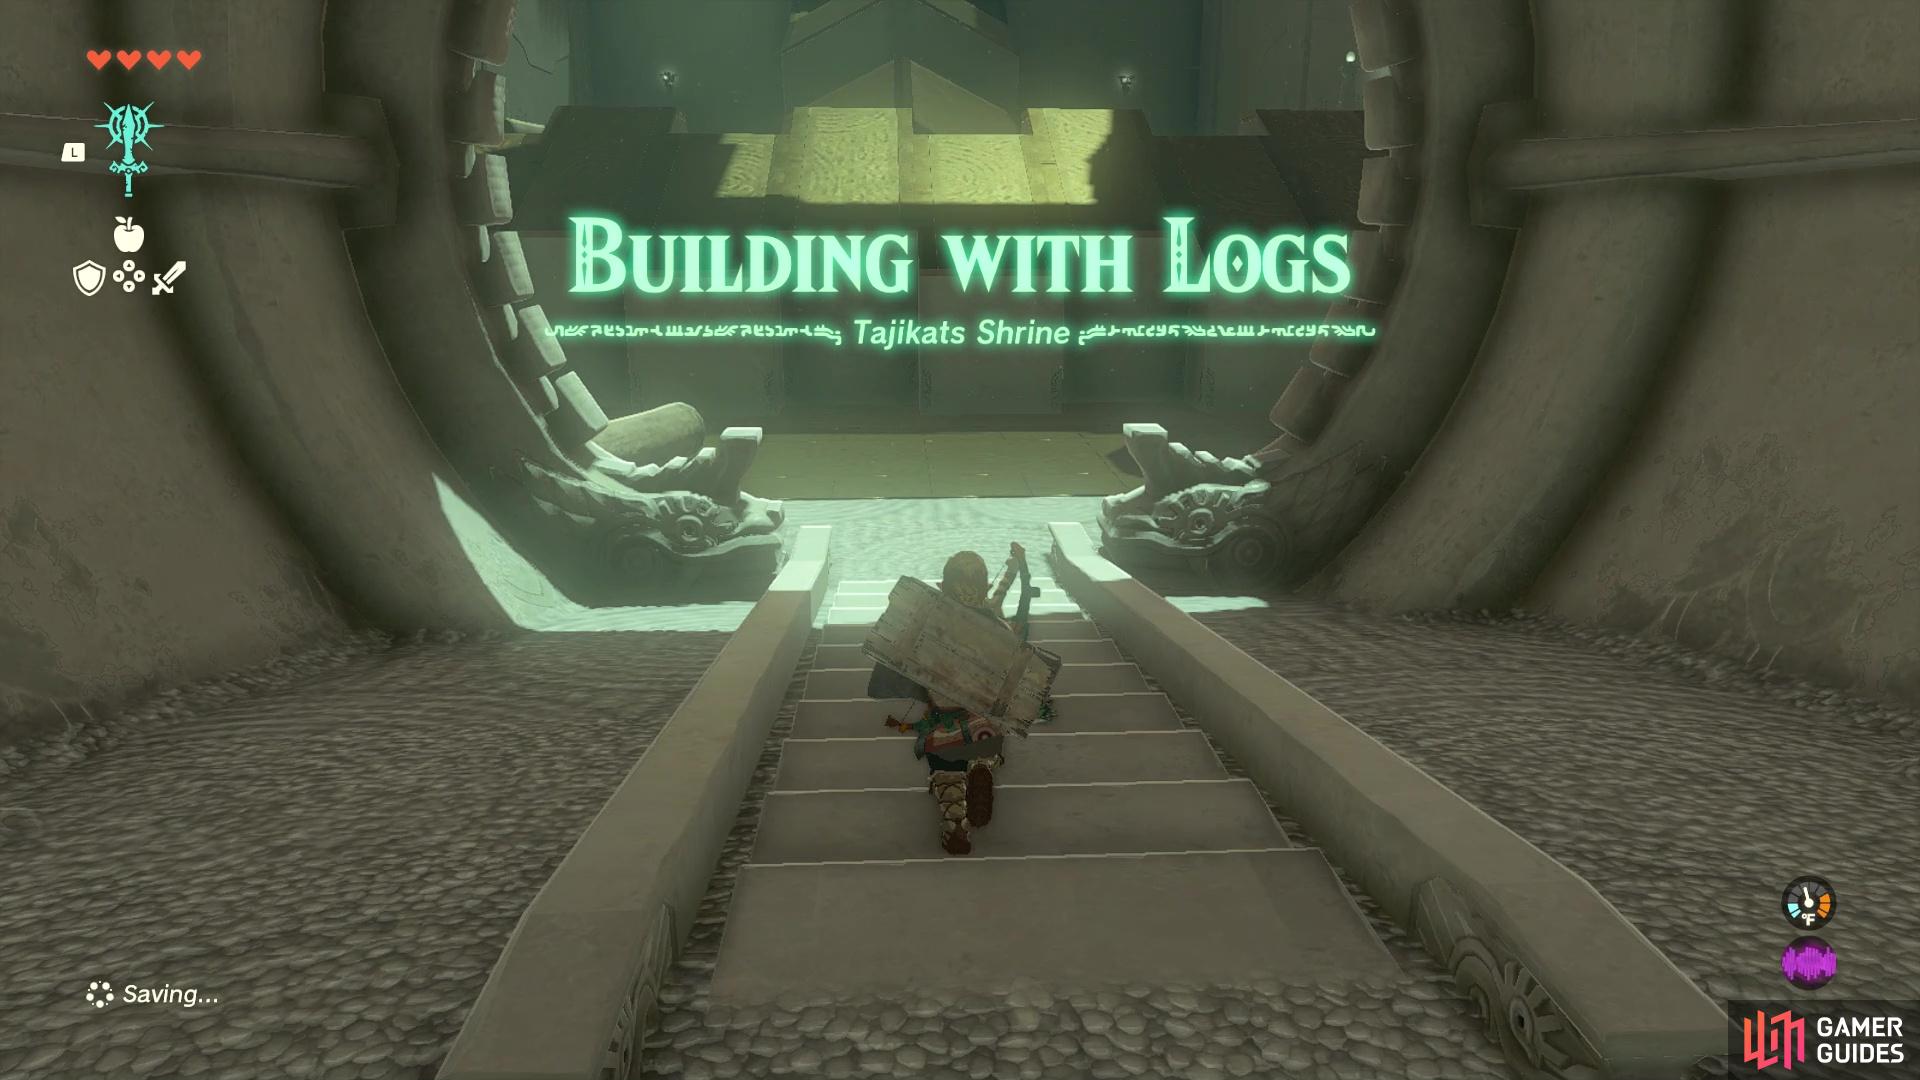
This page offers a guide on how to complete ![]() Tajikats Shrine, which can be found in
Tajikats Shrine, which can be found in ![]() Central Hyrule in The Legend of Zelda: Tears of the Kingdom (TOTK).
Central Hyrule in The Legend of Zelda: Tears of the Kingdom (TOTK).
Tajikats Shrine is all about building with logs
Where to Find Tajikats Shrine
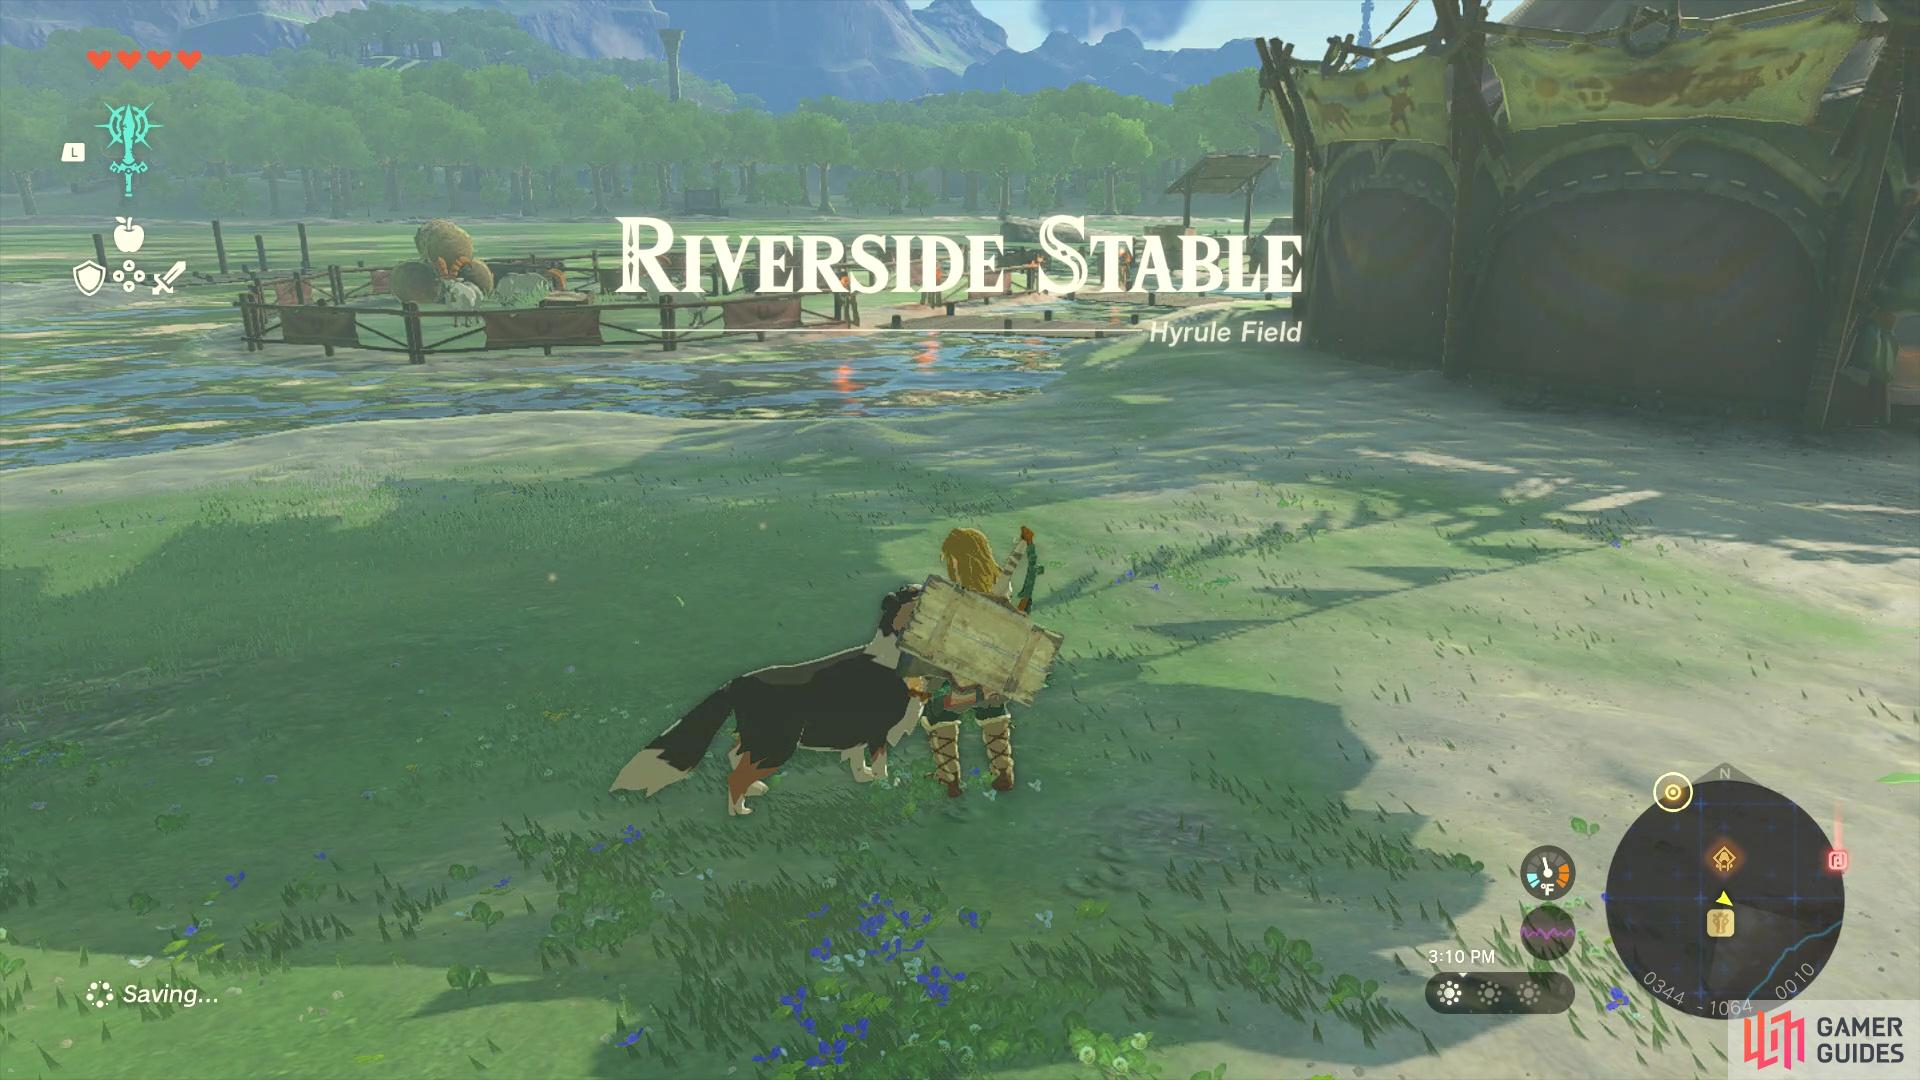
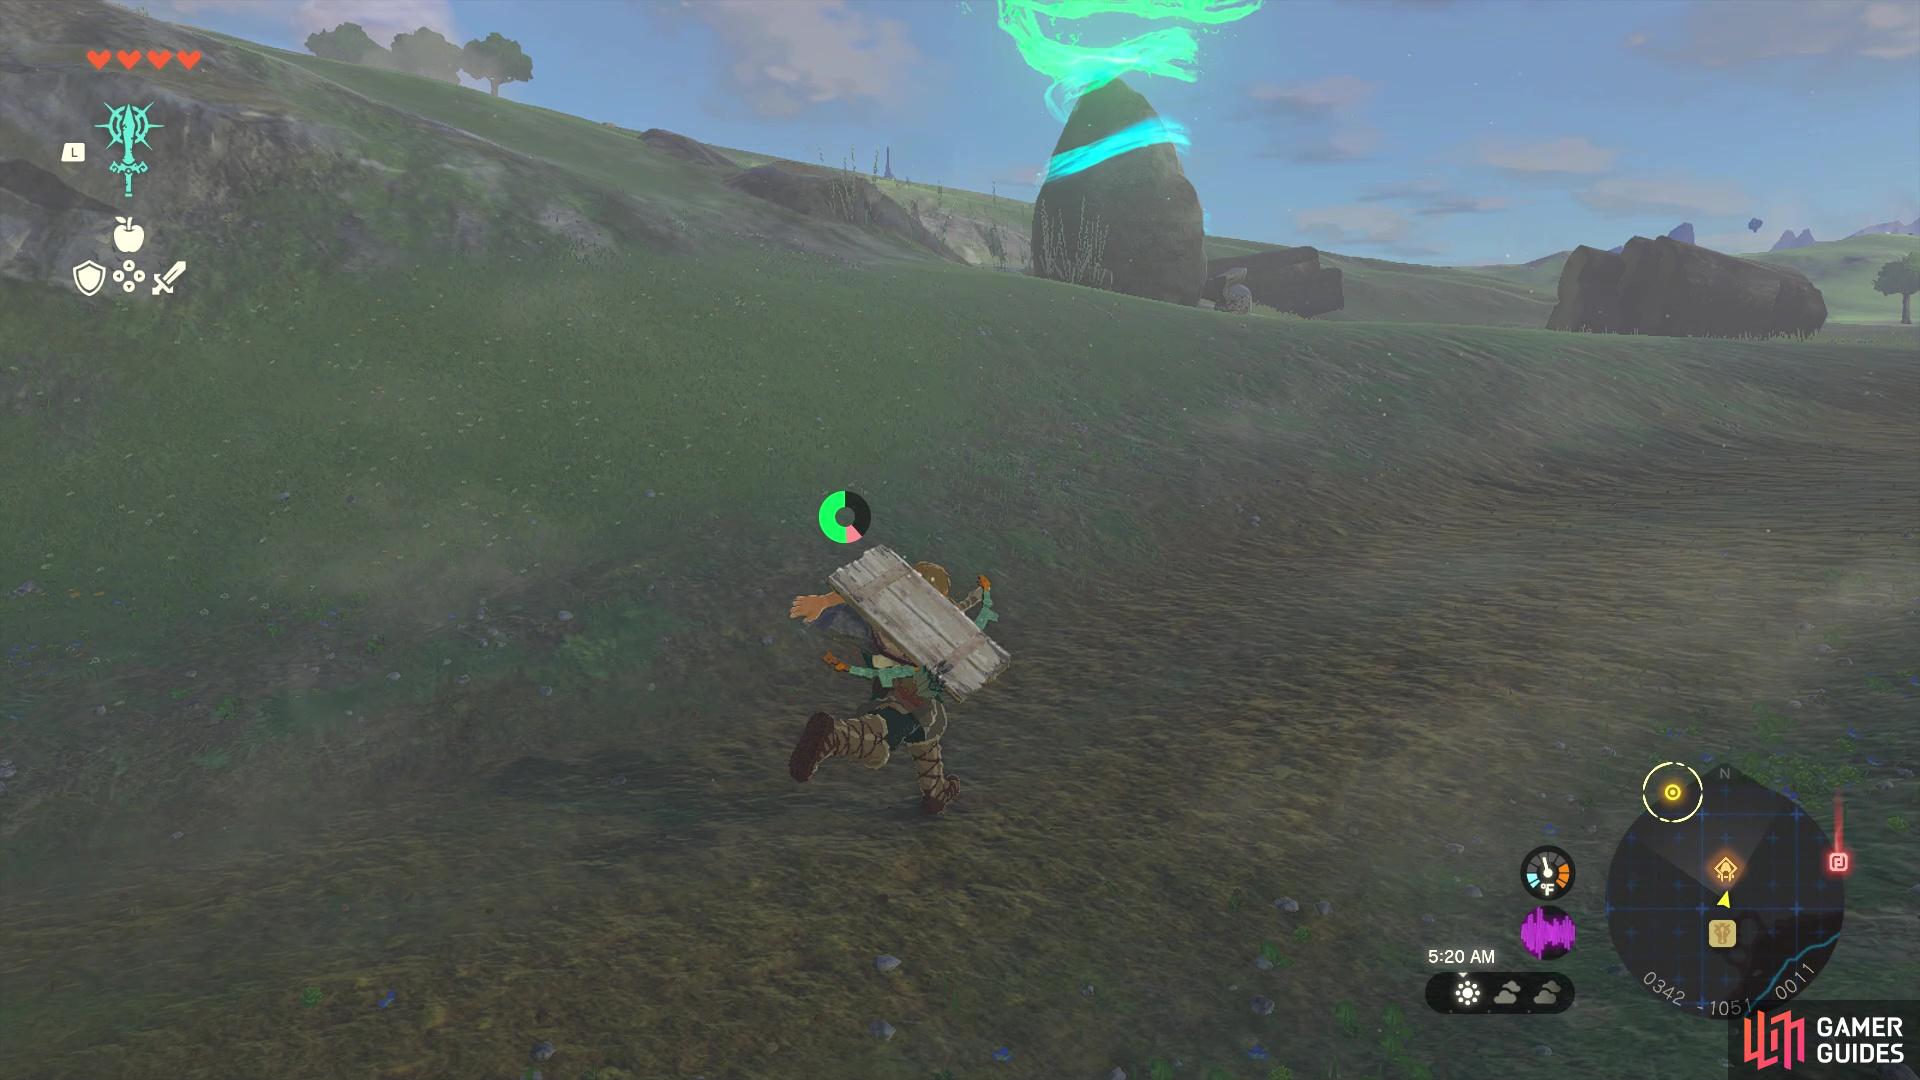
To find this shrine, you will need to venture to the Hyrule Field section of Central Hyrule. Specfically, you’re looking for the Whistling Hill portion, with the shrine being due north of the Riverside Stable. In fact, you will be able to see the shrine from the stable, so it’s very close to it.
(1 of 2) Explore the Whistling Hill area until you find the !Riverside Stable
Explore the Whistling Hill area until you find the !Riverside Stable (left), The shrine will be just north of the stable (right)
Building With Logs: Tajikats Shrine
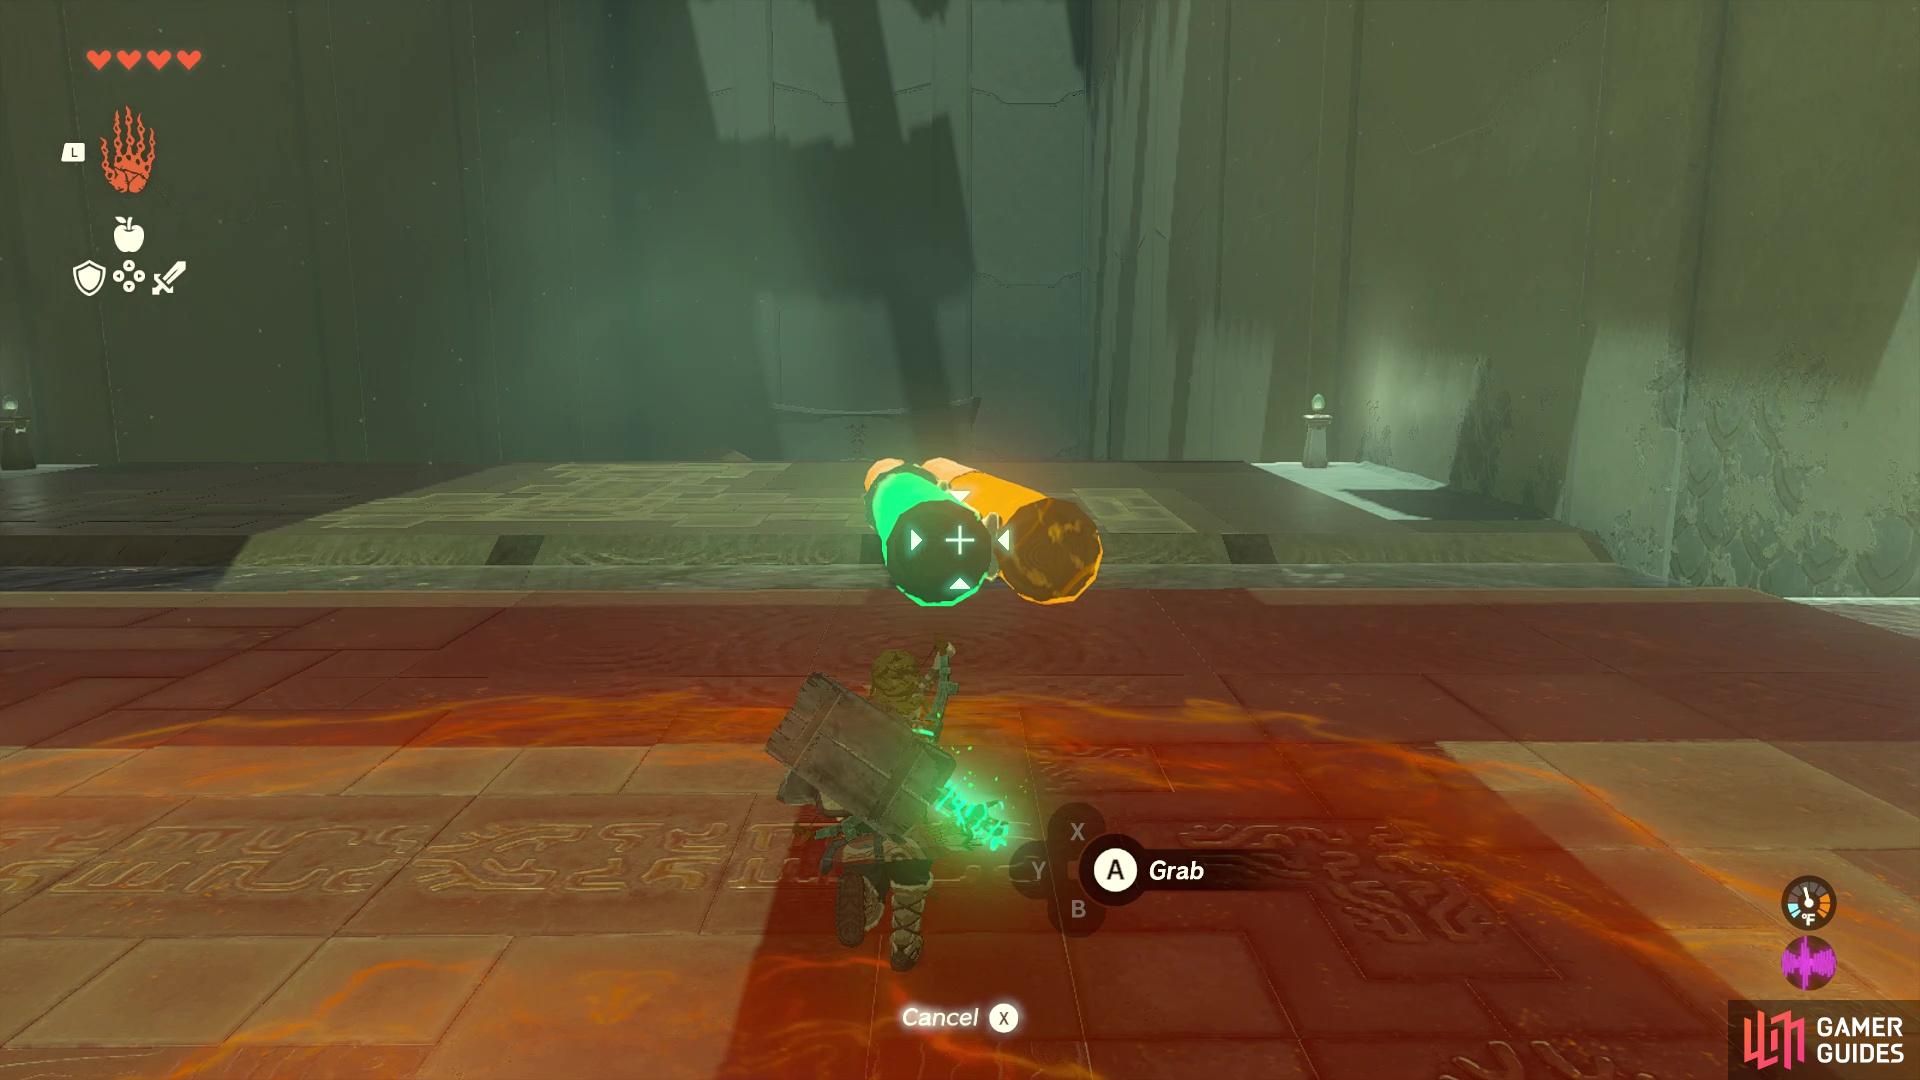
As the name suggests, your goal for this shrine is to get to the end via the use of logs. As such, your primary ability you will be using here is ![]() Ultrahand. In the very first room of the shrine, you will see a lone log and an inclined platform ahead of you. Grab the log and place it so it creates a ramp, then use it to climb up the first ledge. Note that you want to place it flush on the ground, since logs are round and they can roll away while you’re trying to use it. The next puzzle will have two logs available to you (you can bring the previous one, too, if you want, but it’s not needed).
Ultrahand. In the very first room of the shrine, you will see a lone log and an inclined platform ahead of you. Grab the log and place it so it creates a ramp, then use it to climb up the first ledge. Note that you want to place it flush on the ground, since logs are round and they can roll away while you’re trying to use it. The next puzzle will have two logs available to you (you can bring the previous one, too, if you want, but it’s not needed).
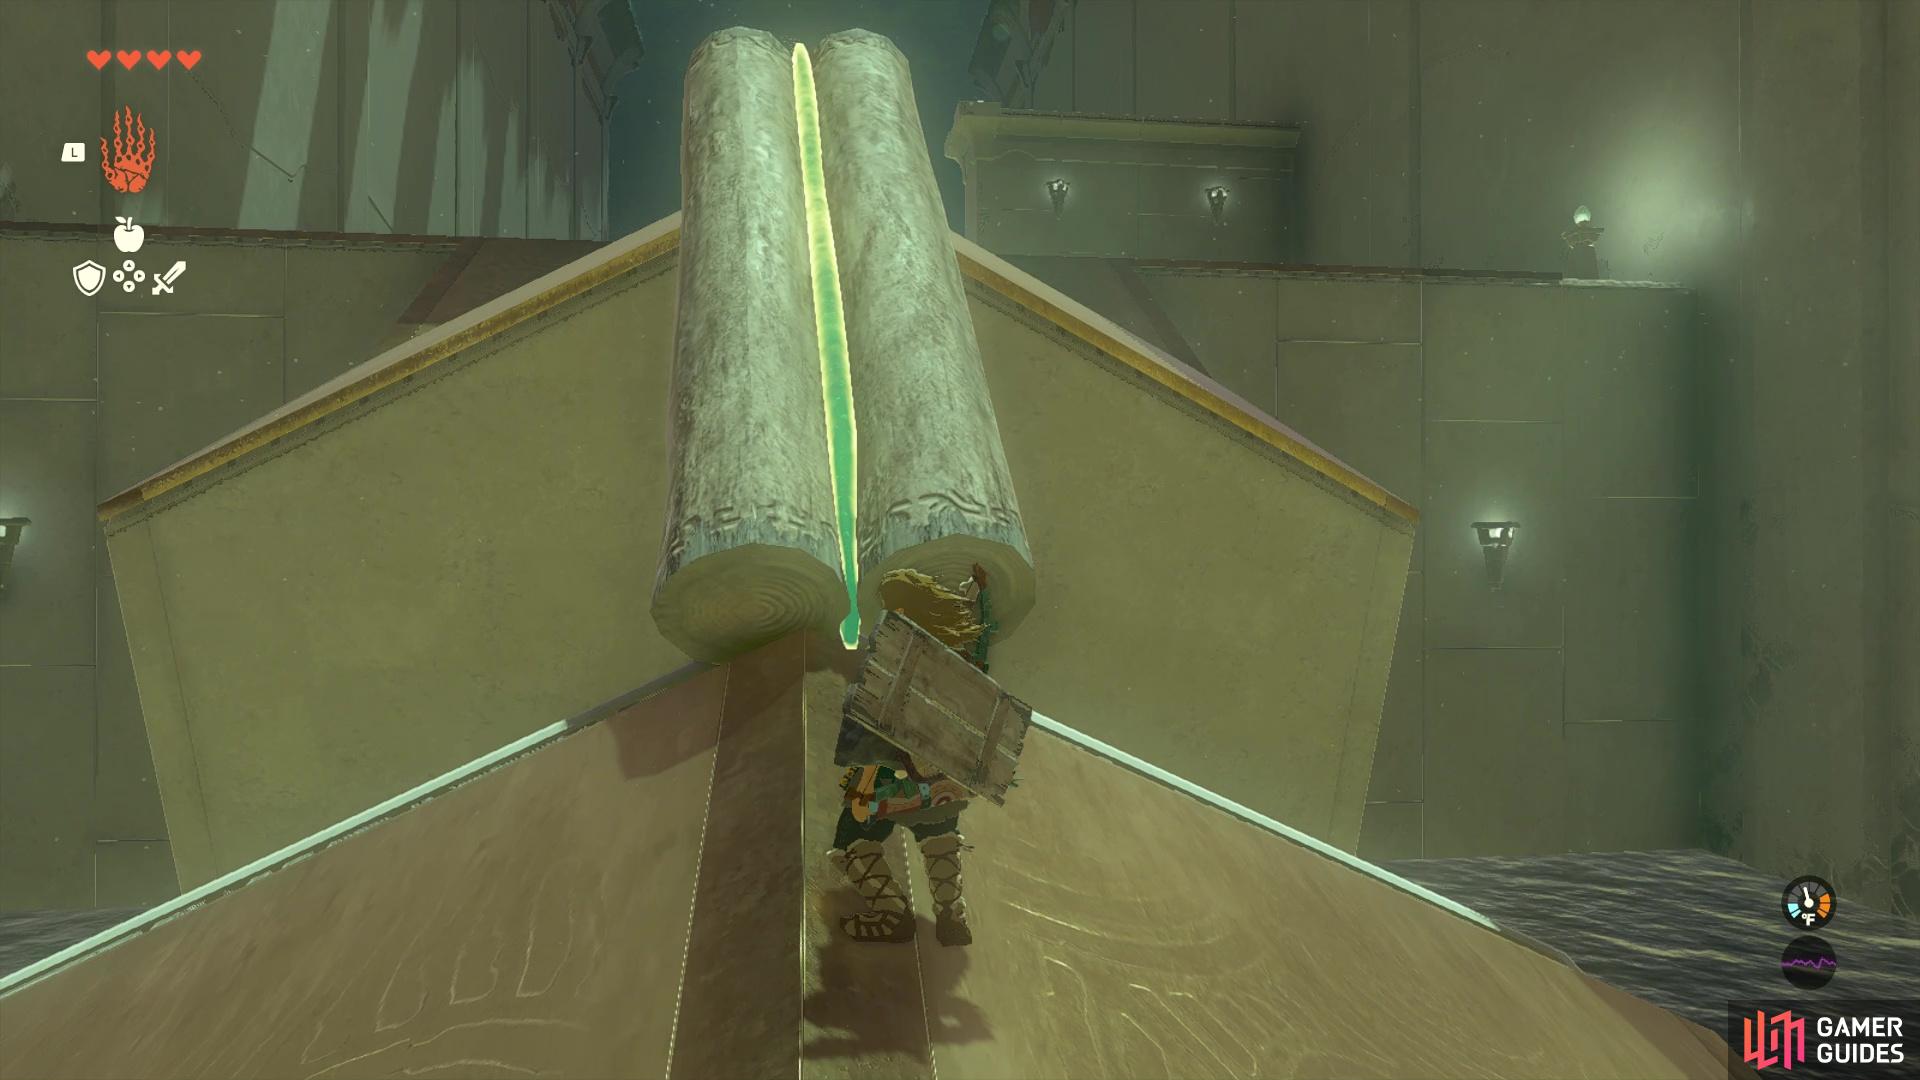
(1 of 2) Just attach the logs together like this
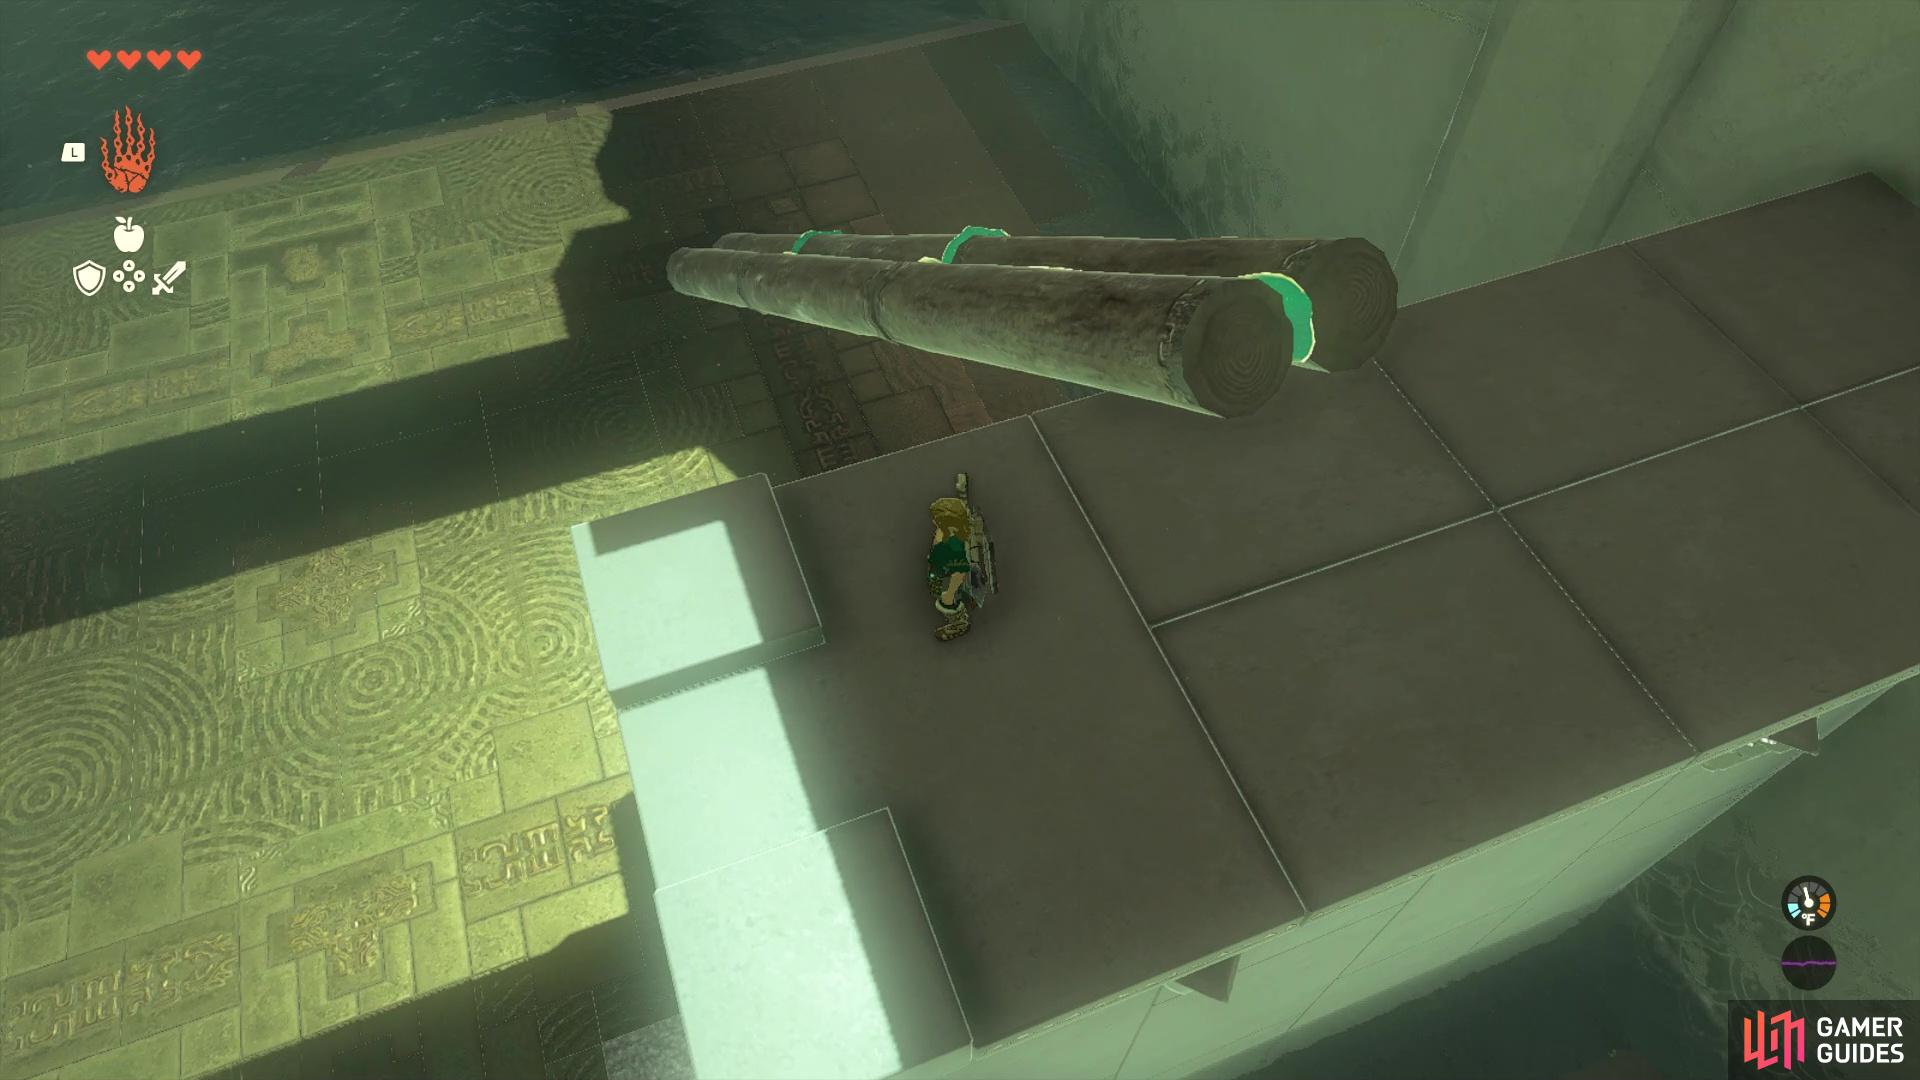
Just attach the logs together like this (left), then you can place them right on the corner to avoid them moving (right)
The incline here will have a gap in between, with water below it and both sides being slanted. The ideal thing to do here is attach the two logs together, side by side, then place the logs so that one will be on each side. This will prevent them from sliding down either of the slanted sides and allow you to reach the third area. Alternatively, you could attach the logs perpendicular to one another, as that could also work here.
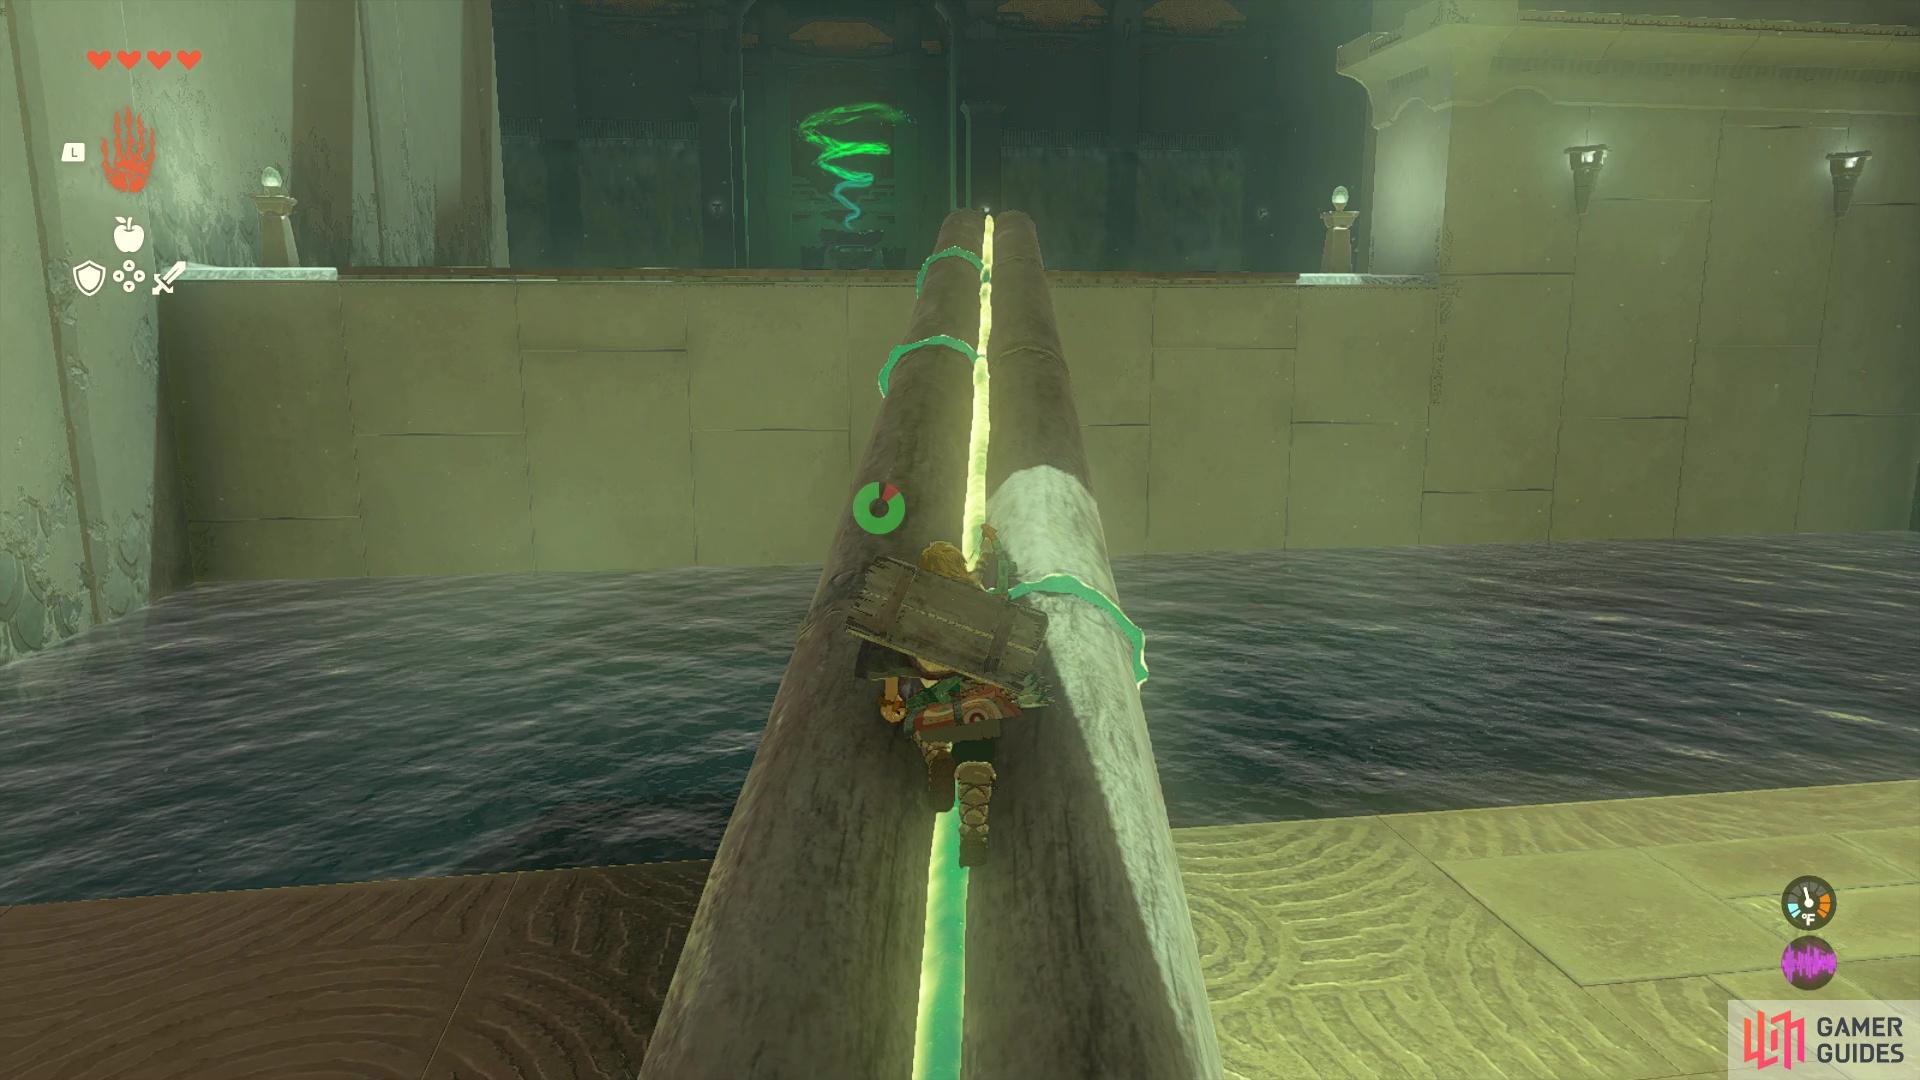
The third puzzle will be flat, which is a welcomed change, with water separating one side from the other. You will have two logs here, but the gap is wide enough that you will need to attach them to make one long log. Of course, if you wanted to bring the previous two logs from the second puzzle, you could and use those to make a two-wide bridge that provides a little safer footing. It should be noted that the high walls have nothing on them, so you can safely ignore them, as they aren’t hiding chests. The next bit is more of the same, except the gap is bigger and is at a slightly higher elevation.
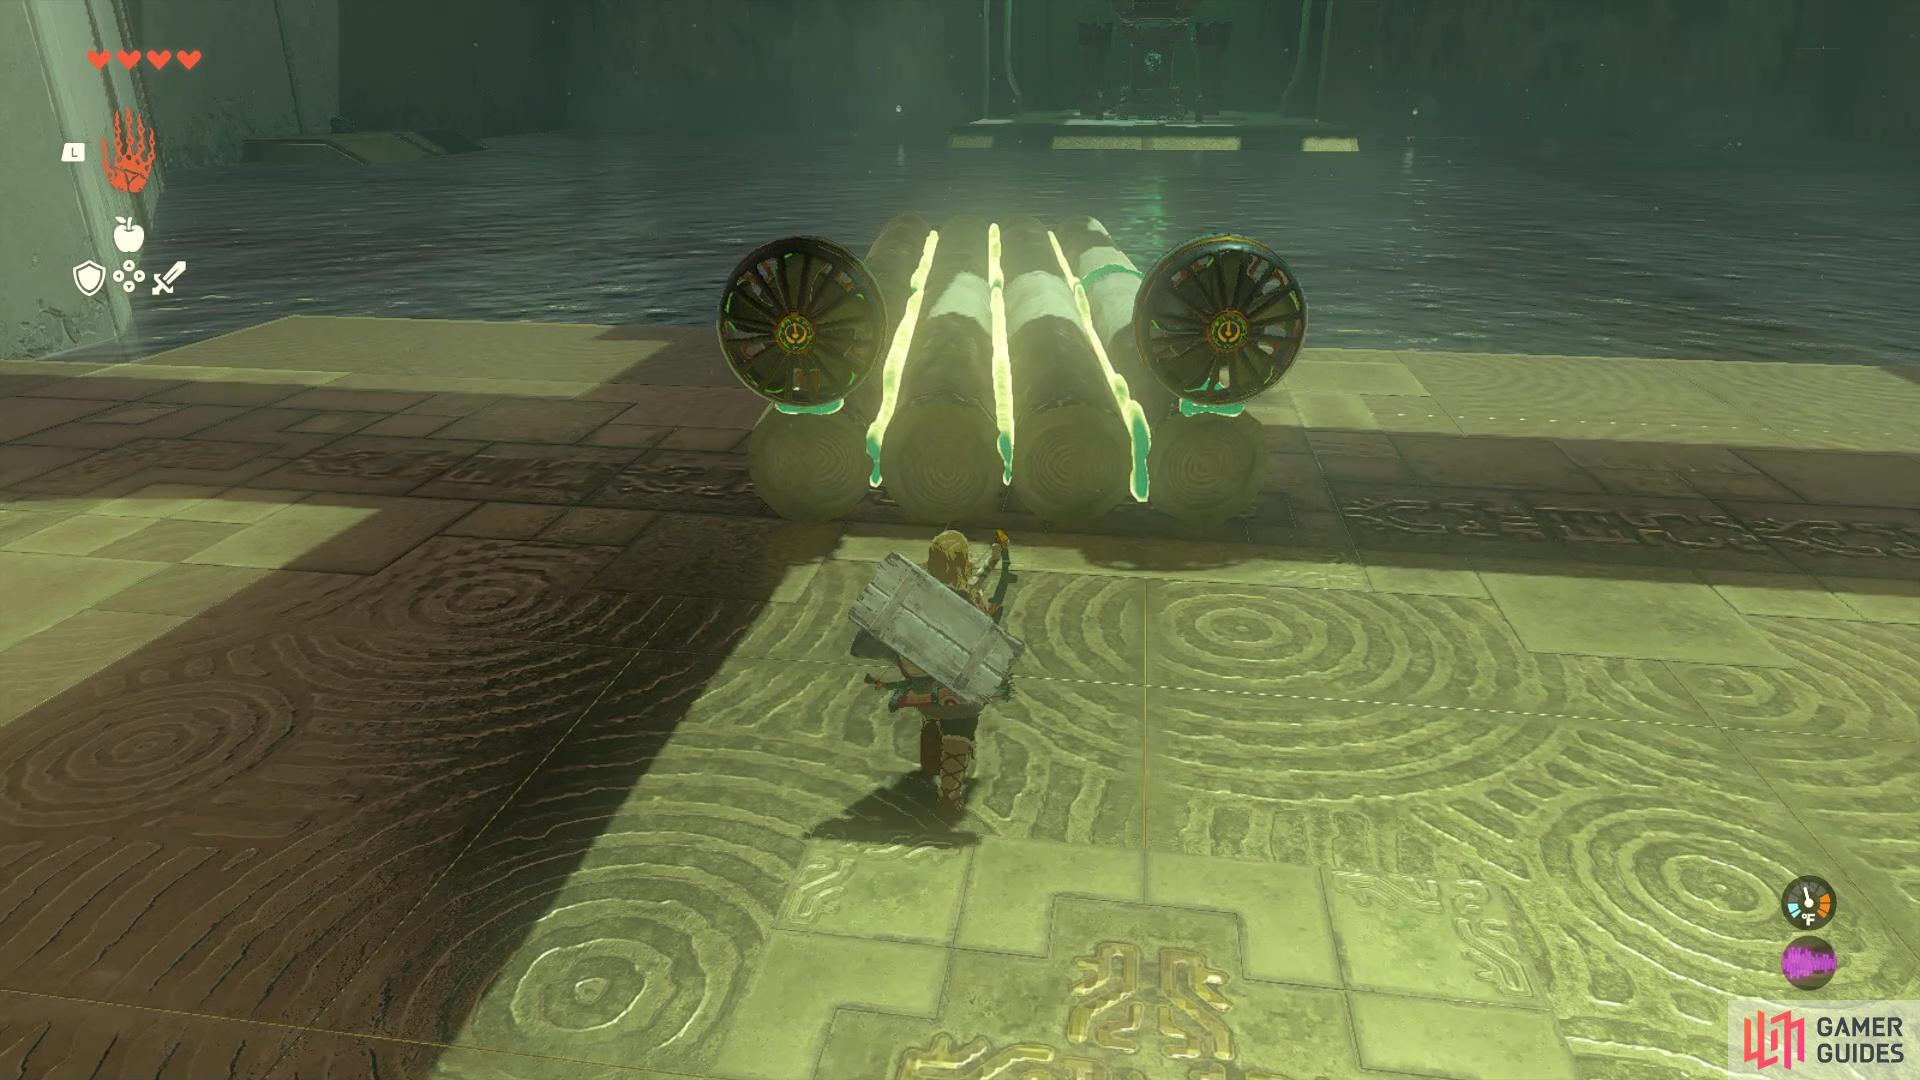
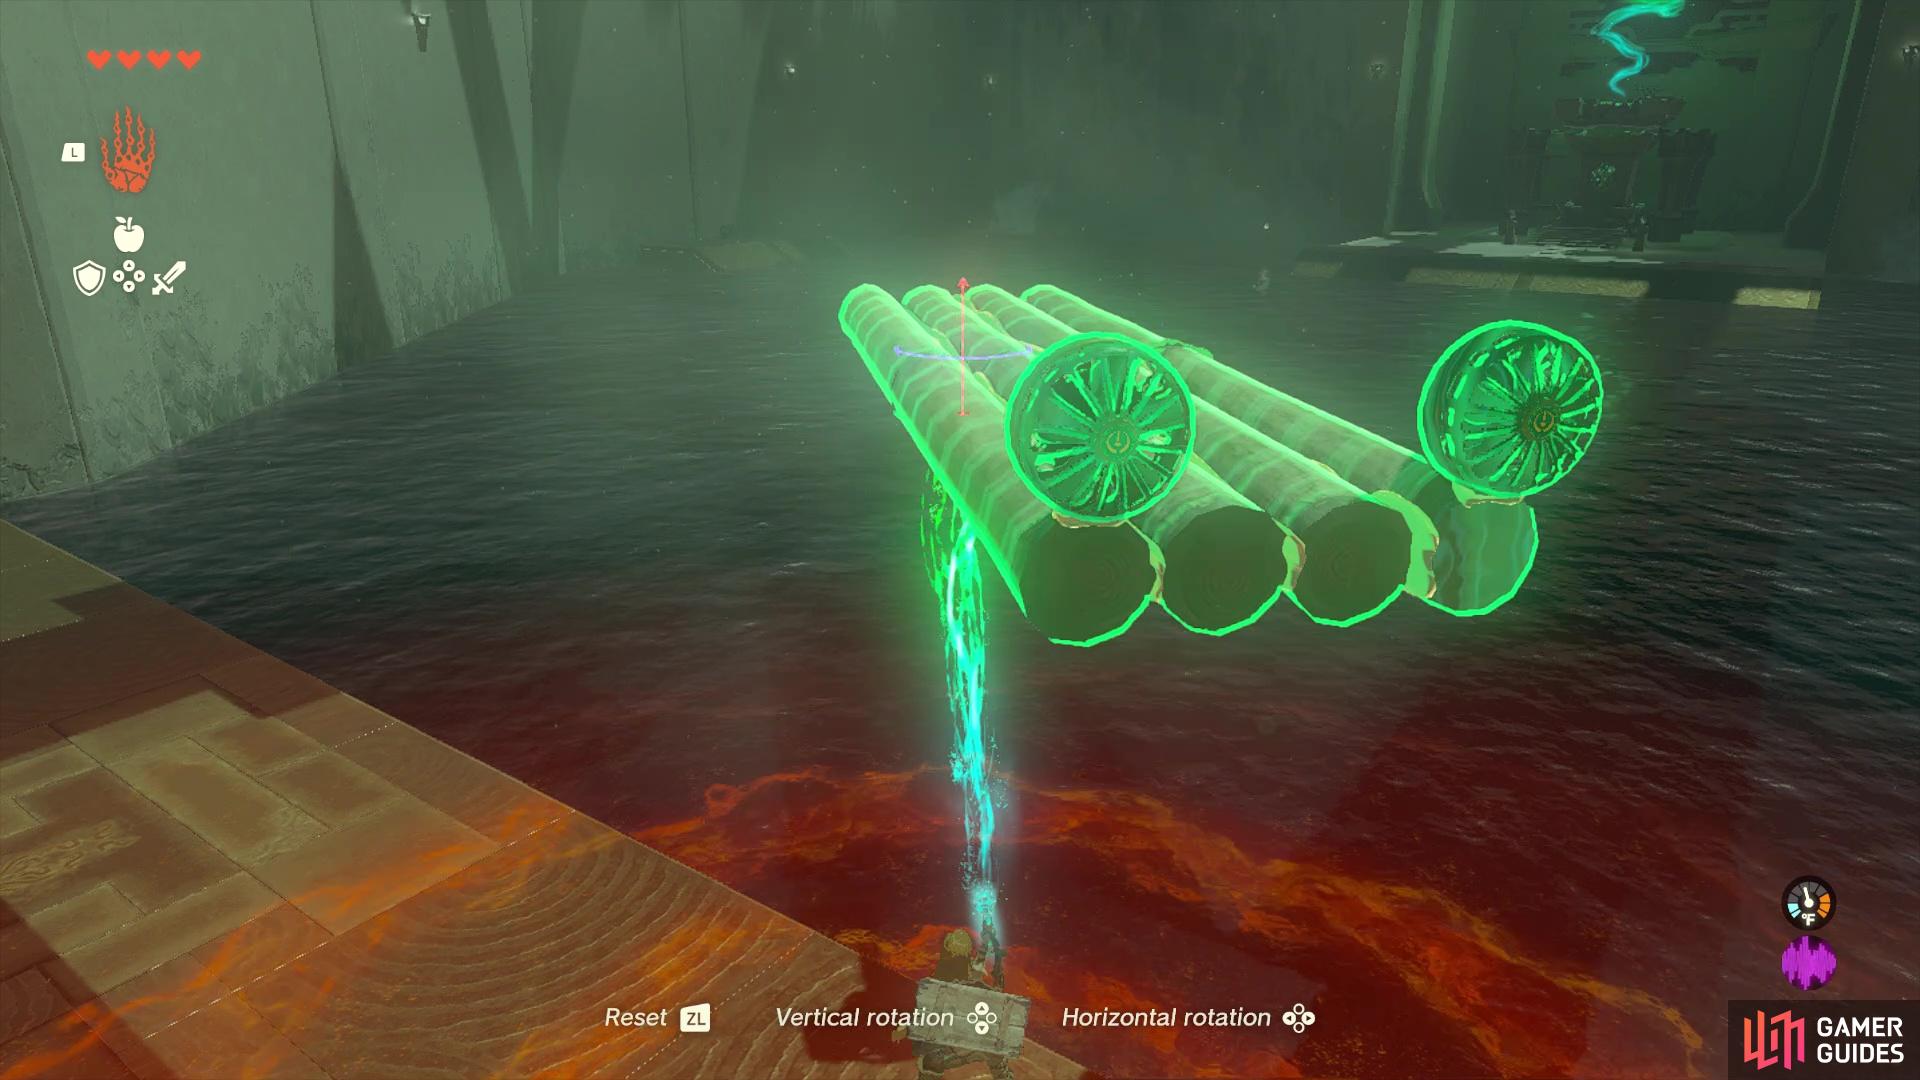
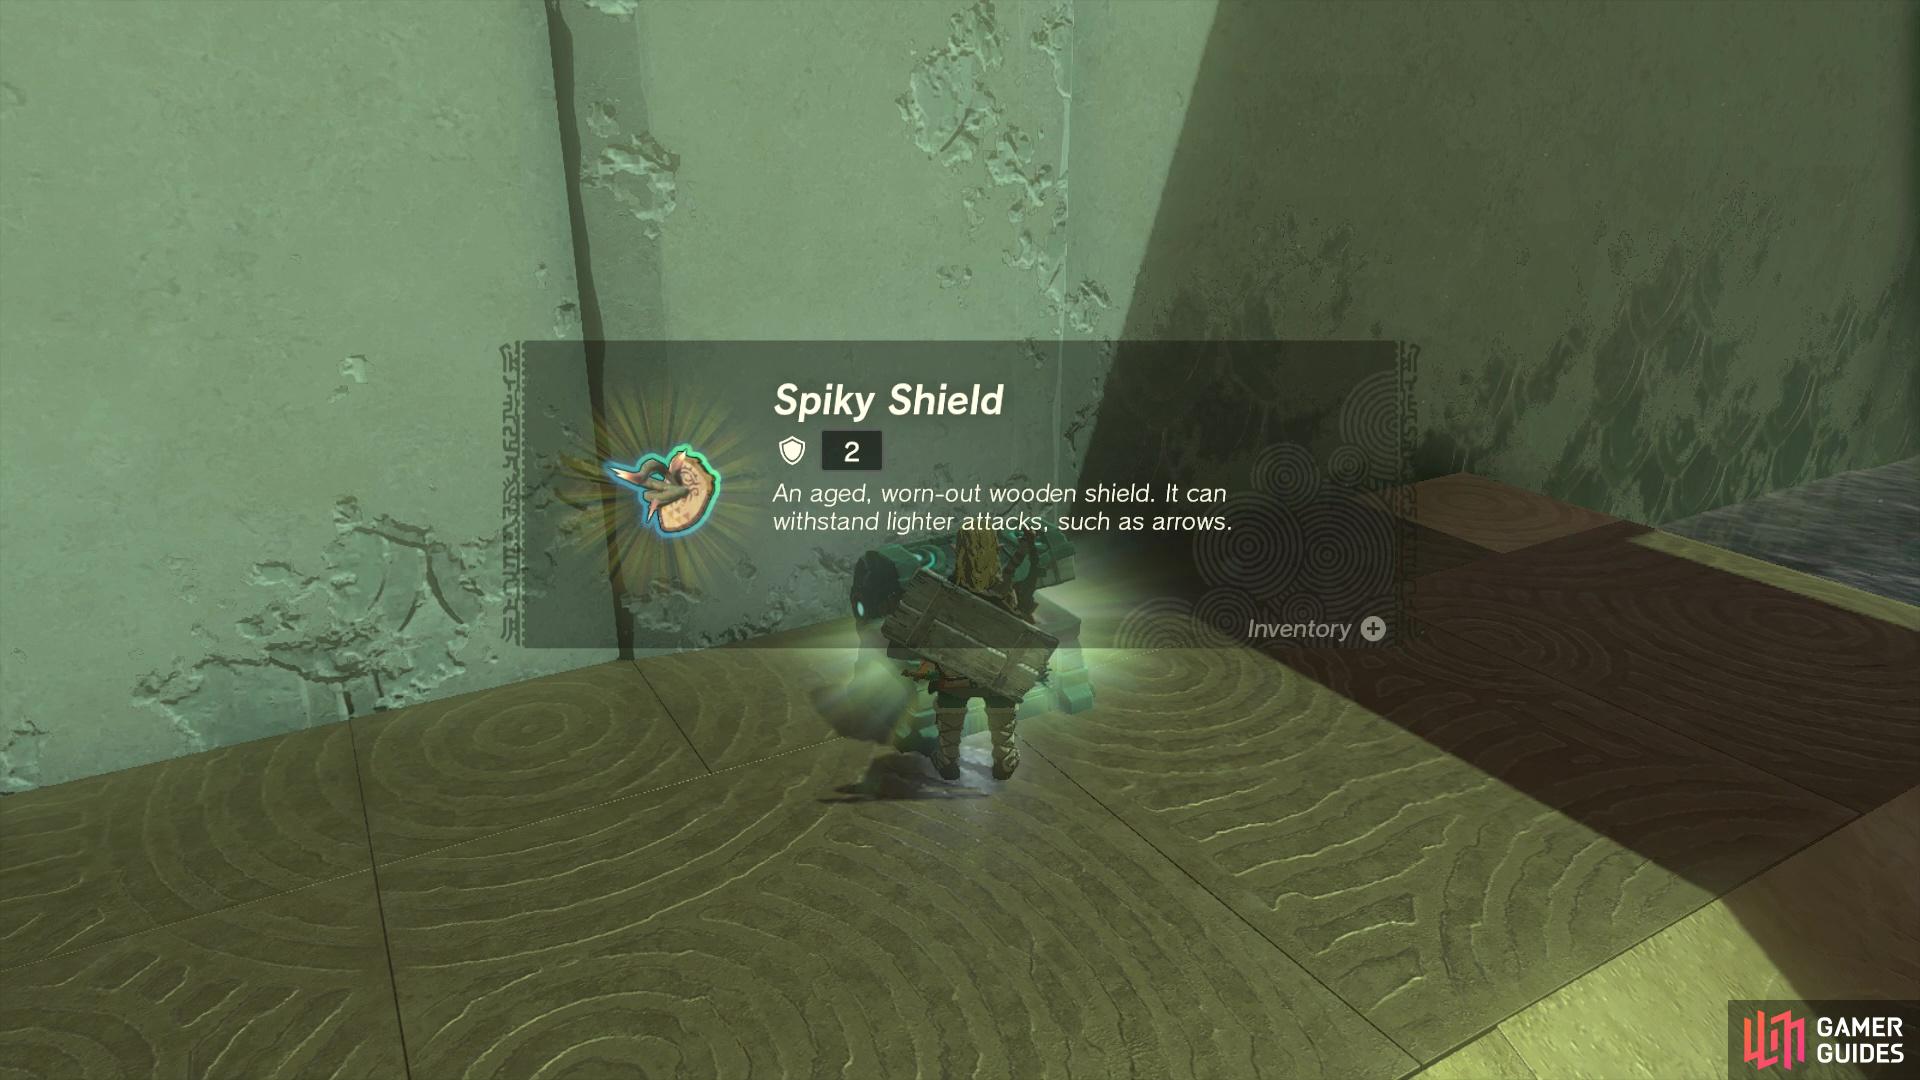
The final puzzle standing in your way will involve you crossing a larger body of water. Off to the side is a stack of logs, as well as two Zonai Fan devices. So, using those two sets of items, you will need to construct a makeshift raft. Of course, you’ve made it this far and noticed you haven’t gotten a chest yet, which is because it’s off to the side of the altar at the end of the shrine. So, you need to attach some logs together, then place one of the Fans on the back, allowing you to cross. Note that you can use Ultrahand to rotate your raft around to aim it at the side platform with the chest. Your reward from the chest is a Spiky Shield (2 Defense), so once you’re done with that, head on over to the altar to get the ![]() Light of Blessing.
Light of Blessing.


 Sign up
No Comments