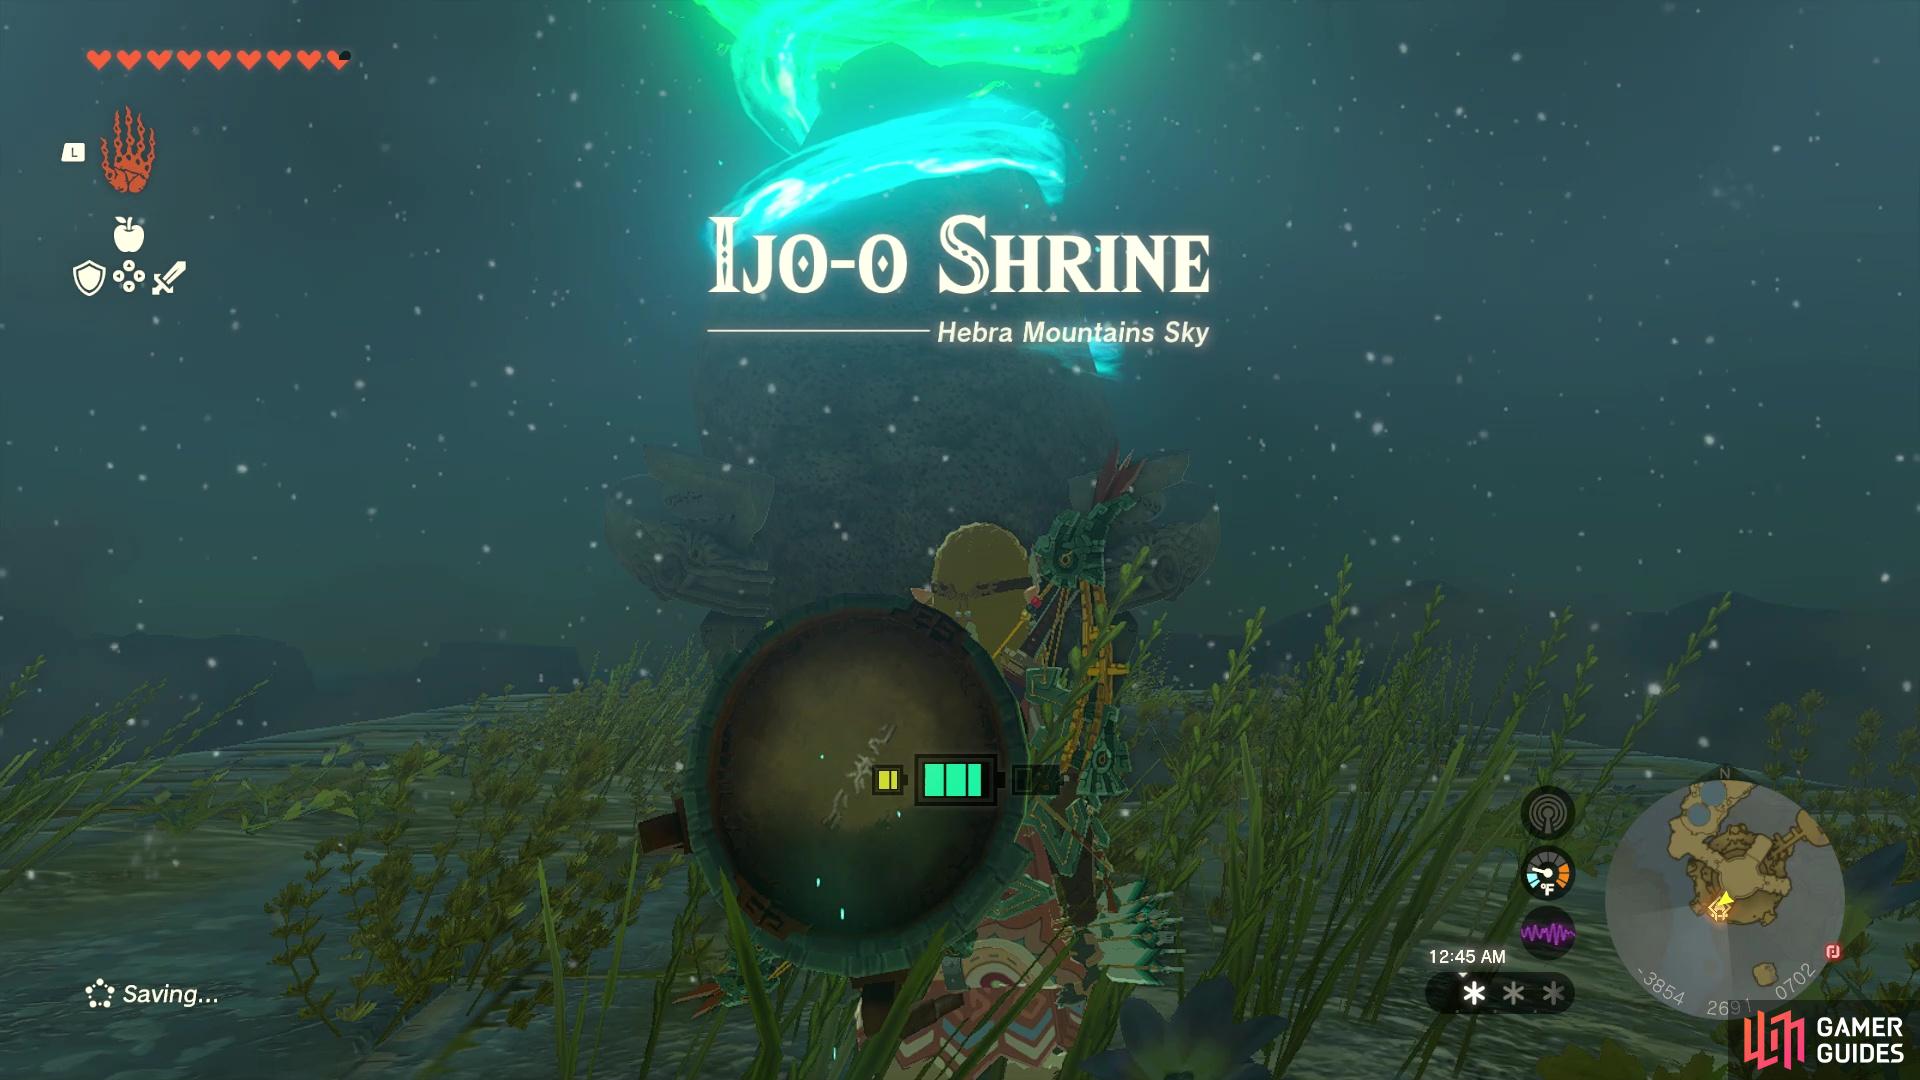
You will run into a number of Shrines in The Legend of Zelda: Tears of the Kingdom, which are important, as they give you items that allow you to increase your maximum health and stamina. There’s a whopping 152 Shrines in the game, with 32 of them being in the Sky. This includes the Ijo-o Shrine, which this page will detail on where to find it and how to complete the puzzle within it.
This shrine will give you tips on how to diversify your shield use.
Where to Find Ijo-o Shrine in Tears of the Kingdom
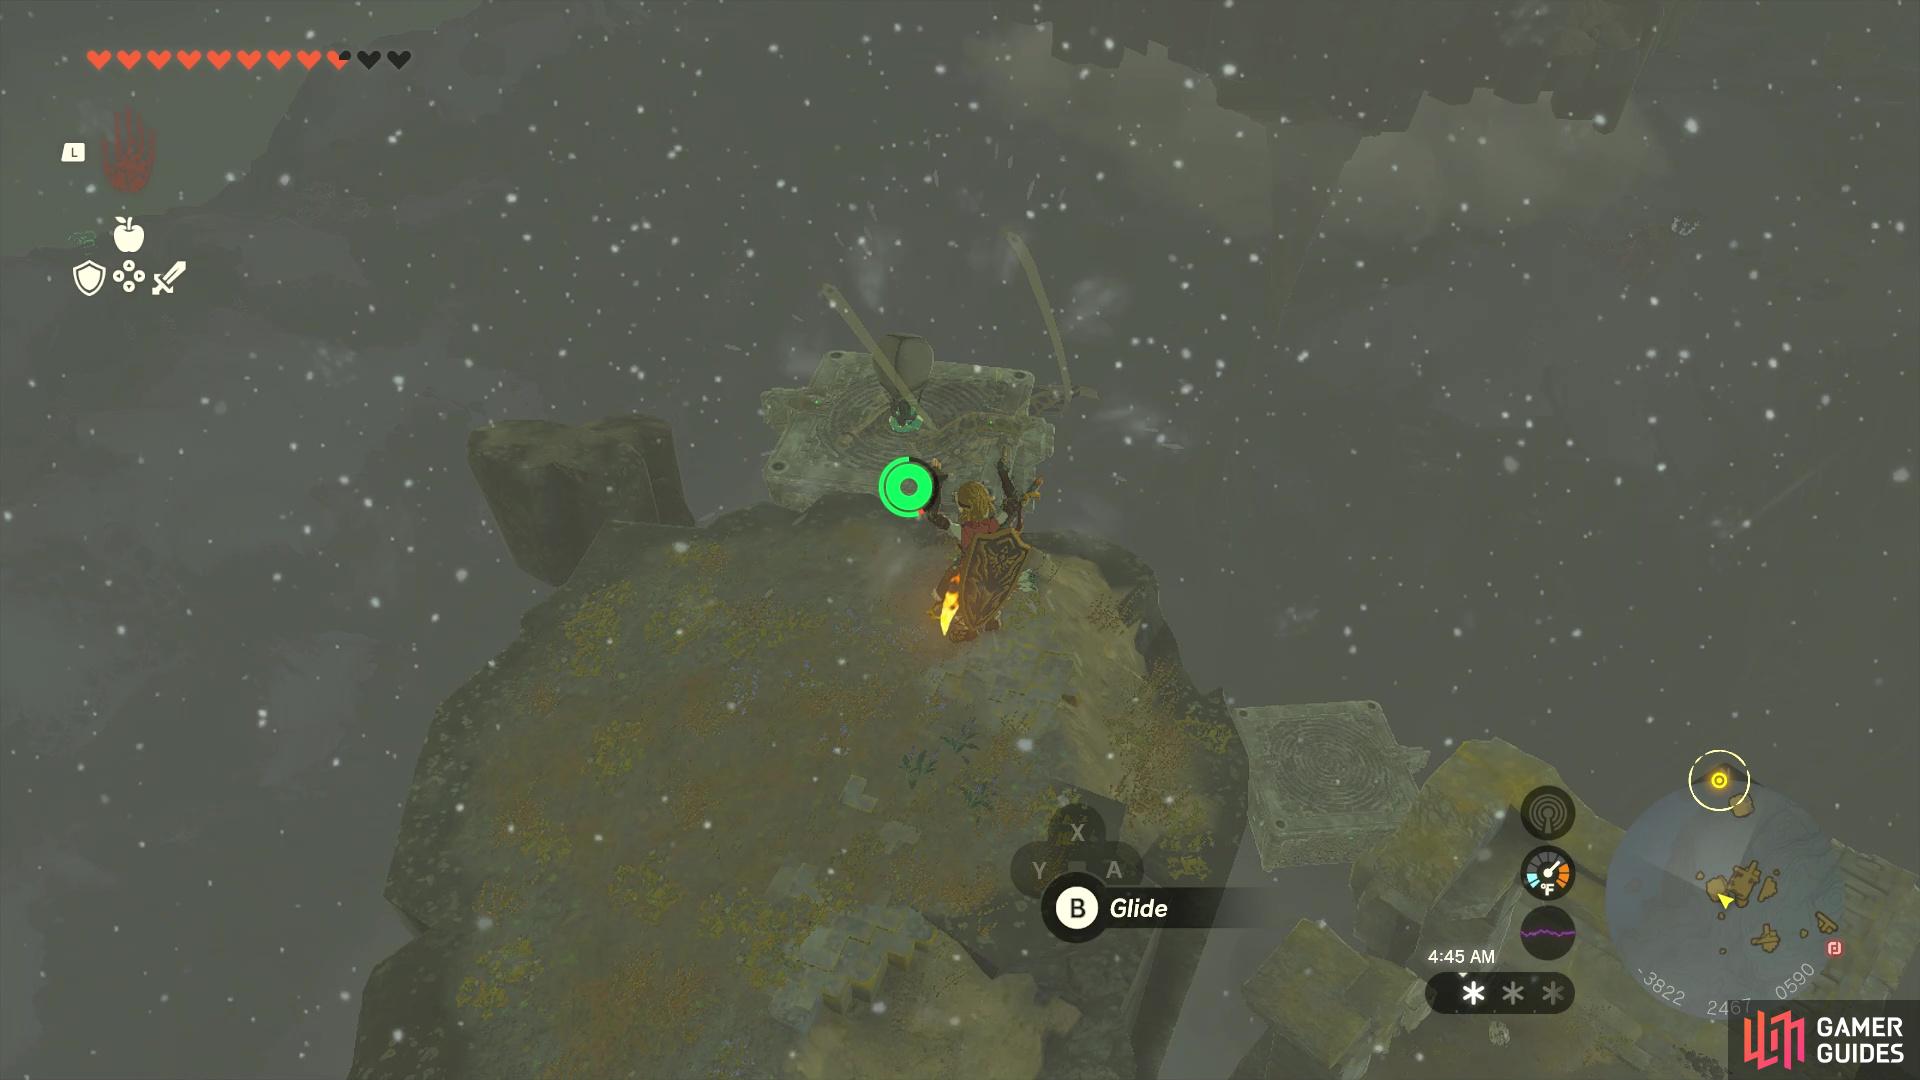
You will find the ![]() Ijo-o Shrine in the !Hebra Mountains Sky portion of the map, which is accessible by using the Rospro Pass Skyview Tower. After launching yourself from it, there will be some smaller islands to your north that you can land on, so head in that direction. Specifically, you want to land on a piece of land that has a floating platform next to it. The reason for this is that the large floating platforms in this area will have a Balloon device on them, complete with the Flame Emitter already in the middle of them.
Ijo-o Shrine in the !Hebra Mountains Sky portion of the map, which is accessible by using the Rospro Pass Skyview Tower. After launching yourself from it, there will be some smaller islands to your north that you can land on, so head in that direction. Specifically, you want to land on a piece of land that has a floating platform next to it. The reason for this is that the large floating platforms in this area will have a Balloon device on them, complete with the Flame Emitter already in the middle of them.
(1 of 2) Look for a small island with the floating platform near it.
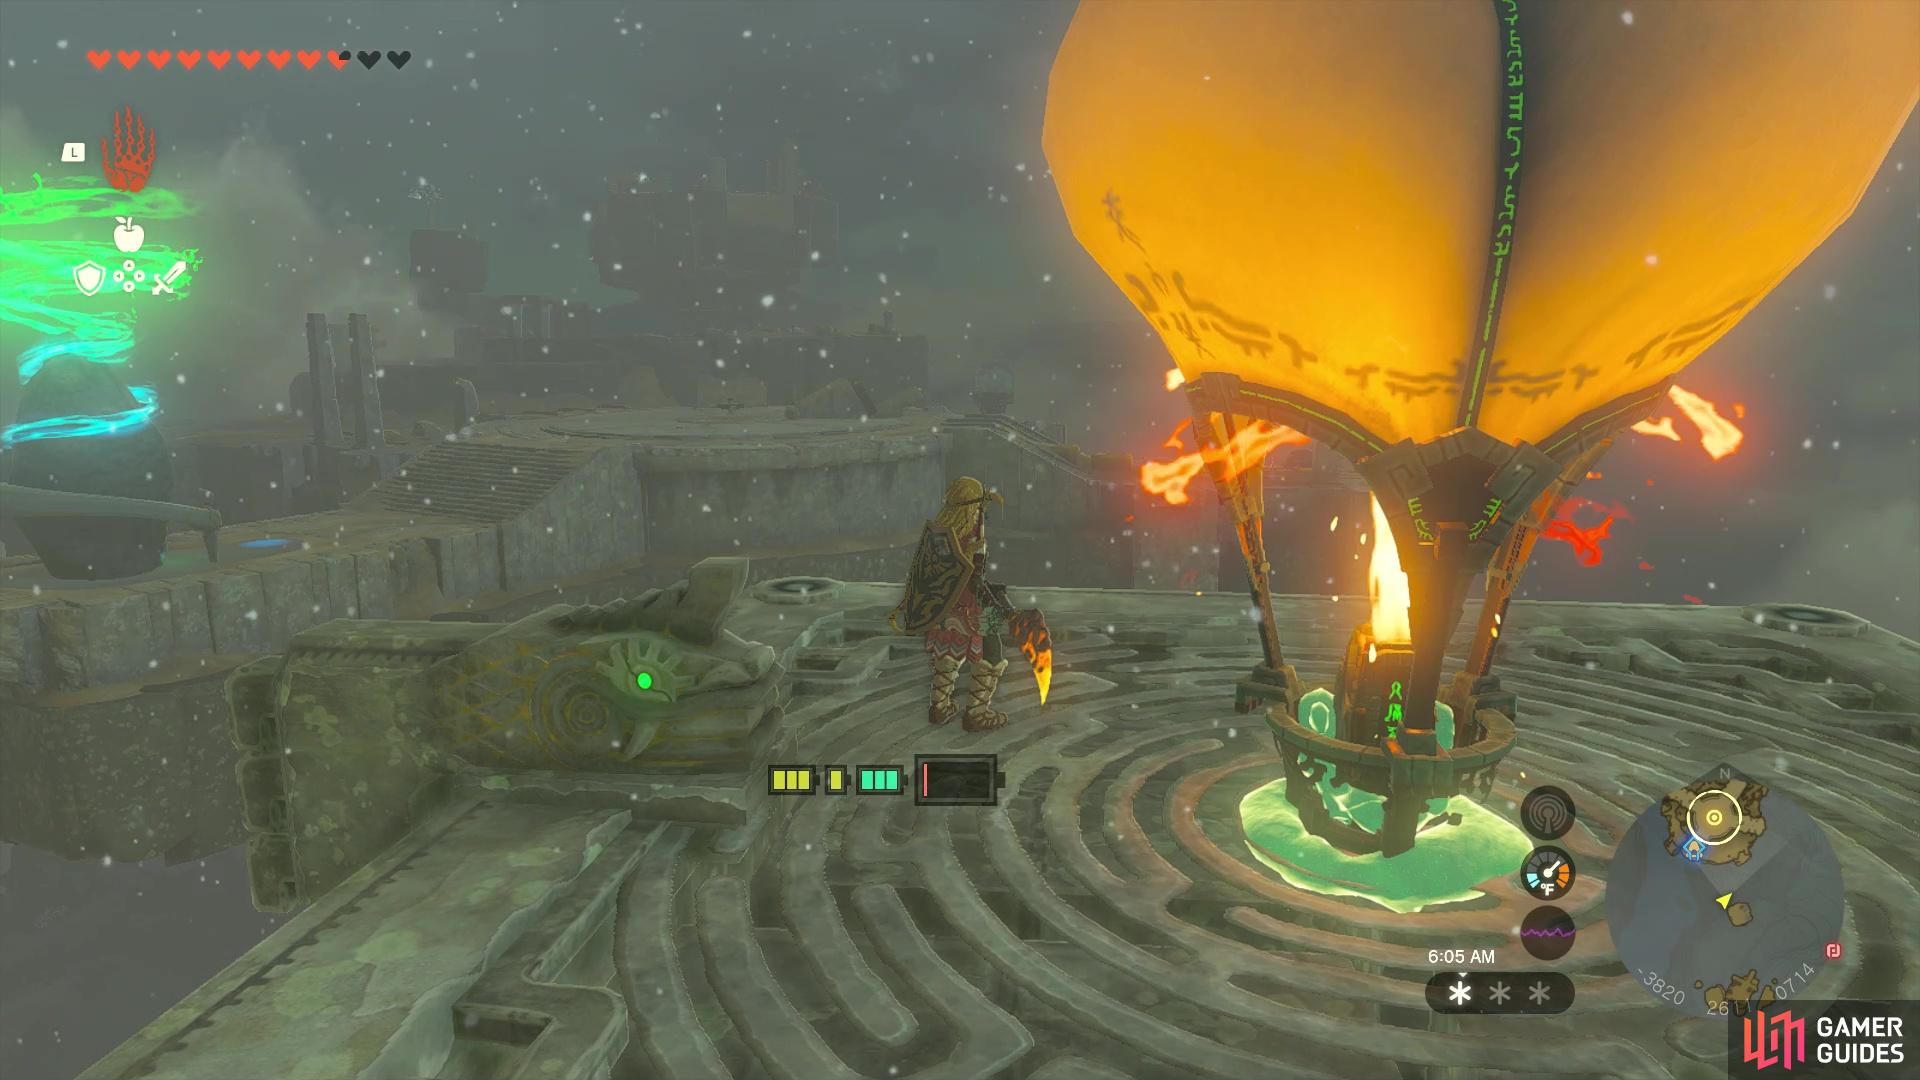
Look for a small island with the floating platform near it. (left), These platforms will have a Balloon you can use to float up to the shrine. (right)
So, you could use the floating platforms as a hot-air balloon, reaching greater heights. If you don’t have enough of a large battery, there are other islands in the same area that should have a similar platform, with a balloon on them. Of course, since the floating platforms will stay put, you can turn off the balloon to replenish your charge. Once you get high enough, you will see the shrine on the upper island, so glide on over to it, then enter it.
More Than Defense - Ijo-o Shrine
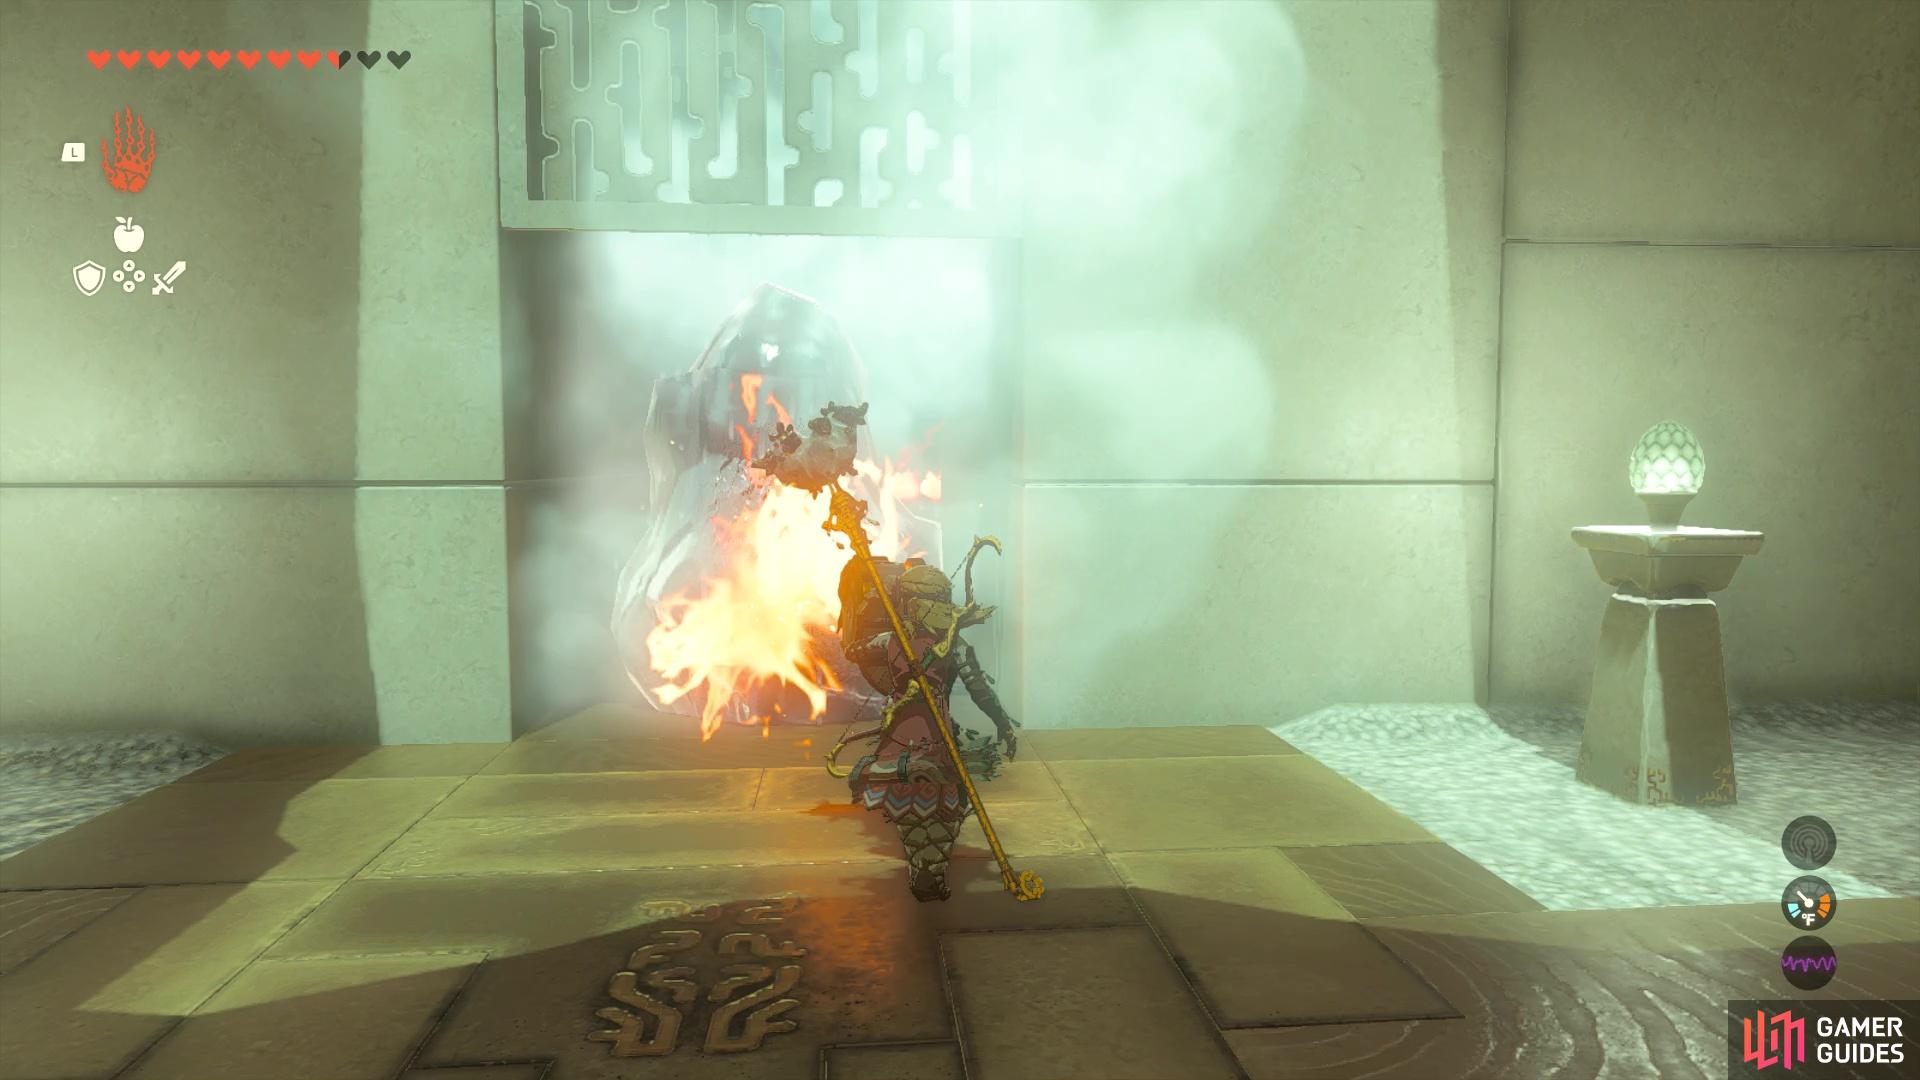
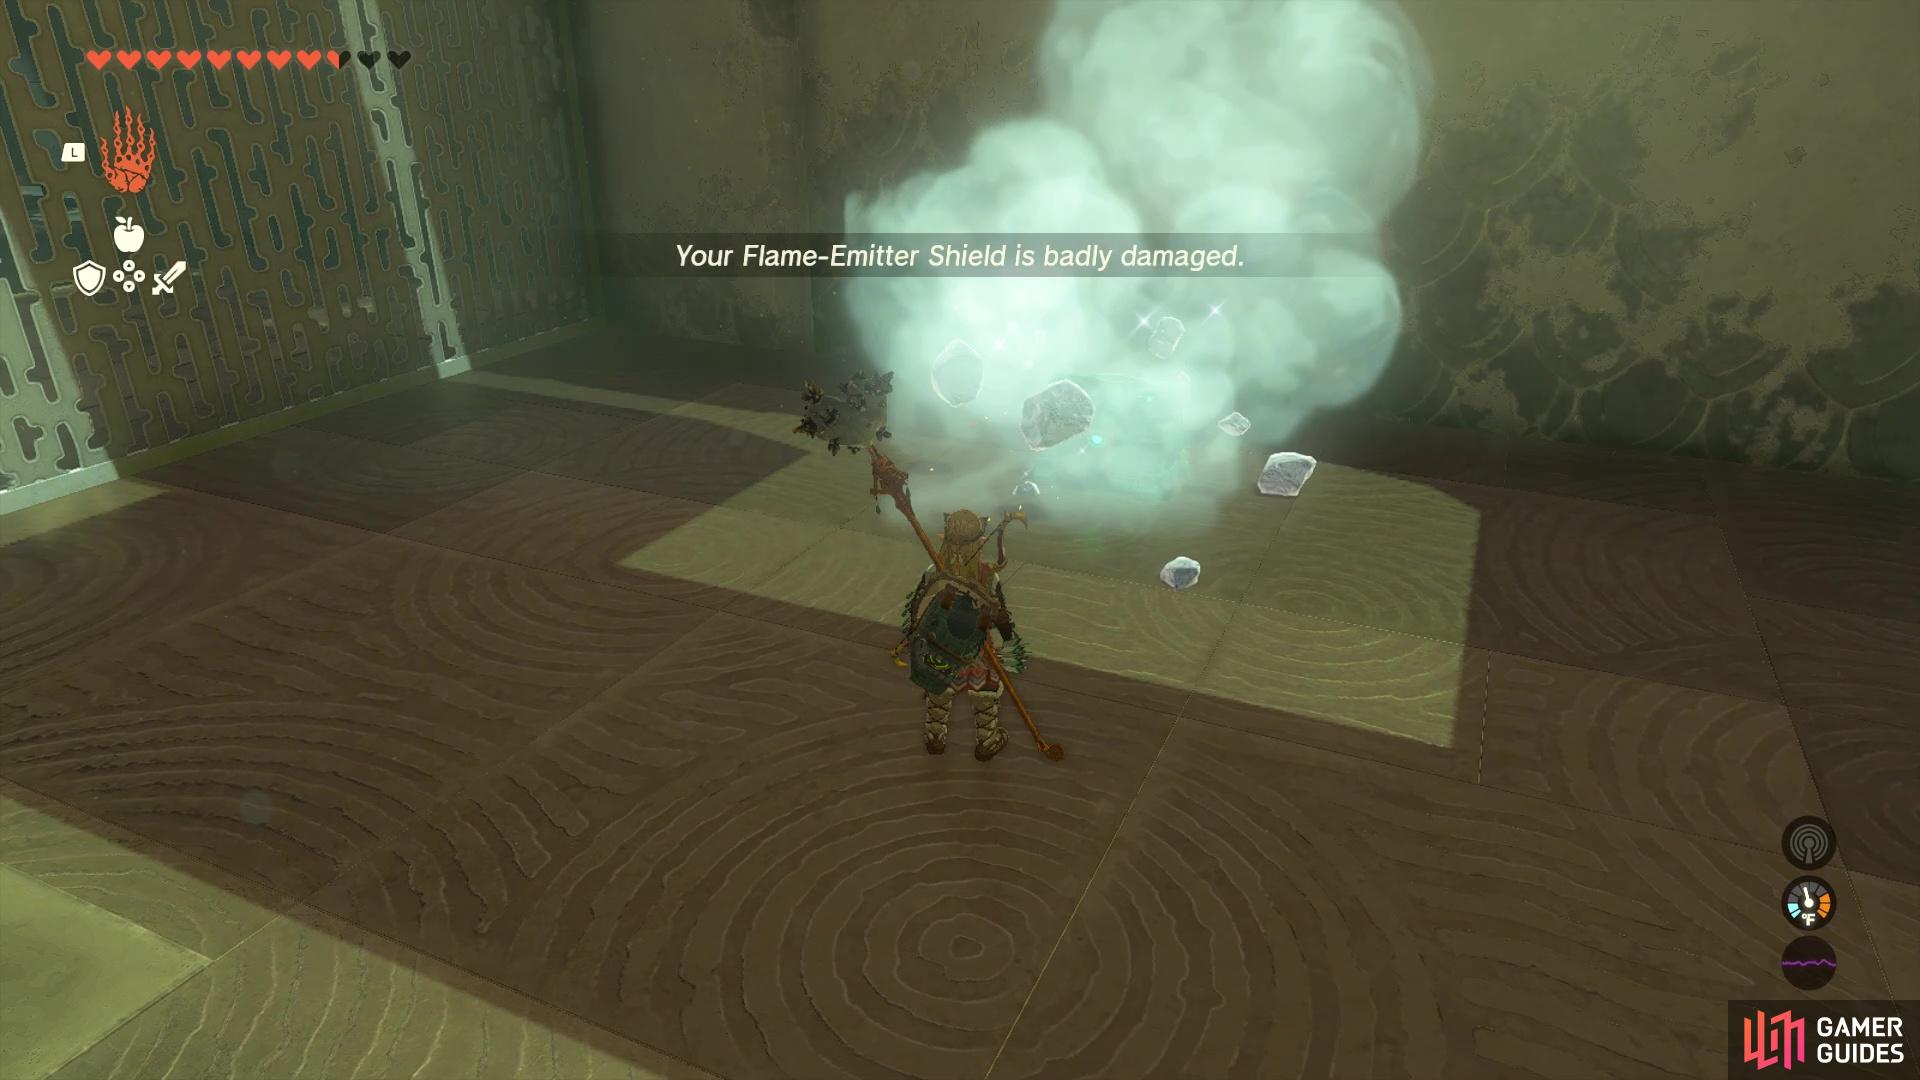
The Ijo-o Shrine isn’t about a traditional puzzle, as it is more about showing you that shields can be used for more than just defense. If you’ve come to this shrine fairly later in the game, you likely already know this, since you’ve been using ![]() Fuse a lot. In the first room, the exit is blocked by some ice and you will find a Construct in the alcove. As it gets closer, you will see the Construct has a shield with a !Flame Emitter on it. Defeat the enemy, take its shield, then use it to melt the ice blocking the exit.
Fuse a lot. In the first room, the exit is blocked by some ice and you will find a Construct in the alcove. As it gets closer, you will see the Construct has a shield with a !Flame Emitter on it. Defeat the enemy, take its shield, then use it to melt the ice blocking the exit.
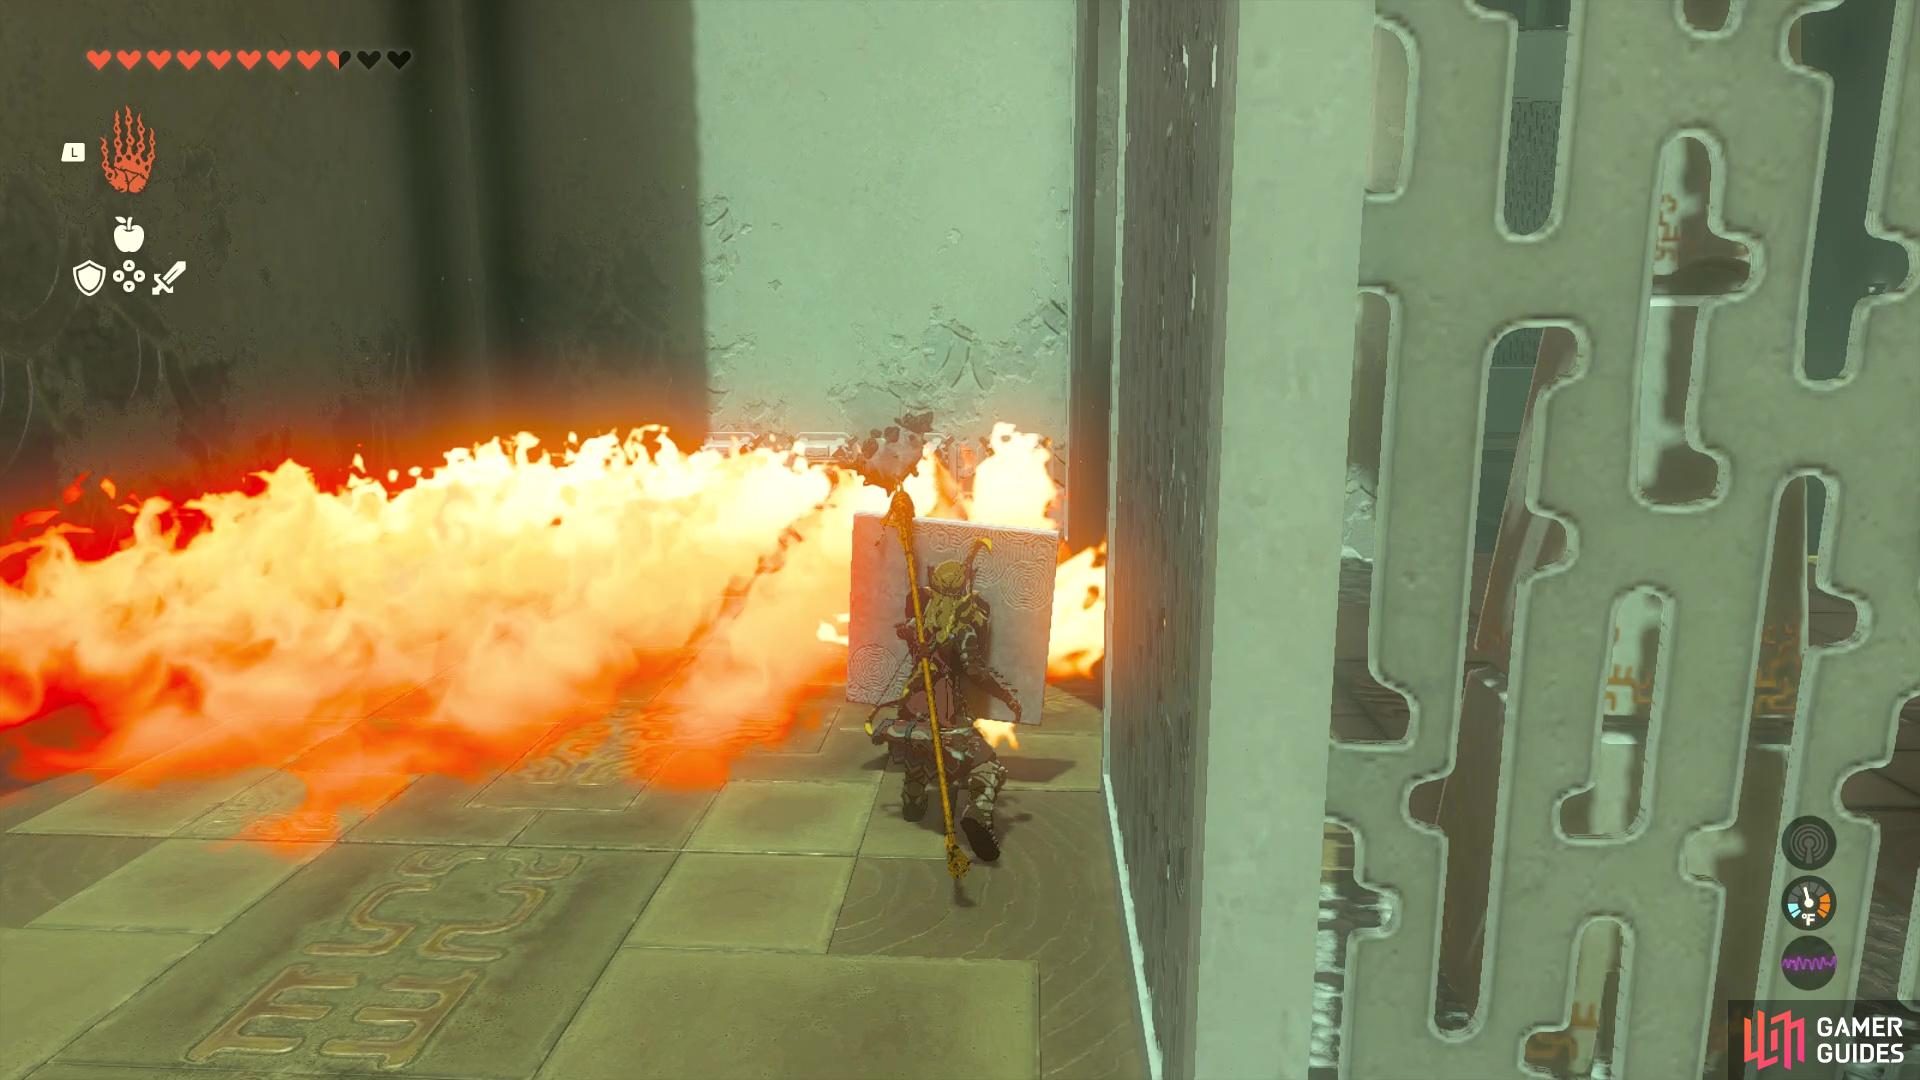
You want to make sure you don’t use up the shield completely, though, as there will be some more ice in the next area. Before you can do anything about it, take out the Construct here, who will have a shield with a stone slab on it (this will be useful in a second). Use the flame shield to melt the ice now, to reveal a chest, which contains ![]() Arrow x5. Grab the other shield, with the stone slab, and start blocking, as you go towards the flames on the one side. The stone slab will actually block the flames, so you can use the shield to get past them.
Arrow x5. Grab the other shield, with the stone slab, and start blocking, as you go towards the flames on the one side. The stone slab will actually block the flames, so you can use the shield to get past them.
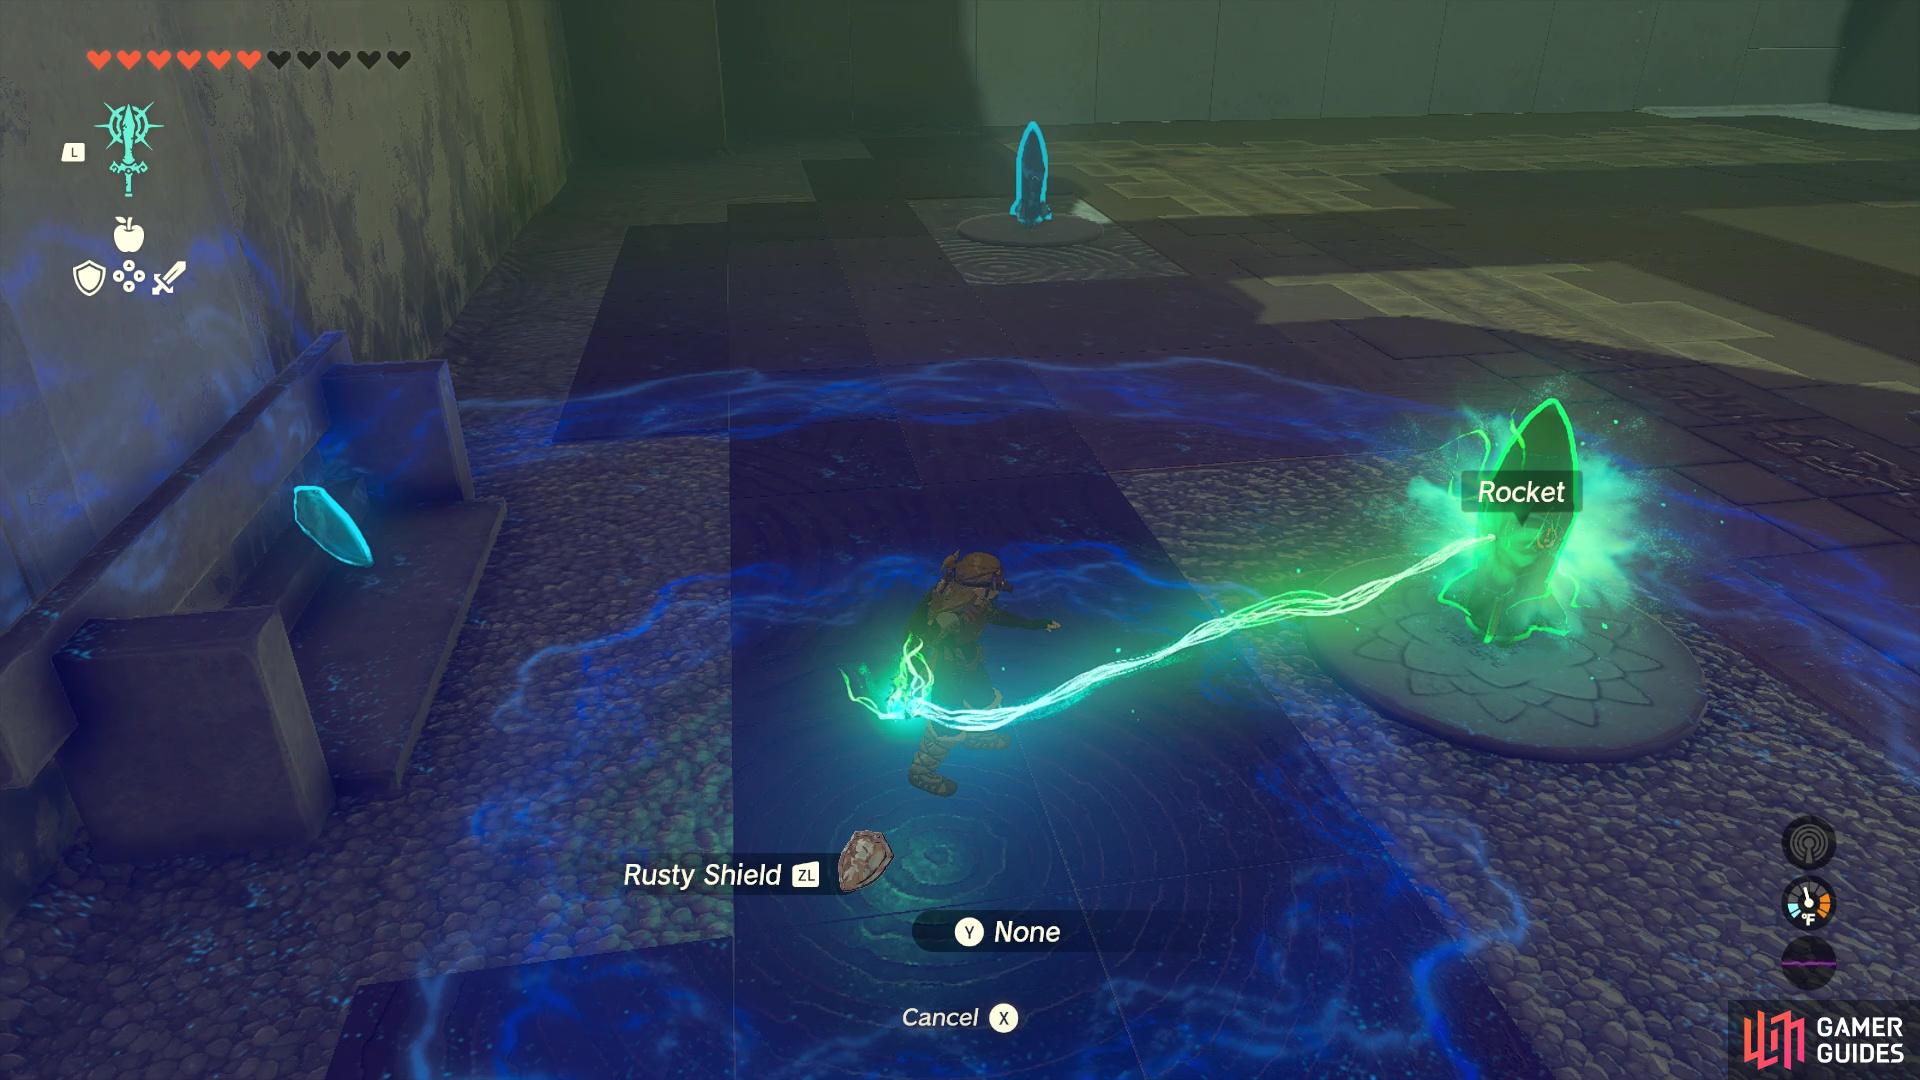
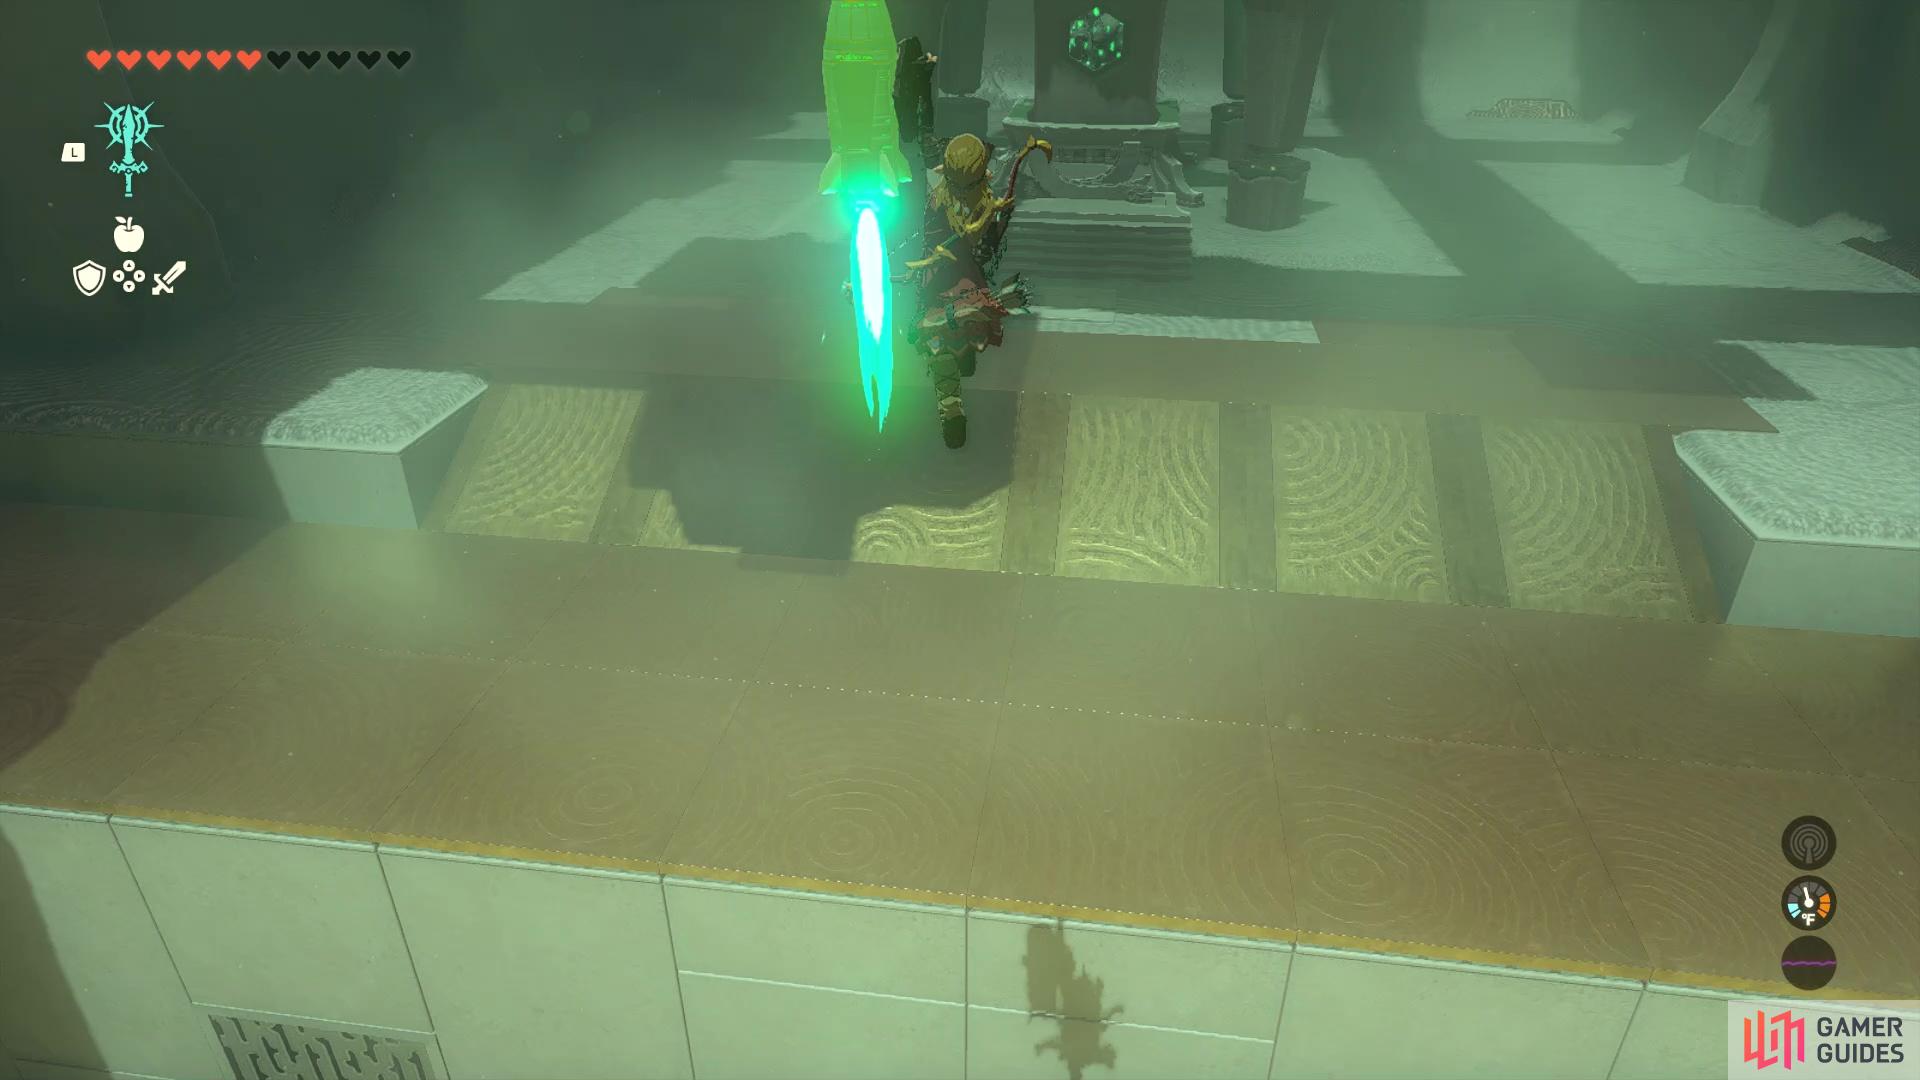
The third, and final, room will have a lone Construct in it, with some Rockets sitting around, on the ground. Ignore the rockets and just take out the enemy first, then grab any shield from your inventory and fuse a !Rocket to it. Locate the high ledge in the room and block with your shield, which will activate the rocket and shoot you straight into the air. You can then glide down to the altar, activate it and receive the ![]() Light of Blessing.
Light of Blessing.


 Sign up
No Comments