This page offers a guide on how to complete ![]() Musanokir Shrine, which is a shrine found in Great Hyrule Forest in The Legend of Zelda: Tears of the Kingdom (TotK). On this page, you’ll find details on where to find Musanokir Shrine, how to complete its puzzles and how to obtain the treasure chest.
Musanokir Shrine, which is a shrine found in Great Hyrule Forest in The Legend of Zelda: Tears of the Kingdom (TotK). On this page, you’ll find details on where to find Musanokir Shrine, how to complete its puzzles and how to obtain the treasure chest.
!Musanokir Shrine is all about using ultrahand and physics to complete the various puzzles.
How to Find Musanokir Shrine
Musanokir Shrine is found right next to the ![]() Deku Tree in the Korok Forest (Map Marker). Getting into Korok Forest can be quite tricky but we’ll outline the solution below:
Deku Tree in the Korok Forest (Map Marker). Getting into Korok Forest can be quite tricky but we’ll outline the solution below:
In Breath of the Wild, you entered the Lost ![]() Woods by following the brazier smoke through the fog to reach !Korok Forest. However, this won’t work in Tears of the Kingdom. If you attempt to walk into the fog towards the !Lost Woods, you’ll immediately get transported back out again.
Woods by following the brazier smoke through the fog to reach !Korok Forest. However, this won’t work in Tears of the Kingdom. If you attempt to walk into the fog towards the !Lost Woods, you’ll immediately get transported back out again.
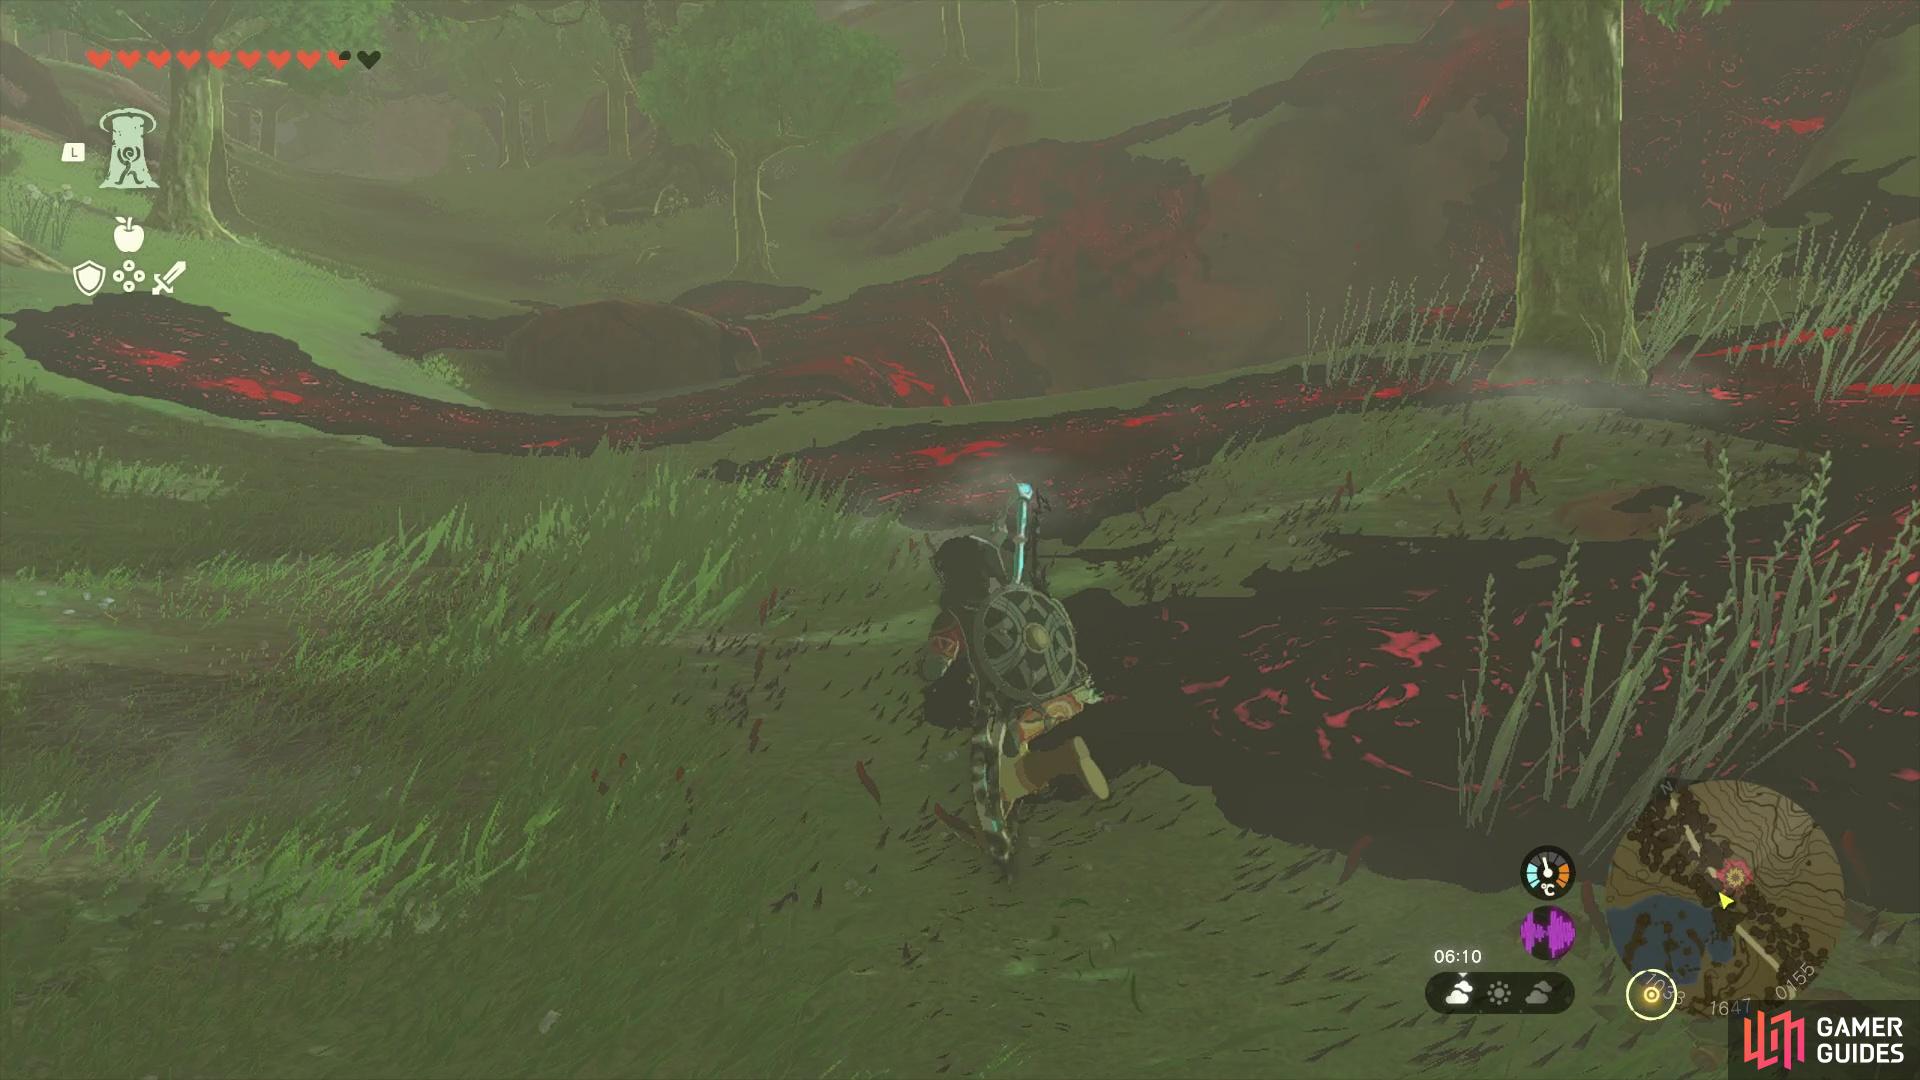
The way to reach the center of the !Lost Woods is via the Depths. You’ll want to begin from the Woodland Stable, following the path that heads north towards the !Lost Woods and !Korok Forest. Along the way you’ll come across Minshi Woods Chasm. You want to drop down into this chasm to the Depths.
(1 of 3) Locate the Chasm along the path to the !Lost Woods
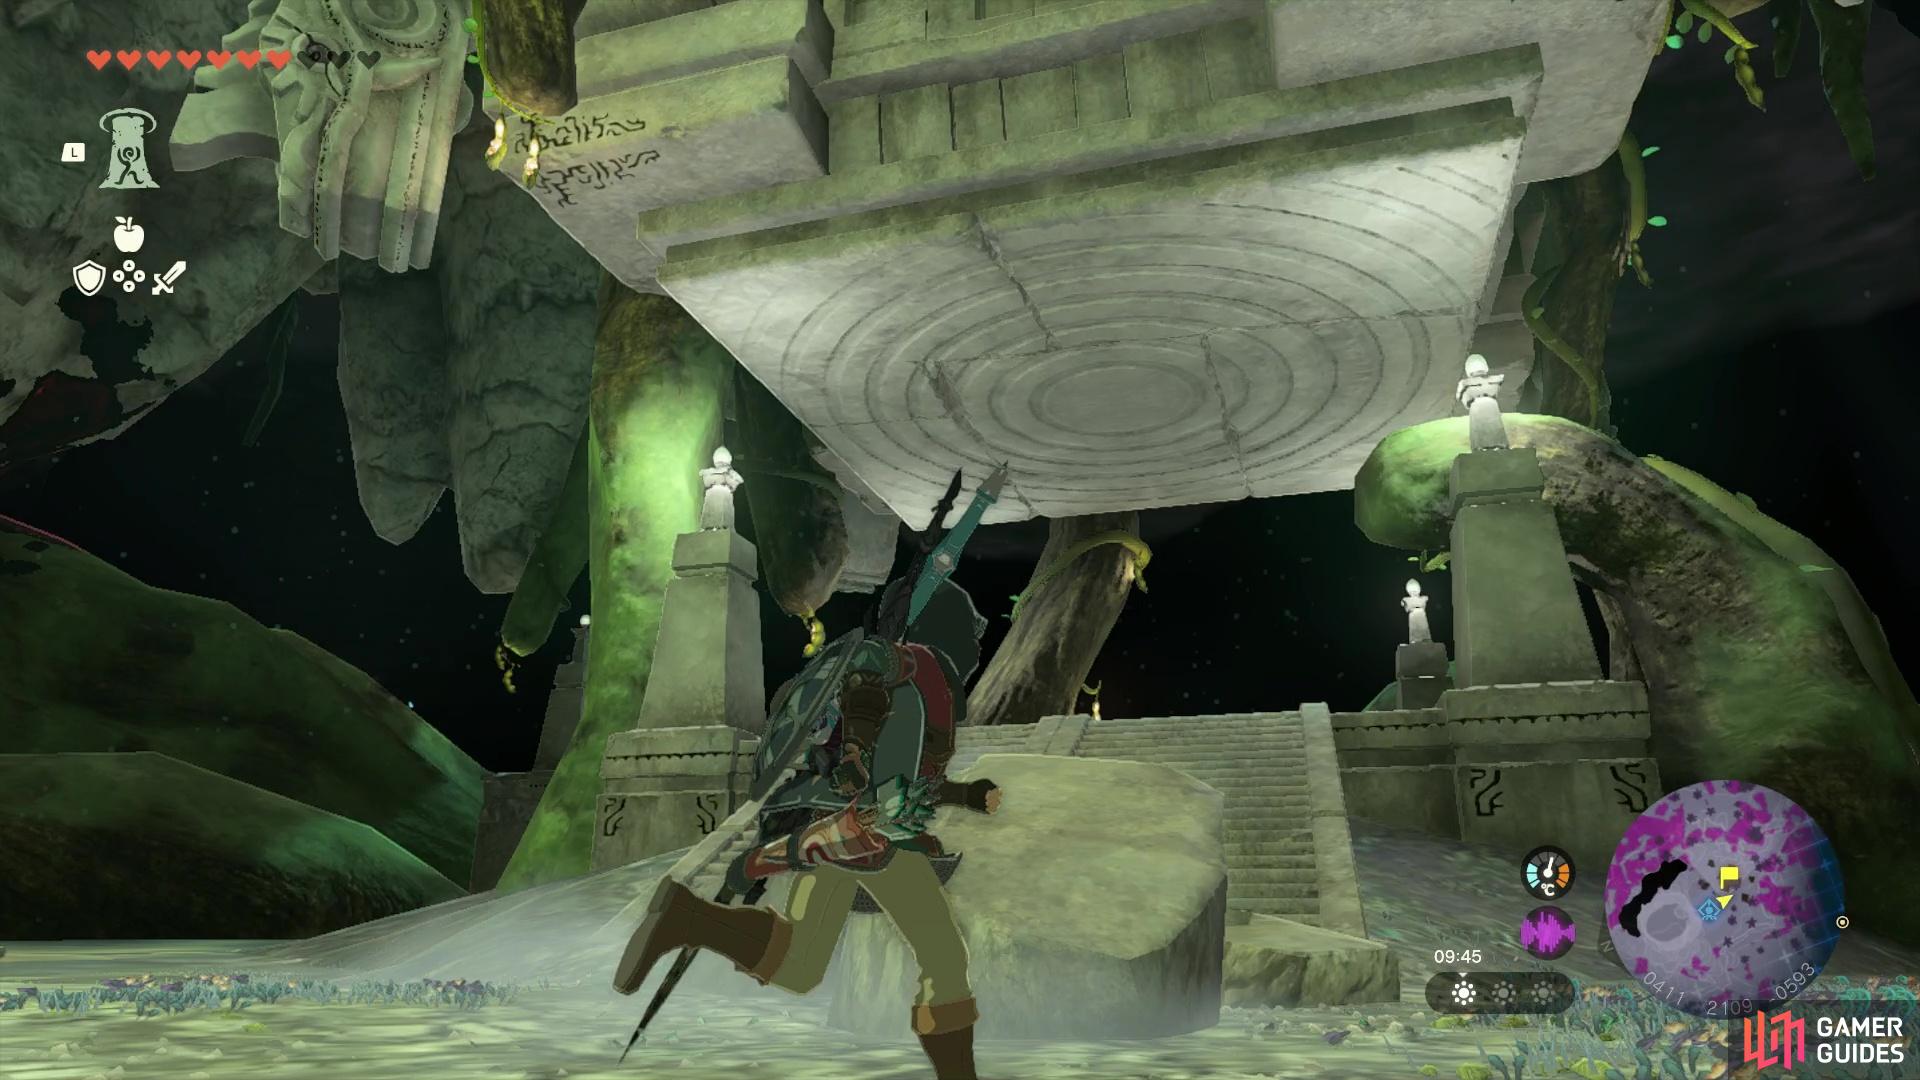
From this way point, head northwest towards an area called Korok Grove - there’ll be some Gloom Hands along the way and you can deal with those however you like. Near Rikonasum Lightroot (Map Marker) you’ll find a large pillar column going up into the air. Use ![]() Ascend beneath it to head up into !Korok Forest!
Ascend beneath it to head up into !Korok Forest!
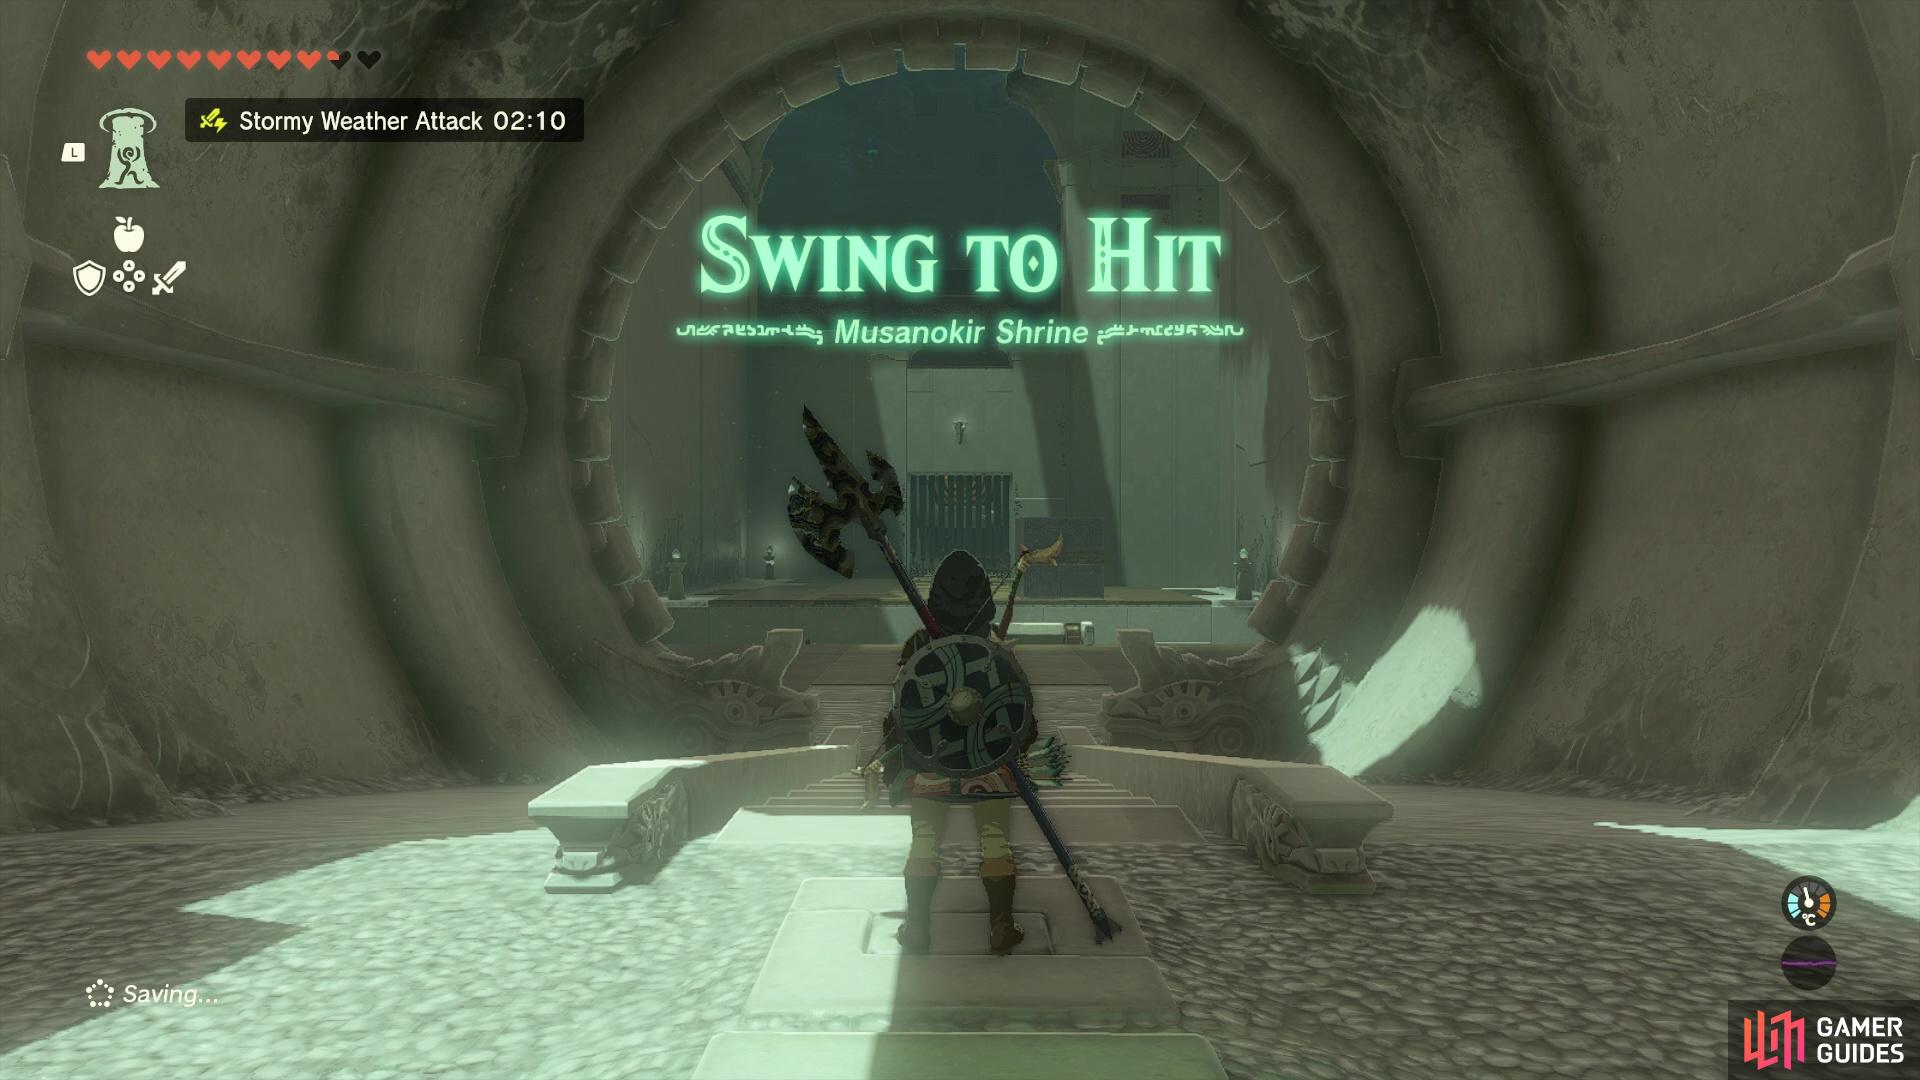
Musanokir Shrine: Swing to Hit Walkthrough
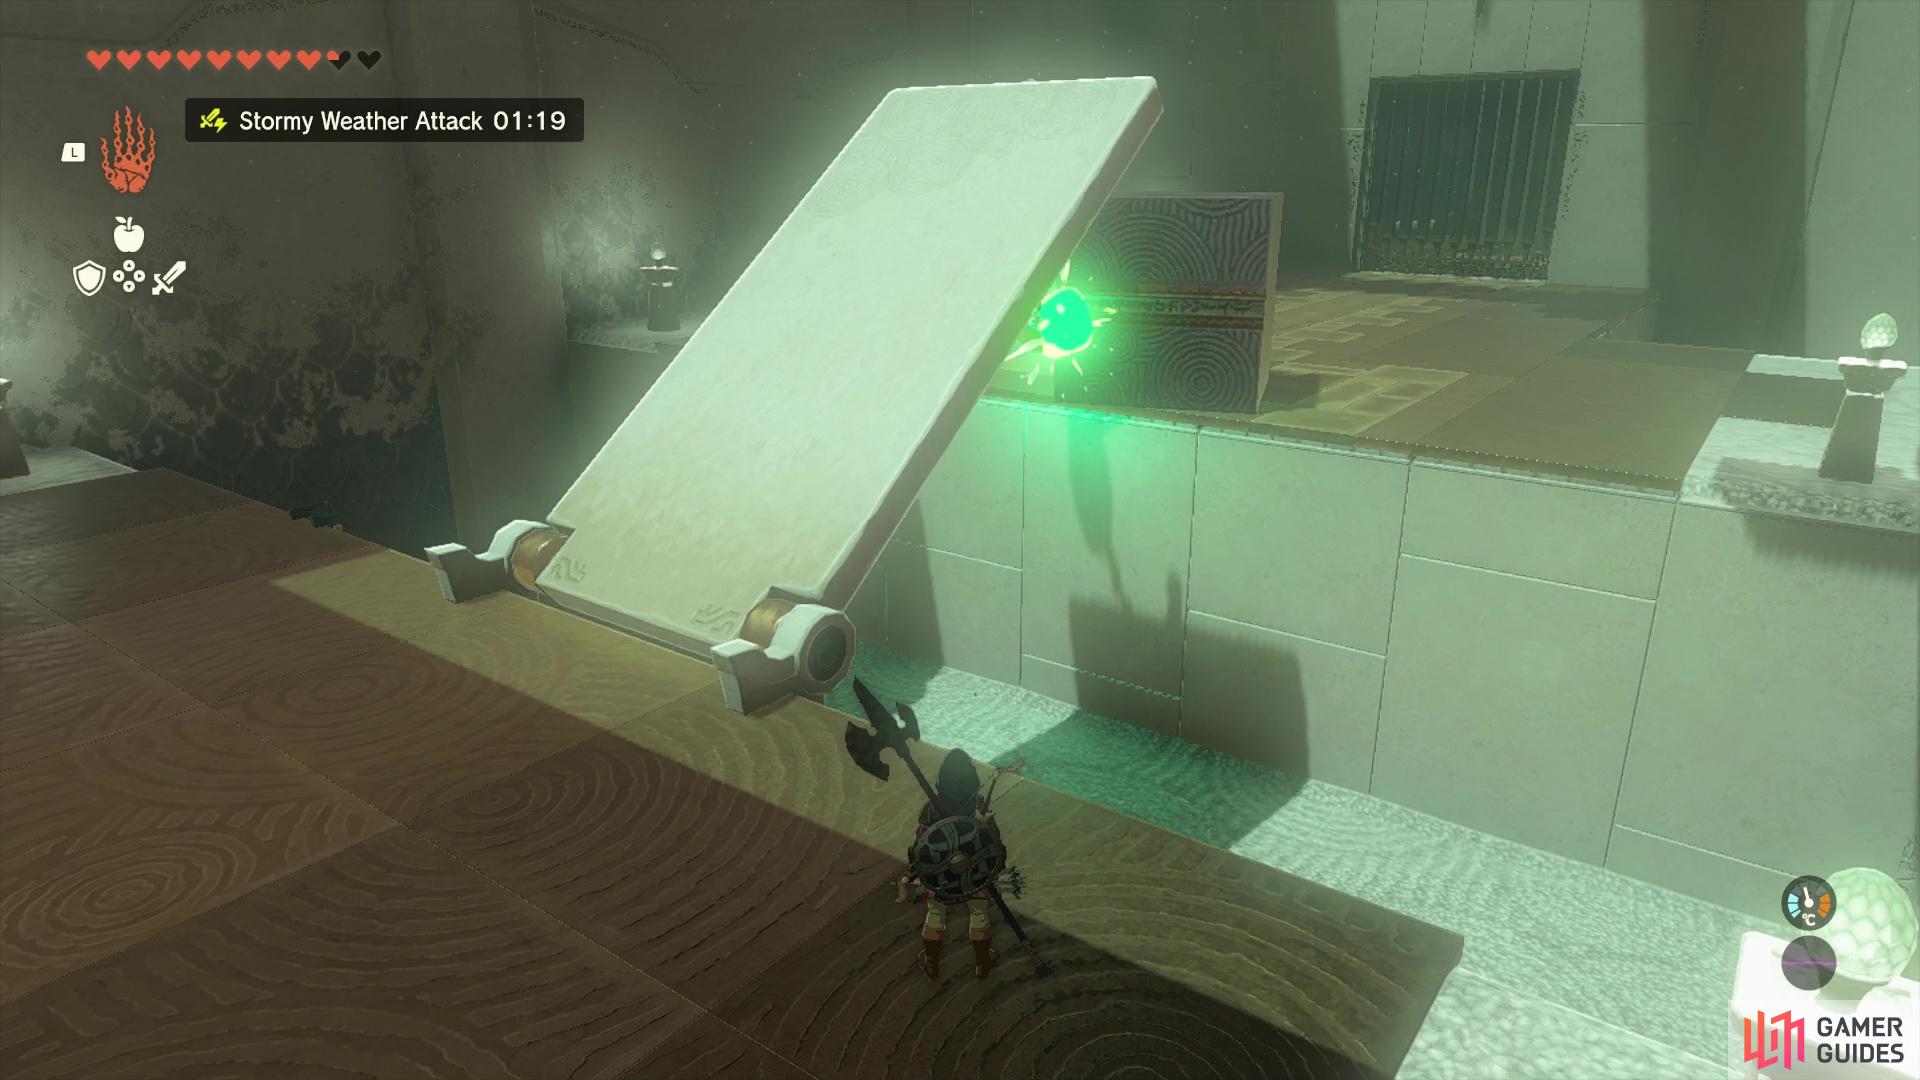
This shrine is a great showcase of the game’s physics mechanics and how you can use it to your advantage! As you enter into the shrine, the first puzzle involves a bridge with a chain and ball attached to it and a metal cube on the other side of a chasm. In order to make the bridge usable, lift it up with quite a lot of force so that the ball and chain swings upwards so that it comes into contact with the metal cube. Your goal is to attach the ball to the metal cube so that the bridge stays horizontal and you can use it to cross to the other side.
Once across, detach the cube from the bridge and attach it to the ball and chain on the right side of the room. Lift up and pull back the cube as far as you can to maximize the swing, allowing the cube to hit the target at the back. This will open up the door ahead into the next area of the shrine.
(1 of 2) First use the cube to keep the bridge up
First use the cube to keep the bridge up (left), then attach it to the ball and chain to hit the target. (right)
In the next room you’ll need to hit a different target at the back of the room to open up the shrine. Again, the puzzle is all about using physics and ultrahand to your advantage. But first, let’s take a moment to grab the treasure chest.
How to Get the Musanokir Shrine Treasure Chest
Getting the treasure chest here is quite easy. All you need to do is pick up the log nearby and angle it so that it leans against the metal cube that’s opposite the treasure chest’s platform. Climb up the sloped log and then paraglide from the metal cube to the chest. It contains x1 ![]() Large Zonai Charge.
Large Zonai Charge.
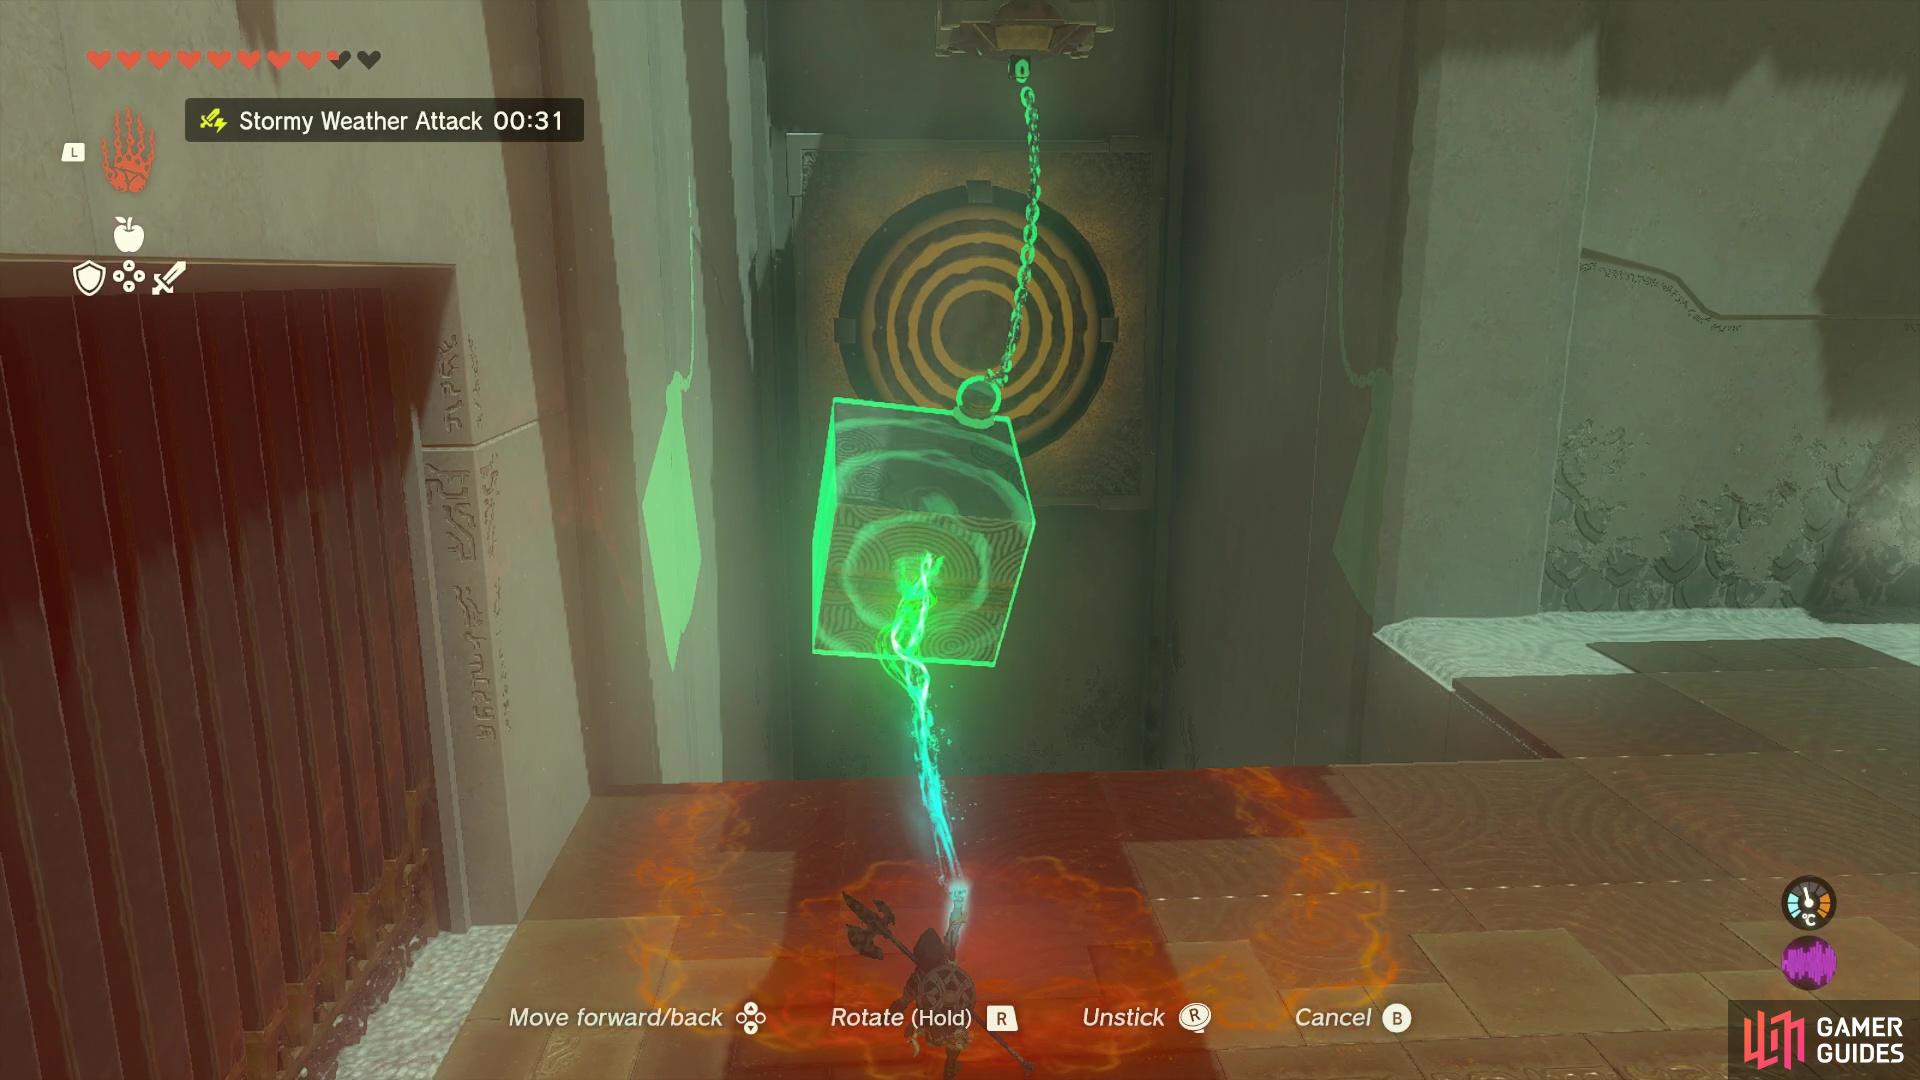
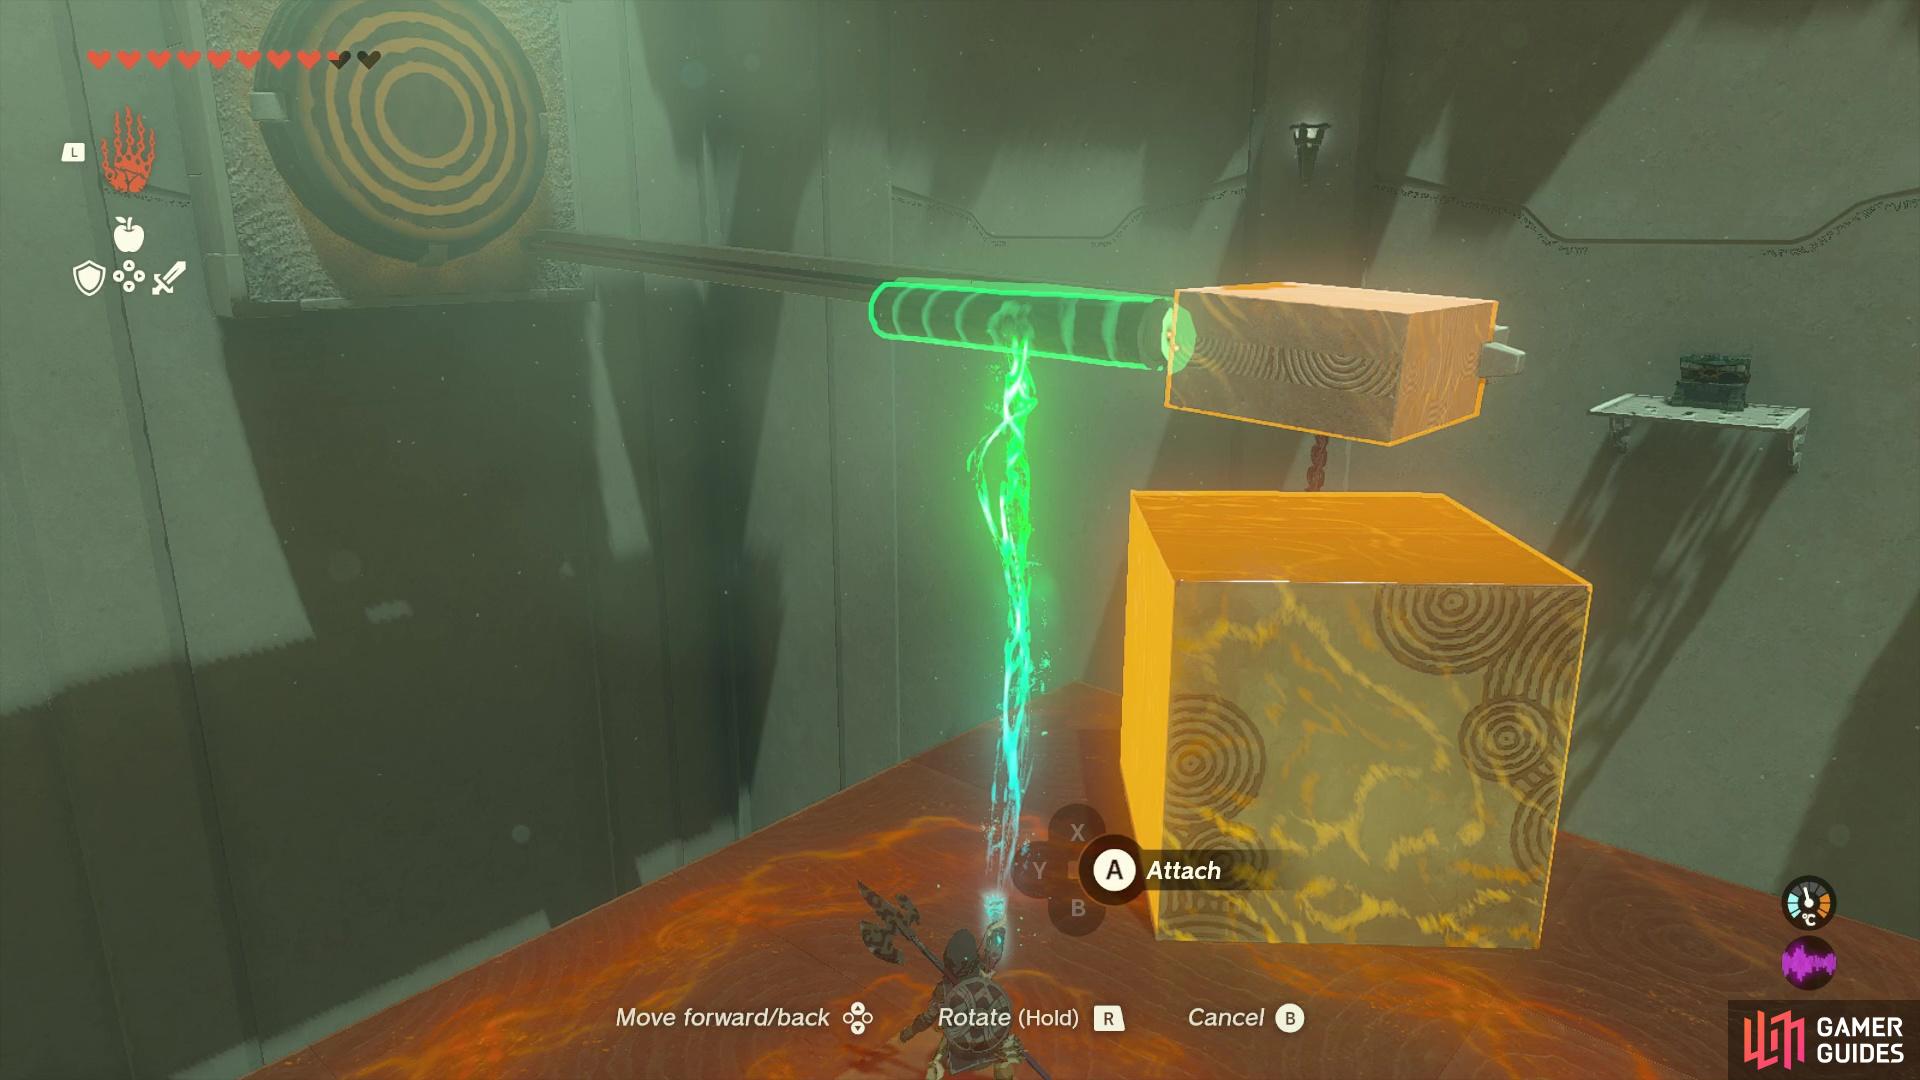
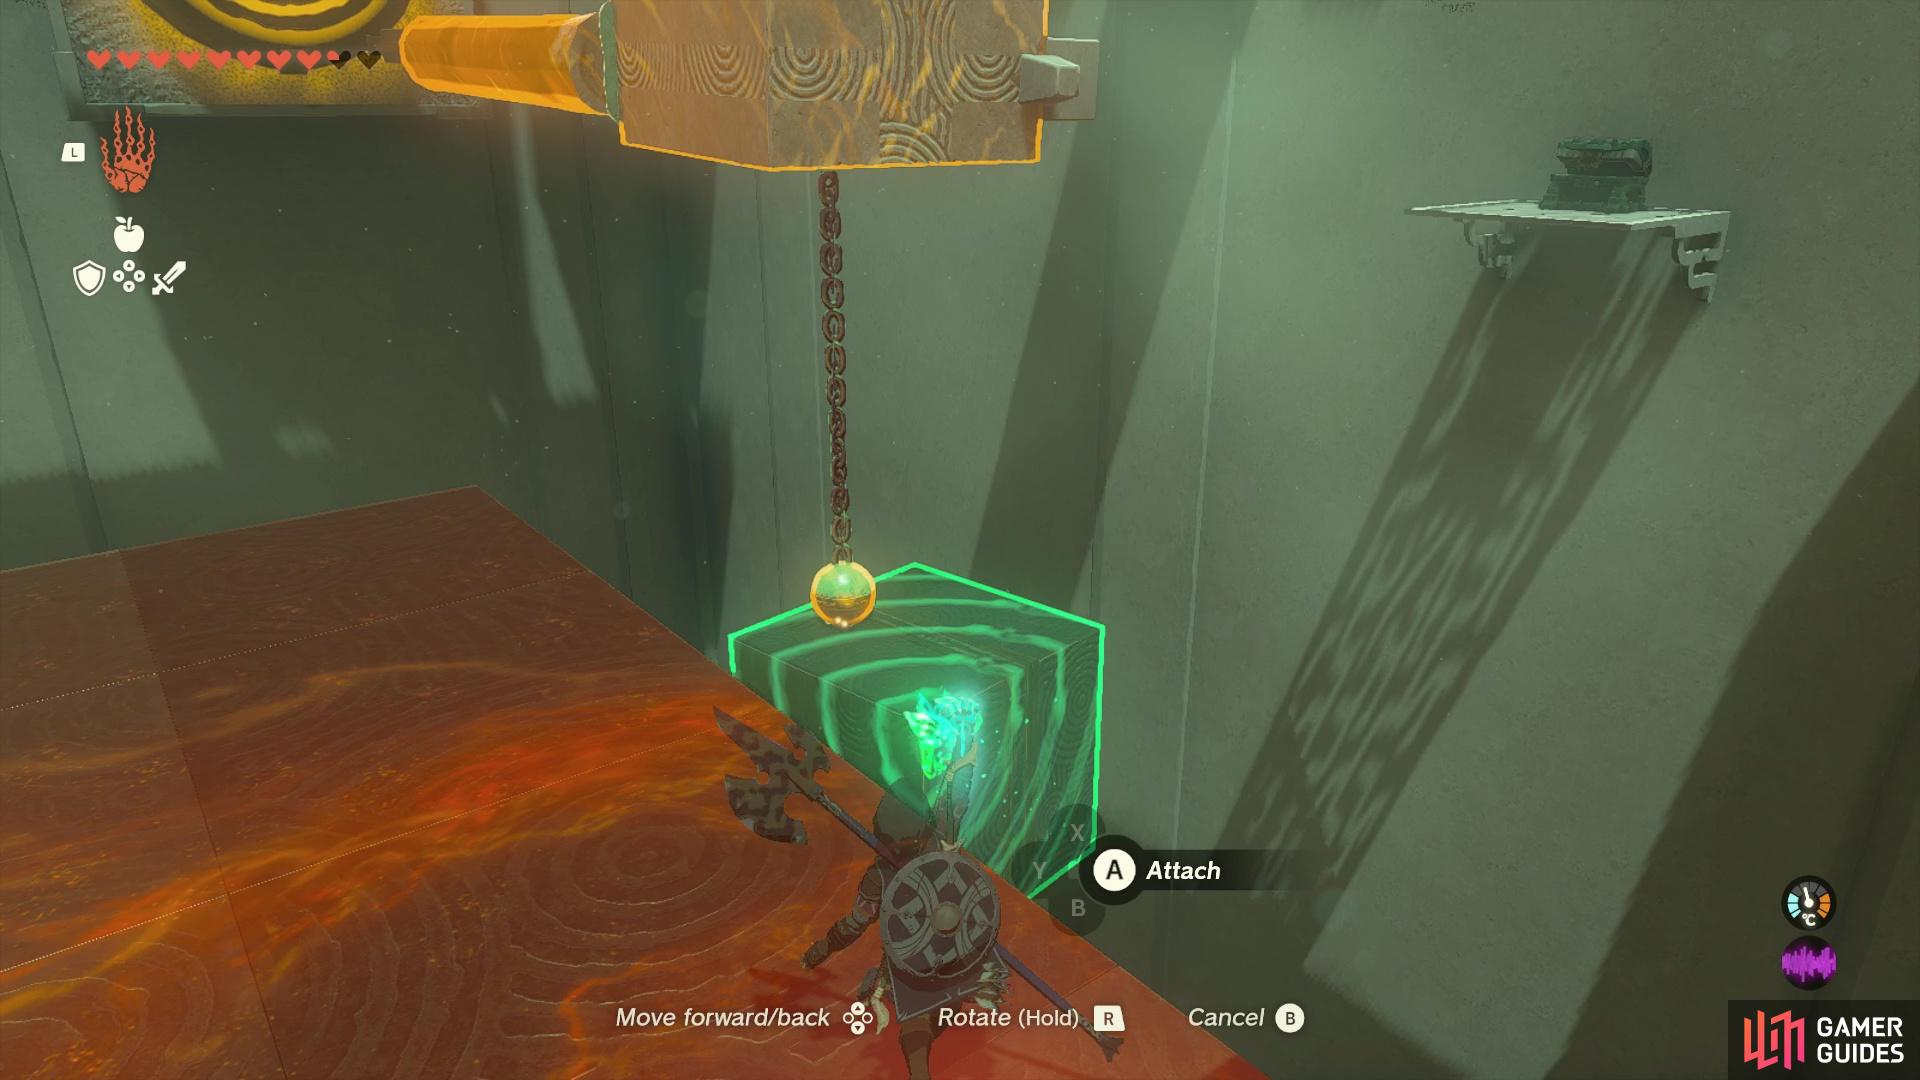
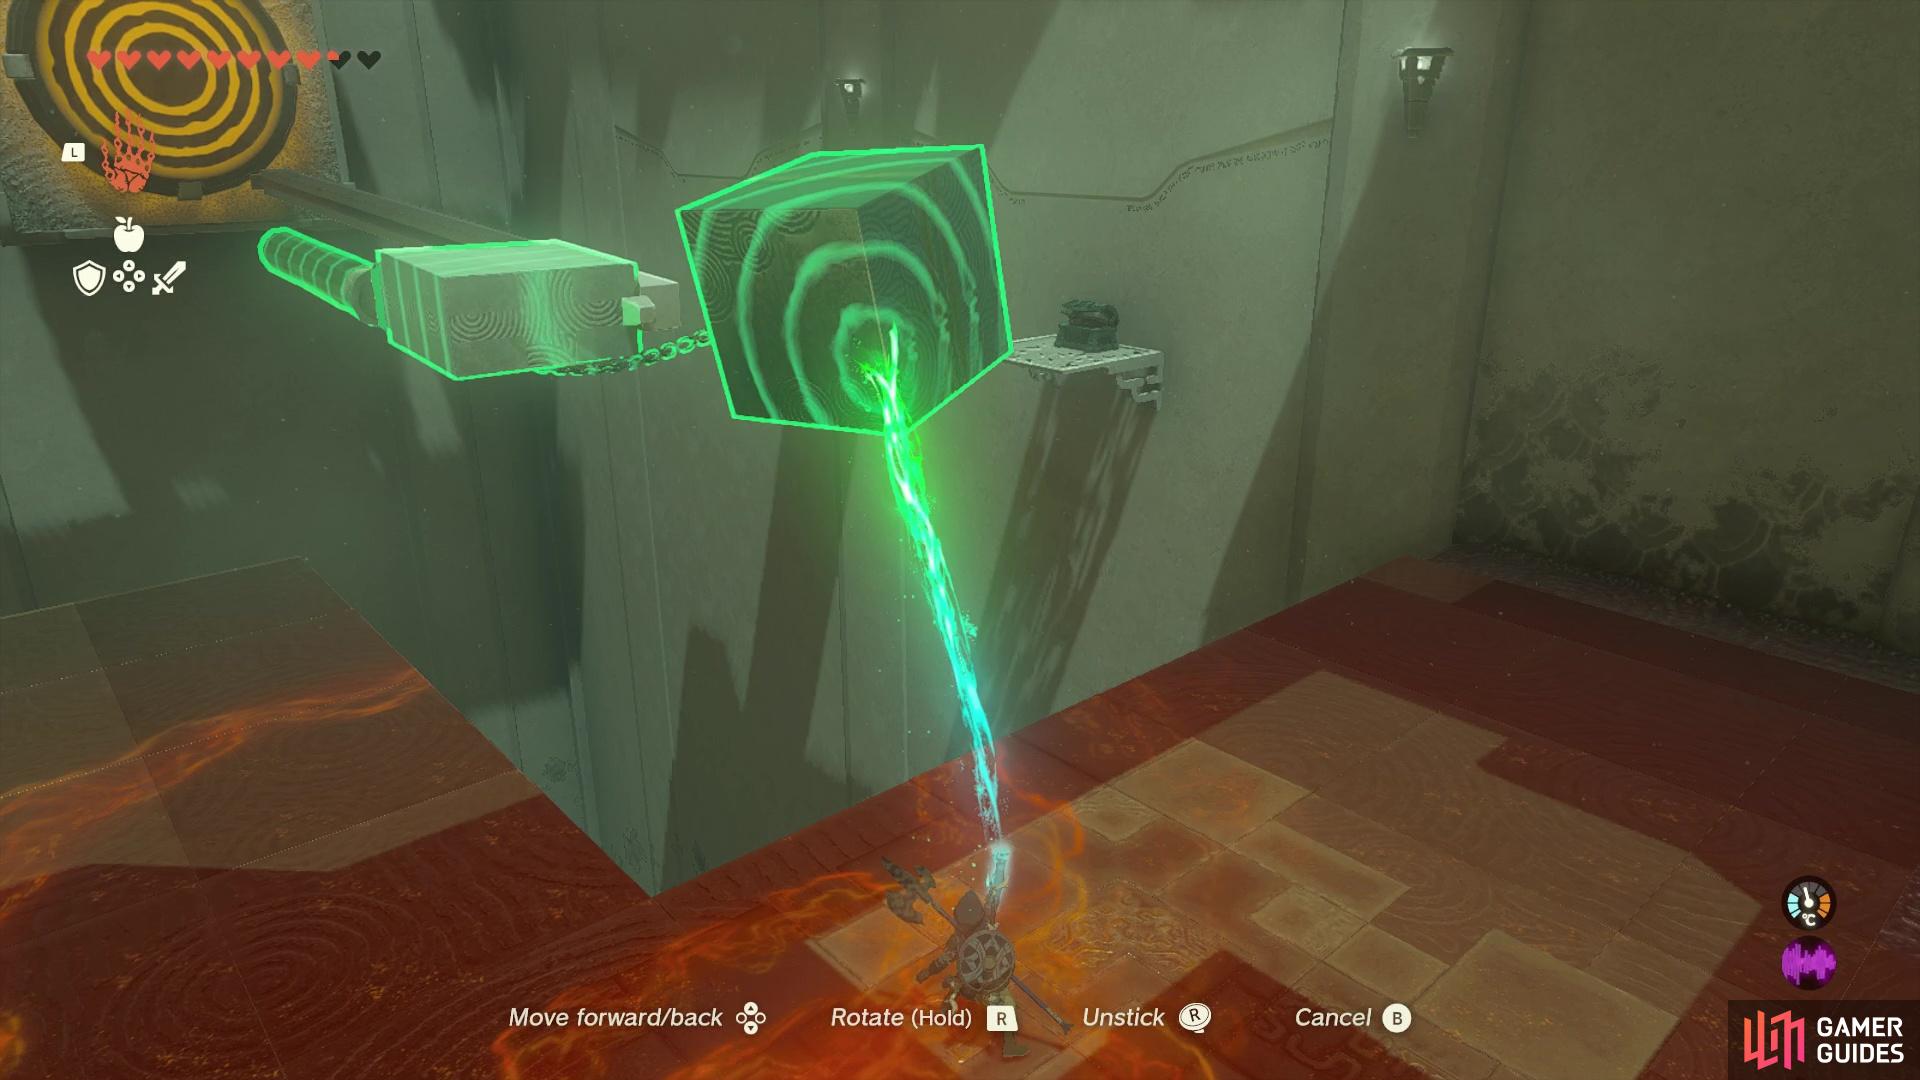
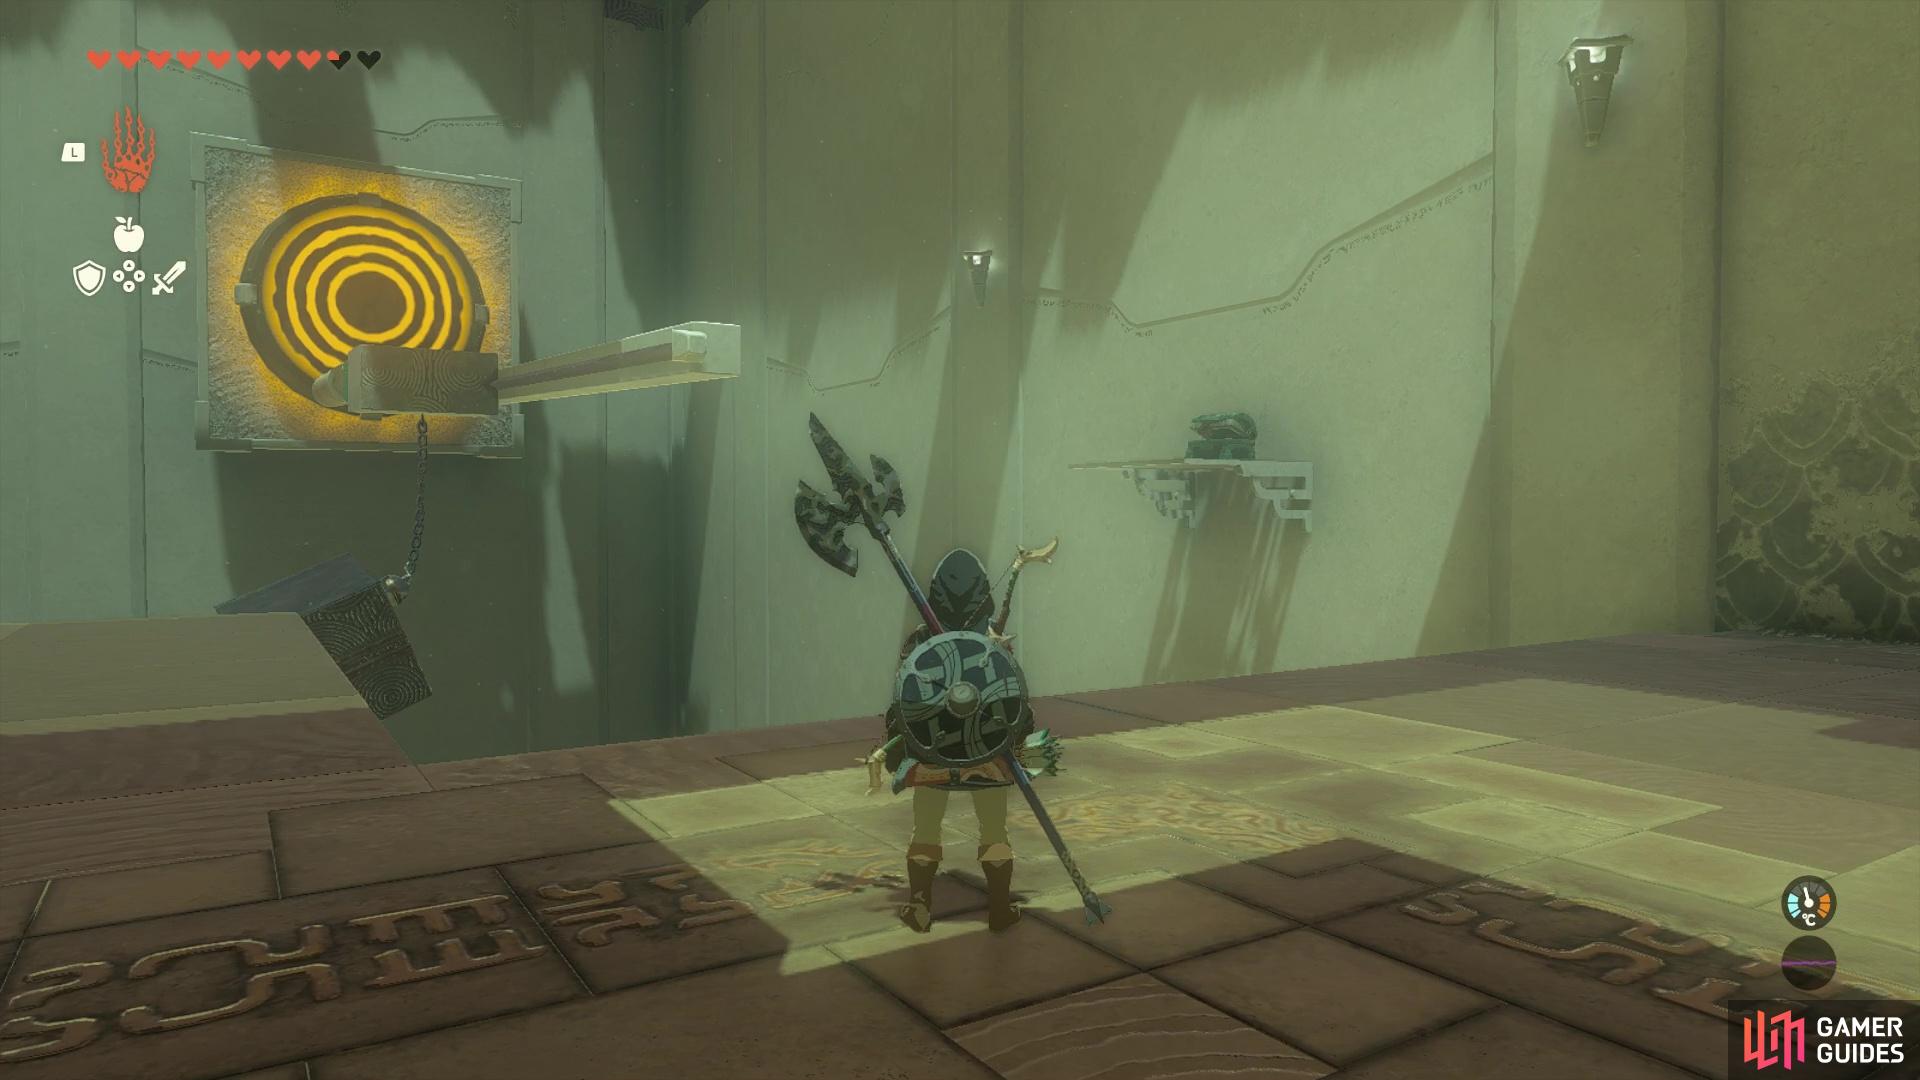
After grabbing the chest paraglide back to the main platform. The final puzzle will, at first, look a little daunting as there’s multiple components going on. All you need to do, however, is attach the cube to the ball and chain hanging from the bottom, then attach the log to the front of the sliding cube at the top. Once you’ve got those two components attached, swing the cube at the bottom and the force will drive the sliding cube down the rail, causing the log to smack the target near the back.
(1 of 4) Attach the log to the sliding cube.
Doing this will cause the final shrine gate to open up, allowing you to pass through and claim your ![]() Light of Blessing. You can now use Musanokir Shrine as a handy fast travel point if you ever return to !Korok Forest and you won’t need to travel to the Depths and then ascend upwards every time!
Light of Blessing. You can now use Musanokir Shrine as a handy fast travel point if you ever return to !Korok Forest and you won’t need to travel to the Depths and then ascend upwards every time!


 Sign up
No Comments