This page details how to find Lightning Temple in Gerudo during the ![]() Riju of Gerudo Town main quest in The Legend of Zelda: Tears of the Kingdom. You’ll find information on how to solve Riju’s Mural Riddle and how to enter into the !Lightning Temple!
Riju of Gerudo Town main quest in The Legend of Zelda: Tears of the Kingdom. You’ll find information on how to solve Riju’s Mural Riddle and how to enter into the !Lightning Temple!
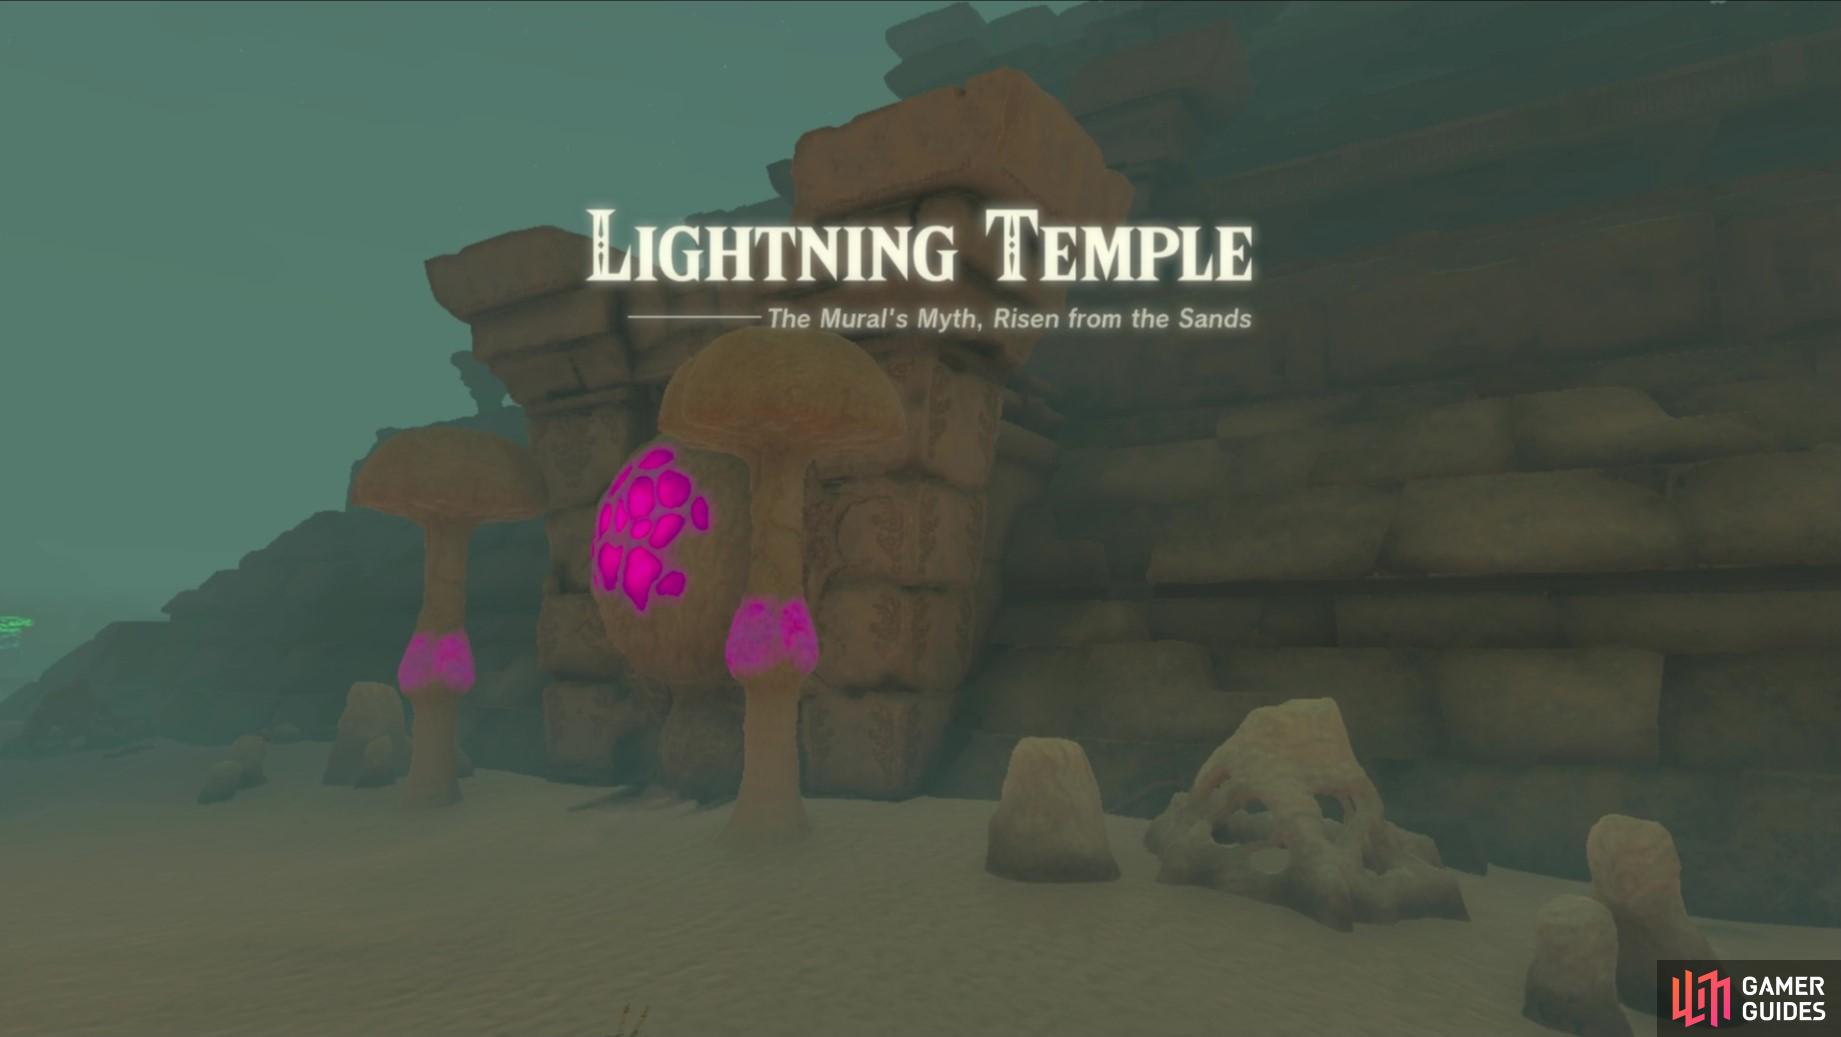
The Lightning Temple in Gerudo.
If you’ve not already defended Gerudo from the ![]() Gibdos, head over to our guide for a walkthrough and useful tips!
Gibdos, head over to our guide for a walkthrough and useful tips!
How to Solve Riju’s Mural Riddle in Gerudo
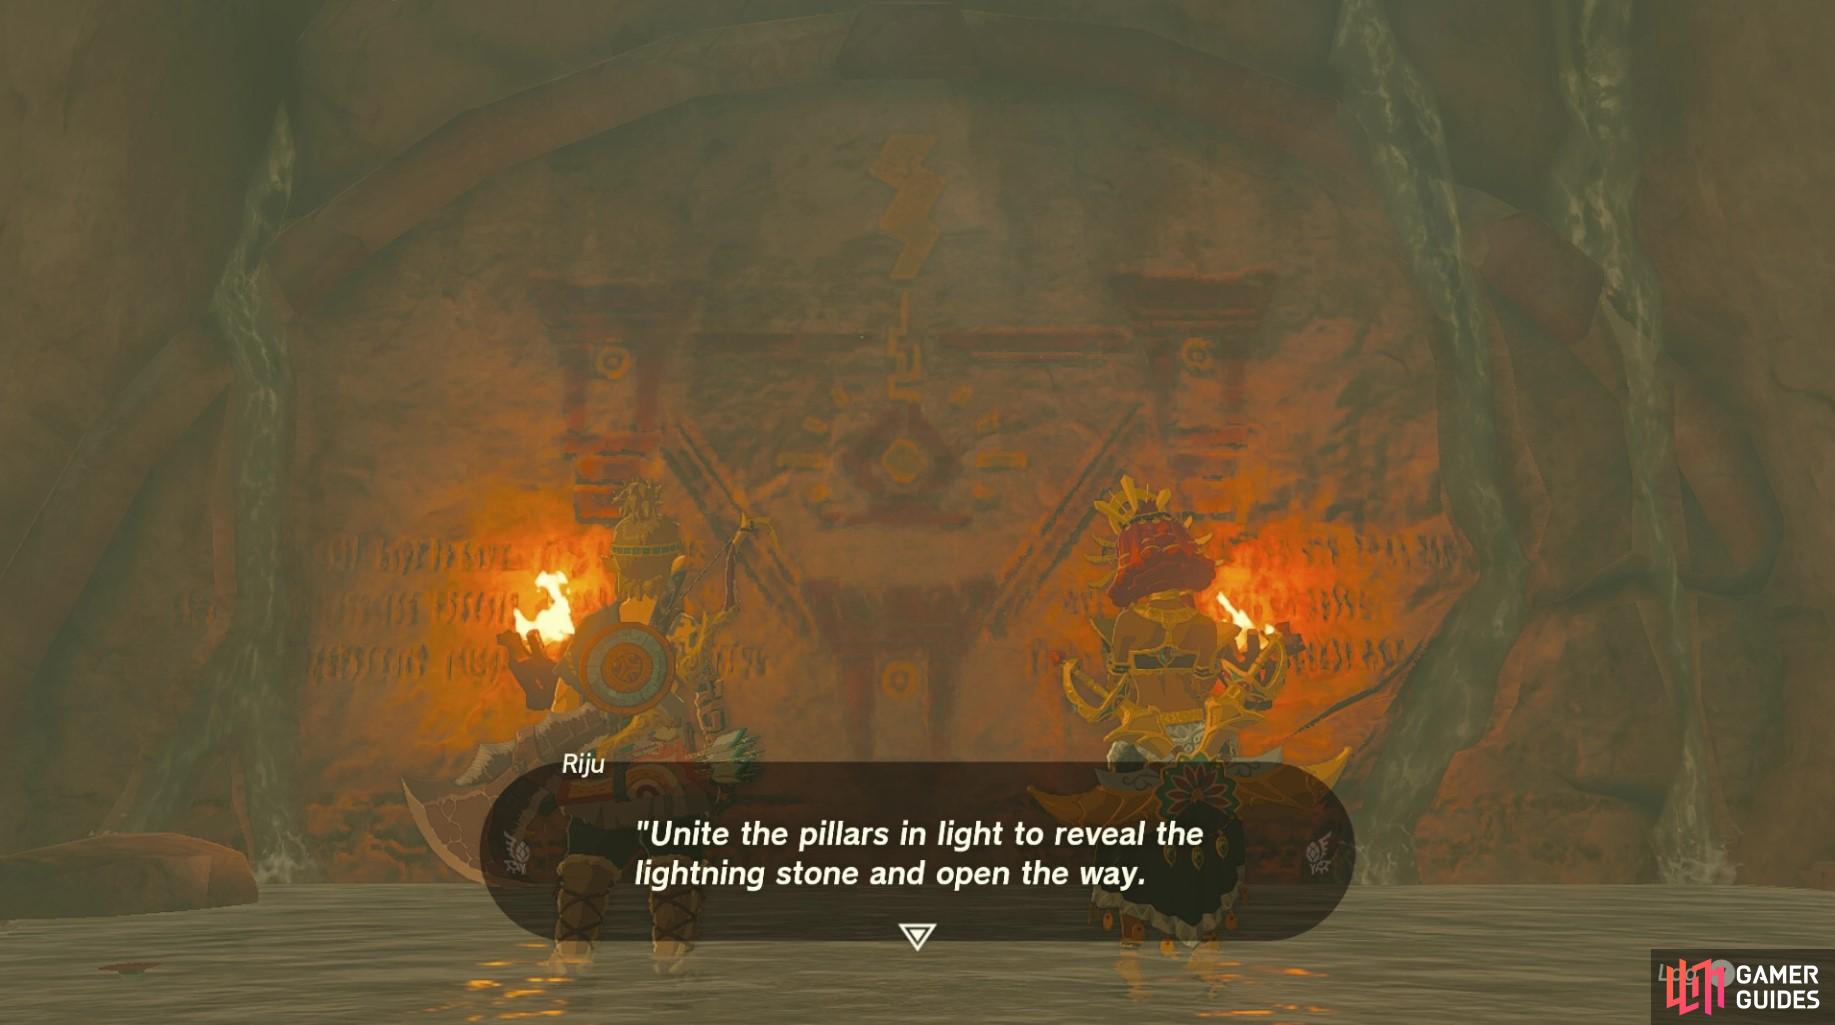
After defending Gerudo Town, speak with Riju in the throne room and she’ll ask you to meet her in the basement area below. Head down and proceed to the back of the basement area to find Riju at a mural. The mural is a riddle that reads: “*Standing back-to-back with the throne, witness red pillars across a vast sea. Unite the pillars in light to reveal the lightning stone and open the way.”*
(1 of 2) The mural will give you a riddle
The mural will give you a riddle (left), which you must solve to find the Lightning Temple. (right)
This riddle’s first clue to finding the Lightning Temple is to locate the red pillars - these can be found behind Gerudo Town. Head up to ![]() Soryotanog Shrine above the throne room and look out to locate the first set of three red pillars. Paraglide over to them and bash the ground in the middle of the pillars to release a beam of light. If you don’t already have a boulder/rock fused weapon, you can find a rock nearby you can use to fuse to a weapon of your choice.
Soryotanog Shrine above the throne room and look out to locate the first set of three red pillars. Paraglide over to them and bash the ground in the middle of the pillars to release a beam of light. If you don’t already have a boulder/rock fused weapon, you can find a rock nearby you can use to fuse to a weapon of your choice.
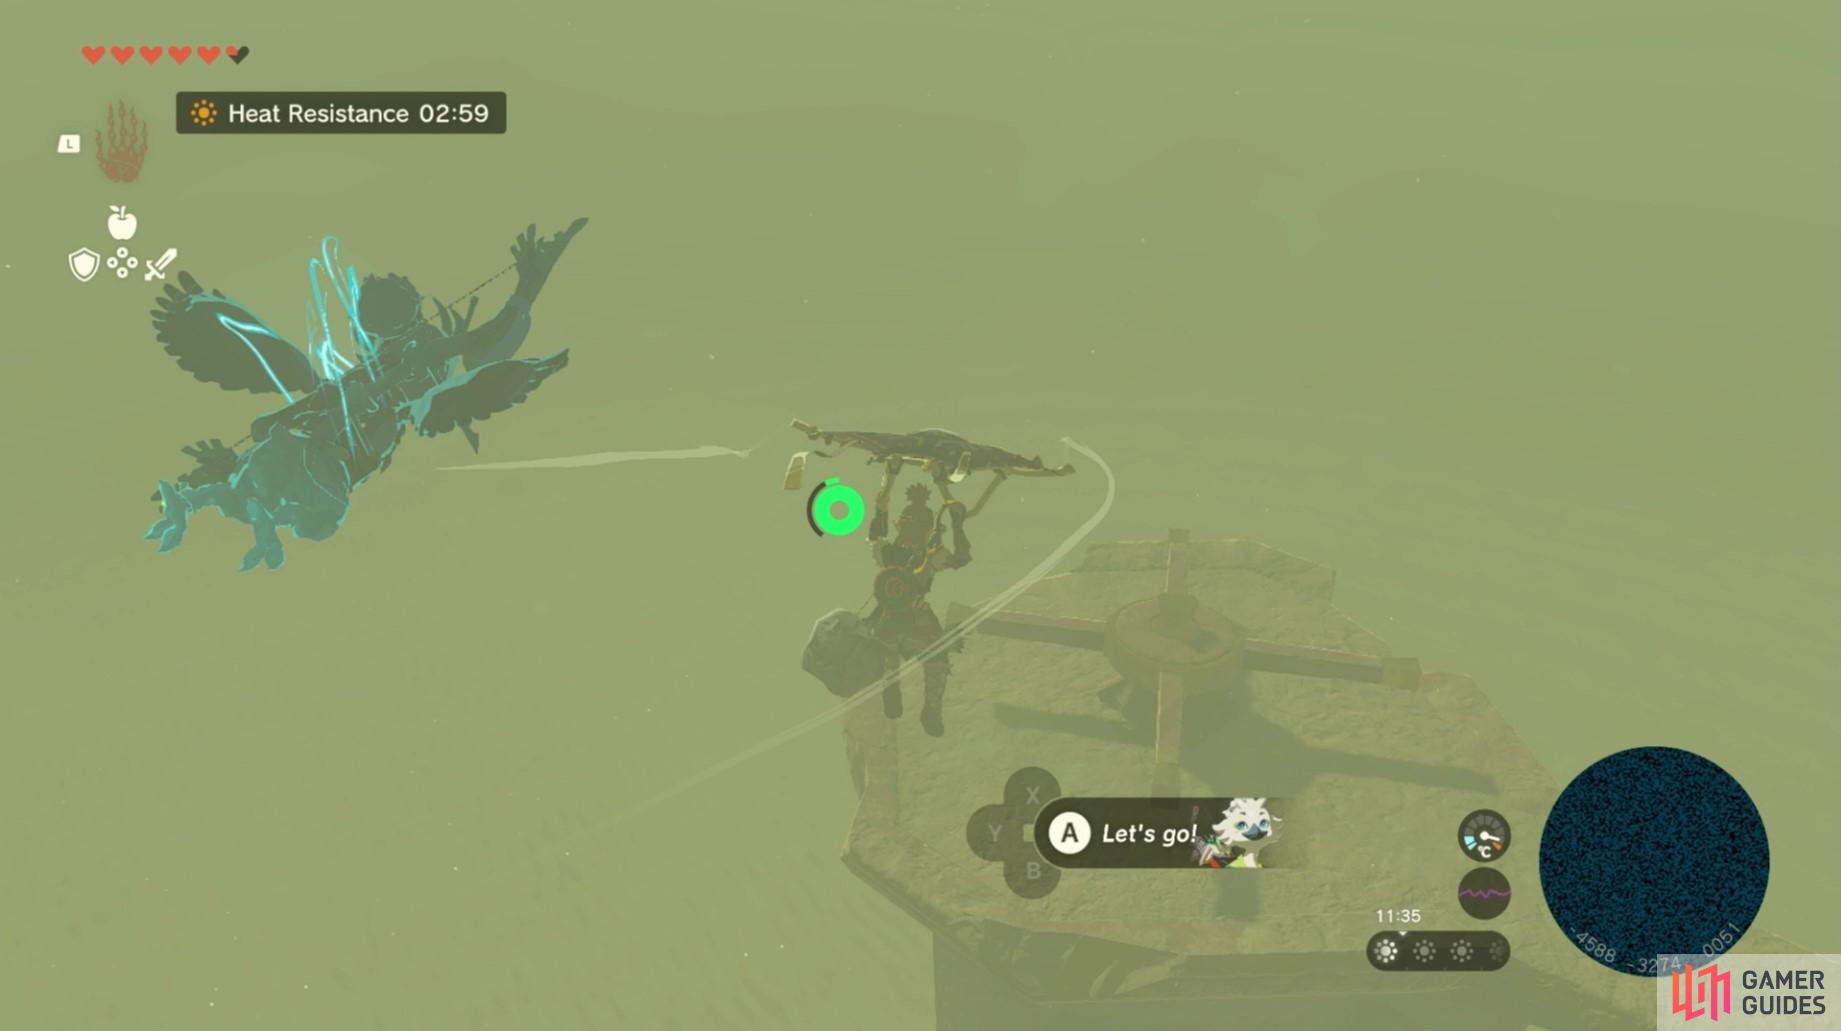
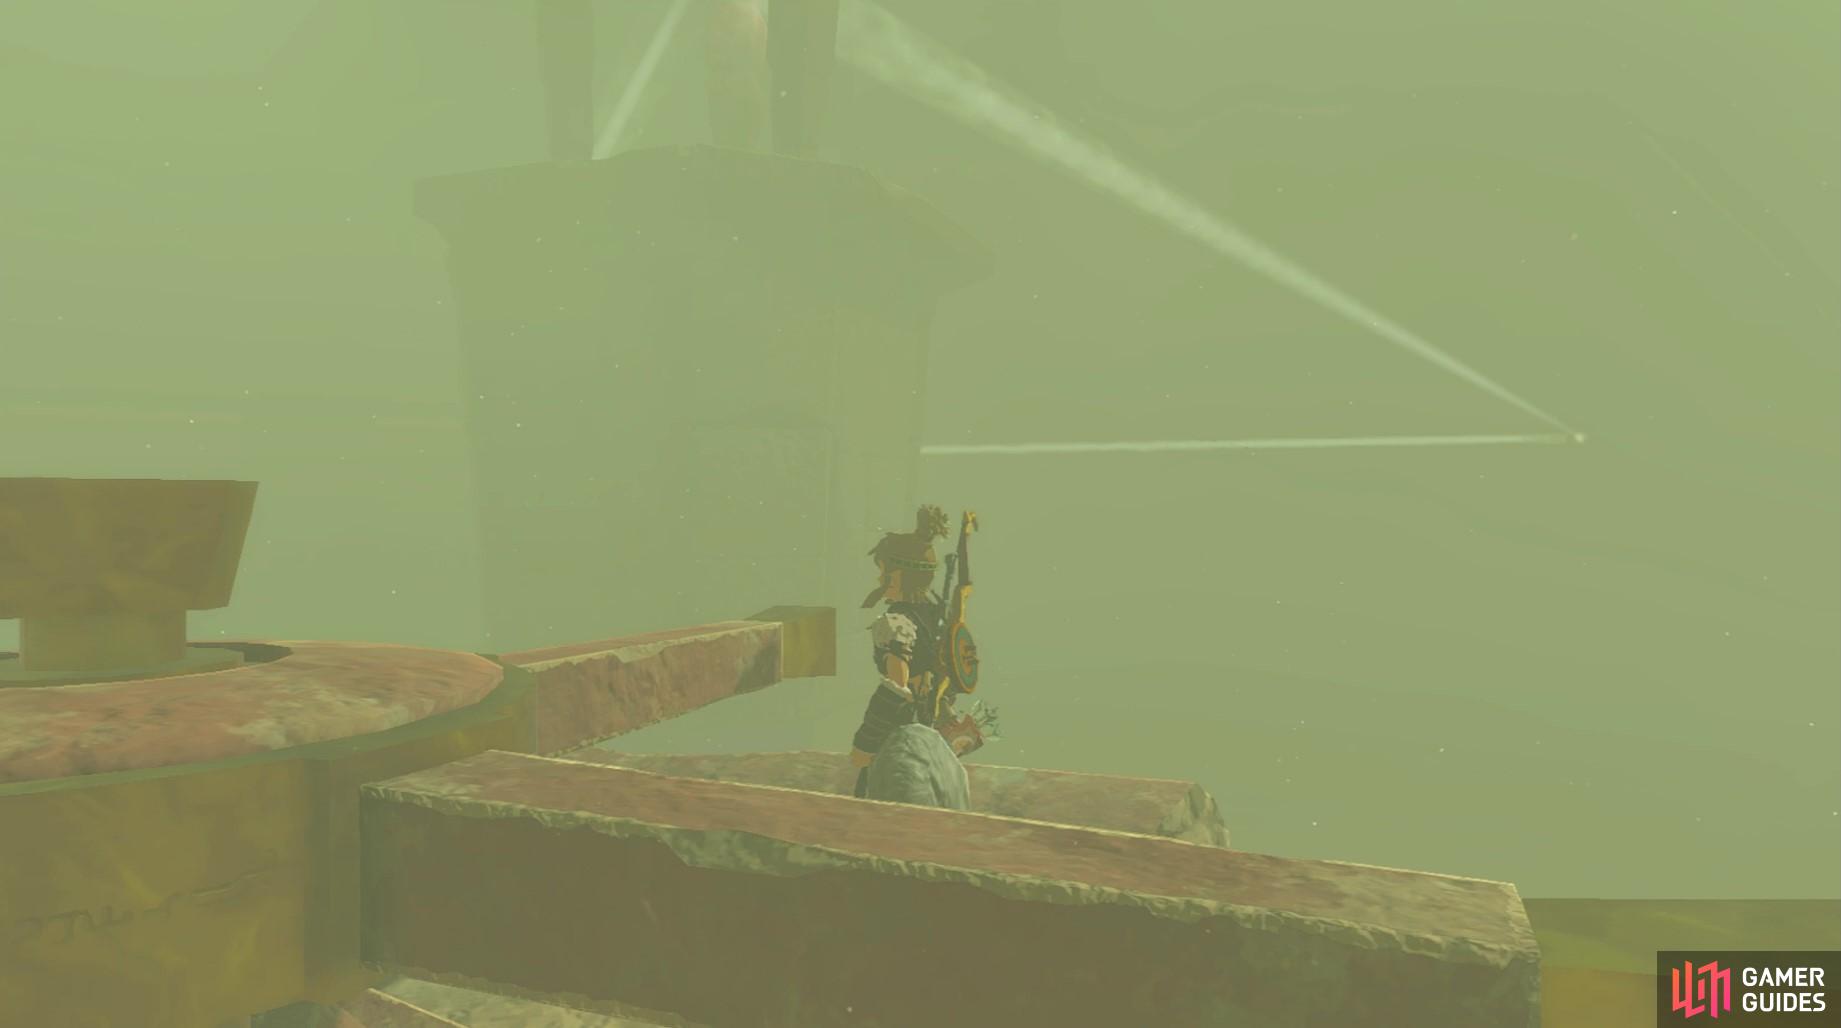
The light beam will shoot upwards and then hit a mirror, sending the beam outwards. Your next goal will be to follow the beam to find the next set of pillars. You can go by foot, but we recommend paragliding and using the gusts of wind to keep yourself in the air. When you’ve reached the second set of pillars, look behind it slightly to find a shorter pillar with a turning wheel on it. Turn this wheel counter-clockwise and watch the lightbeam - you’re looking to get the light to hit another set of pillars in the distance. When you’ve hit the other mirror at the other set of pillars you’ll get a little cut scene to tell you you’ve succeeded!
(1 of 2) Fly to the wheel and turn it
Fly to the wheel and turn it (left), then watch the light beam and get it to hit the other pillars. (right)
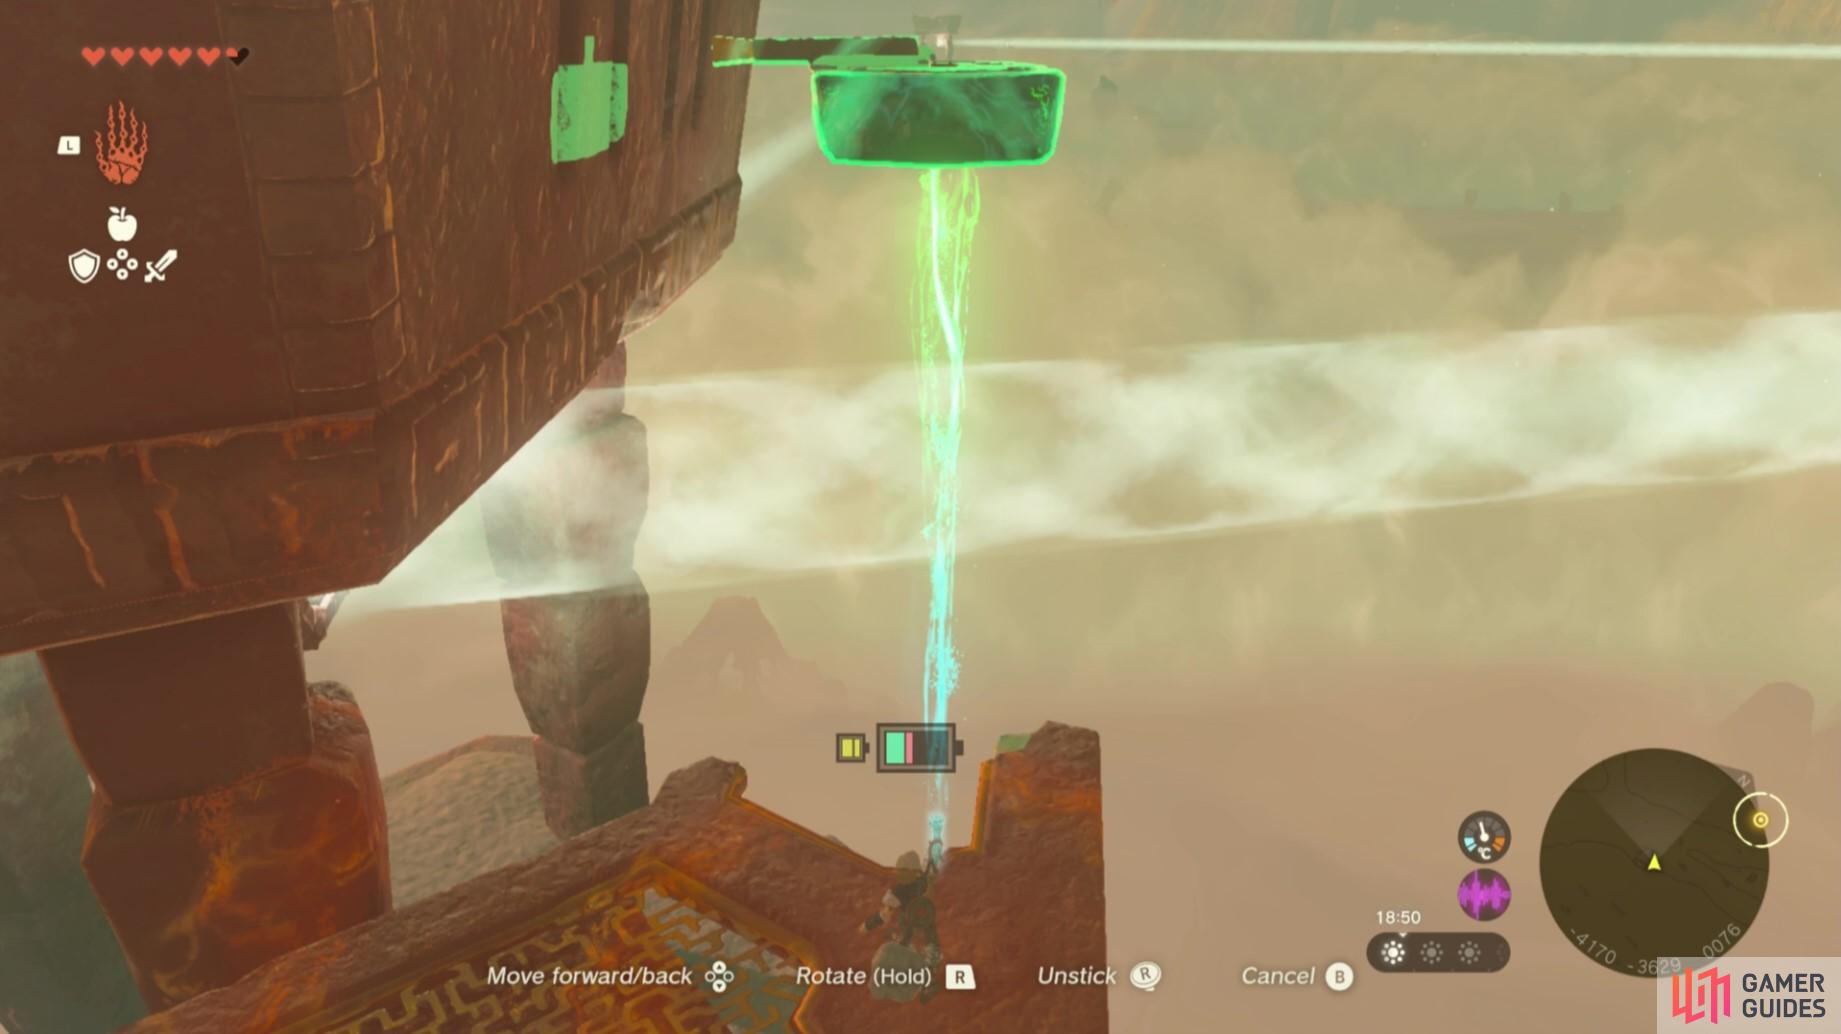
Next, fly over to the final set of pillars, using the light as your guide. When you arrive, you’ll want to smash the rocks in the middle of the pillars to reveal a set of Hover Stone zonai devices and some sticks. You’ll want to activate the hover stone and then attach one of the sticks to it. Then, lift it as high as you can, keeping it flesh to the platform to the left of the pillars. ![]() Ascend up onto the platform and use ultrahand to then move the hover stone up as high as you can again. Drop down and ascend onto the ceiling of the three pillars and pick up the stick from the hover stone. Attach it to the turning wheel and move the light beam until it hits the mirror at the center of the first set of pillars.
Ascend up onto the platform and use ultrahand to then move the hover stone up as high as you can again. Drop down and ascend onto the ceiling of the three pillars and pick up the stick from the hover stone. Attach it to the turning wheel and move the light beam until it hits the mirror at the center of the first set of pillars.
(1 of 2) then use it to turn the wheel and move the light beam!
then use it to turn the wheel and move the light beam! (left), Use the hover stone zonai device to get the stick up to the top of the pillars (right)
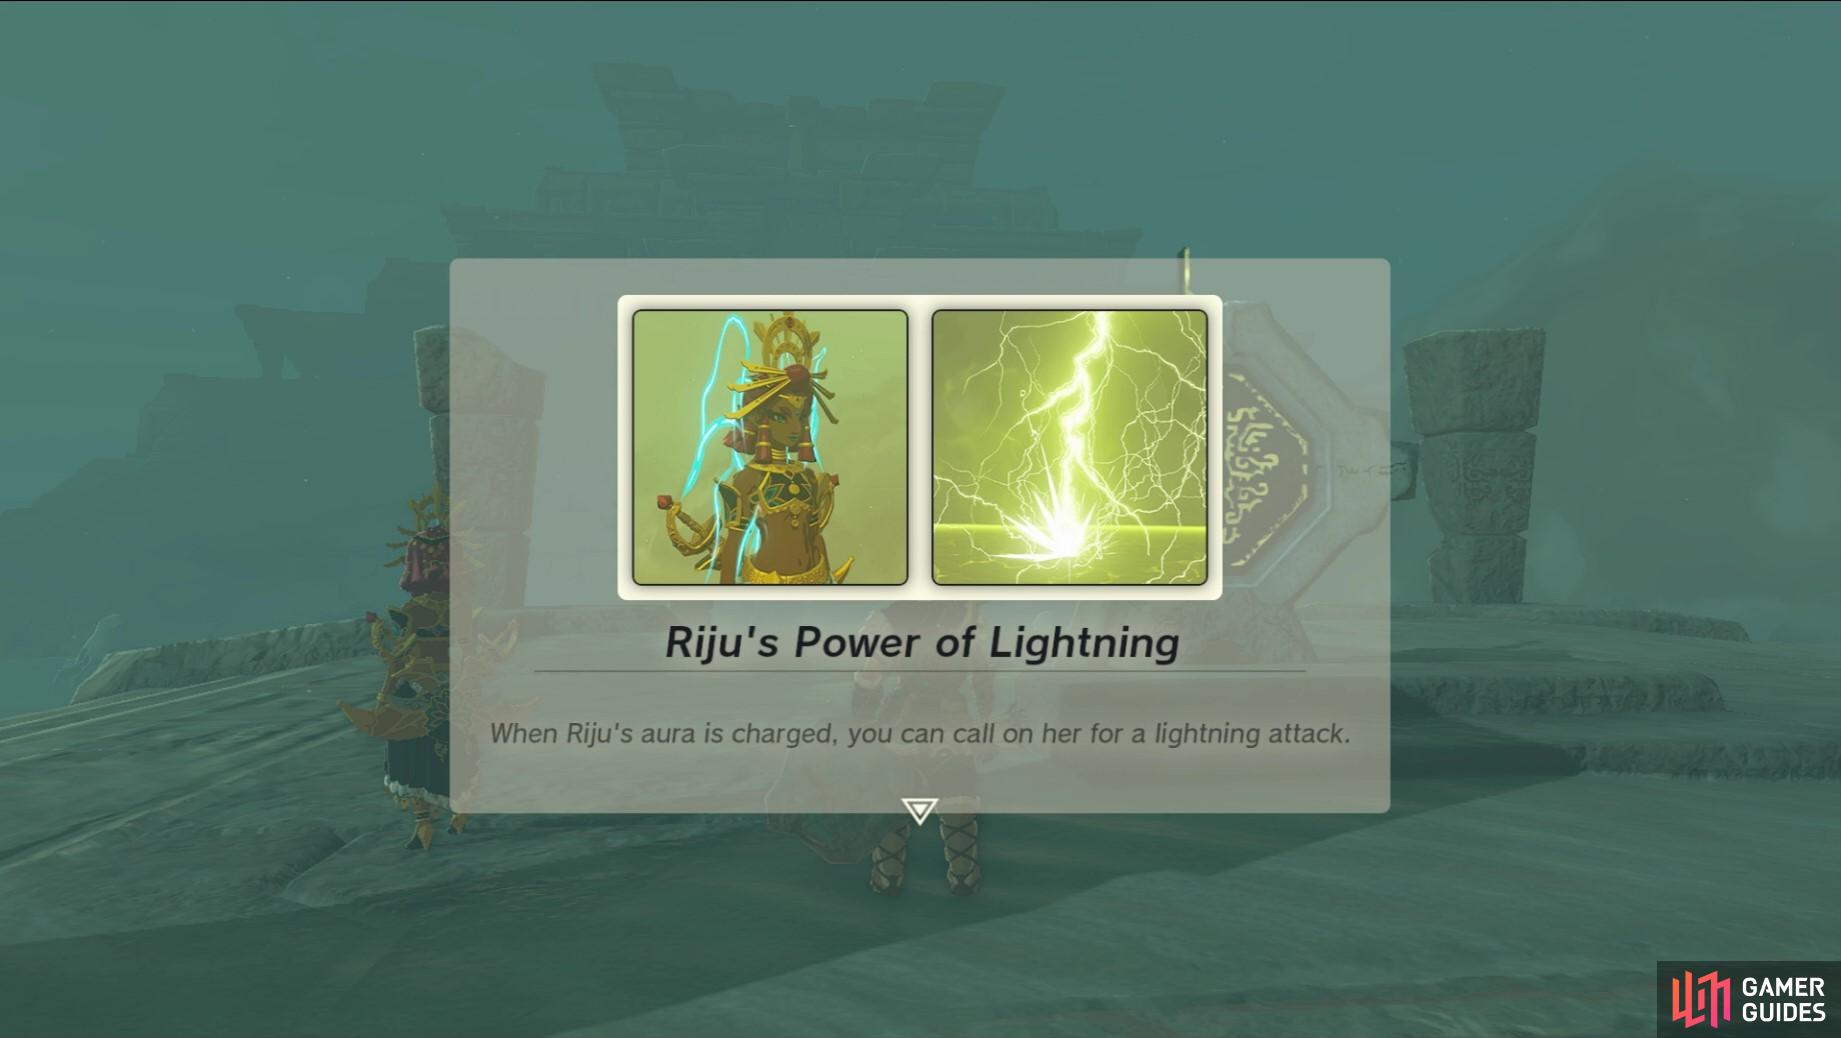
When you’ve done it right, you’ll have a triangle of light and directly at the center of this triangle the lightning stone will open up. Head to the center and you’ll trigger a cut scene which leads to you unlocking Riju’s Power of Lightning and revealing the !Lightning Temple.
Riju’s Power of Lightning.
How to Reach the Lightning Temple
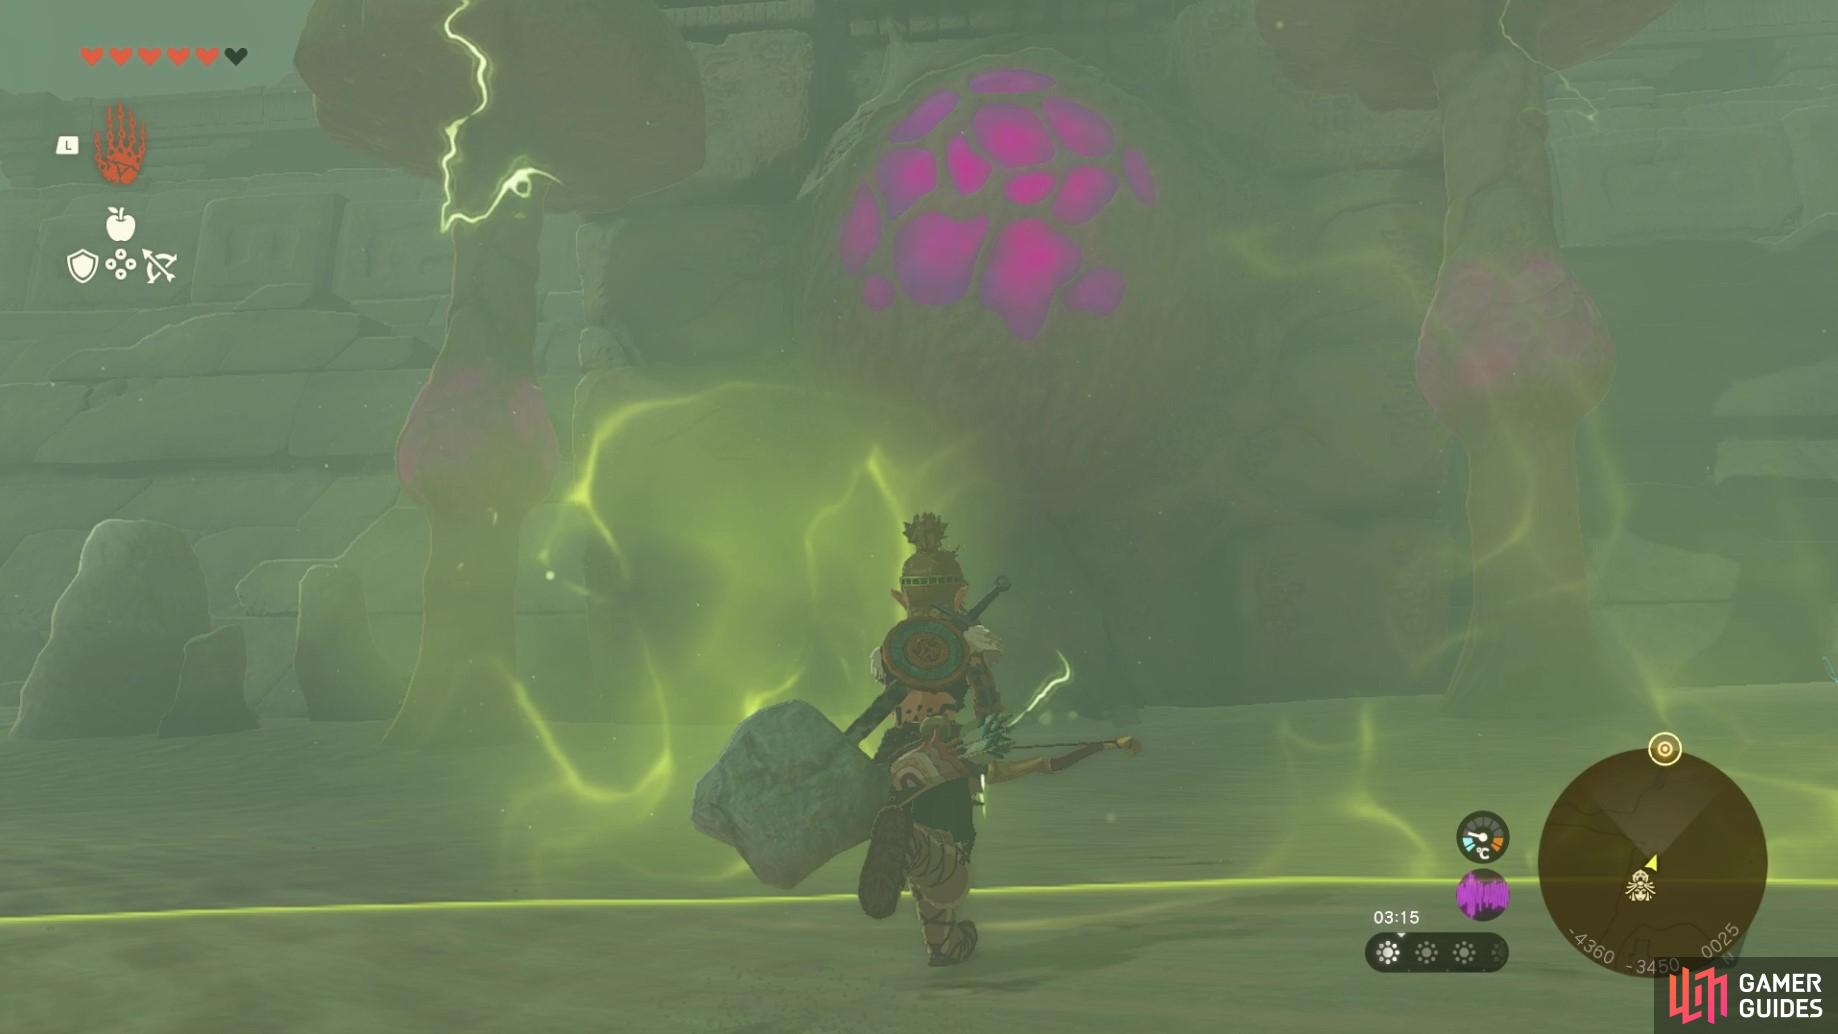
Before we can begin the puzzles of the Lightning Temple, you’ll first have to actually get inside the dungeon and make your way to the center! As you approach the temple, your first task will be to use Riju’s lightning to shoot the glowing pink part of the mushroom up ahead. To equip it, stand close to Riju, press 
Shoot the glowing pink part of the mushroom to start the lightning temple!
How to Beat Queen Gibdo (Outside the Temple)
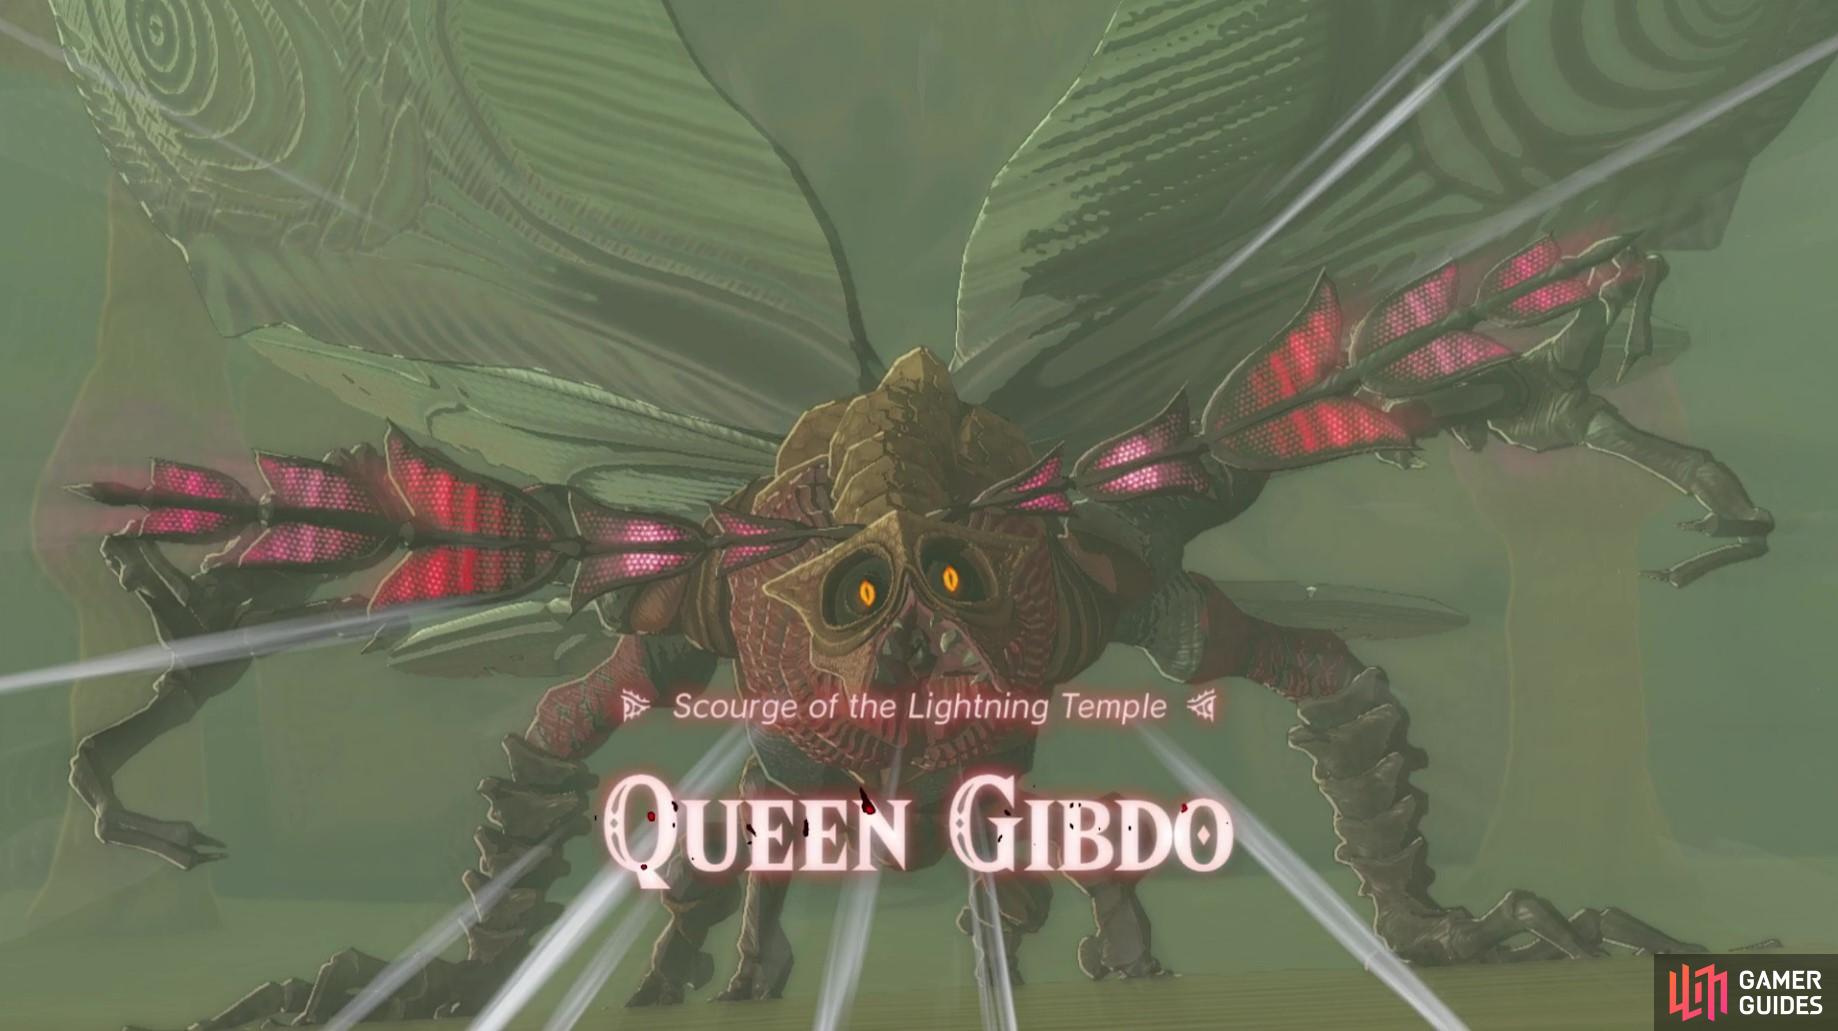
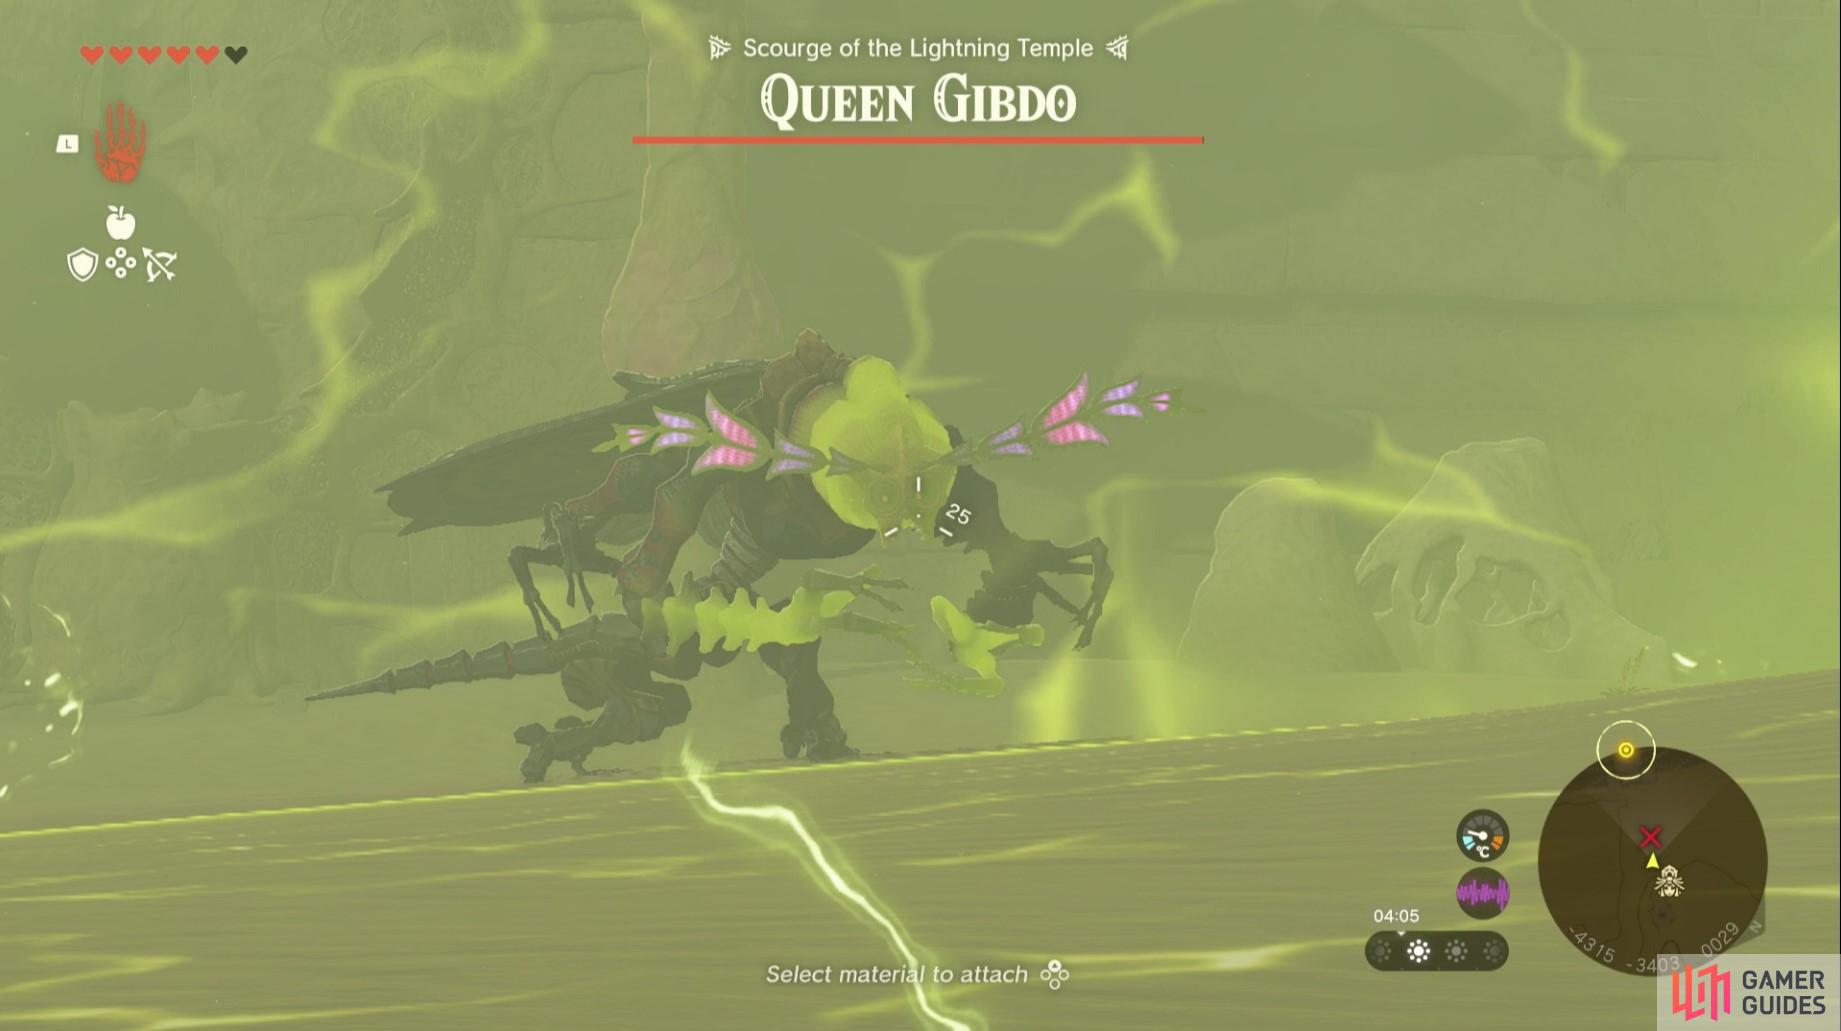
Queen Gibdo is the big (or bug, heh) boss fight of this temple, and though you encounter her here, you won’t be defeating her just yet. In fact, during this fight, you’ll only be required to damage her to around 70% health before she abandons the fight and leaves you to enter the shrine.
Before you can get into the Lightning Temple, you’ll need to fight Queen Gibdo!
The first time you enter into the fight, she’ll charge right at you. Use this opportunity to get in big damage but avoid getting run down! To damage her, you’ll need to activate Riju’s lightning field and then shoot at !Queen Gibdo. This will do a pretty big chunk of damage.
After hitting her for the first time, she’ll go into camouflage mode and send out a series of tornadoes - these hurt and will also deflect arrows so make sure to avoid them! Focus on hitting her with lightning charged arrows and after damaging her for around 30% of her health she’ll fly away - this will take around two or three lightning charged bow and arrow attacks.
Shoot the !Queen Gibdo whilst she’s in the lightning field.
How to Enter the Lightning Temple
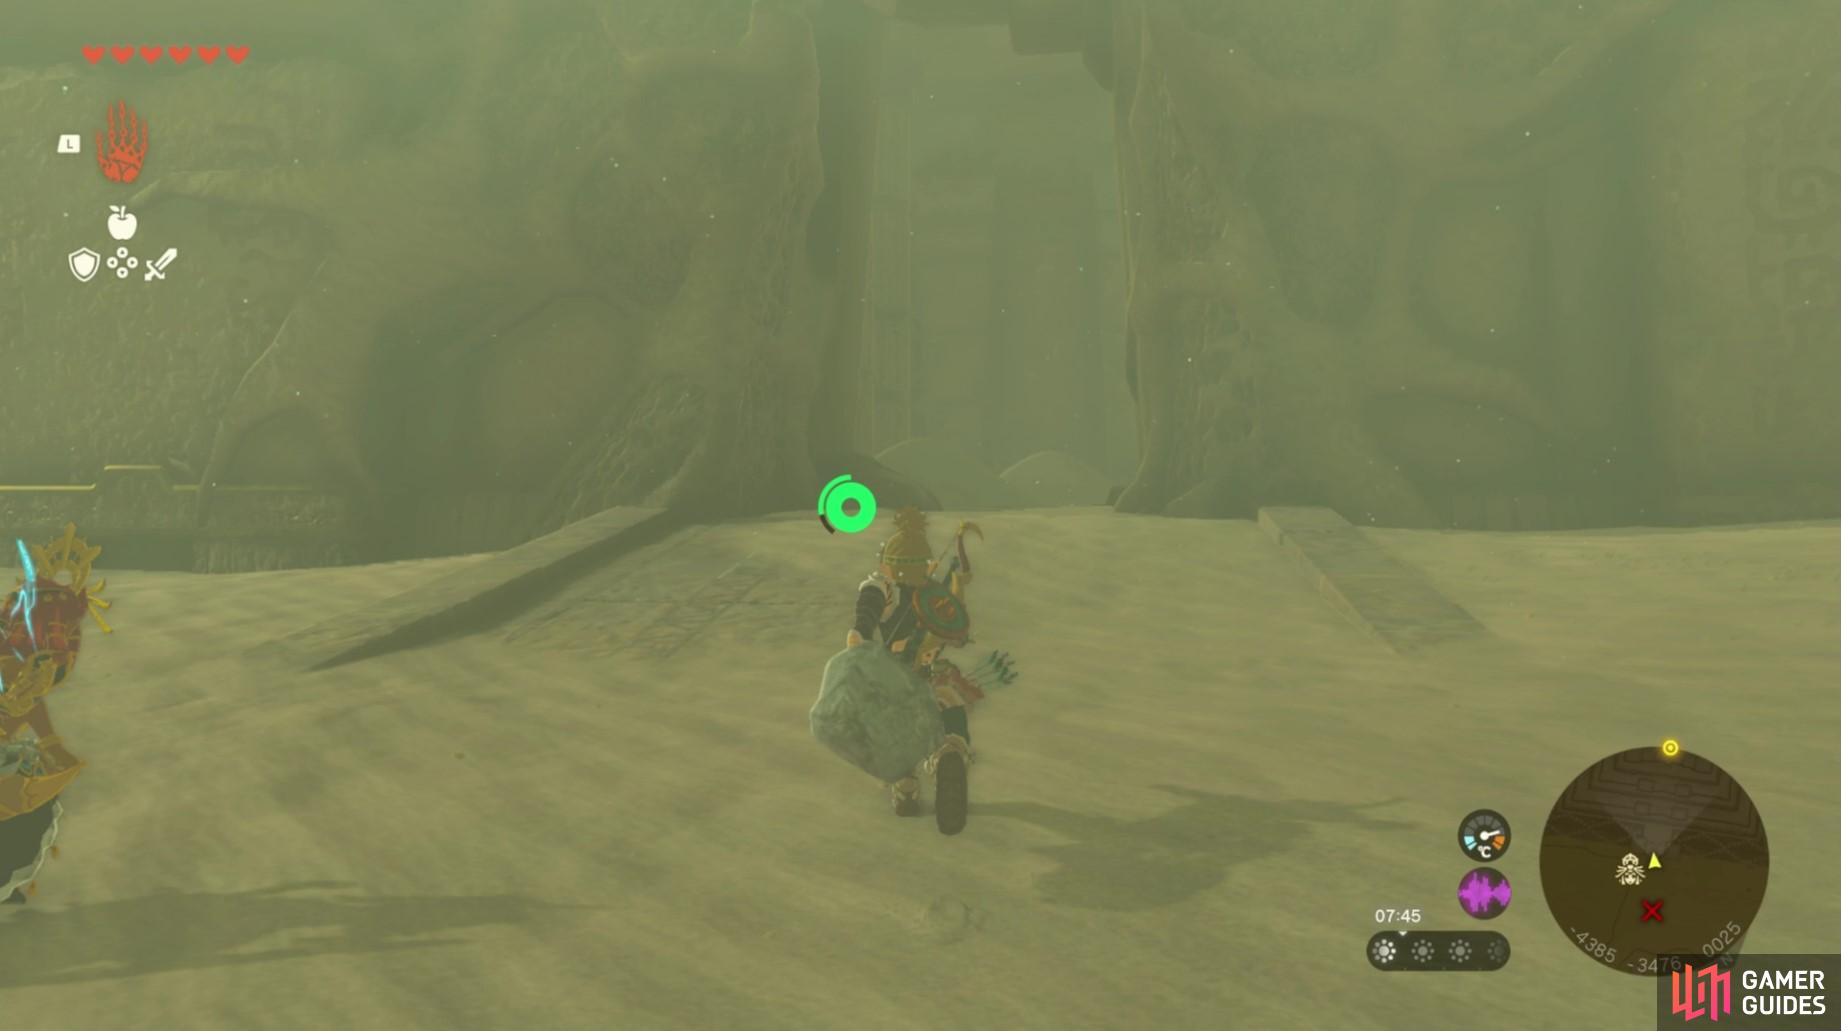
Once she’s flown away you’ll be able to enter into the temple once you shoot at the pink glowing mushroom blocking the door, but first you’ll want to take care of the minor Gibdo enemies coming from the mushrooms on either side of the temple. First, use Riju’s lightning to destroy the mushrooms then take out the remaining Gibdo.
Head over to our guide on how to continue into the temple to solve its puzzles!
The Lightning Temple awaits!



 Sign up
No Comments