Building various contraptions is a fun, and sometimes necessary, activity in The Legend of Zelda: Tears of the Kingdom. Initially, you will have Ultrahand to help you build these things, but as you progress through the game, you will unlock an important ability that makes building a lot easier. This is Autobuild and not only does it keep track of the many things you build over the course of the game, there are also some schematics you can find for prebuilt contraptions.
Schema Stones will be found at all of the major abandoned mines in the Depths.
How to Unlock Autobuild in Tears of the Kingdom
![]() Autobuild is likely the last ability you will unlock for Link in the game. Before you can go for this, you will need to have completed
Autobuild is likely the last ability you will unlock for Link in the game. Before you can go for this, you will need to have completed ![]() Camera Work in the Depths, which is gotten from
Camera Work in the Depths, which is gotten from ![]() Lookout Landing. Once you’ve done that, you will also need to make sure you’ve completed one of the four steps in
Lookout Landing. Once you’ve done that, you will also need to make sure you’ve completed one of the four steps in ![]() Regional Phenomena. It’s important to remember that you don’t technically have to do the above, as it’s possible to stumble upon the ability while just exploring. If actually going for the appropriate quest, though, head back to Lookout Landing after doing the above prerequisites.
Regional Phenomena. It’s important to remember that you don’t technically have to do the above, as it’s possible to stumble upon the ability while just exploring. If actually going for the appropriate quest, though, head back to Lookout Landing after doing the above prerequisites.
Speak with ![]() Josha there to learn about some structure down in the Depths, and that the statues there seem to be pointing towards it. Note that the statue mentioned is the one you photographed in
Josha there to learn about some structure down in the Depths, and that the statues there seem to be pointing towards it. Note that the statue mentioned is the one you photographed in ![]() Camera Work in the Depths. It’s best to continue off from that one statue you photographed, then follow the direction it points. Continue following the statues, activating any other Lightroots you find along the way, until you reach the Great Abandoned Central Mine. There will be a Zonai Construct you can interact with here, so do that to get Autobuild.
Camera Work in the Depths. It’s best to continue off from that one statue you photographed, then follow the direction it points. Continue following the statues, activating any other Lightroots you find along the way, until you reach the Great Abandoned Central Mine. There will be a Zonai Construct you can interact with here, so do that to get Autobuild.
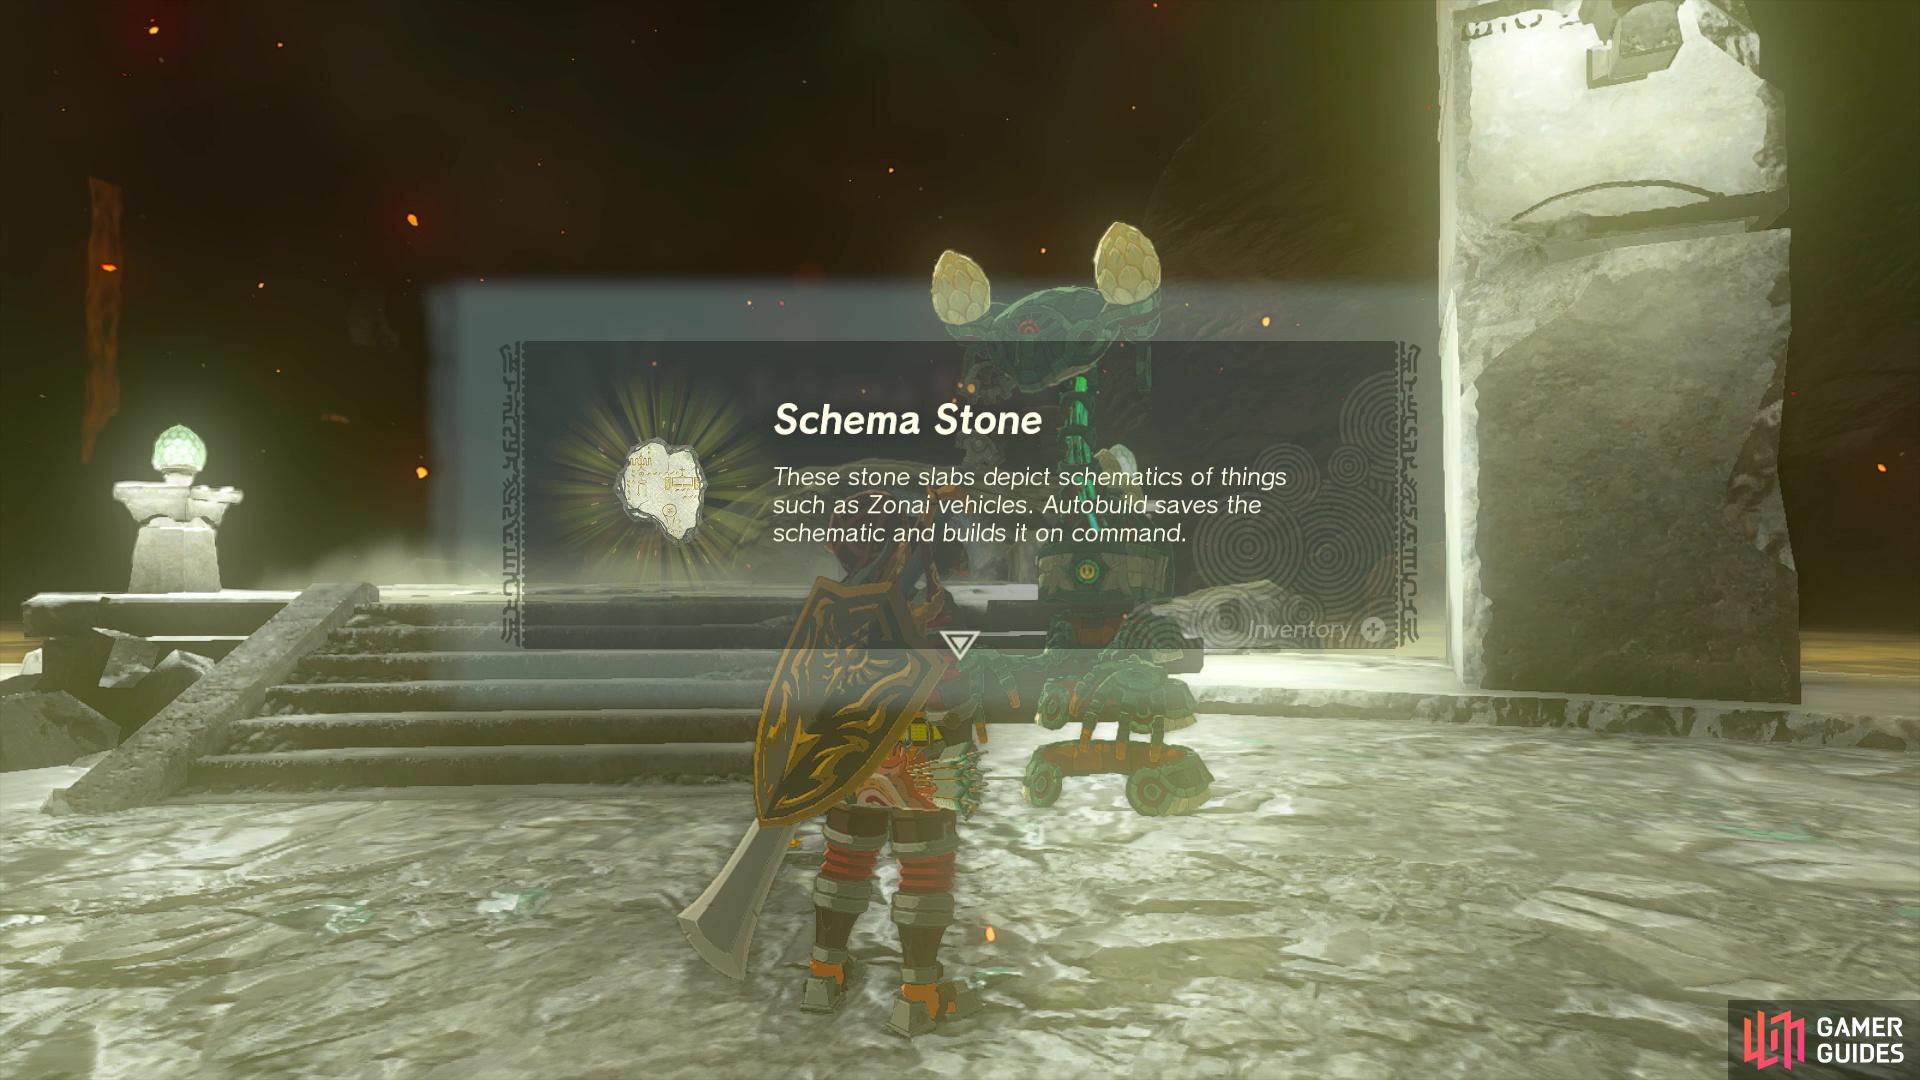
(1 of 2) You’ll need to get Autobuild to use the Schema Stones.
You’ll need to get Autobuild to use the Schema Stones. (left), Before you’ll get to use it, you’ll have to fight Master Kohga. (right)
Note that doing this will also trigger a boss battle against ![]() Master Kohga. If you wish to know more about that fight, visit the How to Beat Master Kohga at the Great Abandoned Central Mine page. Defeating him will also start the
Master Kohga. If you wish to know more about that fight, visit the How to Beat Master Kohga at the Great Abandoned Central Mine page. Defeating him will also start the ![]() Master Kohga of the Yiga Clan side adventure. It’s a good idea to do this along with obtaining all of the
Master Kohga of the Yiga Clan side adventure. It’s a good idea to do this along with obtaining all of the ![]() Schema Stones, as the other three battles will put you at three of the required locations. It should also be noted that the Construct you get the Schema Stone off of will supply the parts needed to make it at that location. It’s a good idea to do that, as each device should lead you to a location with a chest, that contains a
Schema Stones, as the other three battles will put you at three of the required locations. It should also be noted that the Construct you get the Schema Stone off of will supply the parts needed to make it at that location. It’s a good idea to do that, as each device should lead you to a location with a chest, that contains a ![]() Large Crystallized Charge (used to increase your battery).
Large Crystallized Charge (used to increase your battery).
Great Abandoned Central Mine Schema Stone
This one is simple, since the way to reach this location is listed above. The Great Abandoned Central Mine is home to many different things, like the place to get Autobuild, the start of the side adventure mentioned above, as well as the home of one of the Schema Stones. After defeating Master Kohga, one of the Constructs at the mine will speak to you and tell you about Kohga’s next destination. It will also point out another Construct at the same mine, so go ahead and activate that one to get the Fanplane Schema Stone.
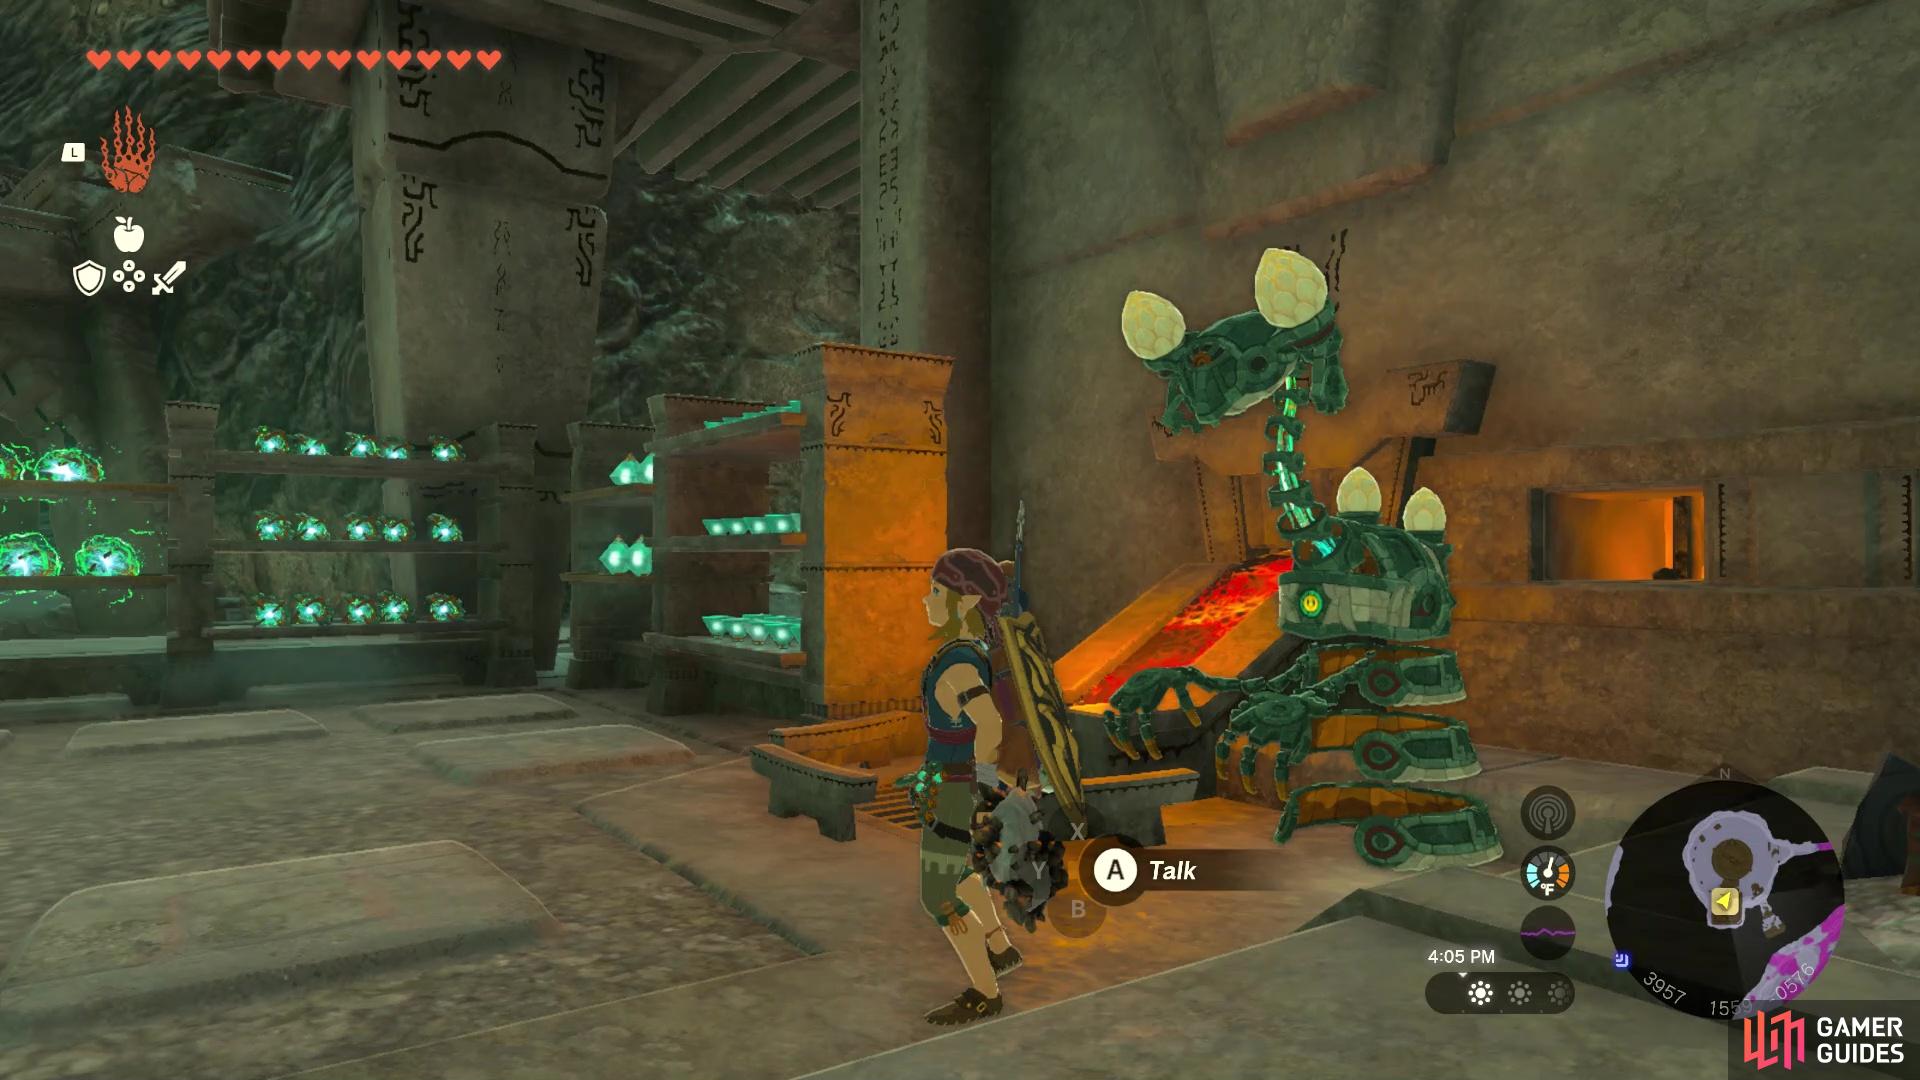
(1 of 2) Each abandoned mine will have a chest that contains a Large Crystallized Charge
Each abandoned mine will have a chest that contains a Large Crystallized Charge (left), as well as a forge shop, where you can trade in items for more Crystallized Charges. (right)
Abandoned Kara Kara Mine Schema Stone
Located under the Kara Kara Bazaar, you have two options on how to reach the Depths in that area. To the southeast is the East Gerudo Chasm, while north of the bazaar will be the Birida Lookout Chasm. The latter might be easier, since you will be at a higher elevation than the former option. Once you land in the Depths from the Birida Lookout Chasm, glide to the southeast and head straight for the Tatayam Lightroot that should be seeing. This Lightroot is literally right outside of the mine, so you’re a hop, skip and a jump away from it.
Locate the Construct and activate it to receive the Instant Scaffold Schema Stone. Right next to the materials, you should see a tall tower structure. Activate Autobuild to make the scaffold, then use ![]() Ascend to get to the top of the pillar, where you’ll find the chest with the Large Crystallized Charge.
Ascend to get to the top of the pillar, where you’ll find the chest with the Large Crystallized Charge.
Abandoned Gerudo Mine Schema Stone
If you’ve already gone to the Abandoned Kara Kara Mine, then you’re very close to the Abandoned Gerudo Mine. South of the Kara Kara Mine is the Mihcihc Lightroot, then west of that will be the mine (along with the Gonatoyros Lightroot). If you’ve gotten the Autobuild ability, then you will find the second battle with Master Kohga here. You’ll need to defeat him before you can interact with the Constructs. Once you have, you will receive the Hovercraft Schema Stone. Just south of the mine, there is a patch of gloom and if you head over there with your new Hovercraft, you’ll find the chest with the Large Crystallized Charge.
Abandoned Kakariko Mine Schema Stone
The best route to get to this mine is via a chasm close to Kakariko Village itself. Once you have access to that place, head northeast of the village to find the East Hill Chasm, which is just outside of the town. Drop down the chasm, then start heading southwest to find the Arusakam Lightroot. Just south of the Lightroot will be the Abandoned Kakariko Mine. Speak to the one Construct there to get the Launch Pad Schema Stone, then make it with Autobuild to launch yourself over to the chest you see in the distance for the Large Crystallized Charge.
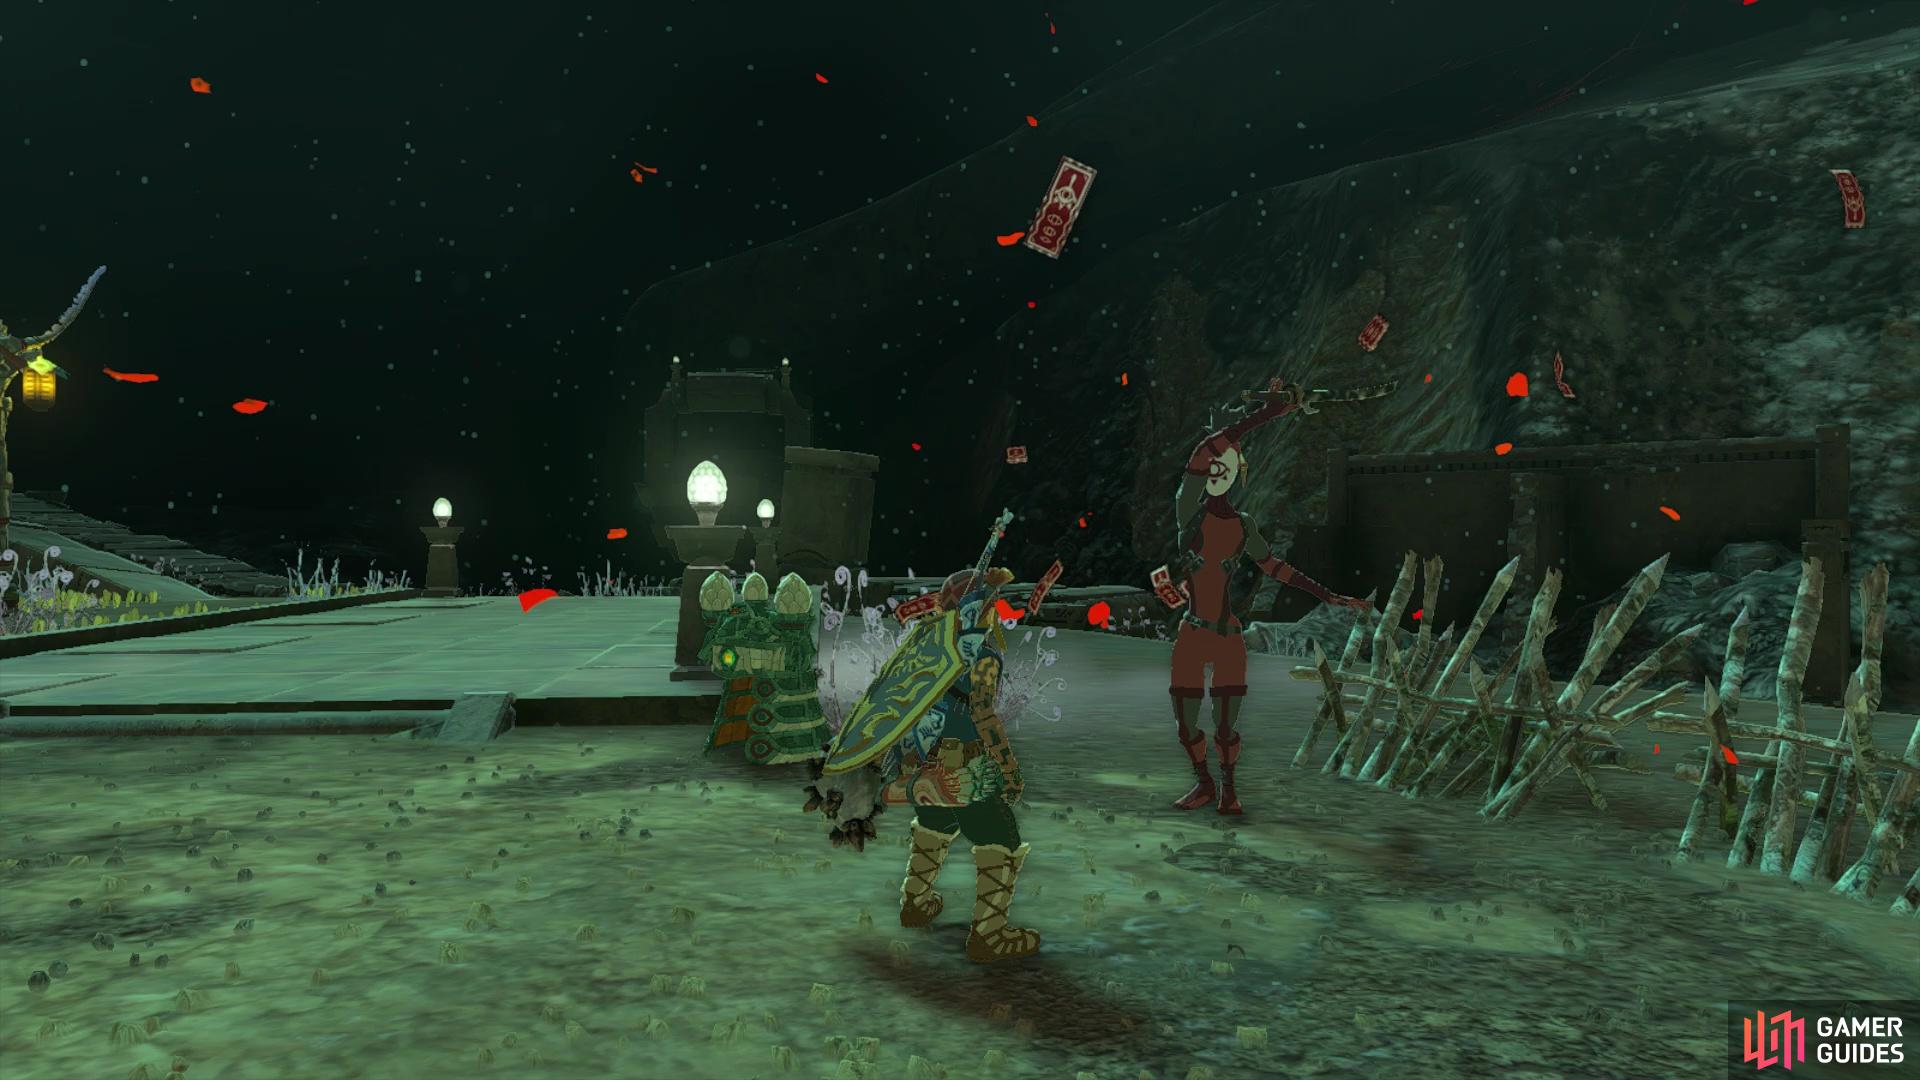
(1 of 2) At some mines, you might find Yiga that are posing as NPCs.
At some mines, you might find Yiga that are posing as NPCs. (left), Check for a chest at some Yiga outposts that may be at some of the abandoned mines. (right)
Abandoned Hateno Mine Schema Stone
This mine, as well as the next one, will start from the same chasm, which will be the ![]() Meda Mountain Chasm. Once you land in the Depths, head west a tiny bit for the Yikot Lightroot, then return back to the chasm drop point. You’re now going to be heading east, to right underneath the
Meda Mountain Chasm. Once you land in the Depths, head west a tiny bit for the Yikot Lightroot, then return back to the chasm drop point. You’re now going to be heading east, to right underneath the ![]() Zanmik Shrine on the Surface. If you know about the relationship between the Shrines and Lightroots, then the Kimnaz Lightroot will be right underneath it. This will also place you right at the Abandoned Hateno Mine, where you can speak to the Construct for the Bridge Schema Stone. You may need to defeat a Yiga soldier first, though.
Zanmik Shrine on the Surface. If you know about the relationship between the Shrines and Lightroots, then the Kimnaz Lightroot will be right underneath it. This will also place you right at the Abandoned Hateno Mine, where you can speak to the Construct for the Bridge Schema Stone. You may need to defeat a Yiga soldier first, though.
This schematic is a little annoying to build at the spot with the free items, since the bridge is pretty long and you’ll get caught on the terrain. However, once you do build it, use it as a ramp to reach the first pillar, then as a bridge over to the second pillar. The second pillar will have the chest with the Large Crystallized Charge.
Abandoned Lurelin Mine Schema Stone
If you did the Hateno Mine first, then fast travel back to the Yikot Lightroot and start heading southeast from there. You will find some mountains in the way, so you’ll need to go around them, but the goal is still southeast of that Lightroot. If you run into the Kotimab Lightroot, then you’re fairly close to the Abandoned Lurelin Mine. In fact, that Lightroot is just north of the Dunsel Canyon Mine, which is just east of the Lurelin Mine. Speak to the Construct to get the Dirigible Schema Stone, then use the balloon device to fly into the air. About halfway up the tower structure, you should see the chest on the one ledge, which is housing the Large Crystallized Charge.
Abandoned Tarrey Mine Schema Stone
You’ll find that this mine is a little annoying to get to, as it’s directly underneath Tarrey Town. There’s only one way into the mine, from the east, which means you’ll need to find the opening that allows you to get there. The East Akkala Plains Chasm is probably the best starting point, as there’s the least amount of obstacles in your way. Once you reach the Depths from there, head straight south until you hit some mountains. Follow the mountains south from there until you find the opening to the Abandoned Tarrey Mine.
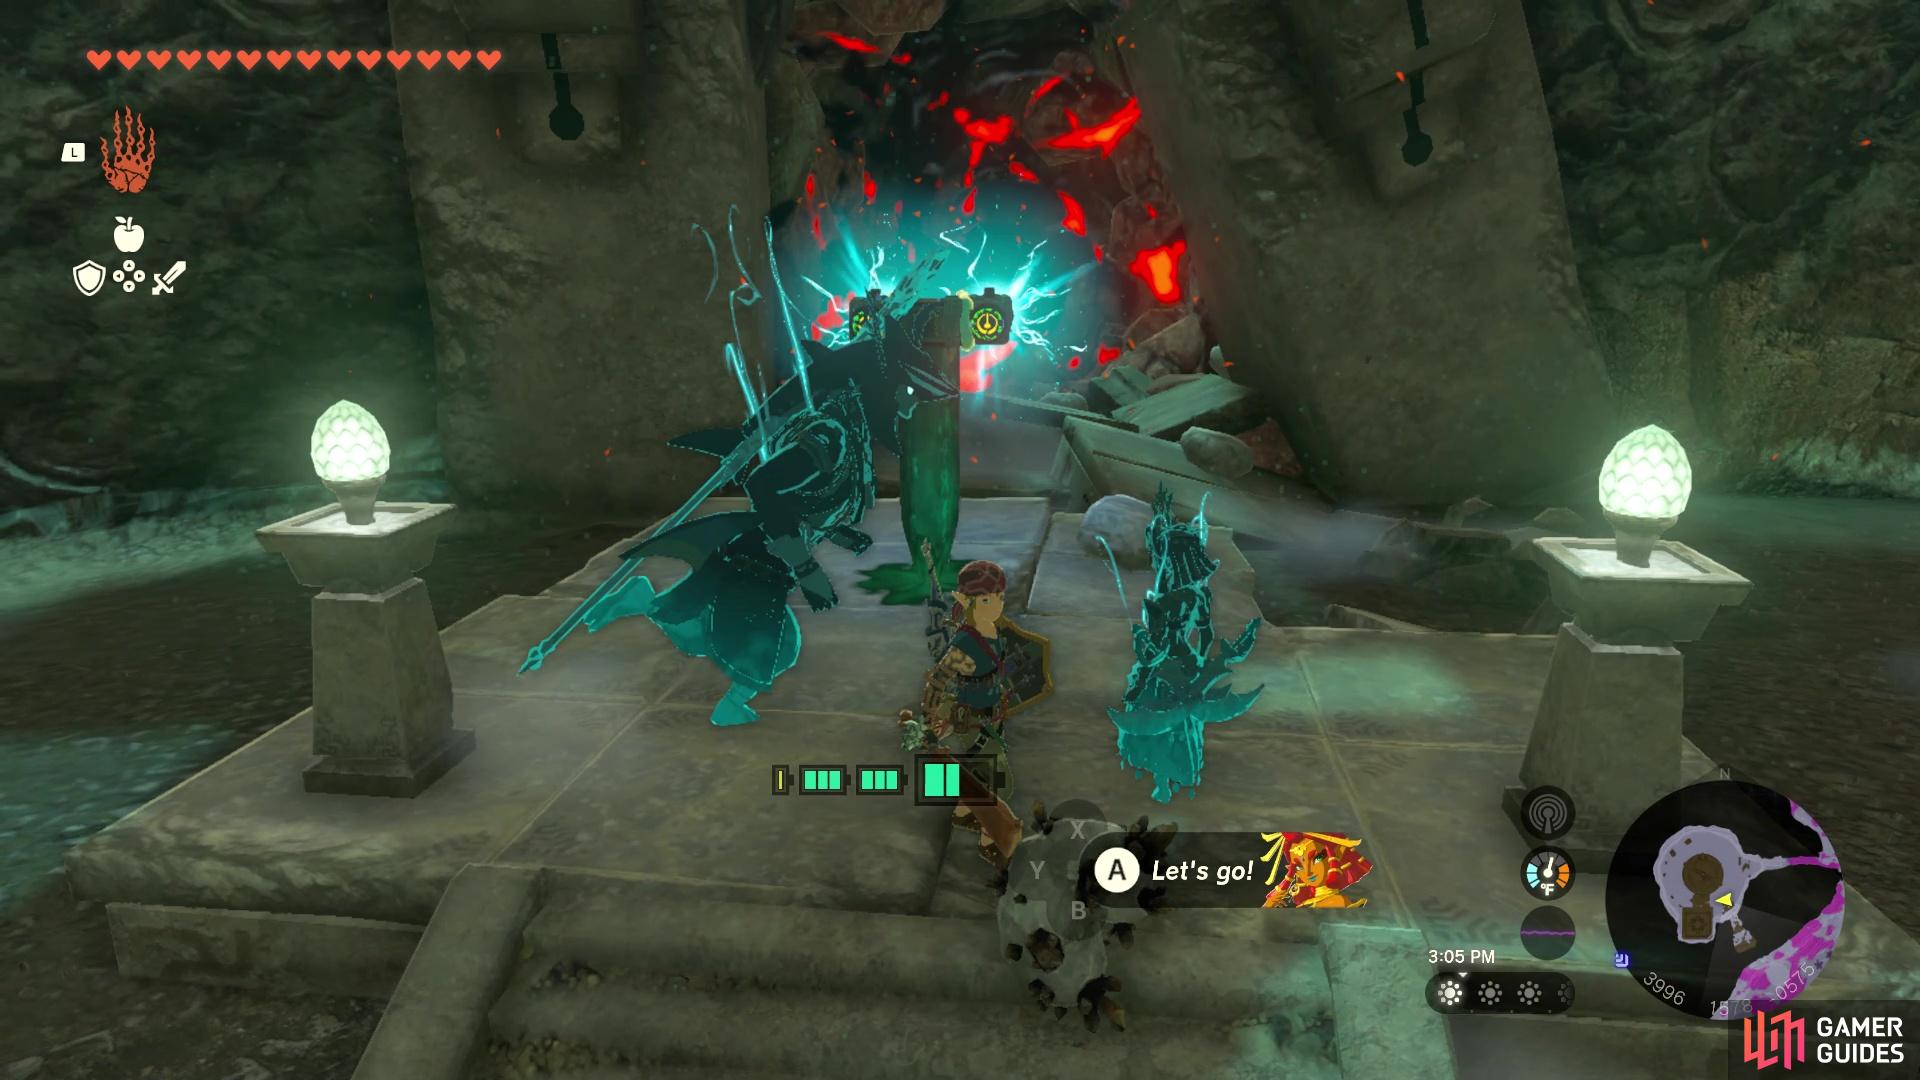
(1 of 3) The Kawikatisar Lightroot will make it easier to find the Tarrey Mine.
If you’re having trouble locating the tunnel that leads to the mine, then keep heading south from the previous spot, until you reach the Kawikatisar Lightroot. Activating this will light up the area and show you exactly where the mine is found. Once you’ve found it, head to the Construct to get the Instant Cannon Schema Stone. Build that and use it to destroy the breakable rocks nearby, which will be hiding the chest with the Large Crystallized Charge.
Abandoned Lanayru Mine Schema Stone
This might be a difficult to find mine, but there is one easy way to access it. At Zora’s Domain, there is a long bridge that serves as an entrance/exit to the place. As you pass over this bridge, you will go over a waterfall and that is the key ticket. There is a hidden cave at this waterfall, called ![]() Cave Under Zora’s Domain, where you’ll find the Chasm Under Zora’s Domain. Drop down here to arrive right at the Abandoned Lanayru Mine, but make sure you activate the
Cave Under Zora’s Domain, where you’ll find the Chasm Under Zora’s Domain. Drop down here to arrive right at the Abandoned Lanayru Mine, but make sure you activate the ![]() Kawagom Lightroot first. If you’ve been doing the Master Kohga side adventure, you will find the third battle here, and you’ll need to defeat him before you can speak with the Construct.
Kawagom Lightroot first. If you’ve been doing the Master Kohga side adventure, you will find the third battle here, and you’ll need to defeat him before you can speak with the Construct.
Once you do defeat him, find the Construct to get the Bolt Boat Schema Stone. Build this, like the other times, then look for a lone, little island off in the near distance. You’ll know it’s the right spot, as there will be some Octoroks in the water near it. That little island is where the chest with the Large Crystallized Charge is located.
Abandoned Hebra Mine Schema Stone
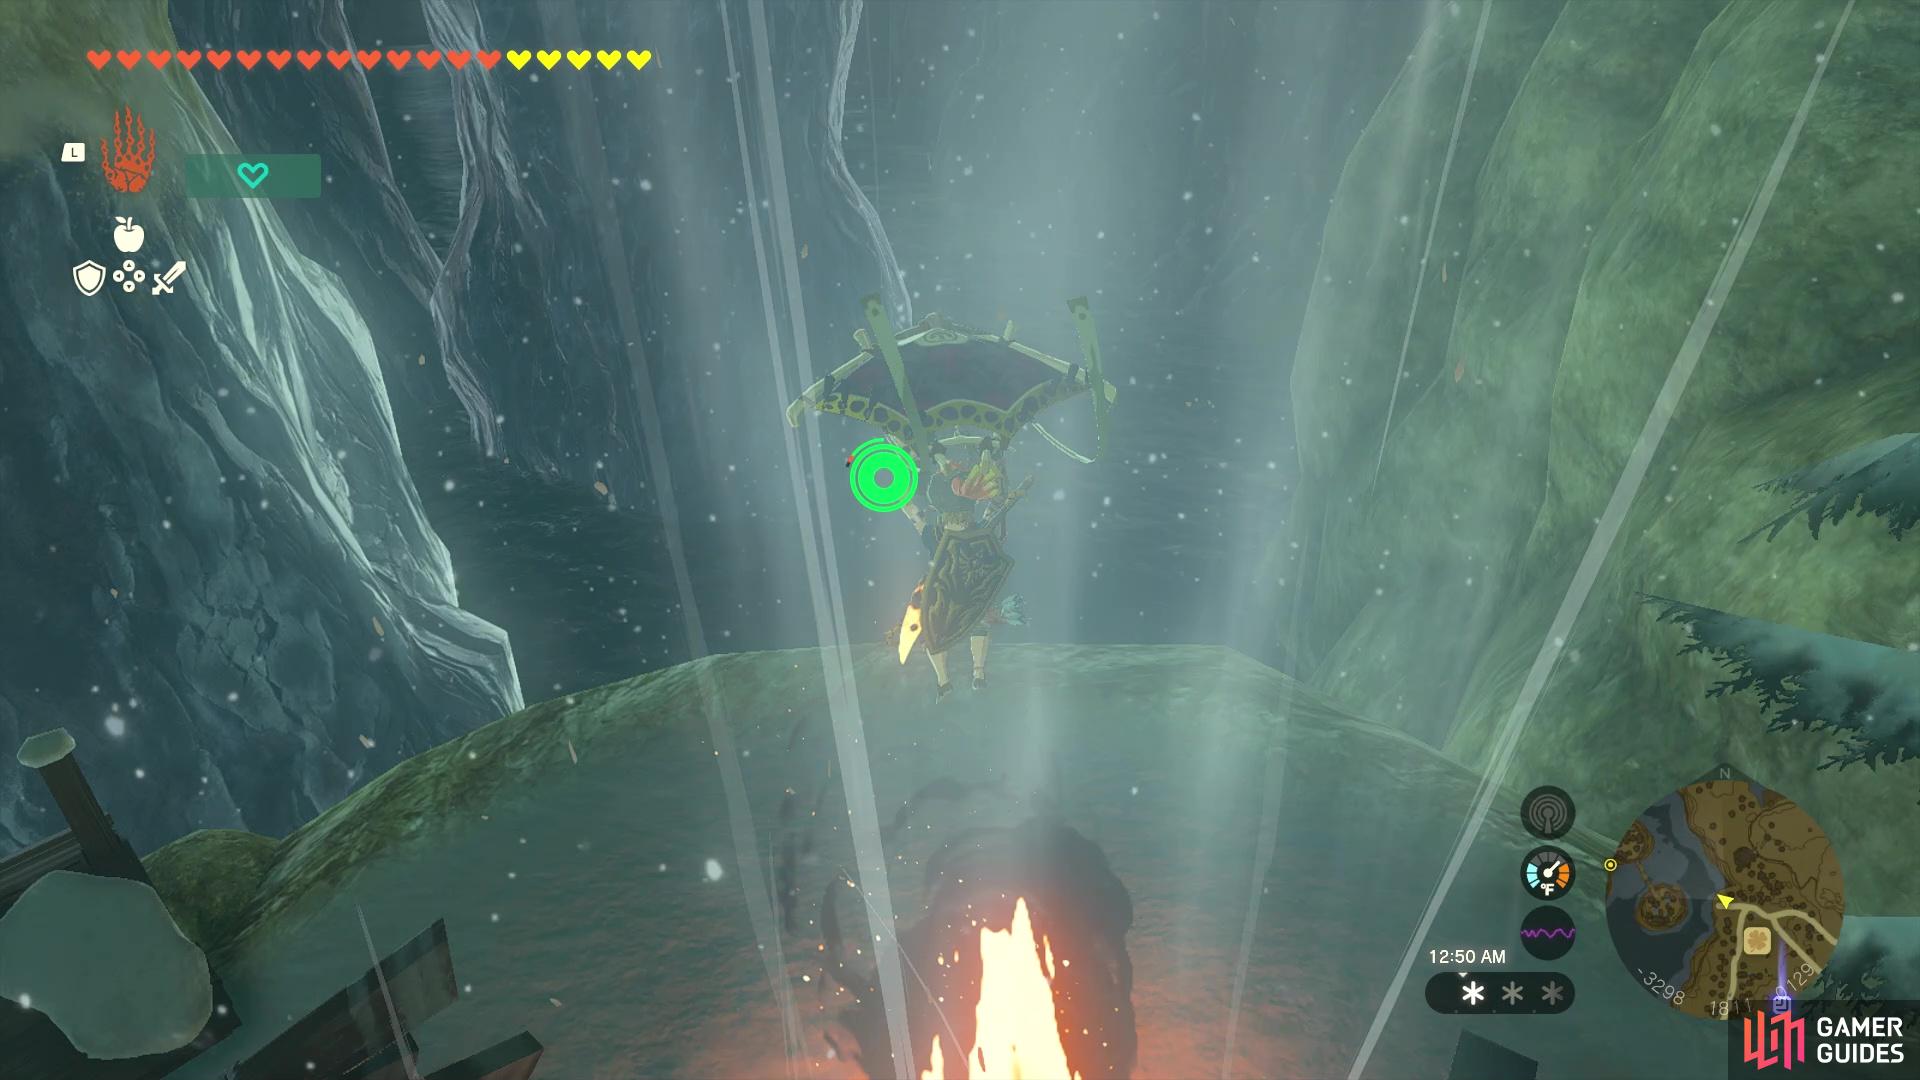
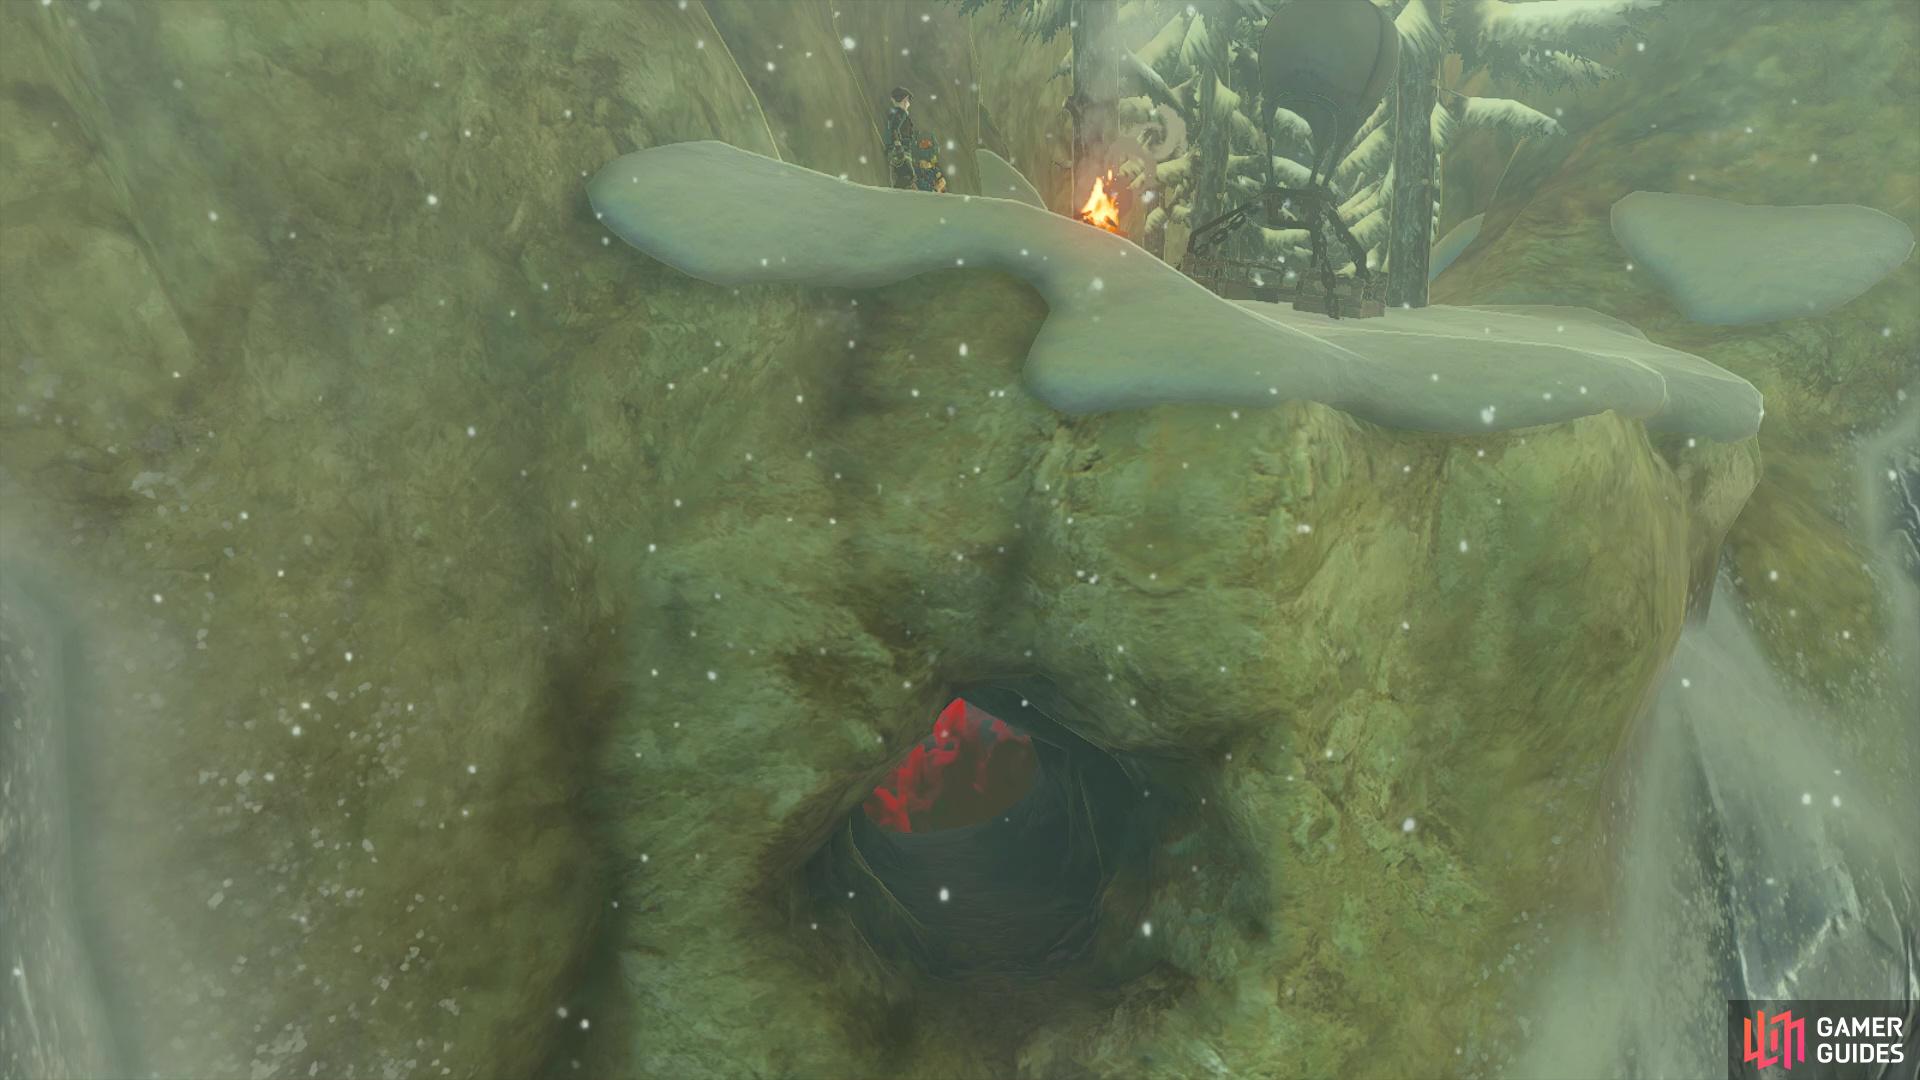
There only seems to be one way to get to this mine, which is via Rito Village. If you’ve never been there before, use a ![]() Hylian Pine Cone on the campfire right by the broken bridge to create an updraft, then glide across the gap. From there, there’s nothing else stopping you from getting to the village. Once you’re there, locate the lower area, where you’ll find
Hylian Pine Cone on the campfire right by the broken bridge to create an updraft, then glide across the gap. From there, there’s nothing else stopping you from getting to the village. Once you’re there, locate the lower area, where you’ll find ![]() Ponnick, who will show you the location of the
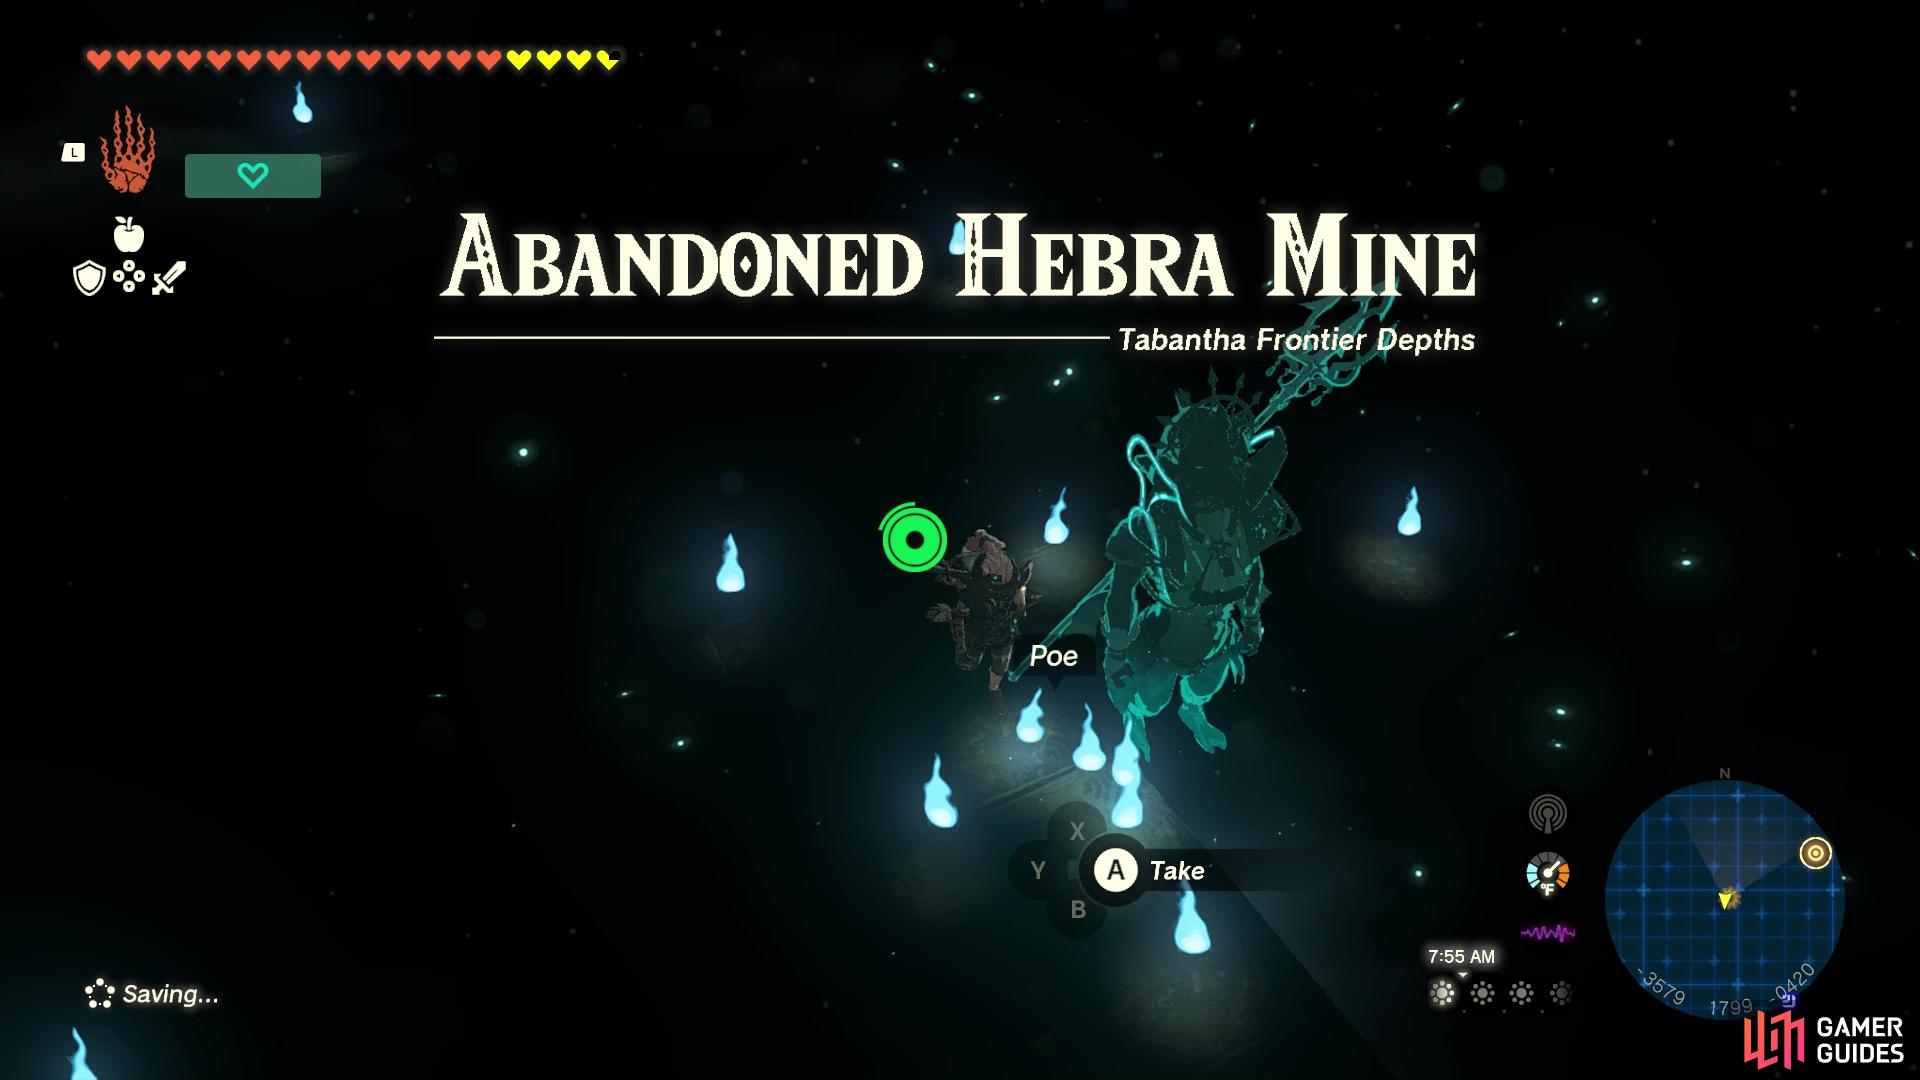
Ponnick, who will show you the location of the ![]() Rito Village Chasm. Glide down to the hole in the side of the cliff, then drop down the chasm to arrive at the Abandoned Hebra Mine.
Rito Village Chasm. Glide down to the hole in the side of the cliff, then drop down the chasm to arrive at the Abandoned Hebra Mine.
(1 of 6) Speak to the NPCs by the broken bridge to get a tip on how to cross it.
If you’re doing the Master Kohga side adventure in the correct order, then this will be the final showdown with him. Defeat him, then speak with the one Construct to receive the Rocket Platform Schema Stone. Launch yourself where you can build the device, then hop across the floating platforms/glide to the tower to find the chest with the Large Crystallized Charge.
Abandoned Eldin Mine Schema Stone
Before even going for this mine, you will need to head to Goron City and purchase two pieces of the Flameguard armor set. You could also acquire some ![]() Fireproof Lizards and use those to make some Fireproof Elixirs, but the armor is better and doesn’t have a timer attached to it. The two cheapest pieces of the set will set you back 1,900 Rupees, so they won’t come too cheap. Once you have those, head to the Minshi
Fireproof Lizards and use those to make some Fireproof Elixirs, but the armor is better and doesn’t have a timer attached to it. The two cheapest pieces of the set will set you back 1,900 Rupees, so they won’t come too cheap. Once you have those, head to the Minshi ![]() Woods Chasm on the Surface, which is just north of the Woodland Stable. Once you drop down into the Depths from there, you will be heading northeast.
Woods Chasm on the Surface, which is just north of the Woodland Stable. Once you drop down into the Depths from there, you will be heading northeast.
(1 of 3) You’ll need two pieces of the Flameguard set to explore the Eldin Depths.
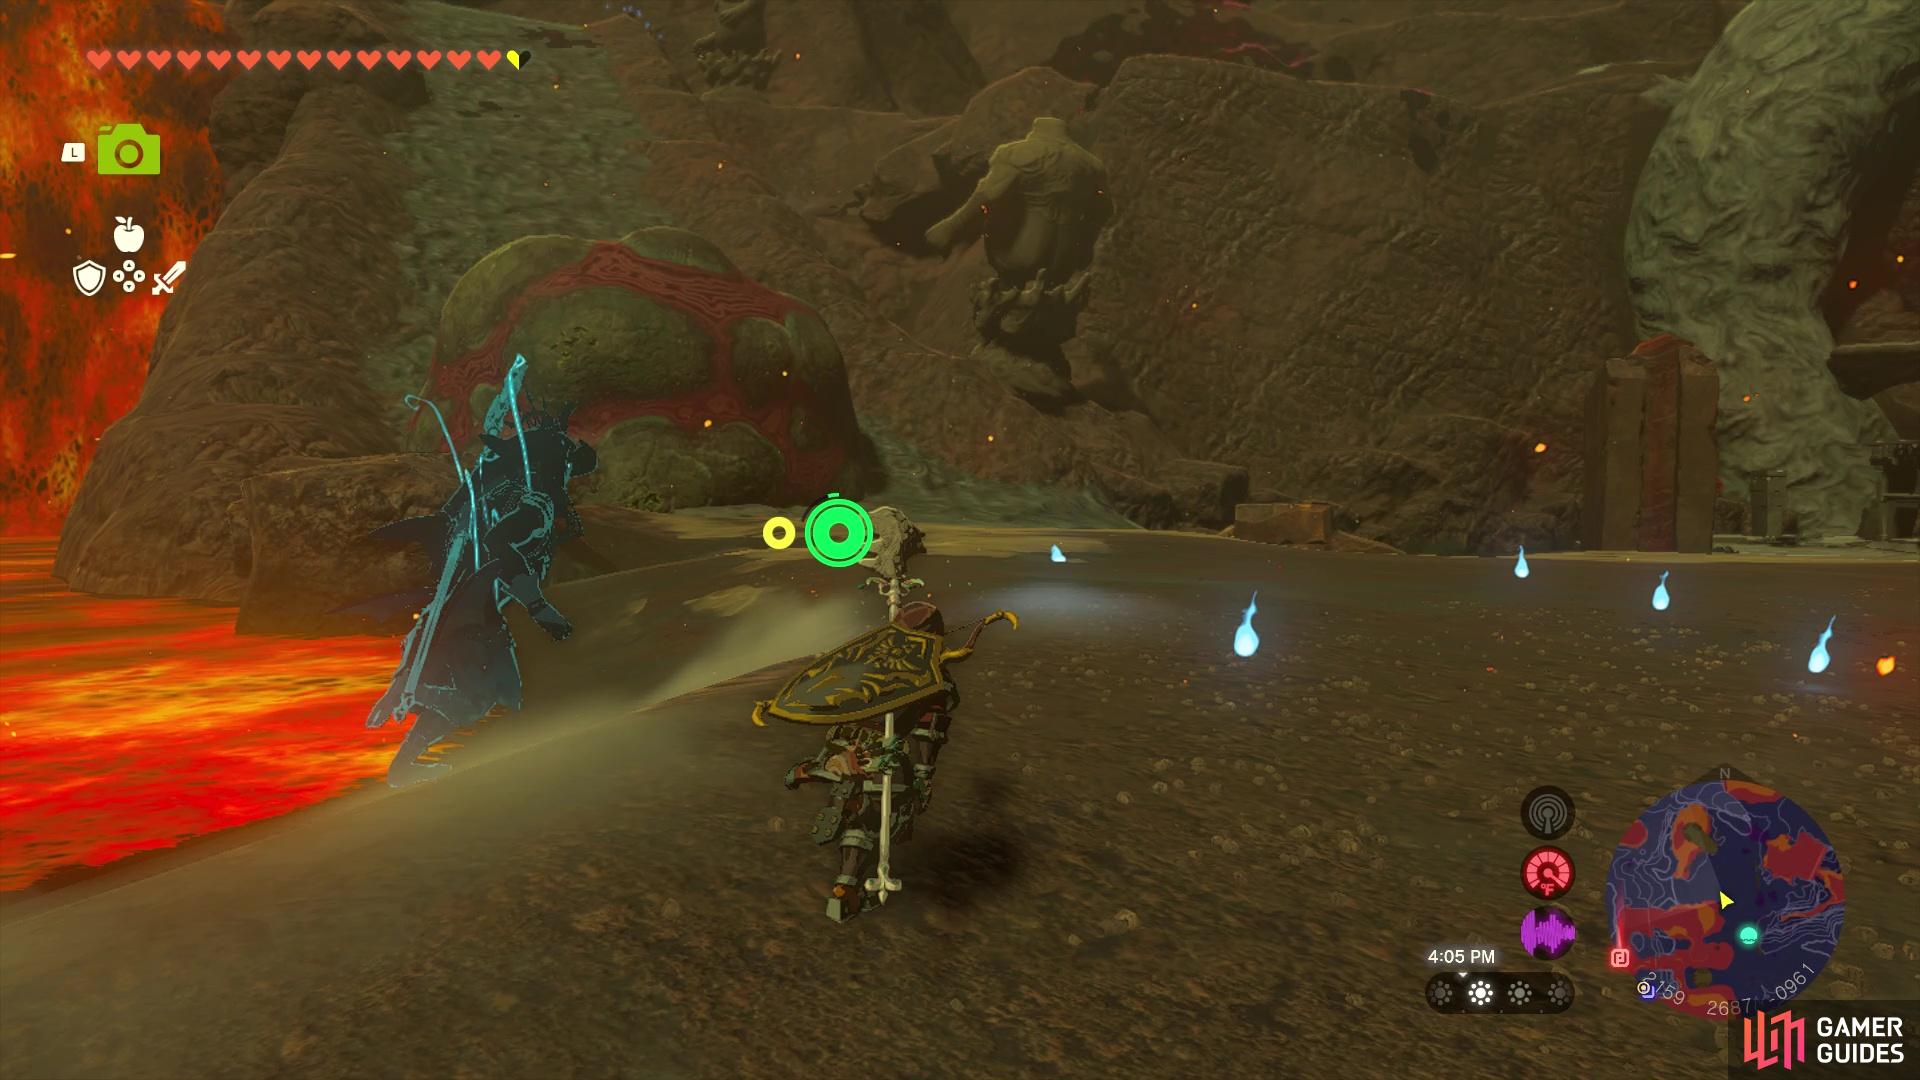
It also won’t take long after departing from the chasm to feel the effects of the environment, so make sure you’re wearing the armor upon descent. Obviously, you want to avoid any pools of lava, since you will be forced to respawn. Eventually, you should start seeing the Goron statues, similar to the other major mines, like the Lanayru and Hebra ones. Follow the statues to the Abandoned Eldin Mine and locate the Construct to get the Automated Ally Schema Stone. Build it, then use it against the two enemies nearby (![]() Bokoblins), then loot the treasure from their little hideout for the Large Crystallized Charge.
Bokoblins), then loot the treasure from their little hideout for the Large Crystallized Charge.
Hot Air Balloon Schema Stone
You will receive this Schema Stone from the quest, ![]() A Mystery in the Depths. Considering you need to do that quest to get the Autobuild ability, you should already have it in your inventory.
A Mystery in the Depths. Considering you need to do that quest to get the Autobuild ability, you should already have it in your inventory.
Beam Cycle Schema Stone
The final one on this page will not be located in the Depths, but actually on the Surface. If you recall the starting area from Breath of the Wild, the Great Plateau, you will be able to actually visit it in Tears of the Kingdom. To get there, head to the Hyrule Field Skyview Tower and launch yourself from it. Once you’re in the sky, glide down to the south and you should see the familiar structure, the ![]() Temple of Time Ruins. You’ll need to come from the sky, as there is a large wall surrounding the area, making climbing quite difficult.
Temple of Time Ruins. You’ll need to come from the sky, as there is a large wall surrounding the area, making climbing quite difficult.
(1 of 7) You’ll need to scale the wall in some manner to reach the Great Plateau.
Once you’re on the Great Plateau, starting from the ruins mentioned above, cross the little body of water to the west. You should see the familiar incline from the beginning of Breath of the Wild there, where you met the old man from that game, so start going up the hill. At the top of it, look along the cliff wall there to spy a cave hidden by some leaves. This is the ![]() Shrine of Resurrection, a nostalgic location, so head inside. At the back of the cave, there is a hole you can drop down, so do that to find a hidden Yiga outpost.
Shrine of Resurrection, a nostalgic location, so head inside. At the back of the cave, there is a hole you can drop down, so do that to find a hidden Yiga outpost.
Touch the ![]() Mighty Bananas on the ground to trigger an event, where three
Mighty Bananas on the ground to trigger an event, where three ![]() Yiga Footsoldiers will spawn. Defeat all three of them, then interact with the Construct there to obtain the Beam Cycle Schema Stone. There is a chest behind the Yiga banner (can just fire to it), but it won’t contain the usual treasure.
Yiga Footsoldiers will spawn. Defeat all three of them, then interact with the Construct there to obtain the Beam Cycle Schema Stone. There is a chest behind the Yiga banner (can just fire to it), but it won’t contain the usual treasure.











 Sign up
No Comments