Shrines are one of the core gameplay elements in The Legend of Zelda: Tears of the Kingdom. Scattered throughout Hyrule, shrines typically require you to solve some sort of puzzle or combat trial, upon the completion of which you’ll be rewarded with a ![]() Light of Blessing and potentially equipment. Shrines can also serve as fast travel points - all you have to do is interact with them. Since completing shrines will make your character stronger and provide exploration footholds, it’s essential that you conquer them whenever possible. This page will provide a walkthrough for
Light of Blessing and potentially equipment. Shrines can also serve as fast travel points - all you have to do is interact with them. Since completing shrines will make your character stronger and provide exploration footholds, it’s essential that you conquer them whenever possible. This page will provide a walkthrough for ![]() Soryotanog Shrine.
Soryotanog Shrine.
You can find Soryotanog Shrine atop the tallest building in Gerudo Town.
Where to find Soryotanog Shrine in Tears of the Kingdom
Soryotanog is atop the highest building in Gerudo Town, and the glowing green energy that surrounds all shrines serves as a beacon by which you can navigate the sandstorm outside to locate the town. If you’re going to Gerudo Town, you’re probably navigating by the light of this shrine. To actually reach the shrine once you enter the town, just head over to the biggest building in town - the natural rock formations atop which this shrine is located makes this building obvious - and use stairs and the ![]() Ascend ability to get up to the shrine.
Ascend ability to get up to the shrine.
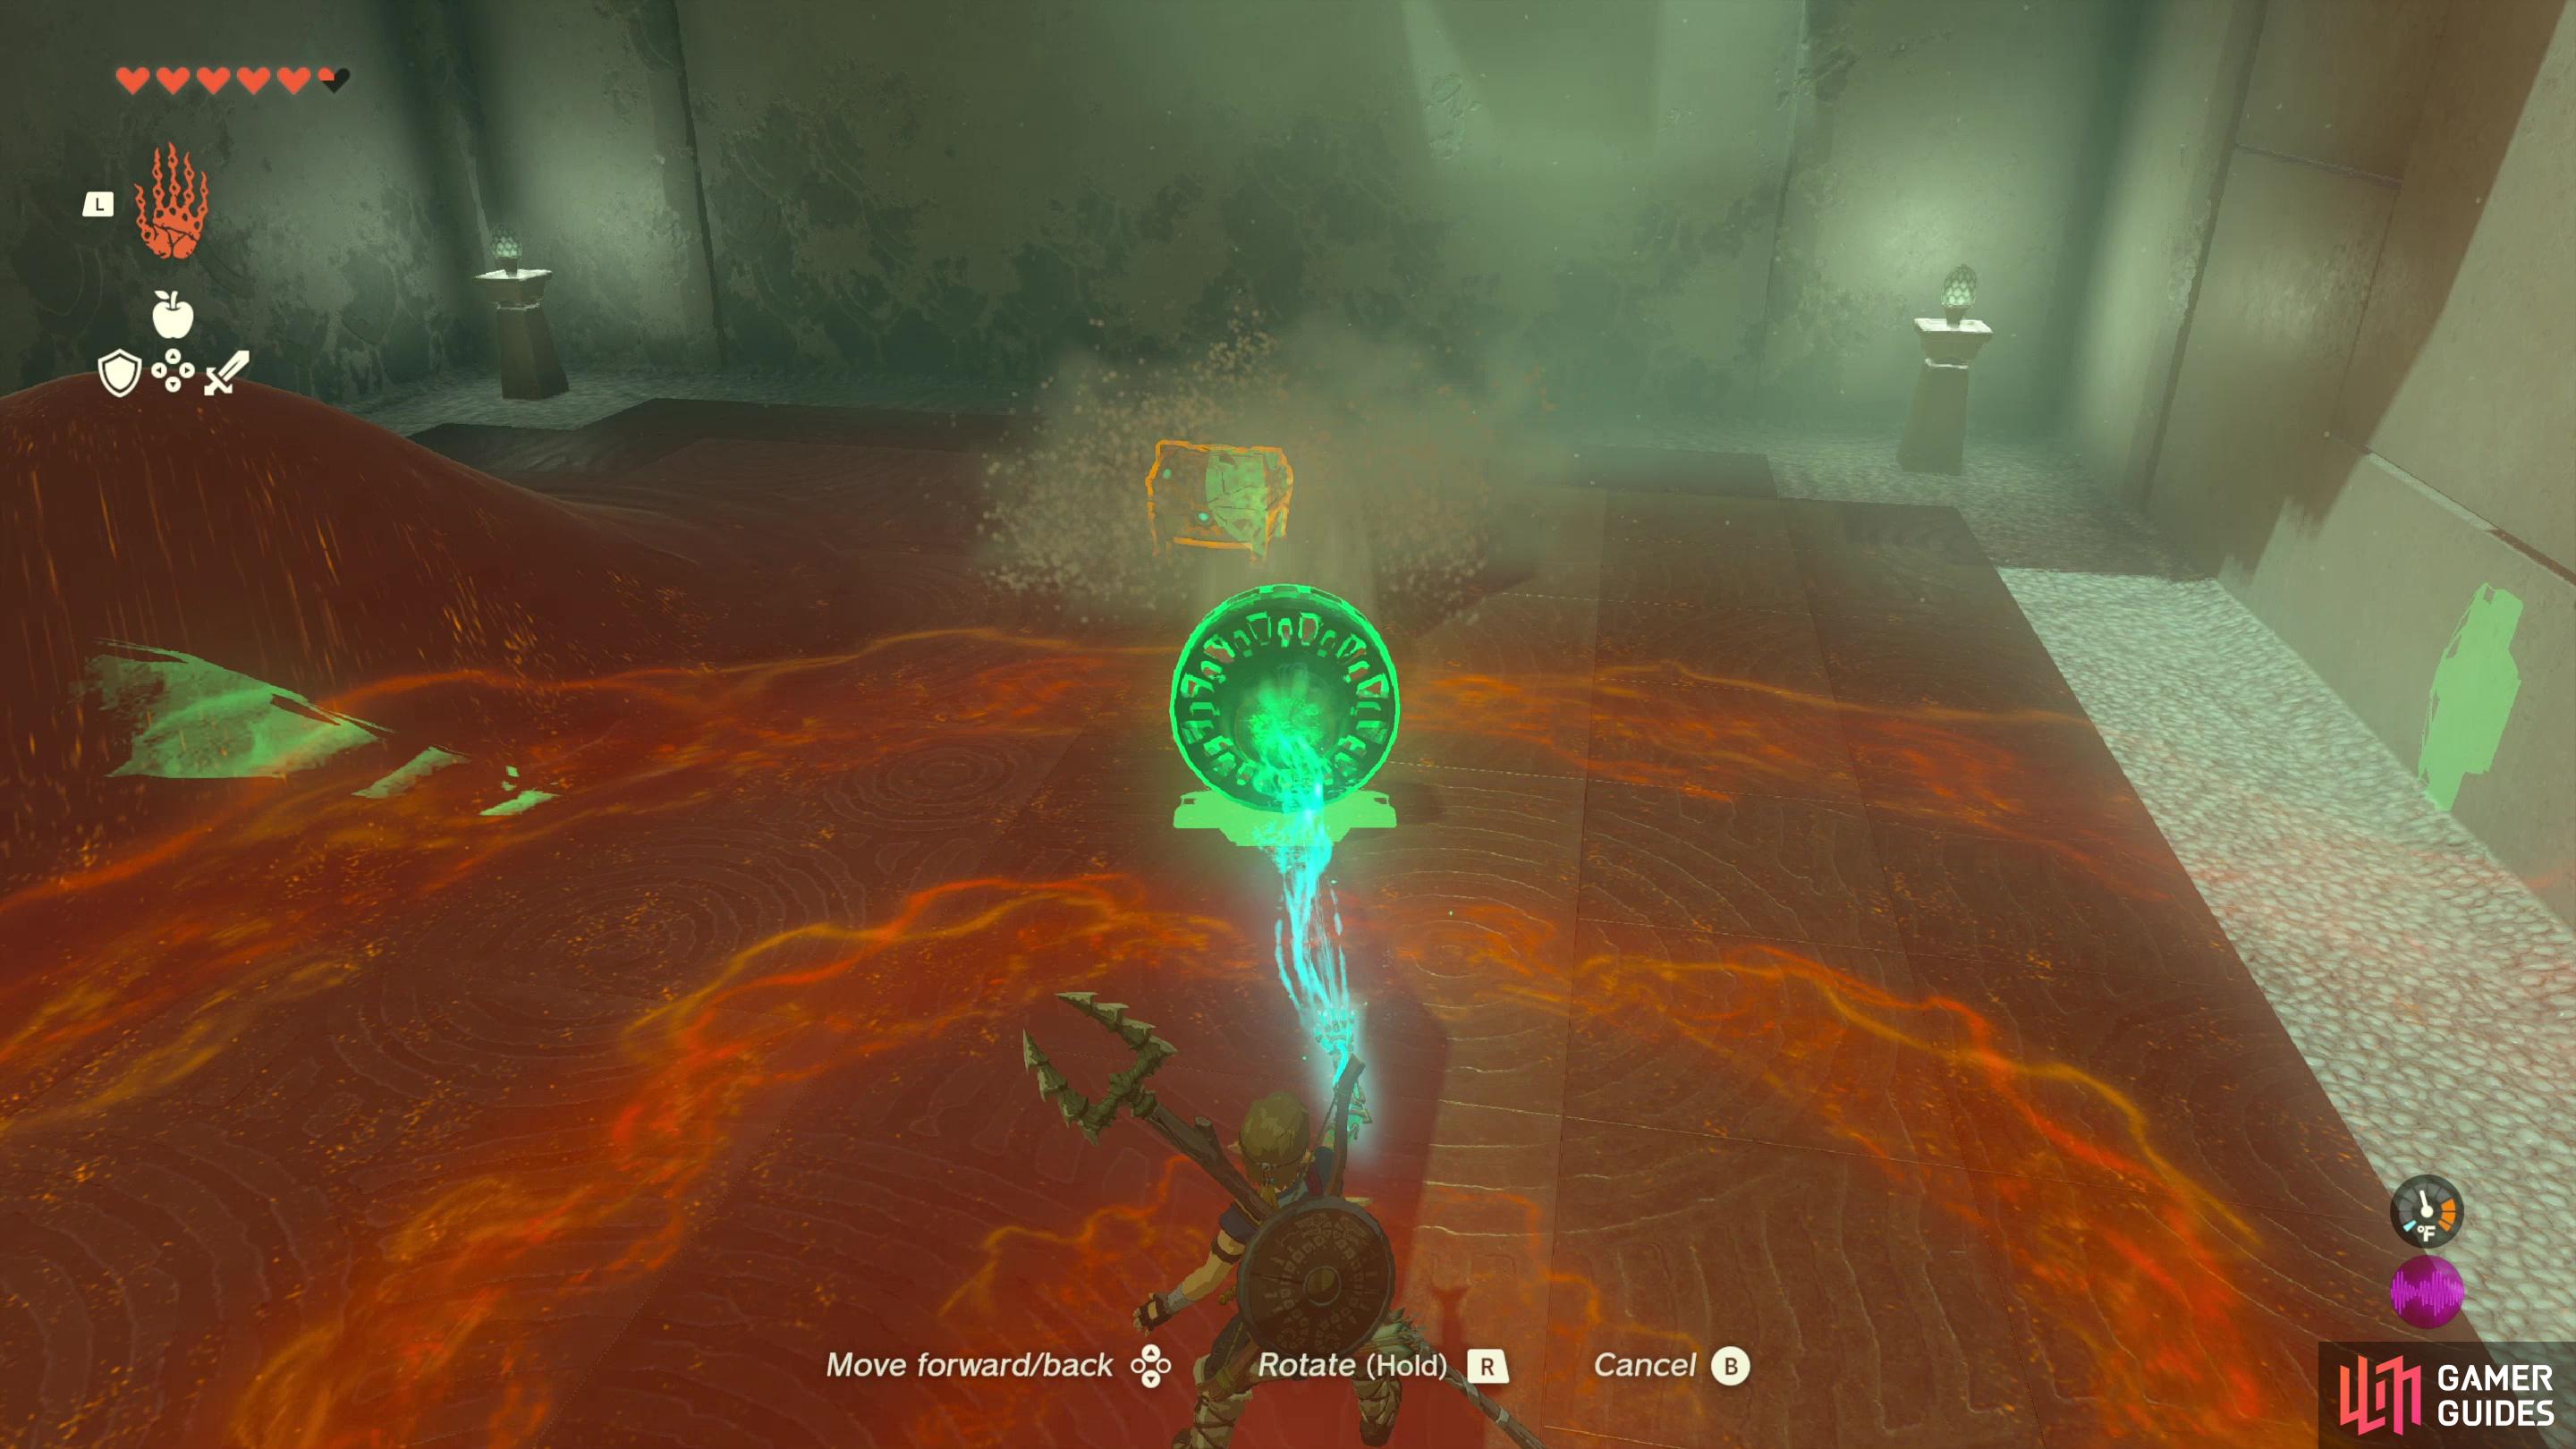
(1 of 2) Use Ultrahand to wrench a Zonai fan free of its sandy prison,
Use Ultrahand to wrench a Zonai fan free of its sandy prison, (left), then use the fan to disperse sand to reveal a chest containing a key. (right)
How to Complete Soryotanog Shrine in Tears of the Kingdom
Subtitled “Buried !Light”, you’d expect light to play a larger part in this shrine, but it’s actually relegated to the final puzzle. What’s more universal are the piles of sand you’ll need to disperse in order to advance, and that constitutes pretty much the entirety of the first puzzle you’ll need to solve, and much of the second (not to mention the bonus puzzle if you want to score this shrine’s chest).
From the entrance, head downstairs and look to your right to find a Zonai fan sticking out of a pile of sand. Use ![]() Ultrahand to pry the device free, place it on the ground, give it a whack with your weapon, then grab it again with Ultrahand and turn the fan on the piles of sand scattered about the chamber. Make sure the fan is near the sand and give it a moment to clear the sand away completely, and one of the piles of sand should yield a chest when cleared. Loot it to score a
Ultrahand to pry the device free, place it on the ground, give it a whack with your weapon, then grab it again with Ultrahand and turn the fan on the piles of sand scattered about the chamber. Make sure the fan is near the sand and give it a moment to clear the sand away completely, and one of the piles of sand should yield a chest when cleared. Loot it to score a ![]() Small Key, which will open the door to the second puzzle.
Small Key, which will open the door to the second puzzle.
Go through the door and dust a Soldier !Construct to your left, then drag the fan in from the previous room and clear the two piles of sand. The one to the left will reveal a mirror (another Zonai device) and the one to the right conceals a secret passage. The passage leads to this shrine’s optional chest, which we’ll neglect for now in order to focus on the puzzle at hand.
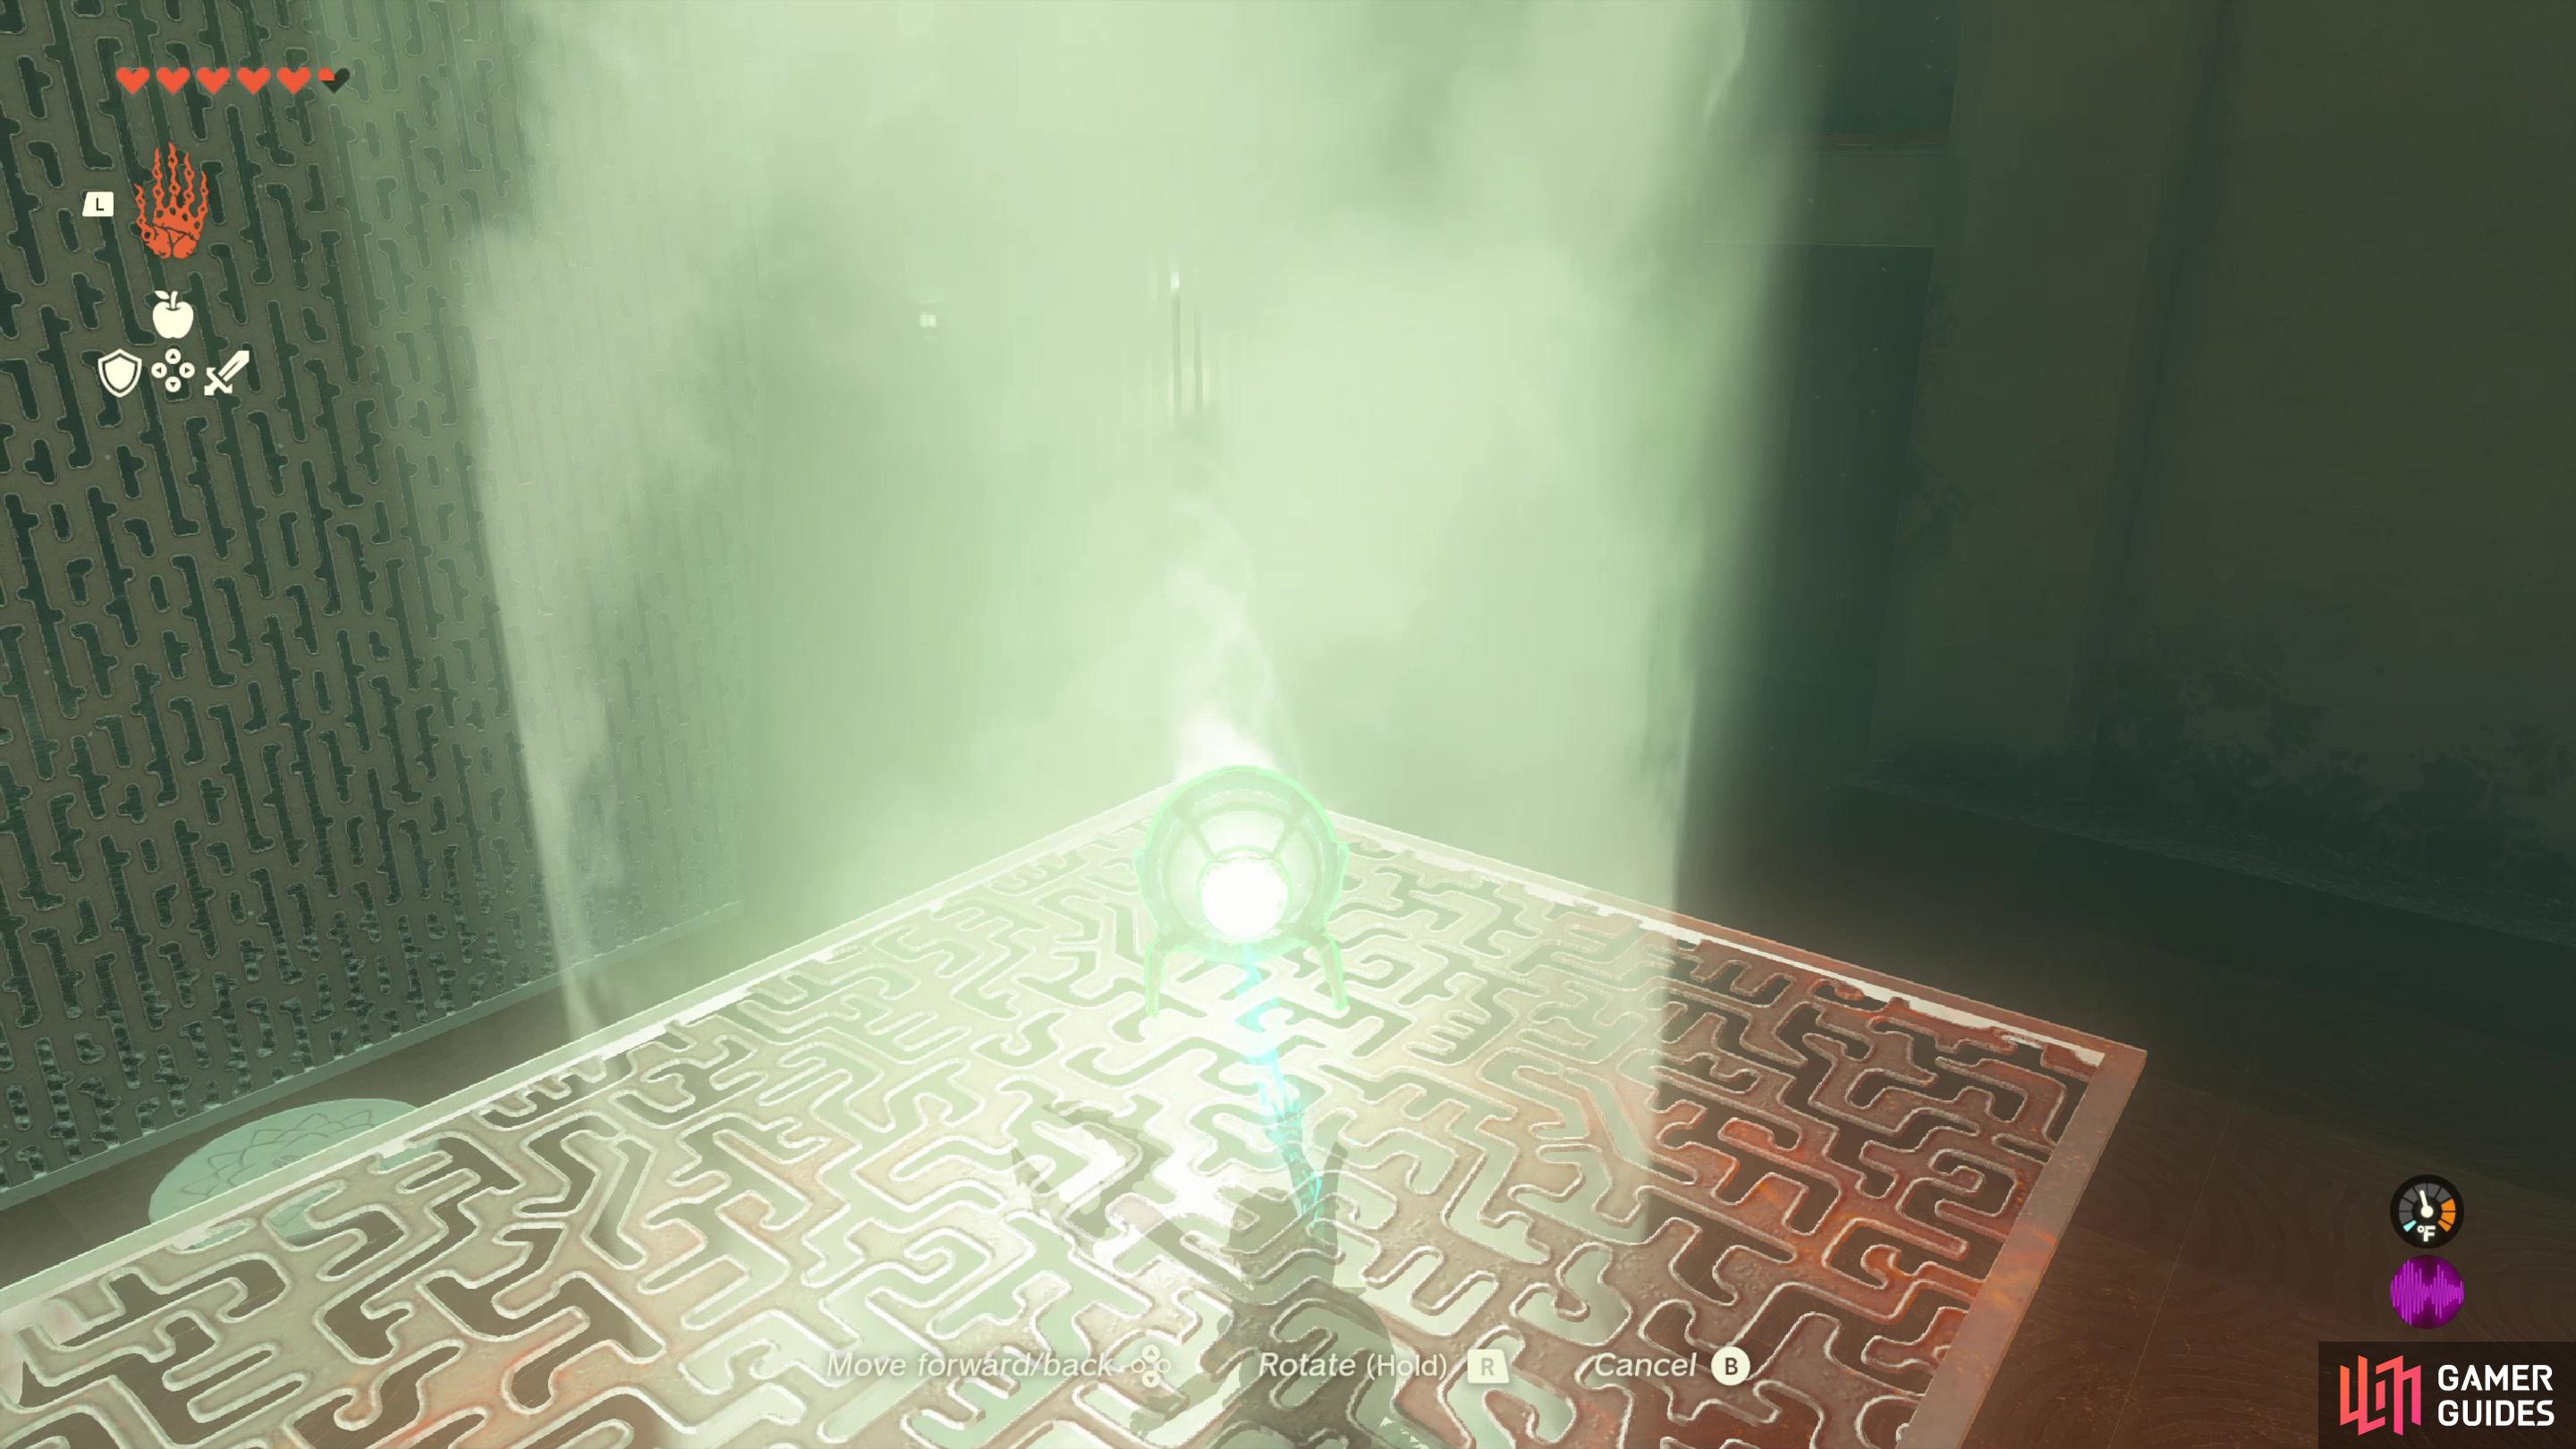
Ignore the mirror and instead explore the left side of the room (opposite the hidden passage) to find a ledge you can Ascend through. Do so, turn right, and kill another Soldier !Construct, this one armed with a bow. Drop down into the room the archer !Construct guarded, grab a new fan and start clearing the sand. One pile of sand will unveil another mirror, while the pile of sand under the platform the archer !Construct stood on covers a beam of light - don’t stop blowing sand around until you can see the light of the beam clearly rising up. Once done, grab the mirror and go up to where the archer !Construct stood. Your task here is to angle the beam of light via the mirror diagonally through the straight-barred gate (not the patterned barrier to your left). The exact angle isn’t too important, as long as you get a beam of light scything into the previous chamber, you should be good.
When you’re satisfied, place the mirror and head back over to the ledge you dropped off to enter this room, Ascend through it, then return to the previous chamber. Use Ultrahand to grab the first mirror, thus far neglected, and raise it into the air to catch the light from the other mirror and bounce it into a panel over the door. Keep the beam focused on the panel for a moment until the door opens, at which point the end of the shrine is just ahead. Before you grab your Light of Blessing and finish the shrine, however, we might as well grab the optional chest.
(1 of 6) Blow away some sand in the corner of the second chamber to reveal a passage.
How to Get the Chest in Soryotanog Shrine
Now that the way to the end is clear, turn your attention to the side passage we uncovered earlier, as it leads to a chamber where this shrine’s hidden chest is stored. Walk down the passage and you’ll find yourself in a room with two sand piles. Disperse the one to the left and defeat a Soldier !Construct wielding a Fan Guster, an odd weapon that’s halfway between a mace and a Zonai fan. You’ll need this, so pick it up.
Place a Zonai fan on the ground near the wall at the opposite end of the room so it’s blowing up, then jump onto it and deploy your ![]() Paraglider to ride up to the edge of the ledge above. The fan should give you just enough height to climb up if you put the fan against the wall. Up here you’ll find a closed gate to the right and a gear clogged by sand. Stand near the gear and swing your Fan Guster at it several times to disperse the sand, freeing the gear and opening the gate. Go through the gate and loot this shrine’s chest to score
Paraglider to ride up to the edge of the ledge above. The fan should give you just enough height to climb up if you put the fan against the wall. Up here you’ll find a closed gate to the right and a gear clogged by sand. Stand near the gear and swing your Fan Guster at it several times to disperse the sand, freeing the gear and opening the gate. Go through the gate and loot this shrine’s chest to score ![]() Arrows x10.
Arrows x10.
Once done, you’re free to continue to the end of the shrine.


 Sign up
No Comments