Shrines are one of the core gameplay elements in The Legend of Zelda: Tears of the Kingdom. Scattered throughout Hyrule, shrines typically require you to solve some sort of puzzle or combat trial, upon the completion of which you’ll be rewarded with a ![]() Light of Blessing and potentially equipment. Shrines can also serve as fast travel points - all you have to do is interact with them. Since completing shrines will make your character stronger and provide exploration footholds, it’s essential that you conquer them whenever possible. This page will provide a walkthrough for Mayachin Shrine.
Light of Blessing and potentially equipment. Shrines can also serve as fast travel points - all you have to do is interact with them. Since completing shrines will make your character stronger and provide exploration footholds, it’s essential that you conquer them whenever possible. This page will provide a walkthrough for Mayachin Shrine.
Where to find Mayachin Shrine in Tears of the Kingdom
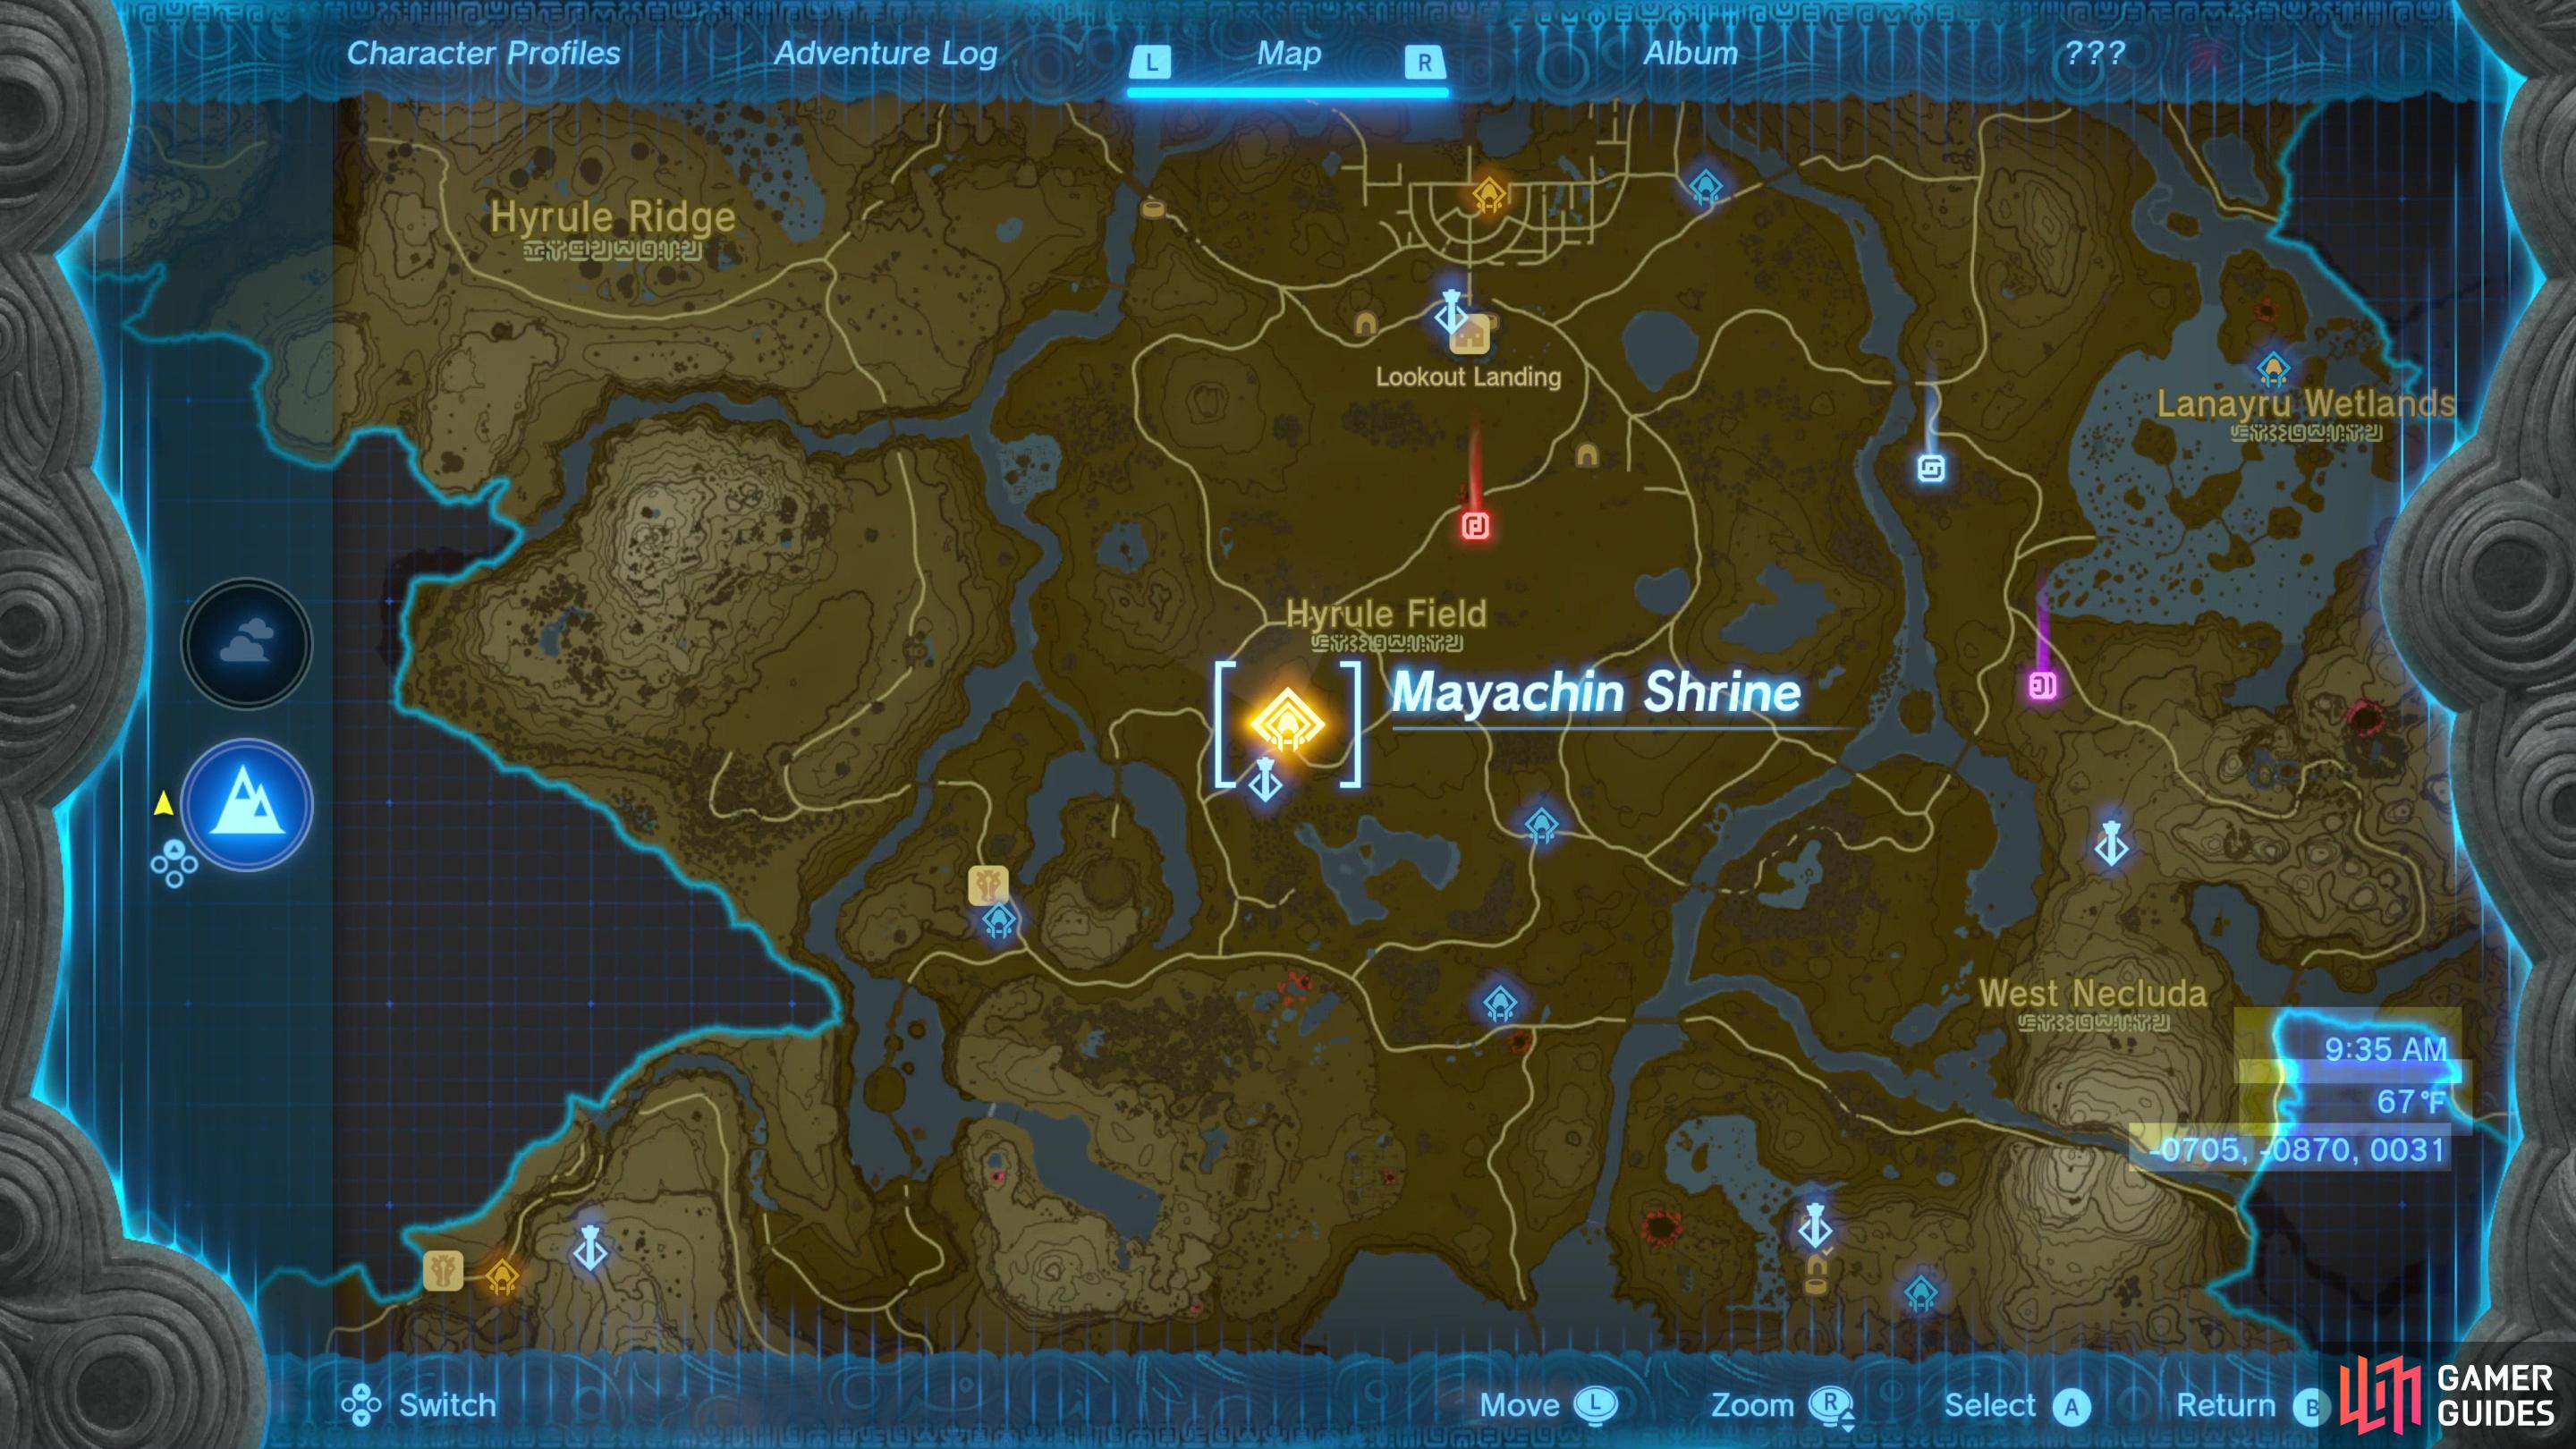
Mayachin Shrine can be found near the Exchange Ruins in Windvane Meadow, which is southwest of ![]() Lookout Landing in
Lookout Landing in ![]() Central Hyrule. It’s just northeast of the Hyrule Field Skyview Tower. The hill that the aforementioned tower is on is fortified by
Central Hyrule. It’s just northeast of the Hyrule Field Skyview Tower. The hill that the aforementioned tower is on is fortified by ![]() Bokoblins and
Bokoblins and ![]() Moblins, but they shouldn’t bother you near this shrine.
Moblins, but they shouldn’t bother you near this shrine.
Mayachin Shrine can be found in the southwestern edge of Central Hyrule, near Hyrule Field Skyview Tower.
How to Complete the Mayachin Shrine in Tears of the Kingdom
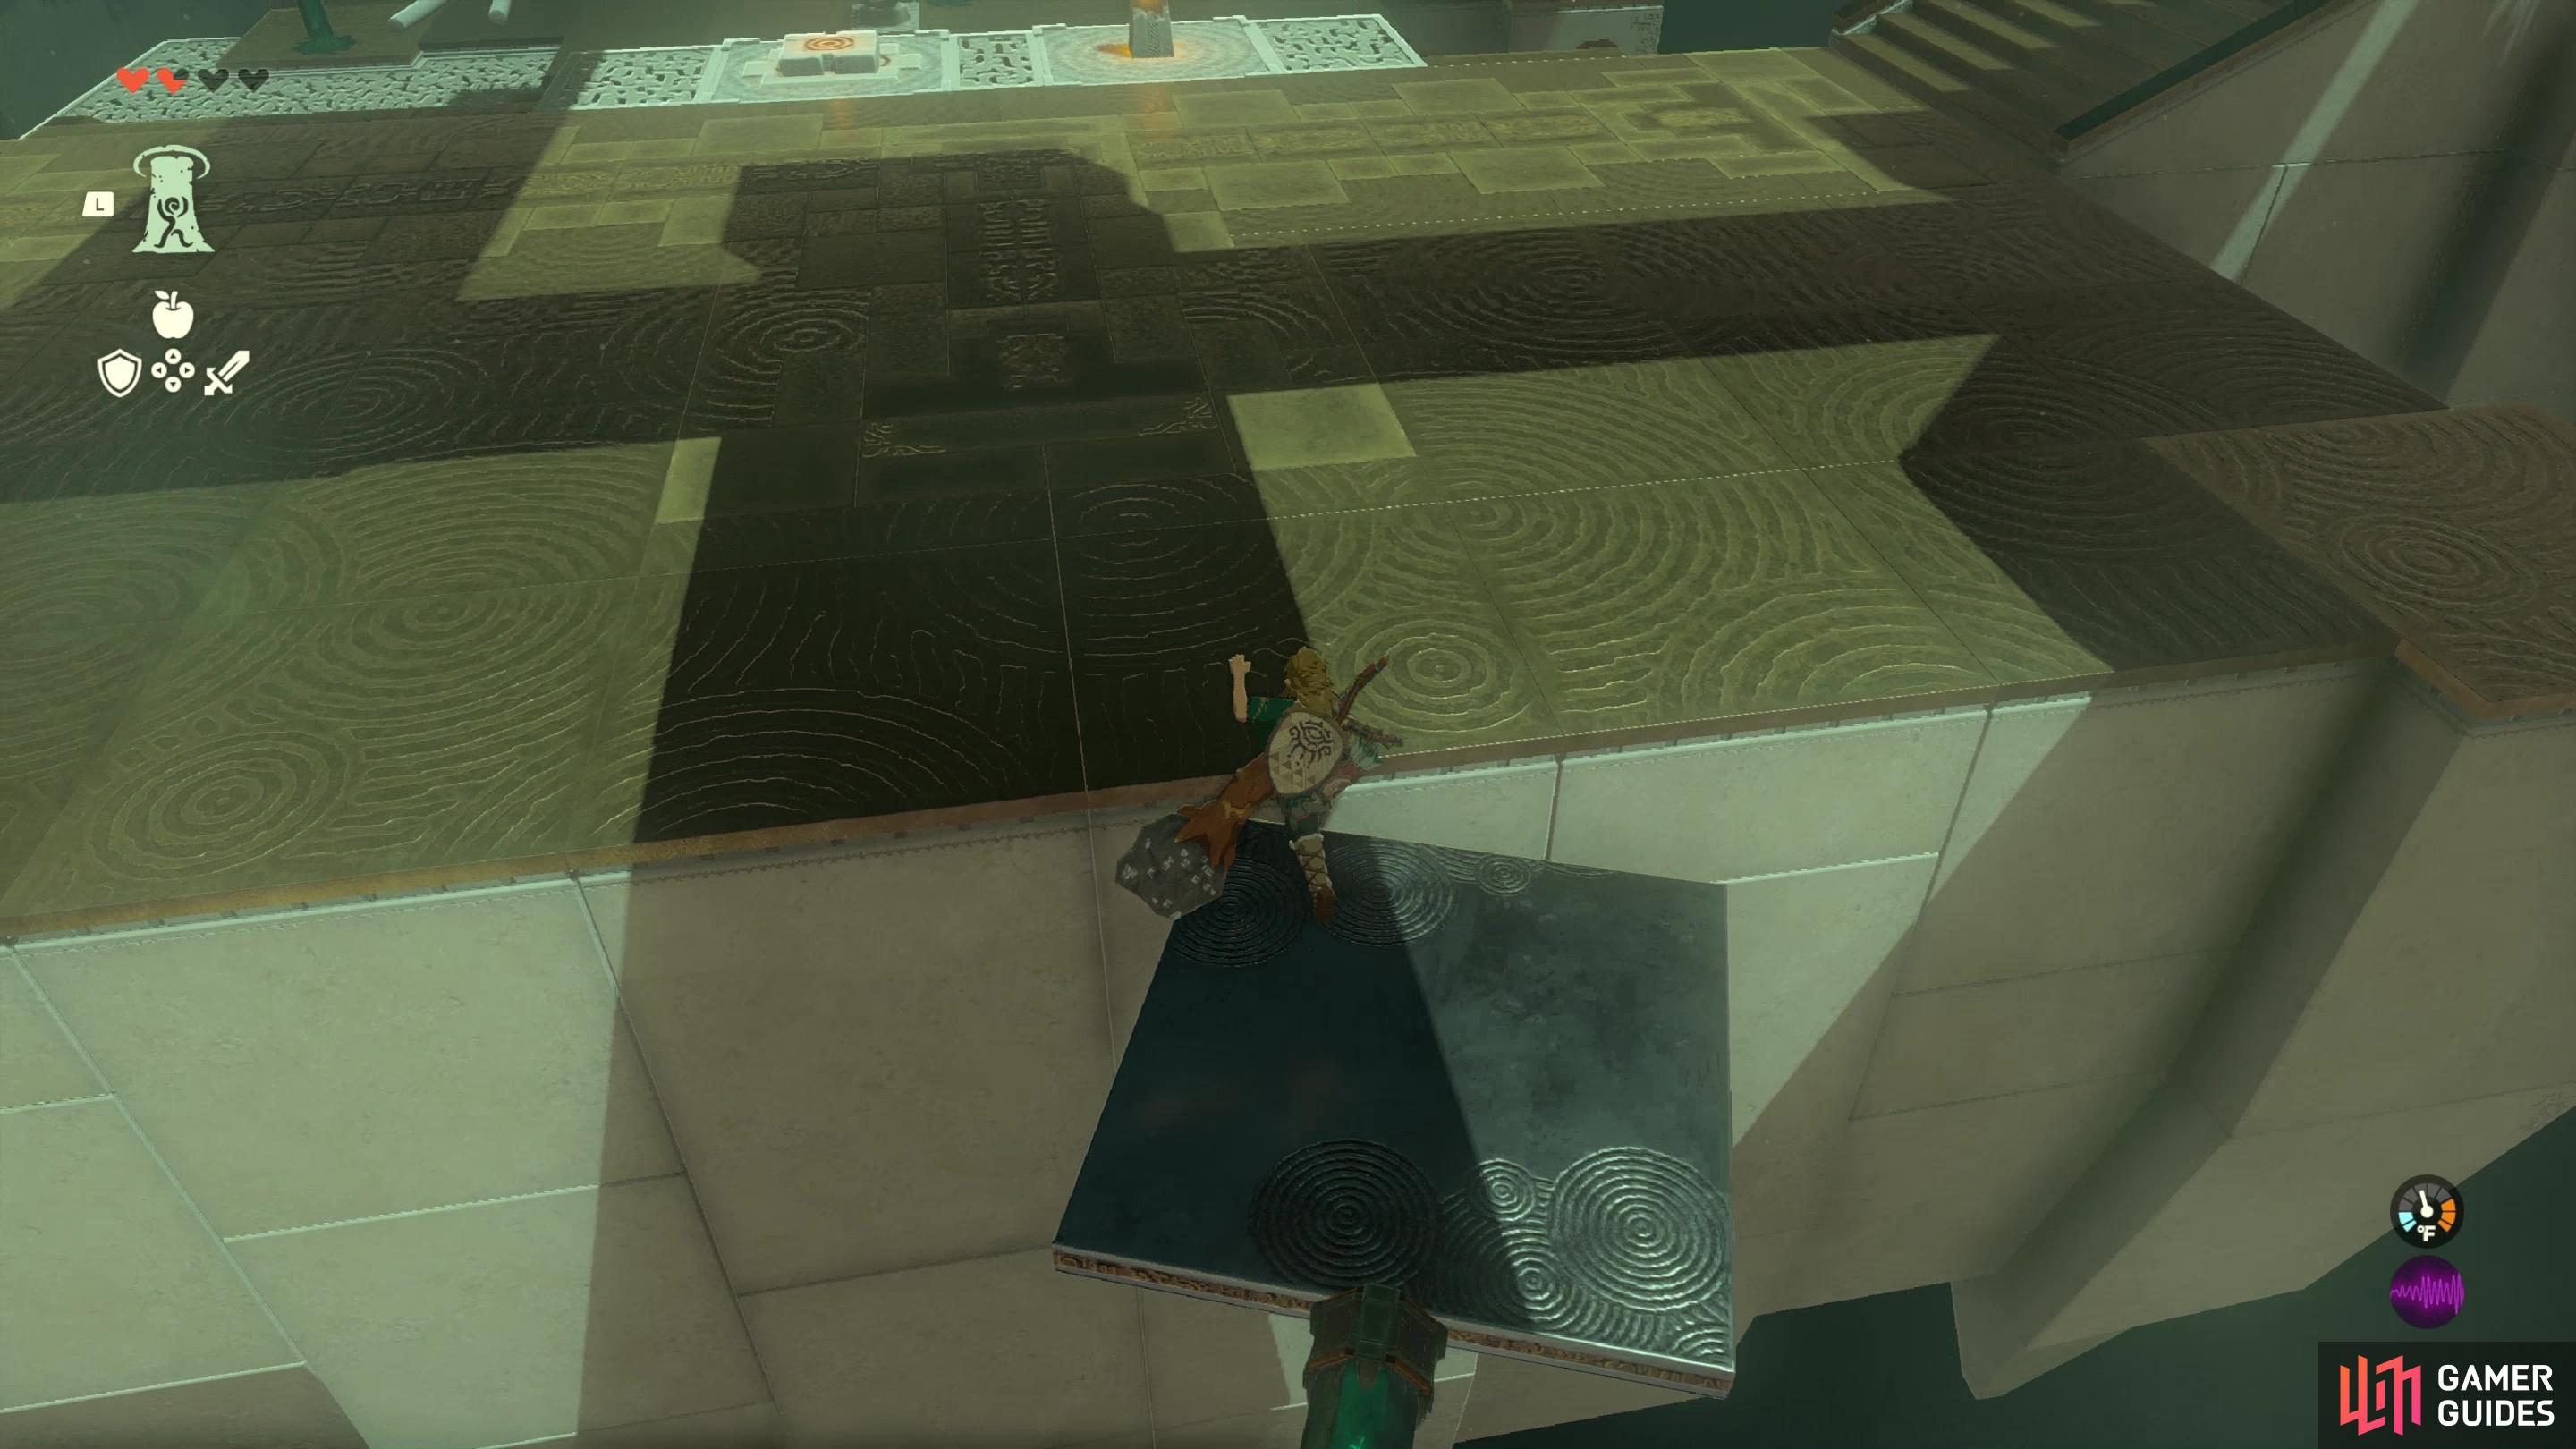
Enter the shrine, titled “A Fixed Device”, which makes sense once you understand the puzzle, but is vague enough that it doesn’t really help all that much. Make your way down stairs and you’ll find a rotating device carrying a stake attached to a platform. Jump onto the platform when it’s close and use it to reach the other side of the gap, where the main puzzle is located. It may not be immediately apparent, but numerous elements of the puzzle have just been introduced, namely the stake and the rotating device - the platform is a bit of a red herring. Look to the left and right and you’ll find two gates; behind the left gate is the shrine exit, and behind the right gate is a bonus chest. Both are opened in largely the same way.
(1 of 3) Use a spinning platform to cross a gap,
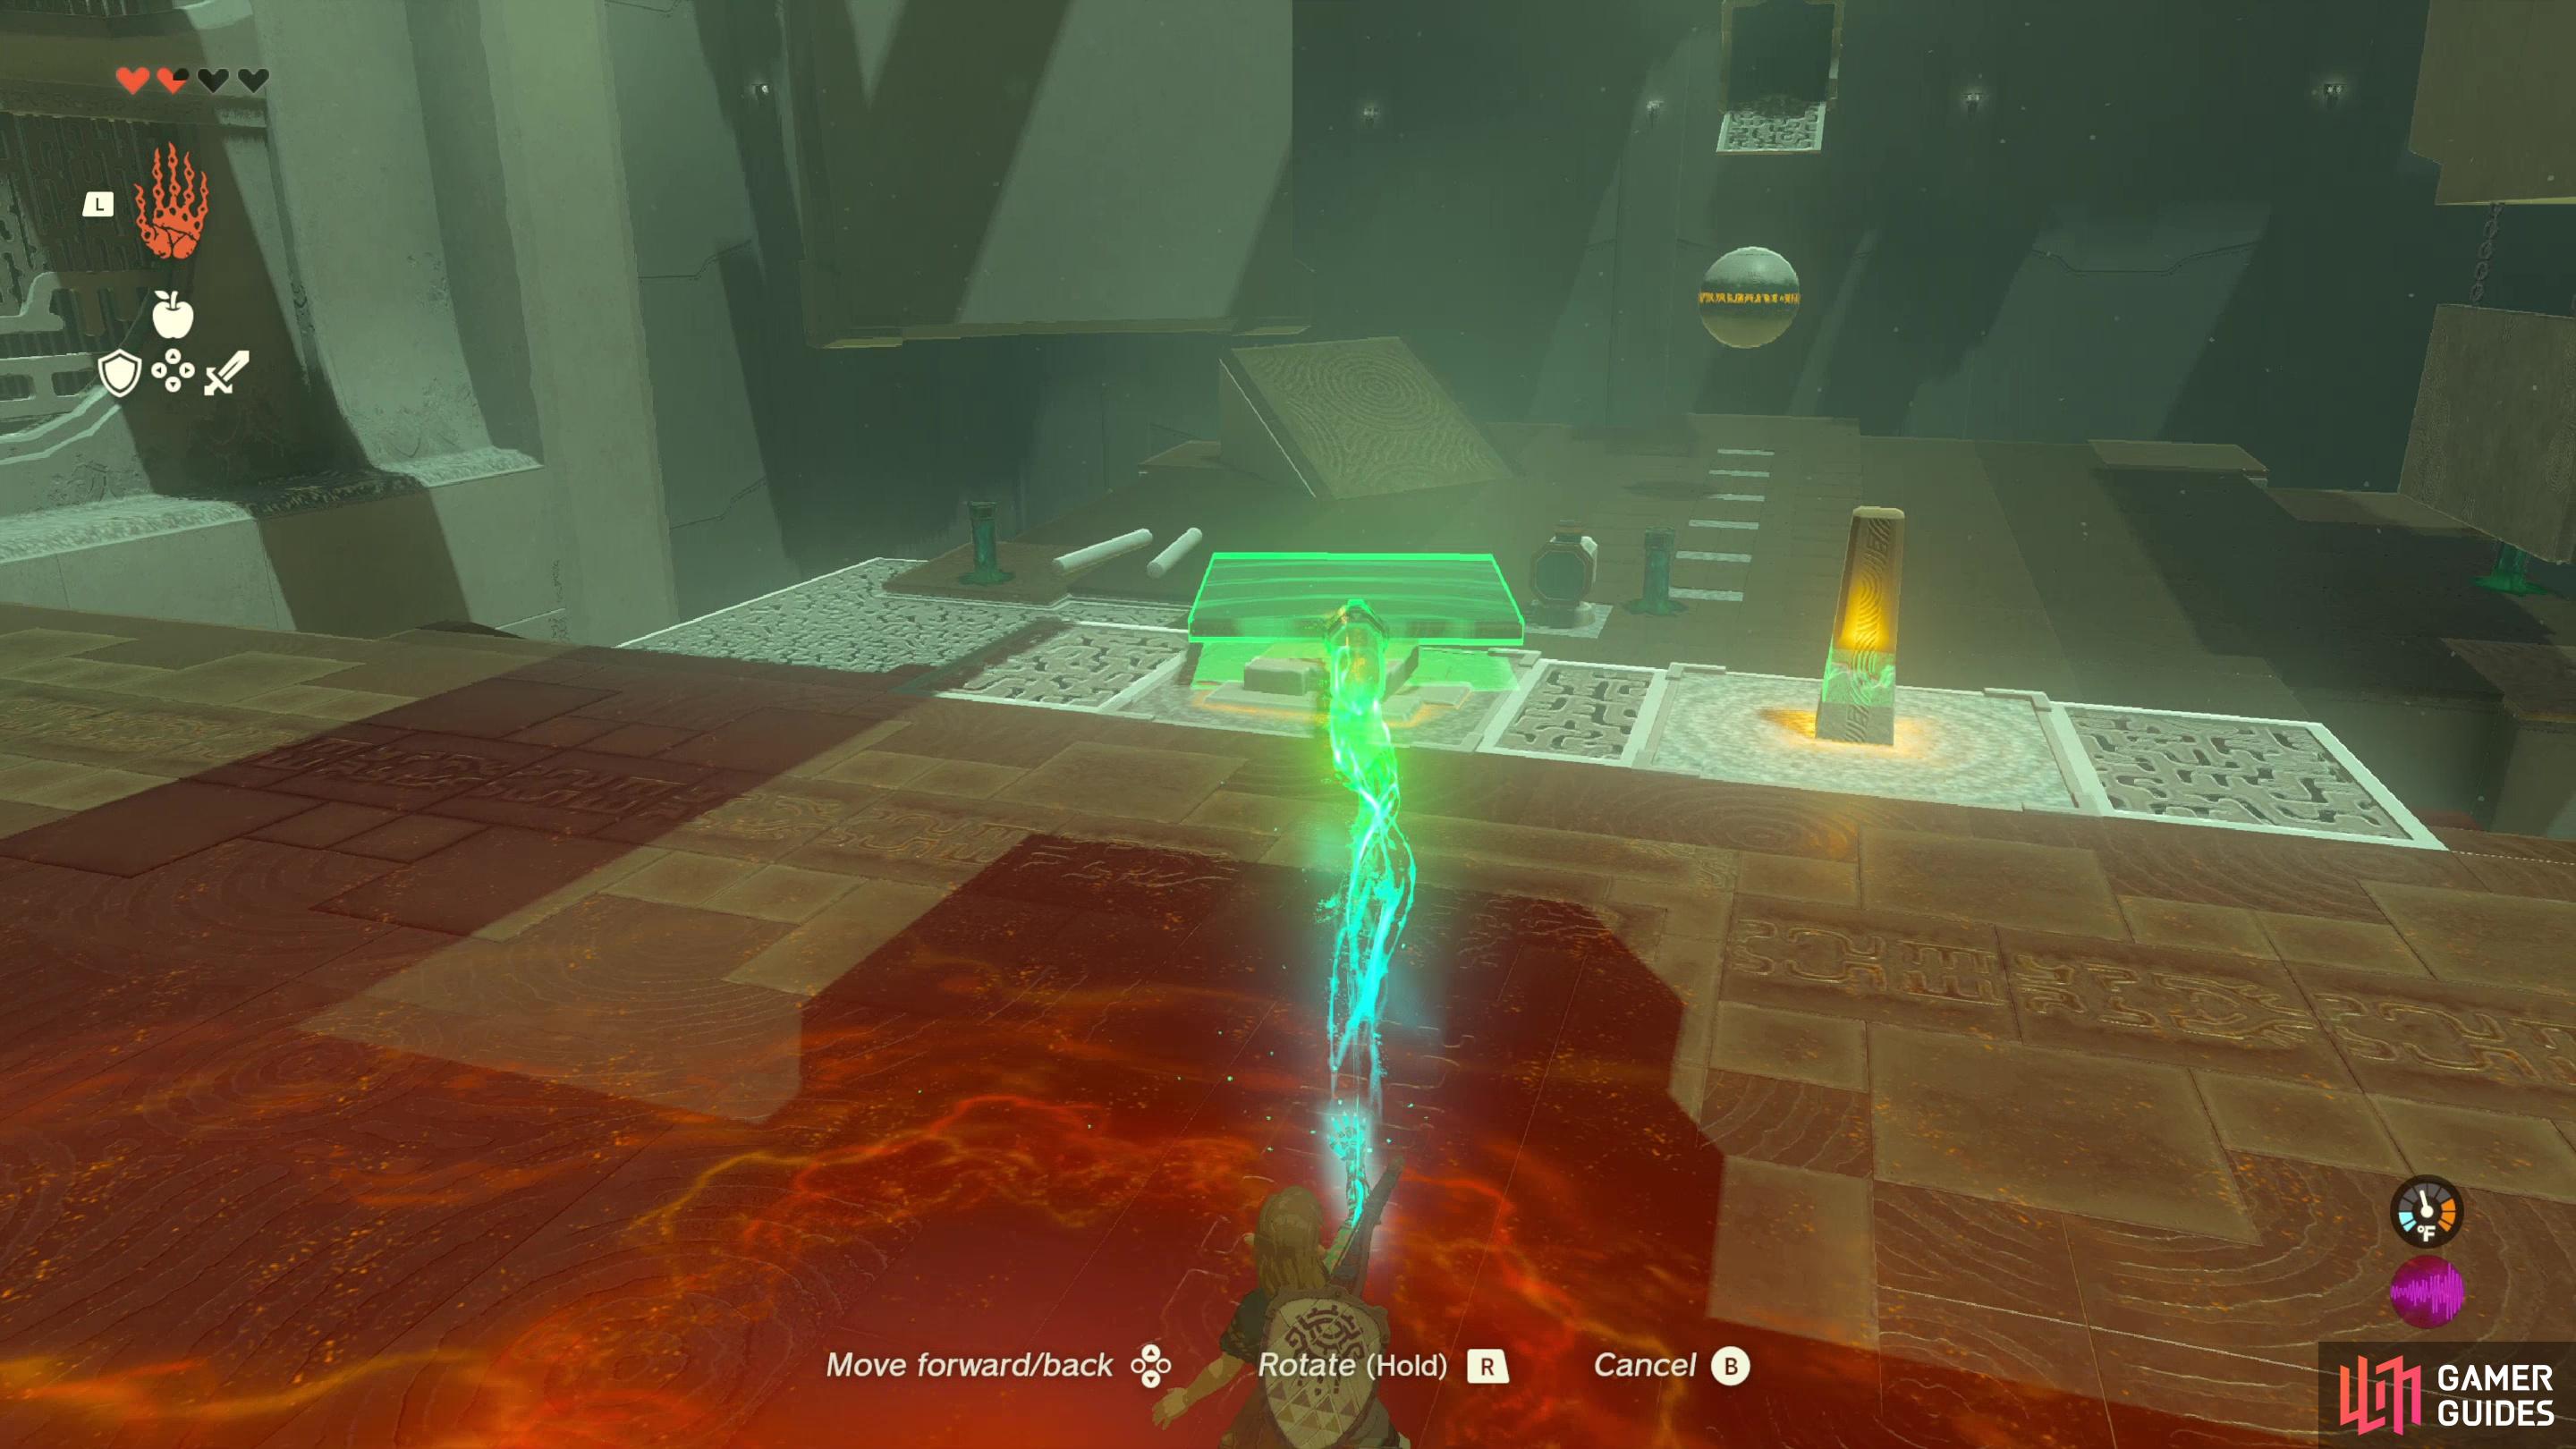
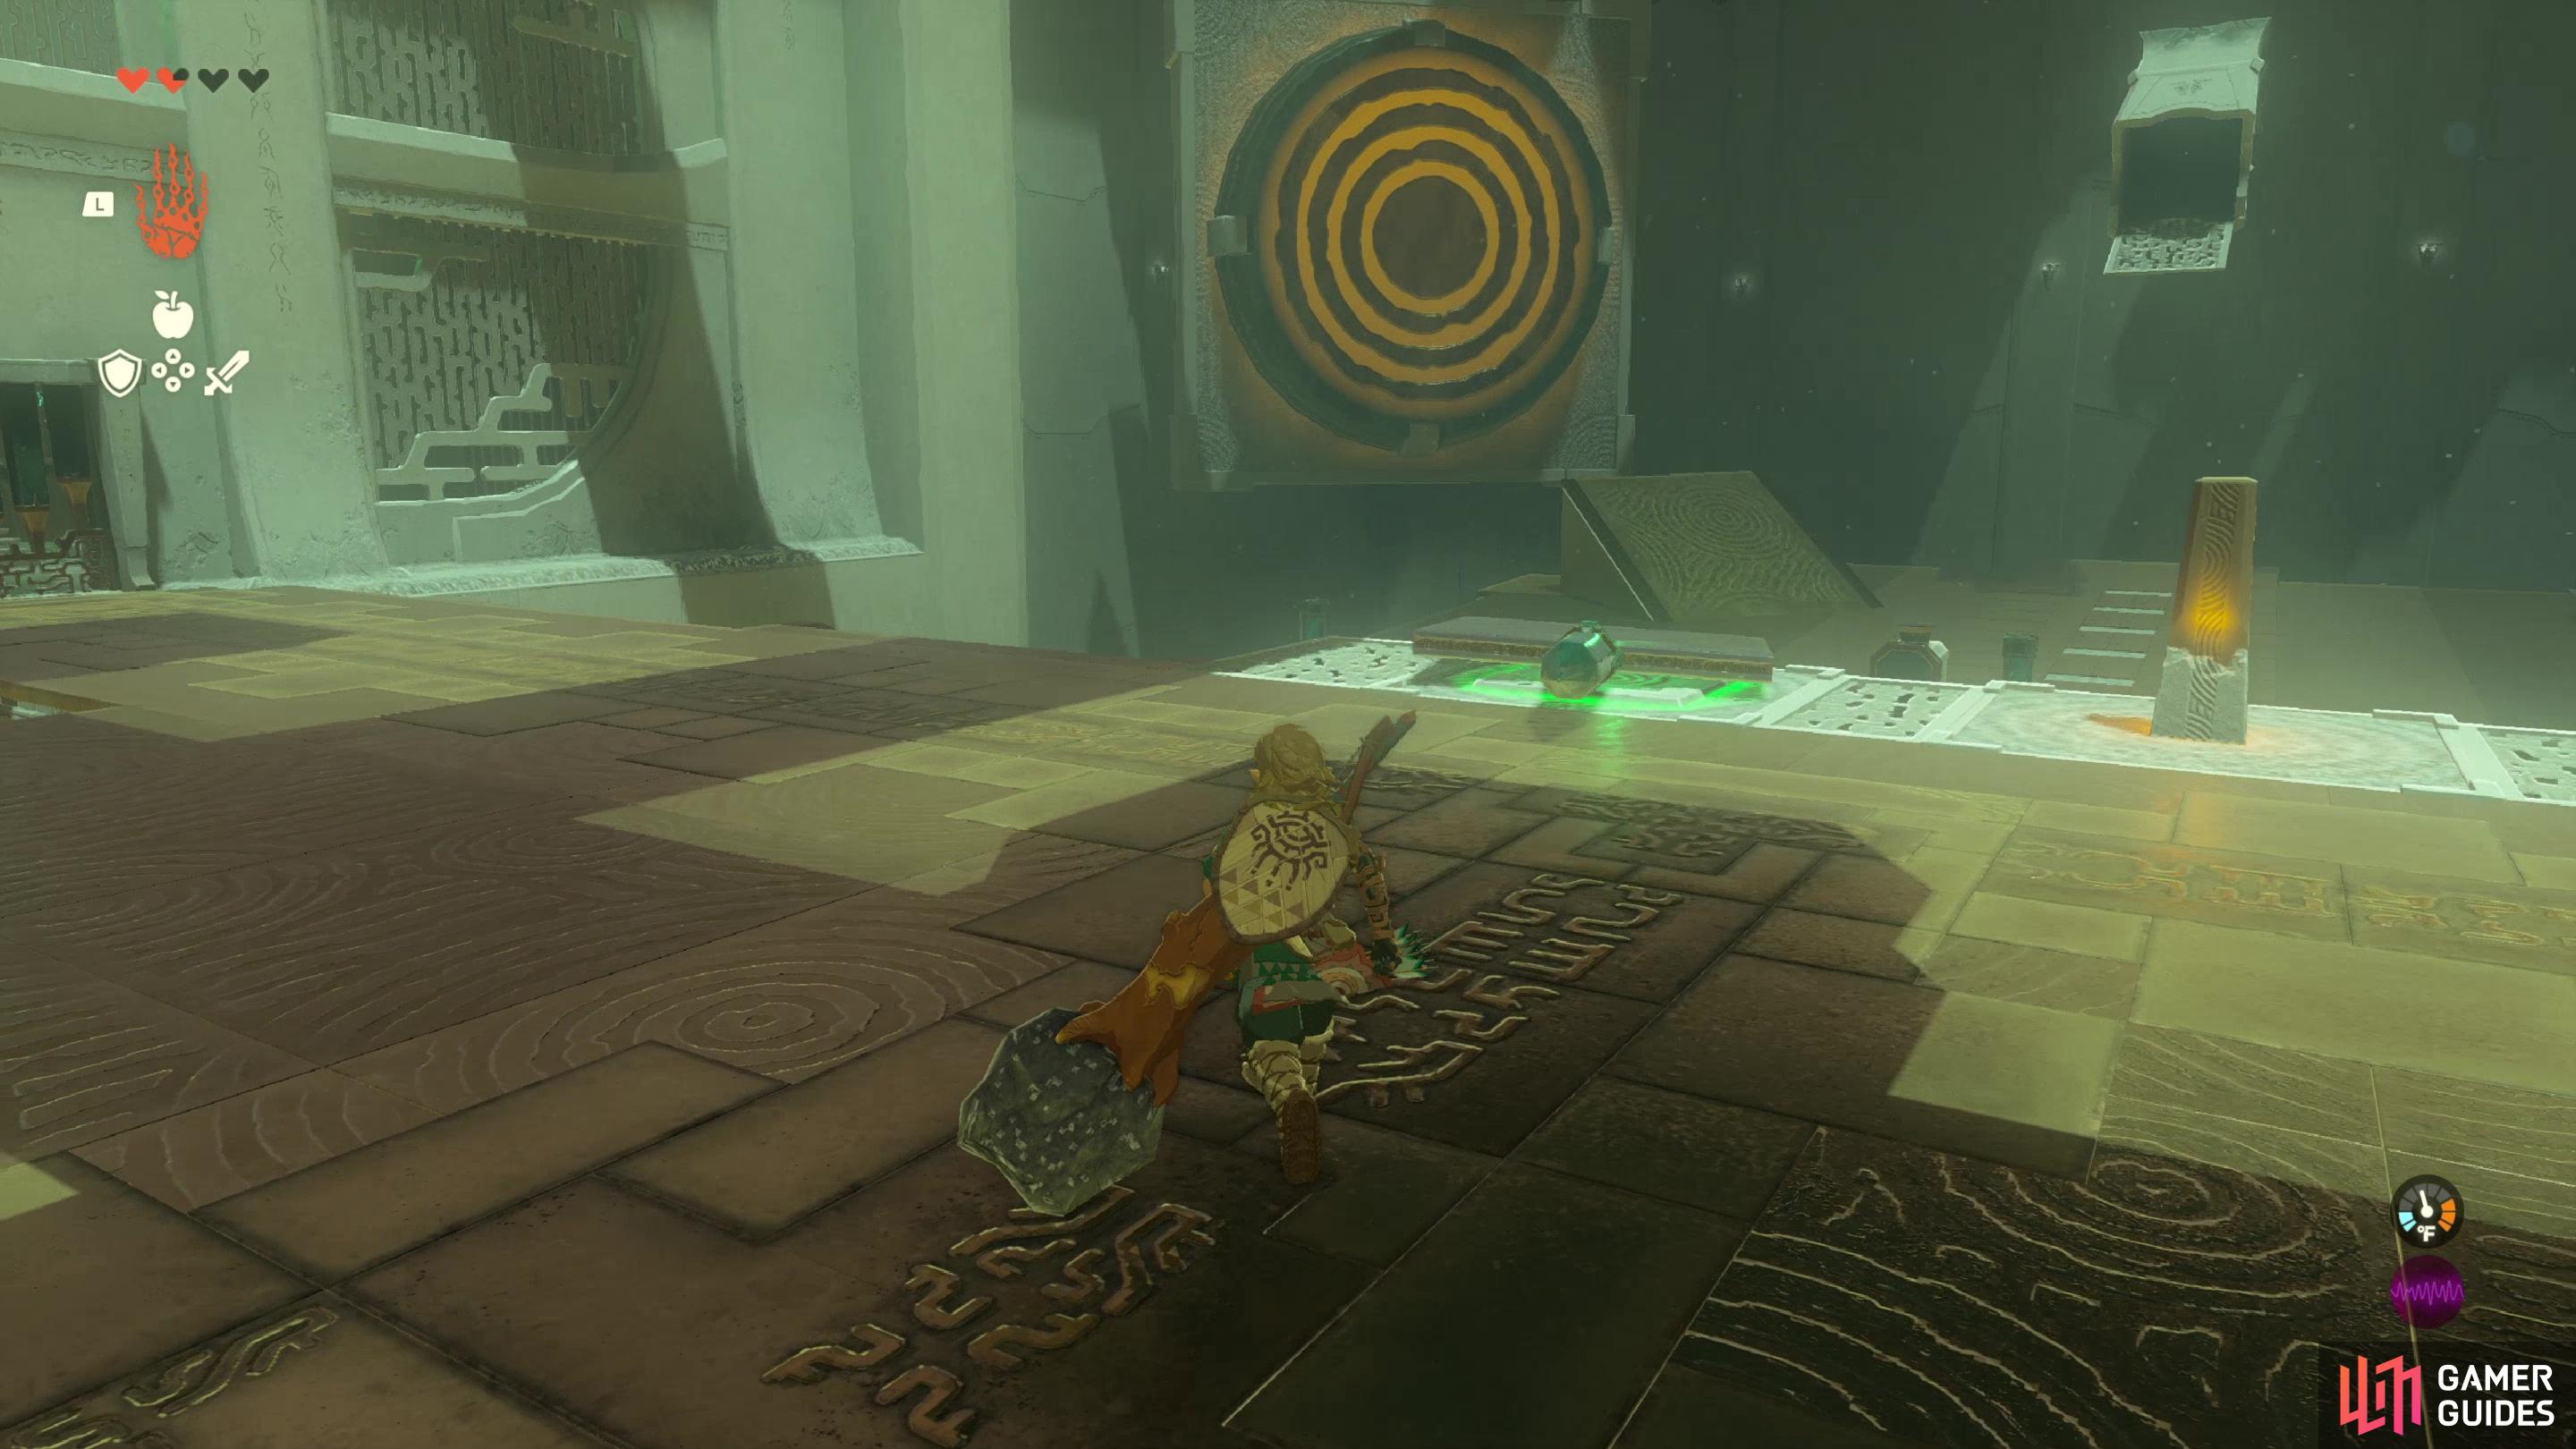
From chasm, continue forward and you’ll find a yellow crystal and a pressure plate. Use ![]() Ultrahand and grab the platform you used to cross the pit and place the platform down on the pressure plate. This will cause a yellow target to spin around ahead of you and to the left. If the goal of the puzzle isn’t clear, you need to get the ball that’s perpetually falling from a chute (and subsequently rolling into the abyss - don’t let the ball run into you, it hurts!) onto the target. Strike the yellow crystal and you should see another rotating device down below you, which will rapidly spin when the crystal is struck - the crystal will turn green and yellow to indicate the position the rotating device is in.
Ultrahand and grab the platform you used to cross the pit and place the platform down on the pressure plate. This will cause a yellow target to spin around ahead of you and to the left. If the goal of the puzzle isn’t clear, you need to get the ball that’s perpetually falling from a chute (and subsequently rolling into the abyss - don’t let the ball run into you, it hurts!) onto the target. Strike the yellow crystal and you should see another rotating device down below you, which will rapidly spin when the crystal is struck - the crystal will turn green and yellow to indicate the position the rotating device is in.
Yep, time to play some baseball.
(1 of 4) Stake a spinning device,
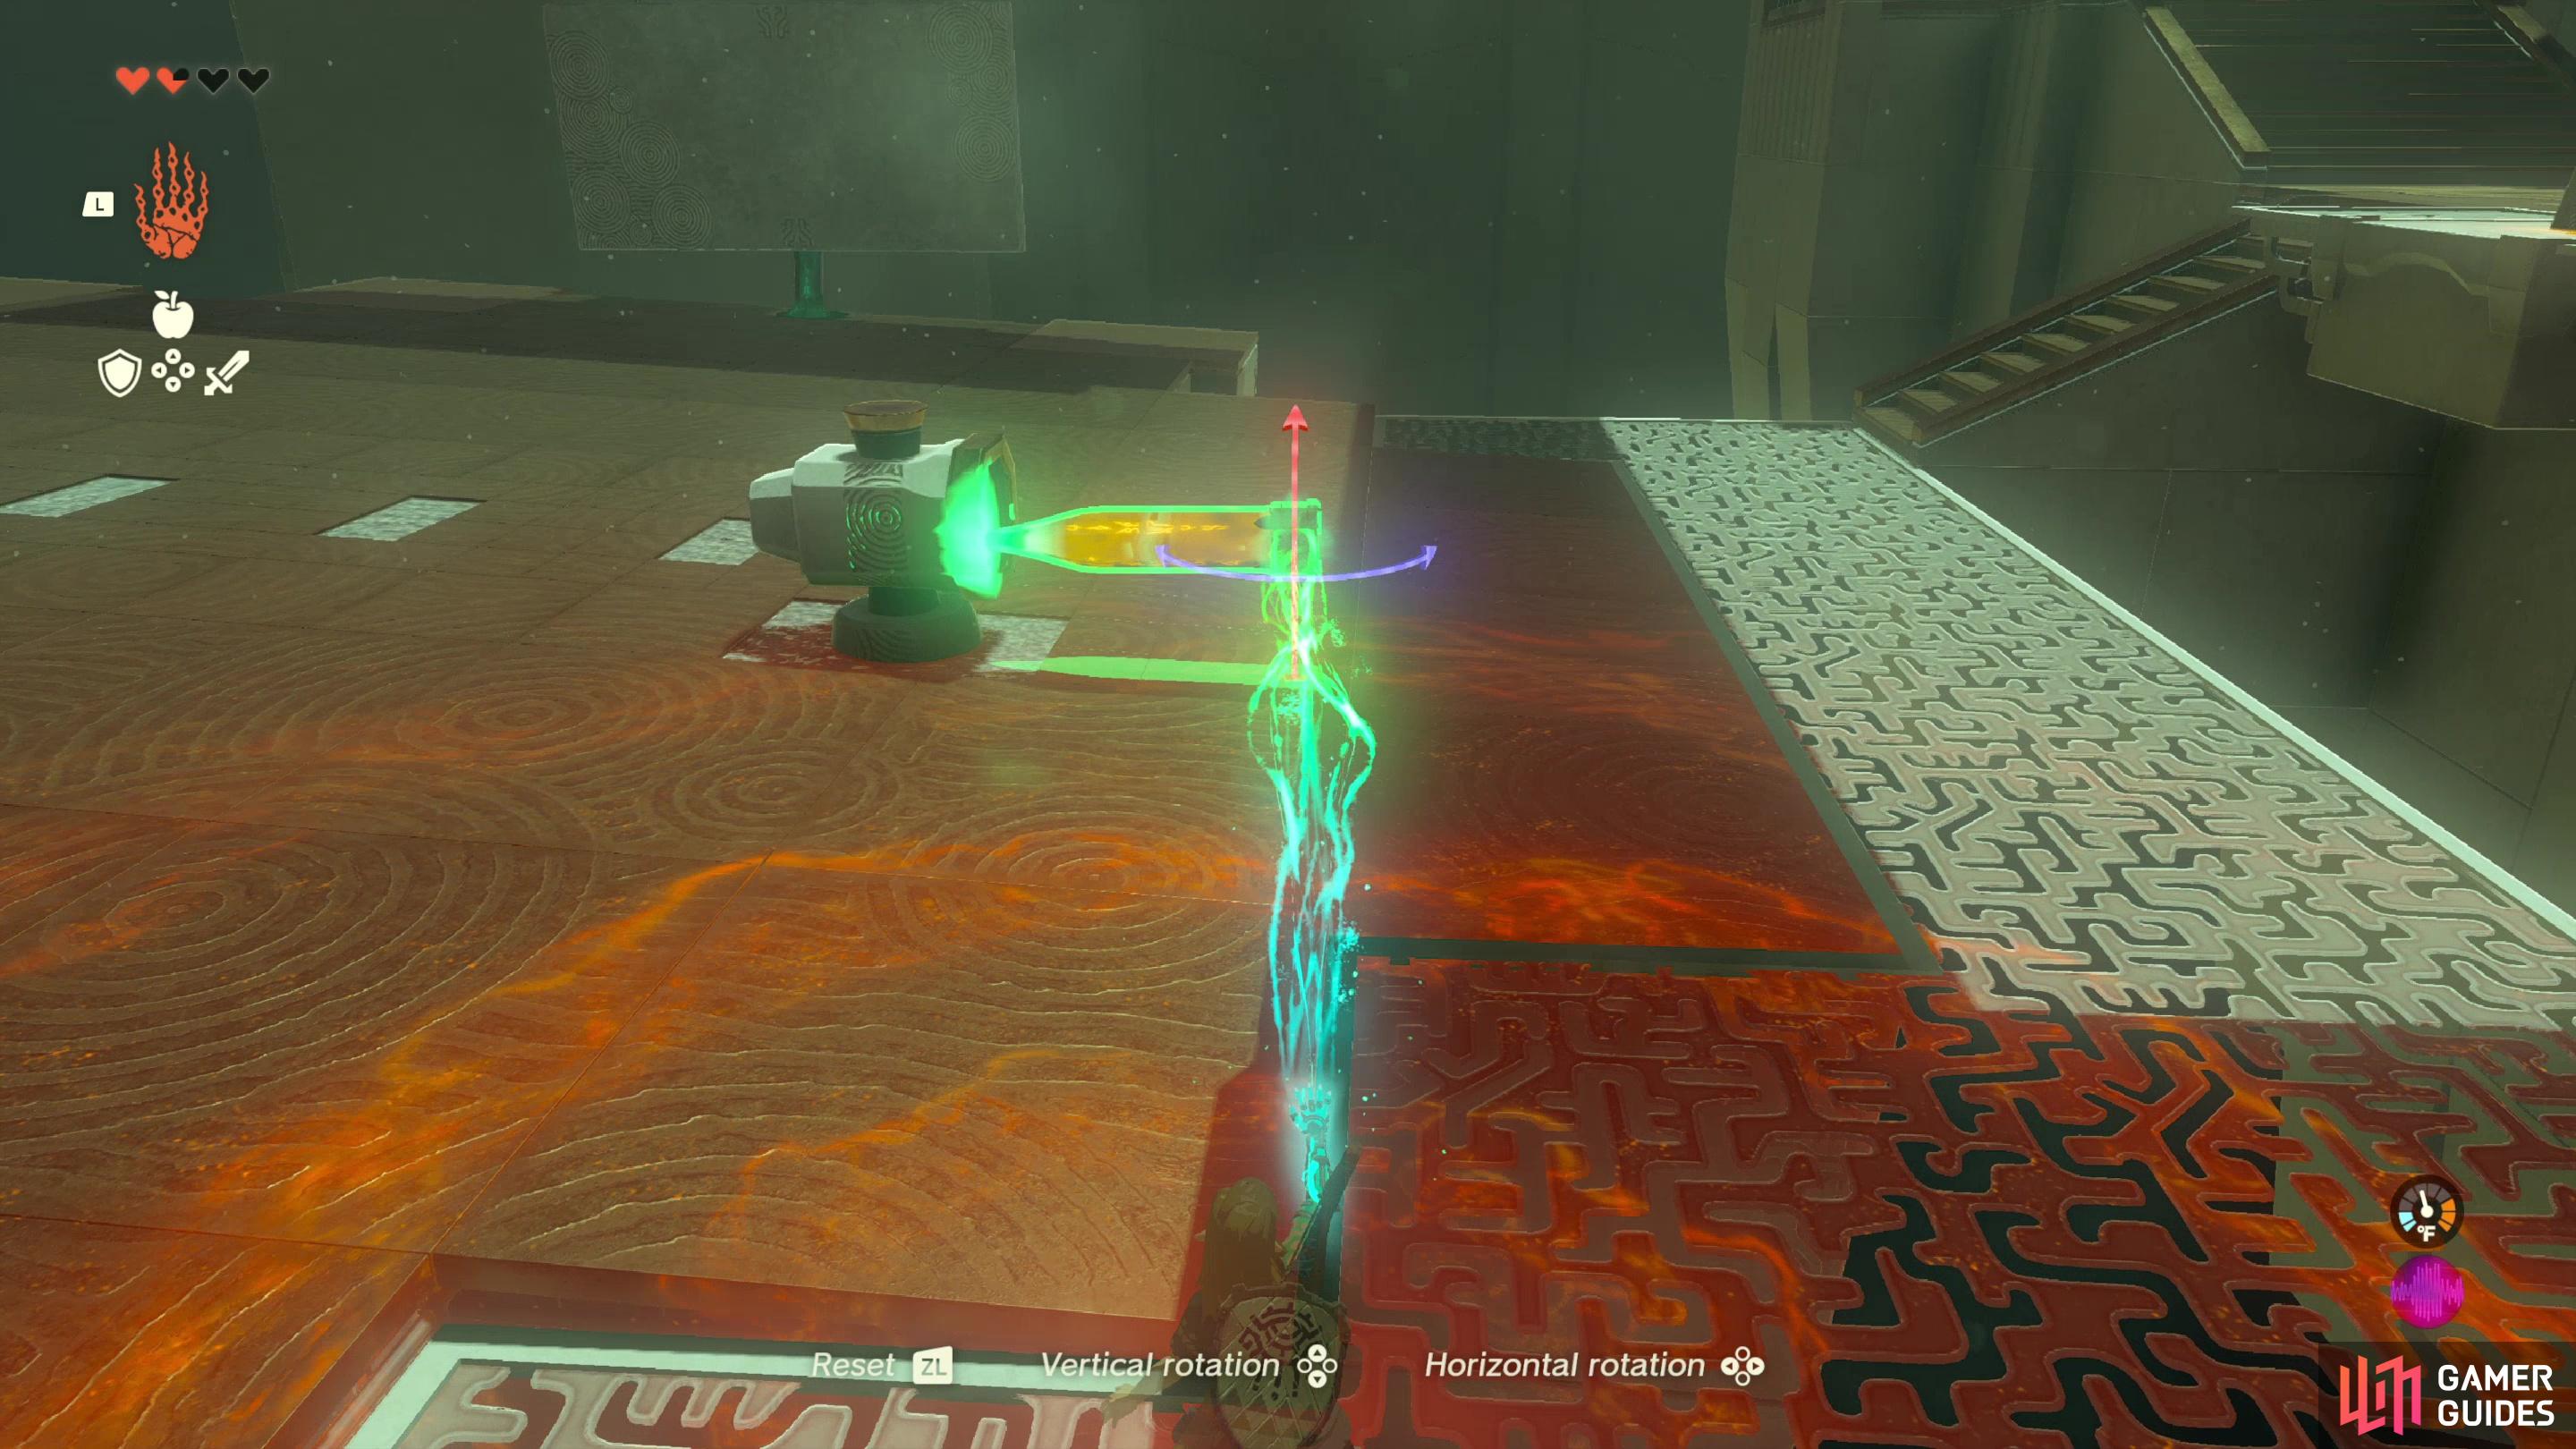
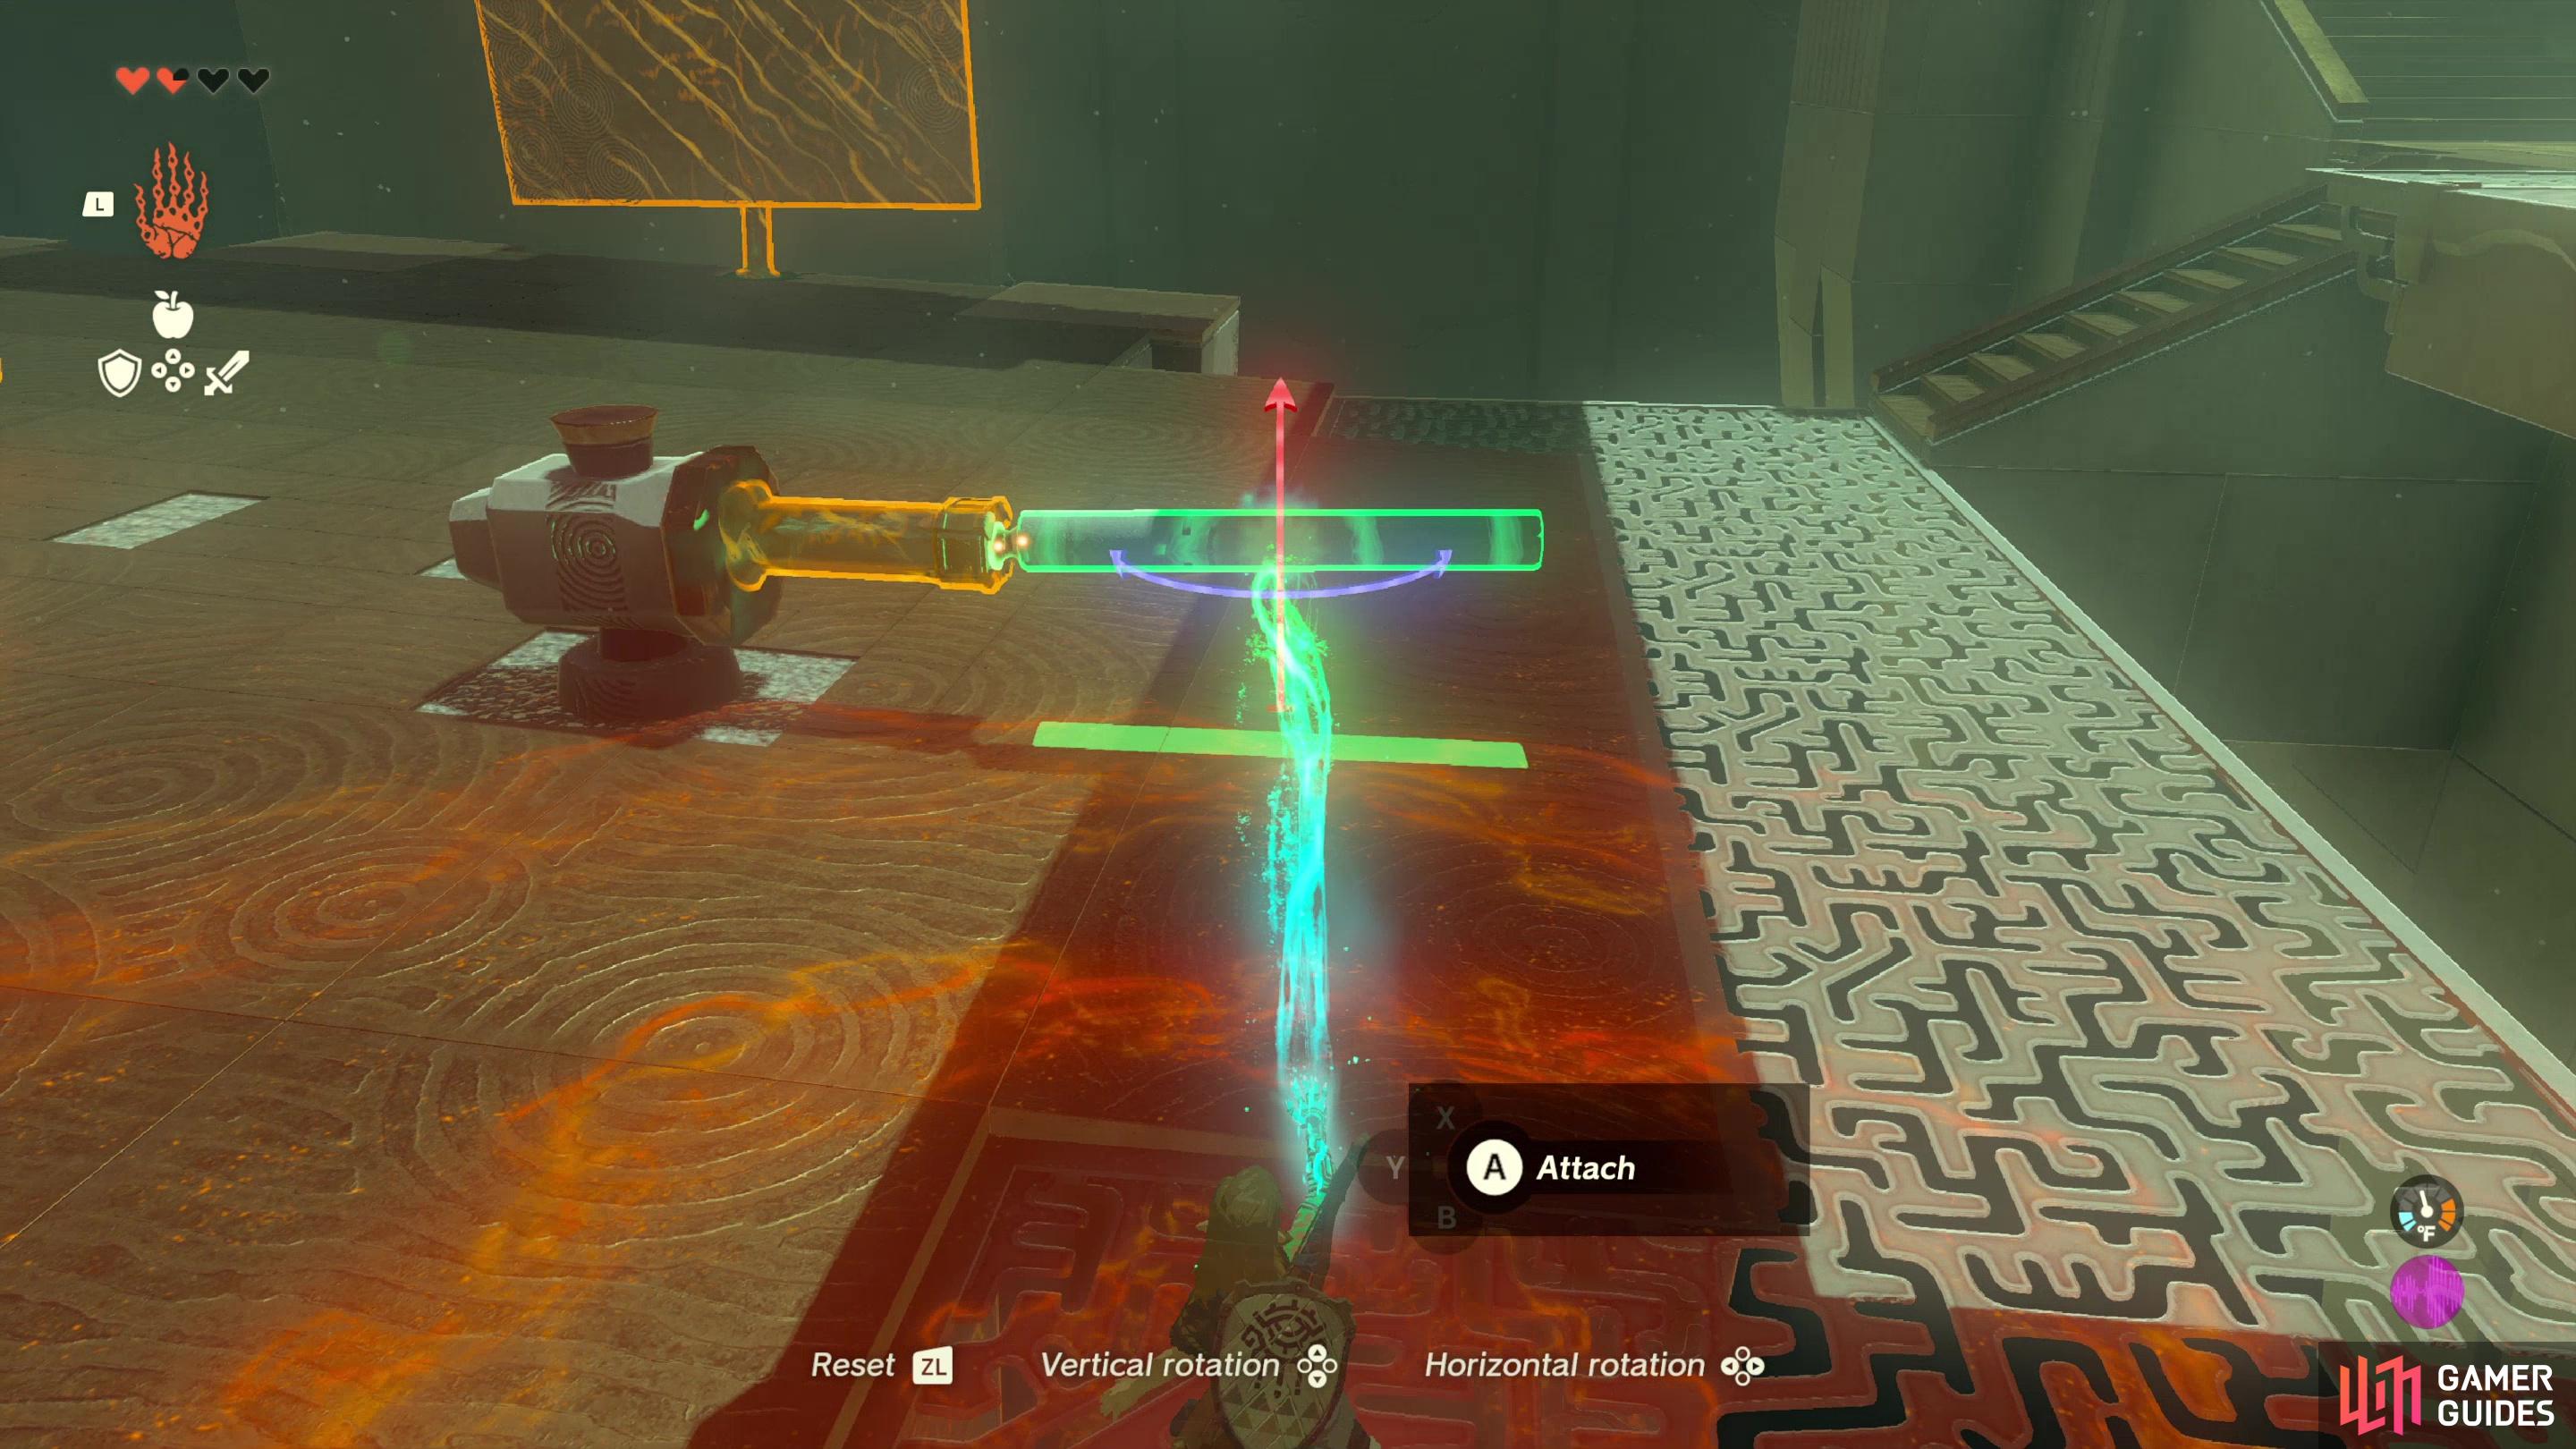
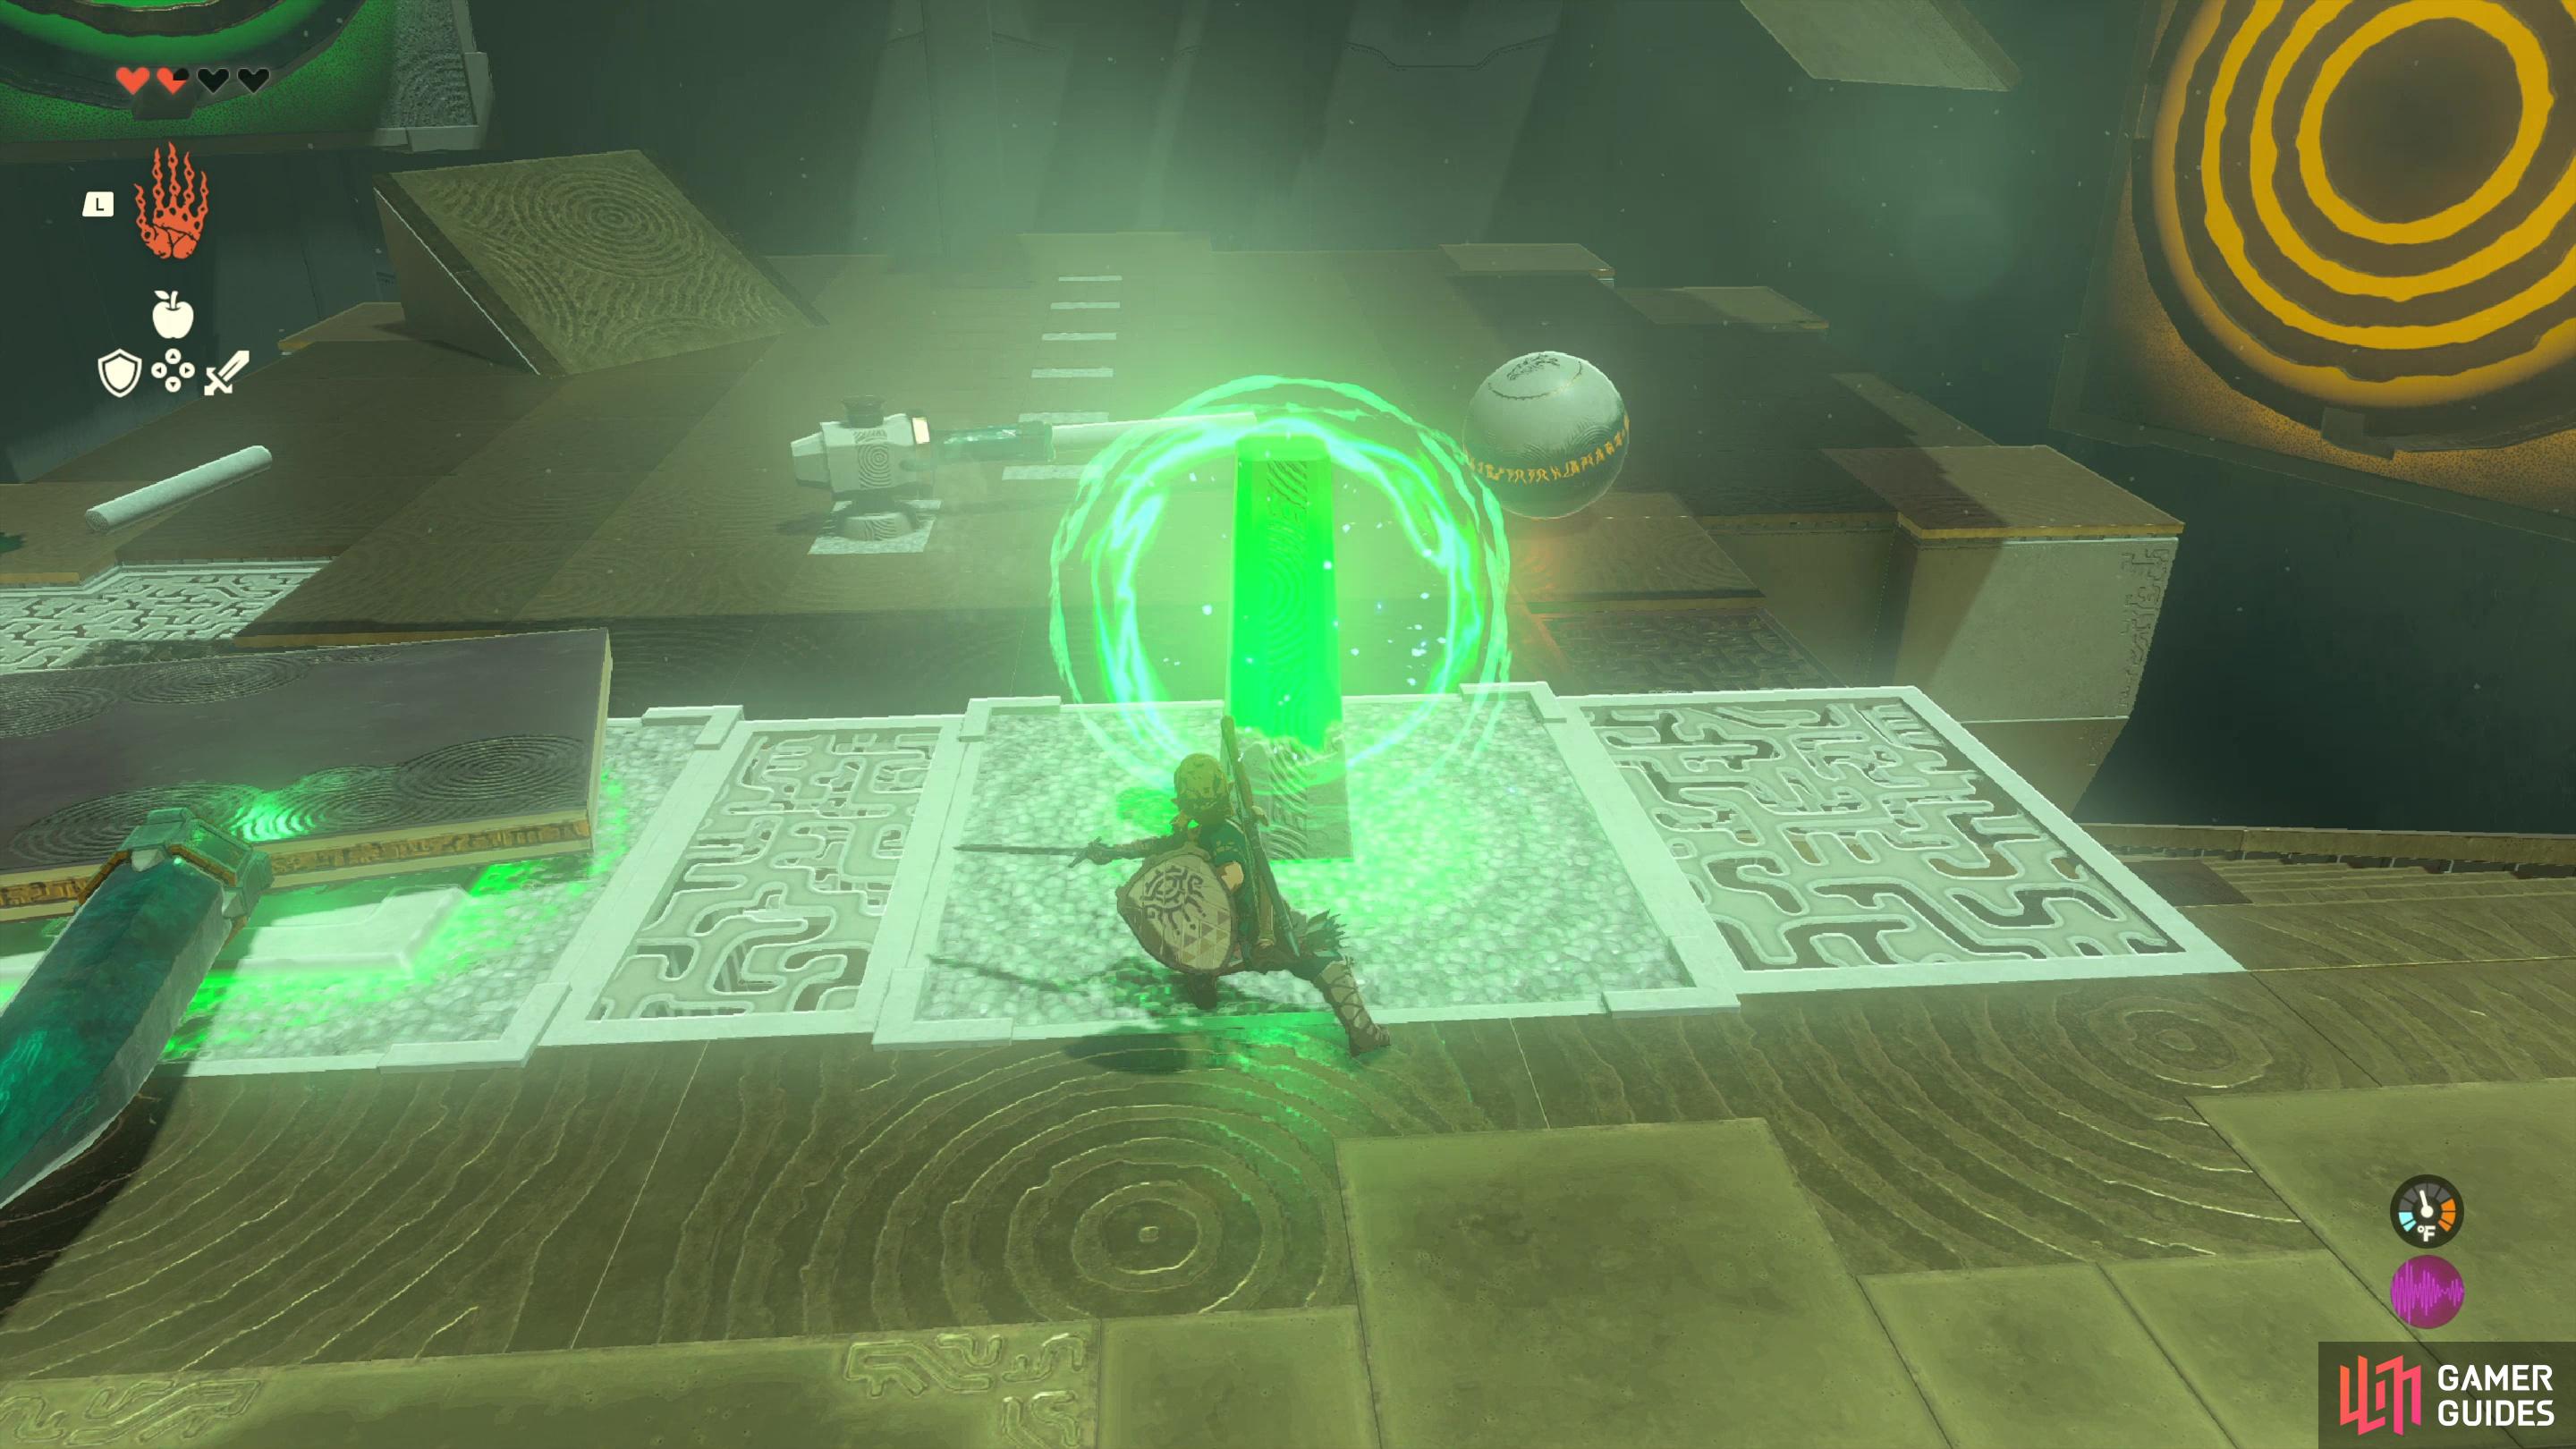
Go downstairs to reach the lower level with the spinning device and ball and notice a stake to the right of the spinning device (the ball is deflecting off this) and some white tubes to the left of the spinning device. The stake and one of the tubes will form your “bat”, and the stake connects to both the spinning device (with the spikey end) and the white tube (with the flat end), so stake the dark, wide end of the spinning device, the attach the white tube to the end of the stake. You now have your bat.
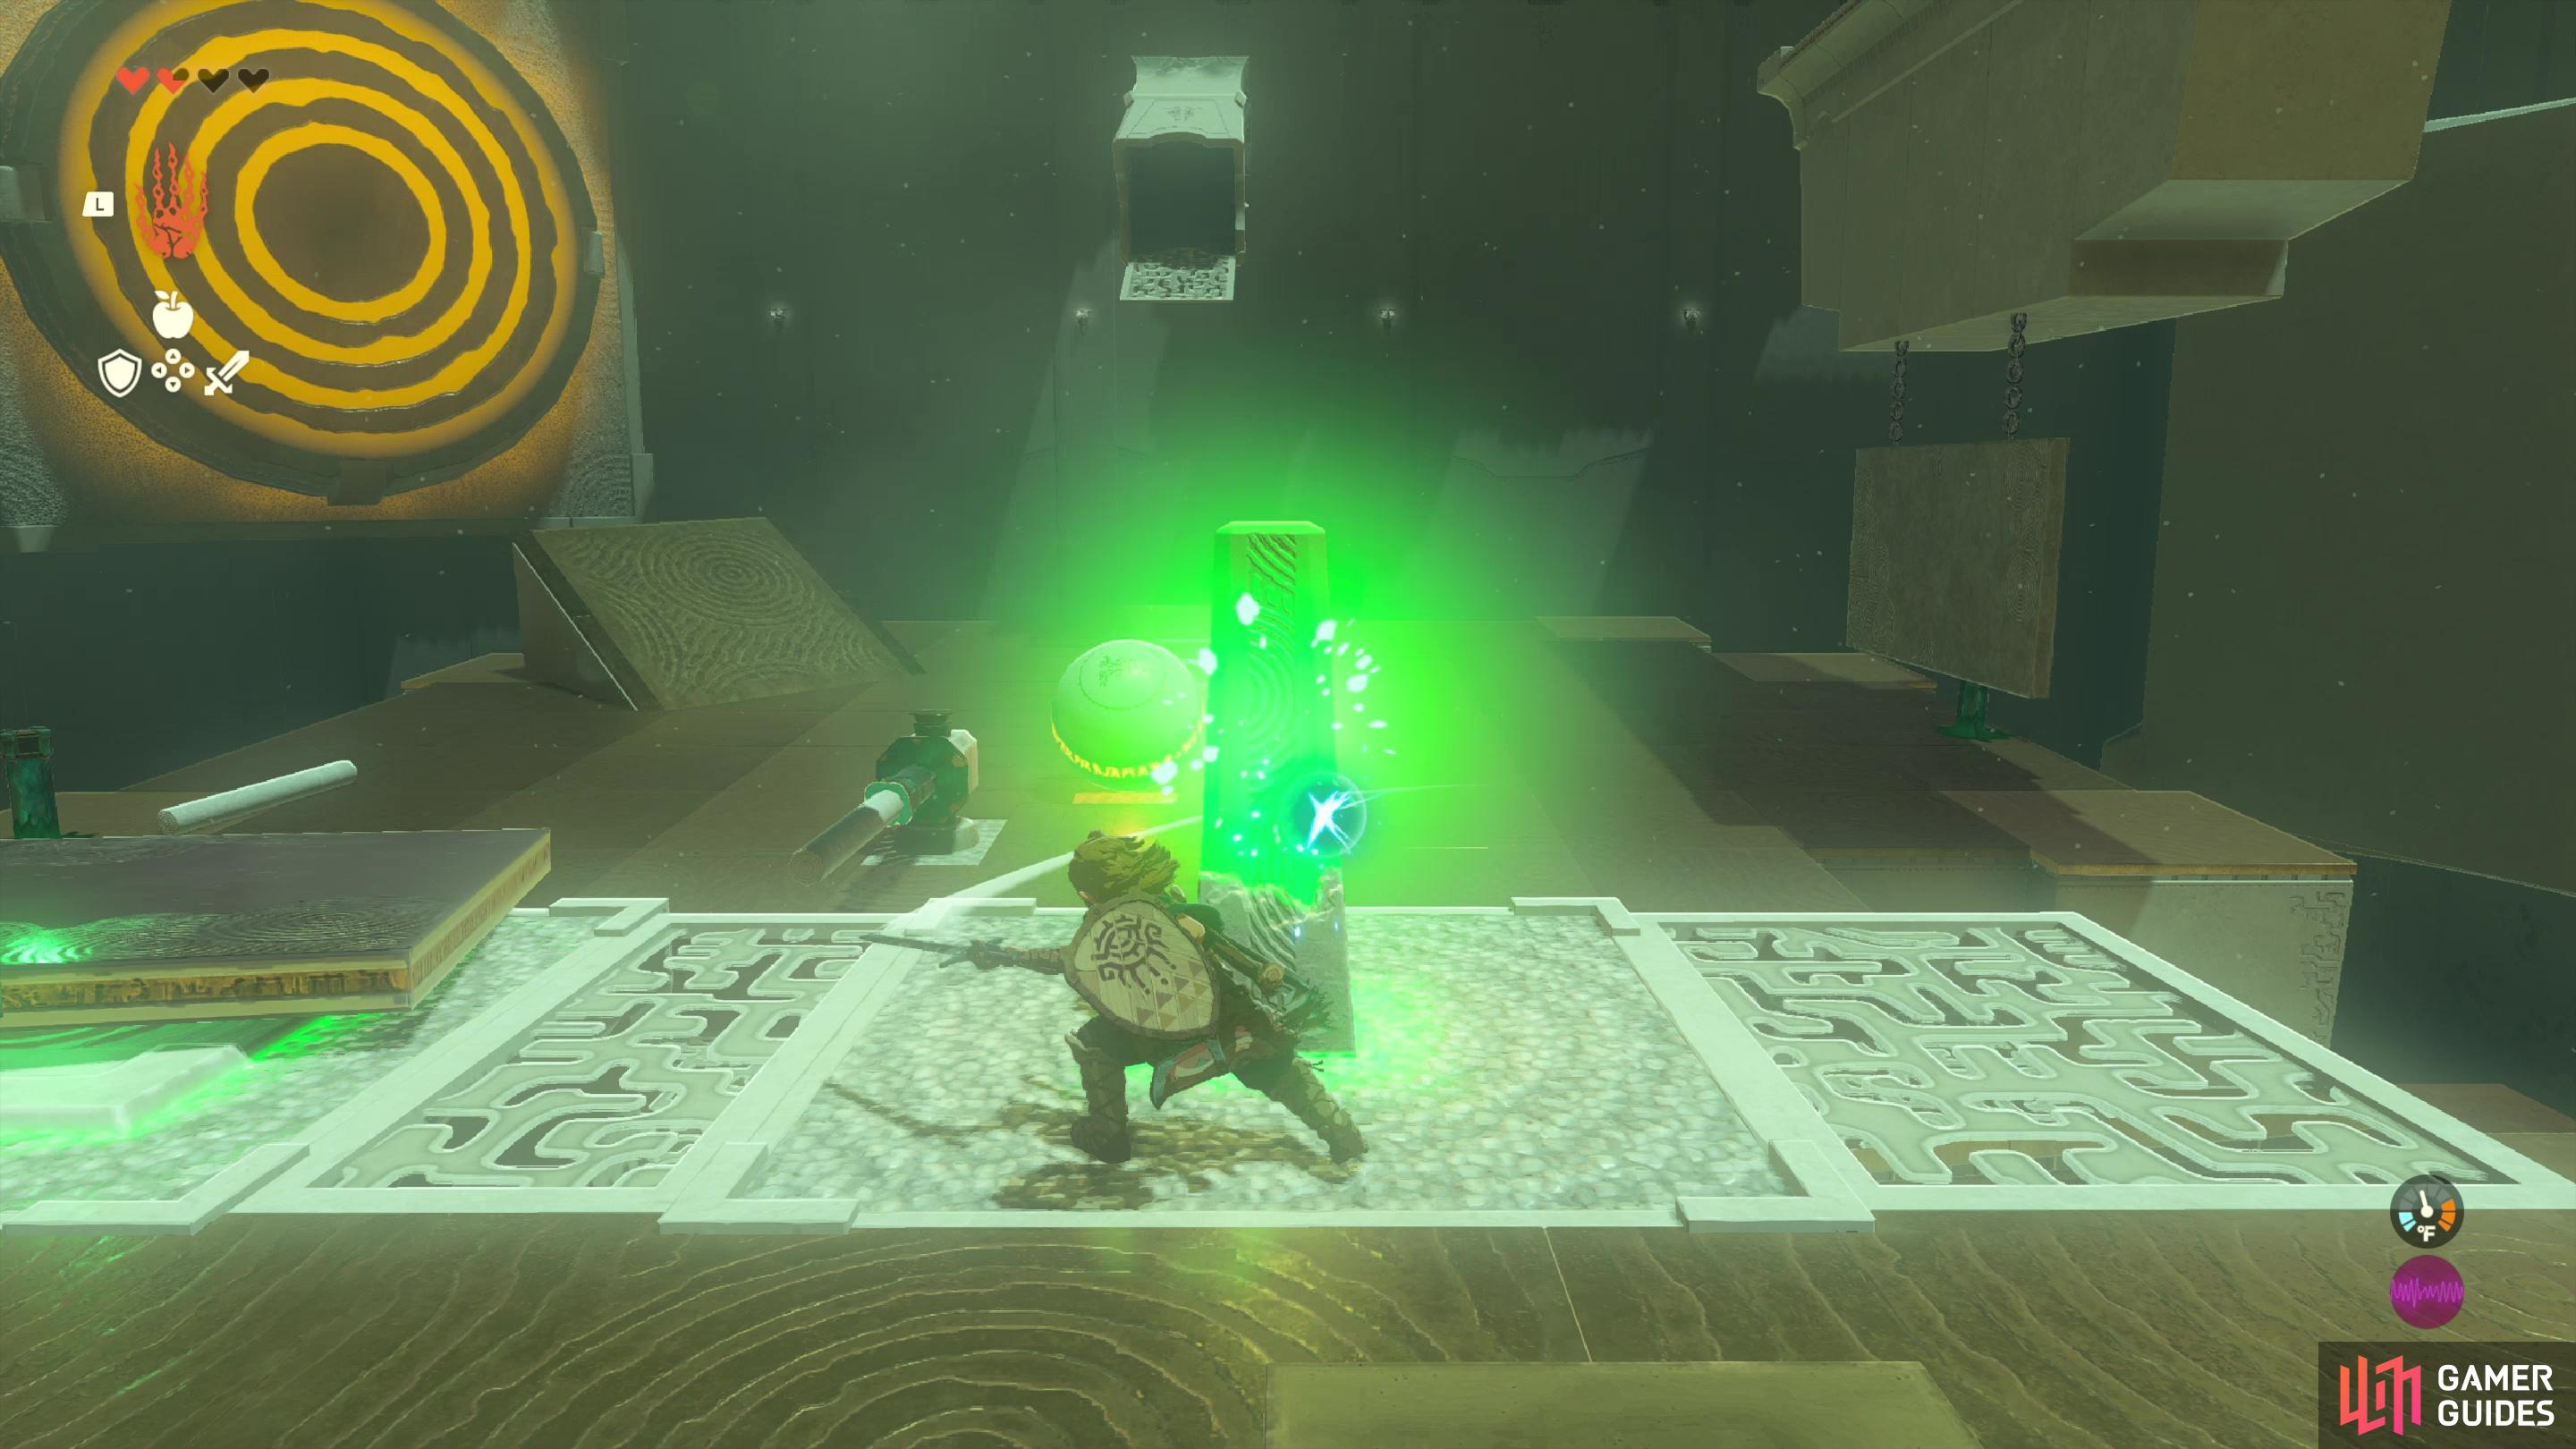
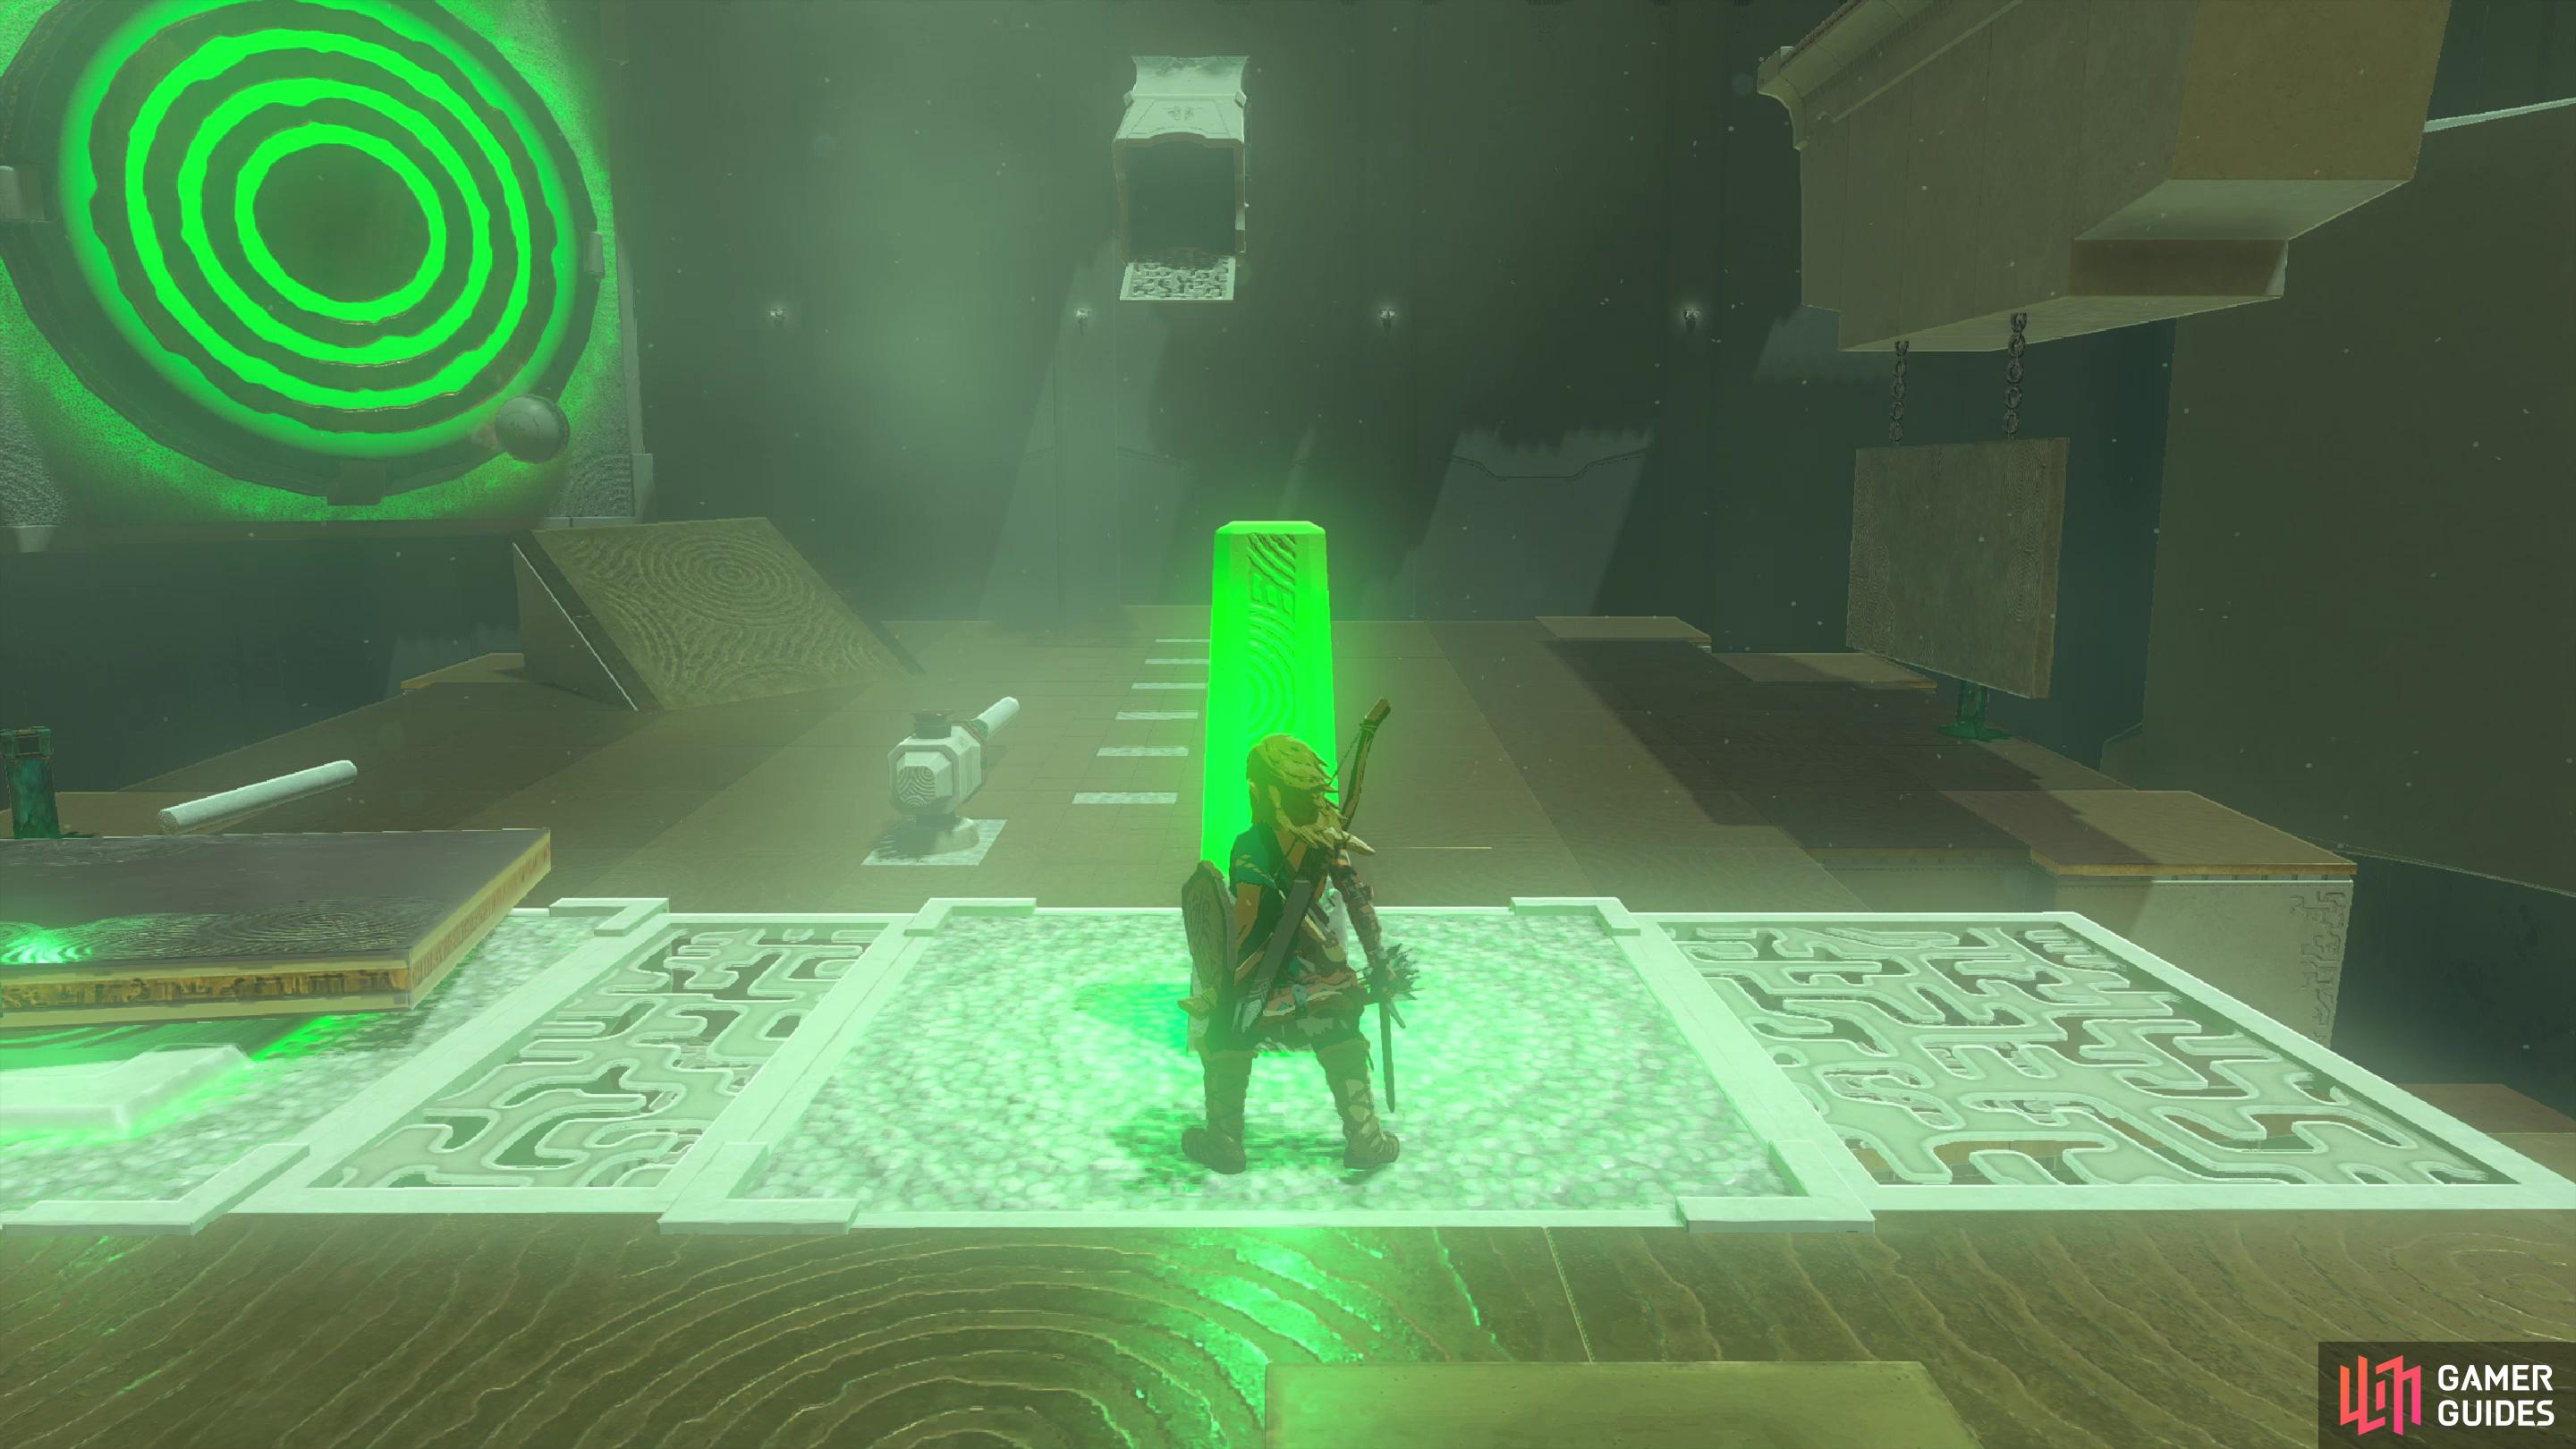
Now head back up to the crystal that activates the spinning device, get a fast weapon (the faster you hit the crystal, the better) and wait for the ball to roll into position. Hit the crystal to cause the swinging device to spin 180-degrees and strike the ball with your bat. Ideally it’ll veer off to the left, up the ramp and into the target. You don’t need a bullseye, anywhere on the target will suffice, but depending on your construction (how far you staked the “bat” and at what angle) your timing may vary. There are some white squares on the ground where the ball rolls to help you time this, so keep trying until you find the optimal angle. Ours was when the ball was at the second to last white square, but again, construction variances may change things.
How to Get the Chest in Mayachin Shrine
You’ve opened the way to the end of the shrine, and you can claim your prize if you wish, but there’s another target to the right, and striking it will open the other gate, beyond which is a treasure chest. You already have the “bat” built, and the solution is within reach, so you might as well claim it. To open the gate you need to strike the right target, which requires you to knock the ball into it. Practically speaking, this just means striking the ball later, after it passes the last white mark but before it reaches the dark grate floor beyond the spinning device. There’s also another complication - a platform is suspended from some chains right in your path. With some luck you might be able to knock the ball through the platform and into the target, but you can also move the platform to make your job easier.
(1 of 4) Attach the blunt end of a stake to a hanging platform,
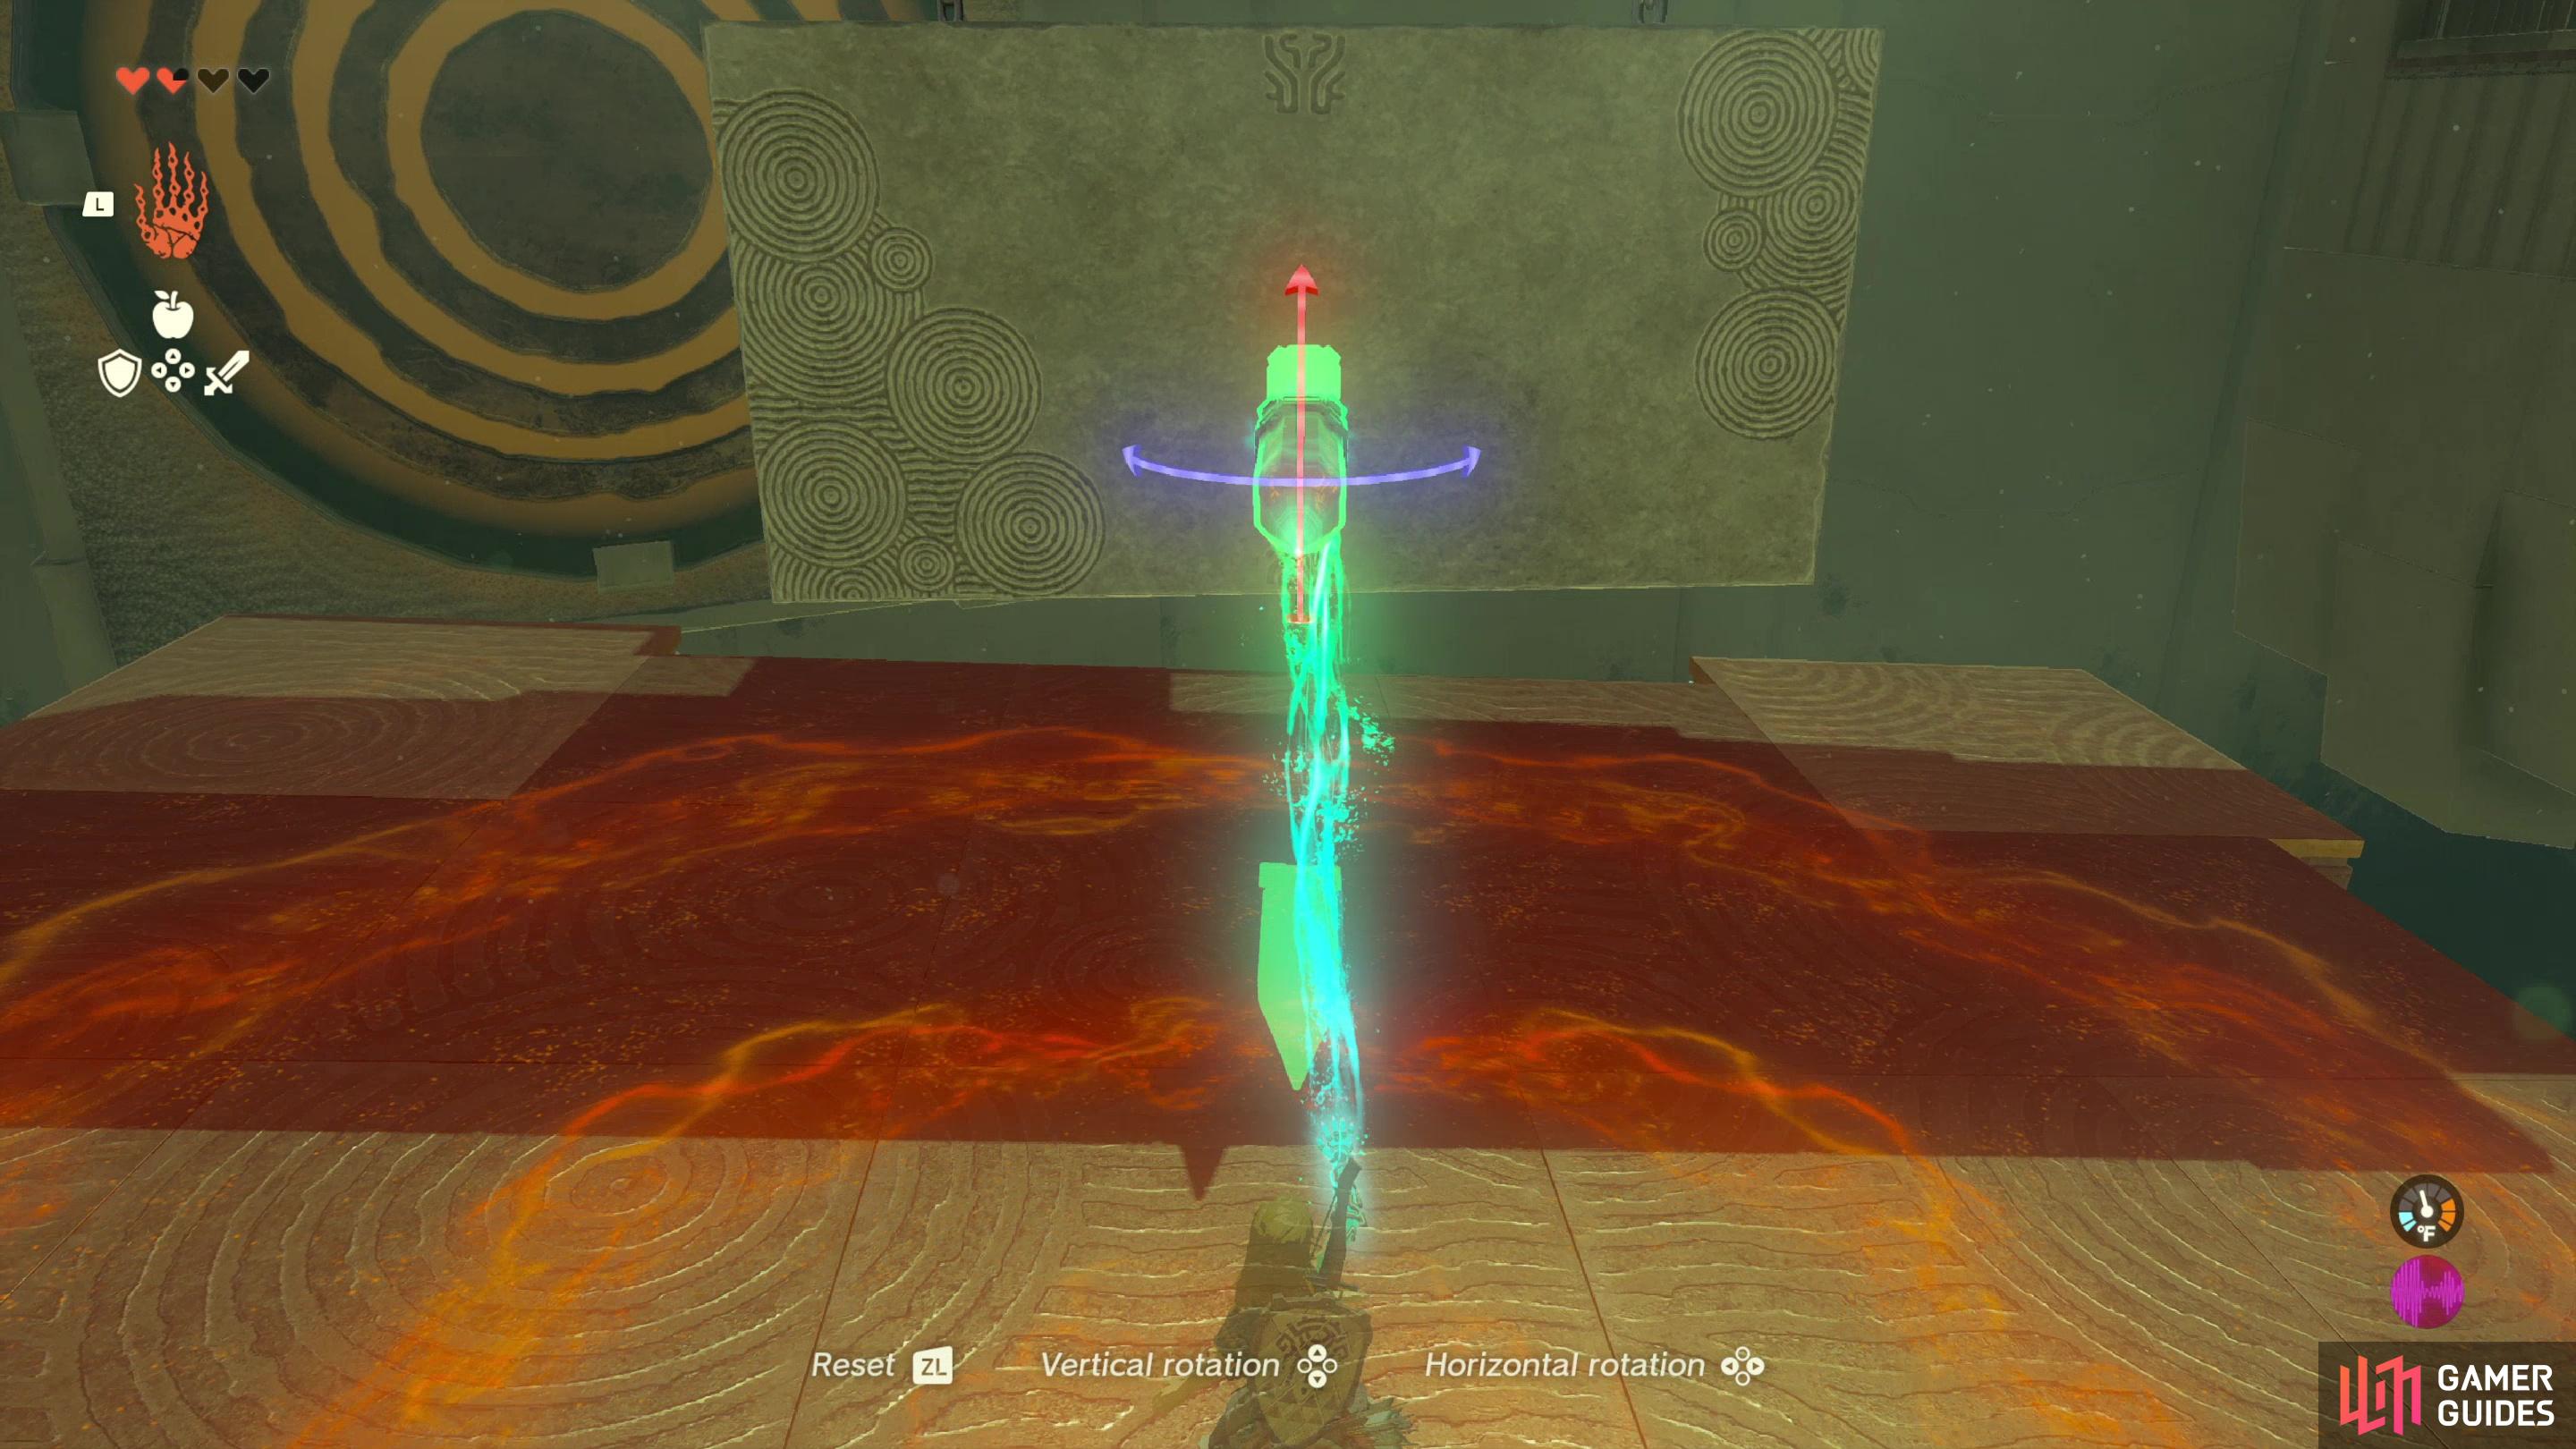
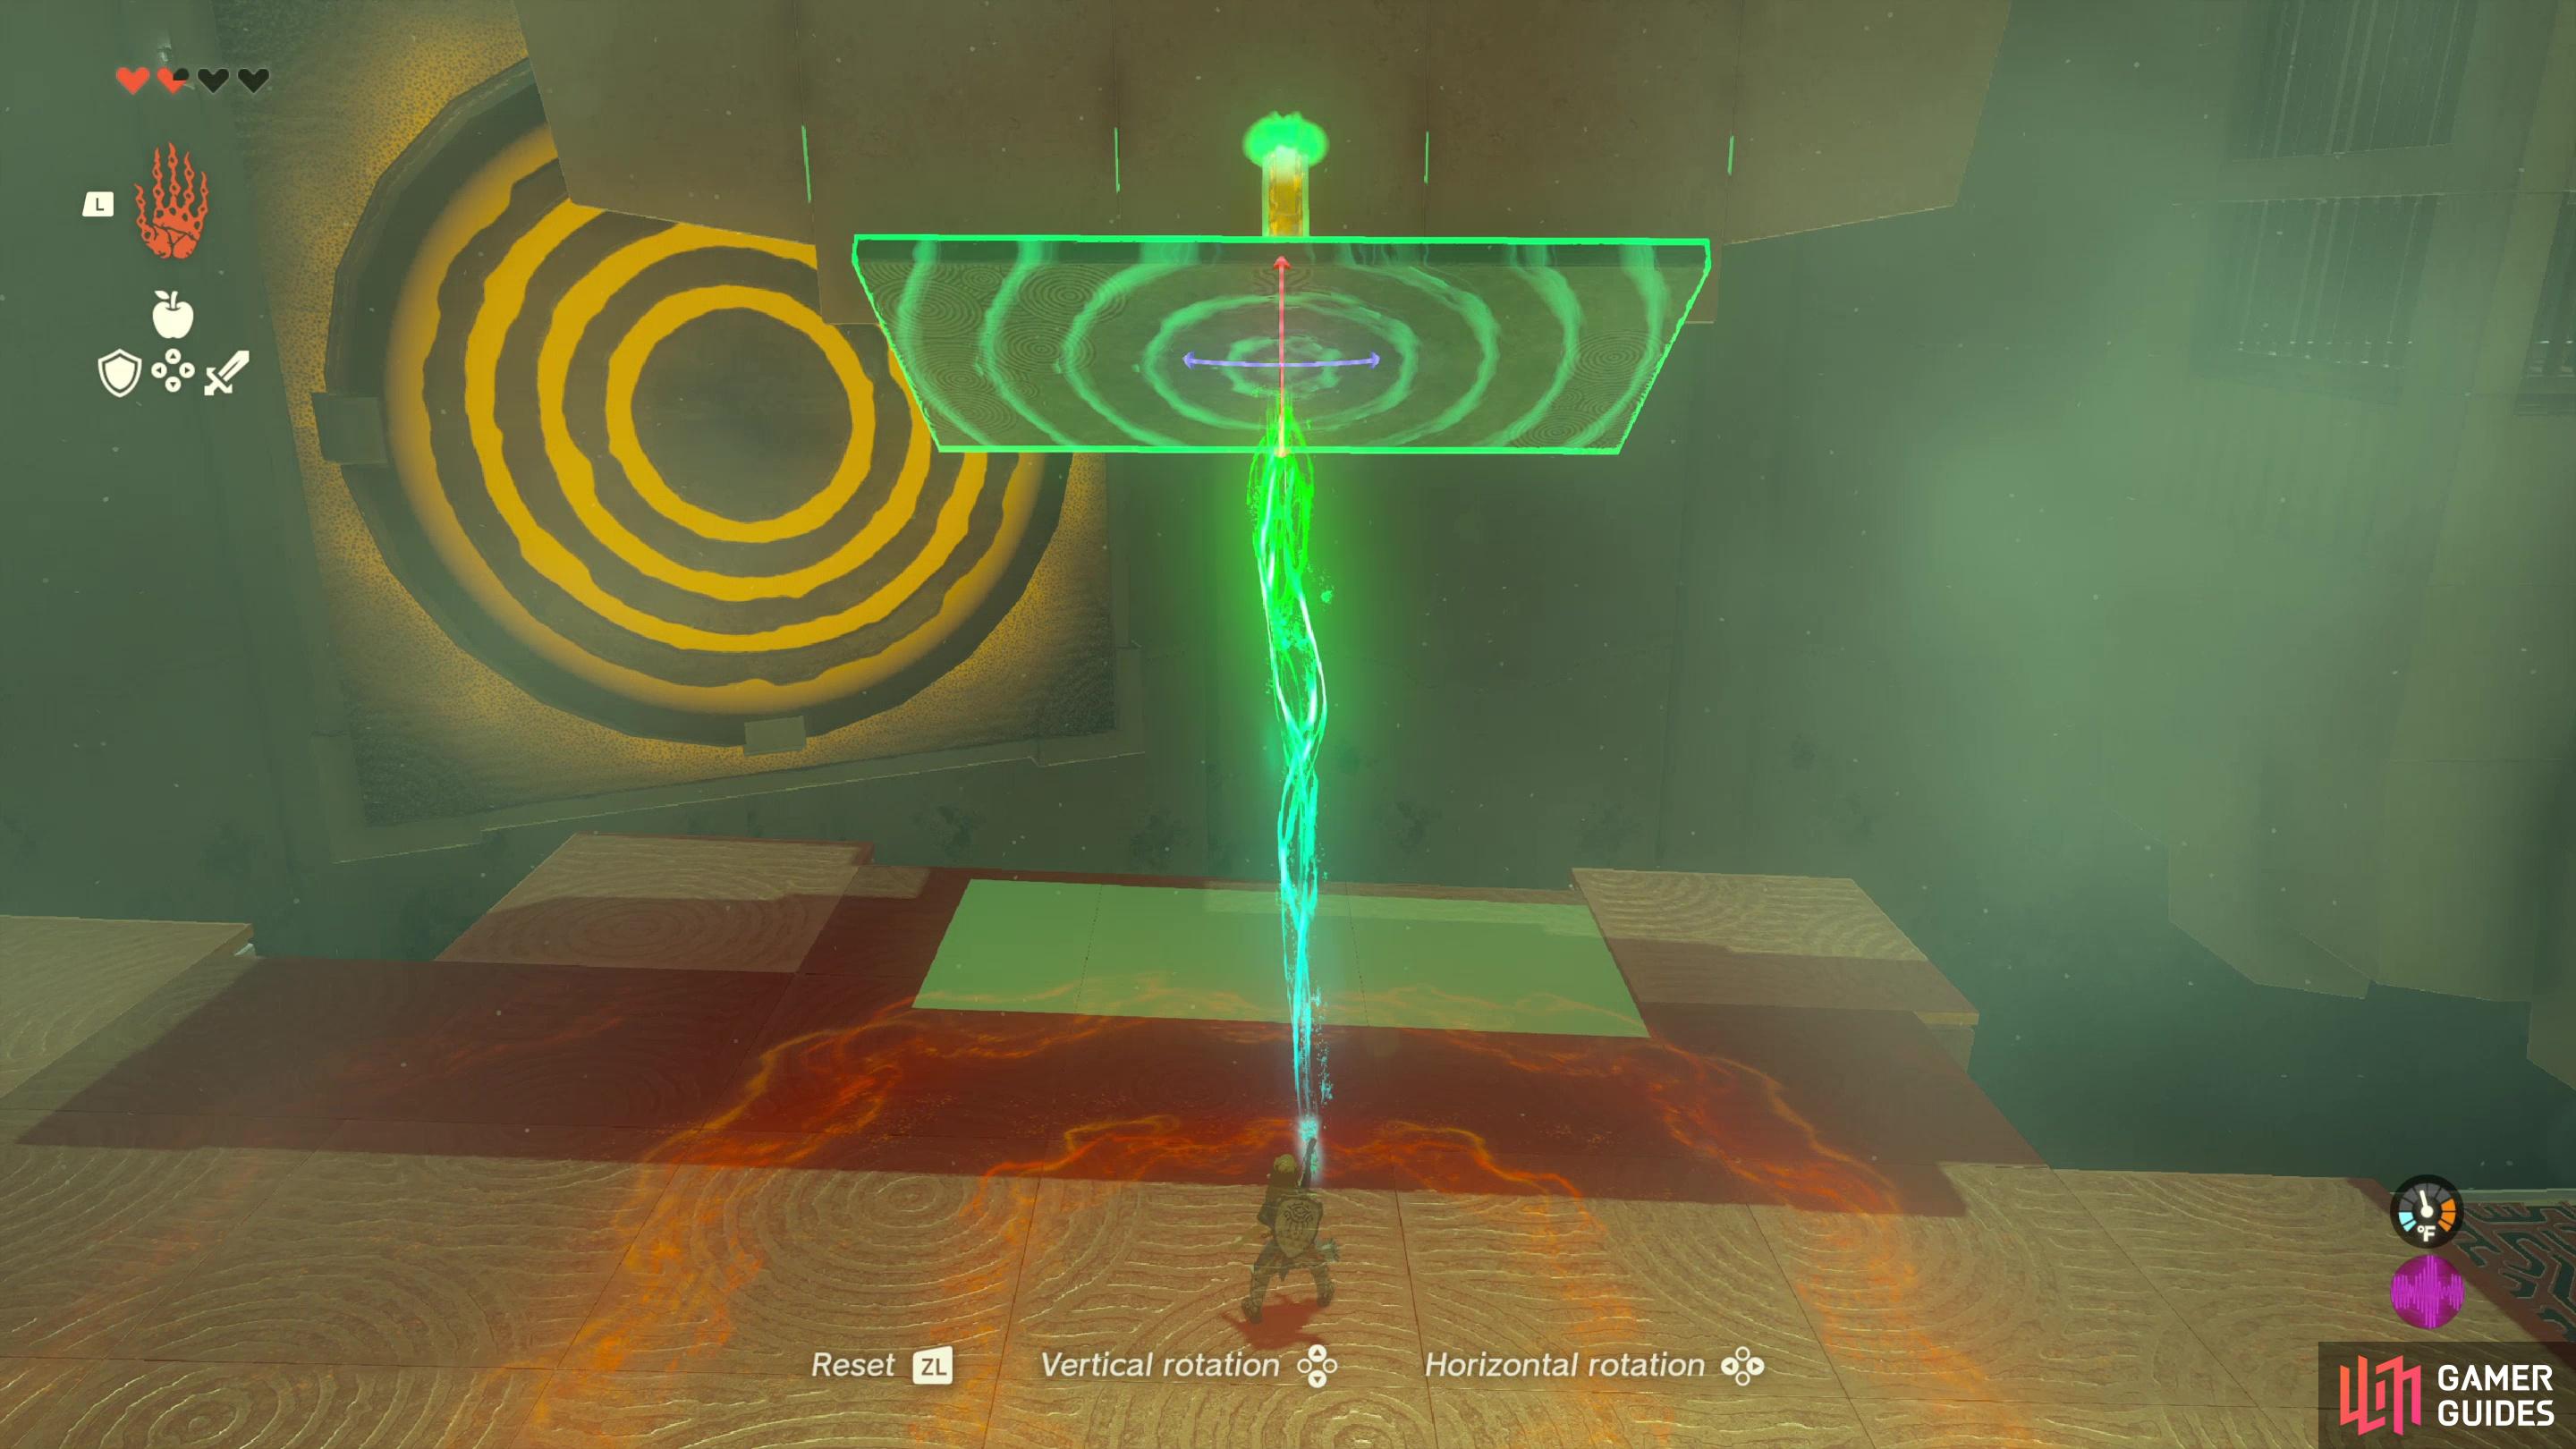
To do this, head over to the hanging platform and note the nearby stake. Grab the stake with Ultrahand and attach the flat end of the stake to the front of the platform. Then Ultrahand the platform, lift it up, and rotate it so the spikey end of the stake is facing the wall. With some fiddling you can pin the stake into the wall above where the platform was hanging, moving it out of the way. This will allow you unimpeded access to the target beyond, after which it’s only a matter of time before you get the timing right with the “bat”.
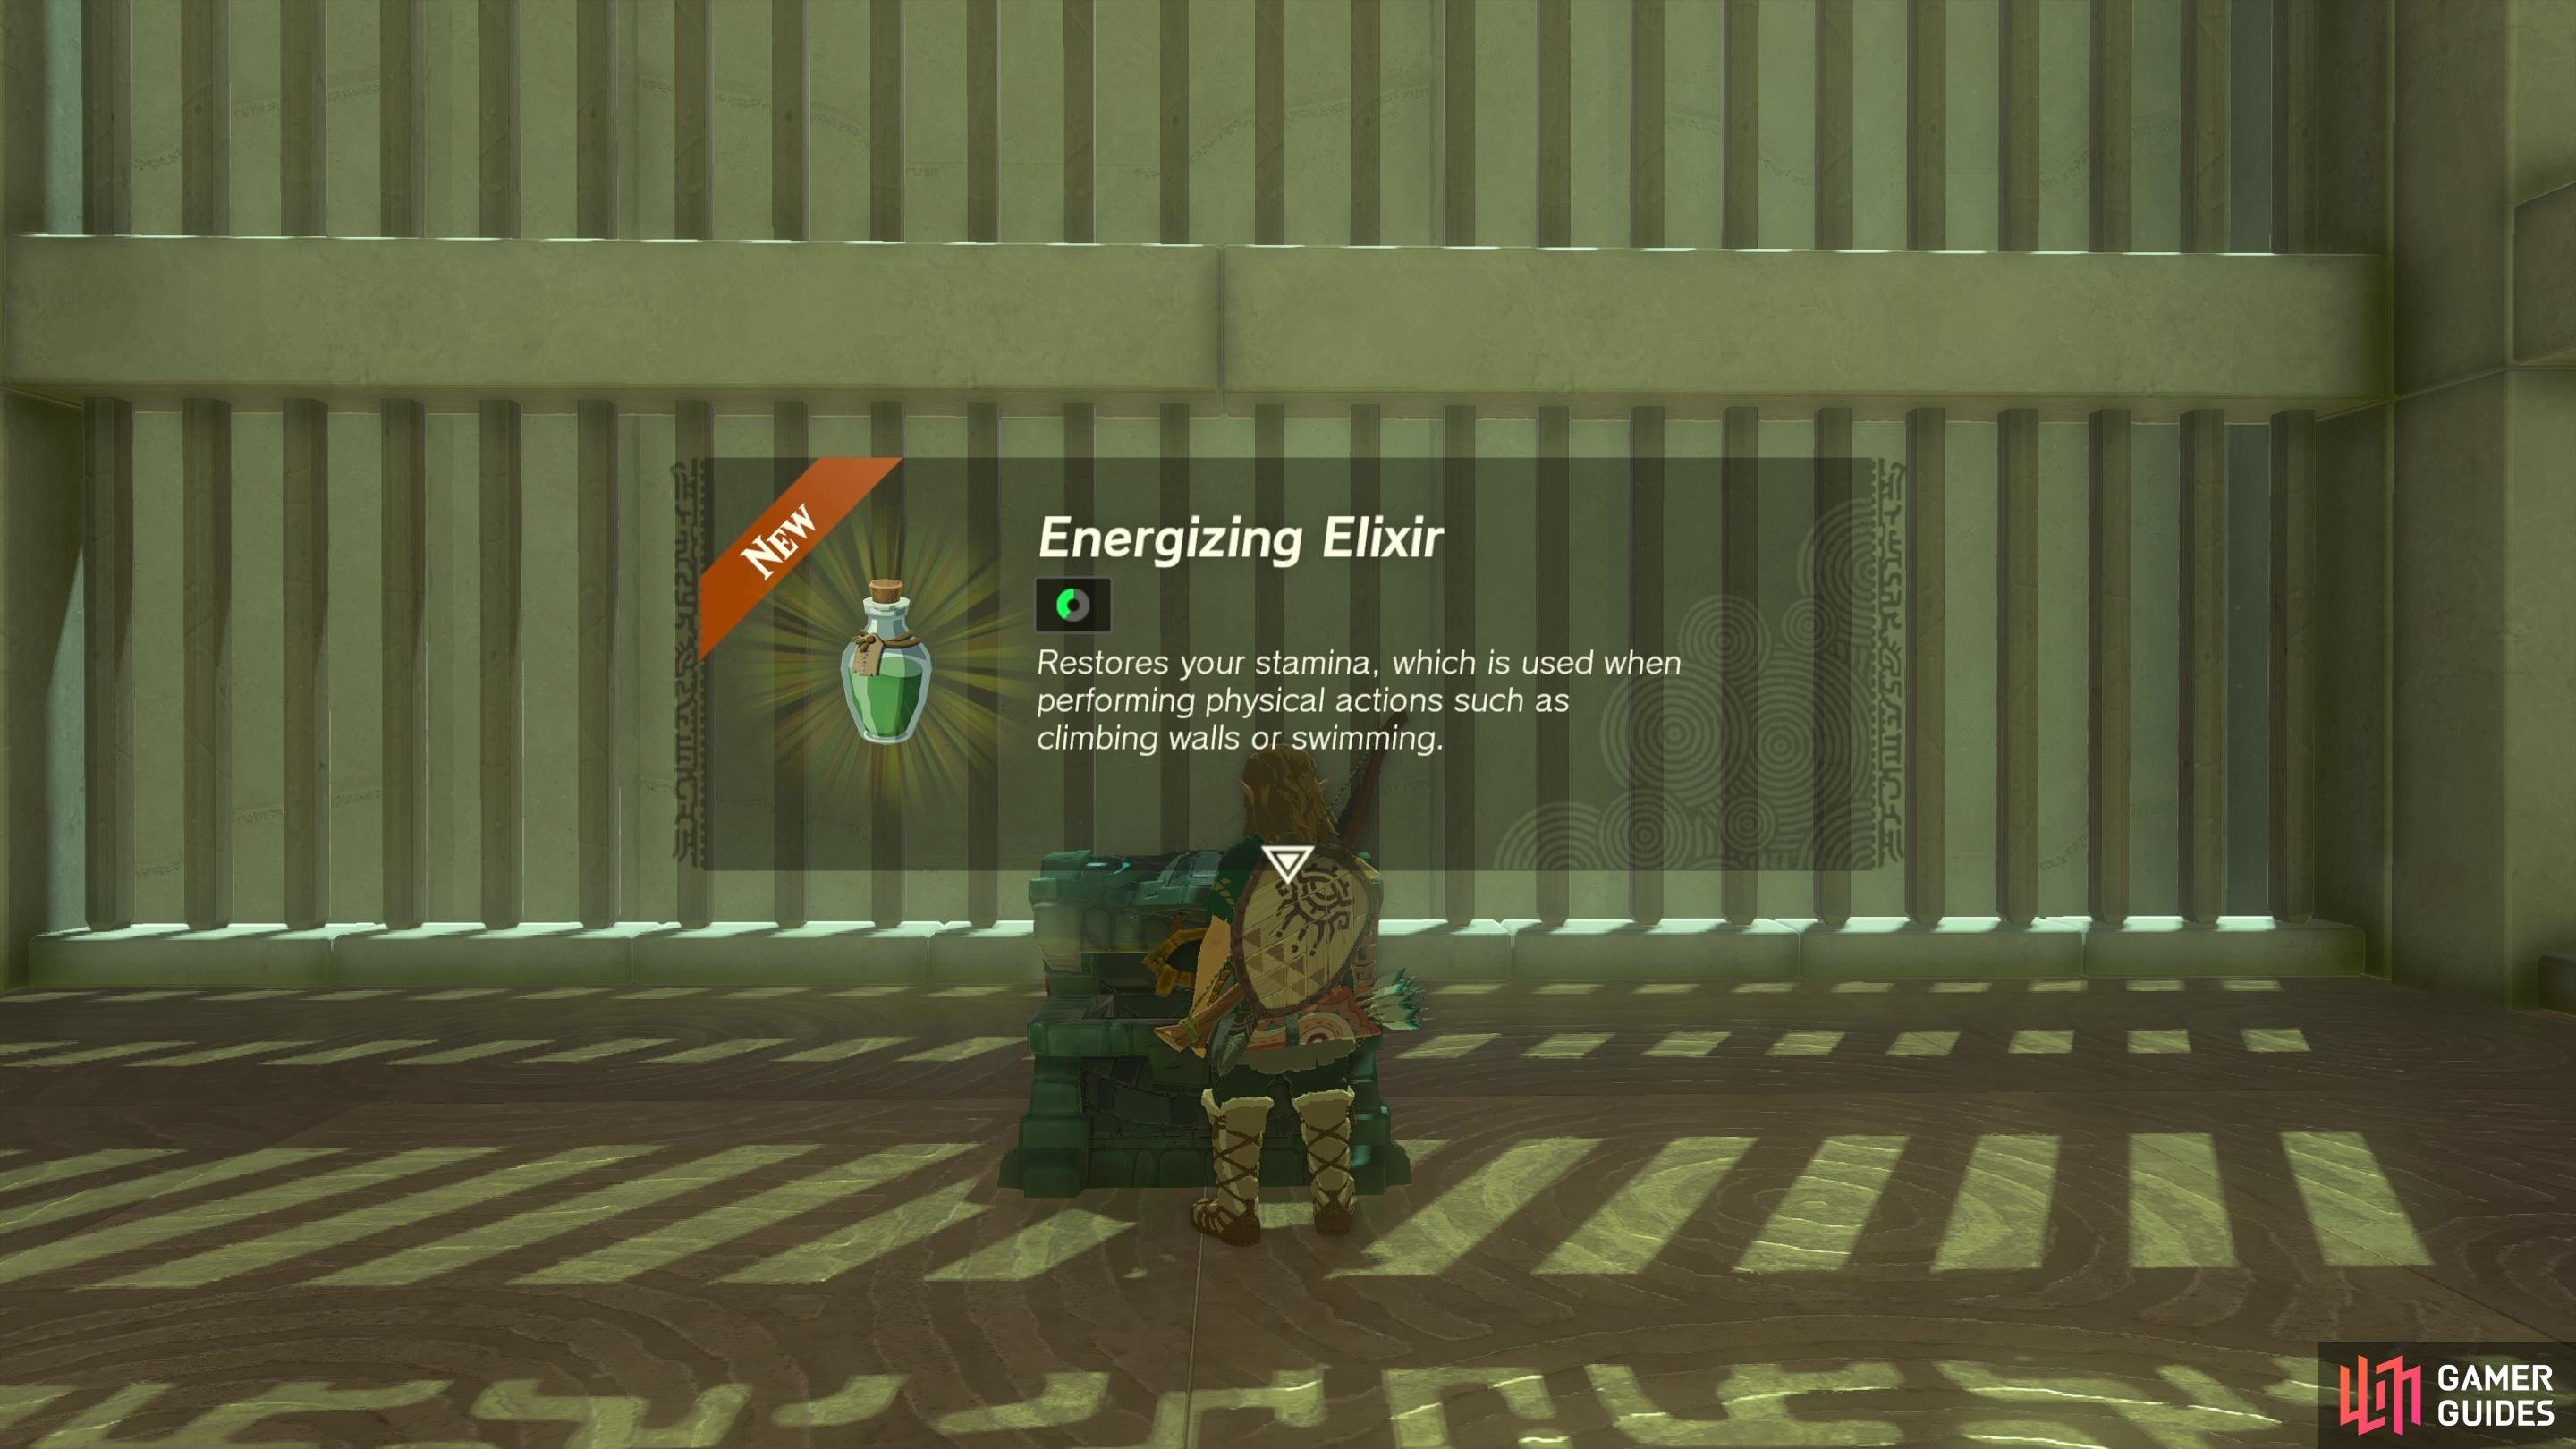
Once you strike the right target, go through the right gate and loot the chest to score an ![]() Energizing Elixir. Now all you have to do is go to the shrine exit and interact with the glowing green disc to claim the Light of Blessing.
Energizing Elixir. Now all you have to do is go to the shrine exit and interact with the glowing green disc to claim the Light of Blessing.

 Sign up
No Comments