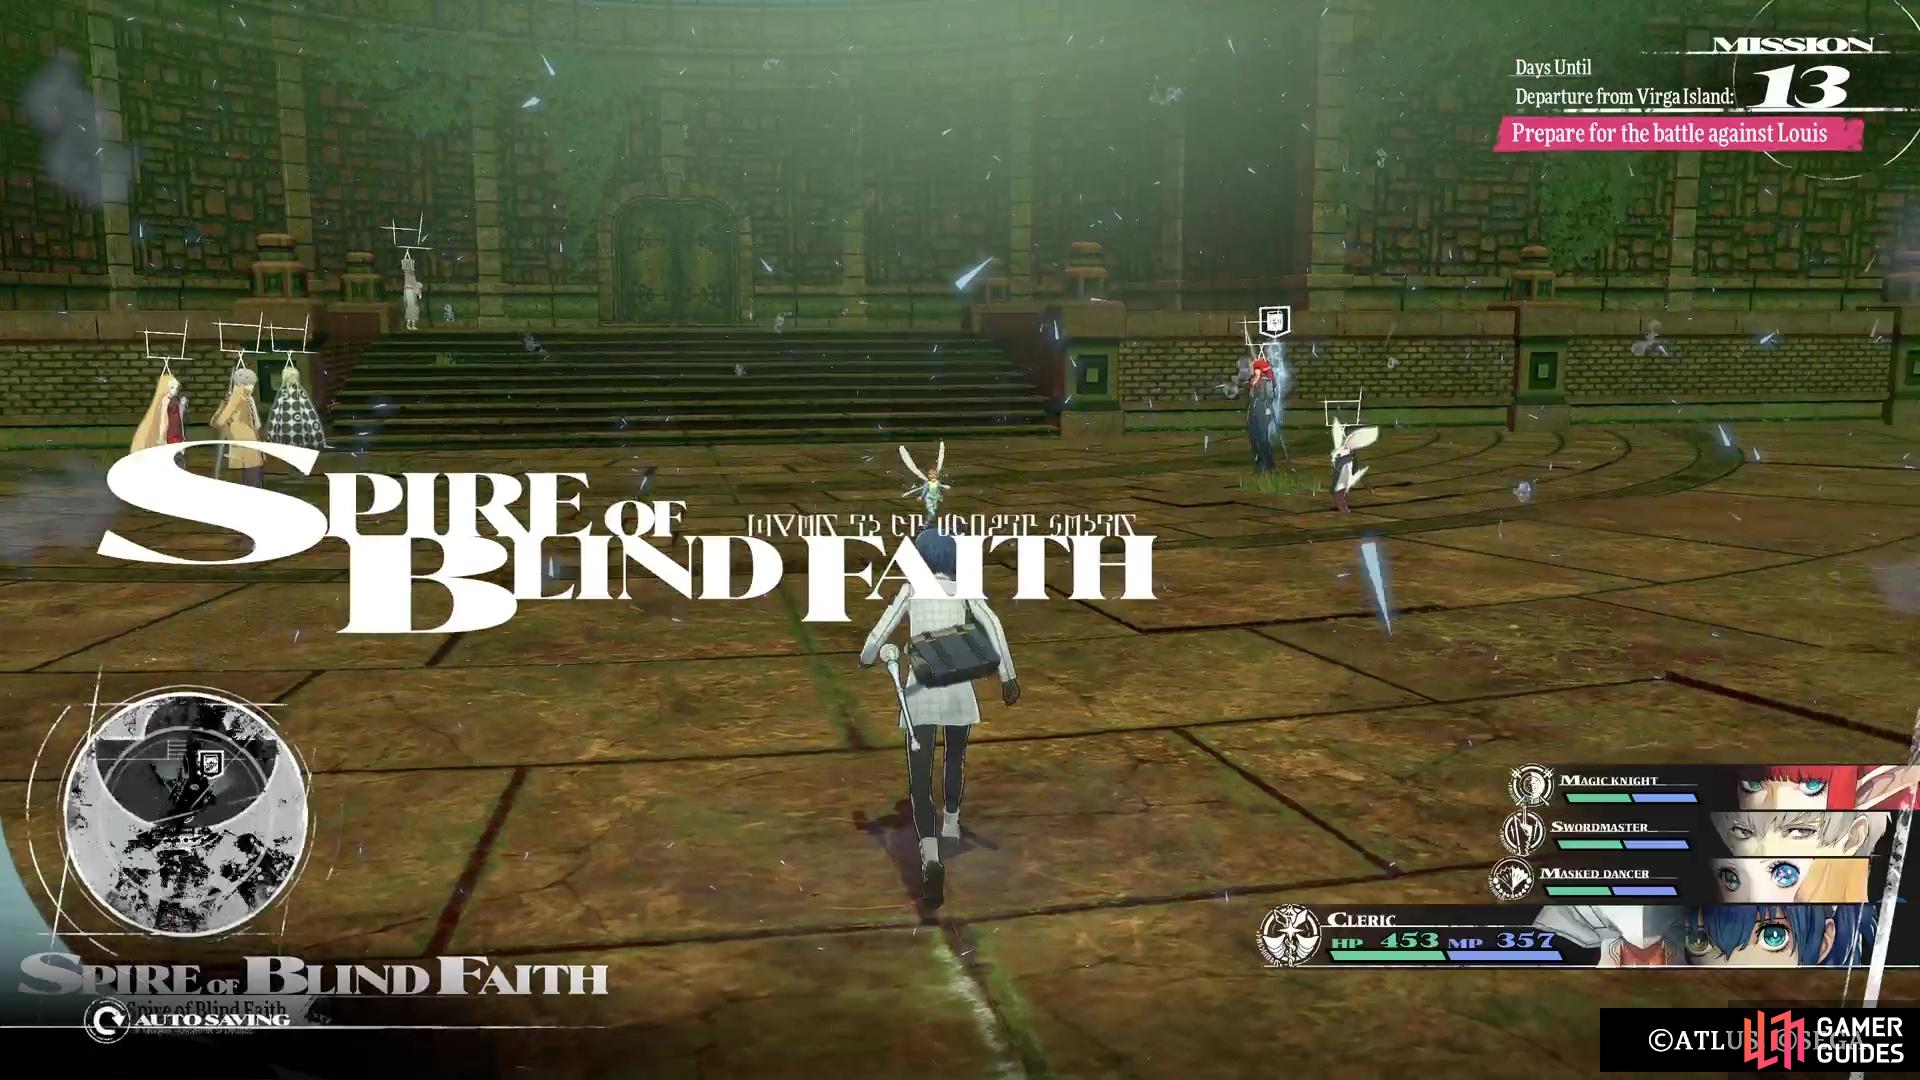
There are plenty of optional dungeons in Metaphor: ReFantazio, which are usually tied to either the bounties or side quests. The Spire of Blind Faith is a dungeon that requires you to finish it for the Peak Curiosity quest, which can be started after you get the ![]() Potion of Blight on Virga Island. This dungeon is quite challenging, not just because some of the enemies are high levels, but also because the weather there is always bad.
Potion of Blight on Virga Island. This dungeon is quite challenging, not just because some of the enemies are high levels, but also because the weather there is always bad.
The Spire of Blind Faith can be quite the challenging optional dungeon.
Spire of Blind Faith Enemies
Here is a list of all the enemies you will find in the Spire of Blind Faith, including their level, weaknesses and any resistances.
| Enemy | Level | Weak | Strength |
|---|---|---|---|
| Frenzied Corvo | 44 | Pierce | Dark (Block) |
| Raptor Corvo | 28 | Pierce | Lightning (Block) |
| Kokasados | 46 | Pierce | Wind (Block) |
| Gold Elmenta | 38 | Wind | Lightning (Resist) |
| Leogryph | 46 | Pierce | Light (Resist), Wind (Reflect) |
| Faithwight Magileto | 50 | Strike | Pierce (Resist), Lightning (Block), Light (Reflect) |
| Summon Knight Skeleto | 50 | Strike, Light | Slash/Pierce/Dark (Resist), Ice/Lightning (Block) |
Spire of Blind Faith Items
The table below will list all of the items you will find inside of the Spire of Blind Faith, including those gotten from the blue orbs, as well as treasure chests.
Exploring the Spire of Blind Faith
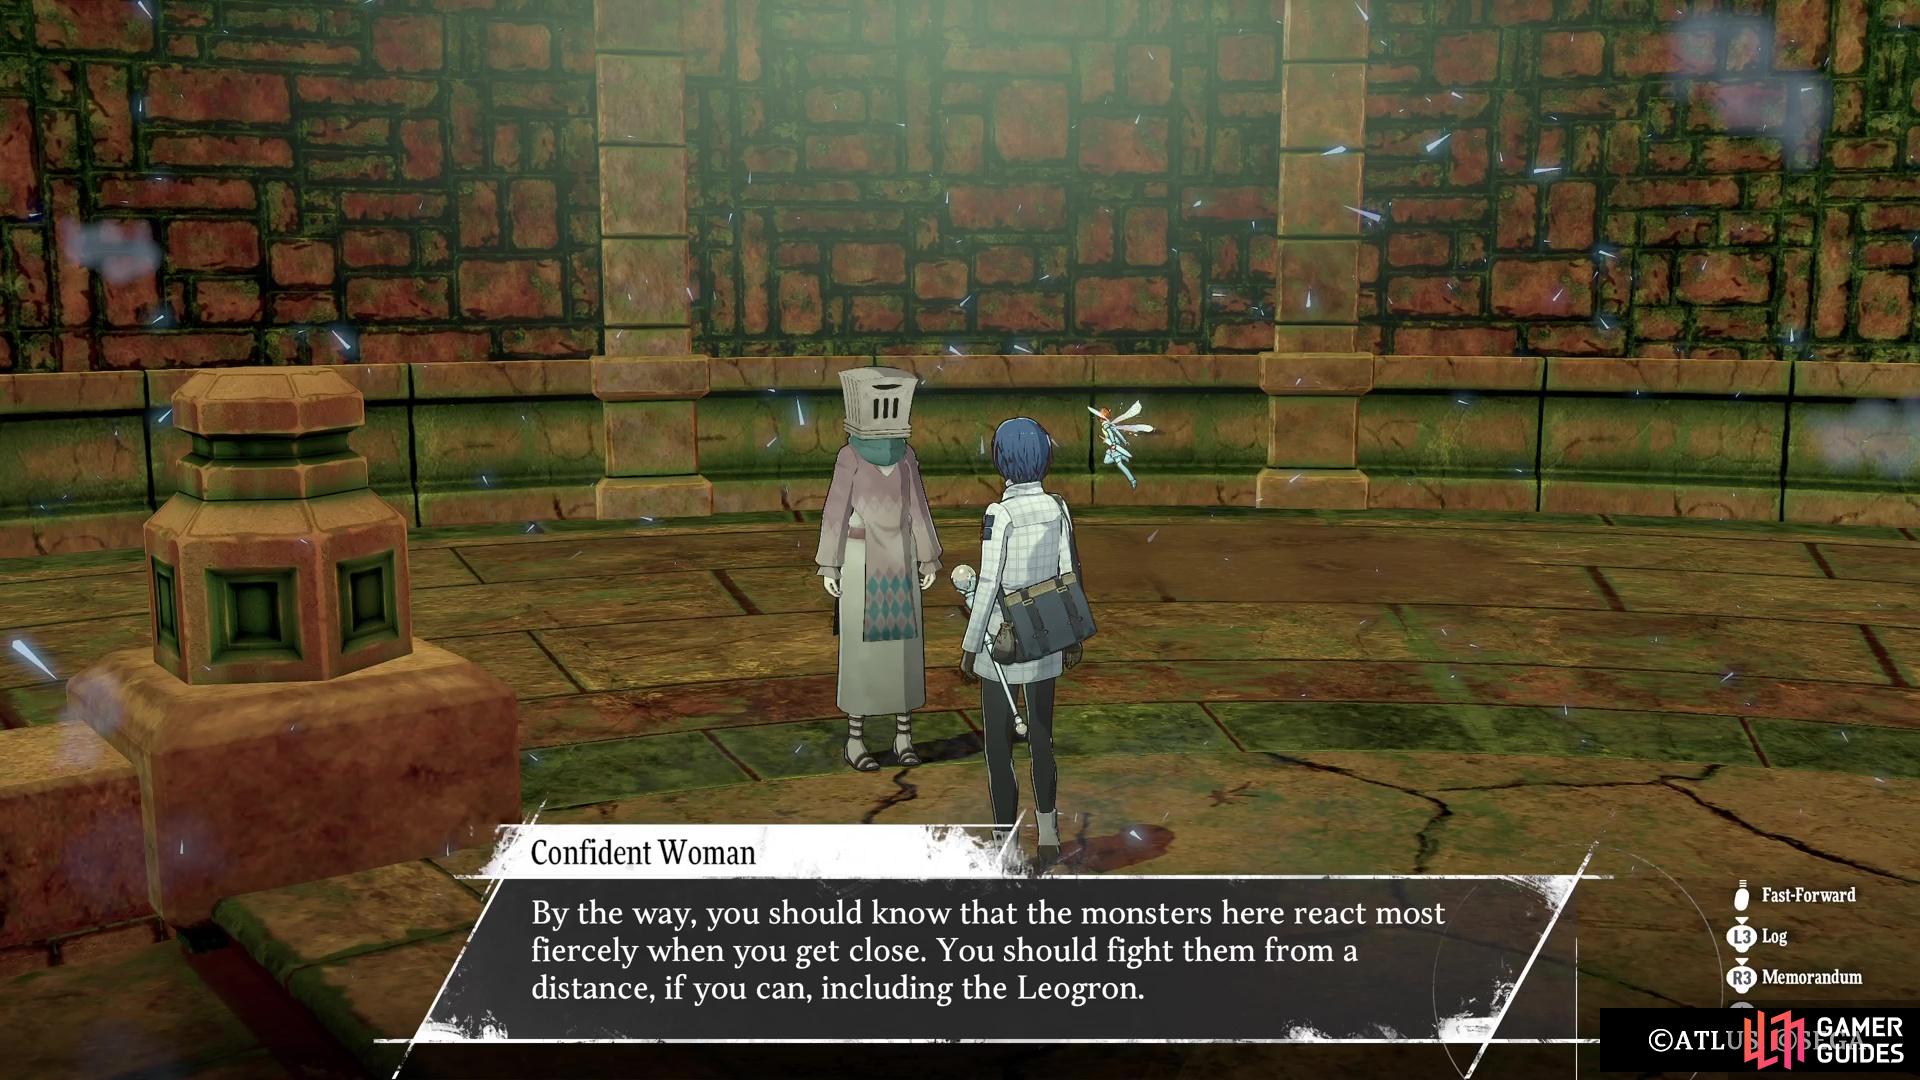
When you first arrive in the tower, you will see someone standing near the door to enter the proper portion of the tower. This is the sister of the guy who gave you this quest, but she won’t return to the village, since she dropped her Monster’s Notebook in the tower. Of course, you’ll have to go to the top and defeat the Leogron to get it. Similar to the Forsaken Tower from earlier in the game, the Spire of Blind Faith is a pretty straightforward and linear dungeon. The only thing you’ll need to be careful about is having your party in the back row, as if you keep them in the front, then the enemies will get extra turns and be stronger.
(1 of 2) The sister offers some advice for getting through this dungeon.
The sister offers some advice for getting through this dungeon. (left), It’s best to use Archetypes that can deal the most damage from the back row. (right)
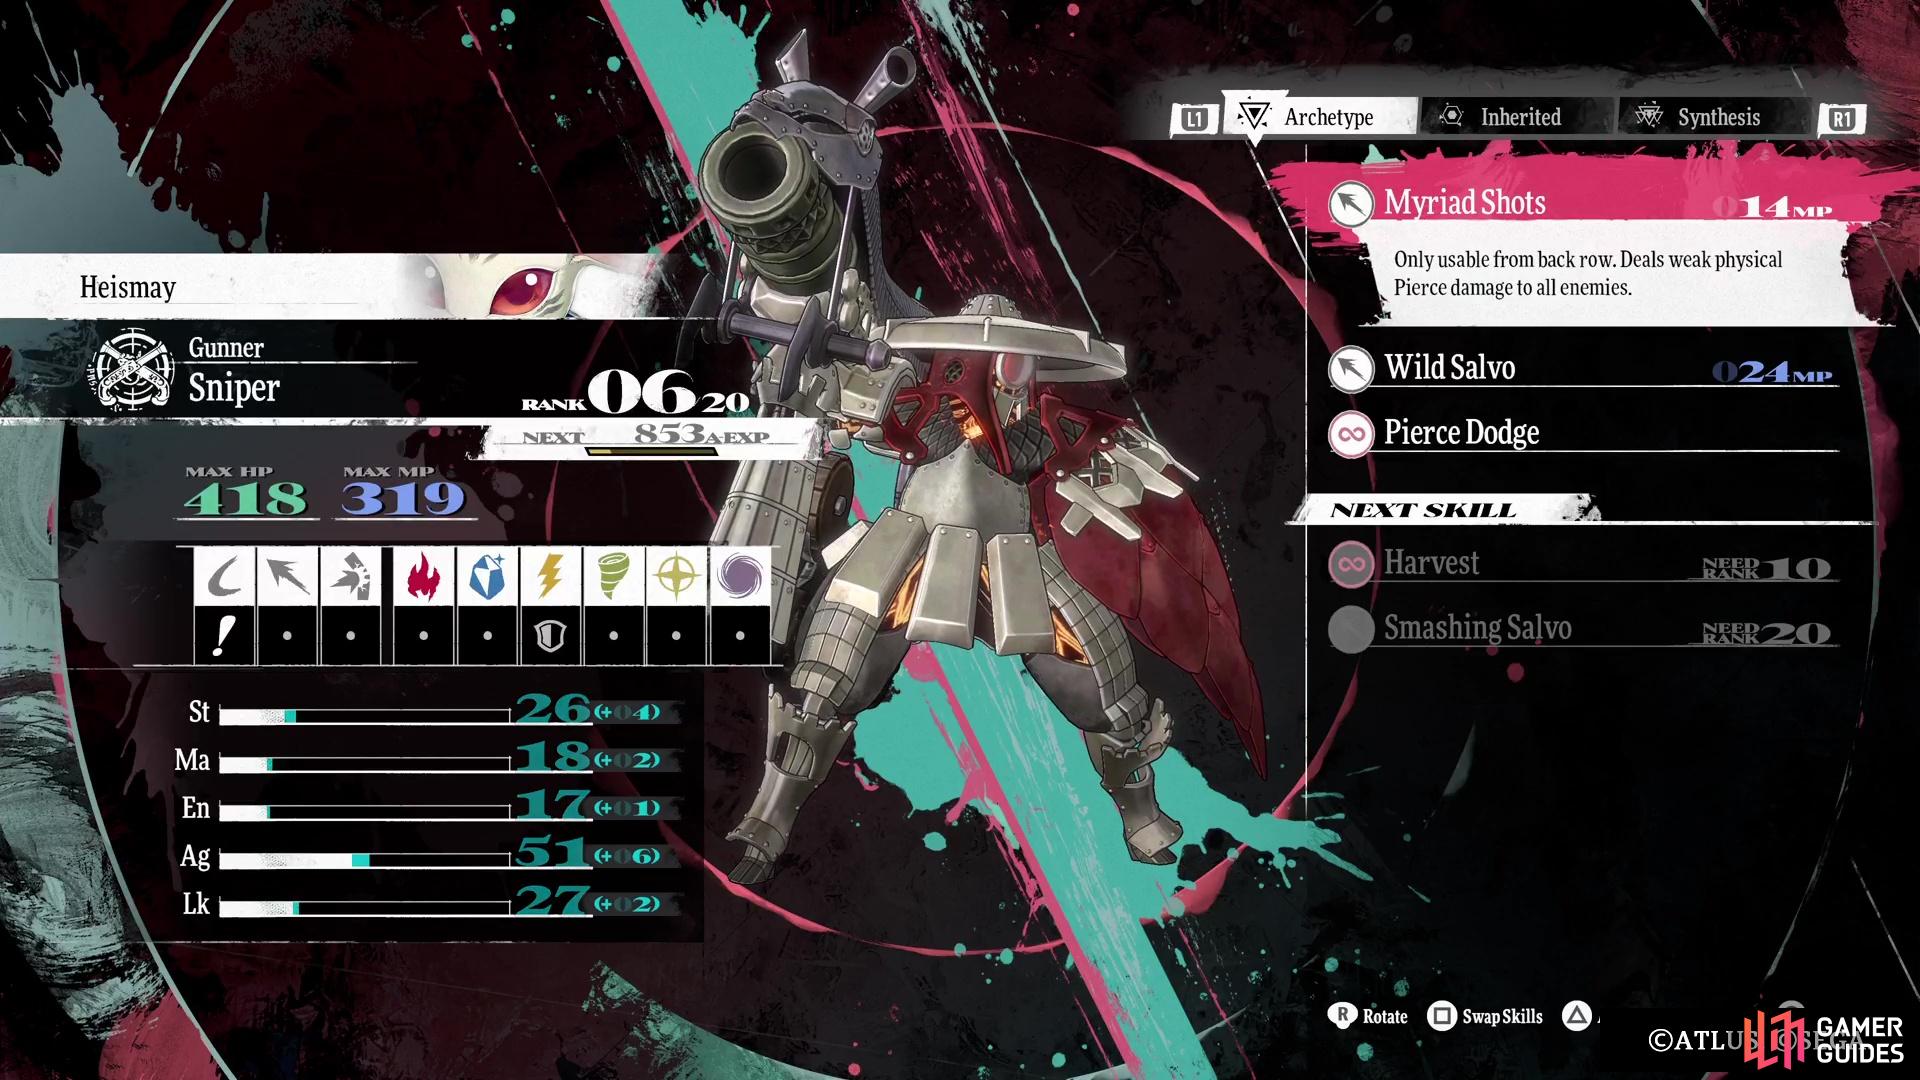
So, having Archetypes like ![]() Gunner and
Gunner and ![]() Mage/
Mage/![]() Wizard will be great, as well as maybe a
Wizard will be great, as well as maybe a ![]() Healer/
Healer/![]() Cleric. The Gunner will be especially useful, since a good number of enemies will have weaknesses to Pierce. You also have Junah with the
Cleric. The Gunner will be especially useful, since a good number of enemies will have weaknesses to Pierce. You also have Junah with the ![]() Masked Dancer, who can sling spells at enemies. As with the other tower, the base floor will have nothing, so continue up to the first floor, where you meet a new variation of the Corvo, the Frenzied Corvo. Other than that, there’s nothing else on the first floor, so fight the enemies if you want, then move onto the next floor.
Masked Dancer, who can sling spells at enemies. As with the other tower, the base floor will have nothing, so continue up to the first floor, where you meet a new variation of the Corvo, the Frenzied Corvo. Other than that, there’s nothing else on the first floor, so fight the enemies if you want, then move onto the next floor.
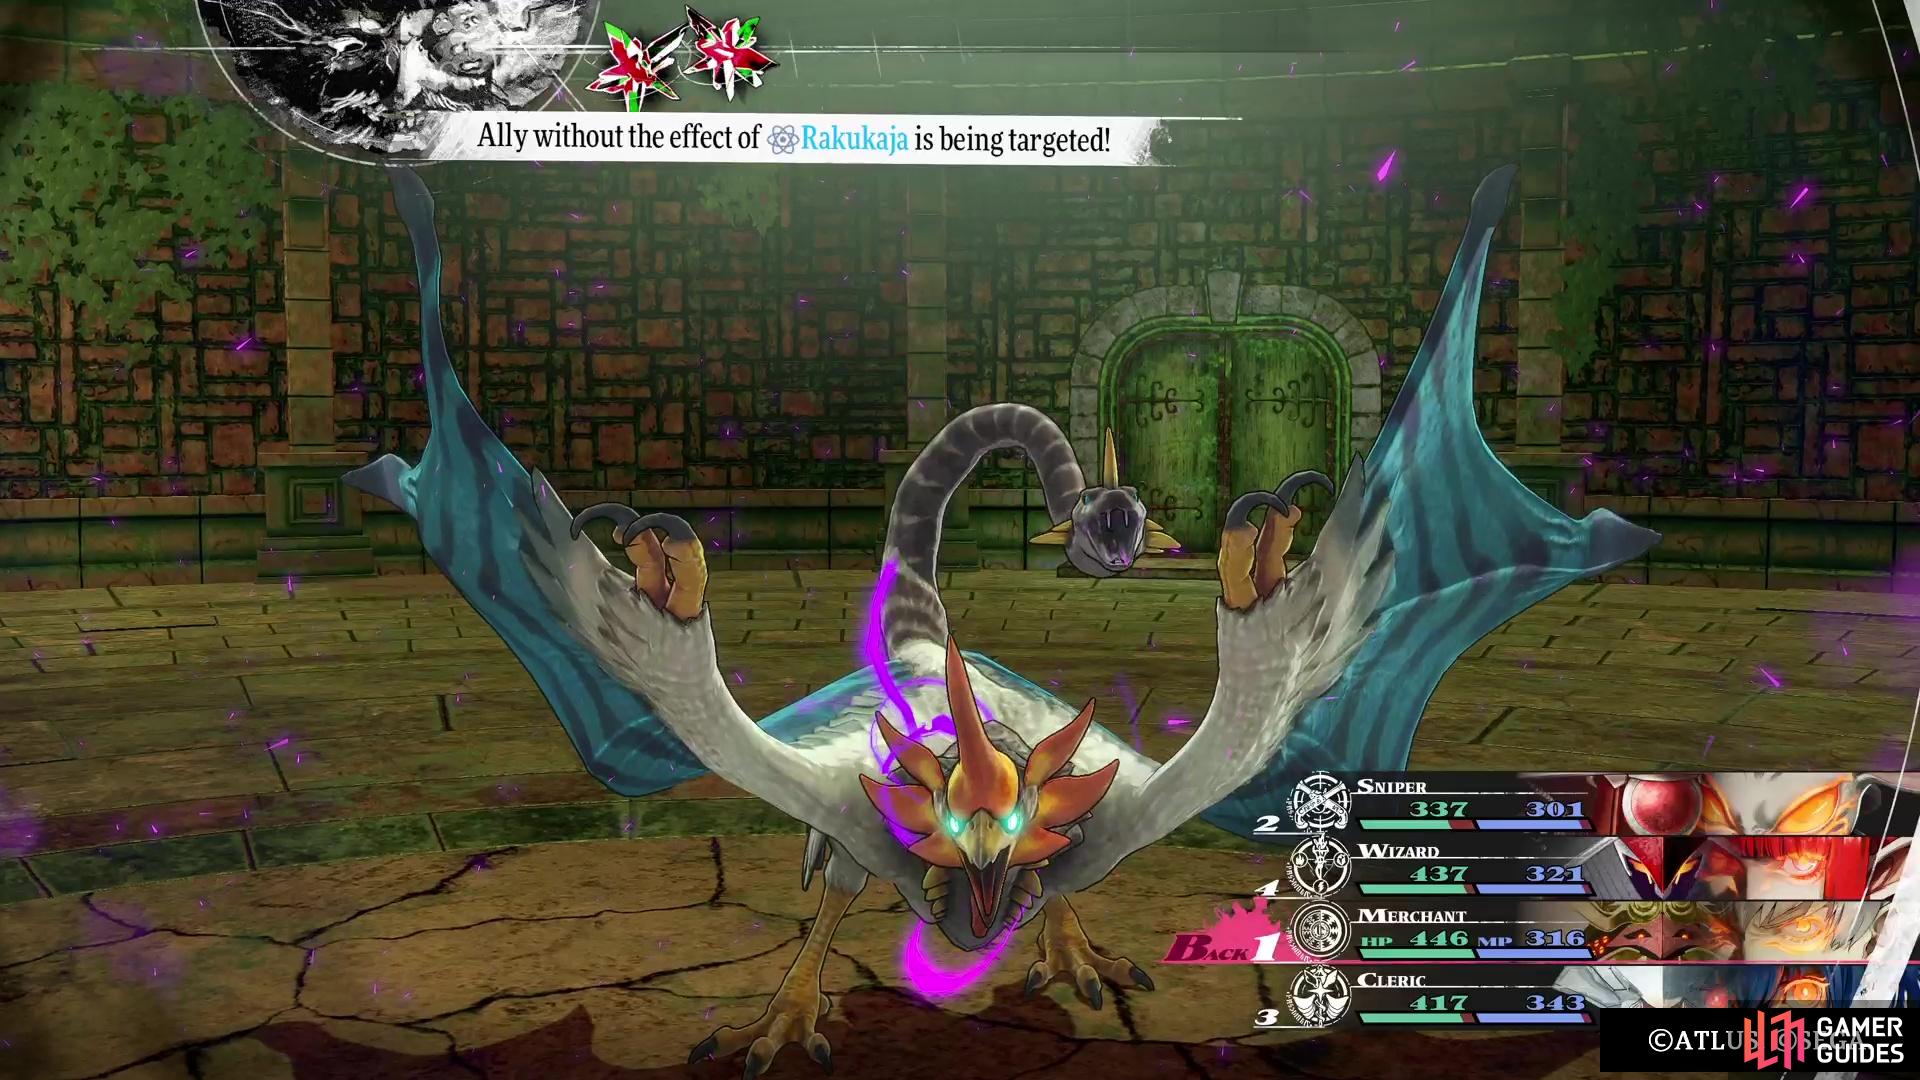
This floor will be a little more challenging, as you will find some Kokasados here. You fought one of these as a boss in the Gracia Forest, but they are regular enemies here. Try to get an ambush on them, since you definitely don’t want them to use their ![]() Peck of Death move (casting
Peck of Death move (casting ![]() Rakukaja/
Rakukaja/![]() Marakukaja will stop this, though). Outside of that, they have wind attacks, as well as
Marakukaja will stop this, though). Outside of that, they have wind attacks, as well as ![]() Thunderstrike Thrust that debuffs your defence. There are two of them on this floor, as well as a Gold Elmenta in the middle. When the coast is clear, pick up the lone item here (
Thunderstrike Thrust that debuffs your defence. There are two of them on this floor, as well as a Gold Elmenta in the middle. When the coast is clear, pick up the lone item here (![]() Heavenly Water), then proceed to the next floor.
Heavenly Water), then proceed to the next floor.
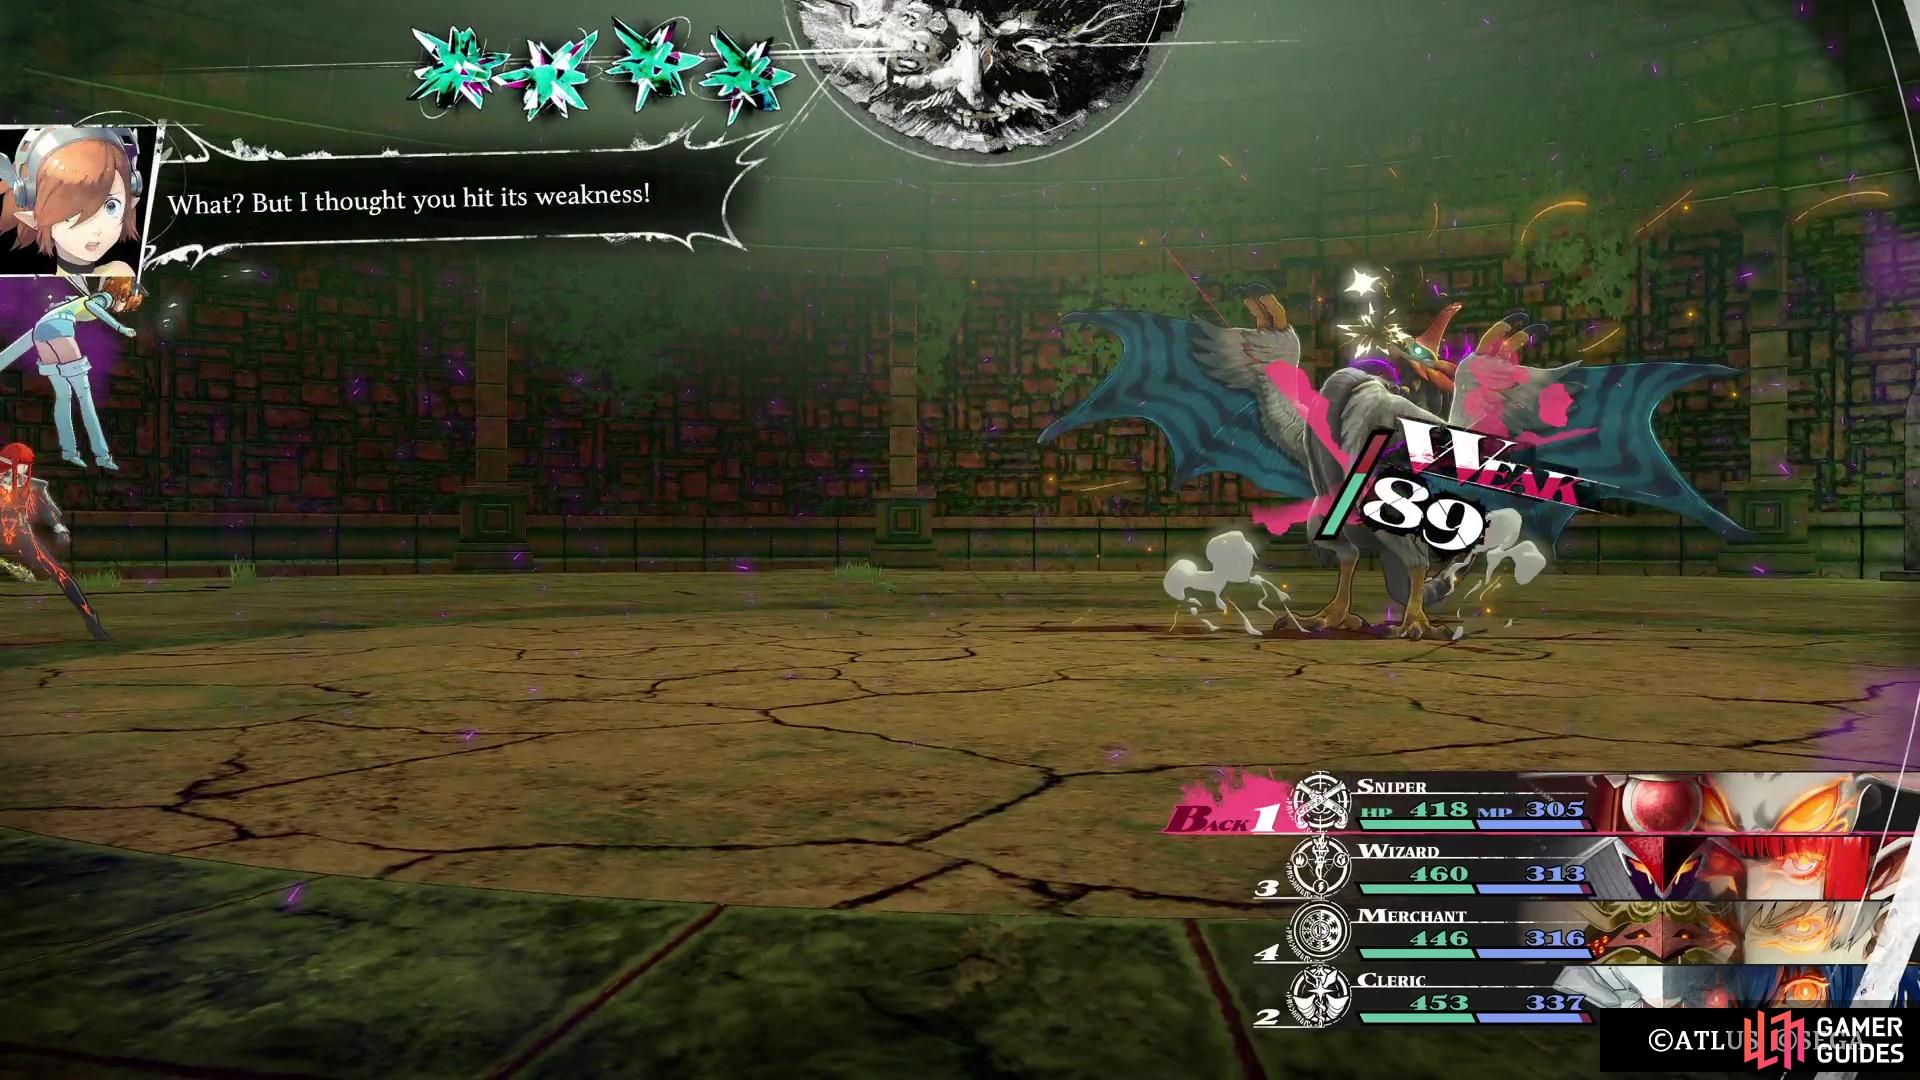
Open the door here to see a large enemy waiting for you on the other end, as well as some Raptor Corvos roaming. As soon as you enter the room, though, more Corvos will drop down, one of which is a Frenzied Corvo, so be mindful of that one. The big enemy is a Leogryph, which is what the boss of this dungeon is based off of, so get used to it. It’ll use a lot of wind attacks, especially the Chimera’s Wing and Chimera’s King Wing ones. These will debuff your attack, with the latter debuffing it three ranks. If you see the Leogryph use Deadeye Stance, then it will be using Chimera’s King Wing right after it.
(1 of 3) Pierce is a huge weakness throughout the dungeon.
Clear out the enemies, then head to the next floor, where there are two Trance Crystals, as well as a Kokasados. From coming up the stairs from the previous floor, the crystal straight ahead will spawn Vesps (level 19), while the other one will spawn the two kinds of Corvos you’ve already fought in this dungeon. So, it’s a good idea to get rid of the latter crystal, especially if you have to fight the Frenzied Corvos in Squad Battles, and leave the former if you wish to farm MP or money. Before ascending to the next floor, check out the western side of the room to find a chest that contains a ![]() Tidal Trident.
Tidal Trident.
Faithwight Magileto
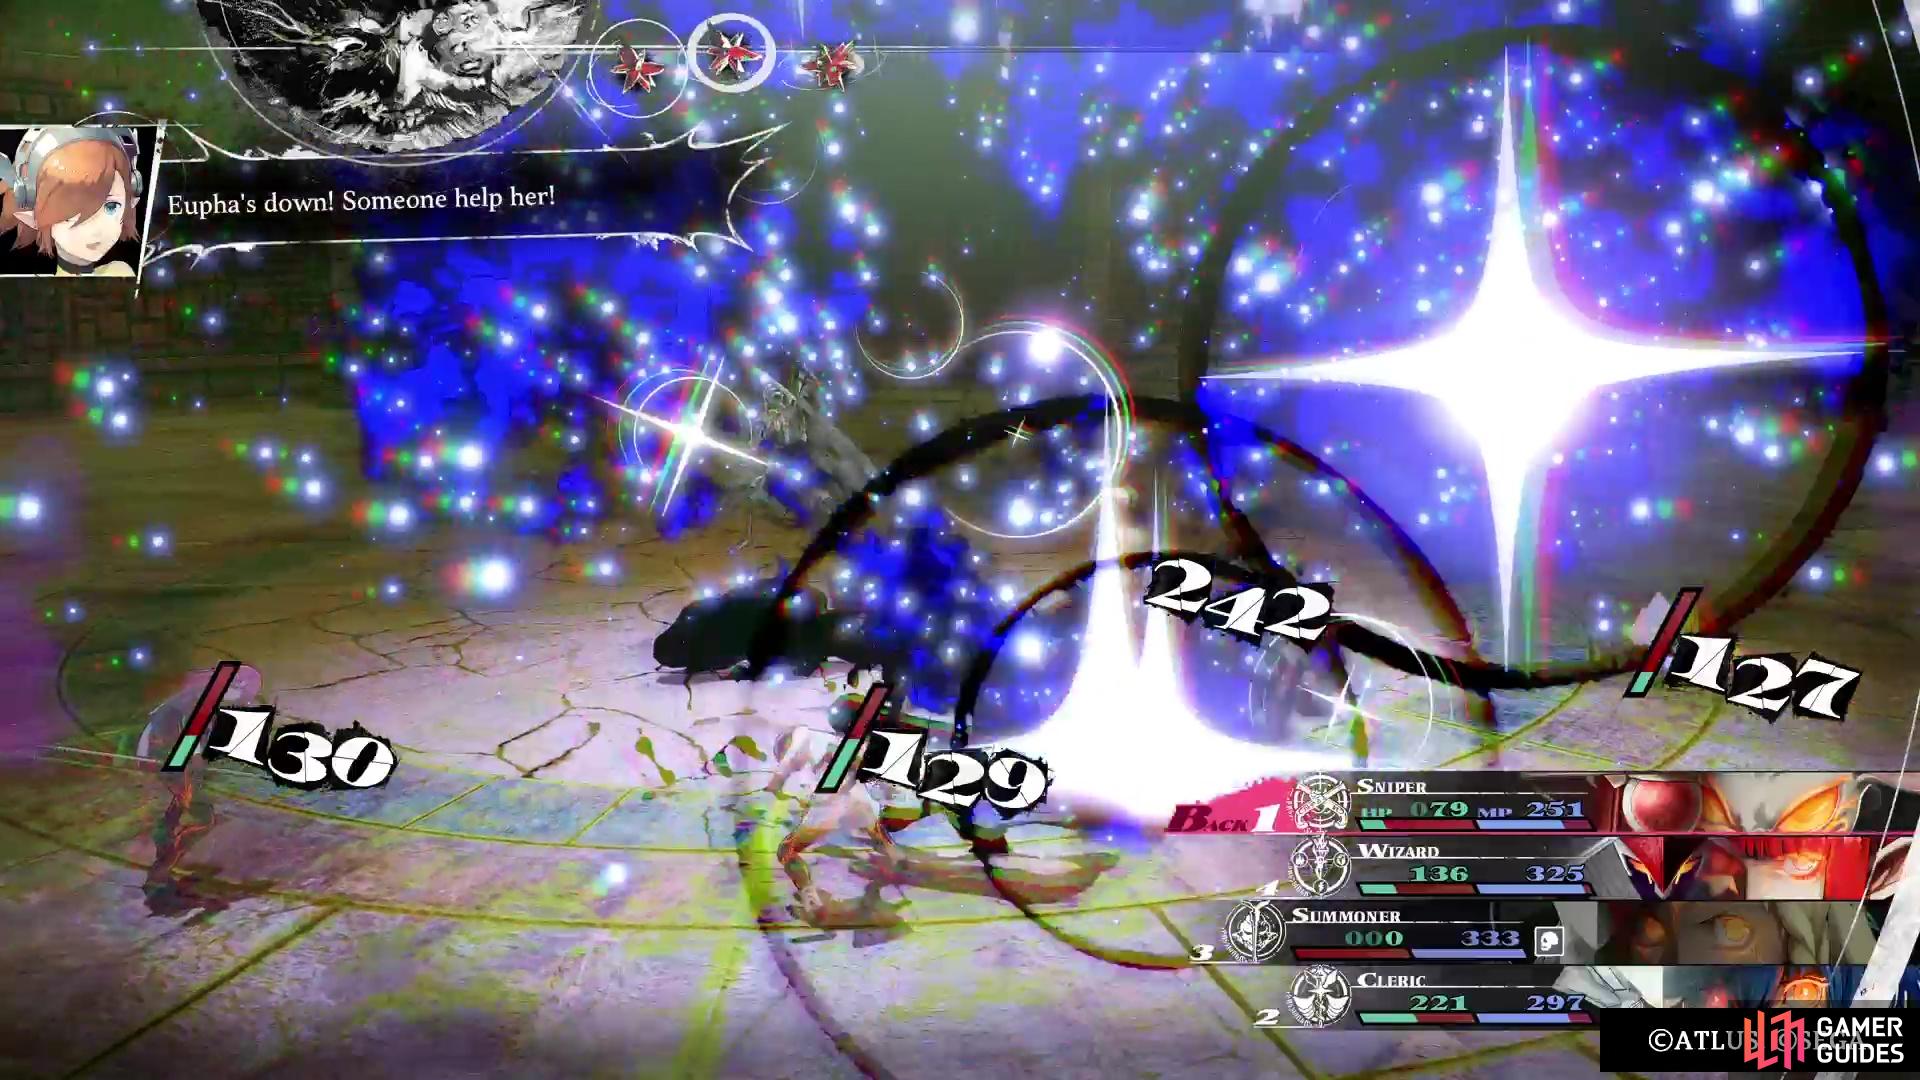
The next floor has the potential to be pretty brutal, depending on what you do. When you open the door, you will see a Kokasados and Leogryph on the sides, and a Faithwight Magileto in the middle. The middle enemy is one of the more annoying ones in the game, since they have access to heavy light/dark damage for single targets and the whole party. You definitely don’t want to be in the front row for this enemy, as it can use ![]() Megidolaon for heavy Almighty damage against the whole party.
Megidolaon for heavy Almighty damage against the whole party.
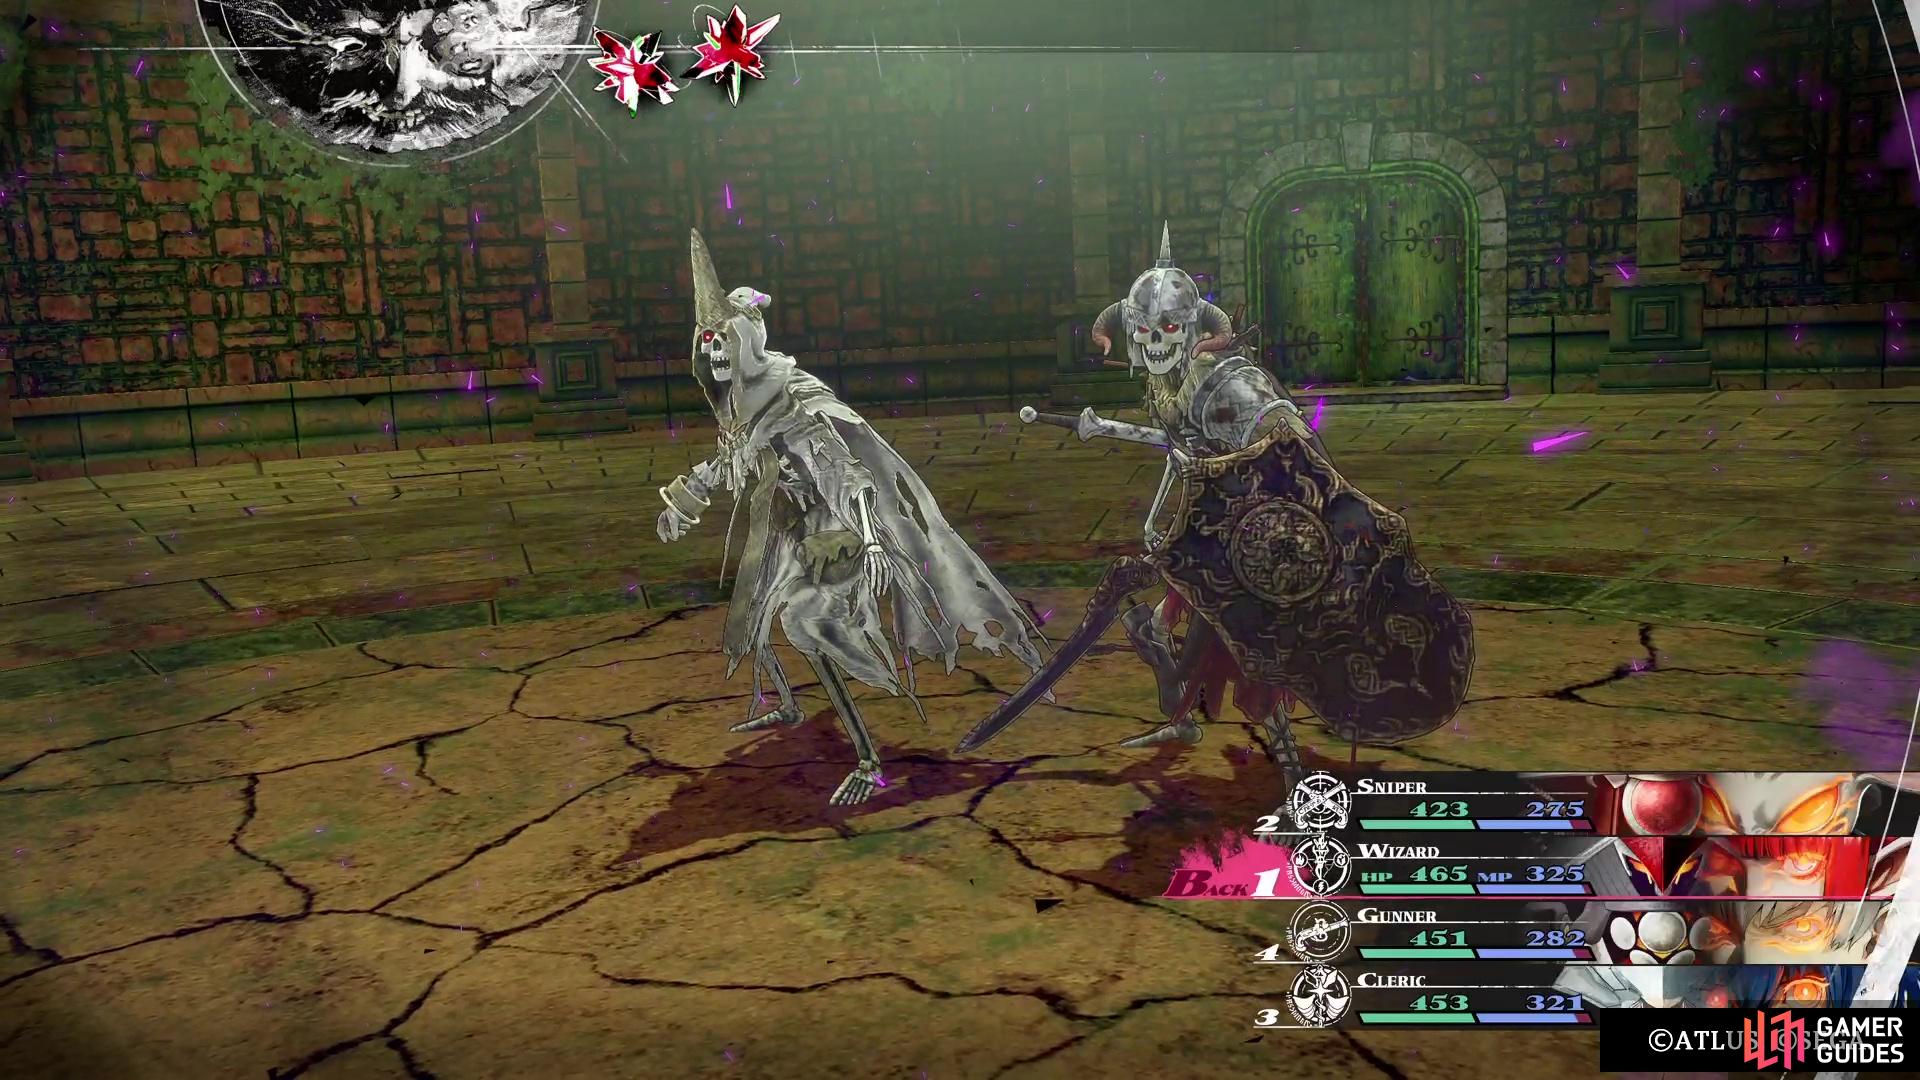
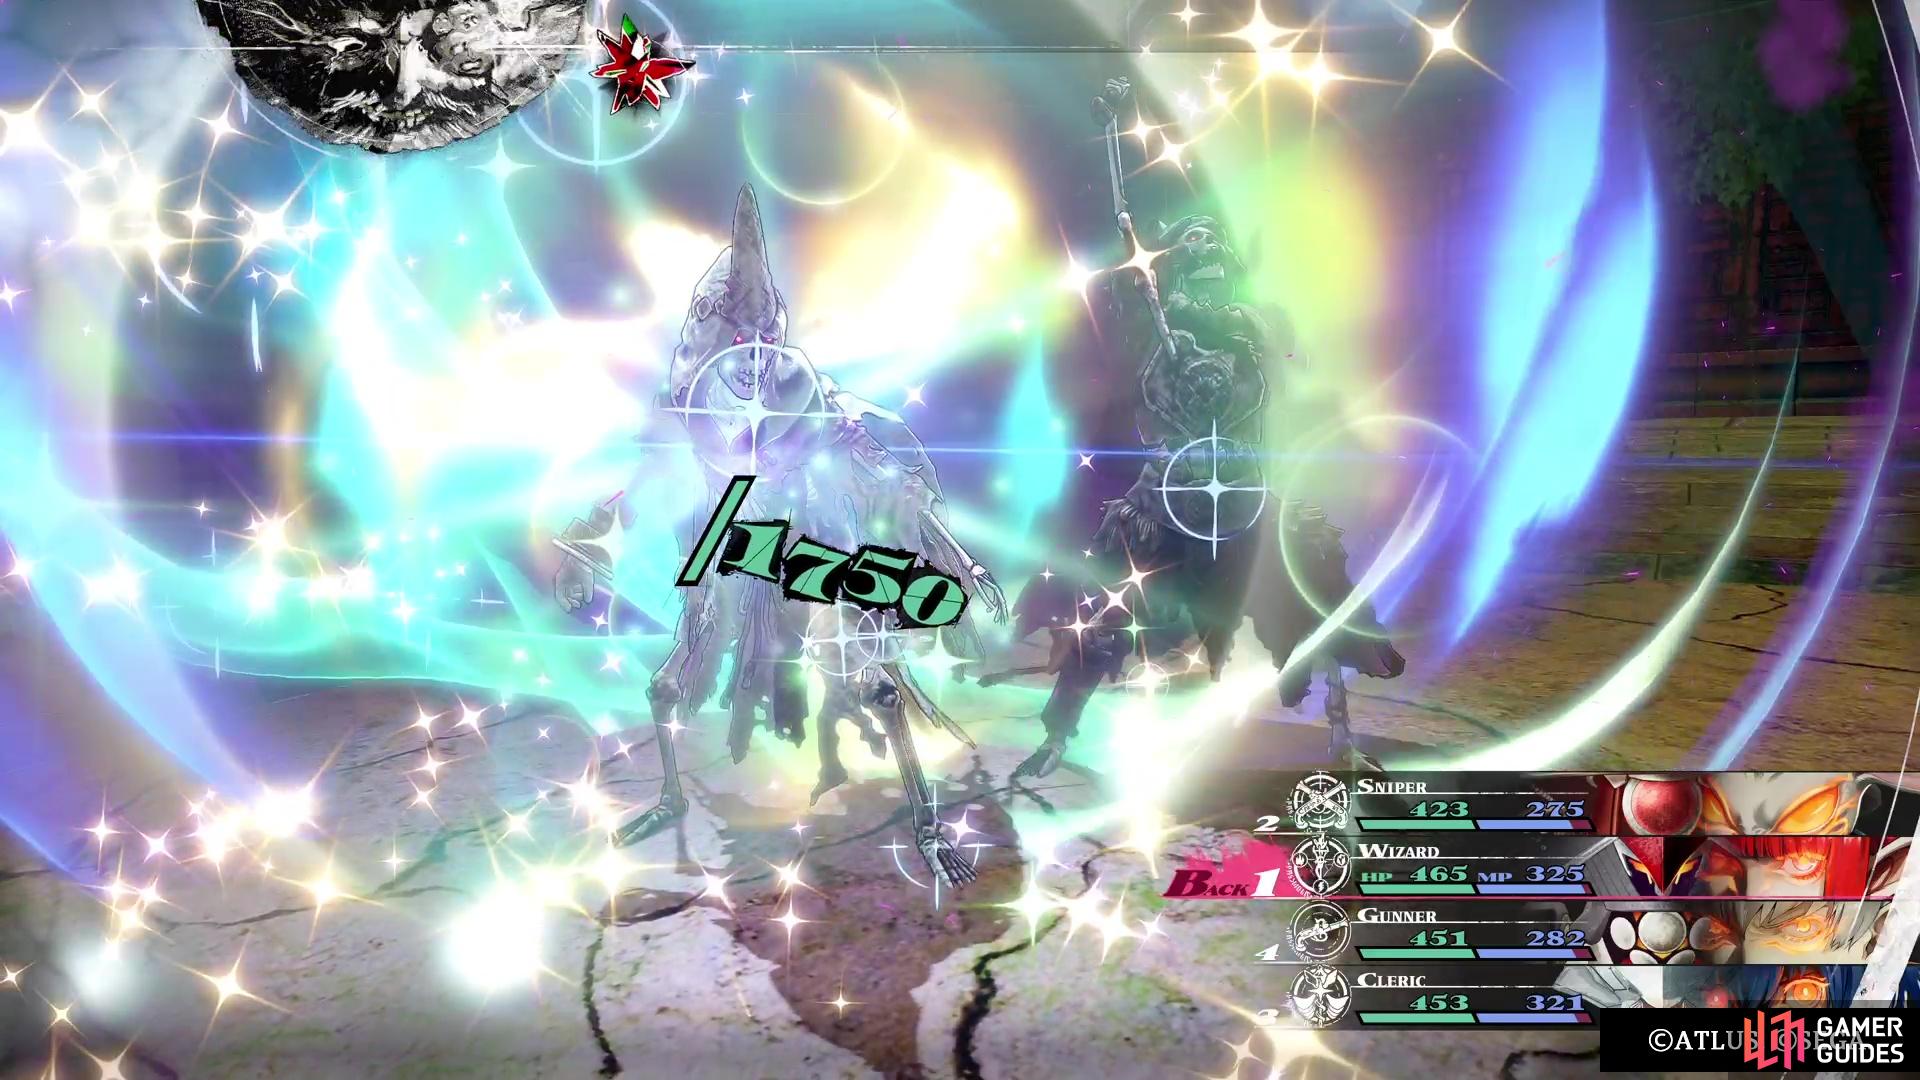
To make matters worse, it will summon a level 50 Summon Knight Skeleto that will likely heal him to full with Deimahan, provided you’ve done a lot of damage. This skeleton can also use ![]() Vitalja to buff the Faithwight, as well as
Vitalja to buff the Faithwight, as well as ![]() Dark Sword to inflict Forget on someone, and
Dark Sword to inflict Forget on someone, and ![]() Tetrakarn to cover the Faithwight’s sole weakness of Strike. The only upside of fighting this enemy is stealing the
Tetrakarn to cover the Faithwight’s sole weakness of Strike. The only upside of fighting this enemy is stealing the ![]() Academic Dolman armor, which is a decent armor at this point of the game.
Academic Dolman armor, which is a decent armor at this point of the game.
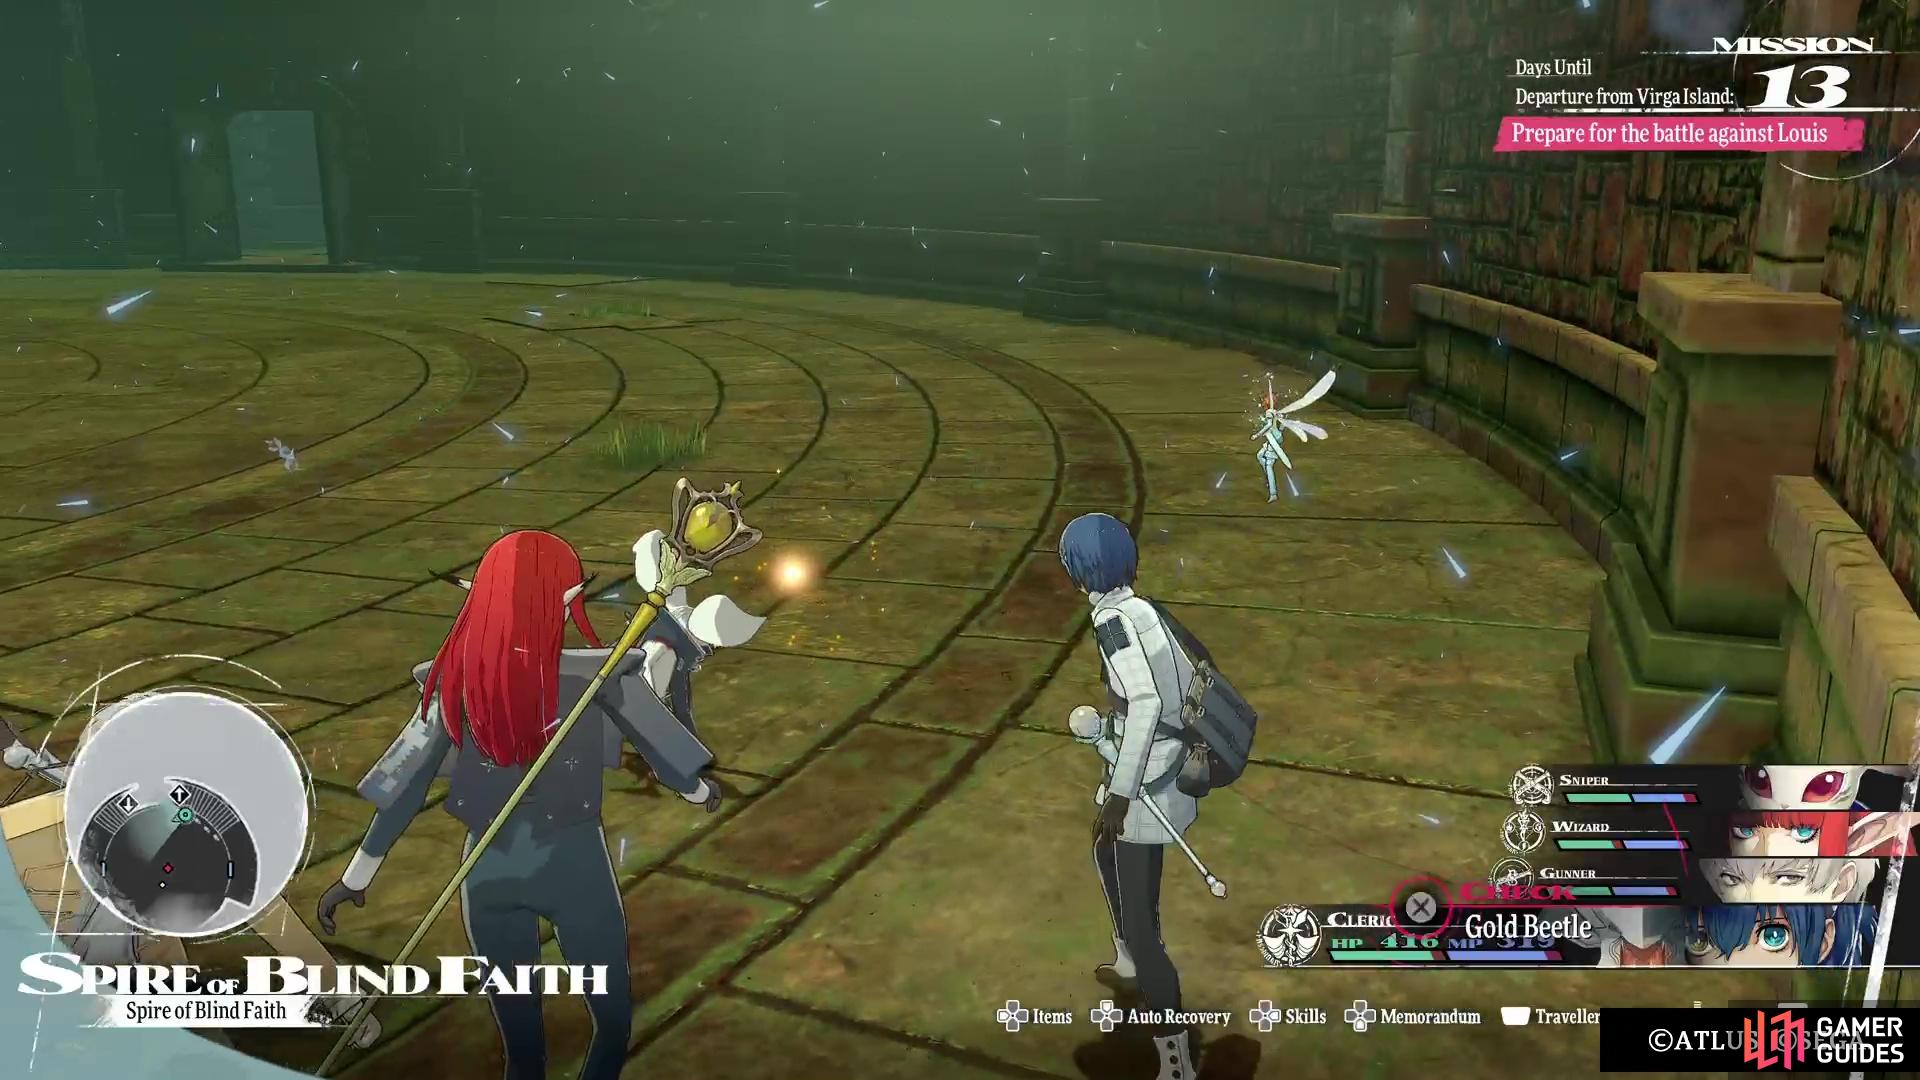
On the northern side of the room, along the perimeter, there is a ![]() Gold Beetle, so make sure you grab it before moving up to the next floor. Here, you will find a bunch of low-level skeletons, which makes it a great farming spot. Well, it would be great, if it wasn’t for the fact that there’s another Faithwight here. In the very center of this floor, you’ll find a Trove Imitec, along with an item (
Gold Beetle, so make sure you grab it before moving up to the next floor. Here, you will find a bunch of low-level skeletons, which makes it a great farming spot. Well, it would be great, if it wasn’t for the fact that there’s another Faithwight here. In the very center of this floor, you’ll find a Trove Imitec, along with an item (![]() Miraculous Mead). Grab that, then look for the stairs to the next floor, but before climbing them, move away while sticking to the perimeter for a chest (
Miraculous Mead). Grab that, then look for the stairs to the next floor, but before climbing them, move away while sticking to the perimeter for a chest (![]() Nasu’s Longbow).
Nasu’s Longbow).
That’s all for this floor, so go up one more to find the save point. Through the door will be the Leogron boss, which is level 55 and can be a little challenging, depending on when you’re doing this dungeon. After defeating it, stay in the dungeon and look for the door on the opposite side of where you entered. This will lead to the top floor, where you can find one more item, the ![]() Celestial Abacus. Use the save point to return to the entrance of the dungeon now, where you hand over the Monster’s Notebook to the Confident Woman. You can now return to town and finish up the related quest for this dungeon.
Celestial Abacus. Use the save point to return to the entrance of the dungeon now, where you hand over the Monster’s Notebook to the Confident Woman. You can now return to town and finish up the related quest for this dungeon.



 Sign up
No Comments