The plan upon arriving in Altabury Heights is put into motion, which is to finally go after Louis. In order to do that, the party decides to attack him during the festivities at the Opera House, at Junah’s little concert. To get to that point, though, the party will have to go through a short dungeon in order to reach the designated spot to attack Louis.
The Opera House is a very short dungeon that will lead to many new developments.
Opera House Enemies
The following is a list of enemies you will find in the Opera House dungeon, including their level, weaknesses and any resistances they have.
| Enemy | Level | Weak | Strength |
|---|---|---|---|
| Hellhound Diabundo | 20 | Fire, Ice | – |
| Kvarhas | 47 | Fire | Ice (Block) |
| Spearmonk | 48 | Fire, Ice | Slash/Pierce/Strike (Resist) |
| Mage Monk | 48 | Pierce, Strike | Fire/Ice/Lightning/Wind/Light (Resist) |
Opera House Items
The table below will list all of the items you can find in the Opera House, including those from the blue orbs, as well as the treasure chests.
Backstage Passage
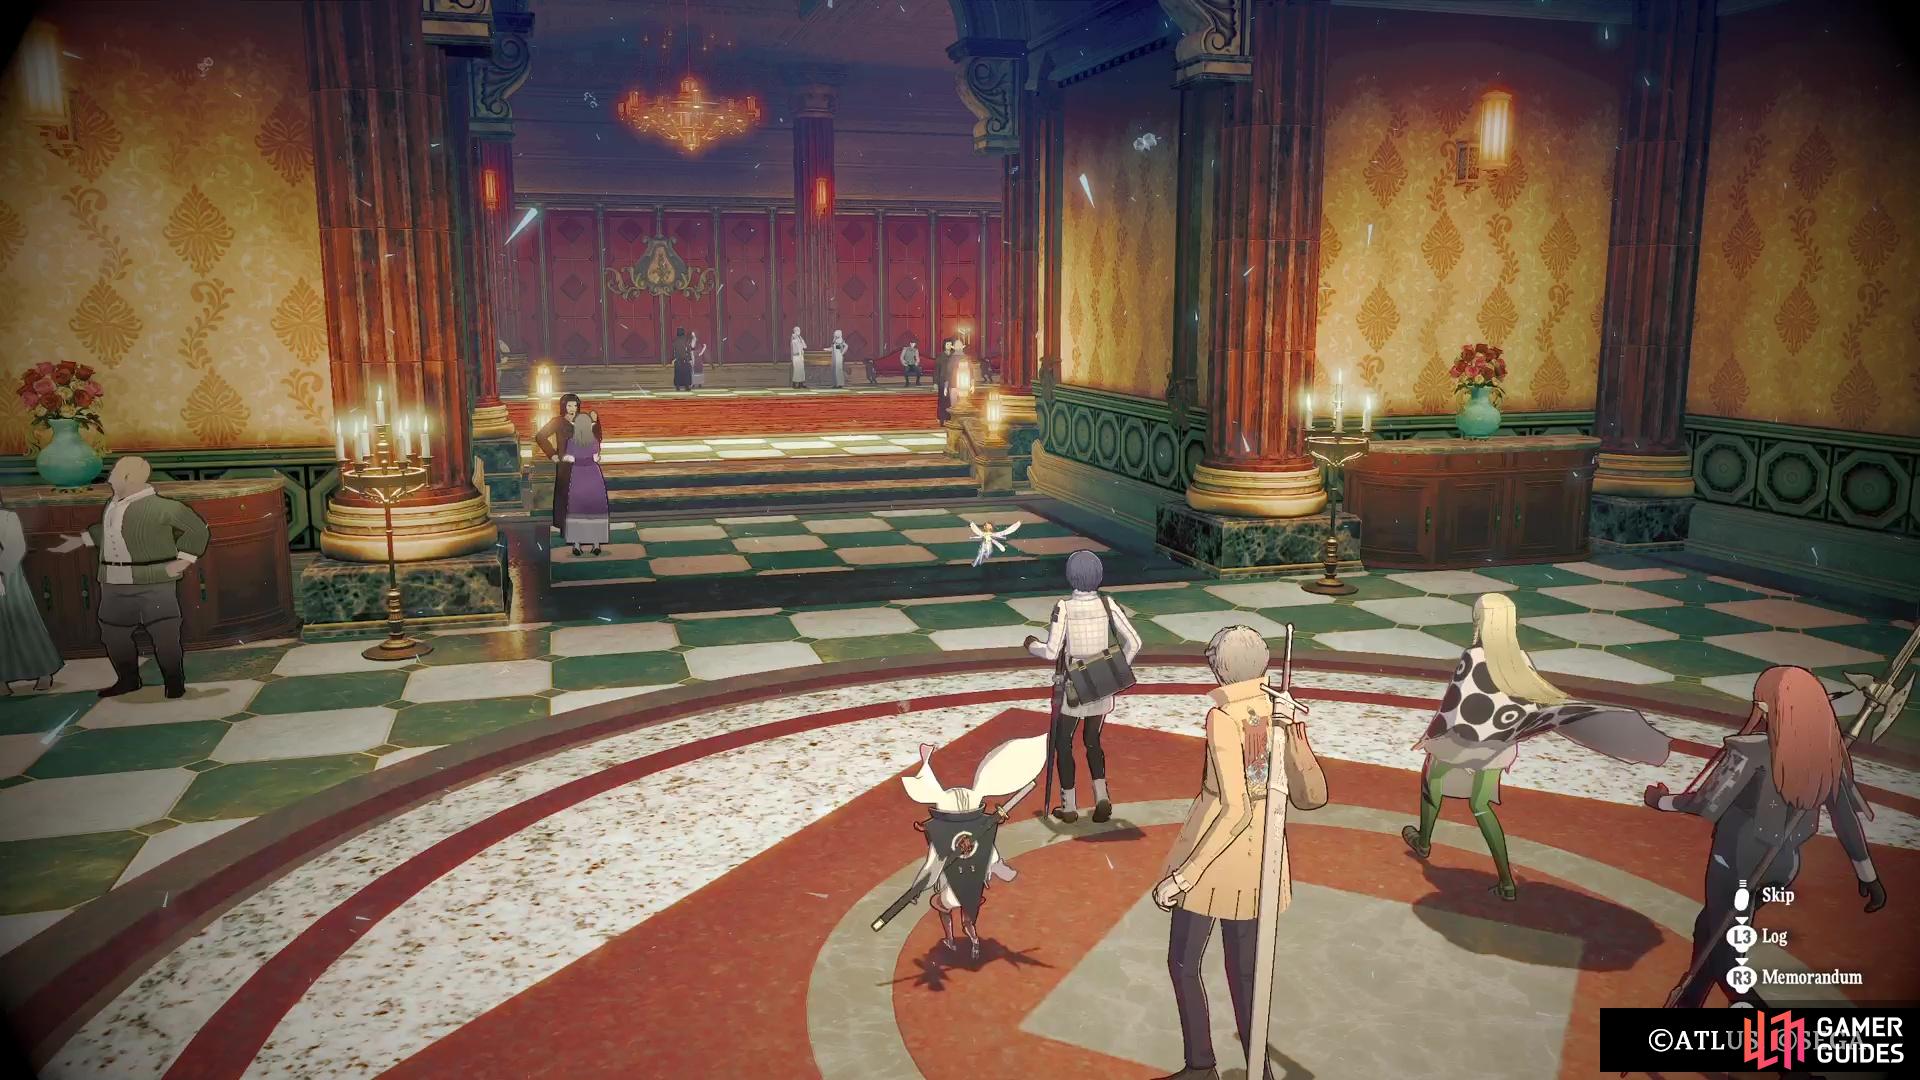
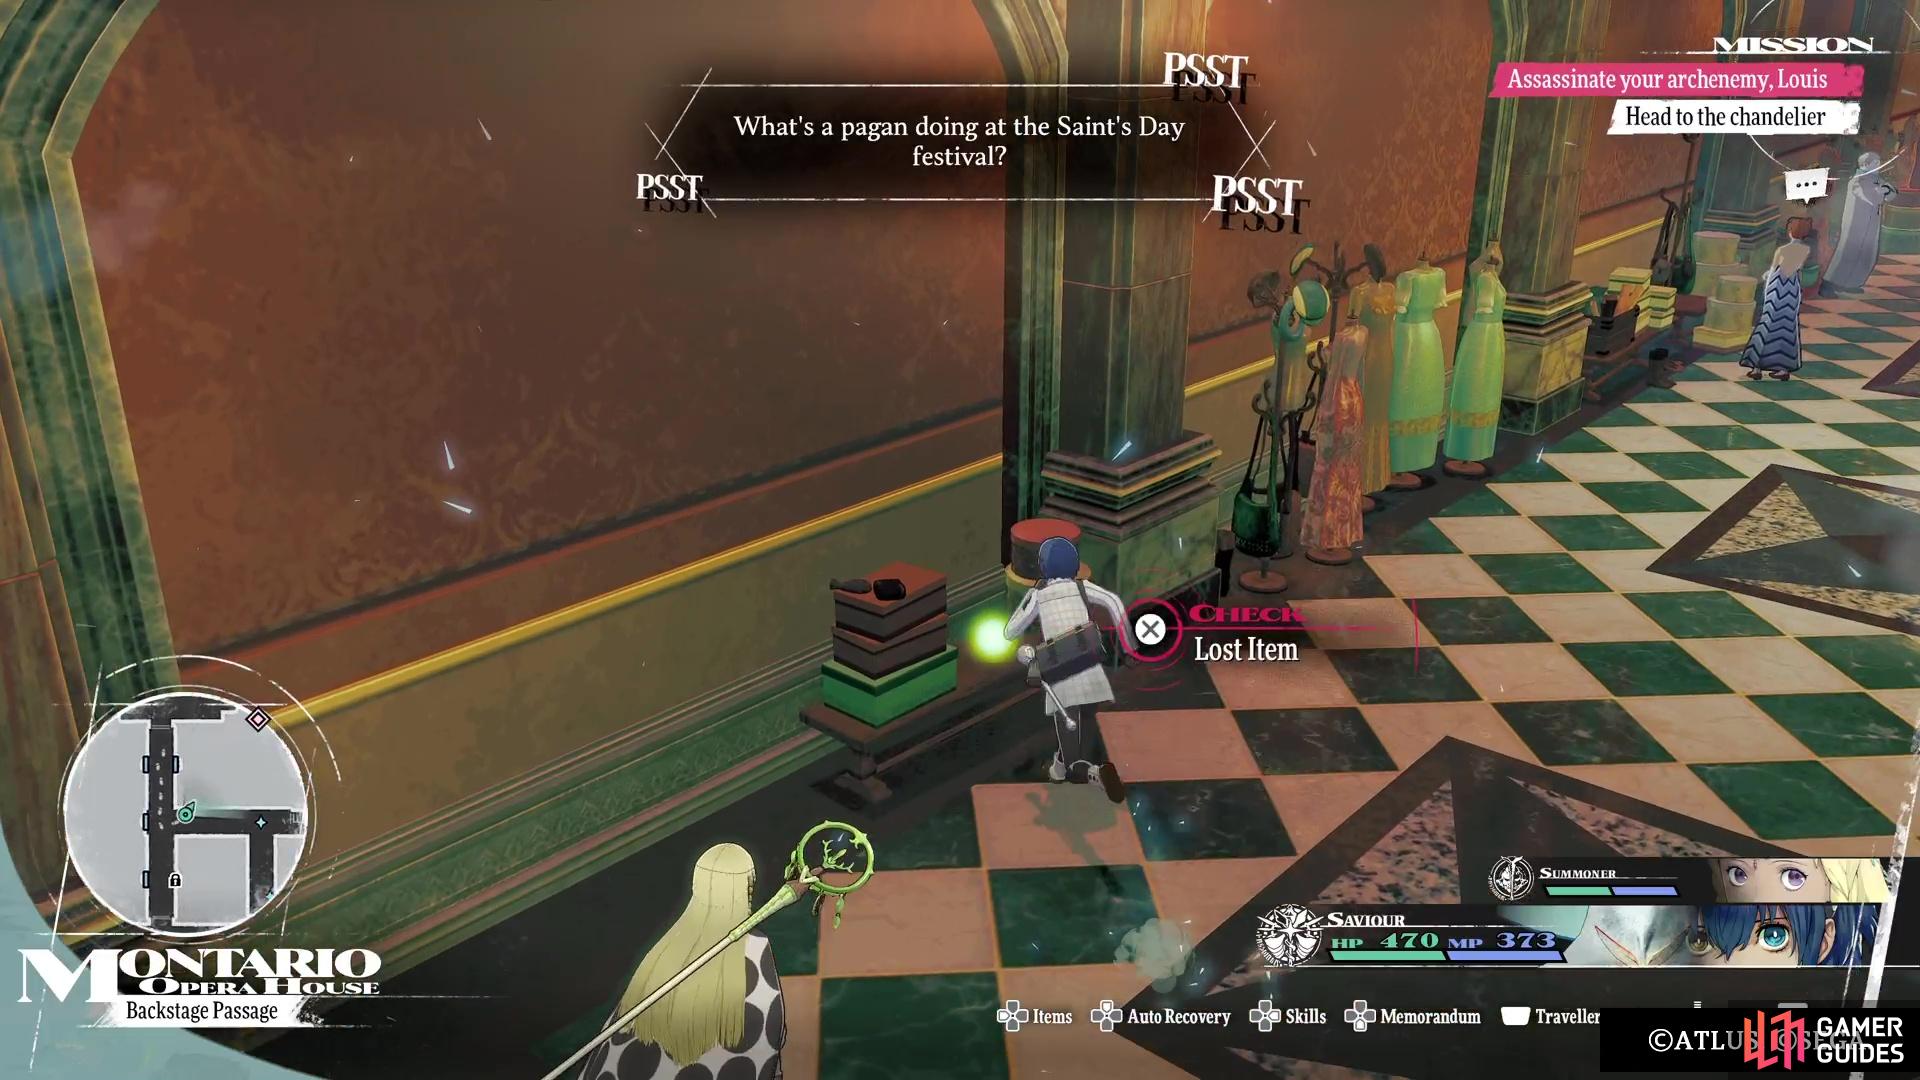
When you first enter the Opera House, you will be in a lobby-like area. You are free to look around, but all of the doors are locked and there’s nothing else in the area. So, the only thing you can do right away is head straight to the objective, where you’ll encounter the Theatre Attendant muttering something about him dropping the key and having to go get the spare. While he’s doing that, you decide to try and find the dropped key, so you can get your plan back on track. If you look at your map right now, you should see that three items have now appeared on it.
(1 of 3) There will be three items on the ground that start some trade quests.
These three items aren’t the key, but are miscellaneous items that will either help you get to the key, or get other items. Go to each of the spots to find a green orb, which will net you a ![]() Leather String, a
Leather String, a ![]() Golden Tooth, and a
Golden Tooth, and a ![]() Silver Necklace. The Golden Tooth is the ticket to getting the key, so we’ll save that for last. This whole situation is basically like a trade quest, where you bring one of the above items to someone, who will either give you a reward or another item you can then give to other people.
Silver Necklace. The Golden Tooth is the ticket to getting the key, so we’ll save that for last. This whole situation is basically like a trade quest, where you bring one of the above items to someone, who will either give you a reward or another item you can then give to other people.
Leather String
Starting with this one, head into the largest room on the southern end, then look for a Troubled Attendant sitting down on a bench on the eastern side. You will give him the Leather String, and he will hand over an ![]() Altabury Cake. With this in hand, go all the way to the northwestern corner of the map, where you’ll find a Ravenous Peeress. Give her the cake you just got and you’ll receive an
Altabury Cake. With this in hand, go all the way to the northwestern corner of the map, where you’ll find a Ravenous Peeress. Give her the cake you just got and you’ll receive an ![]() Unopened Love Letter.
Unopened Love Letter.
Head into the long hallway with all of the locked doors and at the northern end, you should see a Troubled Nobleman. He will take the love letter and you’ll be done with this trade chain. Your reward for doing this is the ![]() Herald’s Banner accessory, which will increase your attack while you’re in the front row.
Herald’s Banner accessory, which will increase your attack while you’re in the front row.
Silver Necklace
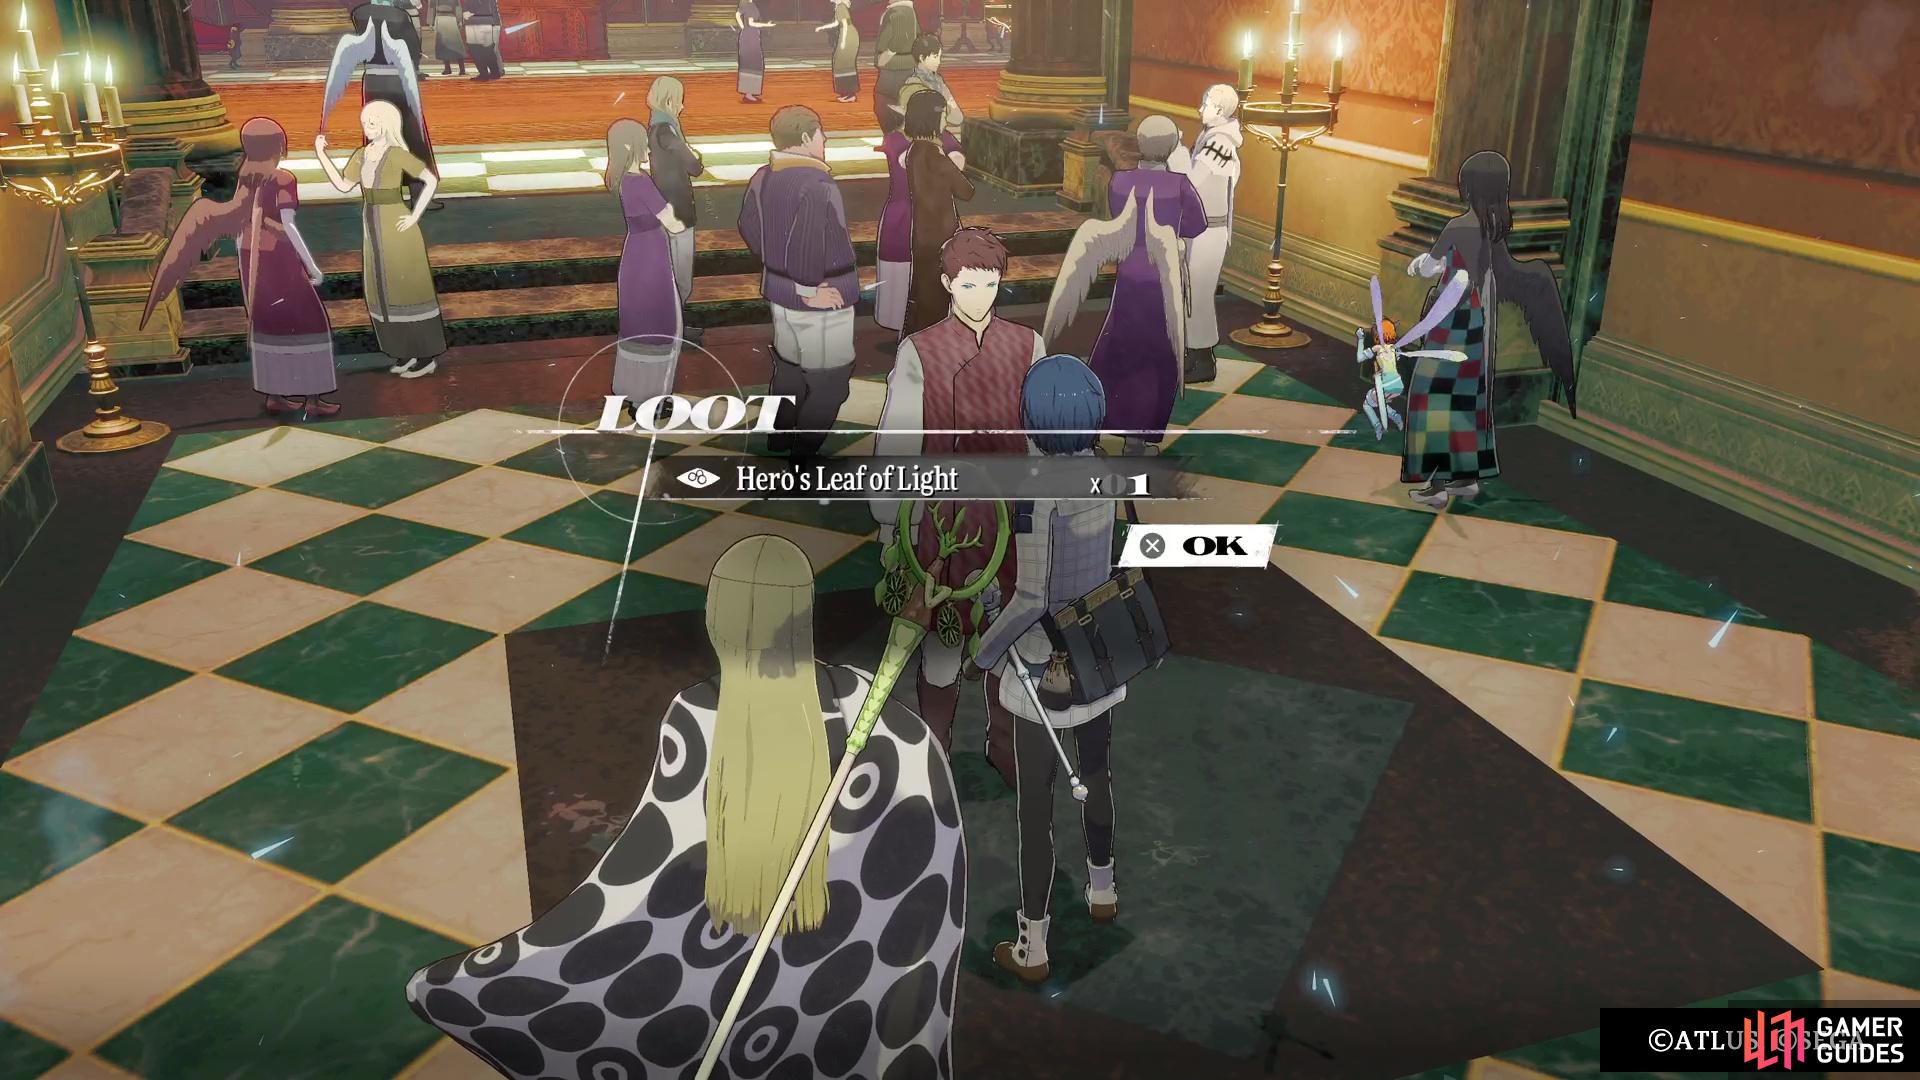
Ok, for the second item on this list, you are starting with the Silver Necklace. While still in the long hallway with all of the locked doors, go all the way to the southern end, where you should see an Irritated Actor on the northern side of the large group of people making a dead end. He mentions something about an actress taking too long in the nearby room, right on the western side. Attempt to open the door and the dancer talks about their lost necklace. You’ll hand over the necklace and receive a ![]() Theatre Script, who you can then give to the Irritated Actor to get a
Theatre Script, who you can then give to the Irritated Actor to get a ![]() Hero’s Leaf of Light.
Hero’s Leaf of Light.
Golden Tooth
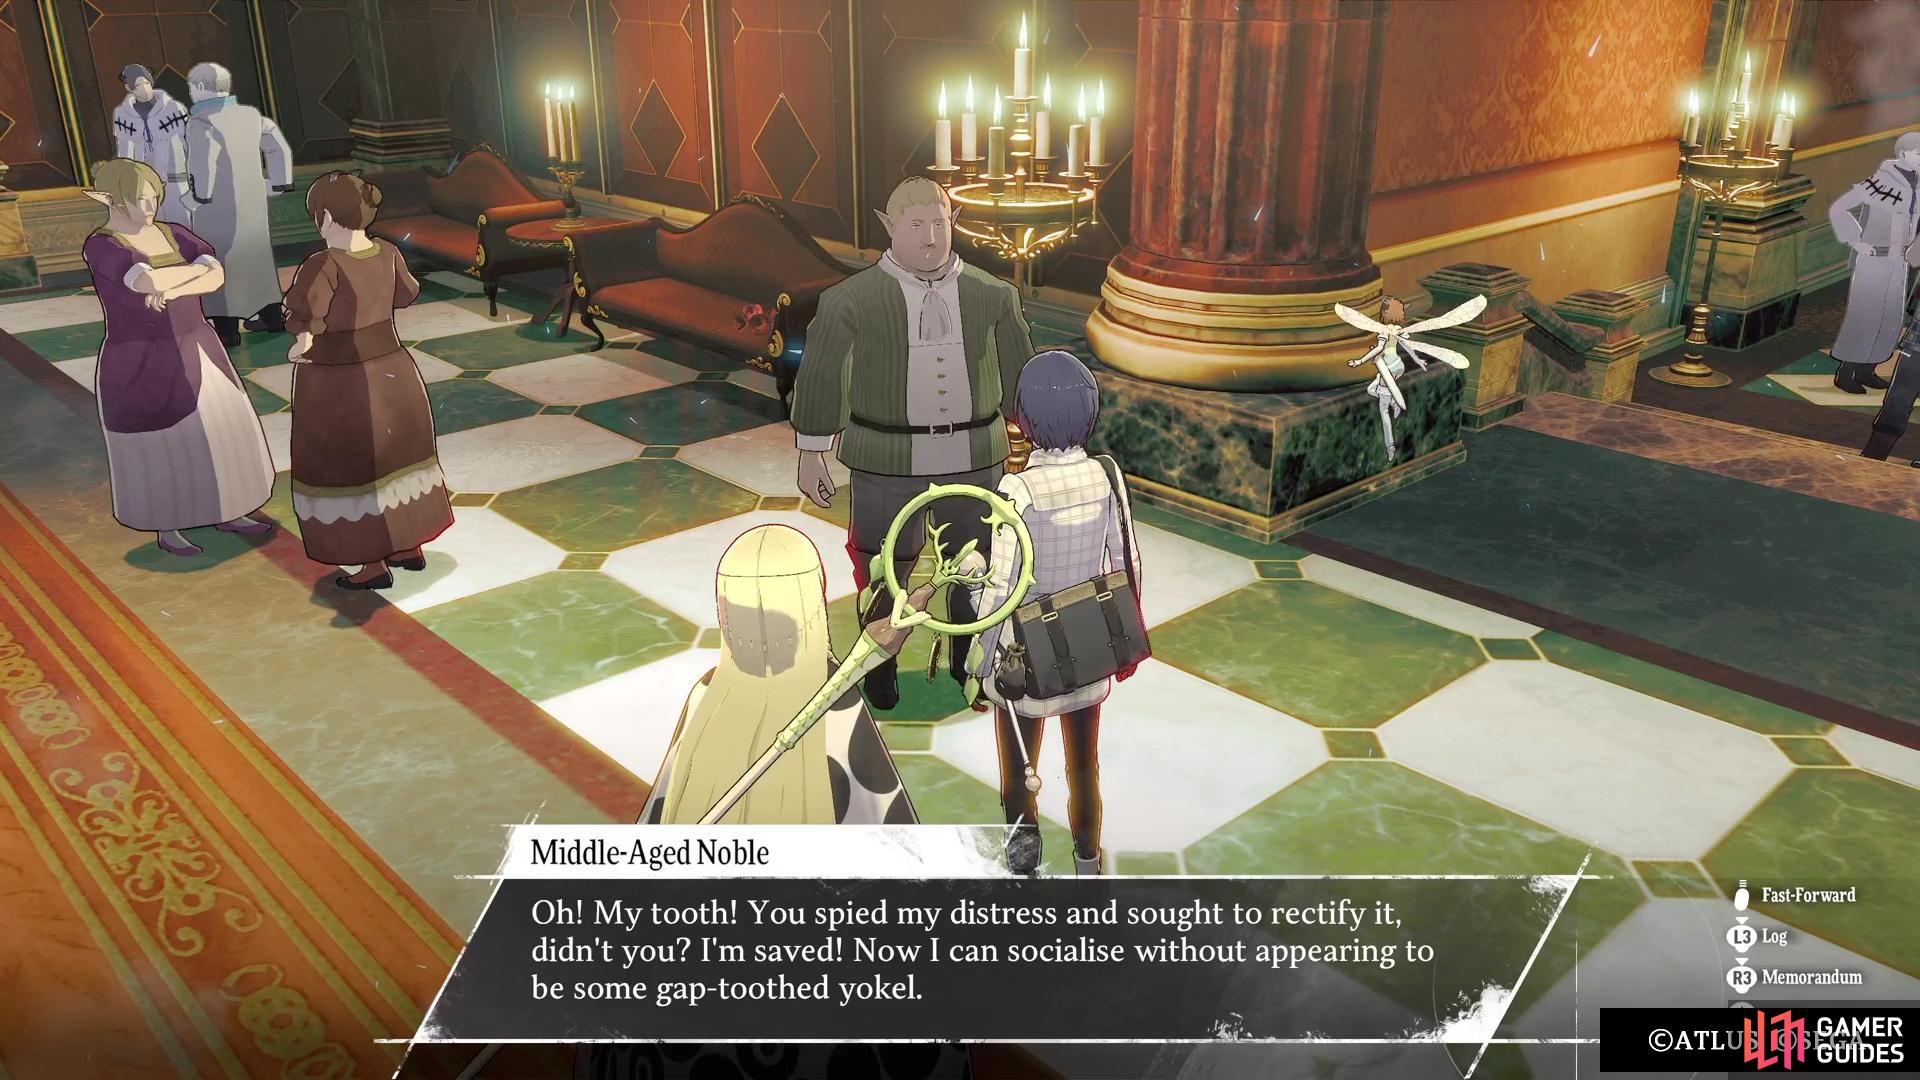
Two items are down and there’s only the Golden Tooth to go, which is very easy and will result in you getting the key. Return to the large area on the southern end and go to the western side, where you are looking for the Middle-Aged Noble. Seems his tooth popped out of his mouth, so he was looking for it. Hand him the Golden Tooth to receive the ![]() Rear Entrance Key.
Rear Entrance Key.
(1 of 2) The Golden Tooth is the way to progress through this area of the Opera House.
The Golden Tooth is the way to progress through this area of the Opera House. (left), Hand over the tooth to this man to get the key for the locked door. (right)
You’re done with this area now, so return to the locked door from earlier and use the key to go through it. The easy part is now done, as you’ll be fighting your way through to get to the chandelier. As ![]() Gallica points out, any fights you get into, the enemies will target
Gallica points out, any fights you get into, the enemies will target ![]() Eupha first, since you are protected by the royal magic. Putting her in the back row will help a lot, so it’s good to do that and put a long-range Archetype on her.
Eupha first, since you are protected by the royal magic. Putting her in the back row will help a lot, so it’s good to do that and put a long-range Archetype on her.
Canopy Passage
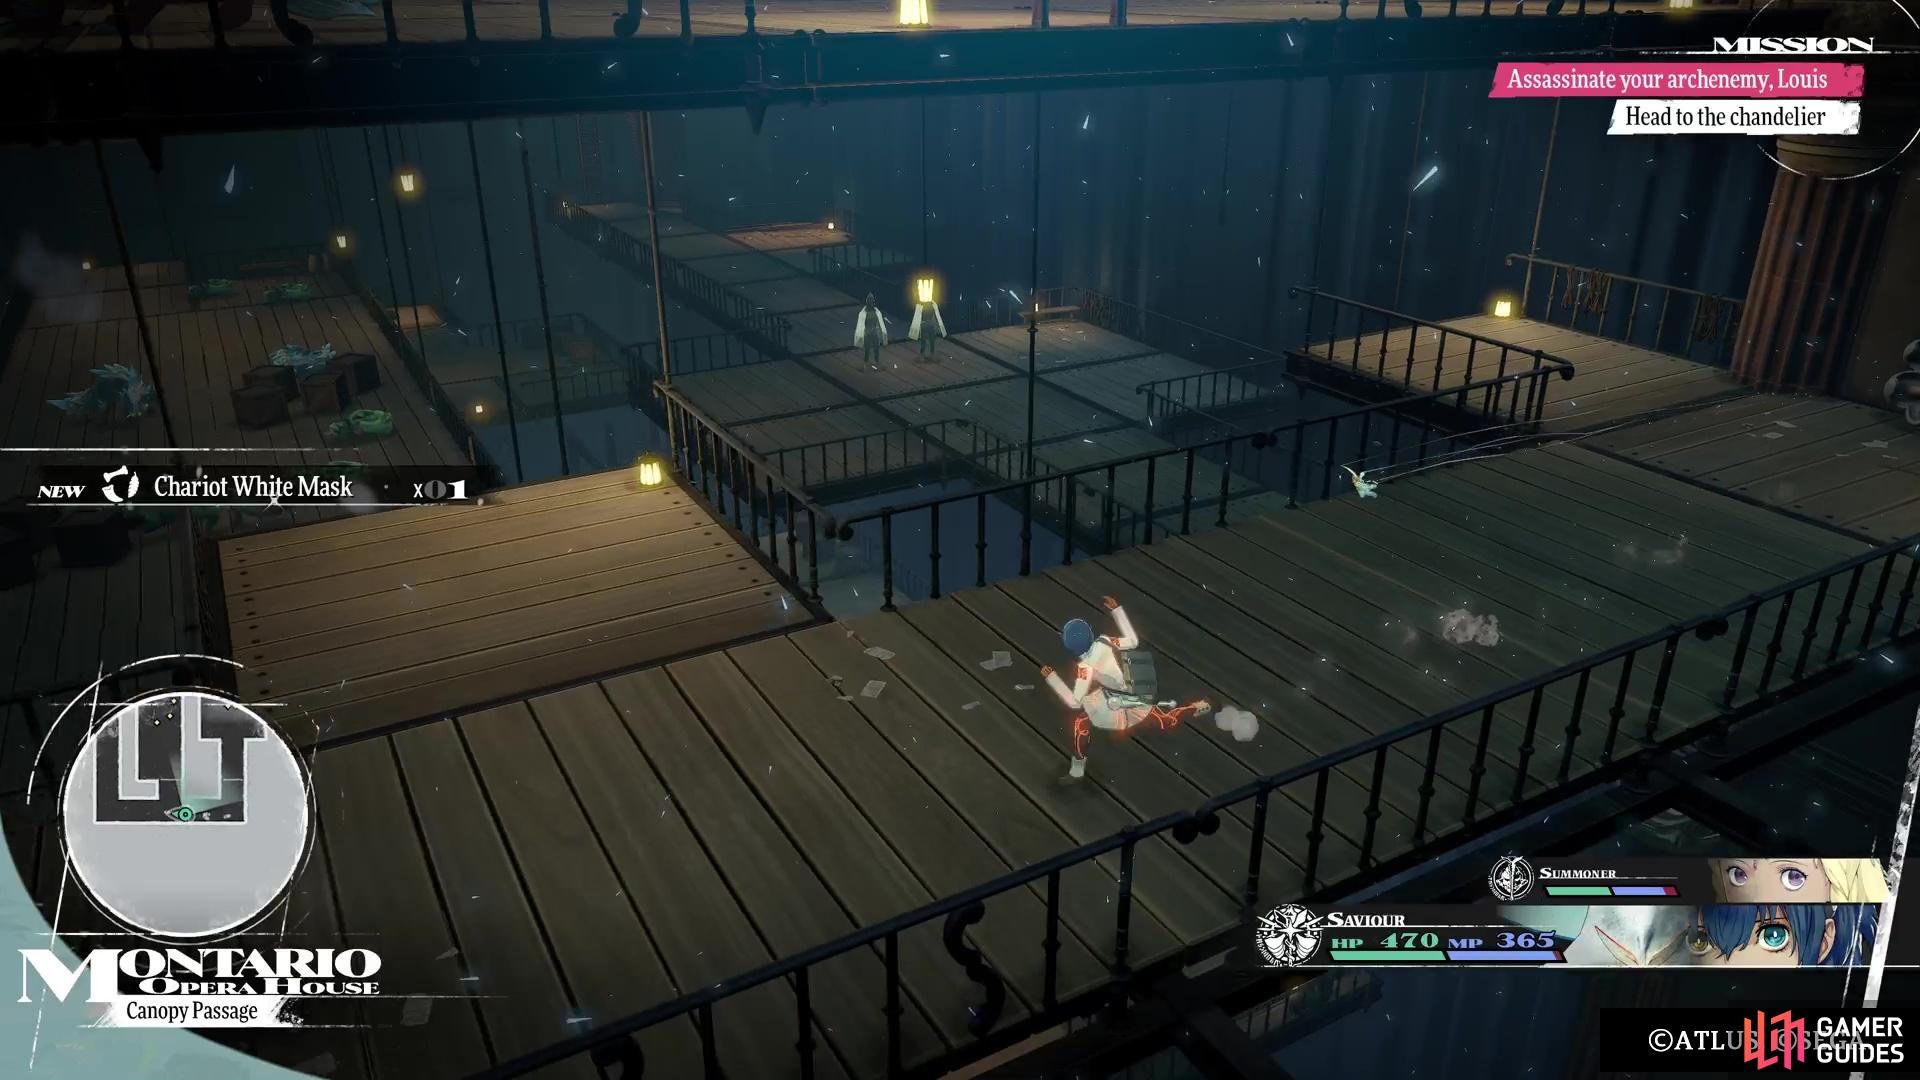
Start your climb by grabbing the ![]() Euchronia Gold Coin right in front of you, then continue up to the spot where you need to drop down to the next section. There are a bunch of enemies here, but most of the dogs are lower level ones, so you can defeat them on the overworld. Be mindful of the Kvarhas, as it’s level 47, so you might need to do a Squad Battle. After clearing the area, loot the two items you can see (
Euchronia Gold Coin right in front of you, then continue up to the spot where you need to drop down to the next section. There are a bunch of enemies here, but most of the dogs are lower level ones, so you can defeat them on the overworld. Be mindful of the Kvarhas, as it’s level 47, so you might need to do a Squad Battle. After clearing the area, loot the two items you can see (![]() Calendula Glass and
Calendula Glass and ![]() Altabury Quilt), then climb the ladder on the opposite end.
Altabury Quilt), then climb the ladder on the opposite end.
At the top, you’ll be forced into a battle with two Spearmonks, who are weak to both Fire and Ice. Defeat them both, then open the nearby chest for an ![]() Emerald. The other item you can see is a
Emerald. The other item you can see is a ![]() Crystalline Weapon, which you’ll need to appraise once you’re back in town. Up the stairs, you’ll come to another spot where you will need to drop down, but the path will split up here (Altabury Quilt and Chariot White Mask before dropping down). The first path has you fighting more dogs, while the other one pits you against two Mage Monks.
Crystalline Weapon, which you’ll need to appraise once you’re back in town. Up the stairs, you’ll come to another spot where you will need to drop down, but the path will split up here (Altabury Quilt and Chariot White Mask before dropping down). The first path has you fighting more dogs, while the other one pits you against two Mage Monks.
Thankfully, both lead to the same place and you’re not going to miss out on any items by picking either one. Clear the area once again, then loot the immediate area for a chest (![]() Pocket Heater) and blue orb (
Pocket Heater) and blue orb (![]() Lifesaving Medicine). You will now have four ladders in front of you, but if you check the map, you can see where the westernmost one goes. Climb that one first, defeat the enemies, then open the chest for an
Lifesaving Medicine). You will now have four ladders in front of you, but if you check the map, you can see where the westernmost one goes. Climb that one first, defeat the enemies, then open the chest for an ![]() Opera Cape. Return to the previous spot and climb the second ladder from the right.
Opera Cape. Return to the previous spot and climb the second ladder from the right.
(1 of 3) There will be a few forced fights throughout the second area.
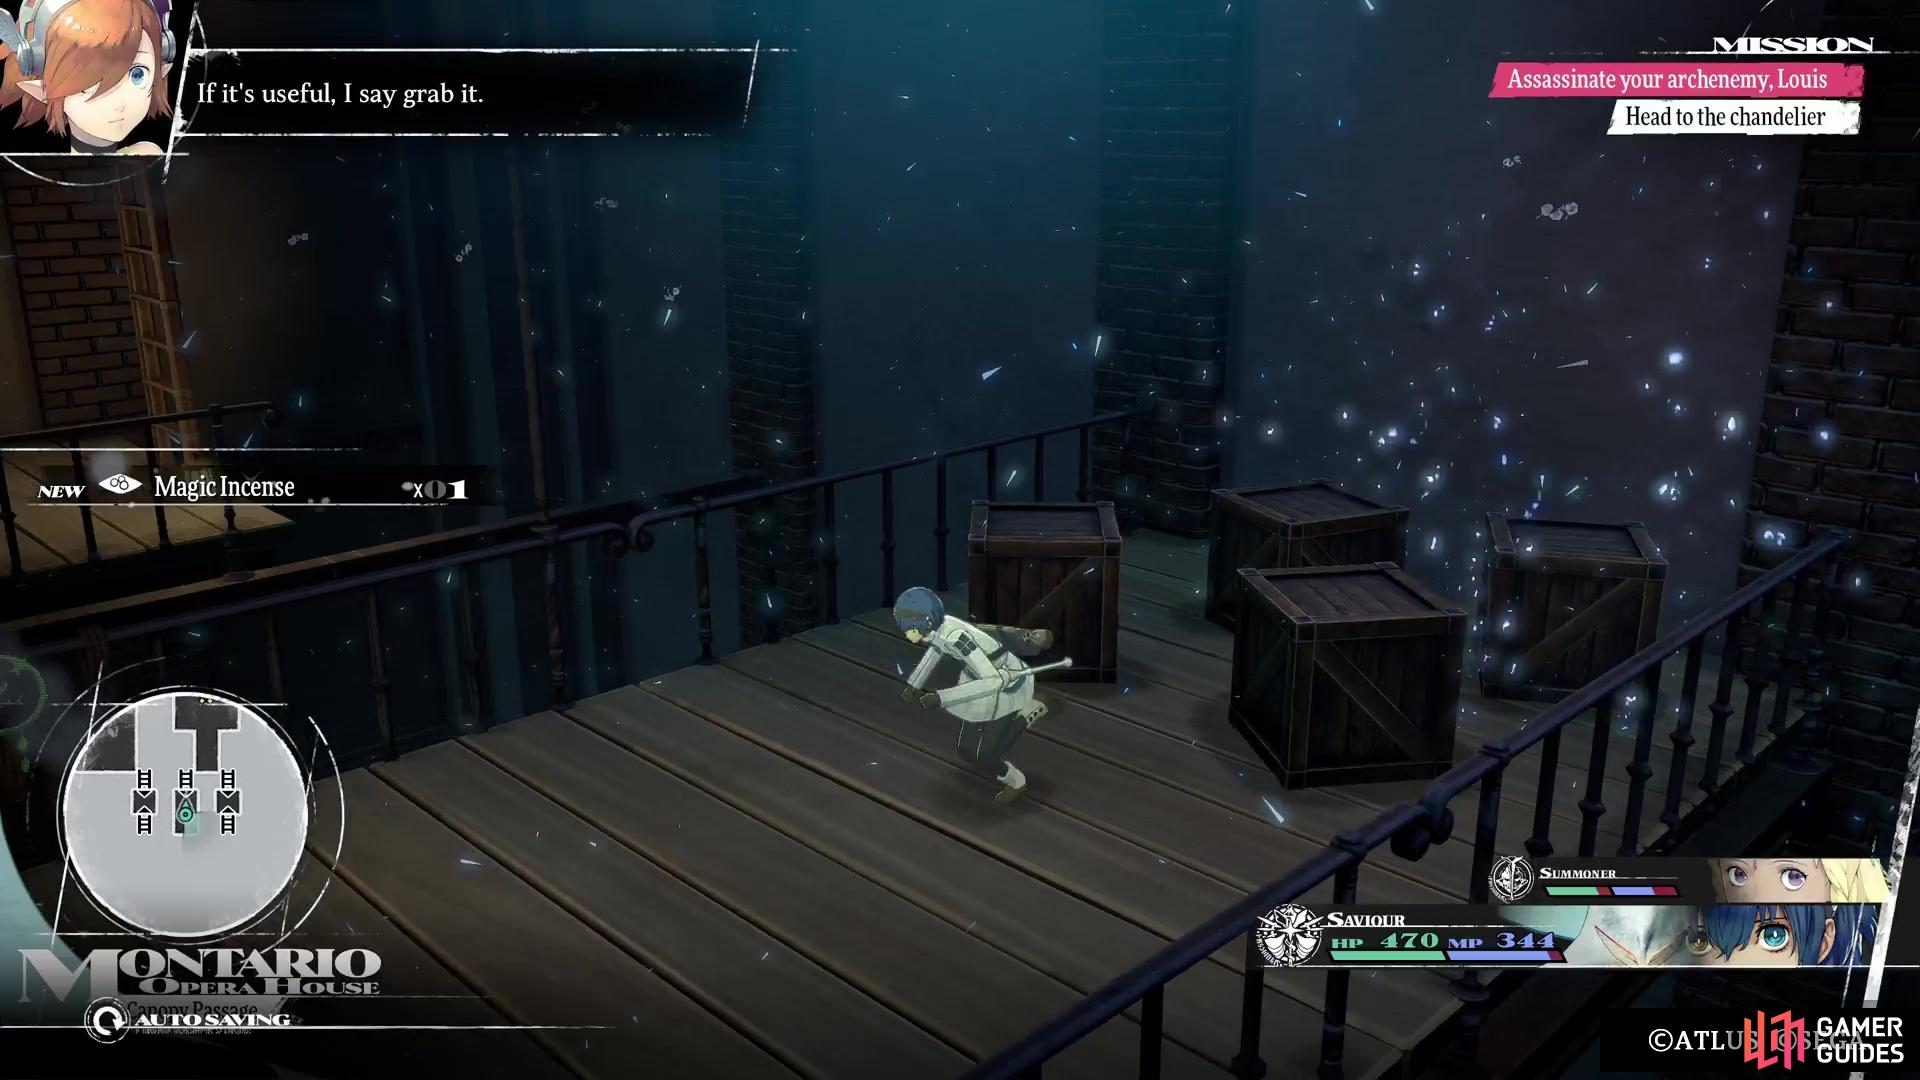
At the top of the second ladder there is an item (![]() Magic Incense), so loot it and drop back down. The other two ladders will both have items on the first landing, so grab them both first (
Magic Incense), so loot it and drop back down. The other two ladders will both have items on the first landing, so grab them both first (![]() Diamond and
Diamond and ![]() Matterbreak Hammer) before committing to climbing further, as the path splits again. The second ladder from the left leads to more dogs, while the rightmost one has you fighting more Monks. Whichever path you choose, follow the rest of the way to come to one last set of enemies (more Monks).
Matterbreak Hammer) before committing to climbing further, as the path splits again. The second ladder from the left leads to more dogs, while the rightmost one has you fighting more Monks. Whichever path you choose, follow the rest of the way to come to one last set of enemies (more Monks).
A cutscene will occur after the battle, then you’ll be on the roof. Go to the far end and approach the door for a number of scenes. After it’s done, return the way you came, but things didn’t go exactly as planned. It’s time for a boss fight!



 Sign up
No Comments