The final showdown with Louis is approaching, as the Royal Palace now took to the skies. This will put you in the Skybound Avatar dungeon, which is fairly long, with the first part being the Front Parlour area. Once you reach a certain point, you will be blocked from progressing and have to take a detour to the Royal Garden area. The true nature of the dungeon will finally reveal itself here.
Quick Links
- Exploring the Royal Garden
- Royal Garden - Western Side
- Voidblack Homo Orelon Boss Guide
- Royal Garden - Eastern Half
- Grotesque Chimenzahn Boss Guide
The Royal Garden will be the second area of the Skybound Avatar dungeon.
Skybound Avatar Royal Garden Enemies
The following list is all of the enemies you will find in the Royal Garden area of the Skybound Avatar, including their weaknesses and any resistances.
| Enemy | Level | Weak | Strength |
|---|---|---|---|
| Homo Malhela | 64 | Light | Wind (Reflect), Dark (Absorb) |
| Wrathwrought Gargostartz | 63 | Wind | Fire/Lightning (Resist), Slash/Pierce (Block) |
| Platinum Homo Tenta | 62 | – | Fire/Ice/Lightning/Wind/Light/Dark (Absorb) |
| Spellwrought Gargosta | 36 | Wind | Lightning/Dark (Resist), Slash/Pierce (Block) |
| Homo Luma | 69 | Fire, Dark | Ice/Lightning/Wind (Resist), Light (Reflect) |
| Kaprasarto | 65 | Lightning, Dark | Fire (Resist), Ice (Block), Light (Reflect) |
| Raging Corvosta | 57 | Pierce | Wind (Reflect) |
| Spekto of Fury | 50 | Ice, Light | Slash/Pierce/Strike (Reflect), Fire (Absorb) |
| Obsilas | 64 | Ice | Dark (Resist), Fire (Block) |
Skybound Avatar Royal Garden Items
The table below shows all of the items you can get from the Royal Garden area of the Skybound Avatar dungeon, including the blue orbs and treasure chests.
Exploring the Royal Garden
As soon as you step into the Royal Garden area, the party will be confronted by a familiar foe. One of those Humans from the Dragongrace Shinjuku dungeon is blocking your progress, the Homo Flaemo. You’ll have to fight it here and while it’s pretty much the same fight, it’s a lot stronger than before, due to it being level 65. It is weak to Lightning and doesn’t have any resistances, so you’re pretty free to use whichever attacks you want. Just watch out for its attacks, one of which hits the entire party and another that can inflict Forget. Note that it does have a new attack here, where it finds someone without full health to instantly KO them, so keep everyone at full health if you can.
(1 of 2) You’ll be forced into a battle with a familiar foe upon entering the Royal Garden.
You’ll be forced into a battle with a familiar foe upon entering the Royal Garden. (left), Make sure you heal the Forget ailment should the miniboss inflicts it. (right)
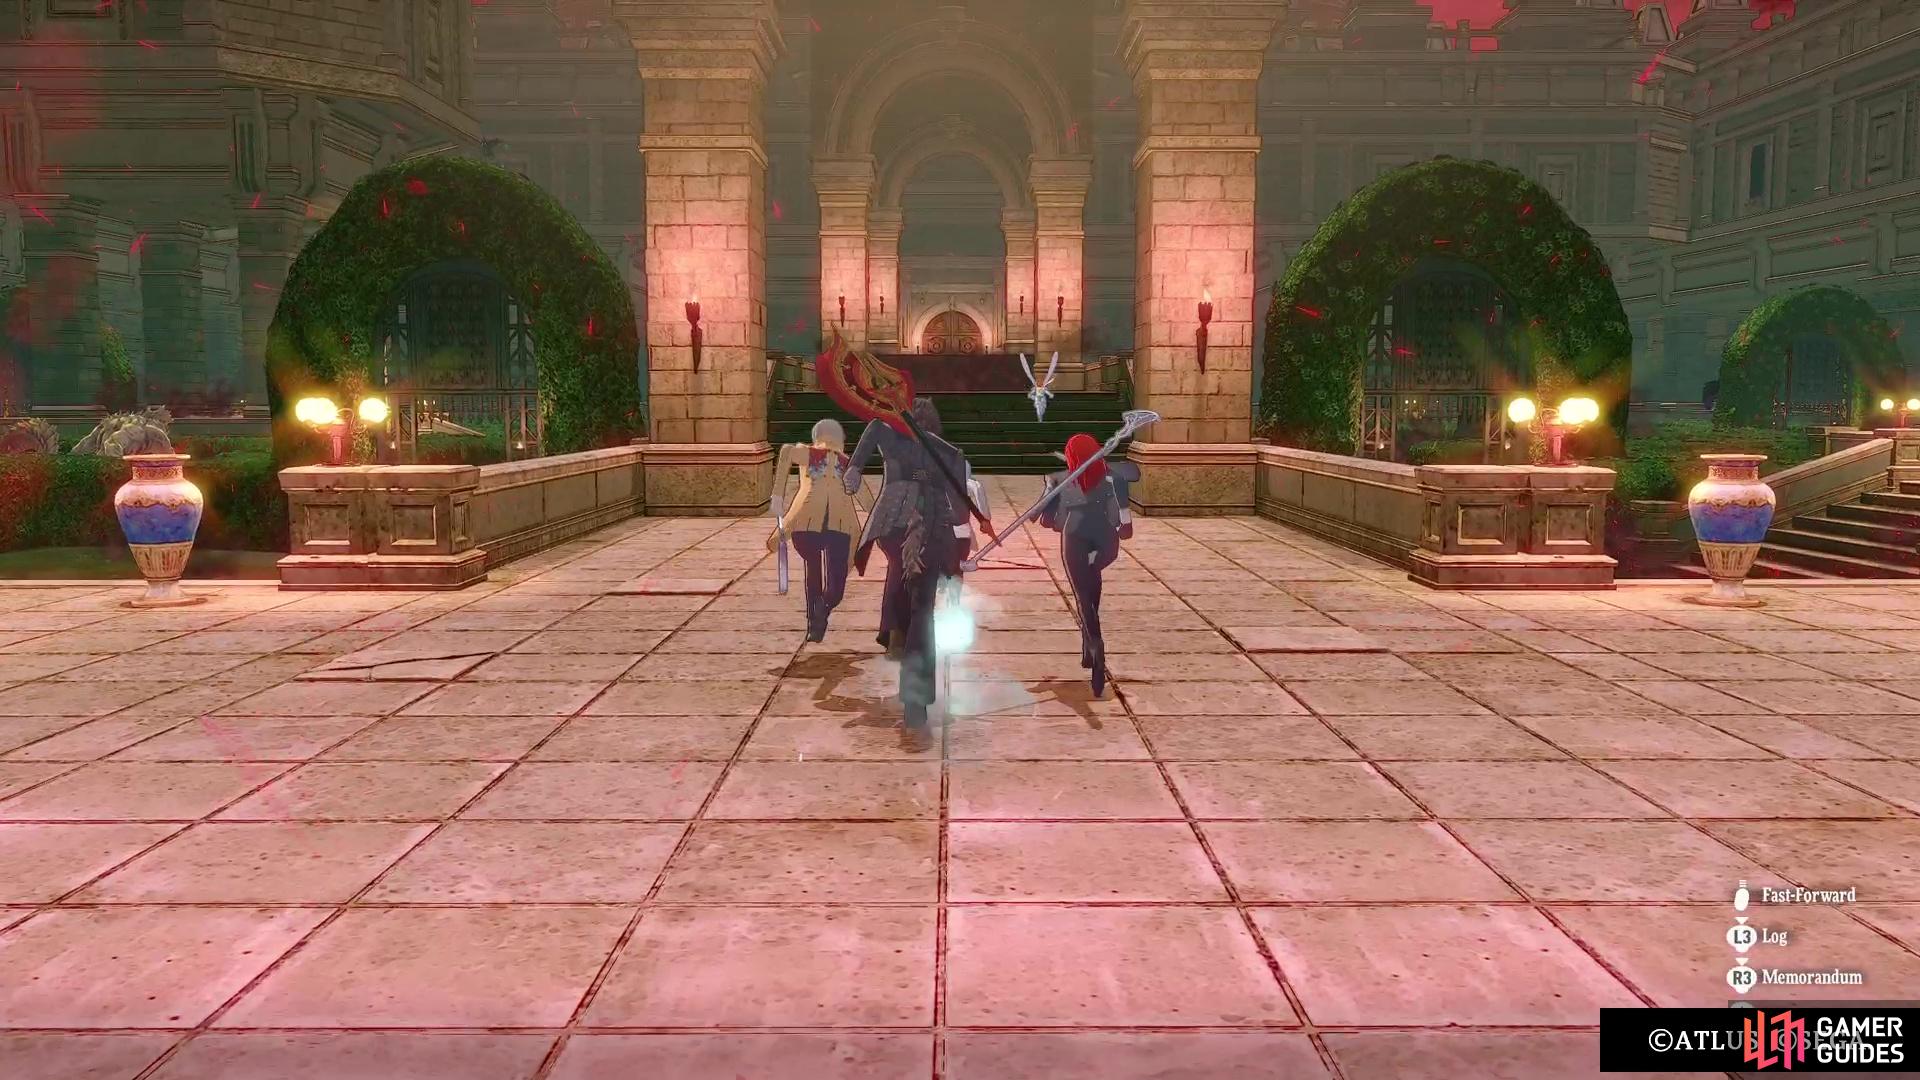
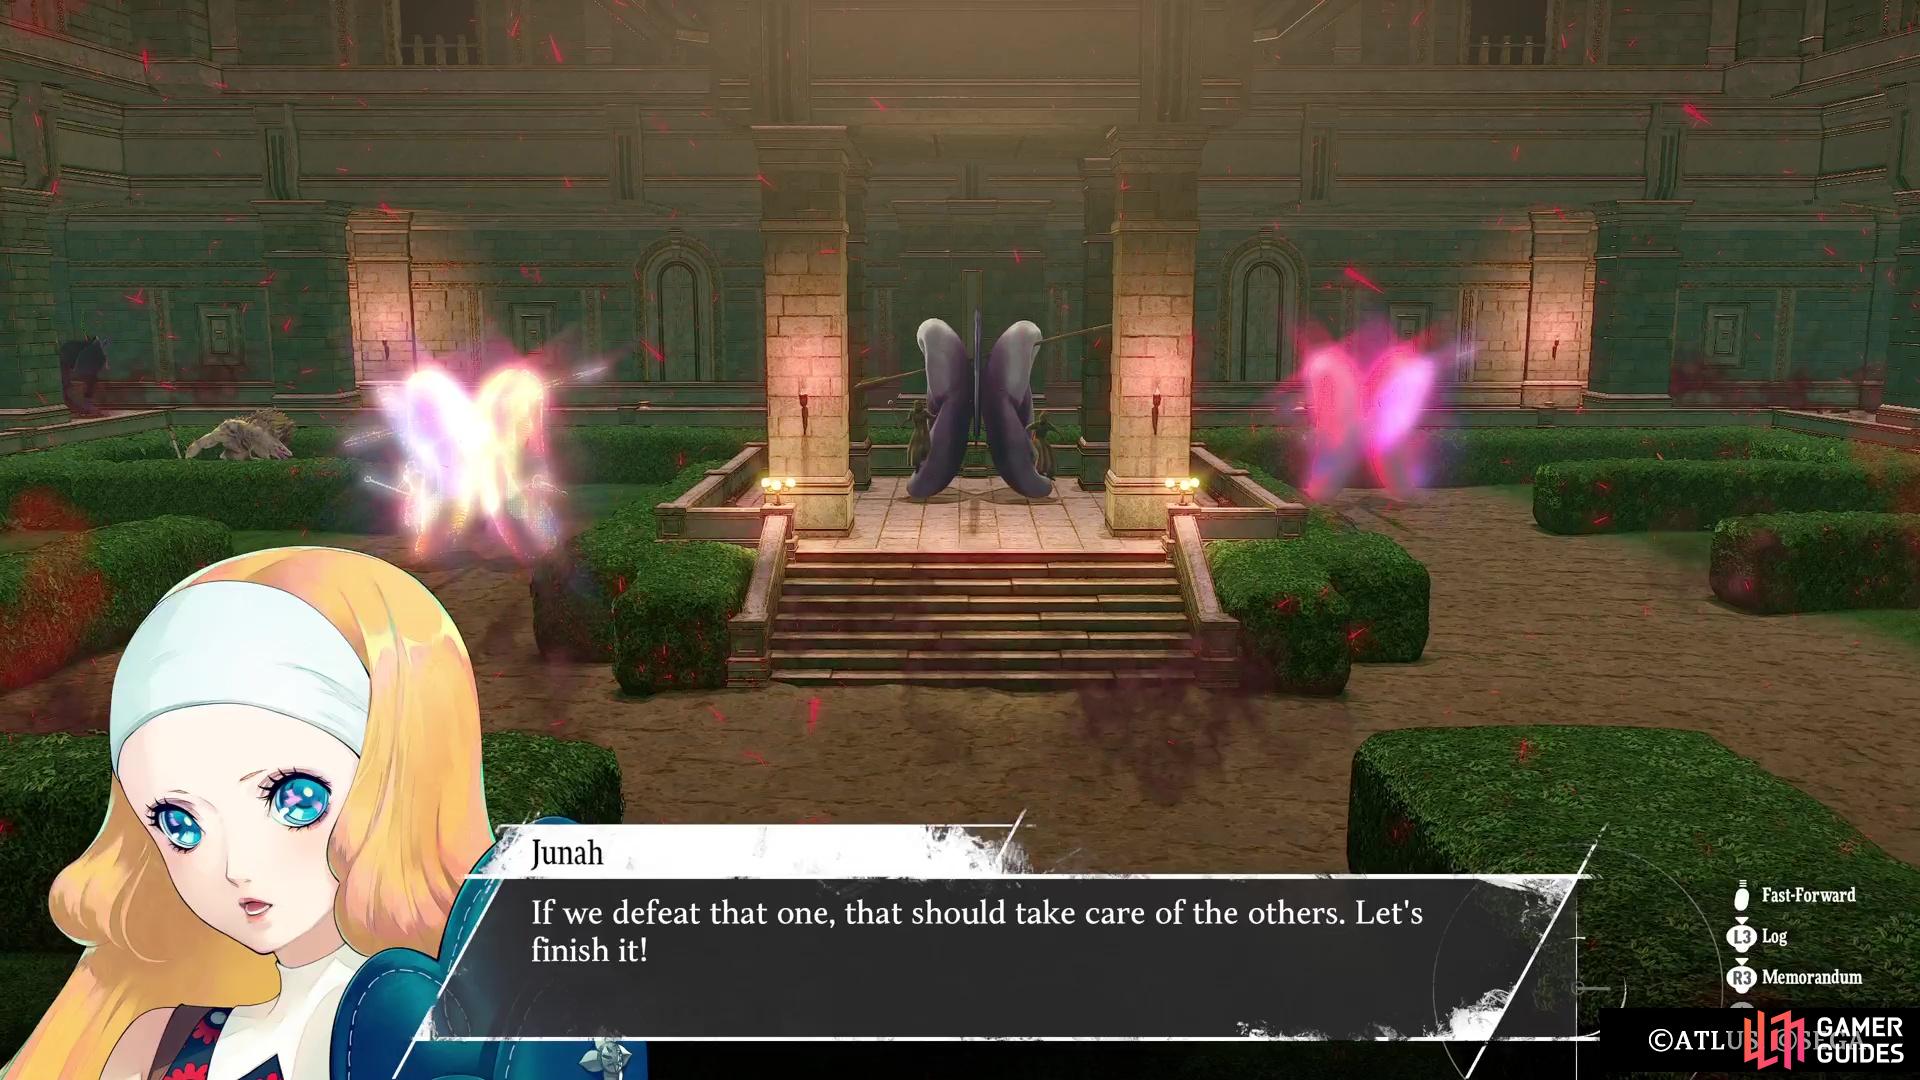
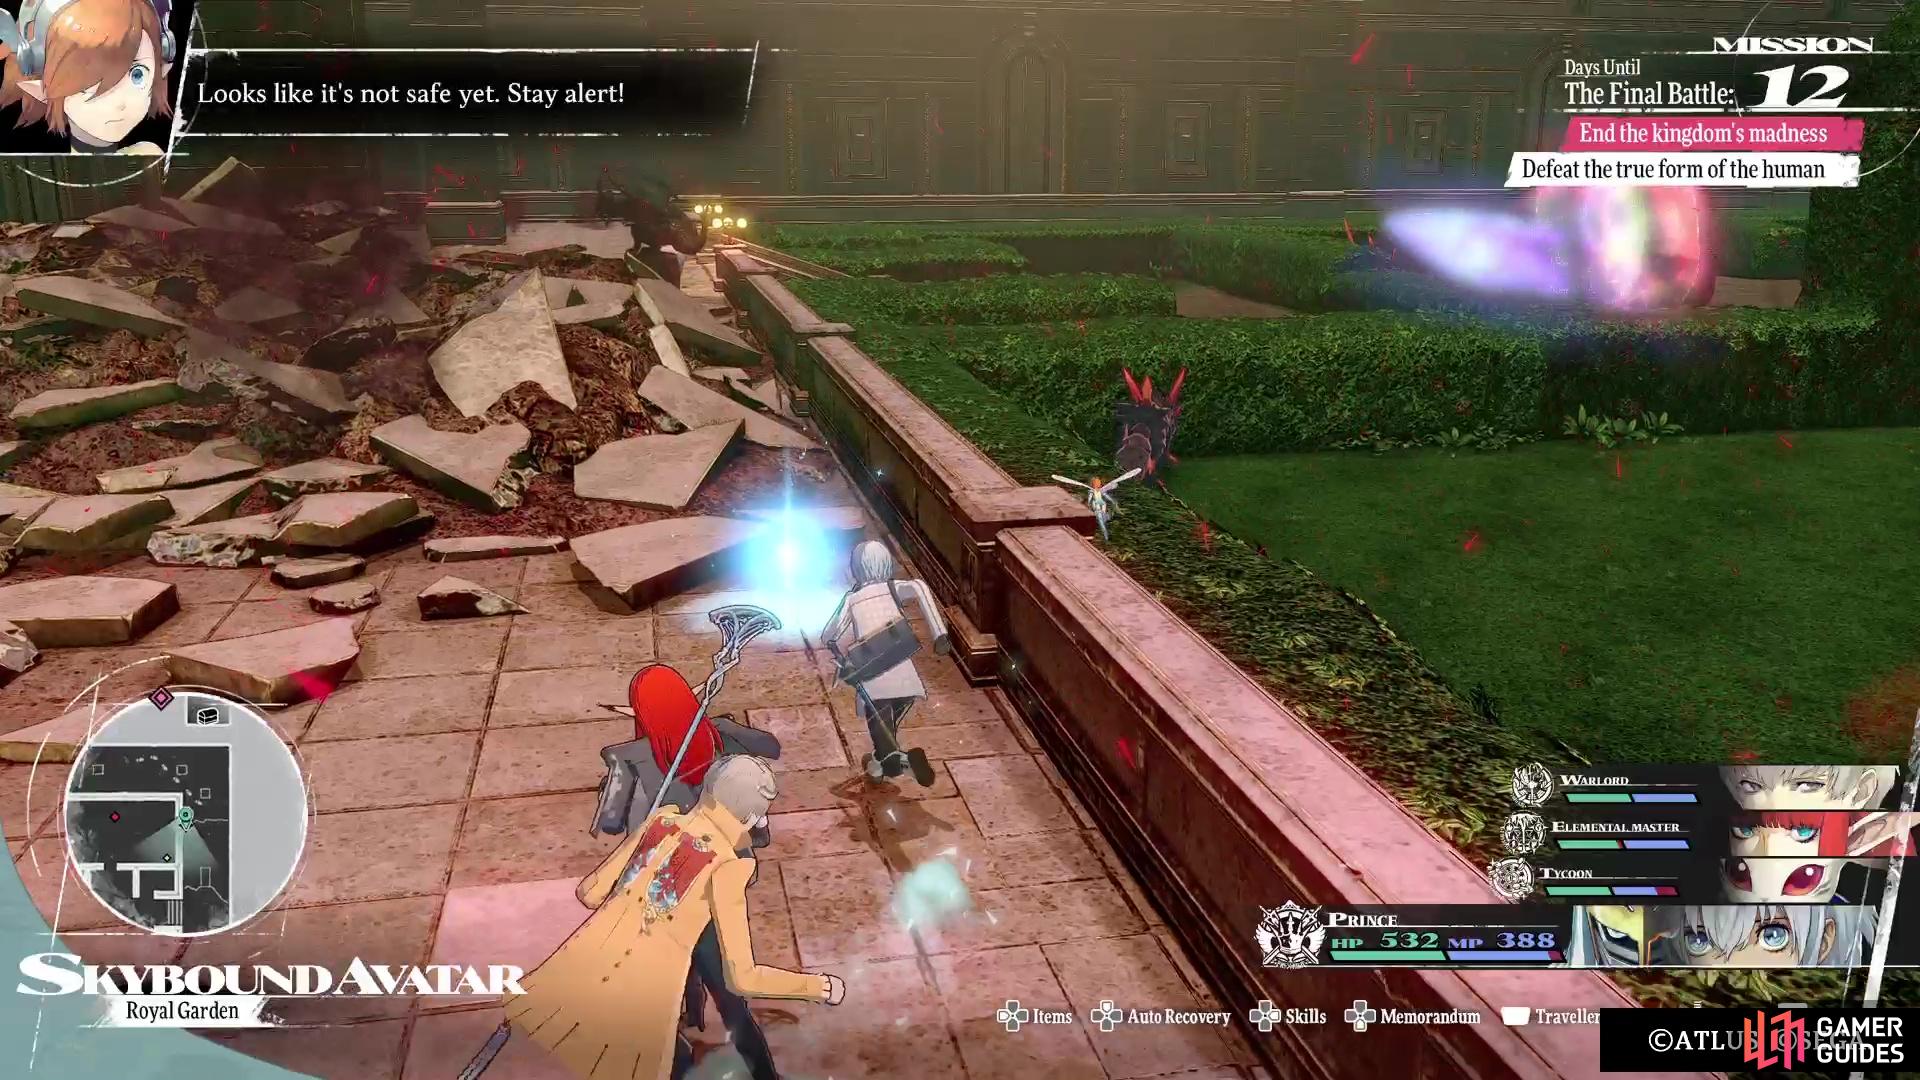
After the battle is over, it looks like the coast is clear, but more of the Humans appear. Just like before, you’ll have to hunt down the main body in order to destroy all of the ghost-like ones. The only catch is that there are two main bodies now, so you’ll have hunt both down in order to proceed. Thankfully, you’ll have a save point right in front of you, once you regain control. It does not matter which side you go with first, as you’ll have to do both and they’re largely the same. There will be large areas of “mud” in each section, though, slowing down your movements, usually in spots where the Homo Flaemos are located (they stick to the muddy paths).
Royal Garden - Western Side
You have the option to either go north or continue straight west when you first set on this path. For now, check out the western portion first. The Human here will stick to the northern side, so you can avoid it completely by staying on the southern end. Be on the look out for an item to your south (![]() Maglacrystal Bloom), then loot the item by the middle for a
Maglacrystal Bloom), then loot the item by the middle for a ![]() Luck Incense. Lastly, go to the southeastern corner here to find a chest, which contains some
Luck Incense. Lastly, go to the southeastern corner here to find a chest, which contains some ![]() Gambler’s Anelaces for the
Gambler’s Anelaces for the ![]() Faker set of classes.
Faker set of classes.
Return to the beginning of this section and head north now, defeating the enemy on the other side of the sludge that slows you down. There’s an item by some pots on your left as you continue north (Moon White Mask), so grab it and cross under the bridge on your right to gain access to a chest (![]() Destroyer’s Edge). A little further north will be another Human, but watch its movements to avoid it and pick up the item on the southern side here (
Destroyer’s Edge). A little further north will be another Human, but watch its movements to avoid it and pick up the item on the southern side here (![]() Euchronia Gold Coin). Follow the path beyond until you get back onto the stone flooring.
Euchronia Gold Coin). Follow the path beyond until you get back onto the stone flooring.
(1 of 4) You’ll have to traverse the area to find the real Humans behind the clones.
Be mindful of the gargoyles here and go to the southwestern corner here for an item (![]() Ruby). Double back to the split and continue north (Hermit White Mask along the way), following the stone pathing all the way around. Grab the
Ruby). Double back to the split and continue north (Hermit White Mask along the way), following the stone pathing all the way around. Grab the ![]() Panacea on the side, then when you reach the small room with a chest, open it to find out it’s a Bloodcoin Imitec. You should know how to deal with these mimics by now, so defeat it to receive a
Panacea on the side, then when you reach the small room with a chest, open it to find out it’s a Bloodcoin Imitec. You should know how to deal with these mimics by now, so defeat it to receive a ![]() Ghost Light Katana. The stairs allowing you to enter the grassy area just north of the chest will let you get the one item here (
Ghost Light Katana. The stairs allowing you to enter the grassy area just north of the chest will let you get the one item here (![]() Talisman of the Divine).
Talisman of the Divine).
However, it won’t connect you to the other little area with the main Human you need to kill. To get there, head to the north side of the room to find some more stairs there. Avoid the Humans and go after the normal enemies, opting to take out the Dark Elmenta here or not, if it hasn’t already run away from you. You can only go down the eastern side, as the western path is too narrow to squeeze by the Human. There is a spot in the corner in this little area, where you can find an item (![]() Hero’s Jewelled Root). Once you have it, make your way to the central platform to confront the main Human here.
Hero’s Jewelled Root). Once you have it, make your way to the central platform to confront the main Human here.
Voidblack Homo Orelon Boss Guide
Overall, this enemy isn’t all too difficult and is more like a miniboss than a full-blown major boss. It is weak to Lightning and doesn’t have any other resistances, so you can use whatever you want to damage it. Most of the attacks from this enemy are fairly straightforward, with it using ![]() Raging Edge and
Raging Edge and ![]() Mamudodyne to attack your whole party (Raging Edge doesn’t inflict anything, despite the name). However, the biggest threat with this enemy comes from when it targets one of your characters that has missing health.
Mamudodyne to attack your whole party (Raging Edge doesn’t inflict anything, despite the name). However, the biggest threat with this enemy comes from when it targets one of your characters that has missing health.
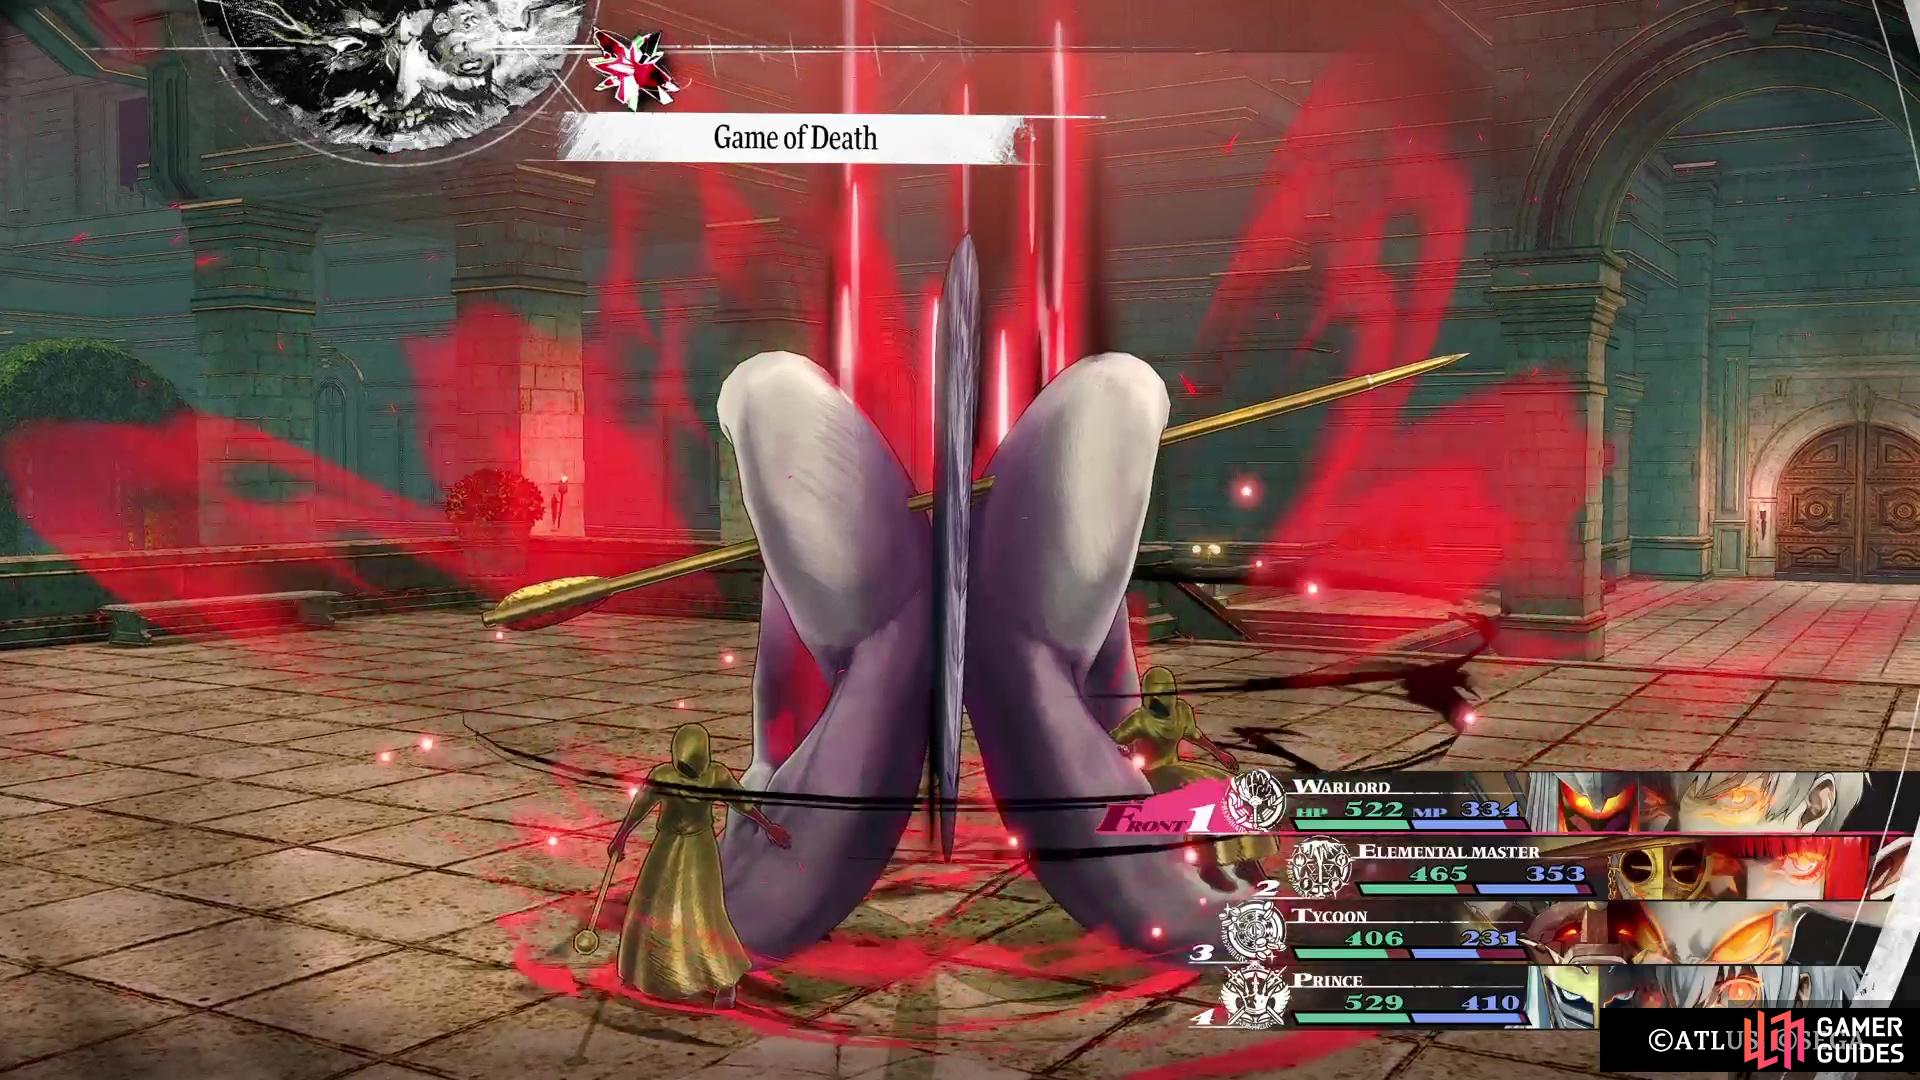
That’s when it will use Game of Death, instantly KOing that character. Thus, it’s important that you keep everyone’s health full at all times, just in case, since it will still try to do the move, but it will fail. Outside of that, this is a pretty standard fight. Debuffing the enemy can help a lot here, such as reducing its hit rate and limiting the chances your characters take damage. Doing the same to its defence will make the battle go much quicker, since you’re be doing more damage.
(1 of 2) The Voidblack Homo Orelon is weak to Lightning, so make sure you have access to it.
The Voidblack Homo Orelon is weak to Lightning, so make sure you have access to it. (left), Any characters with missing HP will be KO’ed by Game of Death. (right)
After defeating it, all of the Humans on the western side of the map will disappear, so if you haven’t gotten all of the treasures, go around and collect them now (the other enemies will still be there). When you’re ready to continue, head back to the beginning and get ready to explore the eastern half.
Royal Garden - Eastern Half
As with the western half, when you first start in this section, you have a choice to either go north or east. Head east at the beginning, picking up the ![]() Memento Hairpin on the southern end, below where the one Human will be patrolling. Towards the southeastern corner is a Dark Elmenta, with another item found just north of it (
Memento Hairpin on the southern end, below where the one Human will be patrolling. Towards the southeastern corner is a Dark Elmenta, with another item found just north of it (![]() Gold Medal). From there, head on over to the true southeastern corner for a
Gold Medal). From there, head on over to the true southeastern corner for a ![]() Talisman of the Raptor, but you cannot go anywhere else here, as rubble is blocking your way to the north.
Talisman of the Raptor, but you cannot go anywhere else here, as rubble is blocking your way to the north.
Backtrack just a little bit, to where you can go north through a small gate, with a Homo Luma standing still just past it. Continue northwest, but before setting foot on the stone pathway, go west first. To the north is a ![]() Reset Talisman, while south and east will be a
Reset Talisman, while south and east will be a ![]() Speed Incense. Return to the north, onto the stone pathways, and loot the
Speed Incense. Return to the north, onto the stone pathways, and loot the ![]() Calendula Glass to the northeast, then head south and follow the way to the dead end, where you can loot a Superior Tainted Weapon. You can now get to the final section to the north, where the real Human is located.
Calendula Glass to the northeast, then head south and follow the way to the dead end, where you can loot a Superior Tainted Weapon. You can now get to the final section to the north, where the real Human is located.
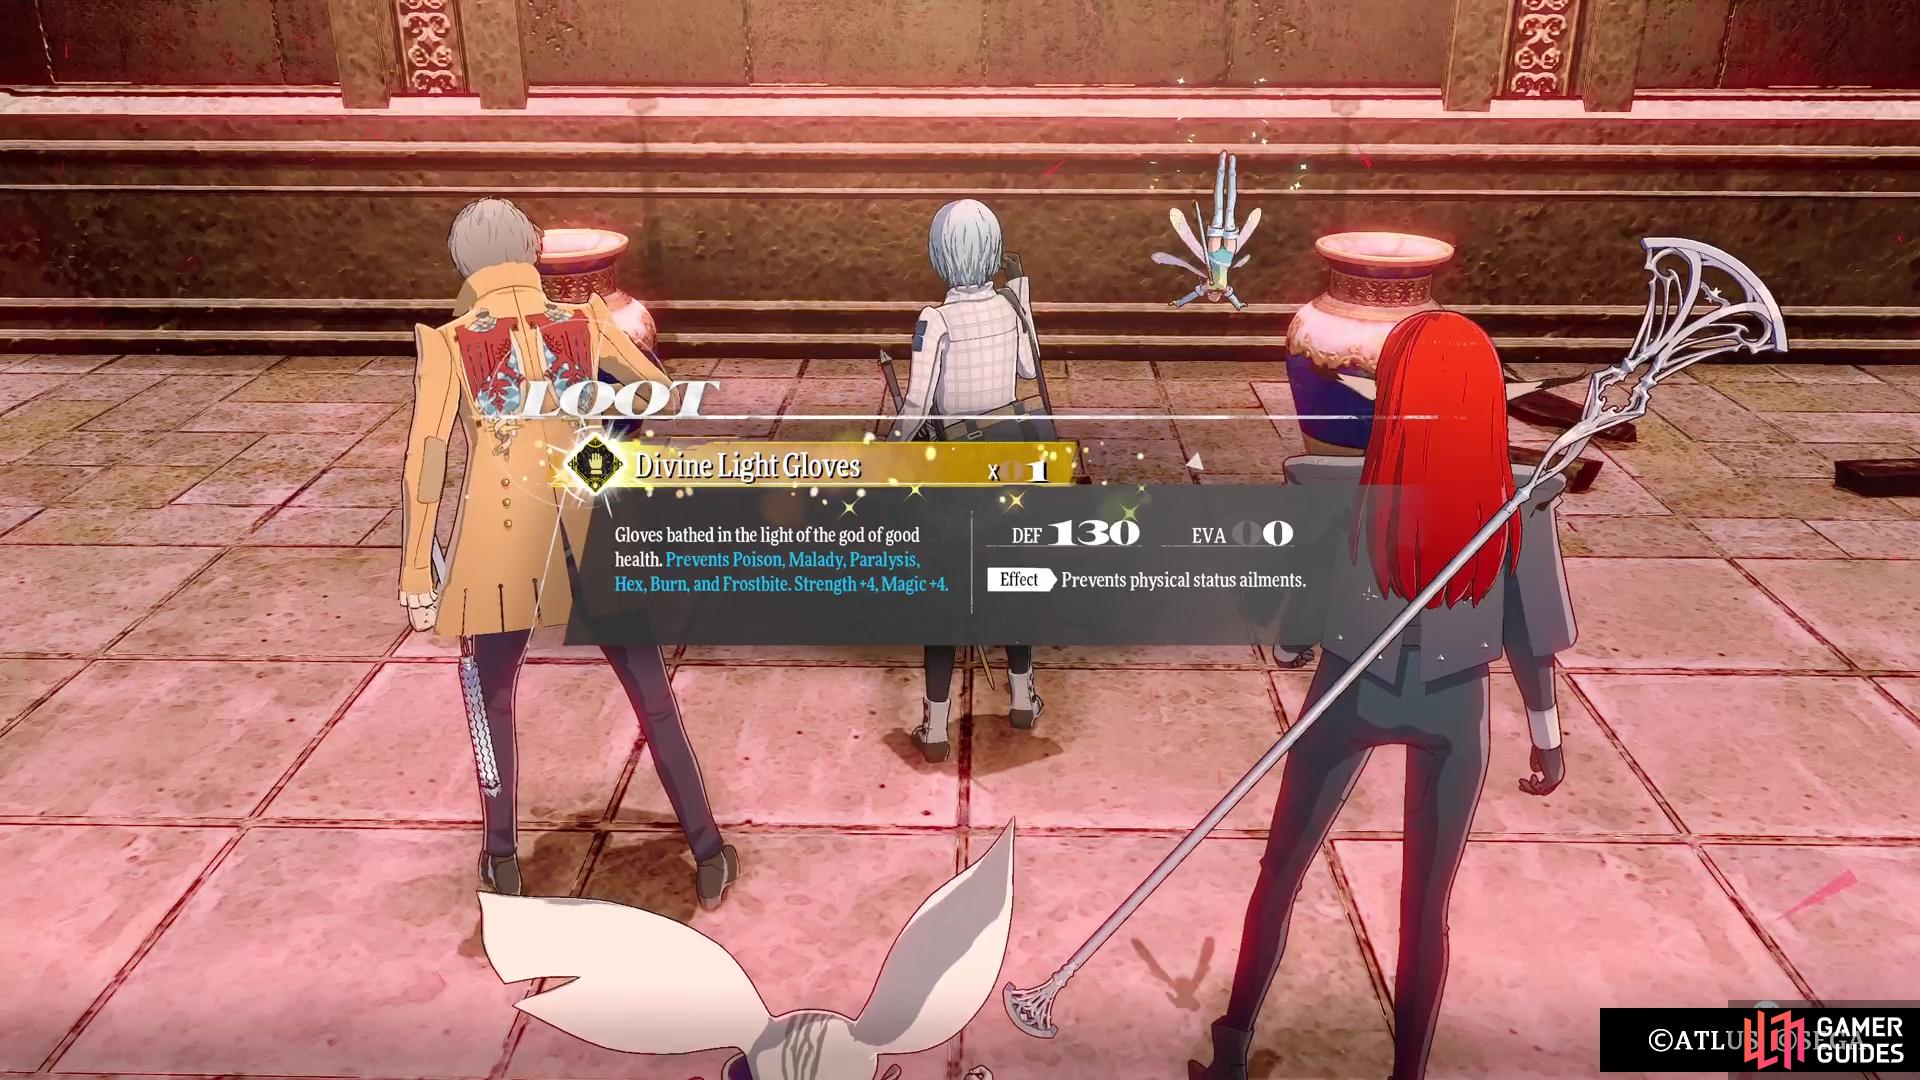
Before stepping foot in the grassy part, follow the stone pathway all the way around, until you reach the small room with the chest in it. Open it to get into another fight with a Bloodcoin Imitec, where defeating it will net you some ![]() Divine Light Gloves. These are pretty nice, since they prevent physical status ailments, so make sure you grab them. With that in hand, use the stairs a little north of the chest to grab the Fool White Mask. If you look at the northern end nearby, you should see a hole you can crawl through, which connects to the main area with the main Human.
Divine Light Gloves. These are pretty nice, since they prevent physical status ailments, so make sure you grab them. With that in hand, use the stairs a little north of the chest to grab the Fool White Mask. If you look at the northern end nearby, you should see a hole you can crawl through, which connects to the main area with the main Human.
(1 of 2) The one item on the eastern side can be gotten from the north.
The one item on the eastern side can be gotten from the north. (left), Make sure you go after the mimic chest here for a great piece of equipment. (right)
There are three items here in the main area with the Human, one in the northeast corner (Euchronia Gold Coin), one in the northwest corner (![]() Saintly Fists), and one just south of the miniboss (
Saintly Fists), and one just south of the miniboss (![]() Magla Injection). If you’re up to it, fight the Voidblack Homo Orelon now, since you’re right there. It’s the exact same fight as before, so look above for a strategy on how to tackle it. Once you’re finished, go to the area just south of the miniboss to pick up the final item here (
Magla Injection). If you’re up to it, fight the Voidblack Homo Orelon now, since you’re right there. It’s the exact same fight as before, so look above for a strategy on how to tackle it. Once you’re finished, go to the area just south of the miniboss to pick up the final item here (![]() Amnesty Talisman).
Amnesty Talisman).
You’re pretty much done in the Royal Garden, so return to the save point, save your game, then go north. The Humans blocking the way are now gone, so enter the door to find yourself face-to-face with an actual boss this time.
Grotesque Chimenzahn Boss Guide
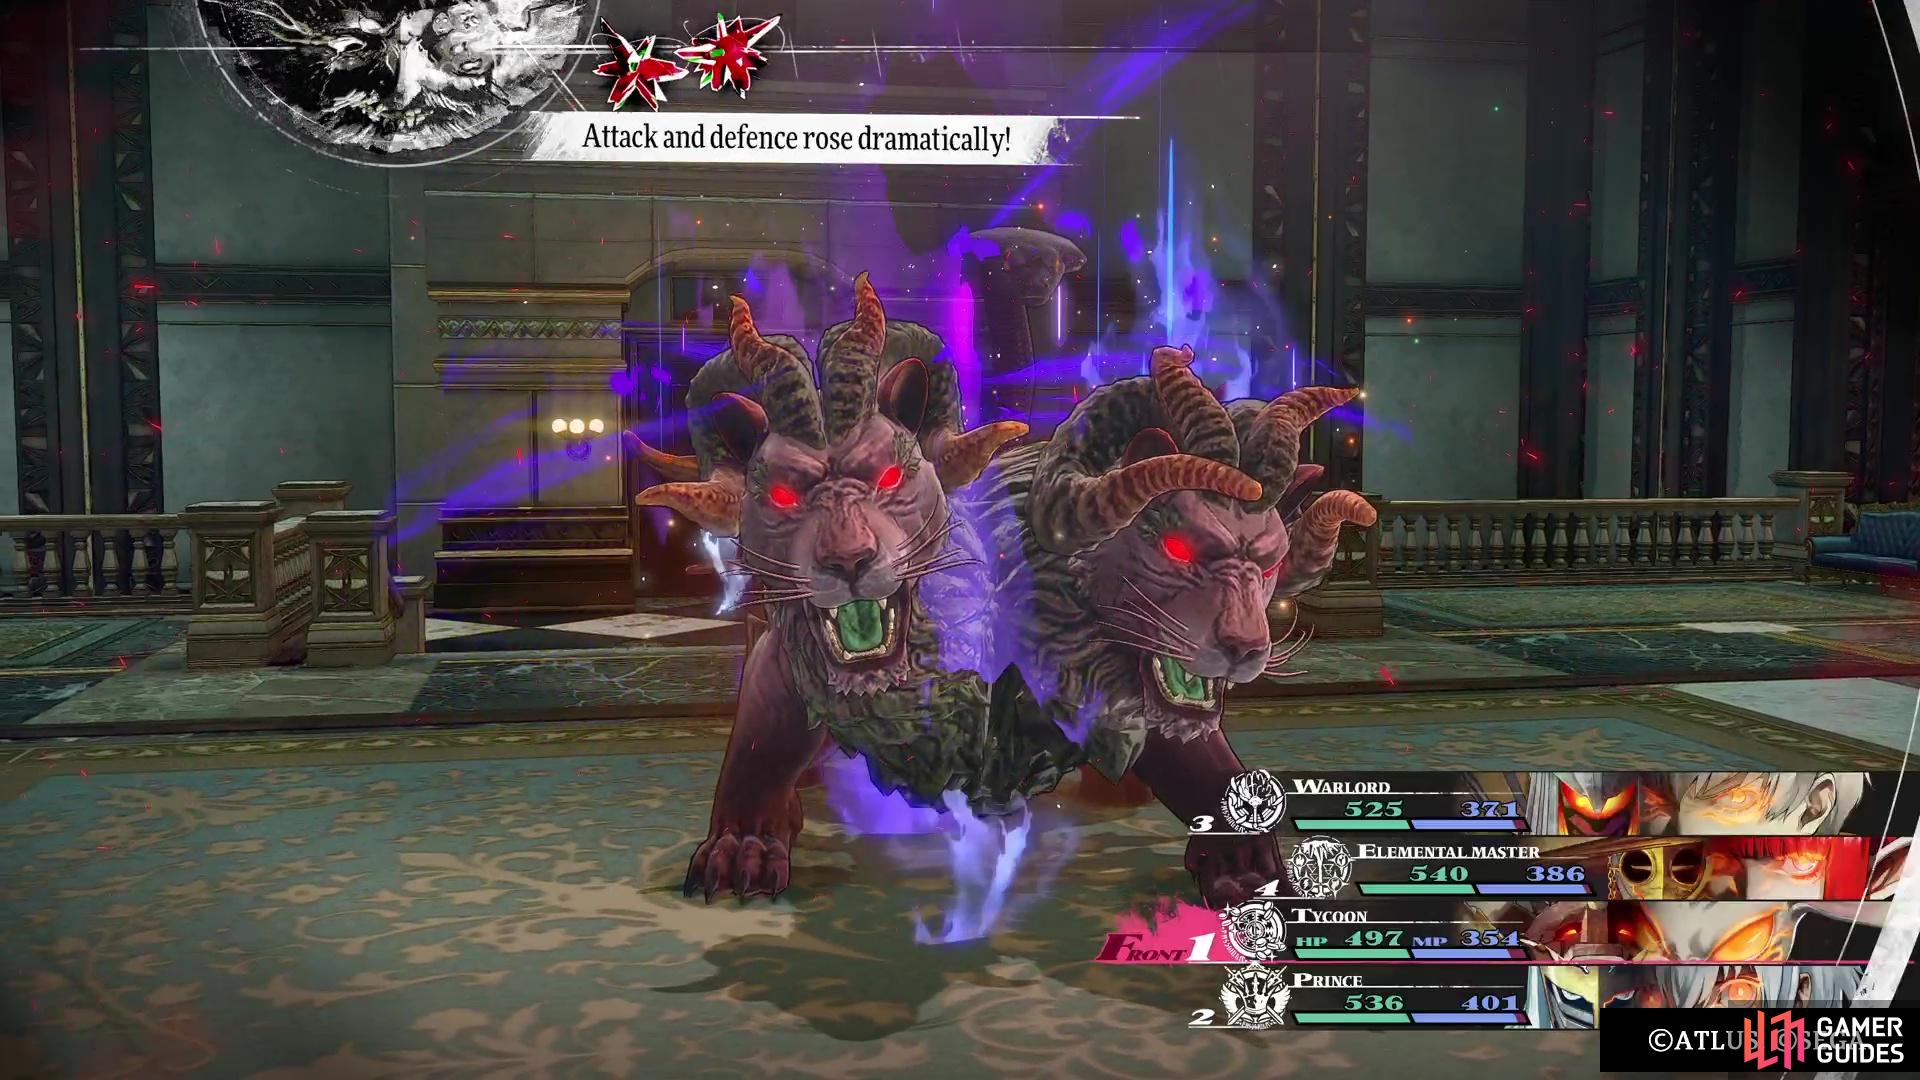
Despite being stronger than the Homo Orelons, this creature isn’t quite as strong as the bigger boss you’ll face later. It will be weak to both Ice and Wind, while blocking Lightning damage and absorbing Fire; the rest of the damage types are fair game. One of the first things this boss will do is use Breath of Battle to boost its attack and defence. Even if you remove those buffs, it will always use it again, so it’s probably best to just ignore them. You can counter this by buffing your own defences, or just debuffing its hit rate/evasion, allowing your characters to dodge attacks.
(1 of 3) The Chimenzahn will always keep Breath of Battle active.
It also has the ability to heal itself with ![]() Deiamahan, although it doesn’t seem to use this more than once. As for attacks, it knows
Deiamahan, although it doesn’t seem to use this more than once. As for attacks, it knows ![]() Megidola, which inflicts Almighty damage, so the only way to mitigate this is by buffing your defences. It also has
Megidola, which inflicts Almighty damage, so the only way to mitigate this is by buffing your defences. It also has ![]() Boatona, a heavy Fire attack that is magical but only targets one person, as well as
Boatona, a heavy Fire attack that is magical but only targets one person, as well as ![]() Gabouat to hit everyone with Fire. It can debuff your characters’ attack/defence with
Gabouat to hit everyone with Fire. It can debuff your characters’ attack/defence with ![]() War Cry, so remove them if you can. Having two glaring weaknesses, this battle shouldn’t be all too much trouble.
War Cry, so remove them if you can. Having two glaring weaknesses, this battle shouldn’t be all too much trouble.
Once the boss is dead, watch the scenes, then return to the blocked stairs from earlier. They will now be cleared and you can head to the next area.







 Sign up
No Comments