Towards the end of the game, there are some optional quests in Metaphor: ReFantazio that open up that are quite challenging. A series of three quests, titled Trials of the Dragon, will pit you against some difficult bosses that aren’t just straight up fights. ![]() Trial of the Dragon: Bygone Legacy might be the hardest of the three, but it’s one that should be done first or second, due to one of the others basically needed to be done last. You will be travelling to the Tower of Insolence, near Altabury Heights, to fight this dragon.
Trial of the Dragon: Bygone Legacy might be the hardest of the three, but it’s one that should be done first or second, due to one of the others basically needed to be done last. You will be travelling to the Tower of Insolence, near Altabury Heights, to fight this dragon.
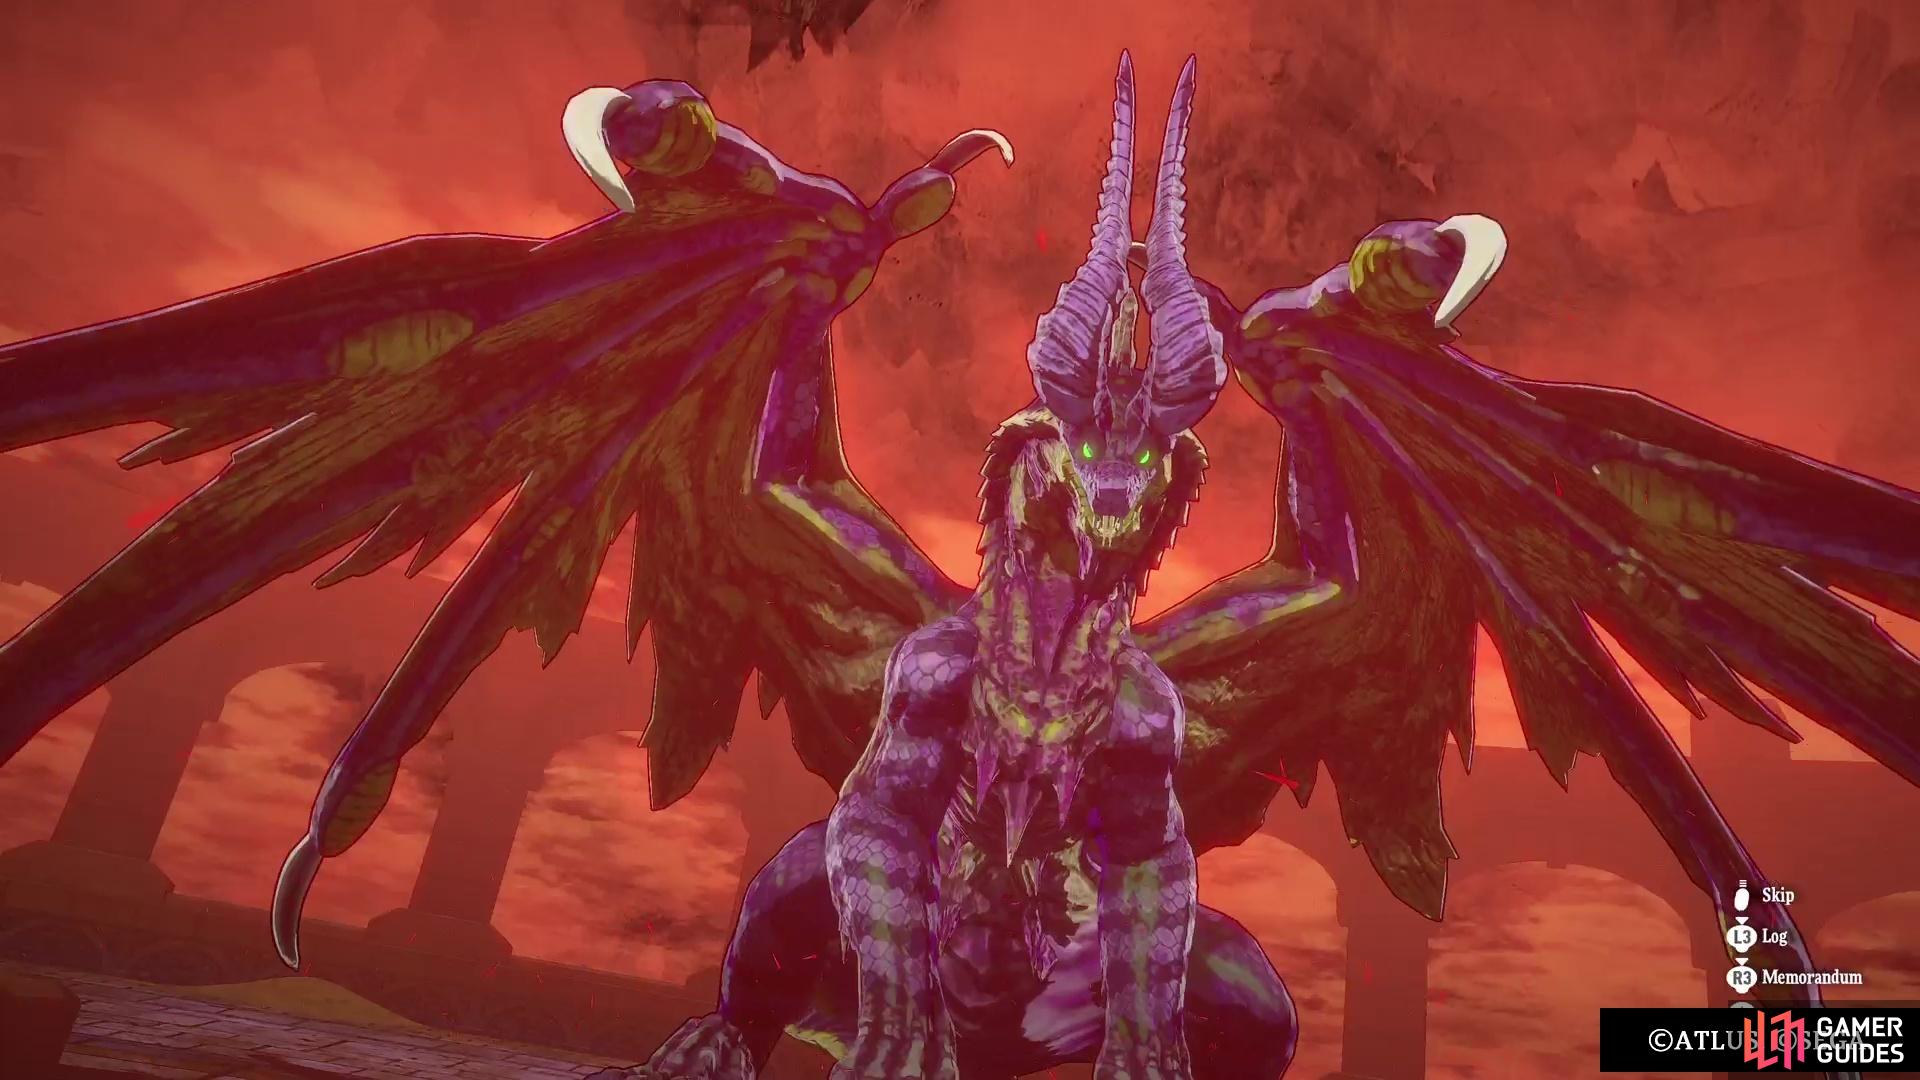
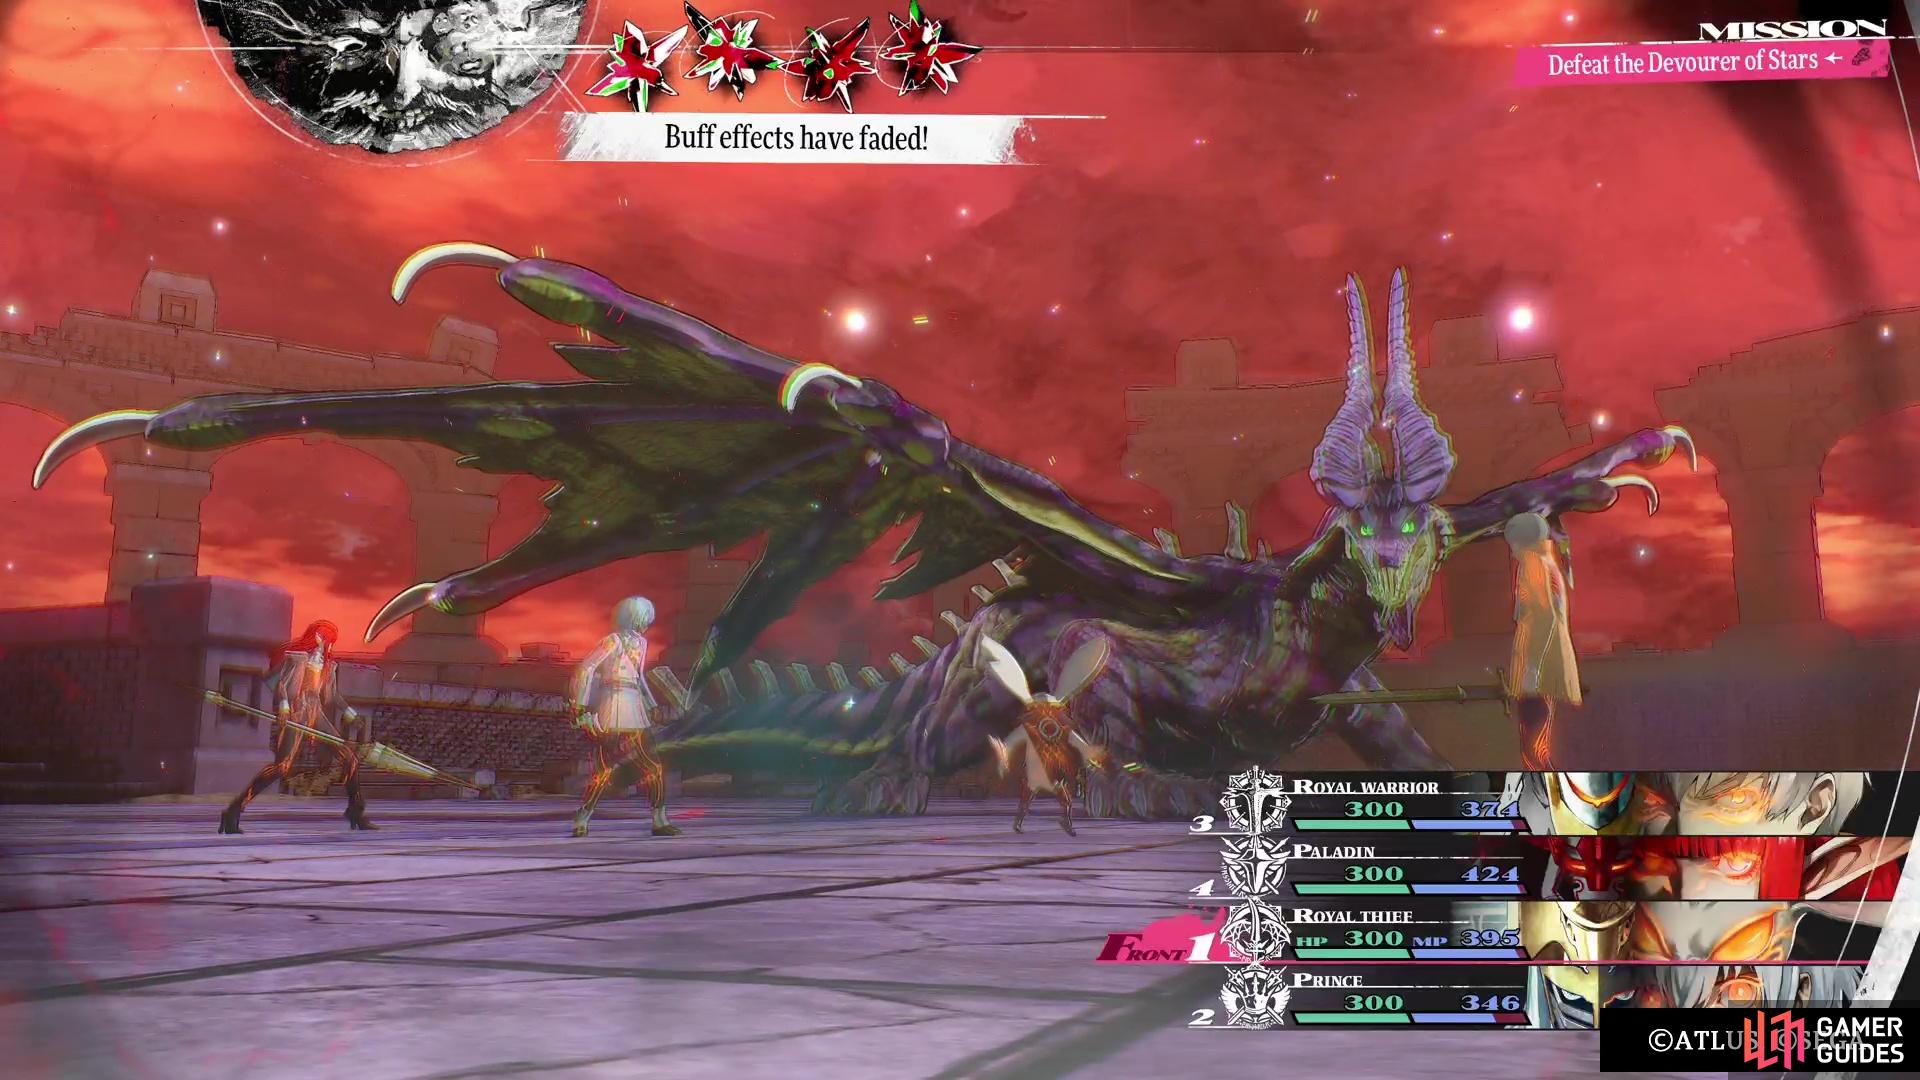
The Devourer of Stars is found at the Tower of Insolence, and is probably the hardest of the three.
Trial of the Dragon: Bygone Legacy Location
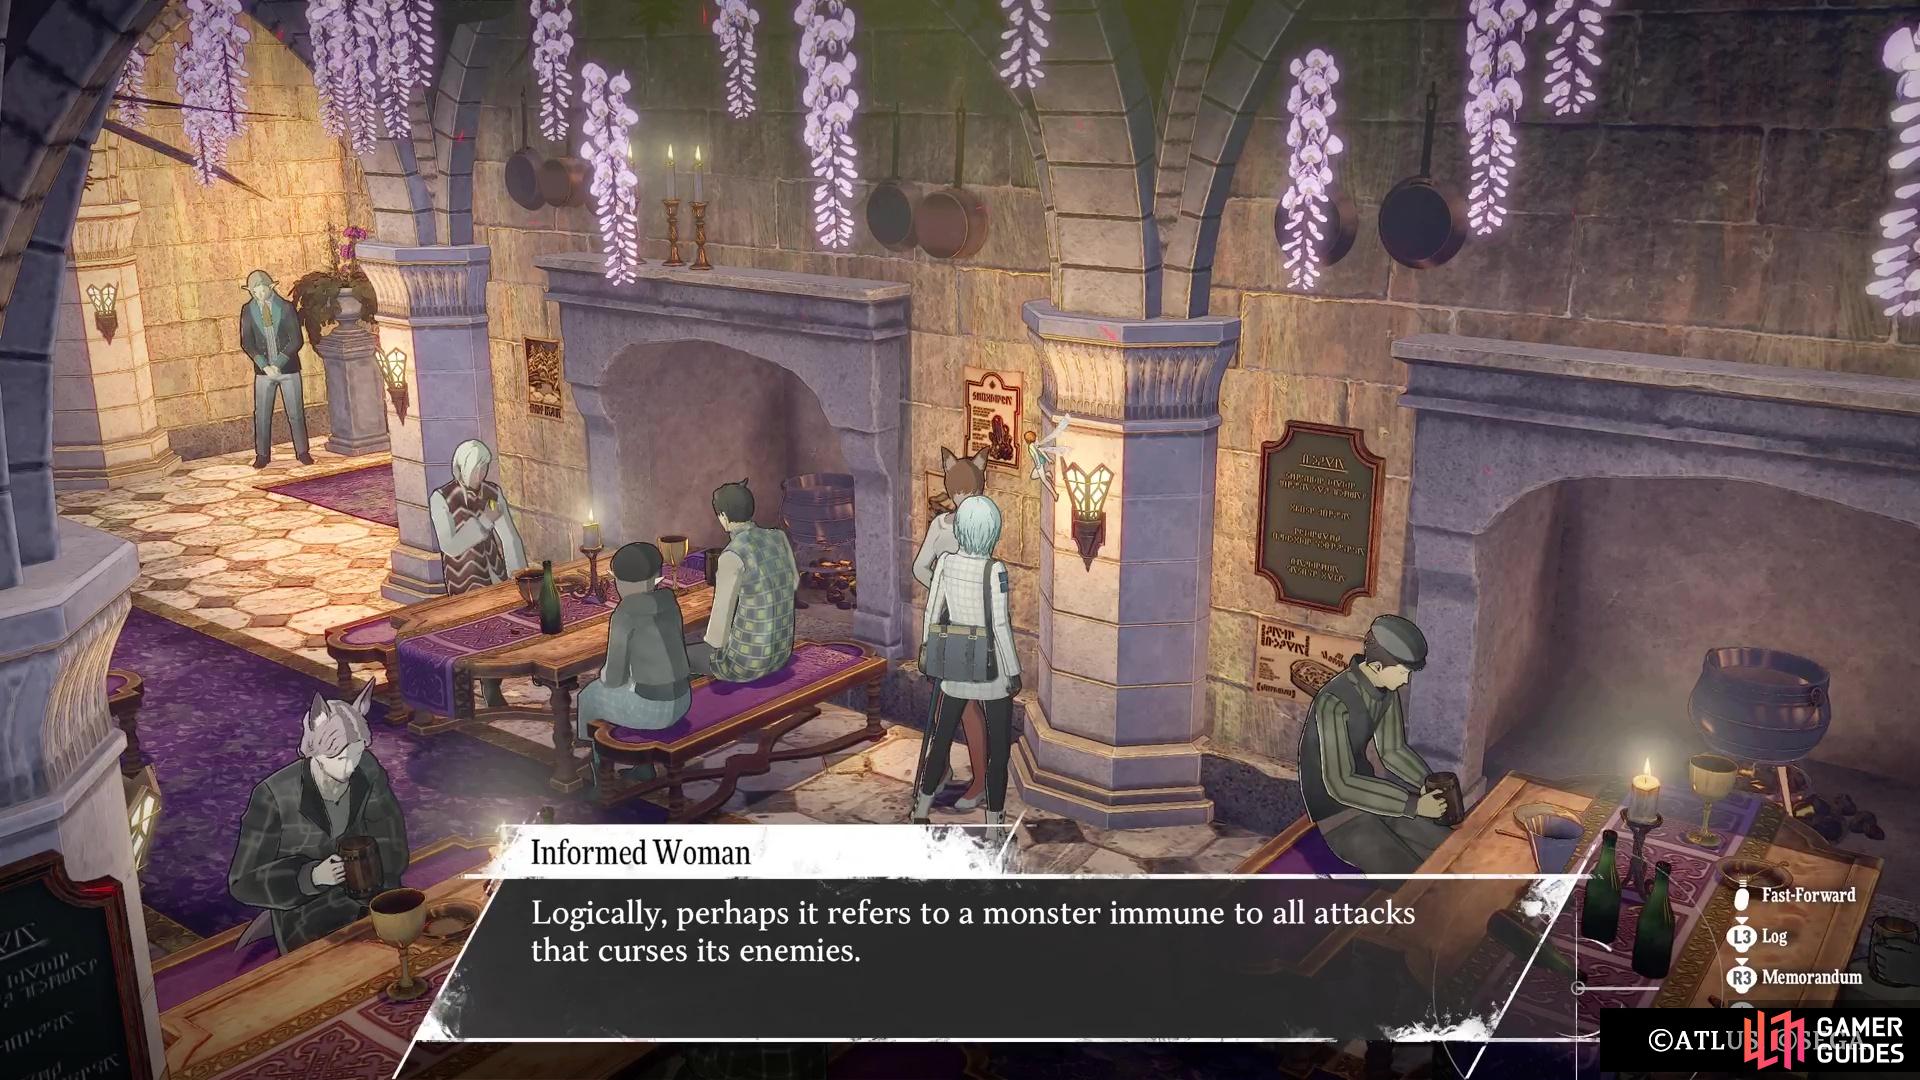
Before heading to the tower, you will first need to start this quest, which doesn’t become available until the last stretch of the main story. Once 9/26 rolls around on the calendar, head to the Upper Blue Sky Bridge area of Altabury and speak to the Enraged Mustari to start the quest. If you’ve done Mad Mischief already, then you know the drill, as the secret power is at the top of the Tower of Insolence, a dungeon to the north of Altabury. You can head to the tavern in Altabury to purchase some info, telling you that the dragon is “immune to all attacks and curses its enemies.”
Basically, this dragon is immune to all of the normal types of damage, so the only way to functionally hurt it is with Almighty. Thus, it’s important to have someone that can deal a lot of Almighty damage, like the protagonist with the Prince Archetype. Of course, you should have the ![]() Dragon’s Fall sword on him from collecting the
Dragon’s Fall sword on him from collecting the ![]() Gold Beetles, which makes him a prime candidate to be your damage dealer. If you want to maximize things, put the
Gold Beetles, which makes him a prime candidate to be your damage dealer. If you want to maximize things, put the ![]() Utilitarian’s Manual on him, as this lets you spam the
Utilitarian’s Manual on him, as this lets you spam the ![]() Royal Sword Synthesis Skill. If you have any passives to boost Almighty damage, then inherit those skills and fully concentrate on dealing damage with him.
Royal Sword Synthesis Skill. If you have any passives to boost Almighty damage, then inherit those skills and fully concentrate on dealing damage with him.
As for the other characters, you could worry about having one character concentrate on healing, another for buffing your characters, and the last for debuffing the boss. The boss does inflict both Poison and Hex, but Hex is much more annoying than Poison. In fact, you can pretty much ignore Poison if you want, as the damage is negligible, despite the handicap (this will be mentioned in the boss strategy). You will want to protect against Hex, though, so hopefully you have some of that. You can purchase the ![]() Malice Screen accessory from any of the magic shops (the night only places).
Malice Screen accessory from any of the magic shops (the night only places).
(1 of 5) The Informant in Altabury mentions the immunity to all normal damage types.
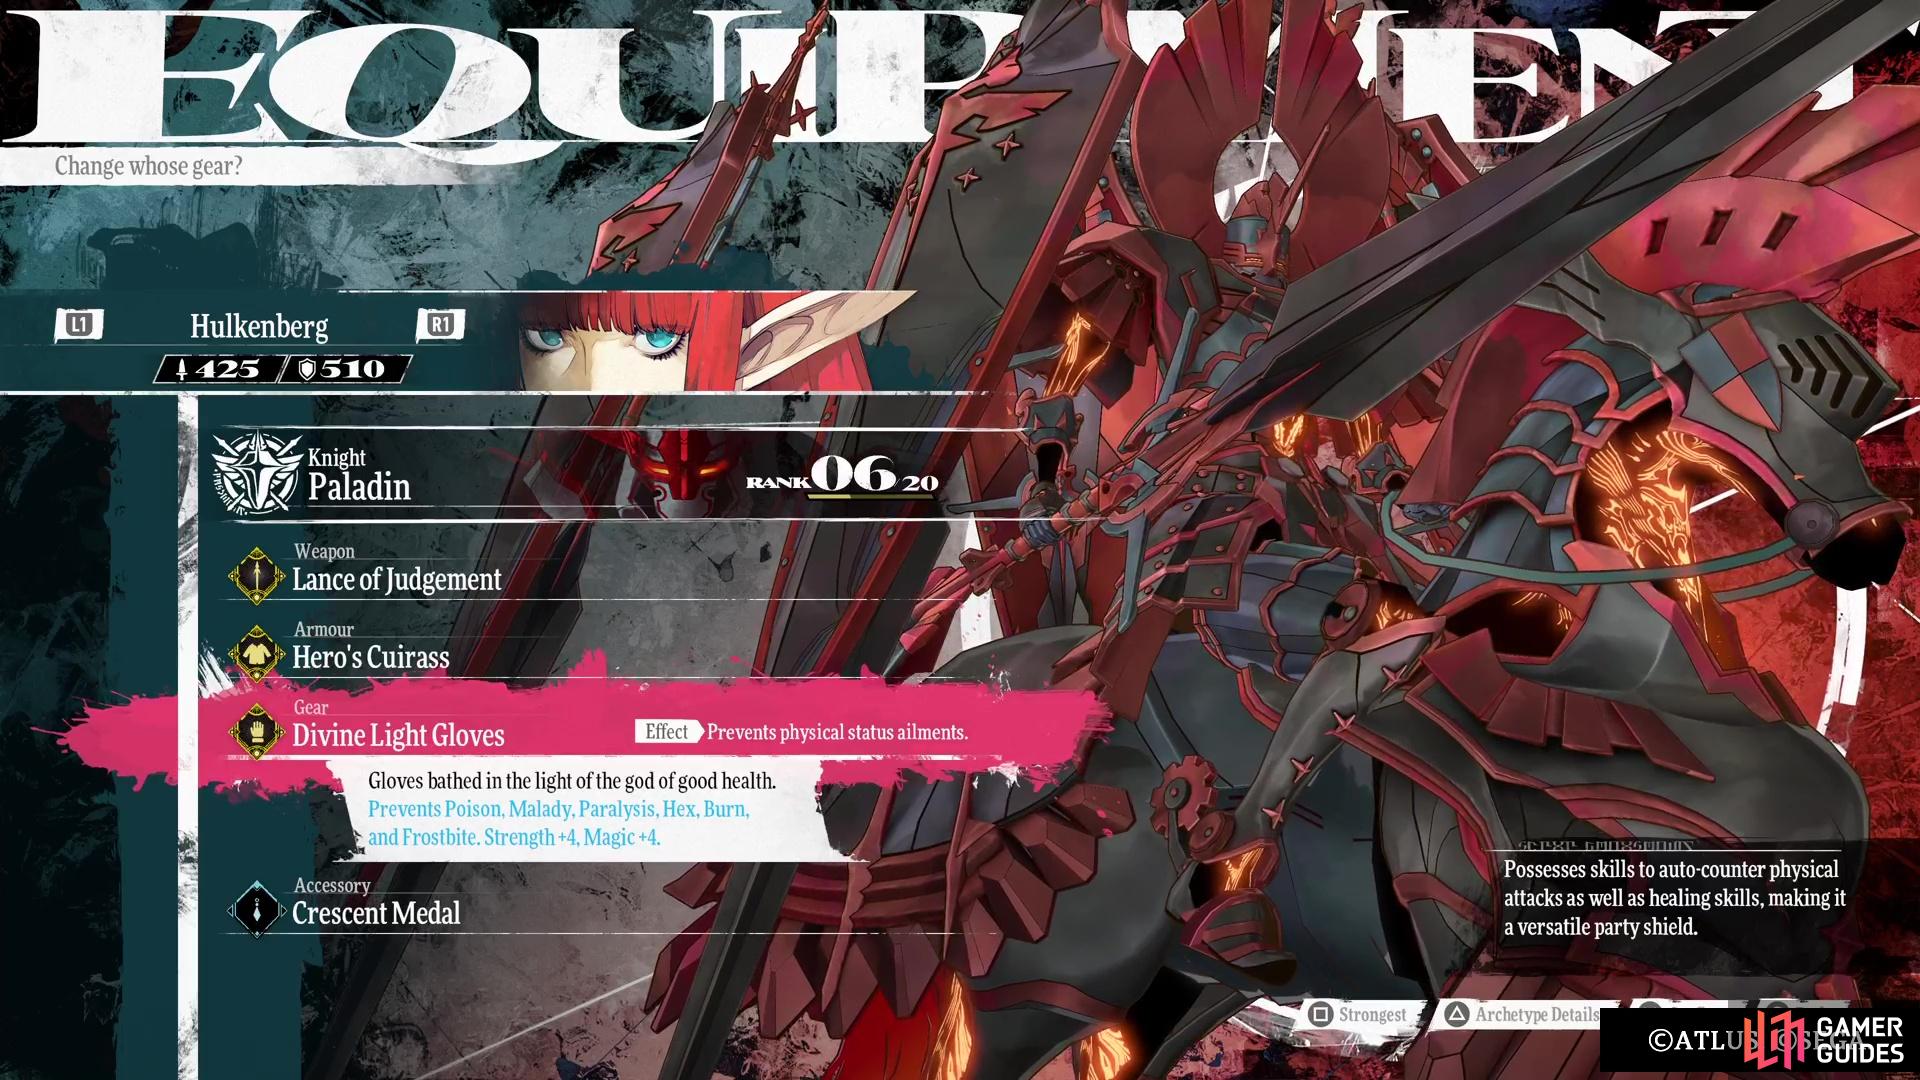
Since you should have gotten all of the beetles, you will have the ![]() Venomward Charm, which protects against both Poison and Hex. The
Venomward Charm, which protects against both Poison and Hex. The ![]() Divine Light Gloves are similar and you’ll find those in the Skybound Avatar dungeon. Likewise, if you explored the Disgraced Ruins completely, you should have found some
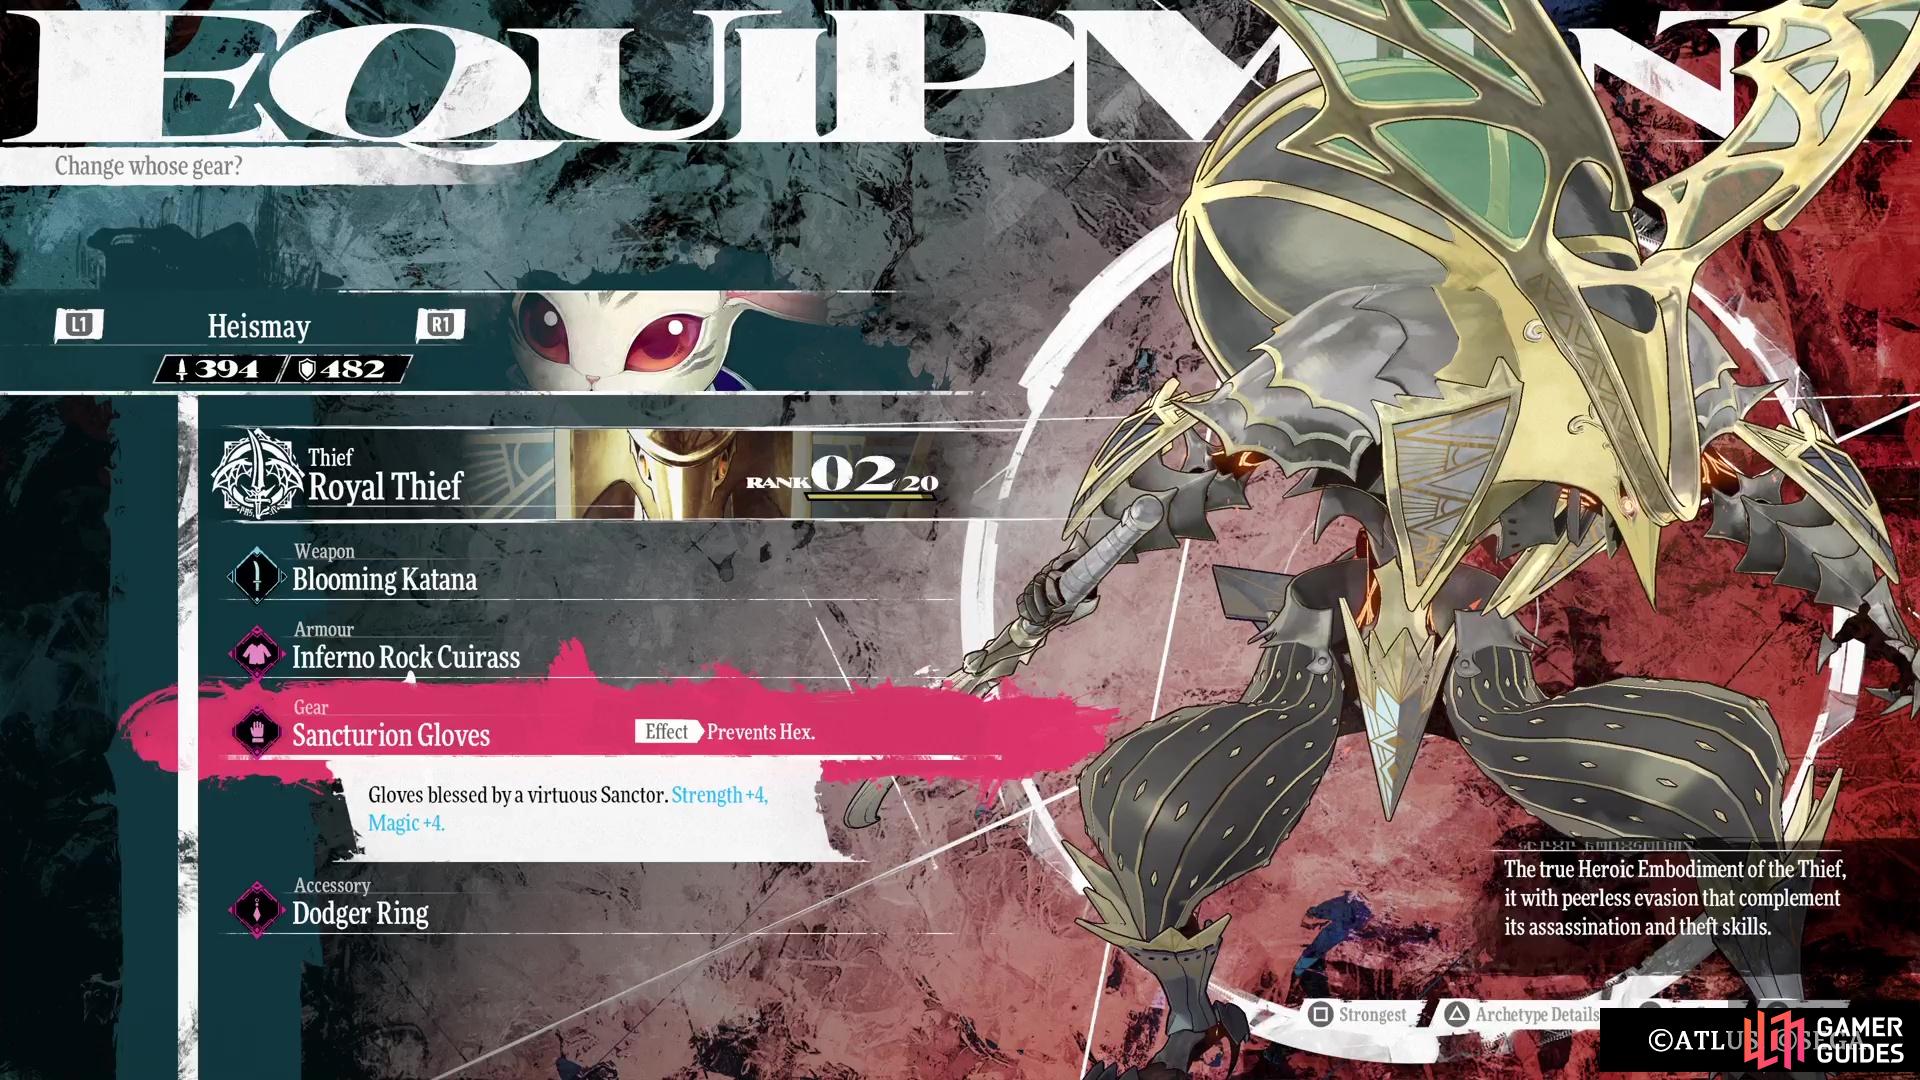
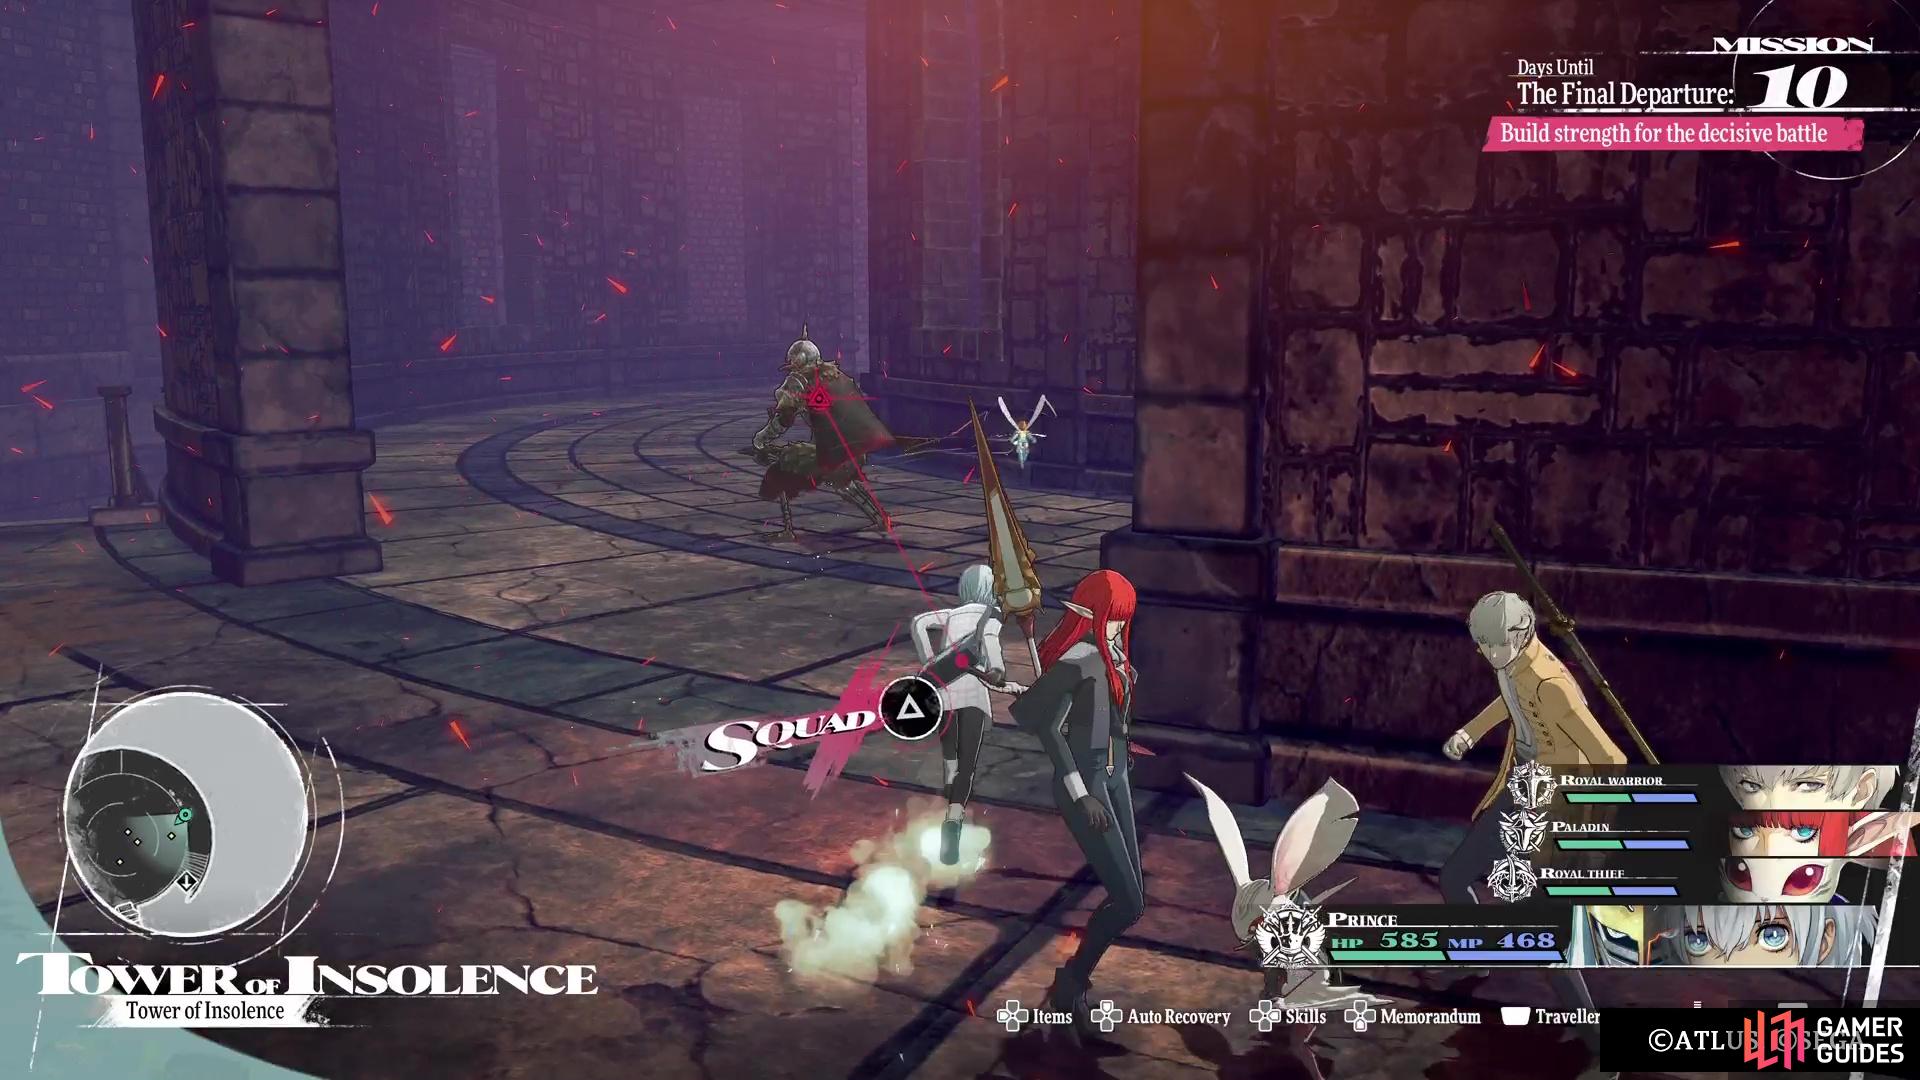
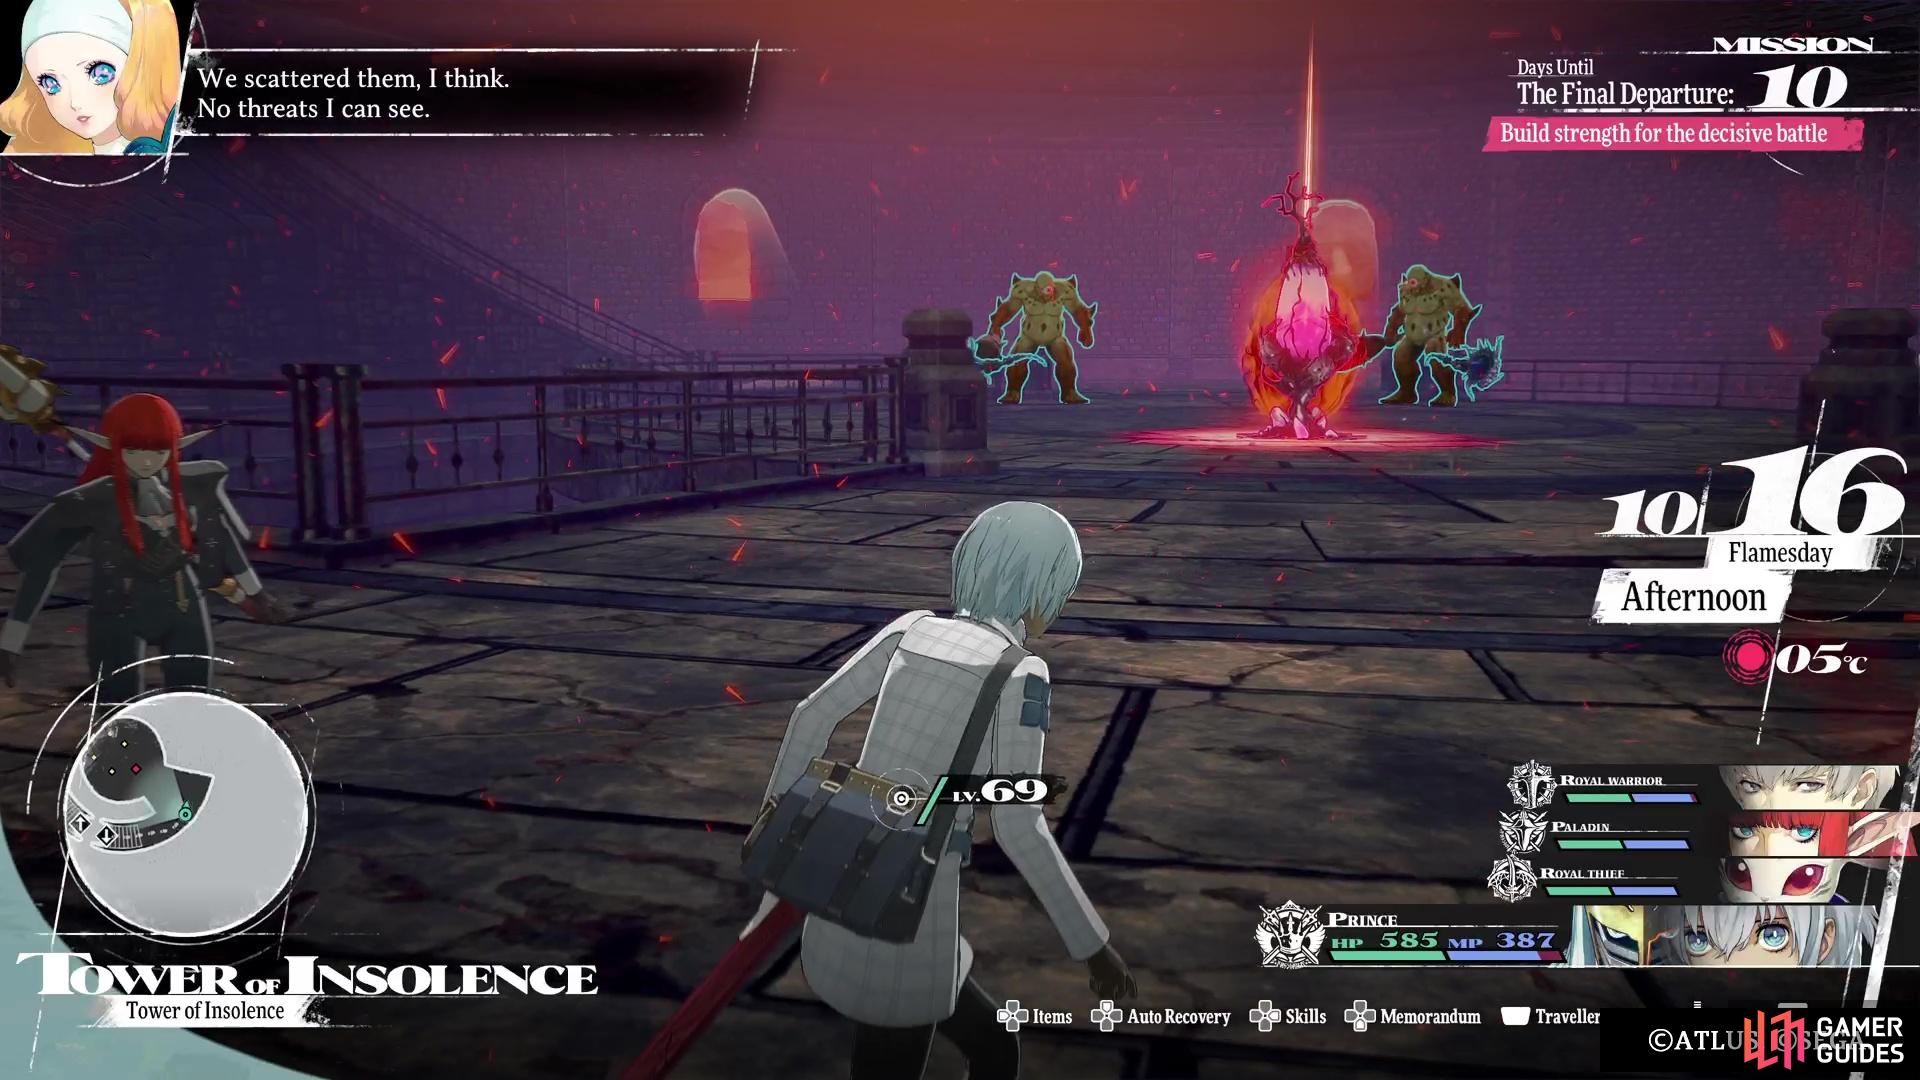
Divine Light Gloves are similar and you’ll find those in the Skybound Avatar dungeon. Likewise, if you explored the Disgraced Ruins completely, you should have found some ![]() Sancturion Gloves. Similar to the other quests, you will have to ascend to the top of the Tower of Insolence, which will have some high level monsters that are new to it. This tower is a little more annoying, as some of the Scourge Malmorta skeletons are blocking the stairs. Similarly, there is a Trance Crystal on one of the upper floors that spawns these skeletons, so be careful.
Sancturion Gloves. Similar to the other quests, you will have to ascend to the top of the Tower of Insolence, which will have some high level monsters that are new to it. This tower is a little more annoying, as some of the Scourge Malmorta skeletons are blocking the stairs. Similarly, there is a Trance Crystal on one of the upper floors that spawns these skeletons, so be careful.
At the top, save your game and heal up, then step up to the altar to face the Devourer of Stars.
All of Devourer of Stars Attacks
This is probably the hardest fight, since you are burdened with a debuff that lowers your max HP during the battle. There is no way to cure this, so you have to put up with it.
-
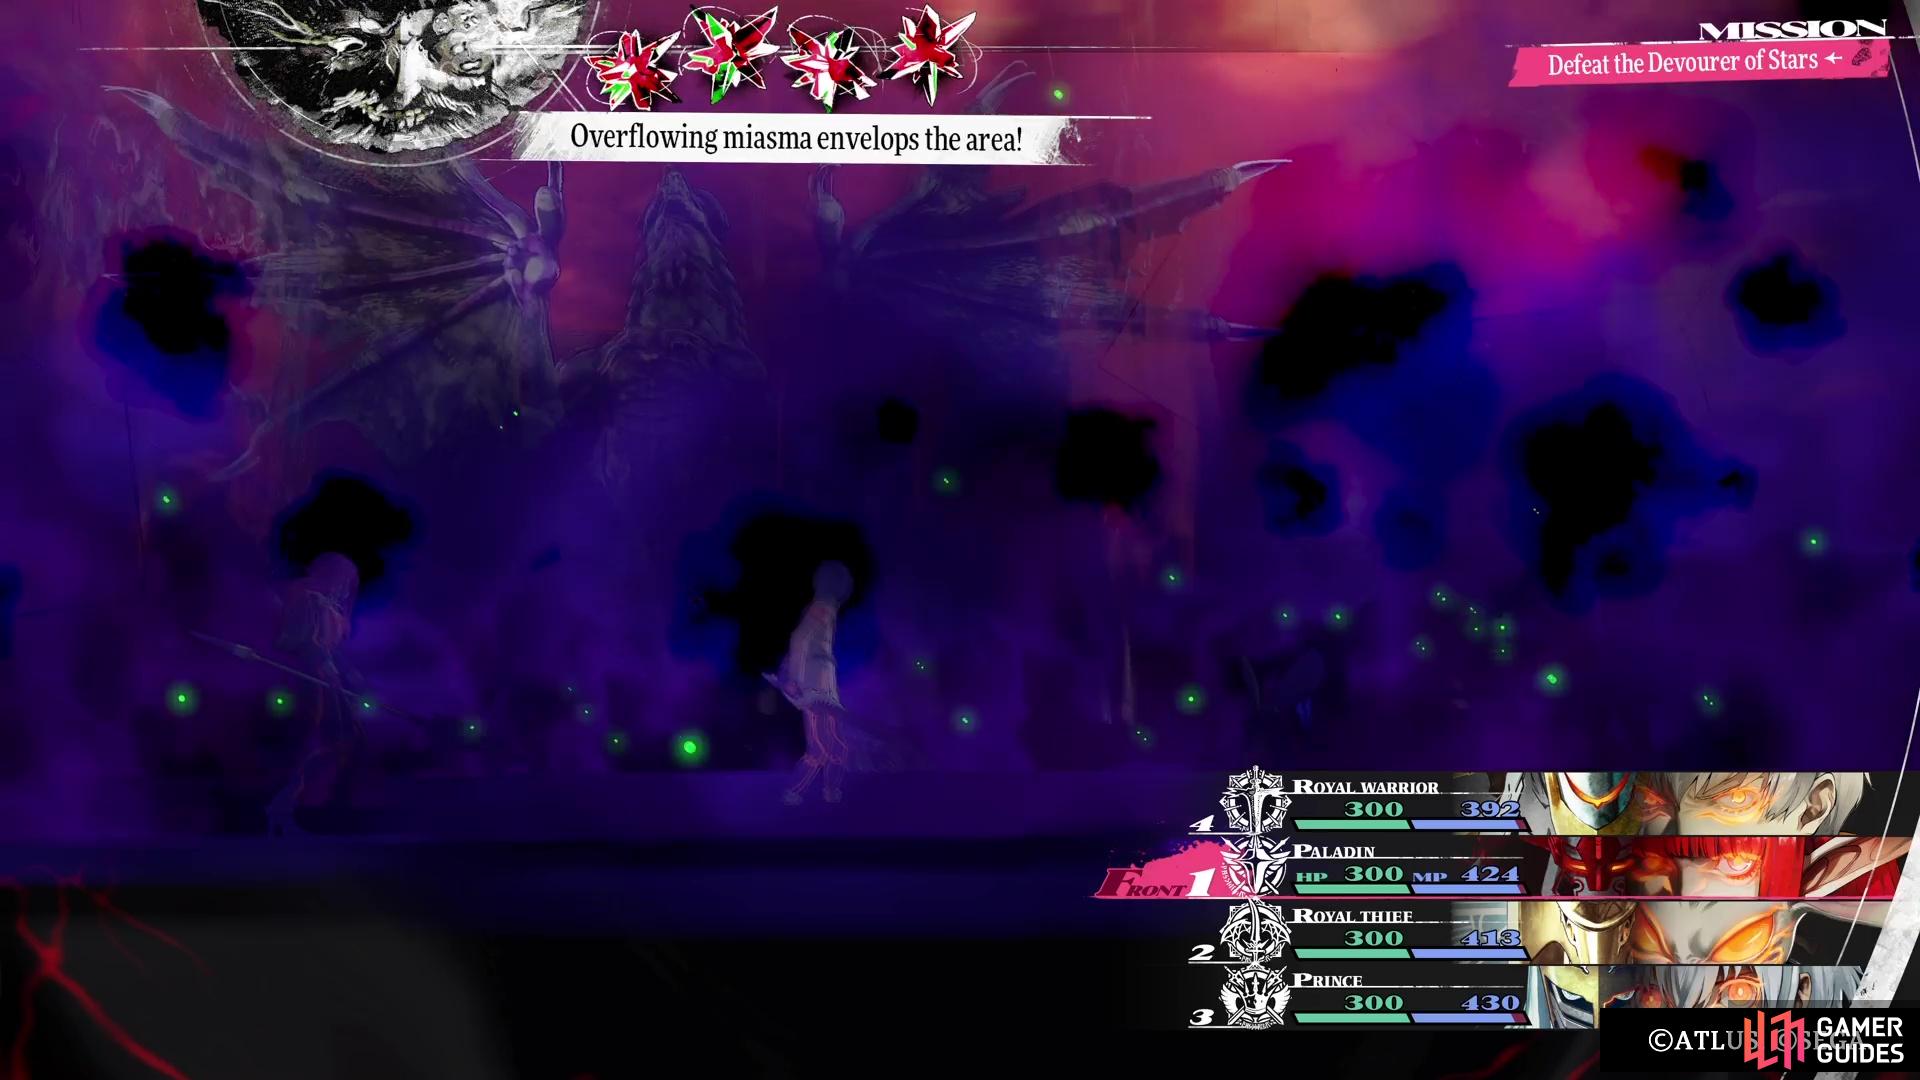
Miasma Whorl: Debuff that is done on its first move, lowering the party’s max HP to 300. No way to cure this.
-
Great Dragon’s Wrath: Buff that boosts the dragon’s attack by three ranks. It will also ensure its attack will be buffed to the max throughout the entire fight.
-
Great Dragon Shriek: Skill that grants an additional six Turn Icons to the dragon. Not sure what can trigger this, as we didn’t see this once.
-
 Roar: Debuffs your entire party’s Attack, Defence, Hit Rate/Evasion by two ranks for three turns.
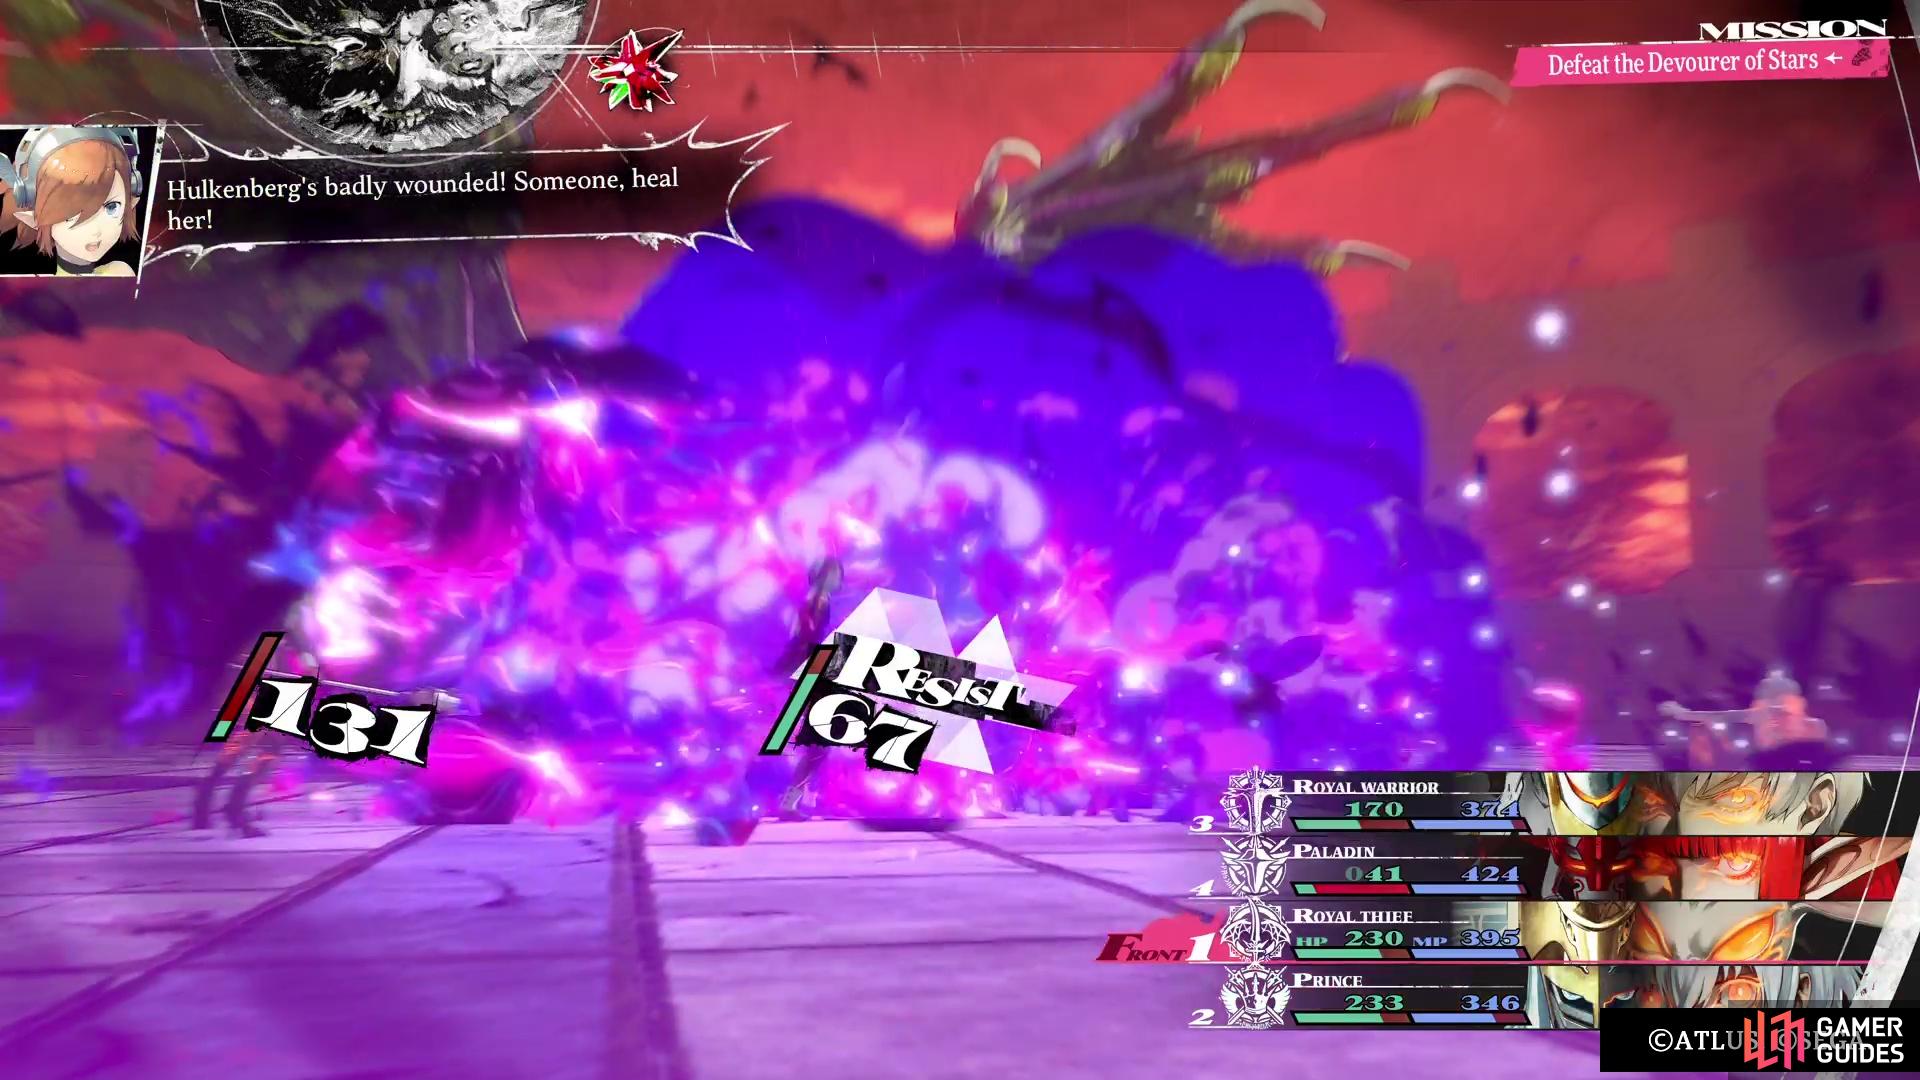
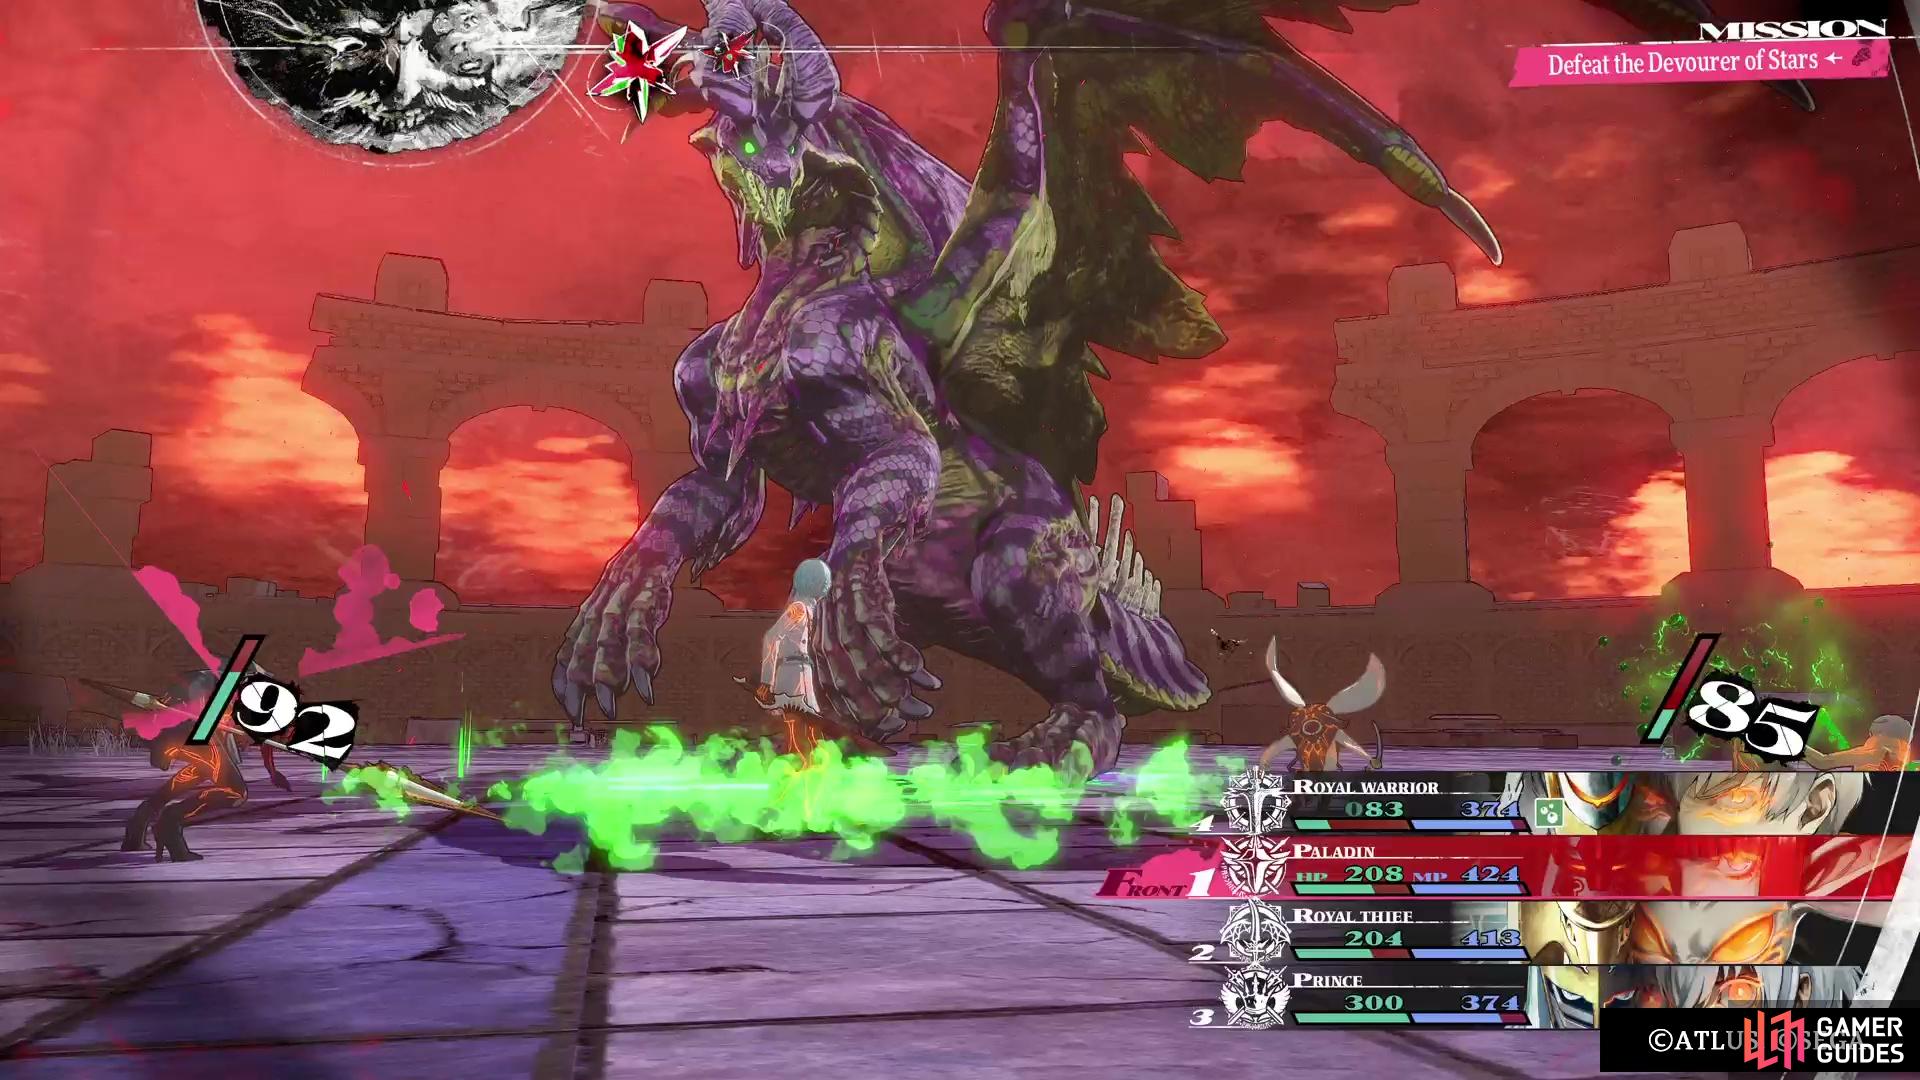
(1 of 4) The dragon will have two single target attacks, which shouldn’t be too bad.
-
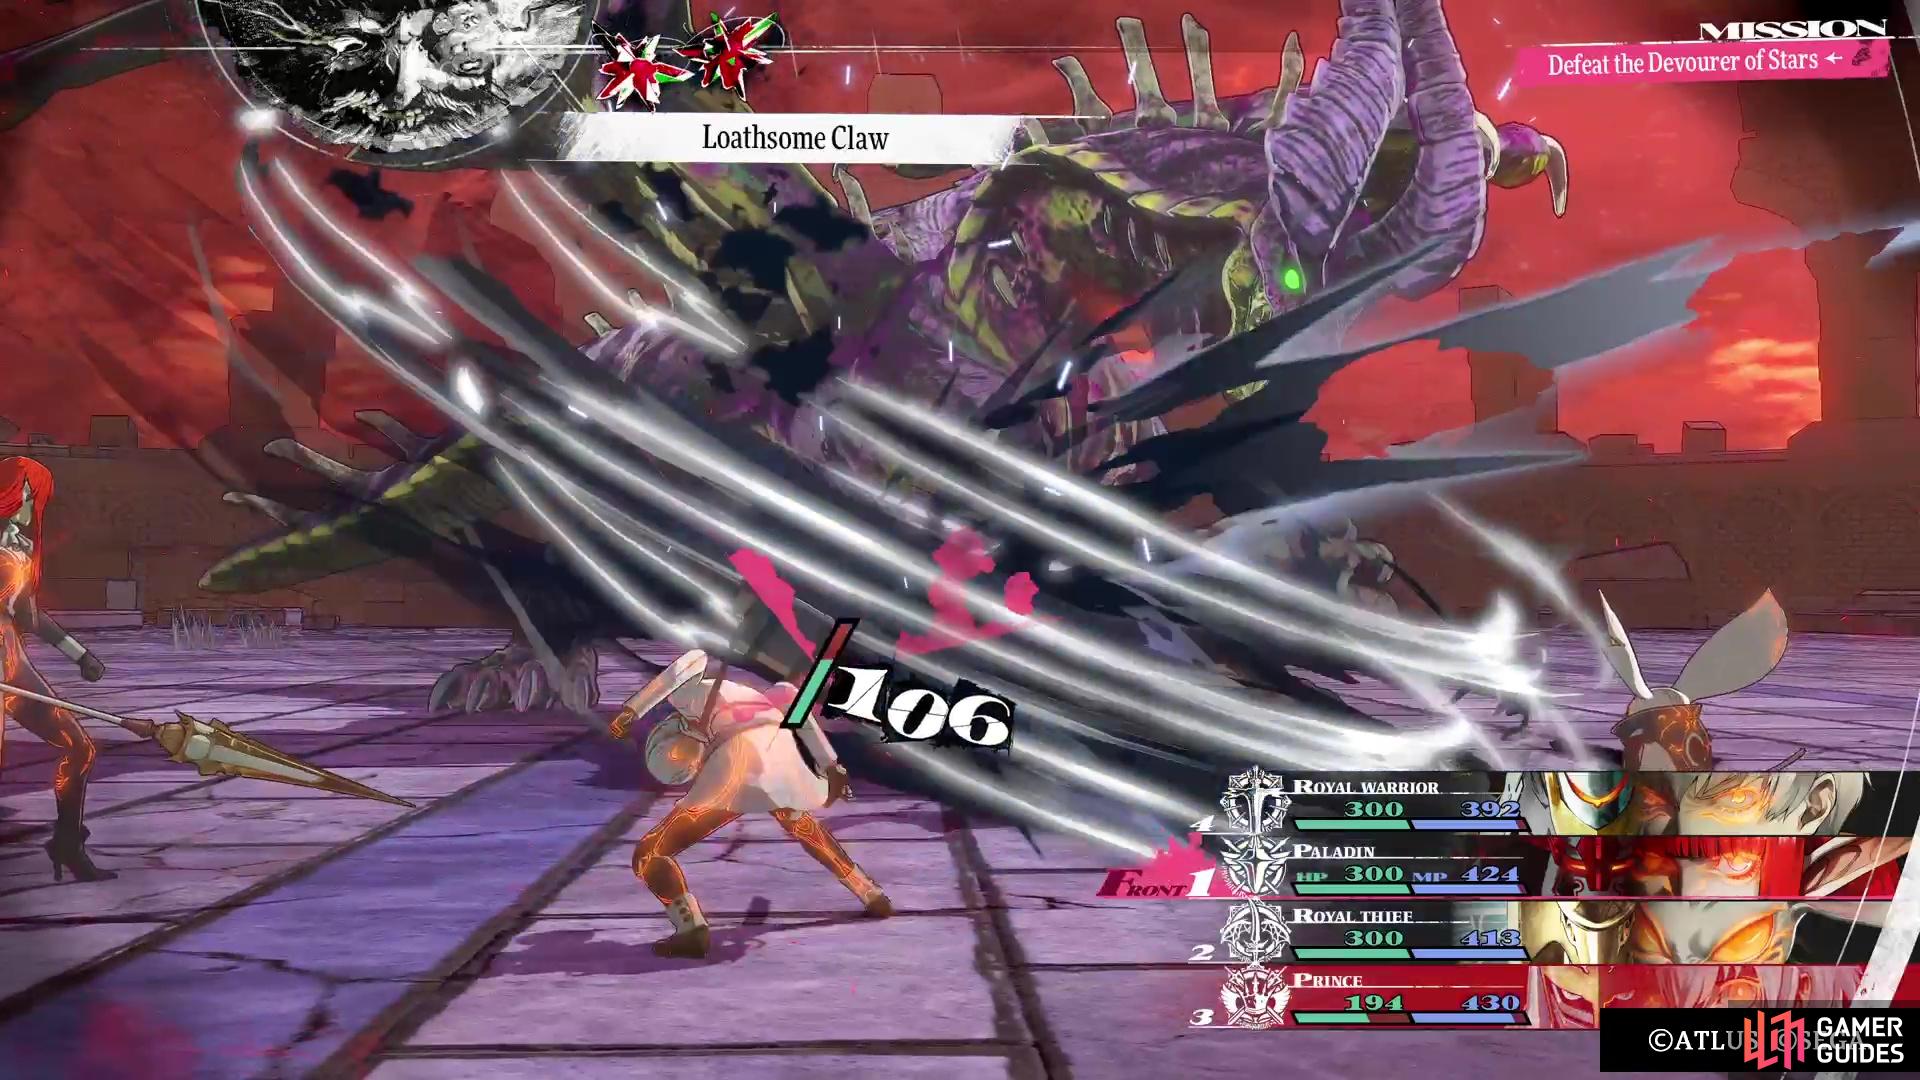
Loathsome Claw: Deals heavy physical Slash damage to one character. Critically hits enemies with status ailments.
-
Distant Black Howl: Doesn’t do any damage. Has a high chance of inflicting Hex on all enemies.
-
Purple Toxiclaw: Deals extreme physical Slash damage to one character. Has a high chance of inflicting Poison.
-
Poison Tail: Deals heavy physical Strike damage to all characters. May inflict Poison.
-
 All Reset: Completely removes all of the buffs from your party. Only uses this if one of your stats reaches the third rank.
 -
 Dekunda: Removes all debuffs from itself. Only uses this if one of the debuffs reaches the third rank.
 -
Toxin Breath: Deals extreme magic Dark damage to all characters and can inflict Poison.
Devourer of Stars Boss Guide
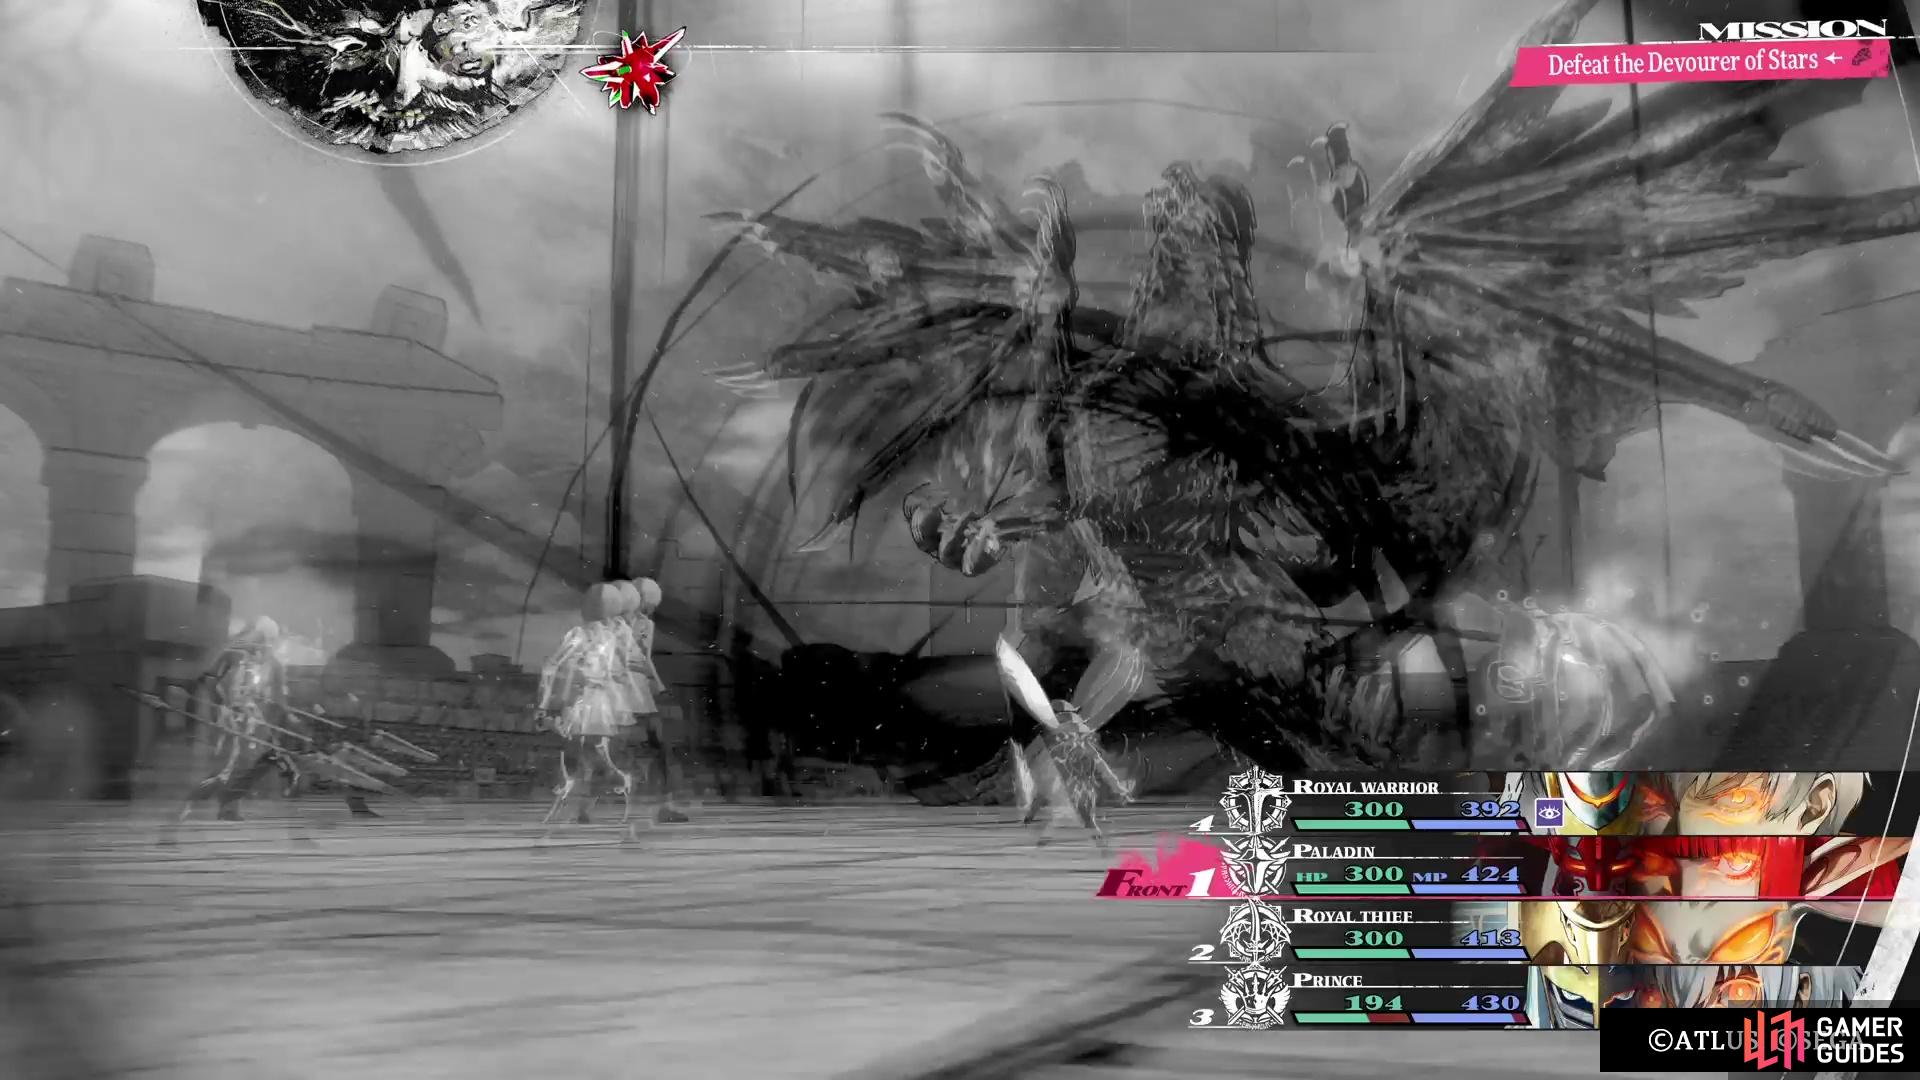
There is definitely a lot of things that aren’t on your side in this battle, starting with the dragon’s first move, Miasma Whorl. This is a debuff that reduces the party’s max HP to 300 for the duration of the fight, and you cannot do anything about it. Because of that, it’s imperative that you have someone on healing duty throughout the entire bout, since you want to be healing every round to keep everyone alive. The second big thing that’s against you here is that the Devourer of Stars reflects all damage types, except for Almighty. That means you have one of two methods to dealing damage here, either work on Almighty or figure out another way to make it susceptible.
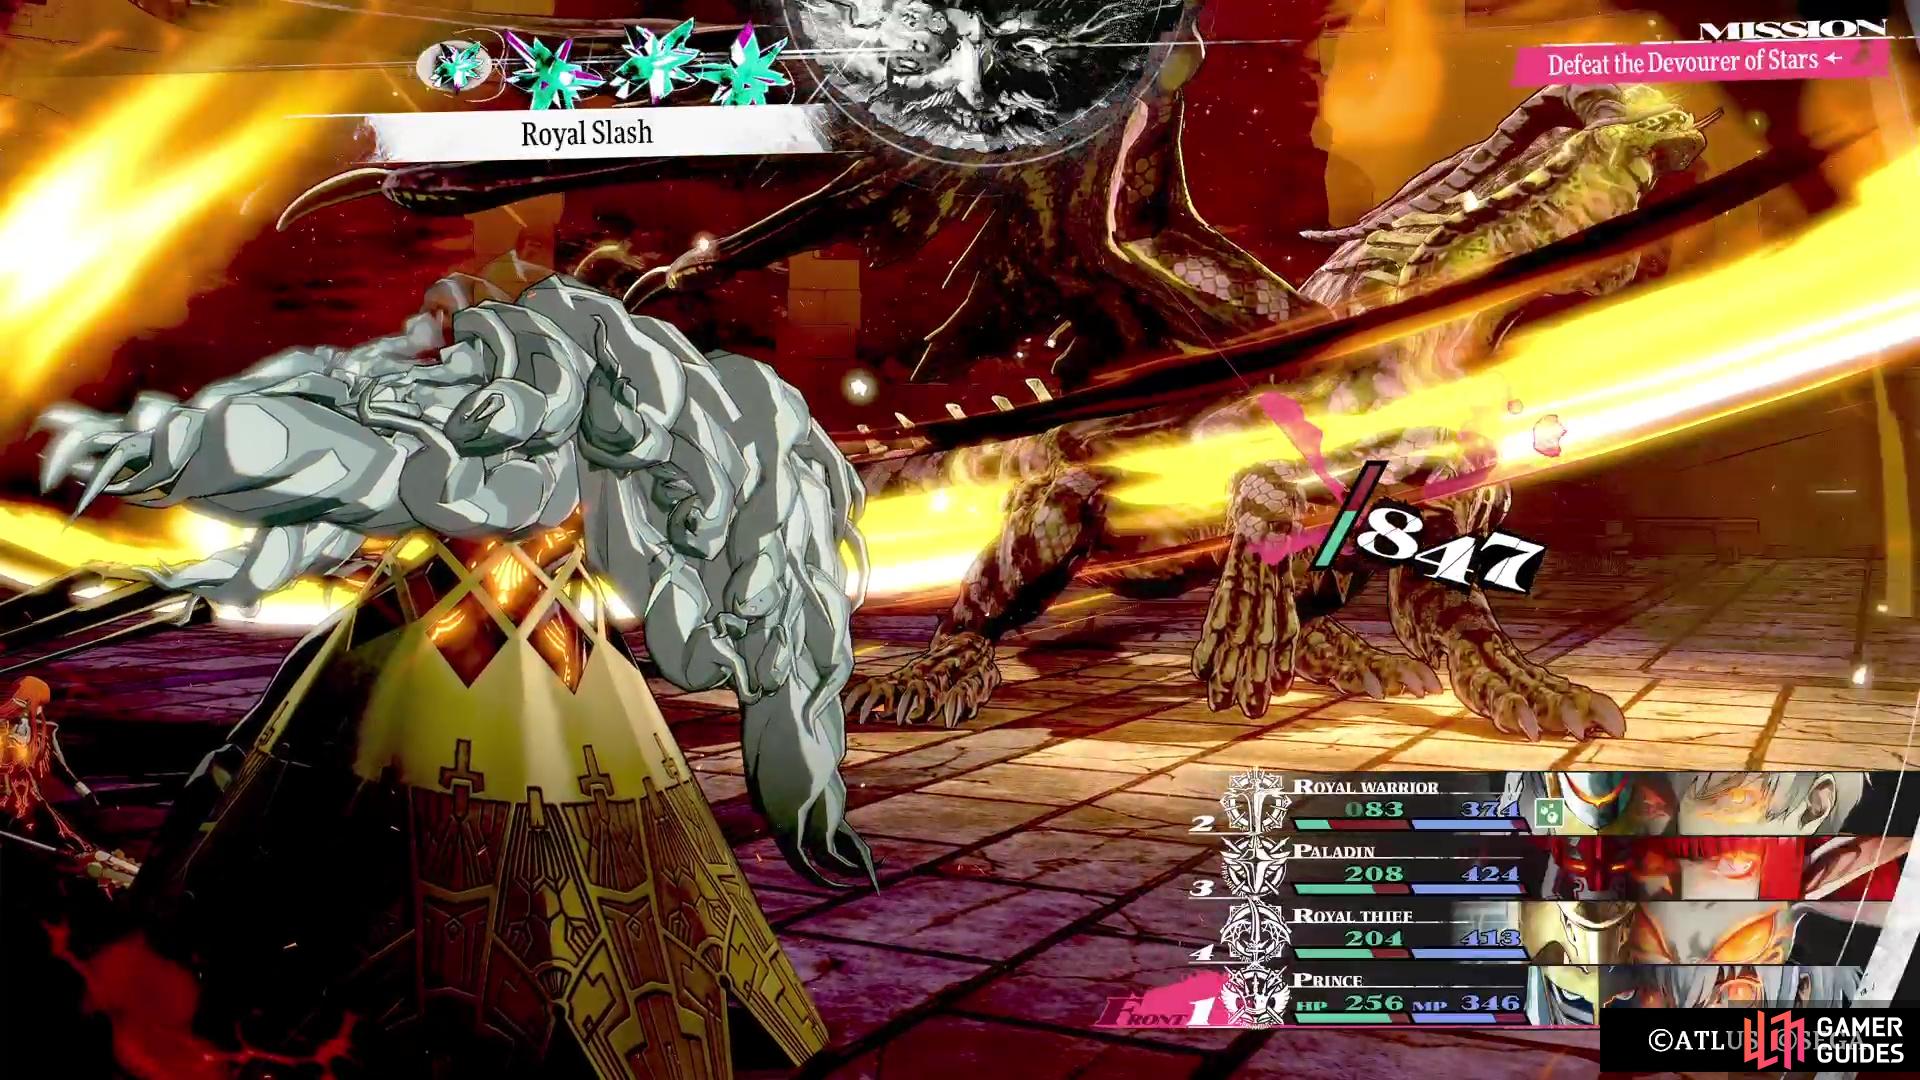
The ![]() Prince Archetype, if you have your protagonist’s strength high enough, can do wonders with some Almighty damage. Putting the Utilitarian’s Manual on him will ensure that Royal Sword only takes a single Turn Icon. Otherwise, you can just
Prince Archetype, if you have your protagonist’s strength high enough, can do wonders with some Almighty damage. Putting the Utilitarian’s Manual on him will ensure that Royal Sword only takes a single Turn Icon. Otherwise, you can just ![]() Royal Slash instead, although you’ll want to keep tabs on his MP. The other way is to either use skills that ignore the enemy’s resistances, or use one of the
Royal Slash instead, although you’ll want to keep tabs on his MP. The other way is to either use skills that ignore the enemy’s resistances, or use one of the ![]() Persona Master/
Persona Master/![]() Royal Masked Dancer’s skills that inflict a one-time weakness. Of course, you’ll have to follow the latter up with a strong ability that is going to do big damage.
Royal Masked Dancer’s skills that inflict a one-time weakness. Of course, you’ll have to follow the latter up with a strong ability that is going to do big damage.
(1 of 3) The dragon will always use its first move to reduce your max HP to 300 for the duration of the battle.
Outside of the above, the dragon also has access to Great Dragon’s Wrath to boost its attack, which it will always ensure it keeps maxed out. There is also the chance that it can use Great Dragon Shriek to get a lot more Turn Icons, but it’s unclear what can trigger this, since we didn’t see it at all. You will want to be careful with your buffs and debuffs here, too, since the boss can use All Reset to remove yours, as well as Dekunda to remove the debuffs. It only seems to use them if the buff/debuff reaches the maximum rank, so don’t go hog wild with them and recast them when they are ready to fall off completely.
You will also have to contend with both Poison and Hex, which the dragon can inflict on your characters with some of its moves. Poison isn’t a big threat, due to the low damage it does, but it’s a little troublesome because of the HP debuff. Hex is definitely a bigger problem here, since it makes you take damage when dealing it, but it also makes you more vulnerable to Dark attacks (Toxin Breath is Dark). If you listened to the advice in the first section above, then you should have mostly everyone covered for Hex. If not, then make sure you heal it as soon as possible.
Successfully handling the limit on your HP, as well as the Almighty only damage, will mean this battle isn’t much different from the others you might have done. For defeating the dragon, you will complete the quest, and the reward you receive depends on the number of towers you’ve previously done. If it’s first, then you’ll receive the ![]() Cardinal Dragon Raiment. The second dragon you’ll killed will net you the
Cardinal Dragon Raiment. The second dragon you’ll killed will net you the ![]() Cardinal Dragon Robe and if it’s the third, then it’s the
Cardinal Dragon Robe and if it’s the third, then it’s the ![]() Cardinal Dragon Armour.
Cardinal Dragon Armour.

 Sign up
No Comments