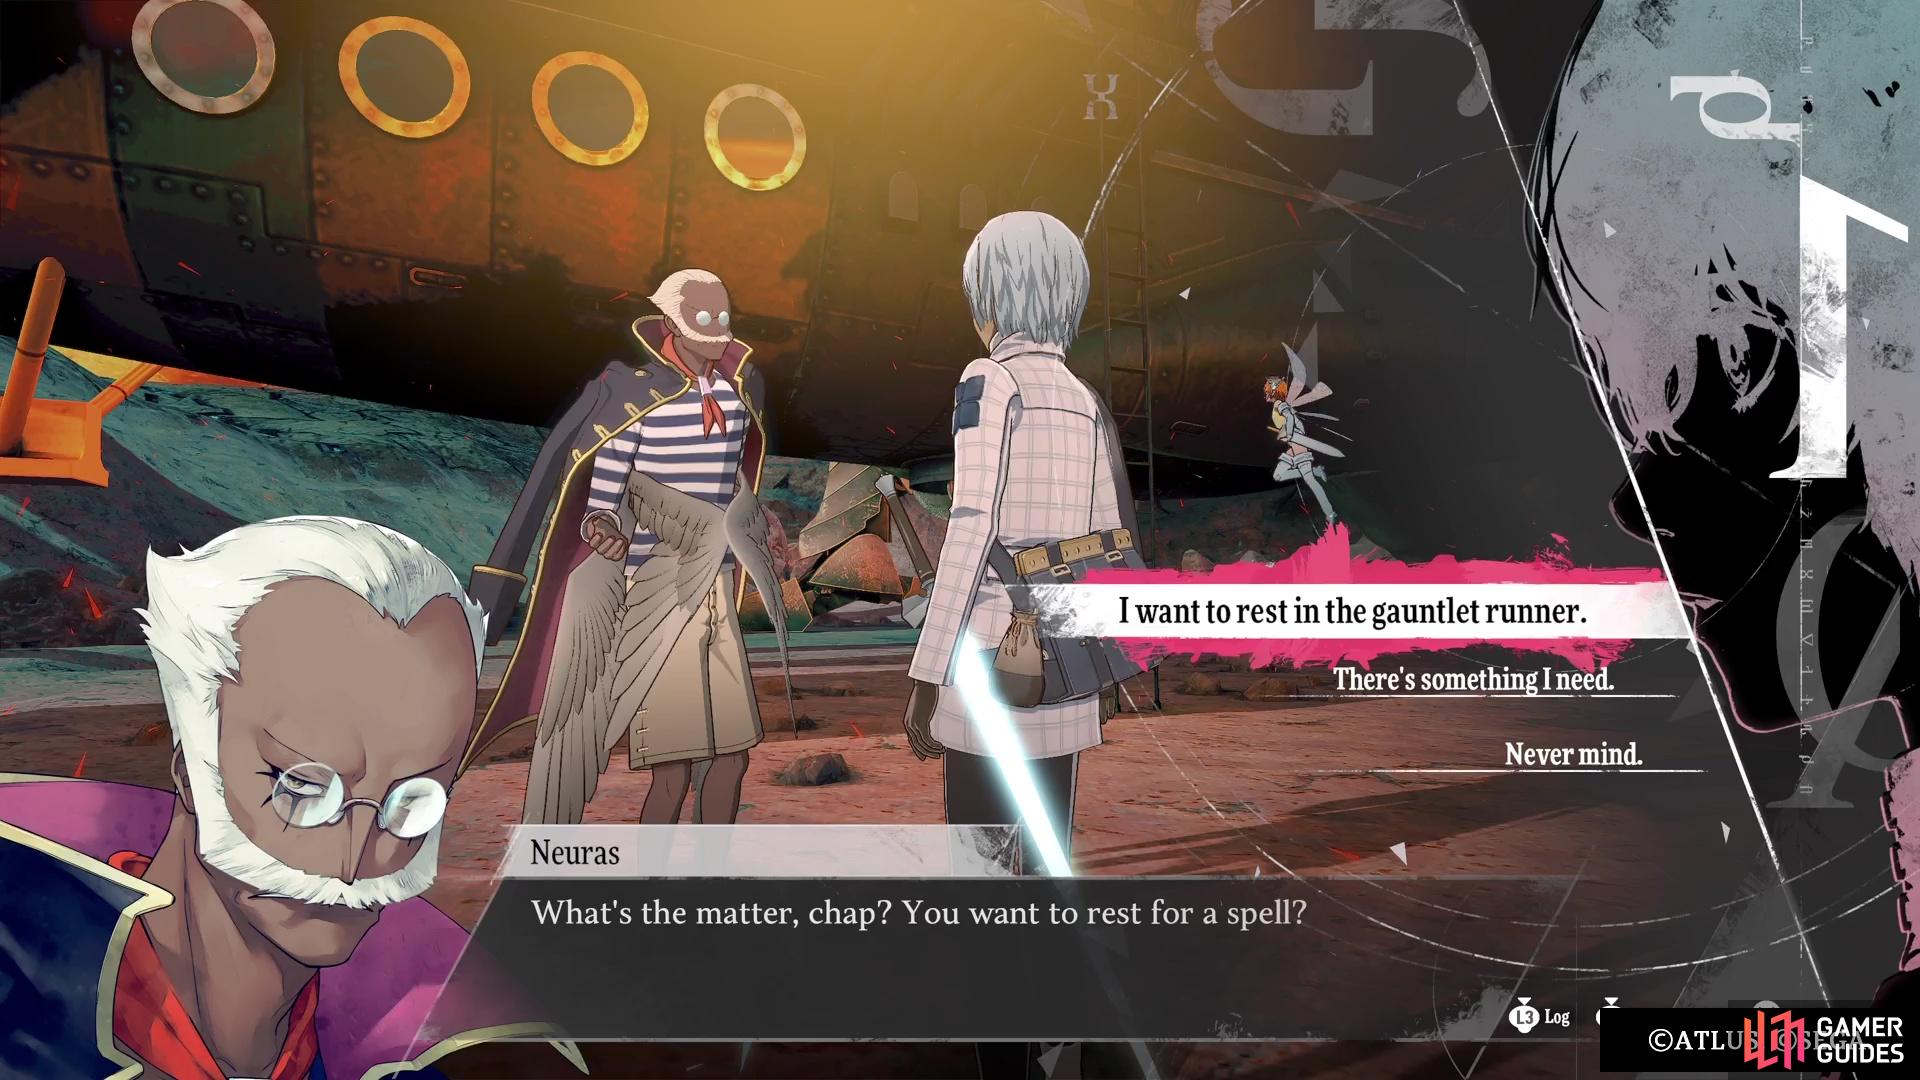
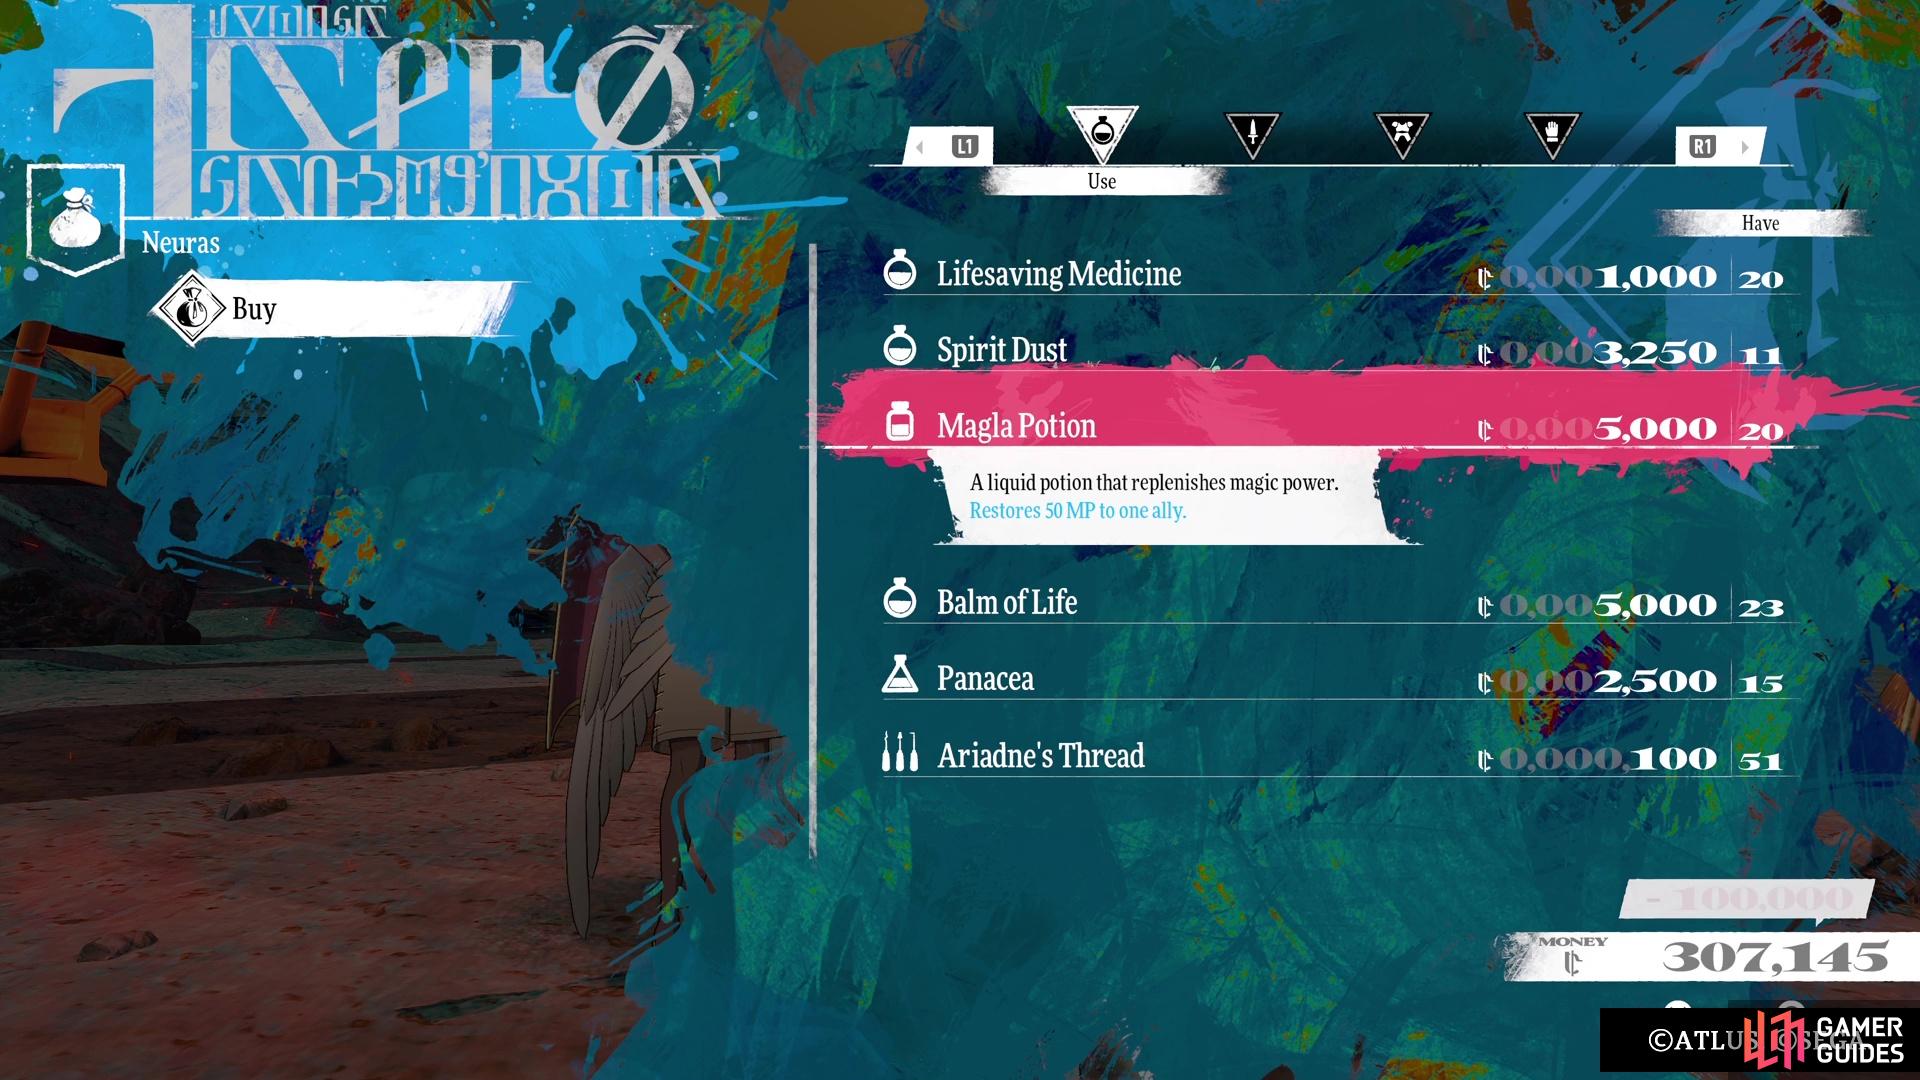
This is the final dungeon of the main story for Metaphor: ReFantazio and once you enter it, you won’t be able to leave. Thankfully, though, you will be able to rest at your runner and will even be able to purchase some items there, too. This dungeon is a little different than the others, as most of it can be considered optional. It is possible to head straight to the final boss without doing anything else, but that boss will be much stronger. There is a trophy/achievement for fighting the powered-up version of the boss, though, called Star Shatterer.
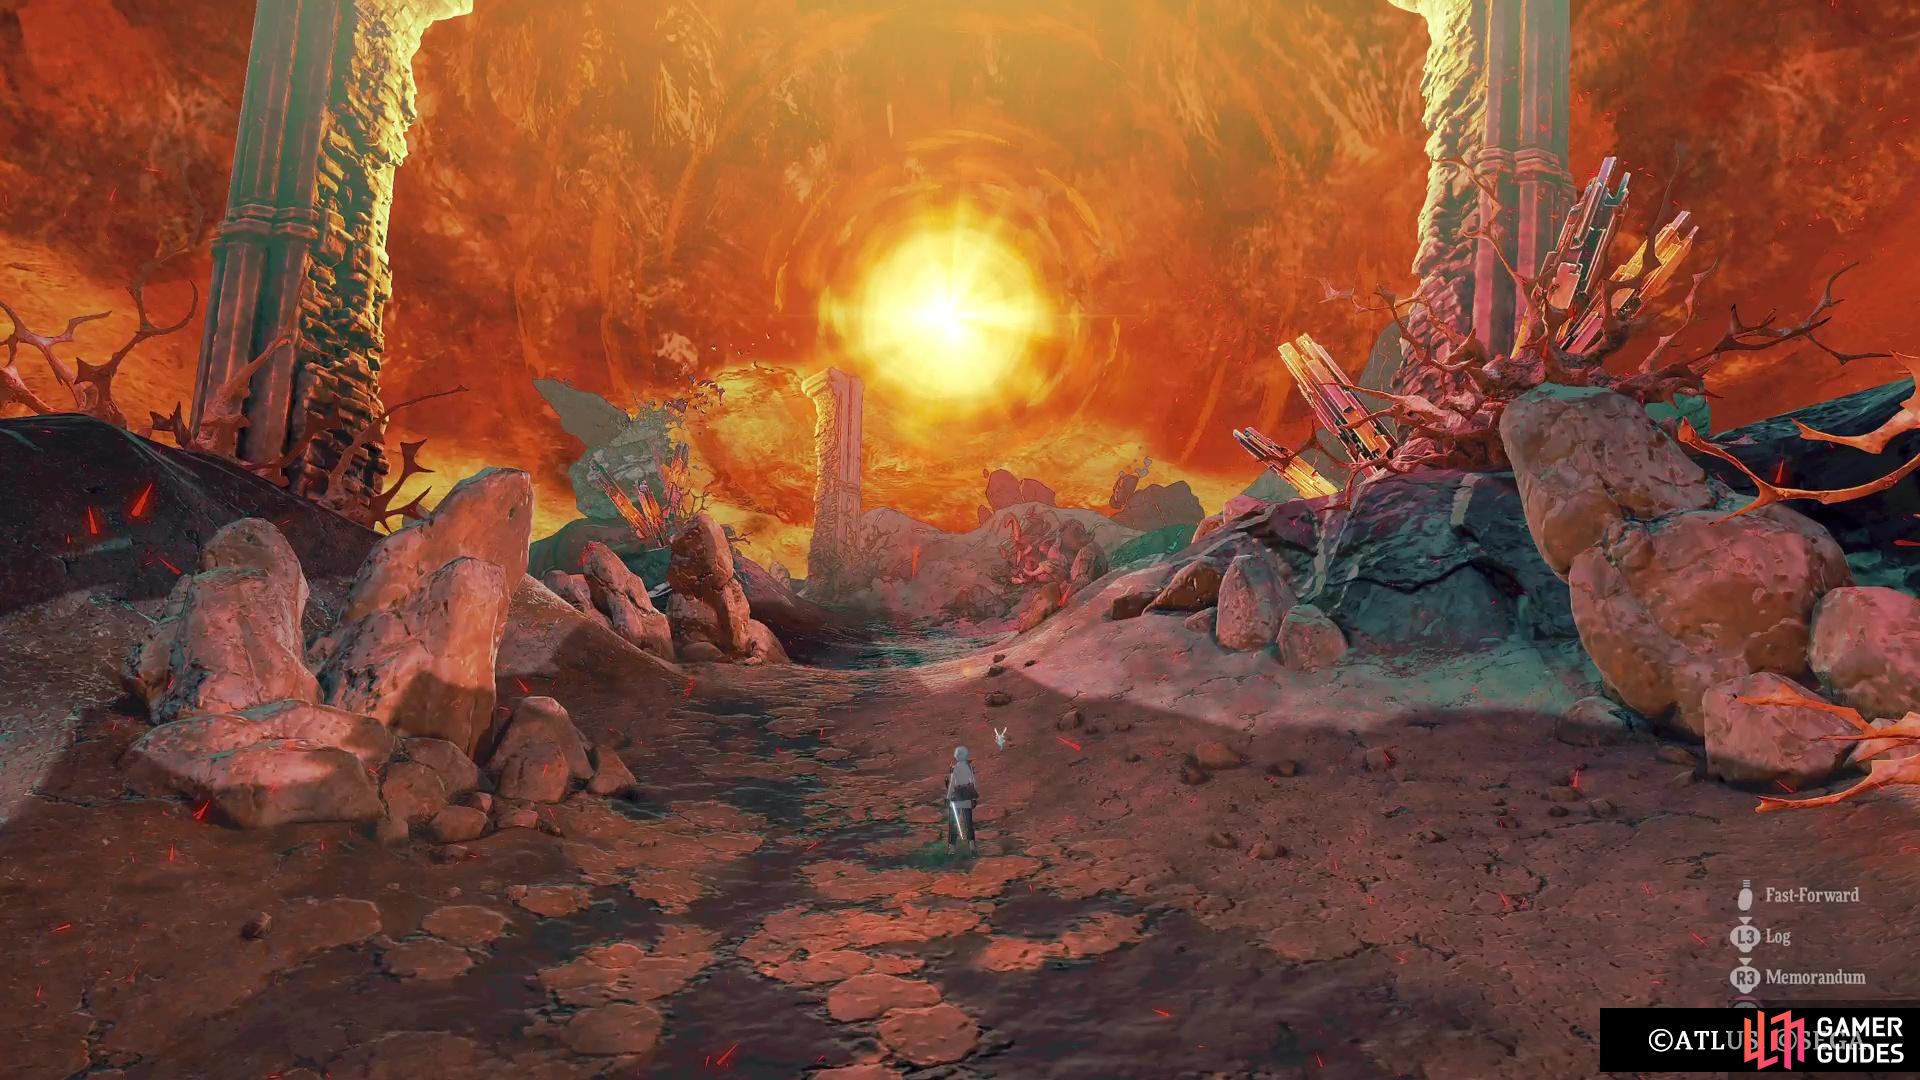
Tyrant’s Star will be the final dungeon of the story.
Max Follower Items
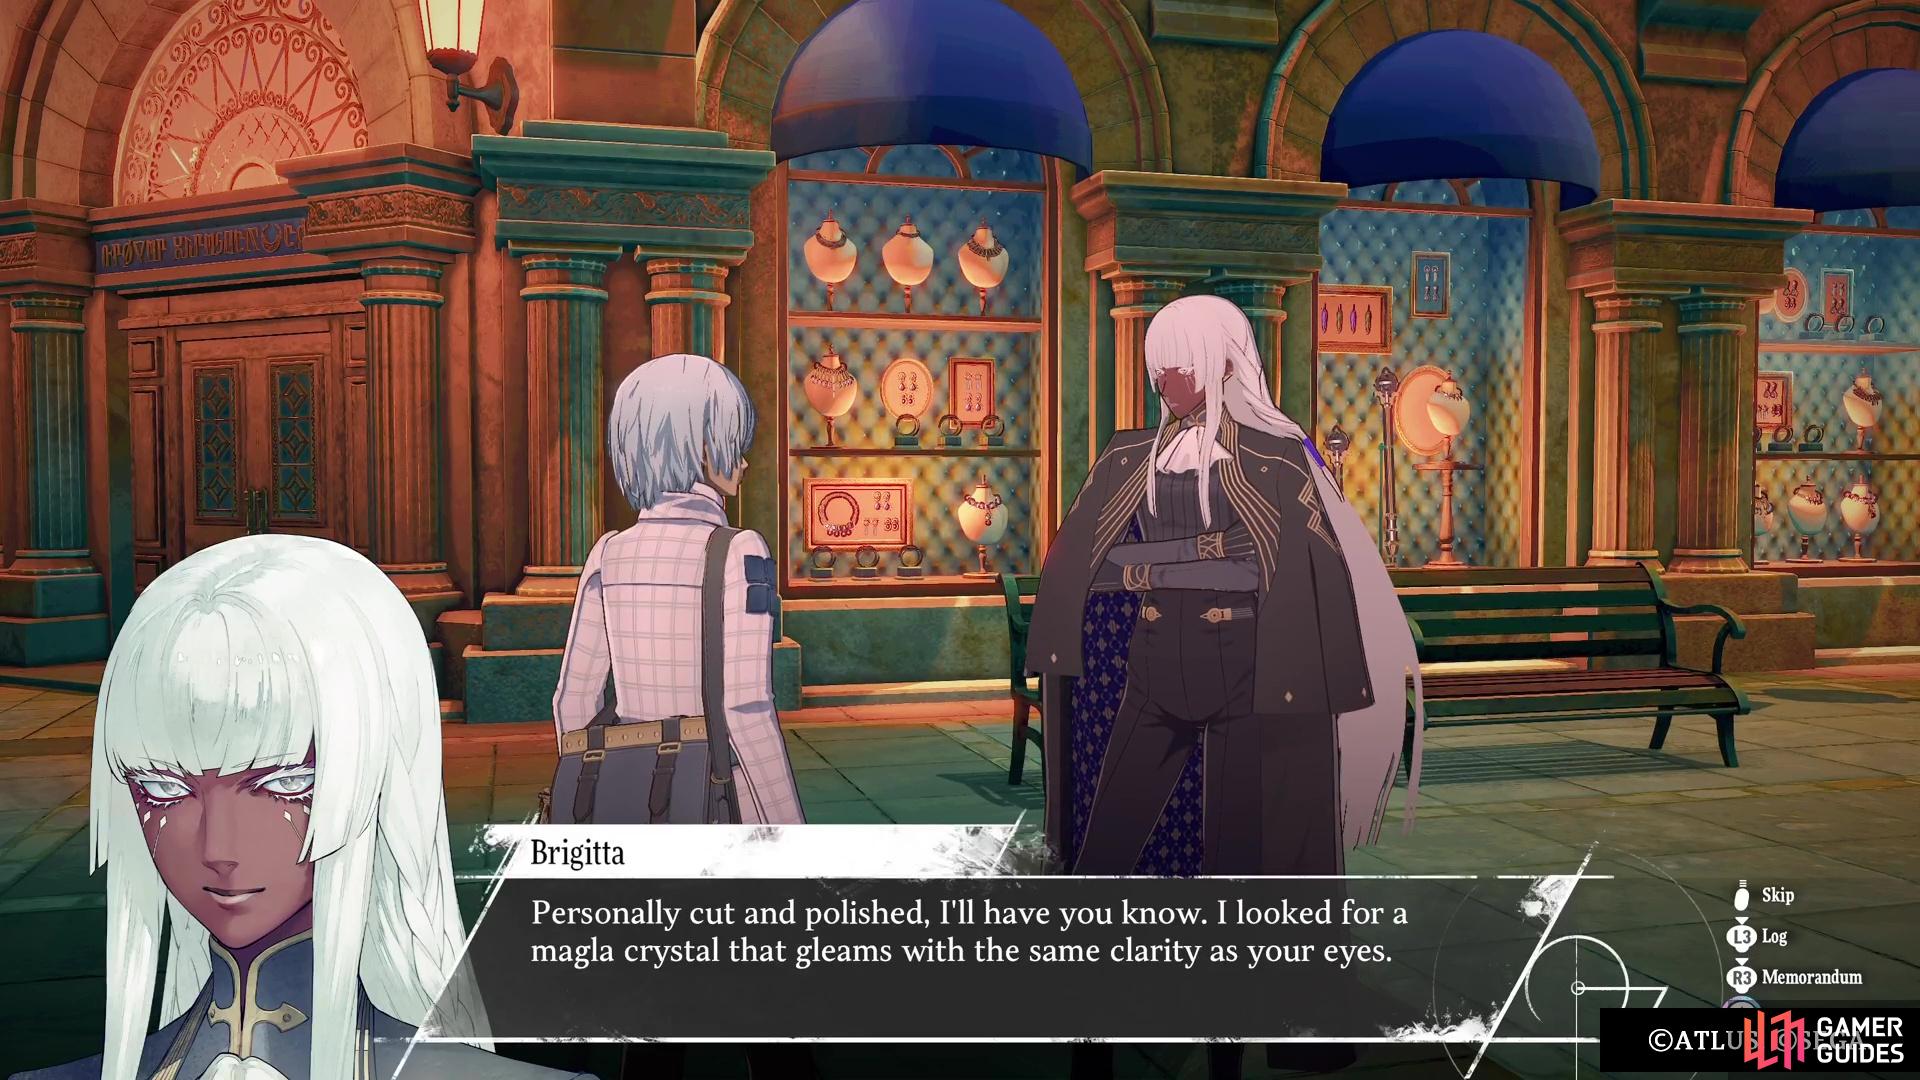
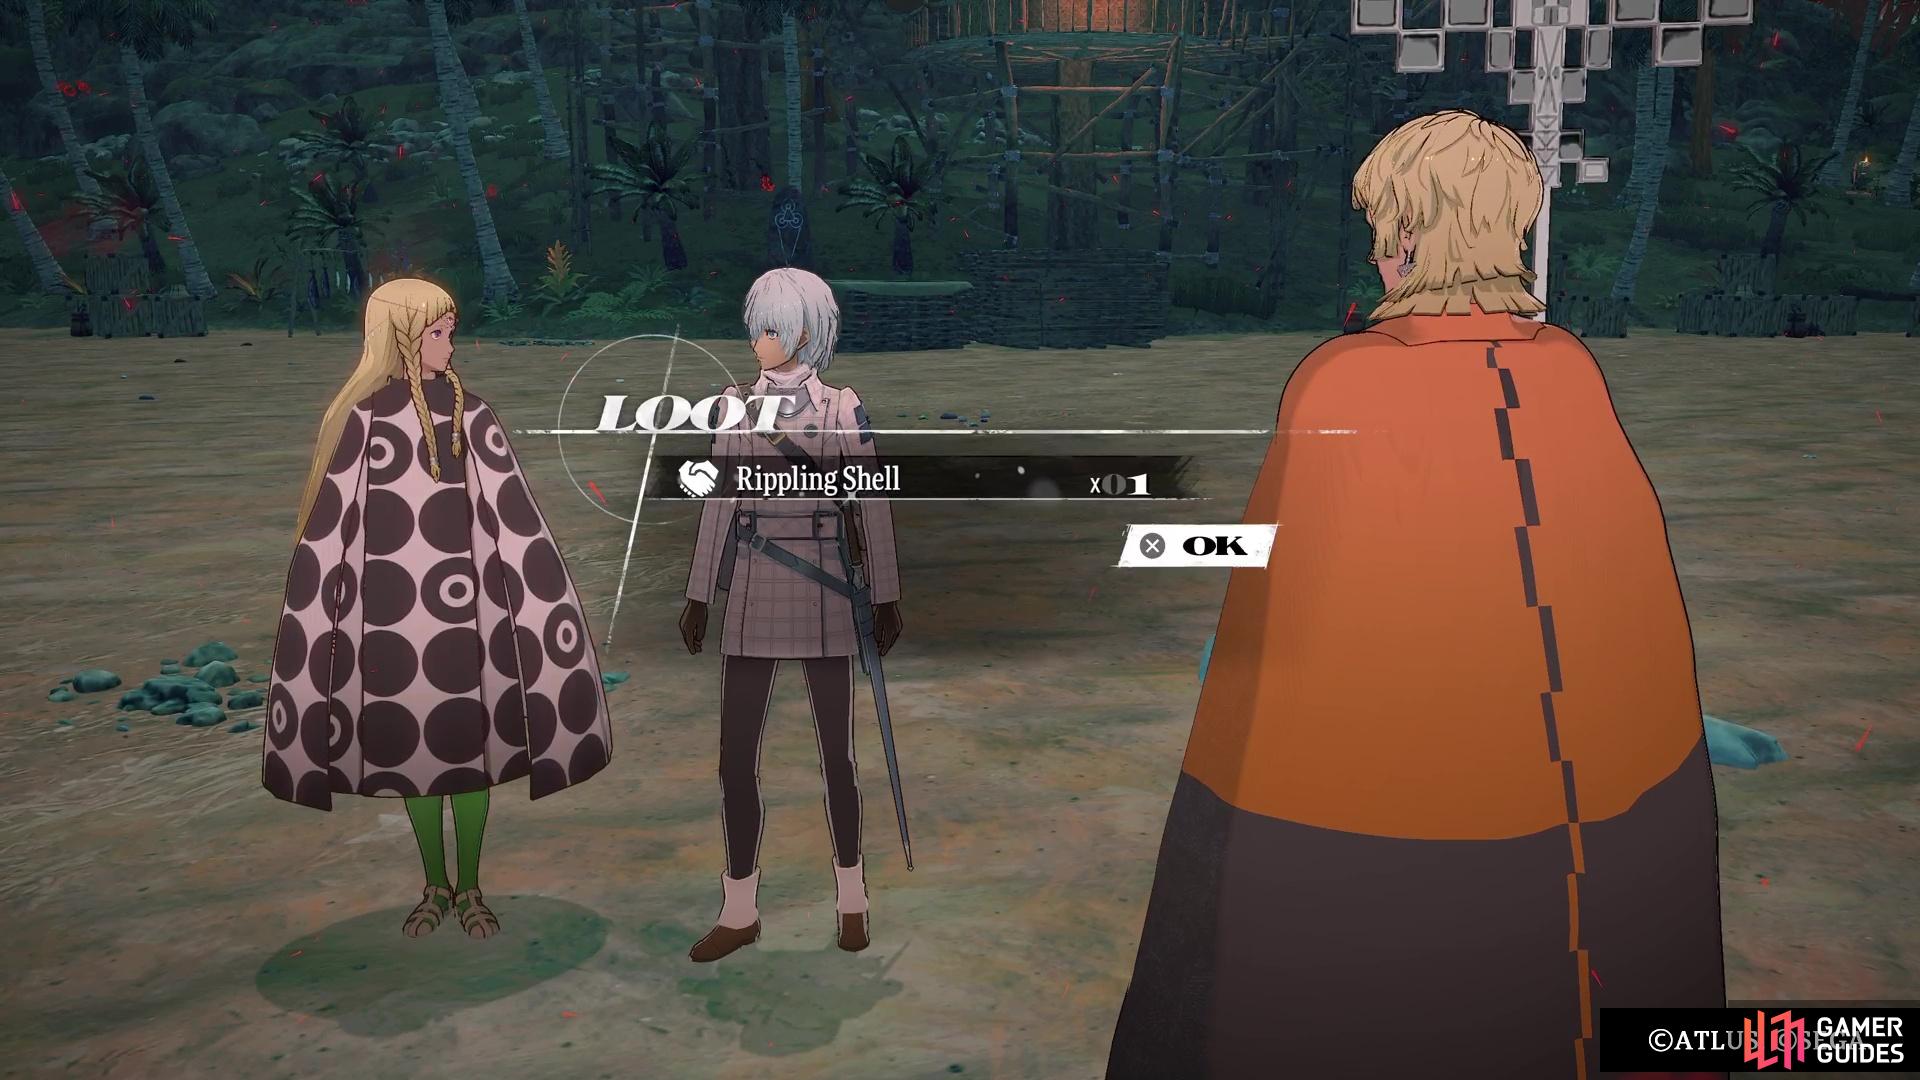
The night before venturing to the final dungeon, on 9/25, you will have the option to explore around the various areas, like you usually do. However, there is a special event that happens here, which is your chance to interact with any Followers that you have maxed during the playthrough. You can easily find them by bringing up the Followers menu, looking for the red handshake symbol, then teleporting straight to them. Speaking with them will trigger a normal conversation, similar to a rank-up event, but at the end, they will hand over a key item.
These key items will give you a boost in specific stats (check the items for that), as long as you are in a class of that lineage. For example, ![]() Maria hands over the
Maria hands over the ![]() Handmade Charm, and you will gain +5 to Magic whenever you are using an Archetype of the
Handmade Charm, and you will gain +5 to Magic whenever you are using an Archetype of the ![]() Healer lineage. These items will carry over into New Game+, which will help if you go at it for another playthrough. Once you are finished speaking to everyone, go rest at the inn in Grand Trad to get
Healer lineage. These items will carry over into New Game+, which will help if you go at it for another playthrough. Once you are finished speaking to everyone, go rest at the inn in Grand Trad to get ![]() Gallica’s item, then it will be 9/26. Set off for Tyrant’s Star and get ready for the final dungeon!
Gallica’s item, then it will be 9/26. Set off for Tyrant’s Star and get ready for the final dungeon!
(1 of 2) You can speak to your Followers right before the final day.
You can speak to your Followers right before the final day. (left), Those maxed out will hand over an item that gives you stats when using their respective Archetypes. (right)
Tyrant’s Star Enemies
A list of most of the major enemies found in the Tyrant’s Star dungeon, including their levels, weaknesses and any resistances they may have.
| Enemy | Level | Weak | Strength |
|---|---|---|---|
| Kokamordos | 71 | Pierce, Ice | Fire (Absorb) |
| Raging Corvosta | 57 | Pierce | Wind (Reflect) |
| Leogrophon | 72 | Pierce | Fire/Ice/Light (Resist), Wind (Reflect) |
| Ziocropos | 70 | Pierce, Wind | Lightning (Absorb) |
| Gupdetron | 71 | Pierce, Ice | Fire (Reflect) |
| Grotesque Chimenzahn | 70 | Ice, Wind | Lightning (Block), Fire (Absorb) |
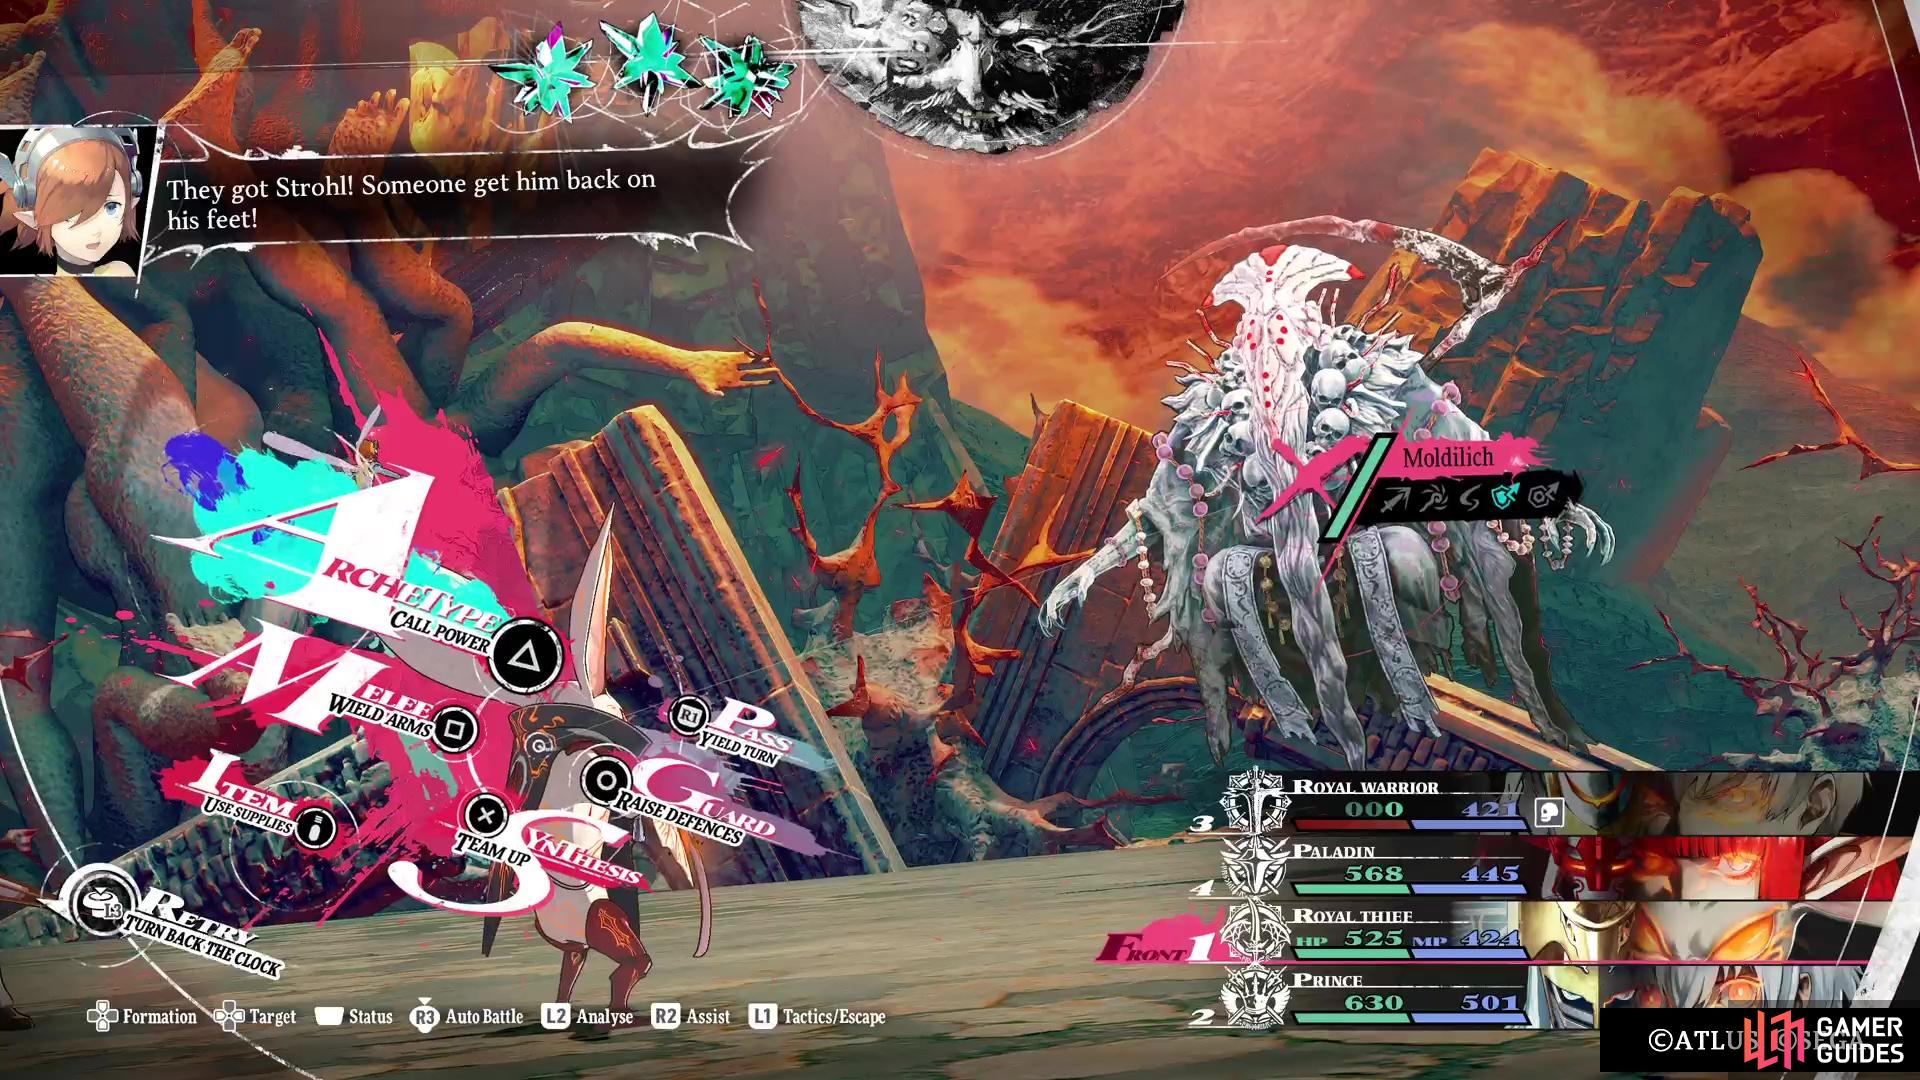
| Moldilich | 75 | Strike | Light (Resist), Fire/Ice/Lightning/Wind/Dark (Reflect) |
| Sword Scourge Malmorta | 67 | Strike, Light | Slash/Pierce/Dark (Resist), Lightning (Block) |
| Spear Scourge Malmorta | 67 | Strike, Light | Slash/Pierce/Dark (Resist), Lightning (Block) |
| Bow Scourge Malmorta | 67 | Strike, Light | Slash/Pierce/Dark (Resist), Lightning (Block) |
| Platinum Homo Tenta | 62 | – | Fire/Ice/Lightning/Wind/Light/Dark (Absorb) |
| Golden Homo Tenta | 40 | – | All (Resist) |
| Voidblack Homo Casco | 74 | Strike, Lightning | Slash/Pierce/Wind (Reflect) |
| Voidblack Homo Oppo | 74 | Strike, Wind | Fire (Resist), Pierce/Lightning (Reflect) |
| Voidblack Homo Pento | 74 | Light | Strike (Resist), Wind/Dark (Reflect) |
| Voidblack Homo Fulquilo | 74 | Pierce, Dark | Ice (Resist), Strike/Light (Reflect) |
| Voidblack Homo Luano | 74 | Slash | Ice/Lightning/Wind/Light (Resist), Fire/Dark (Reflect) |
| Voidblack Homo Fios | 74 | Fire | Slash (Resist), Ice/Lightning (Reflect) |
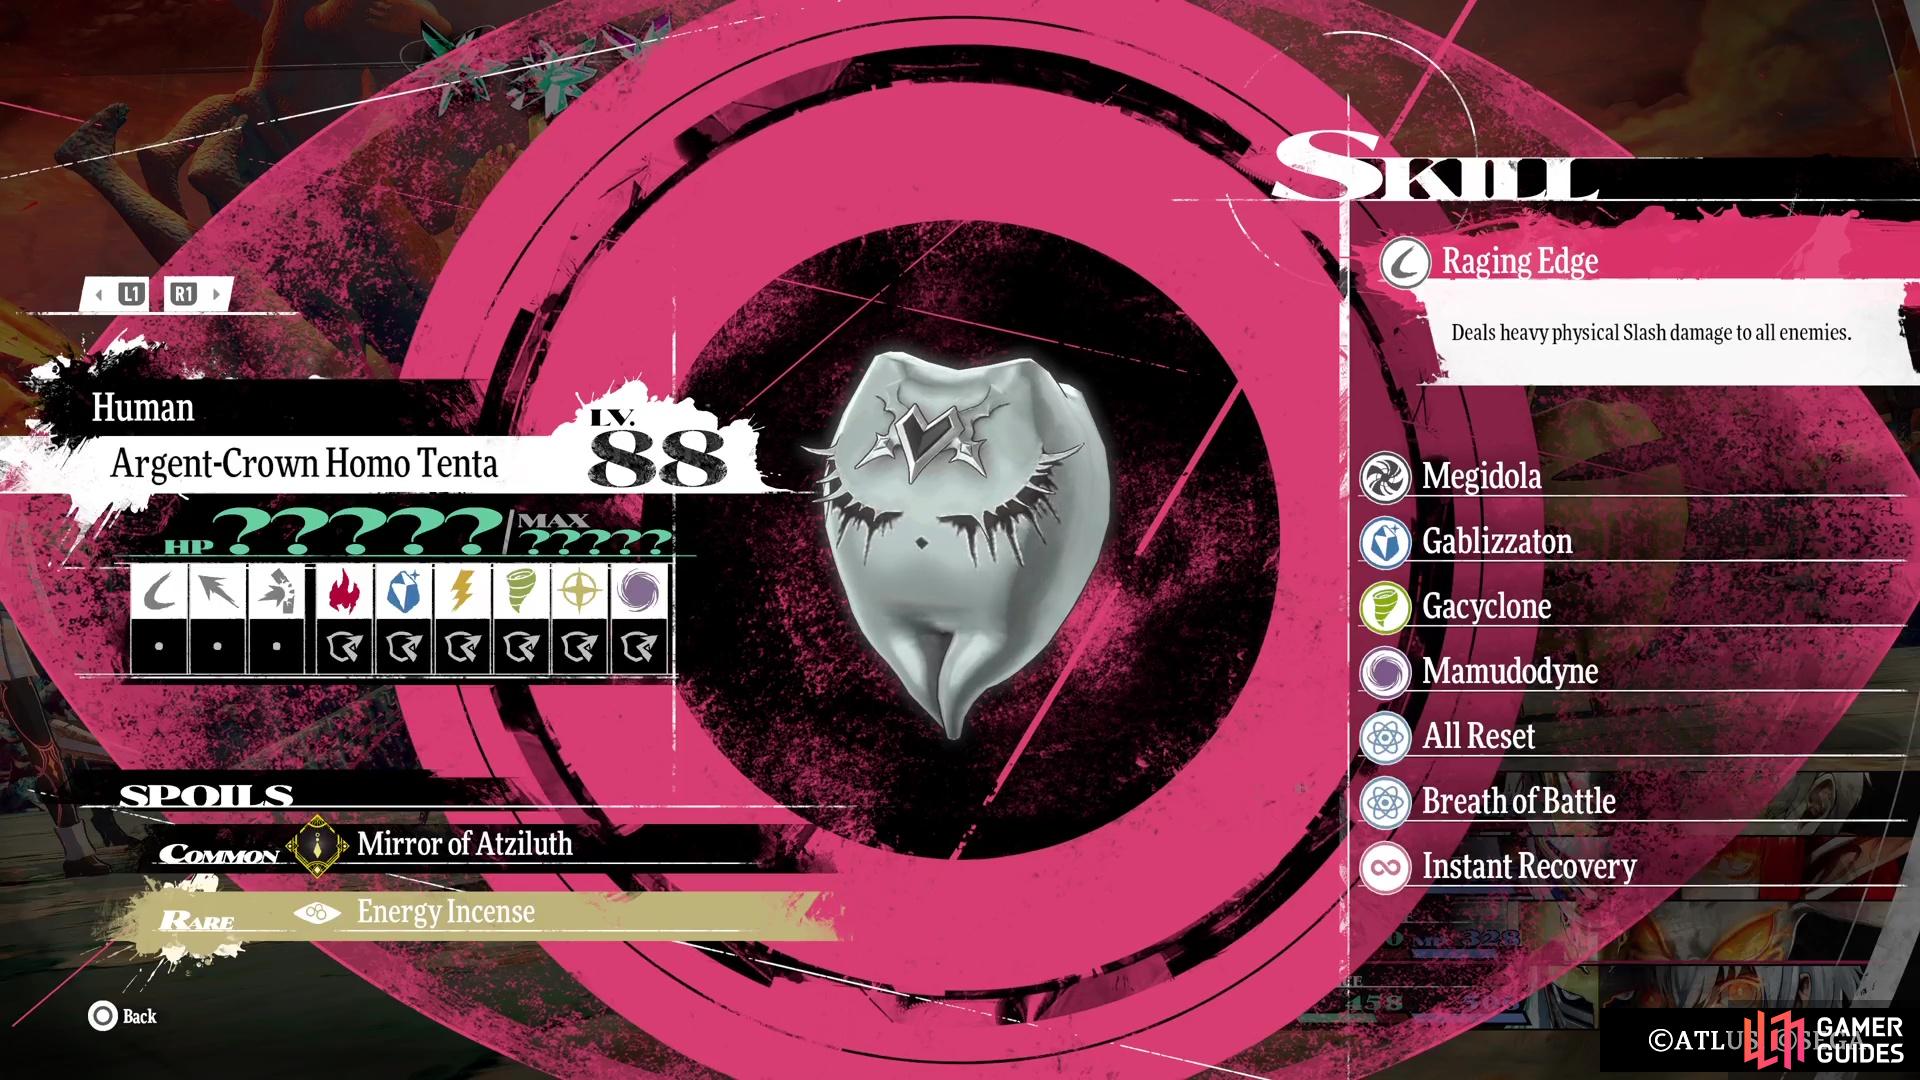
| Argent-Crown Homo Tenta | 88 | – | Fire/Ice/Lightning/Wind/Light/Dark (Reflect) |
| Or-Crown Homo Tenta | 88 | – | Slash/Pierce/Strike (Reflect) |
Tyrant’s Star Items
The table below lists all of the items you can find in the Tyrant’s Star dungeon, which are all found as blue orbs on the ground.
Melancholia Threshold
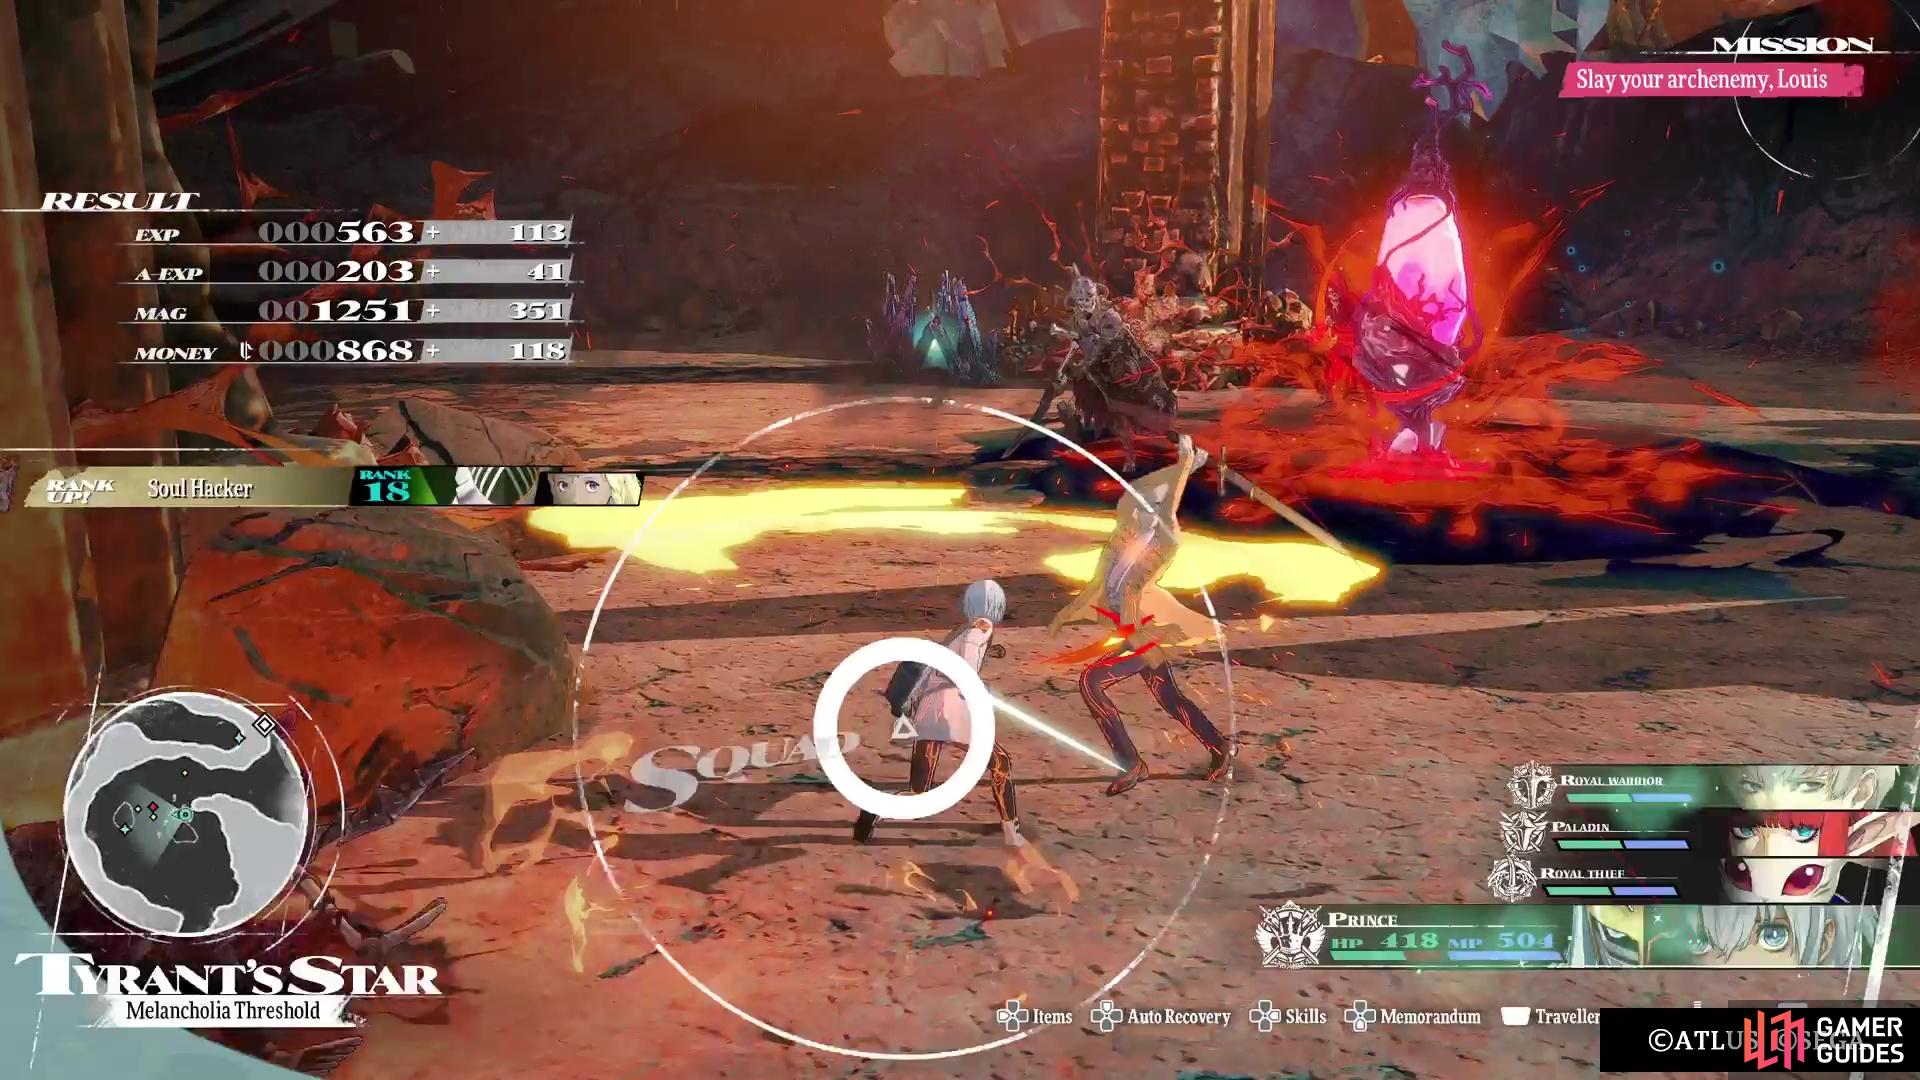
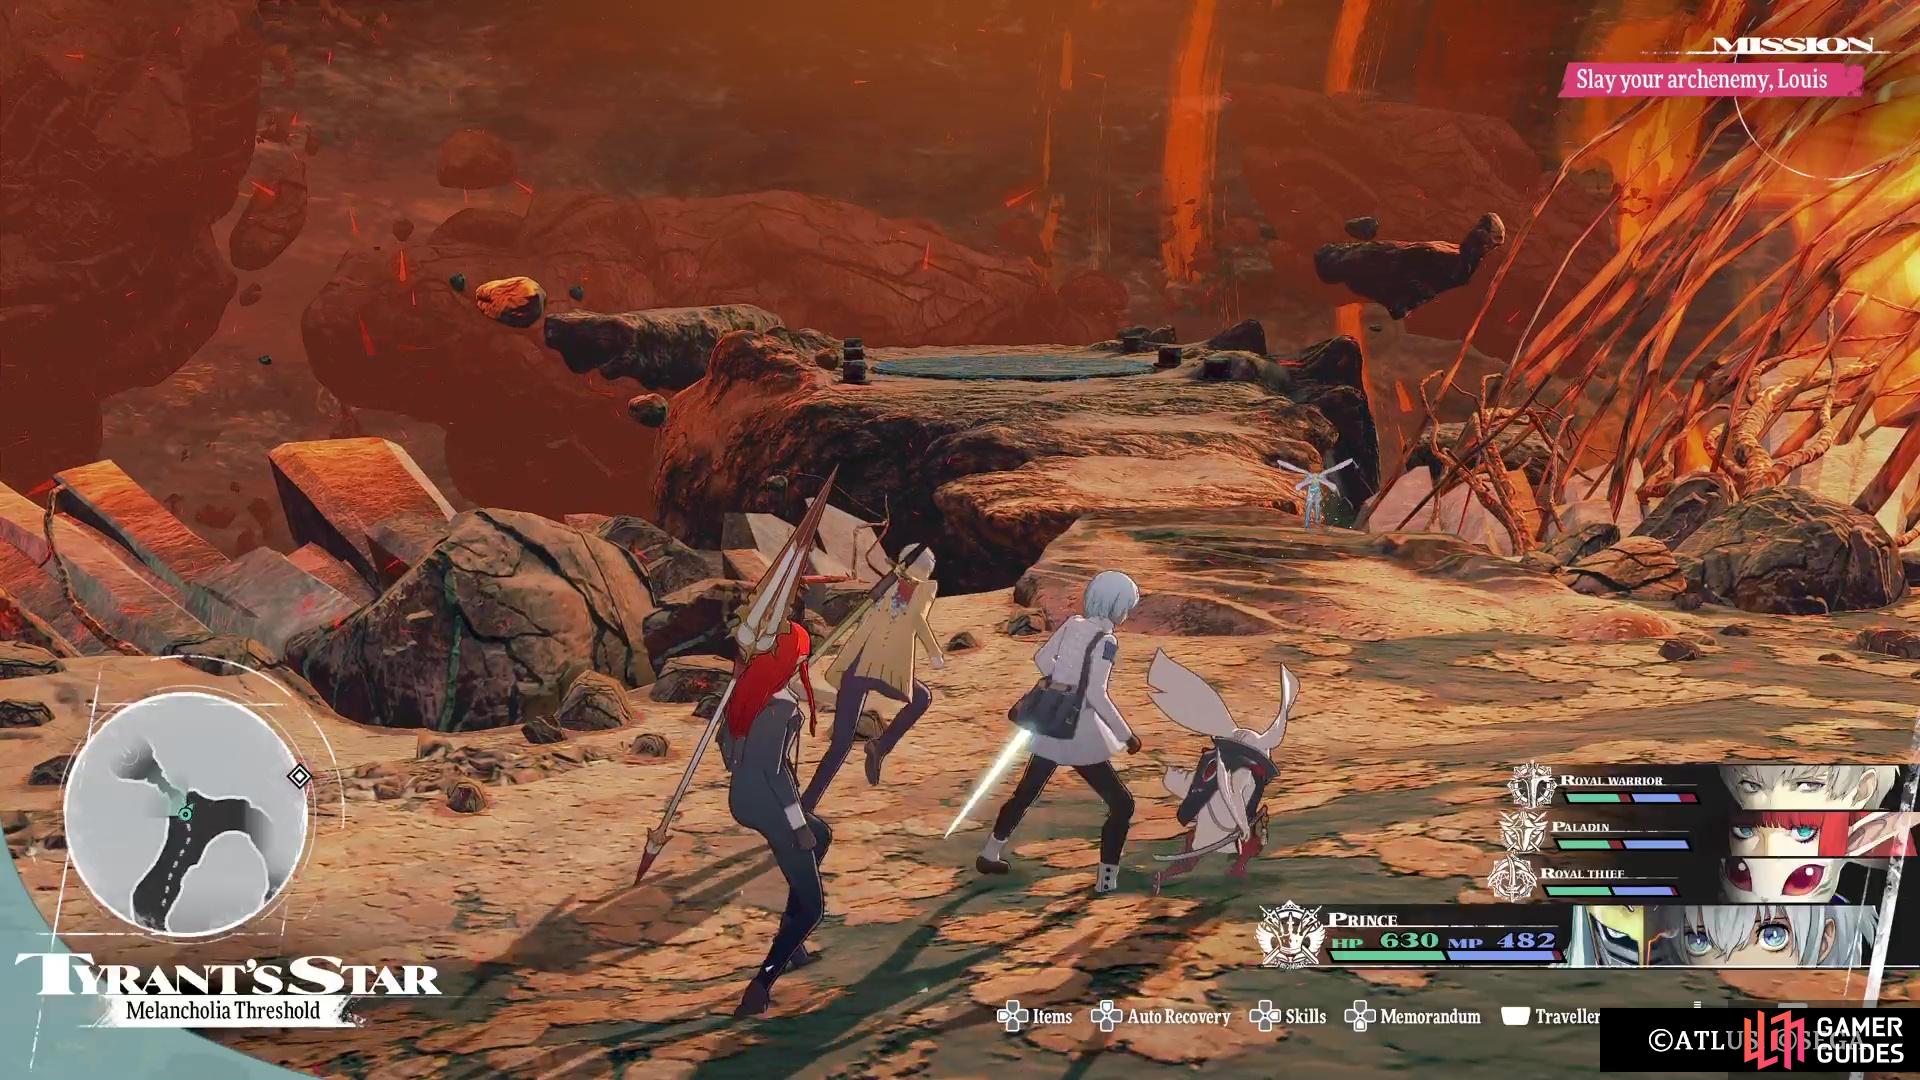
As mentioned above, the exploration of this place is completely optional, as you can head straight for Louis. However, doing this will make the fight against him more challenging, as he will be stronger. If you wish to pilfer the place of its goods, as well as weaken the boss, then you will want to take out these minibosses. The first area of this dungeon is filled with a bunch of high-level monsters, most of which you should have seen before in Skybound Avatar (or as a boss in other endgame optional dungeons). There are no treasure chests here, with all of the items being the blue orbs on the ground.
Note that there is a Moldilich lurking about in this first area, but it doesn’t seem to respawn, so it might be a good idea to go after it. This is a good spot to do a little bit of grinding, since you can get to about level 75 and defeat all enemies on the overworld. There are three lesser bosses to fight in the Melancholia Threshold area, which are accessible by some “elevators” located at dead ends. You will always be asked if you wish to go to the next areas, in case you don’t wish to fight the minibosses. These bosses are rematches against bosses you have faced previously during the game, either as part of the story or from side quests.
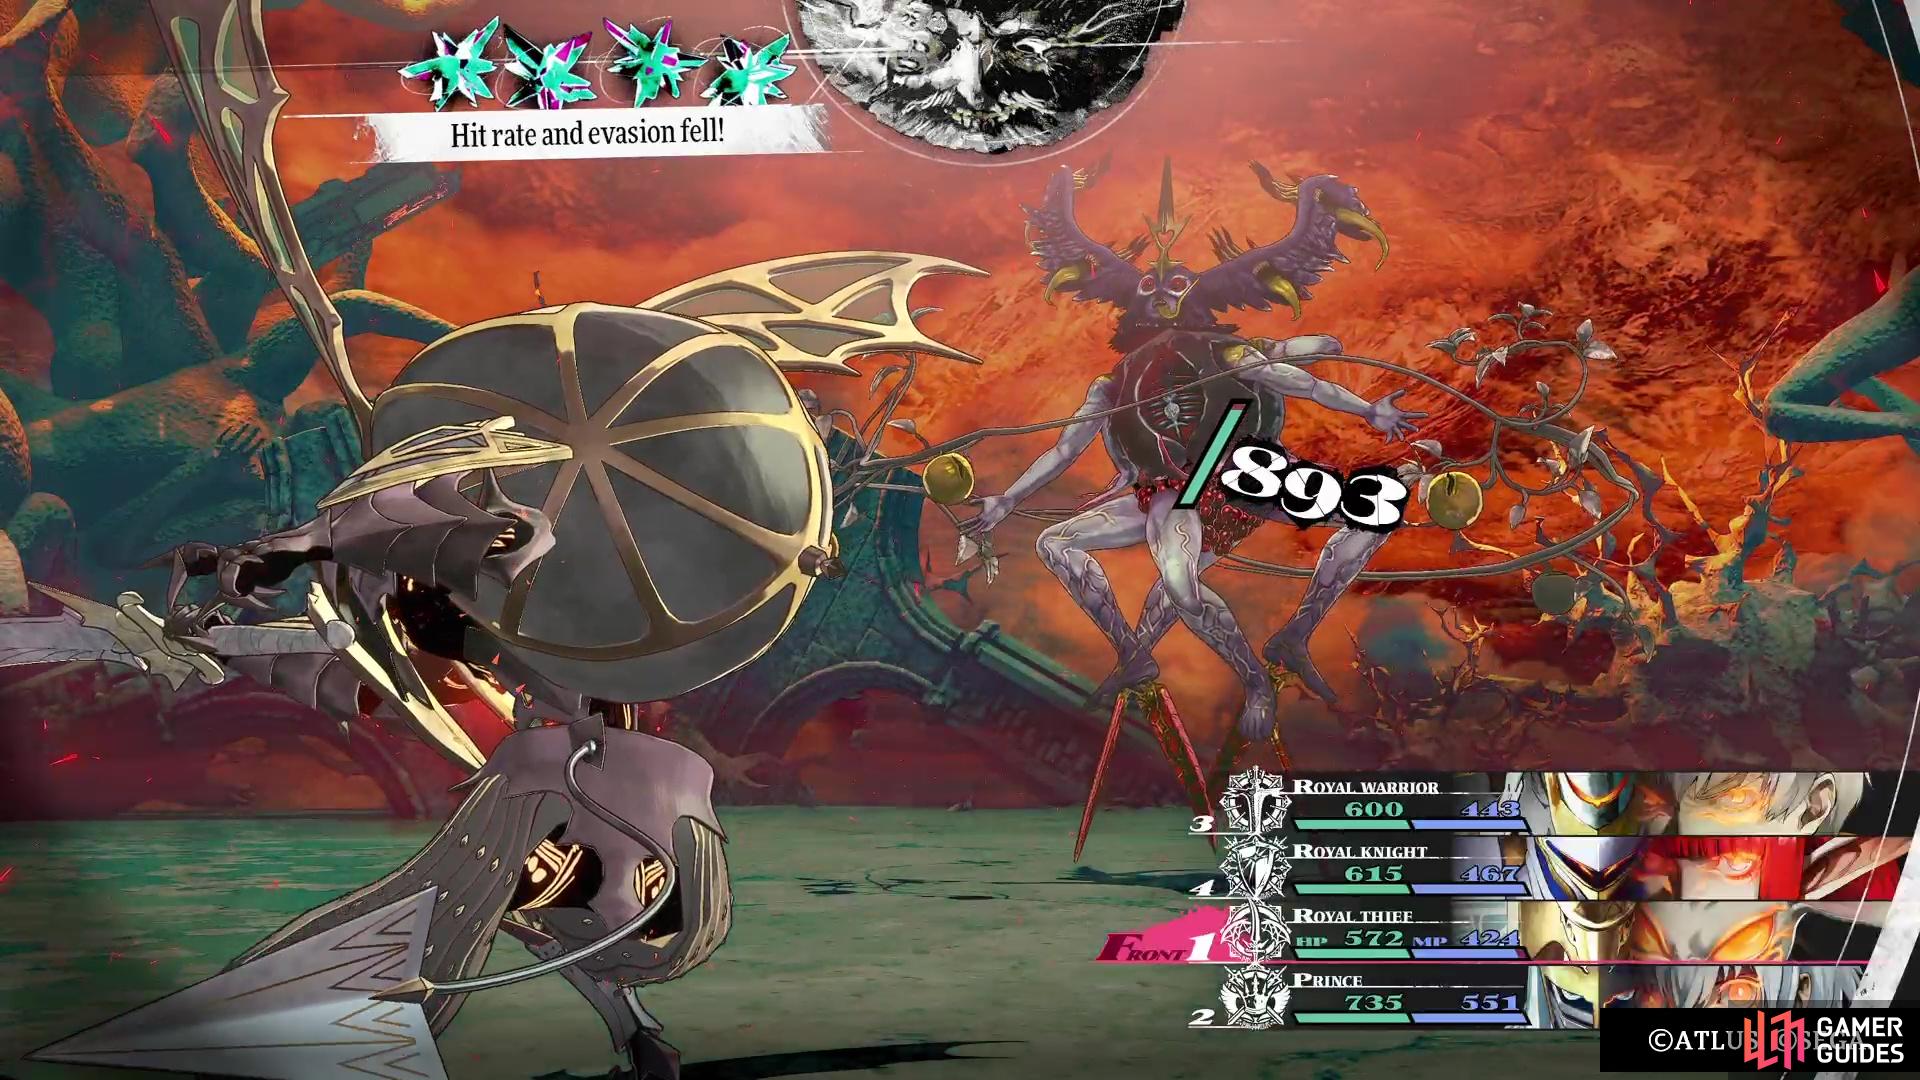
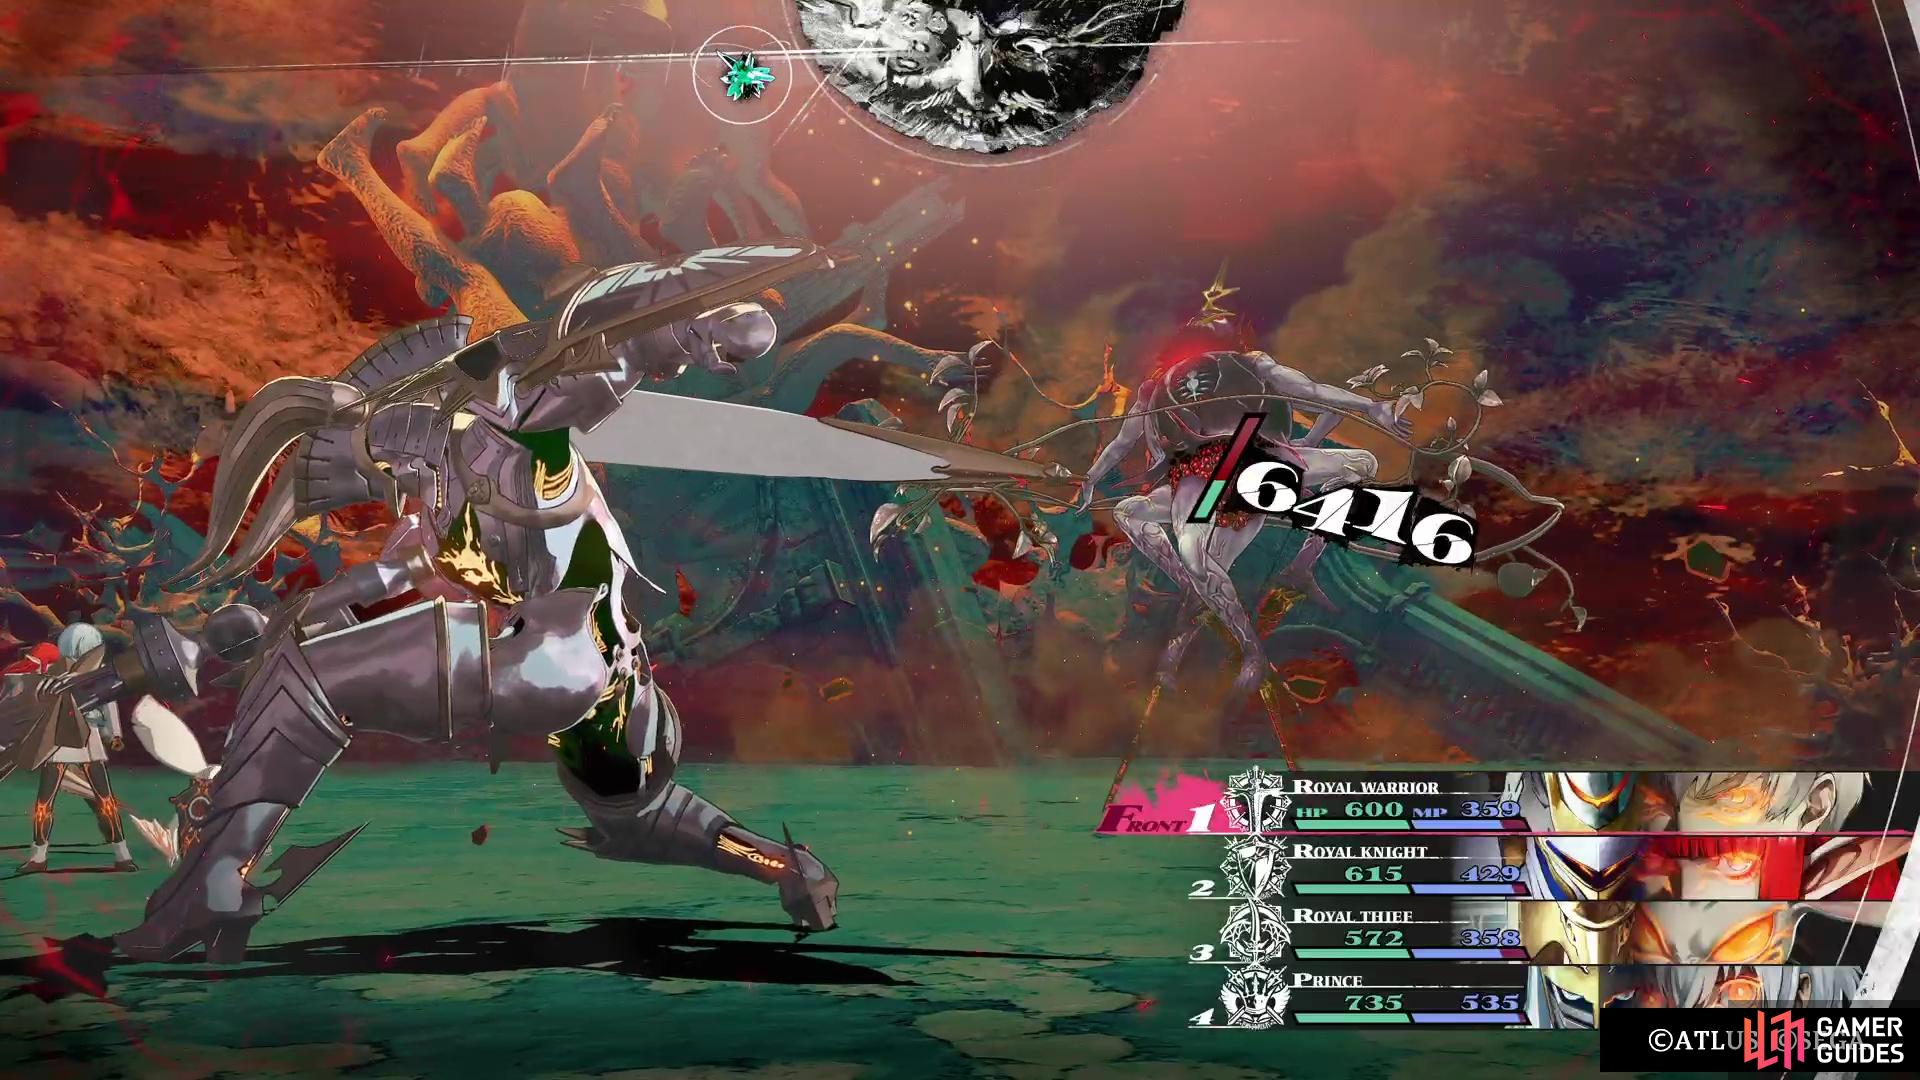
- Diabolus Gorleo - Located in the northwest. No weaknesses/resistances on main body. Has other body partys, which you can destroy to weaken attacks. Wing and Leg are weak to Wind, but Apples have nothing. Can regenerate all parts.
- Diabolus Avades - Located in the north. Destroy the Shell to bring the heart down, allowing you to use melee attacks. Weak to nothing, but resists all but physical damage types (Shell weak to Strike; Hands weak to Fire). Destroy the Hands to cut down on Shell Regeneration, as well as damage done. The Assailants that appear will do big damage if not defeated quickly.
-
Diabolus Butera - Located in the southeast. Weak to Ice, and no resistances. Use
 Dekunda/
 Reset Talismans to get rid of the debuff from Sandstorm.
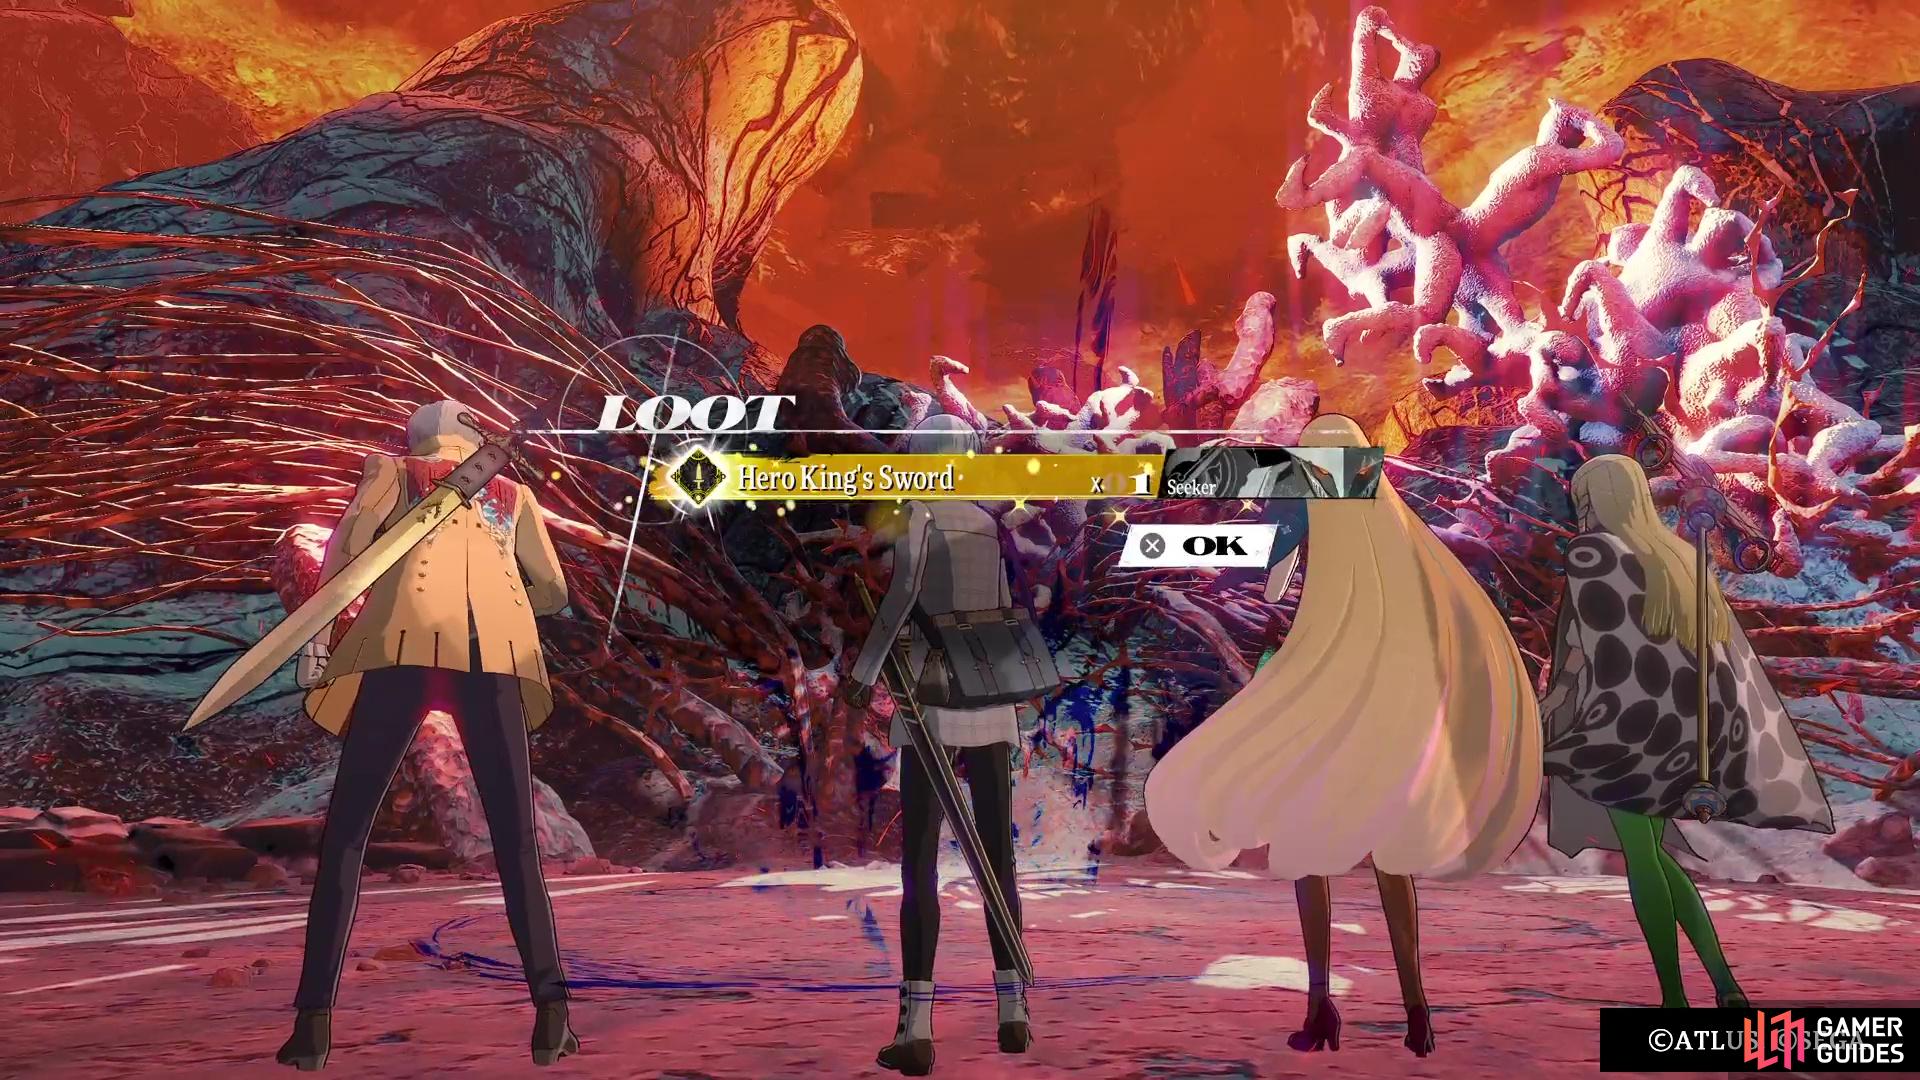
Note that you will receive powerful weapons for the various Archetypes after defeating the above bosses. These are generally some of the strongest weapons in the game, short of the ones you receive for unlocking all of the Archetypes for each character (very long grind). Whether you defeat them or not, the exit to the next area is located in the northeast.
(1 of 4) The various dead ends will lead to some optional bosses.
Melancholia Depths
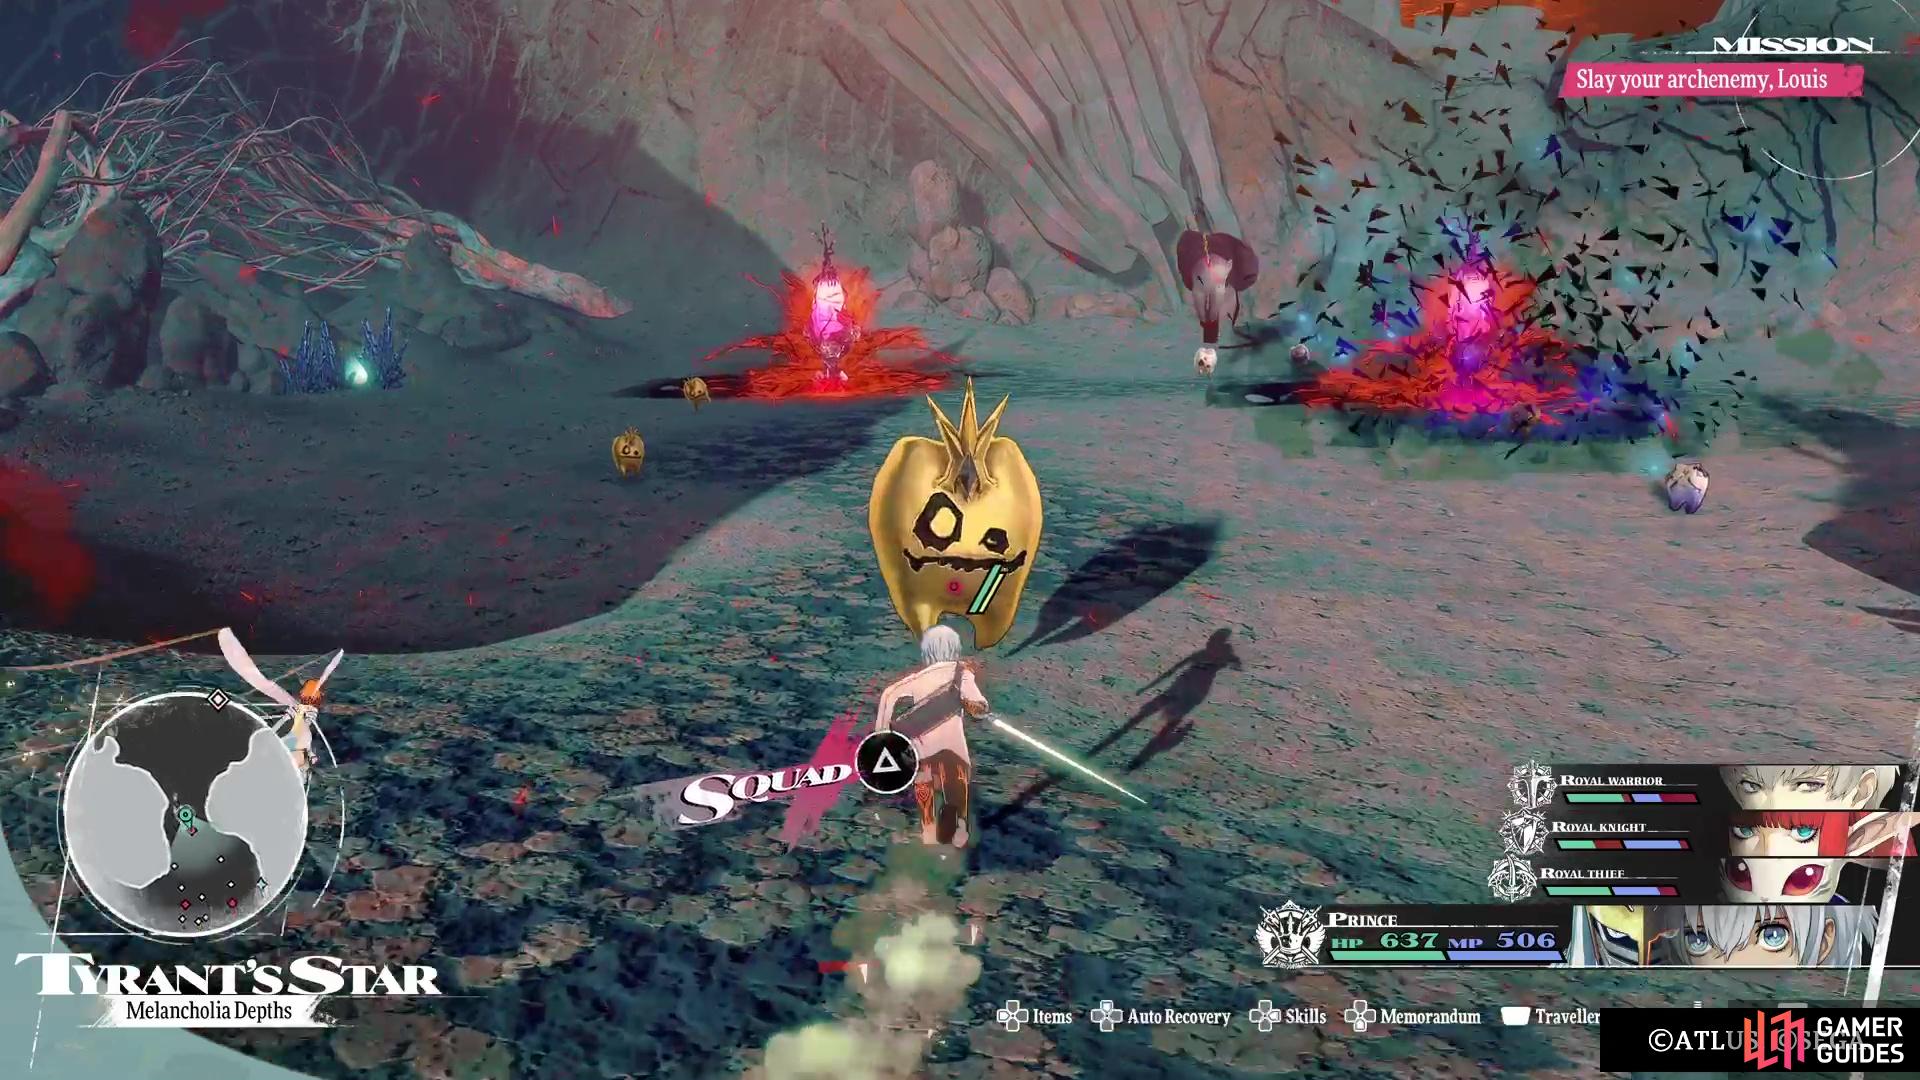
The Depths is a whole new area, with new enemies and another set of sub-bosses to beat. Once again, the enemies here are slight variations on ones already met, but they can be quite annoying. All of the most common enemies are level 74 and will usually require you to be a little tactical in taking them out in battles. You will also find a higher than usual number of Trance Crystals here, seven of them to be exact, in three sets. Two of those sets will spit out the major enemies, with the last set being a great grinding spot once you can defeat the enemies on the overworld.
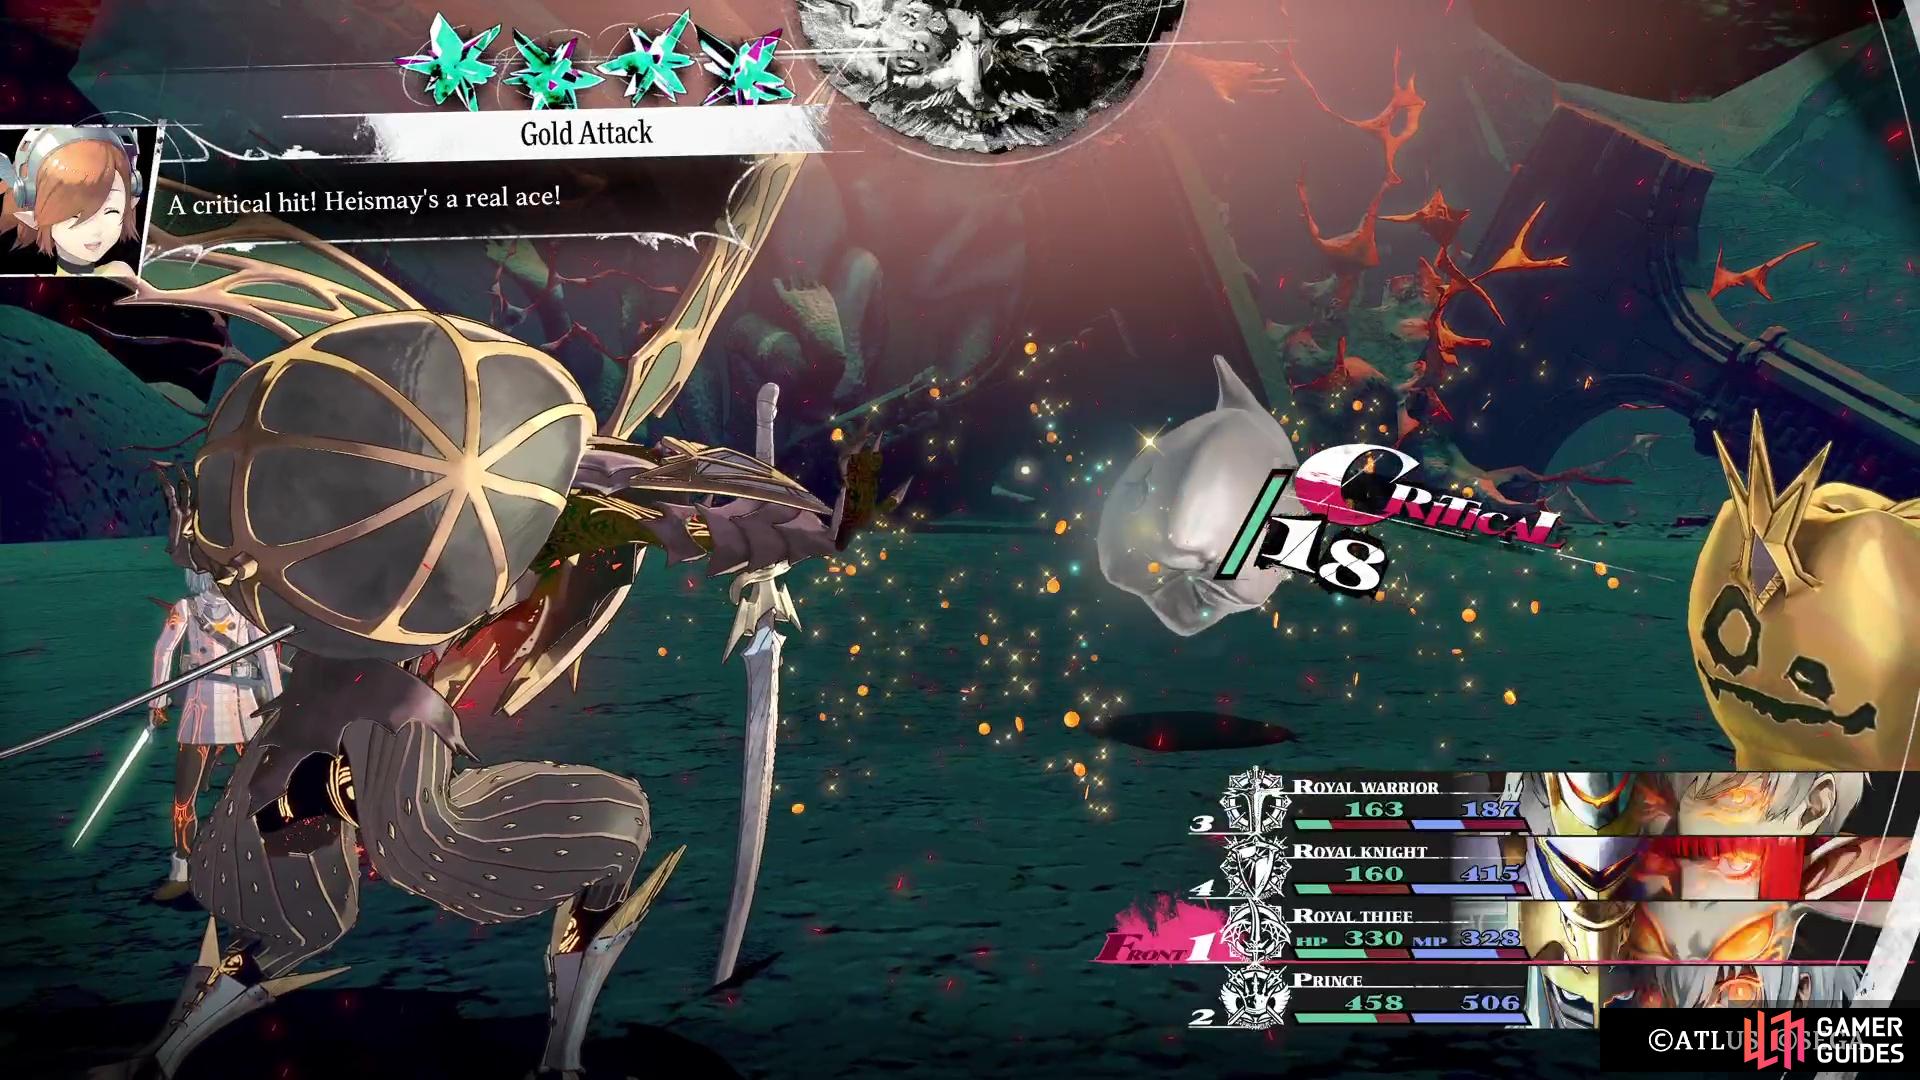
Of particular note is the set of Trance Crystals in the southwest, which will spawn the Homo Tenta-type enemies. However, every so often, you will see bigger versions of these enemies. If you do battle with them, you will find two new enemies, the Argent-Crown Homo Tenta and the Or-Crown Homo Tenta. These are level 88 and quite tough to defeat, since one will reflect all physical damage, and the other reflects all elemental damage. To make matters even worse, they heavily resist Almighty damage. However, the rewards are worth it, since they give the best experience for normal enemies, plus they have the chance to drop accessories that can reflect either all physical or elemental damage.
As with the previous areas, there are three sub-bosses to be fought here, if you wish to weaken the final boss. They are all previous story bosses, but much stronger, so not much has really changed.
- Diabolus Jaluzo - Located in the southwest. No weaknesses or resistances on the main body. The Eyes are weak to Pierce, but will resist both Slash and Strike; each one will also nullify two elements.
- Diabolus Sabara - Located in the northwest. Main body is weak to Lightning, while the Legs have no weaknesses and resist all elements. Destroy the Legs to lessen the attack power of the boss.
- Diabolus Margo - Located in the southeast. Uses Reversal Prayer to change weaknesses. Pay attention to the color of the aura from the above move, as it indicates you need to use the opposite element. Of course, you can just use Almighty skills to bypass this whole mechanic. Has the ability to remove debuffs and buffs, so use sparingly.
As with the first area, you can get strong weapons after defeating each of the above sub-bosses. Whether you go after them or not, the exit in the Depths is in the northern end, where you find a save point. Once you enter the next area, you will be locked into a bunch of scenes and a few fights. So, if you don’t feel comfortable enough, return to the entrance and do some grinding on the enemies.



 Sign up
No Comments