After defeating Louis in his Archdemon form, you will get into a one-on-one battle with More. However, it seems that Louis isn’t finished with you quite yet, as there will be one more battle with him. This will be the final boss of the game, although it will be split into two different phases. There is really no reason to be holding back here, so go all out now!
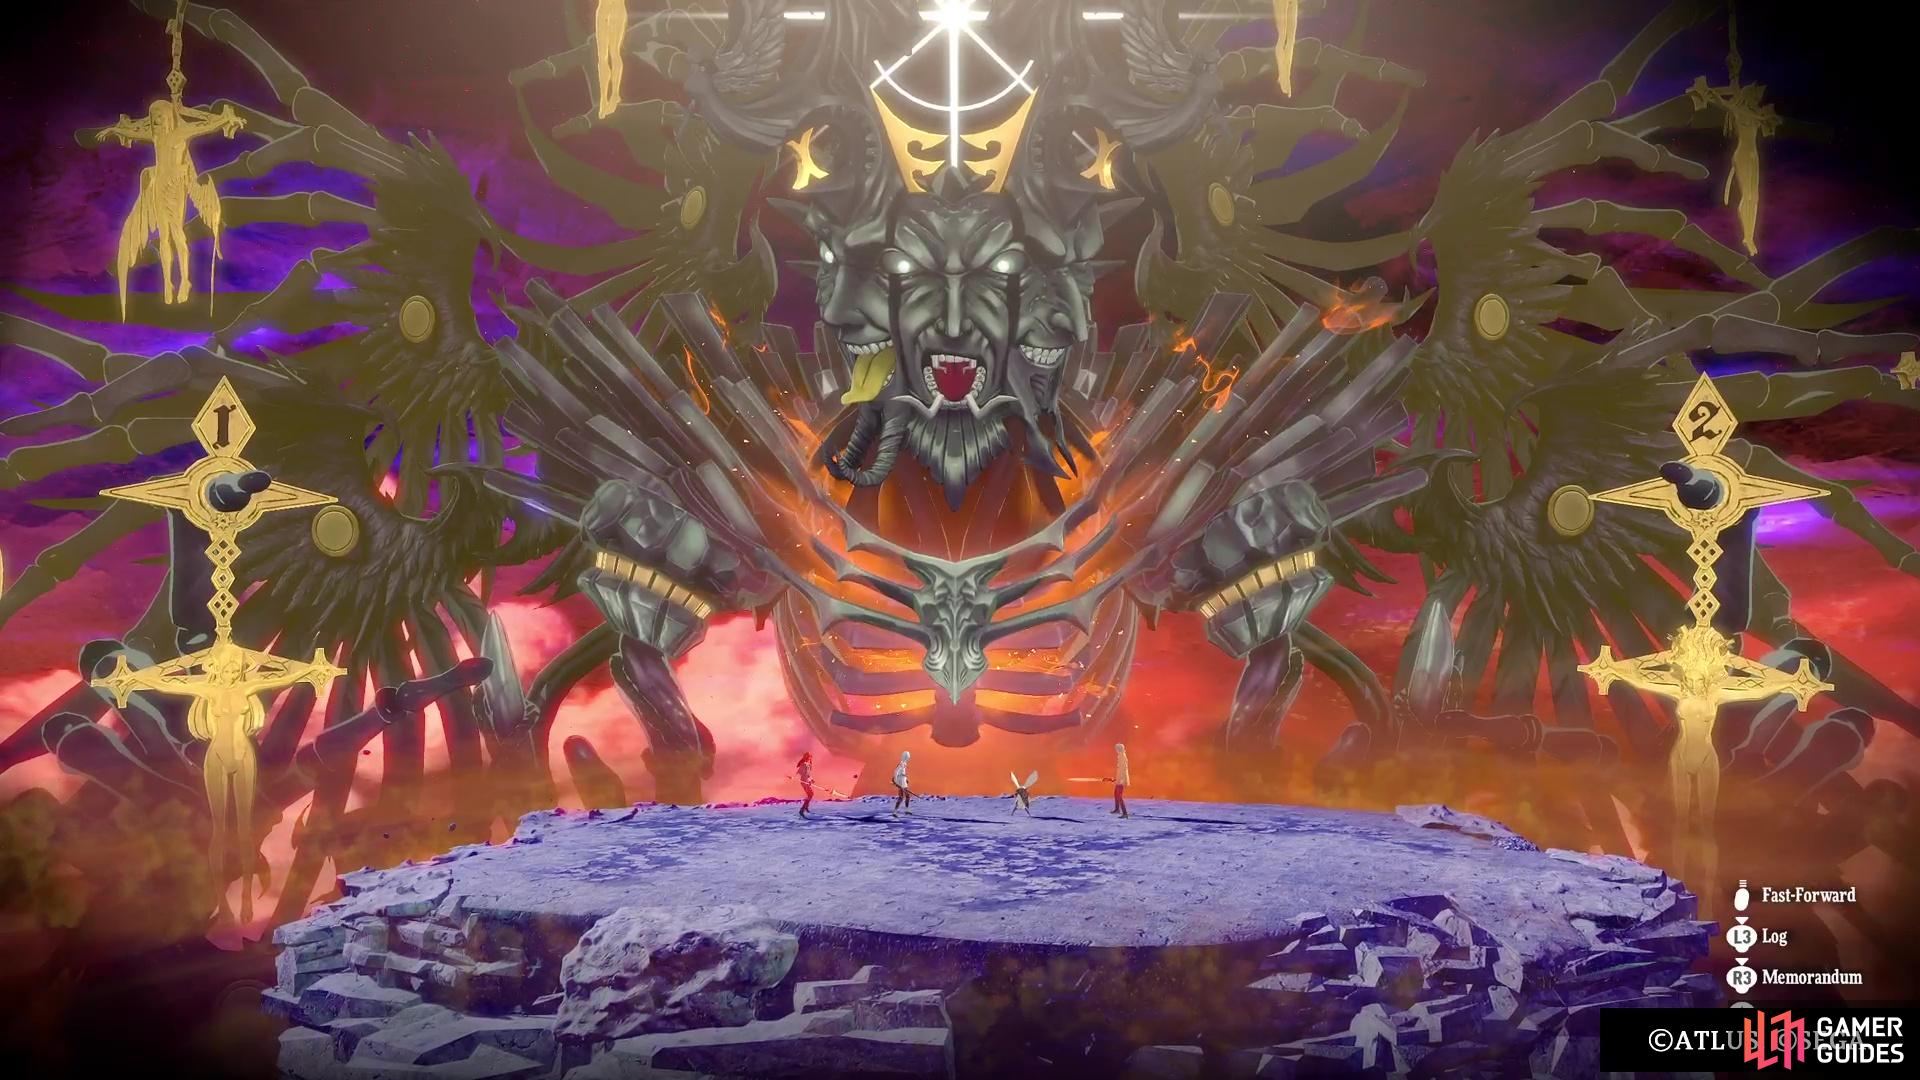
Destroyer Charadrius is the final boss of the main story.
All of Destroyer Charadrius Attacks
Destroyer Charadrius will have two distinct phases, which are essentially two different battles. Some attacks will be shared across both phases, but each will have their exclusive skills, too. Note that your status from the first phase will carry over into the second.
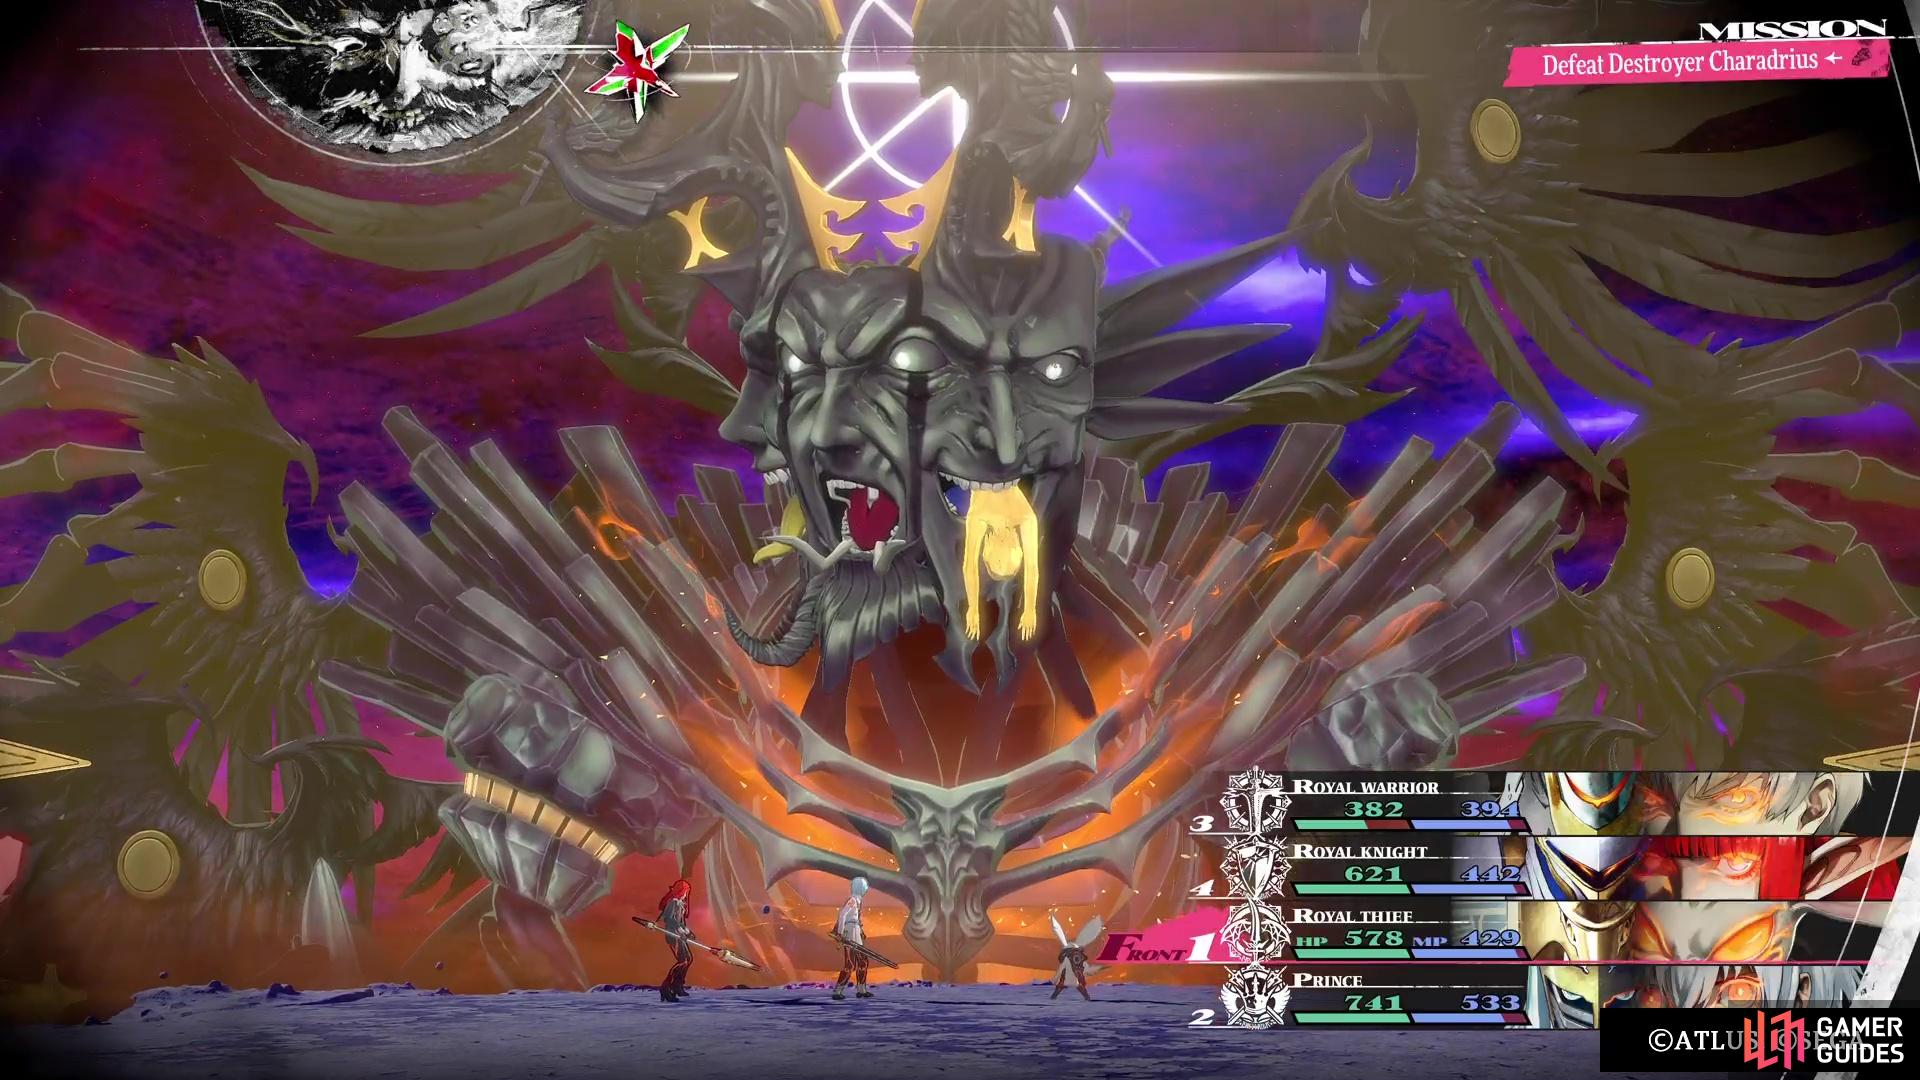
![]() Destroyer Charadrius has two distinct phases, which can share some of the attacks from the below list.
Destroyer Charadrius has two distinct phases, which can share some of the attacks from the below list.
-
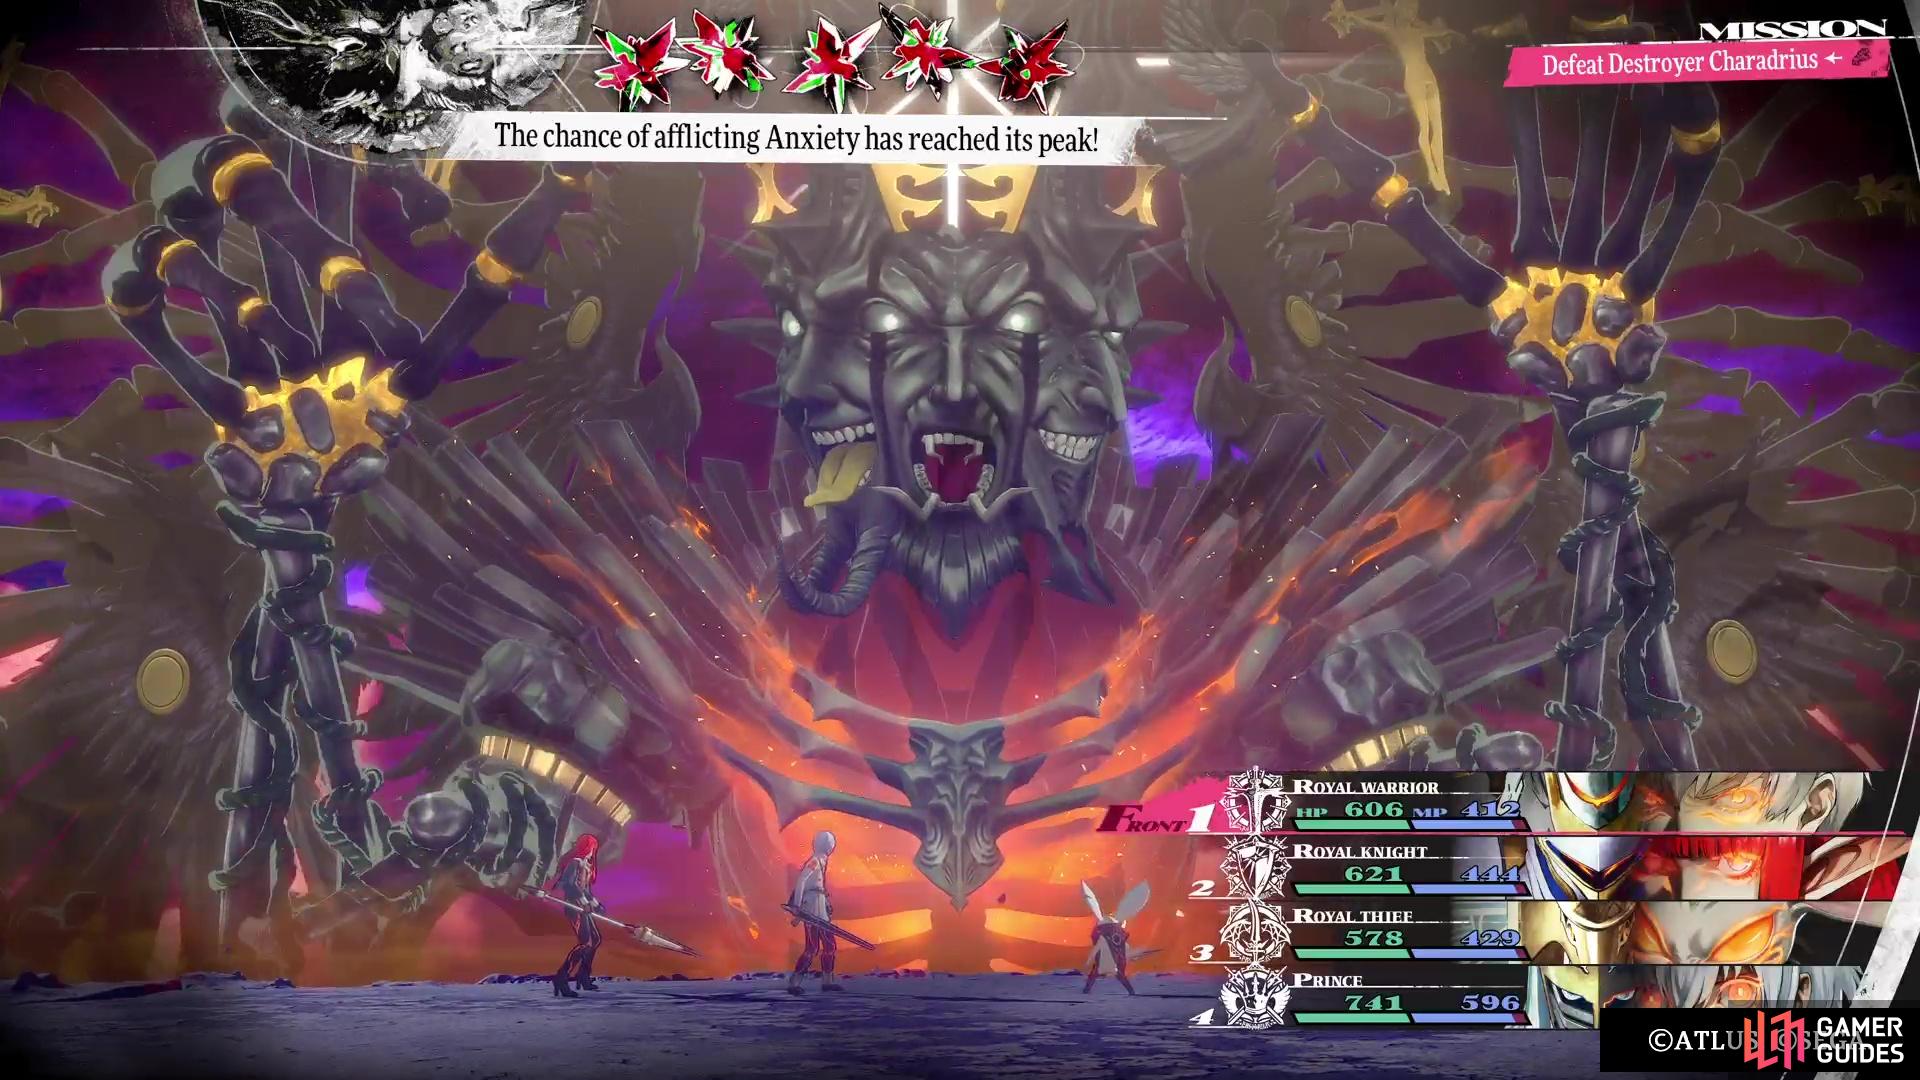
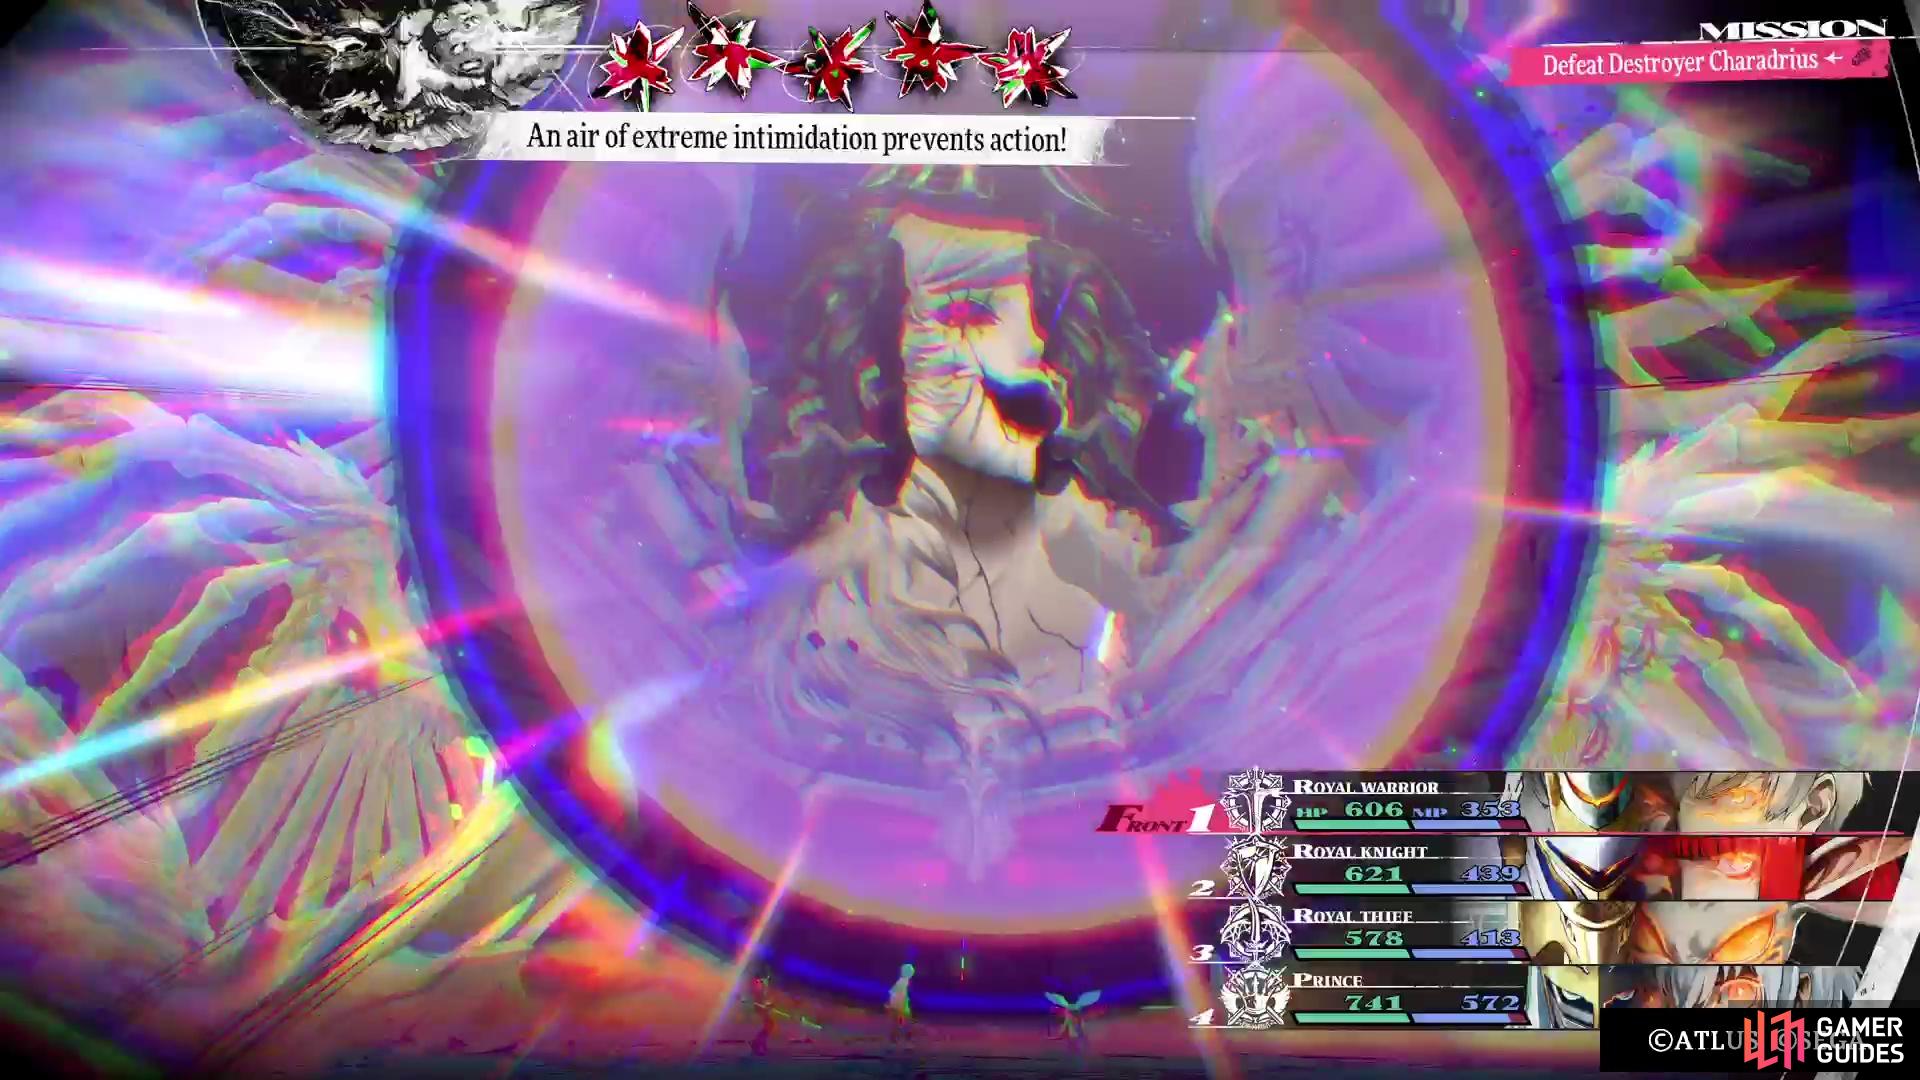
The Culled World: Chance of inflicting Anxiety through normal means is increased.
-
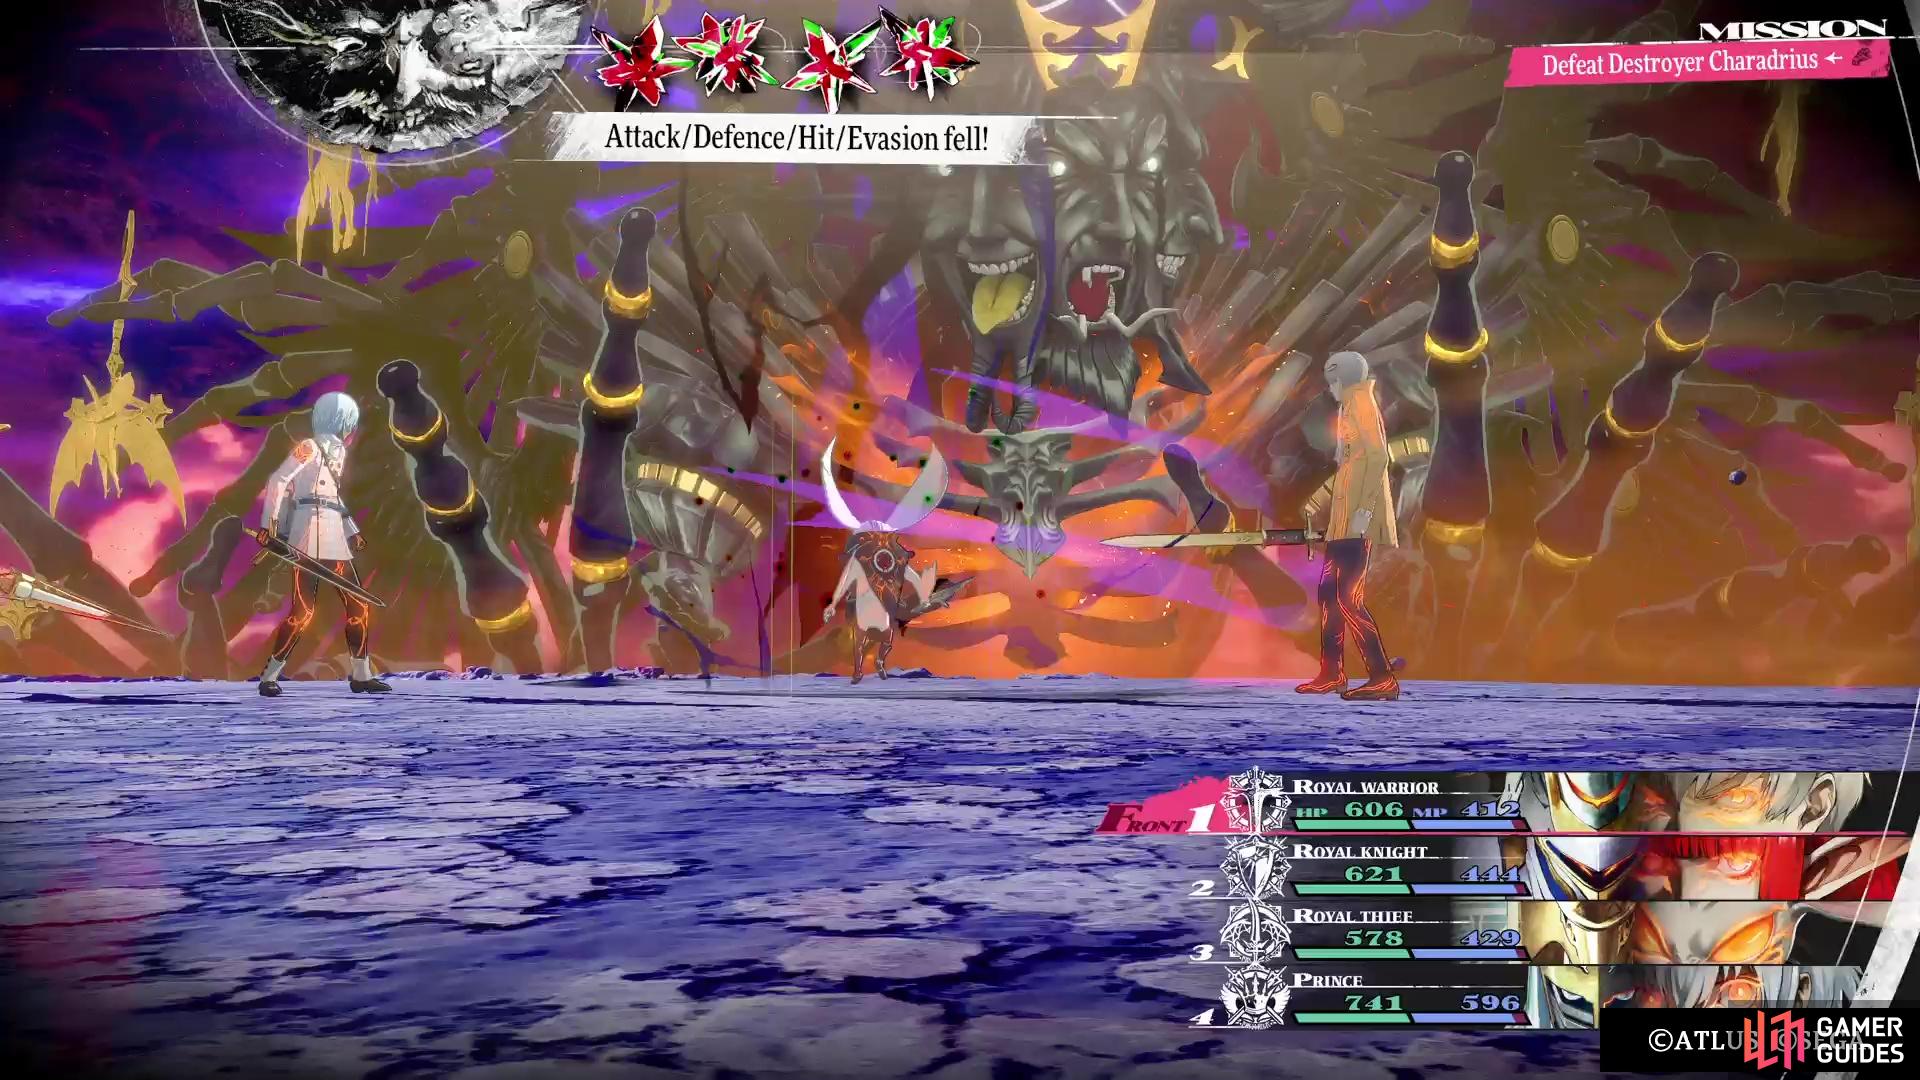
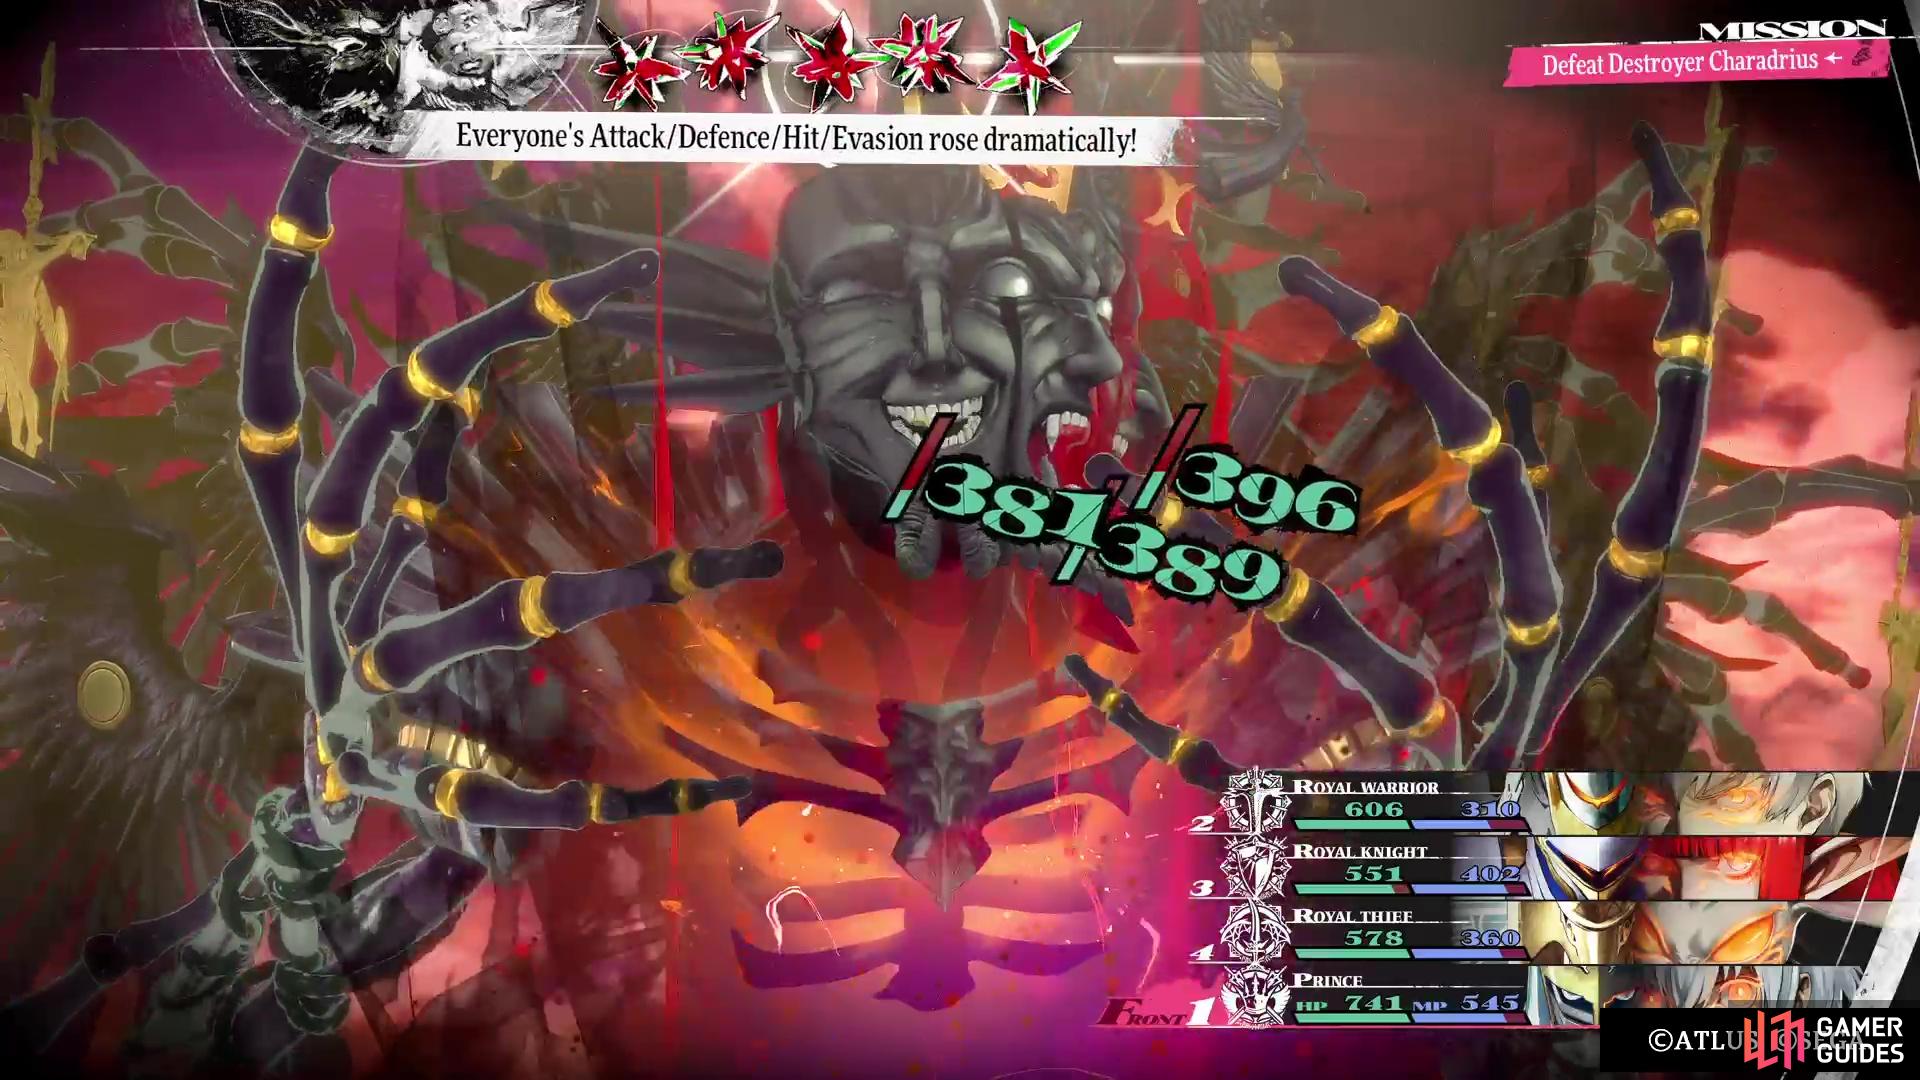
 Debilitate: Debuffs one character’s Attack/Defence/Hit Rate/Evasion by one rank for three turns.
 -
 Mudodyne: Heavy magical Dark damage to one character.
 -
 Hamadyne: Heavy magical Light damage to one character.
 -
 Gabouat: Heavy magical Fire damage to the entire party.
 -
 Gablizzaton: Heavy magical Ice damage to the entire party.
 -
 Gakandeon: Heavy magical Lightning damage to the entire party.
 -
 Gacyclone: Heavy magical Wind damage to the entire party.
(1 of 4) The boss will start by increasing the chance of Anxiety being afflicted.
-
Destructor’s Flare: Deals heavy physical Slash damage to all characters.
-
Focused Shot: Deals heavy physical Pierce damage to one character and debuffs Defence by one rank.
-
Tempest Shot: Deals heavy physical Pierce damage to all characters.
-
Slam: Deals heavy physical Strike damage to one character.
-
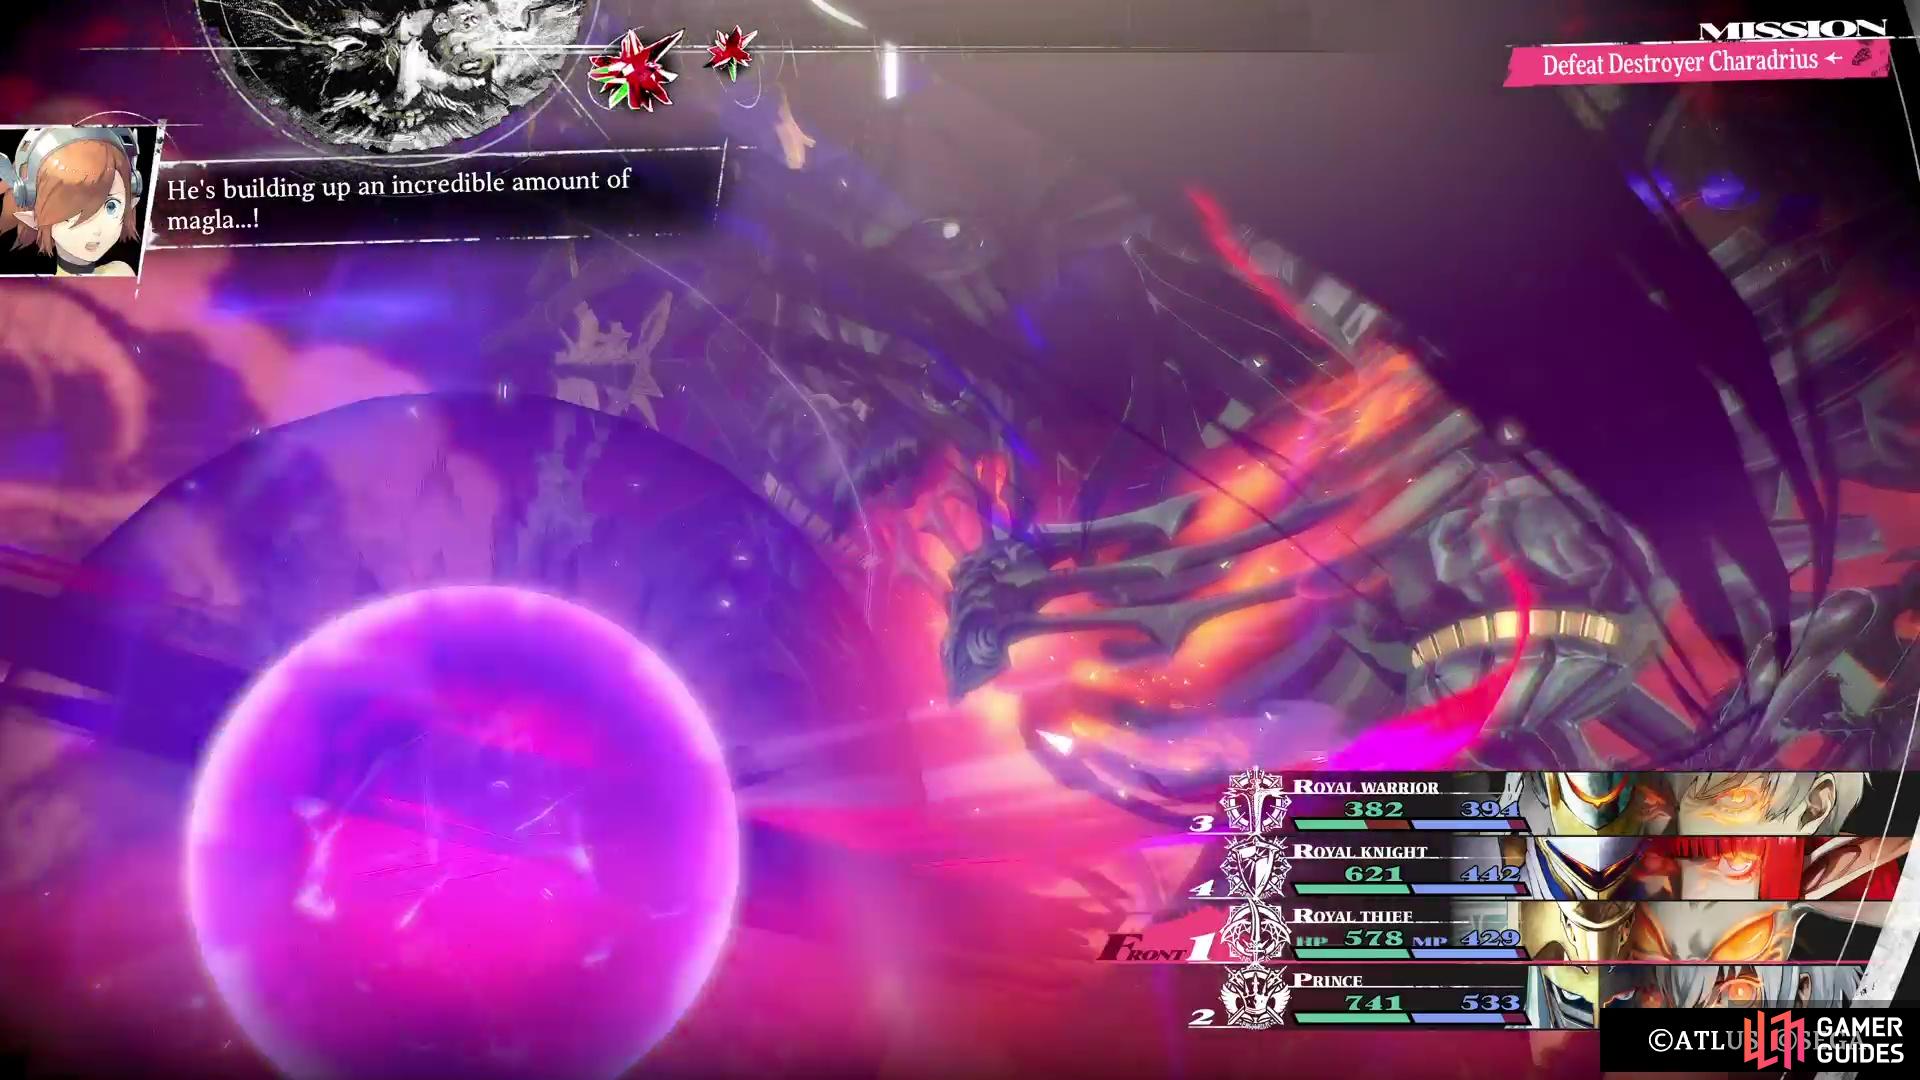
Terror Overflowing: First Phase. The boss will use this to charge up more power.
-
Great Reset: First Phase. Deals severe magic Almighty damage to all characters. May inflict Anxiety.
-
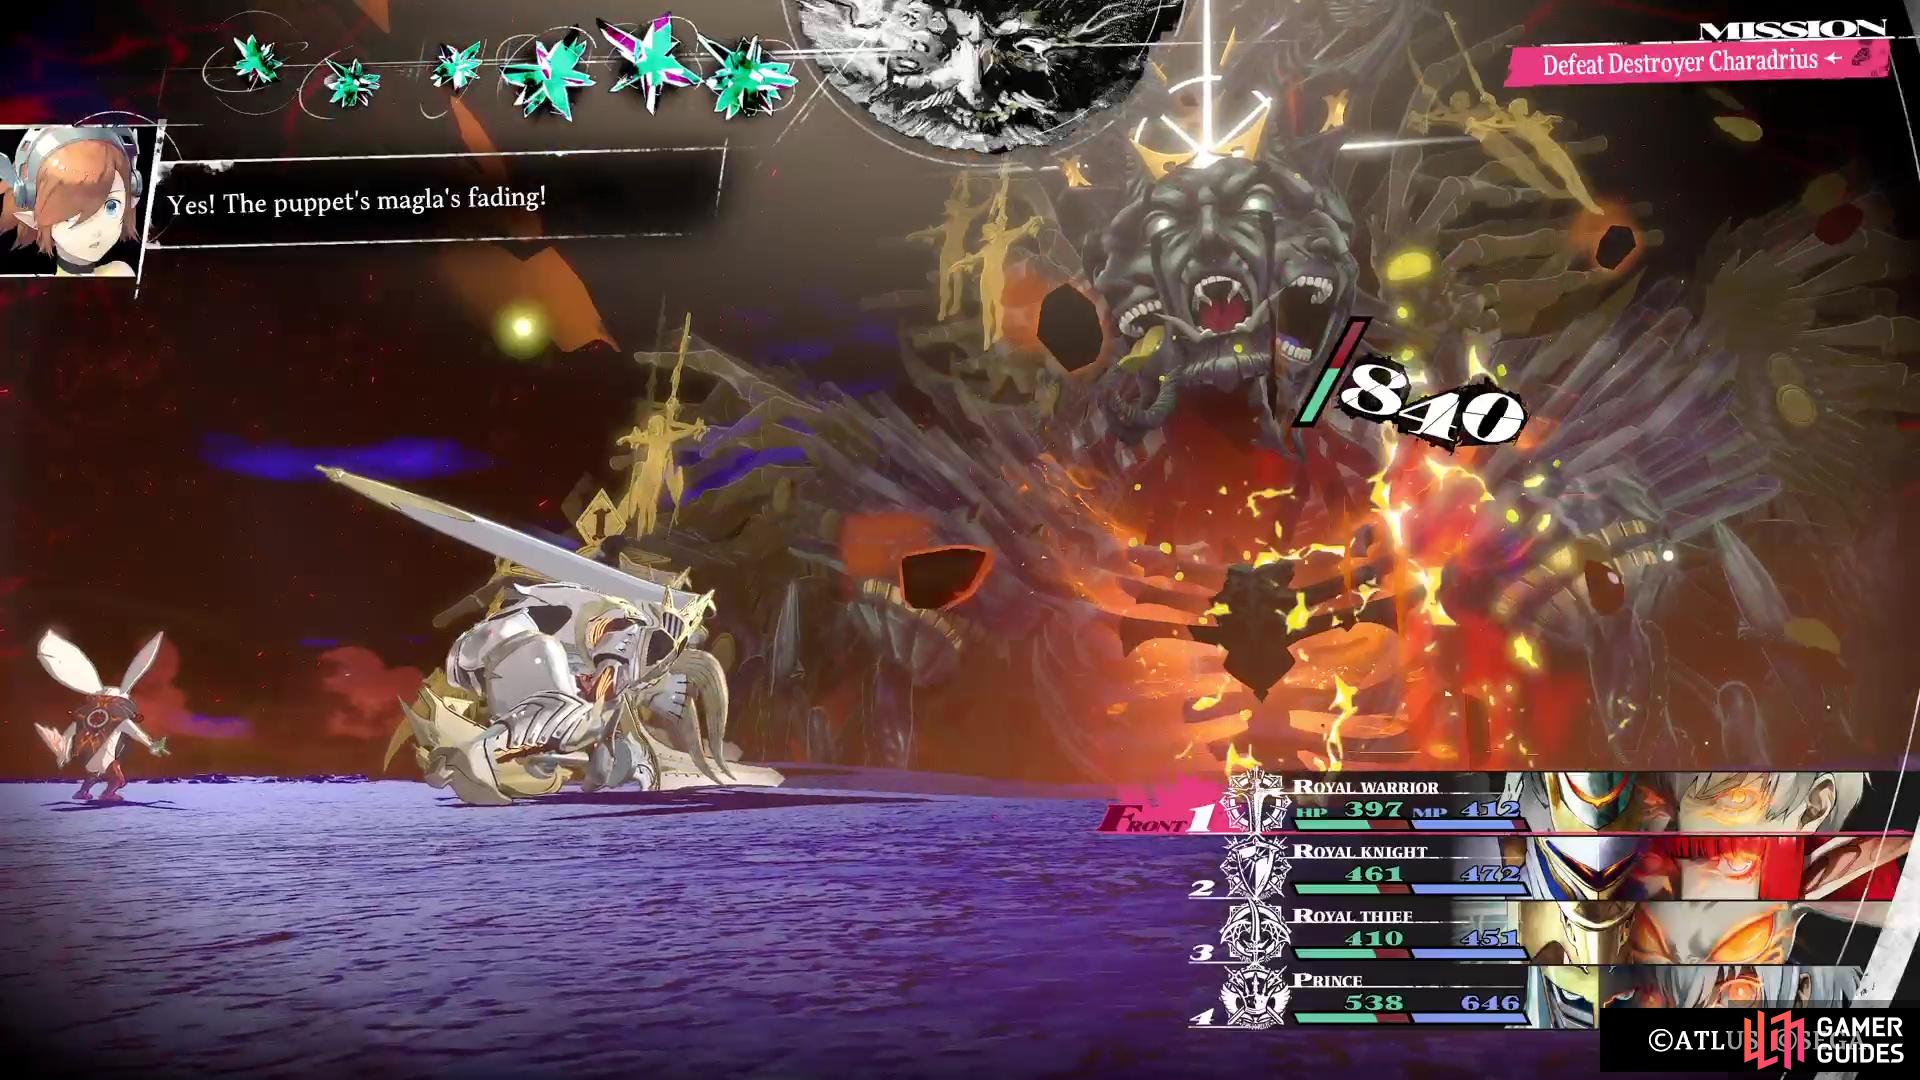
New Dawn’s Sacrifice: First Phase. A puppet will appear in one of the masks’ mouths. If you don’t attack and destroy the puppet, then an attack will happen. The attack used is based on the mask involved.
-
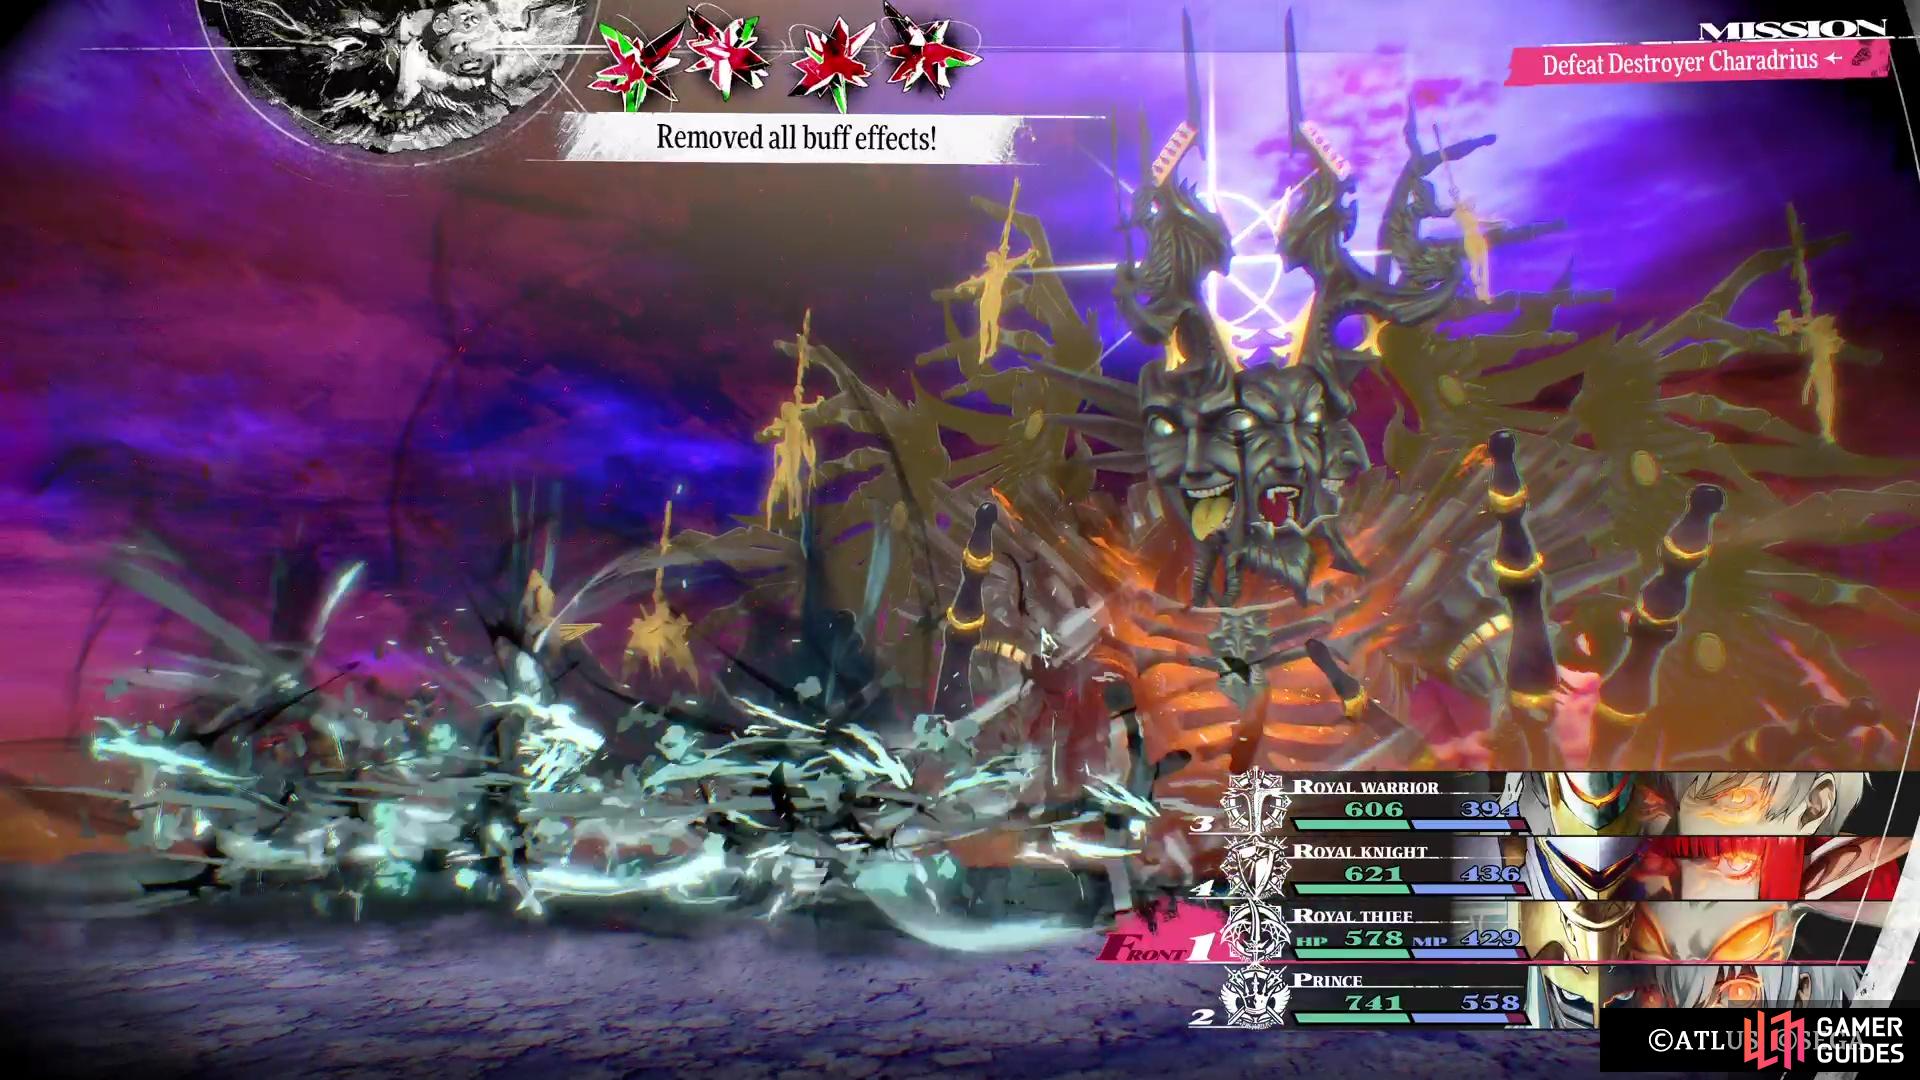
 Dekaja: Removes all buffs from the party.
 -
 Dekunda: Removes all debuffs from the boss.
(1 of 3) Louis can remove all debuffs and buffs, but he doesn’t do it all too often in the first phase.
-
High Pressure: Second Phase. Makes it so you won’t have as many Turn Icons on the turn following this move.
-
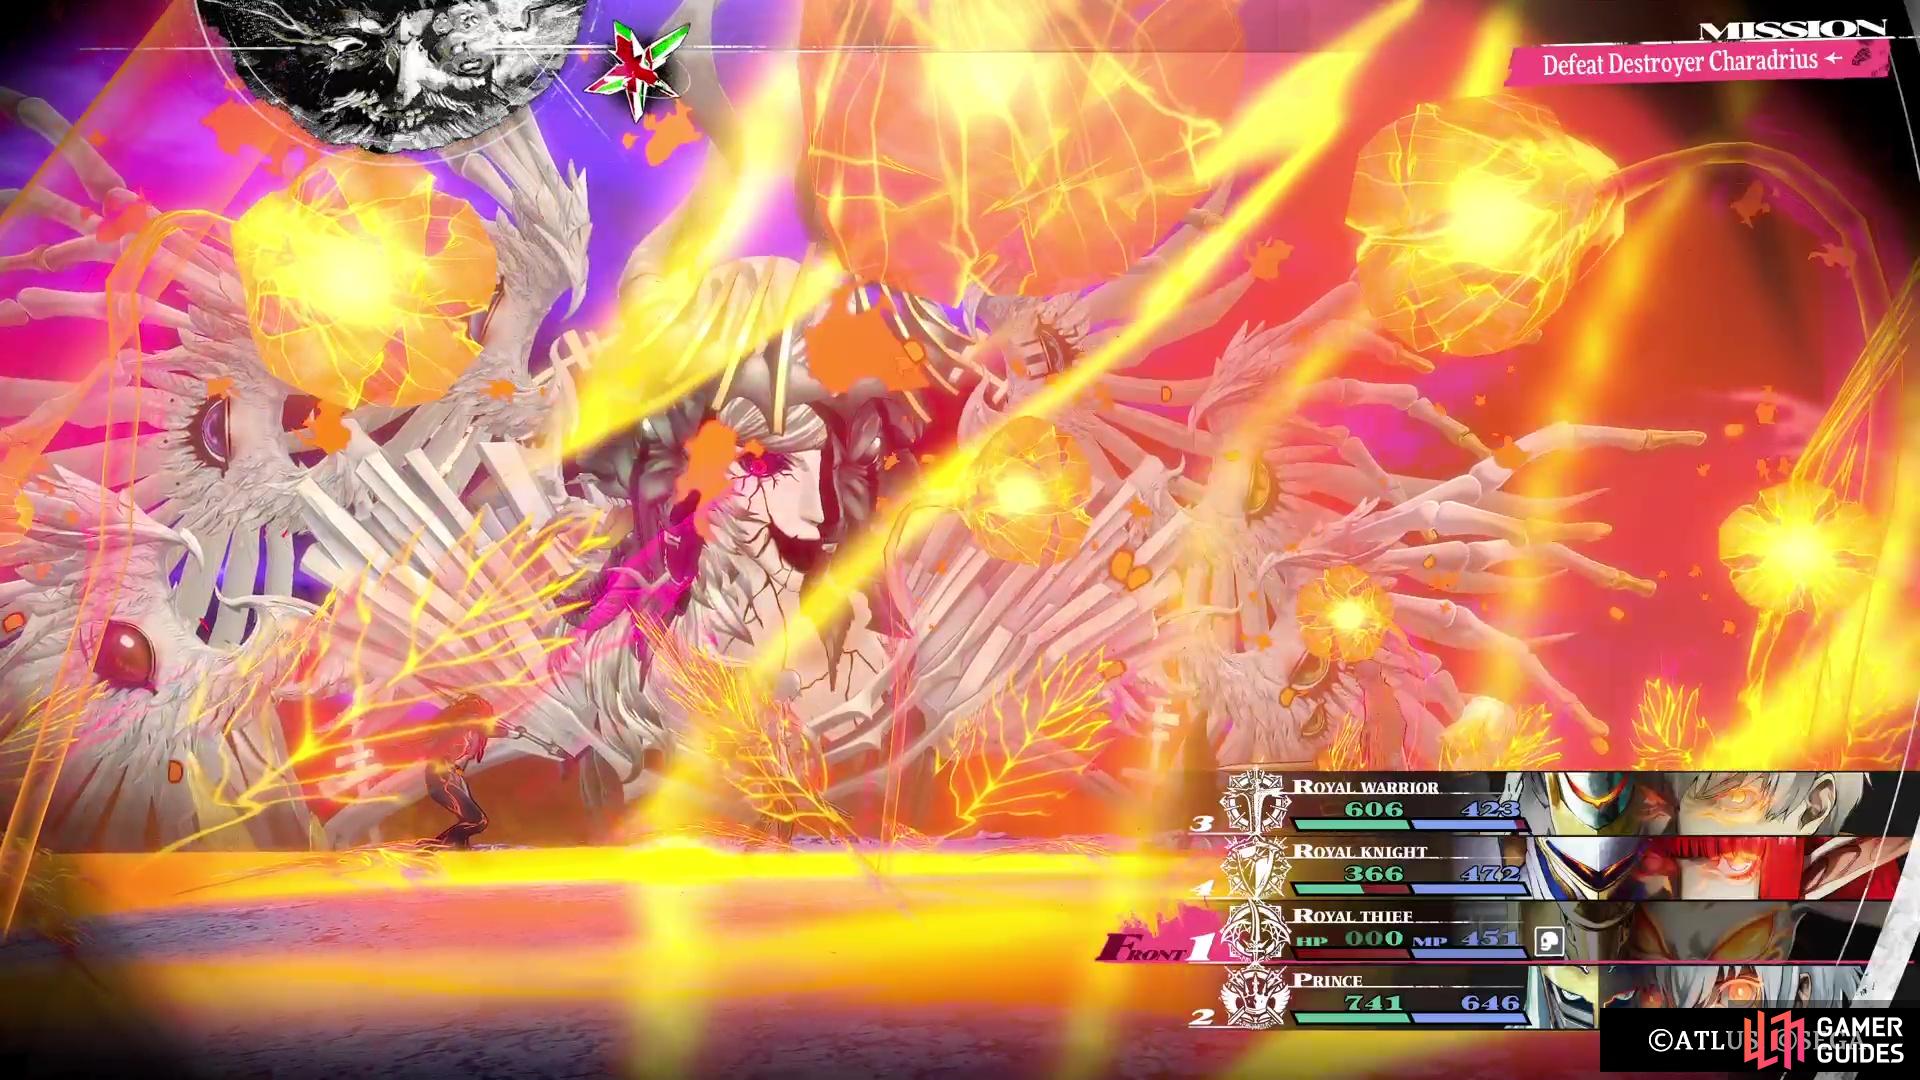
Thunder Fist: Second Phase. Deals extreme magic Electric damage to all characters.
-
Crimson Flameflower: Second Phase. Deals extreme magic Fire damage to all characters.
-
 Emerald Vortex: Second Phase. Deals extreme magic Wind damage to all characters.
 -
 Hadean Icecrag: Second Phase. Deals extreme magic Ice damage to all characters.
 -
Unsullied Radiance: Second Phase. Deals extreme magic Light damage to all characters.
-
Underworld Tree: Second Phase. Deals extreme magic Dark damage to all characters.
-
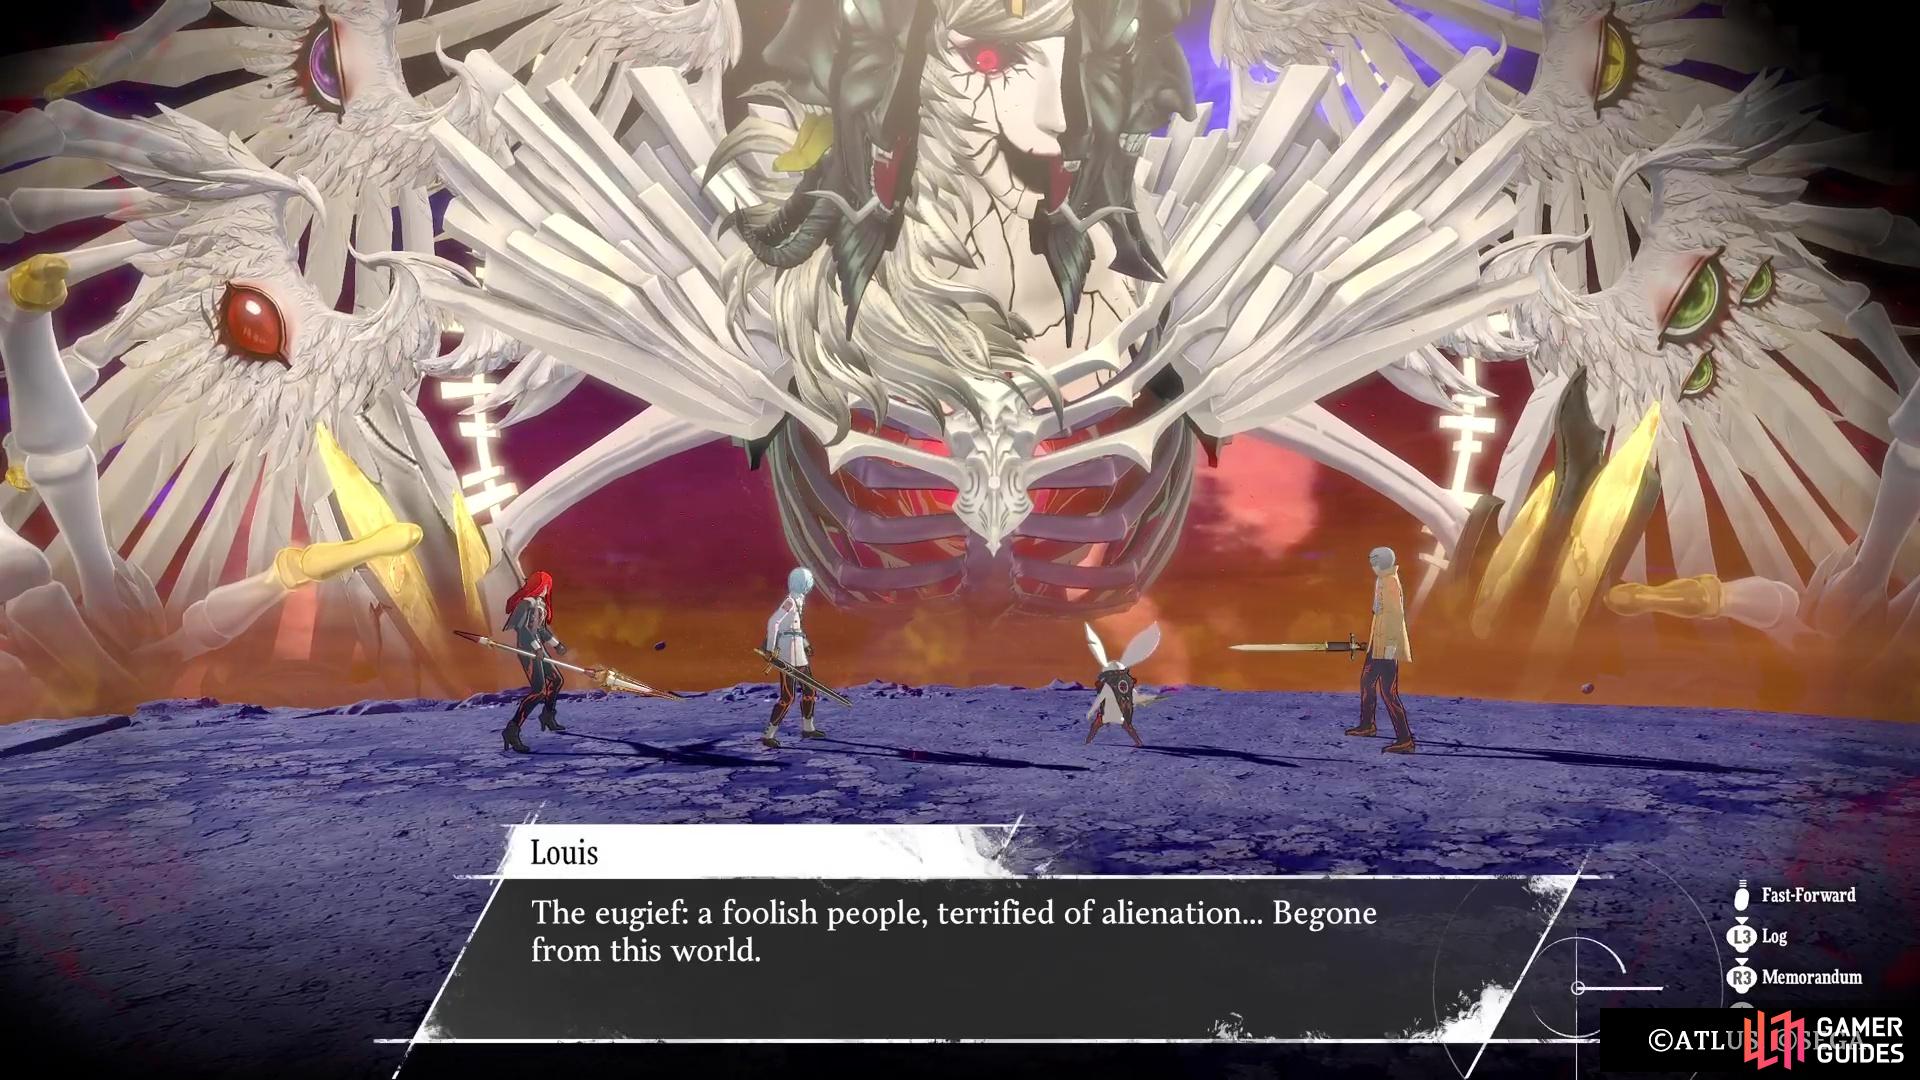
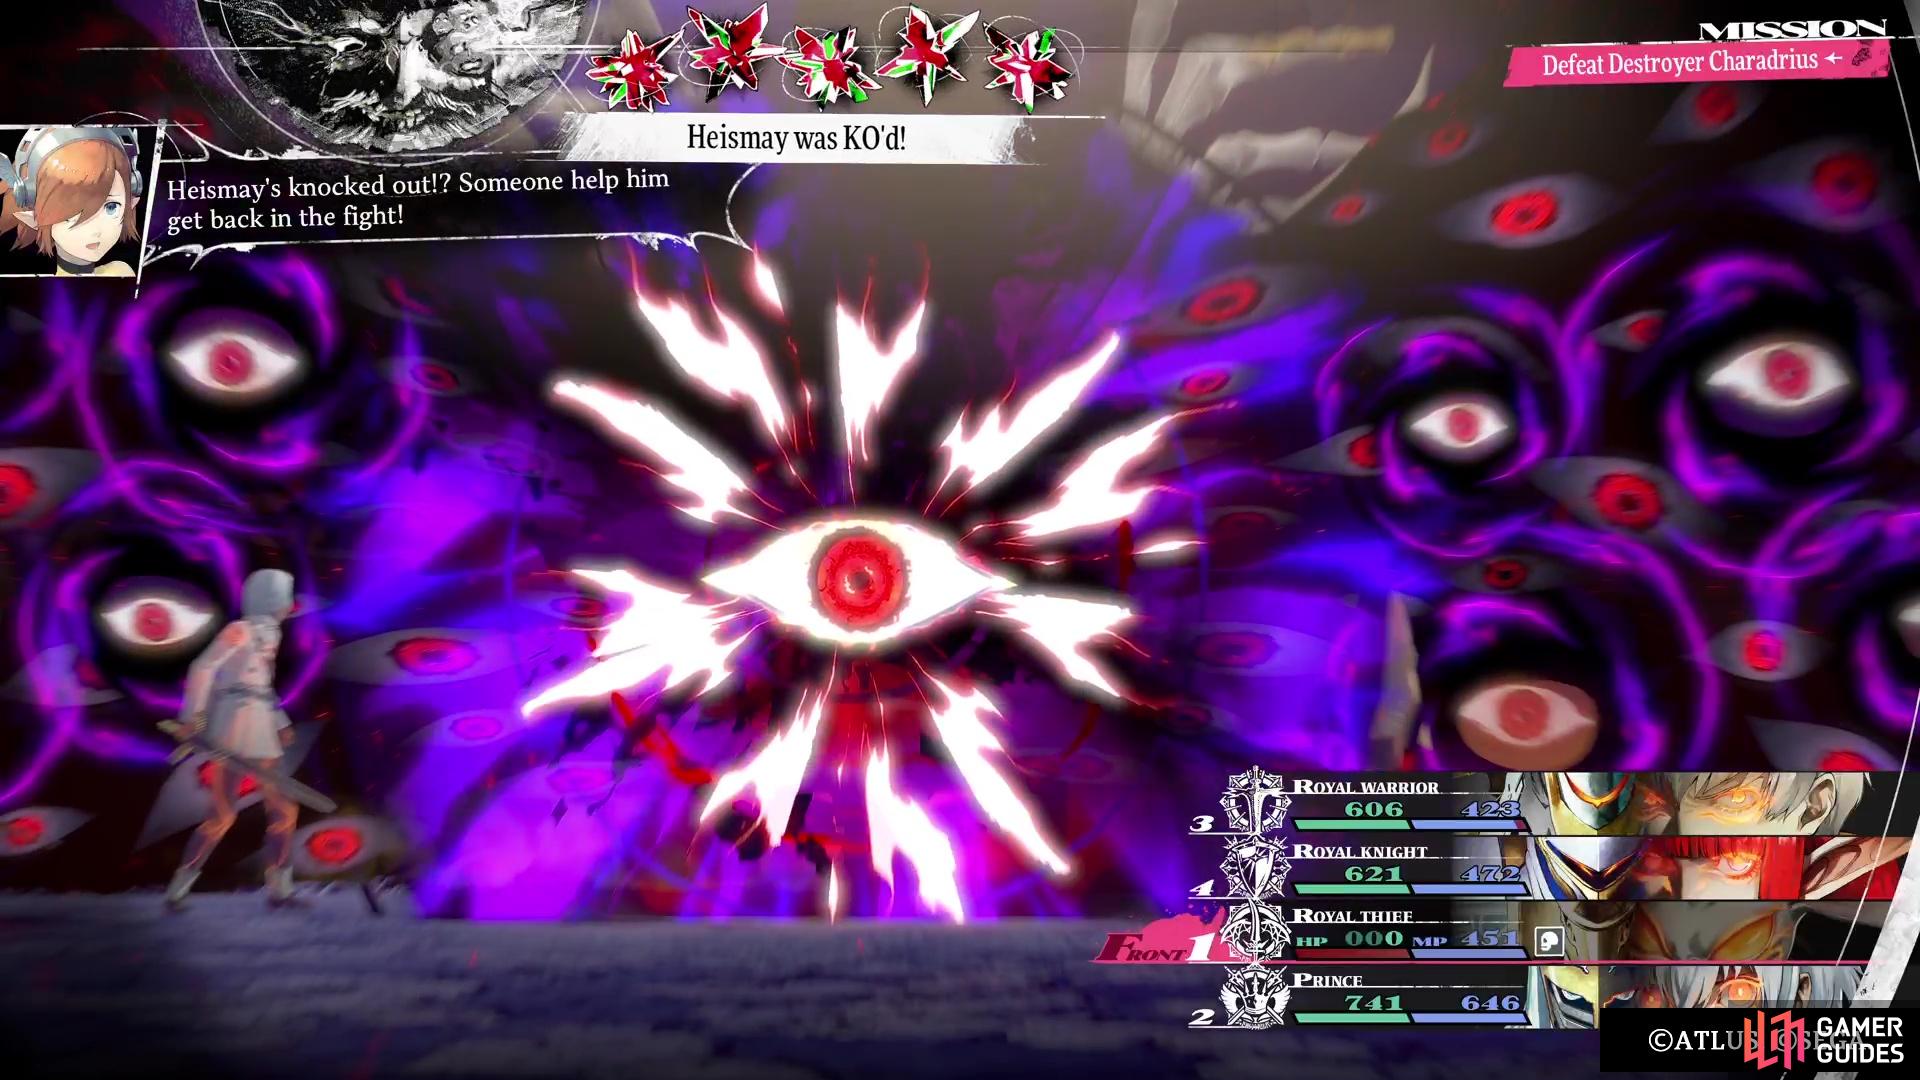
A Tribe Condemned: Second Phase. Renders a specific tribe erased, which will KO that party member in combat. No way to stop this from happening.
Destroyer Charadrius (Masks) Boss Strategy
The first phase of the boss will have three targets for you to destroy, which are the Mask of Mirth, Mask of Ire, and the Mask of Joy. You have to defeat all three masks in order to progress to the second phase. However, there is a slight catch here, as each of the masks will be resistance to certain damage types, despite them not having any actual resistances (or weaknesses). The Mask of Ire will take less damage from physical attacks, while the Mask of Joy takes less damage from magical attacks. That means you’ll want to use physical on Joy and magical on Ire. As for the Mask of Mirth, it takes a little less damage from both damage types.
(1 of 2) Each of the masks will take less damage from the various damage types.
Each of the masks will take less damage from the various damage types. (left), That’s why it’s important to have variety in your attacks for this phase. (right)
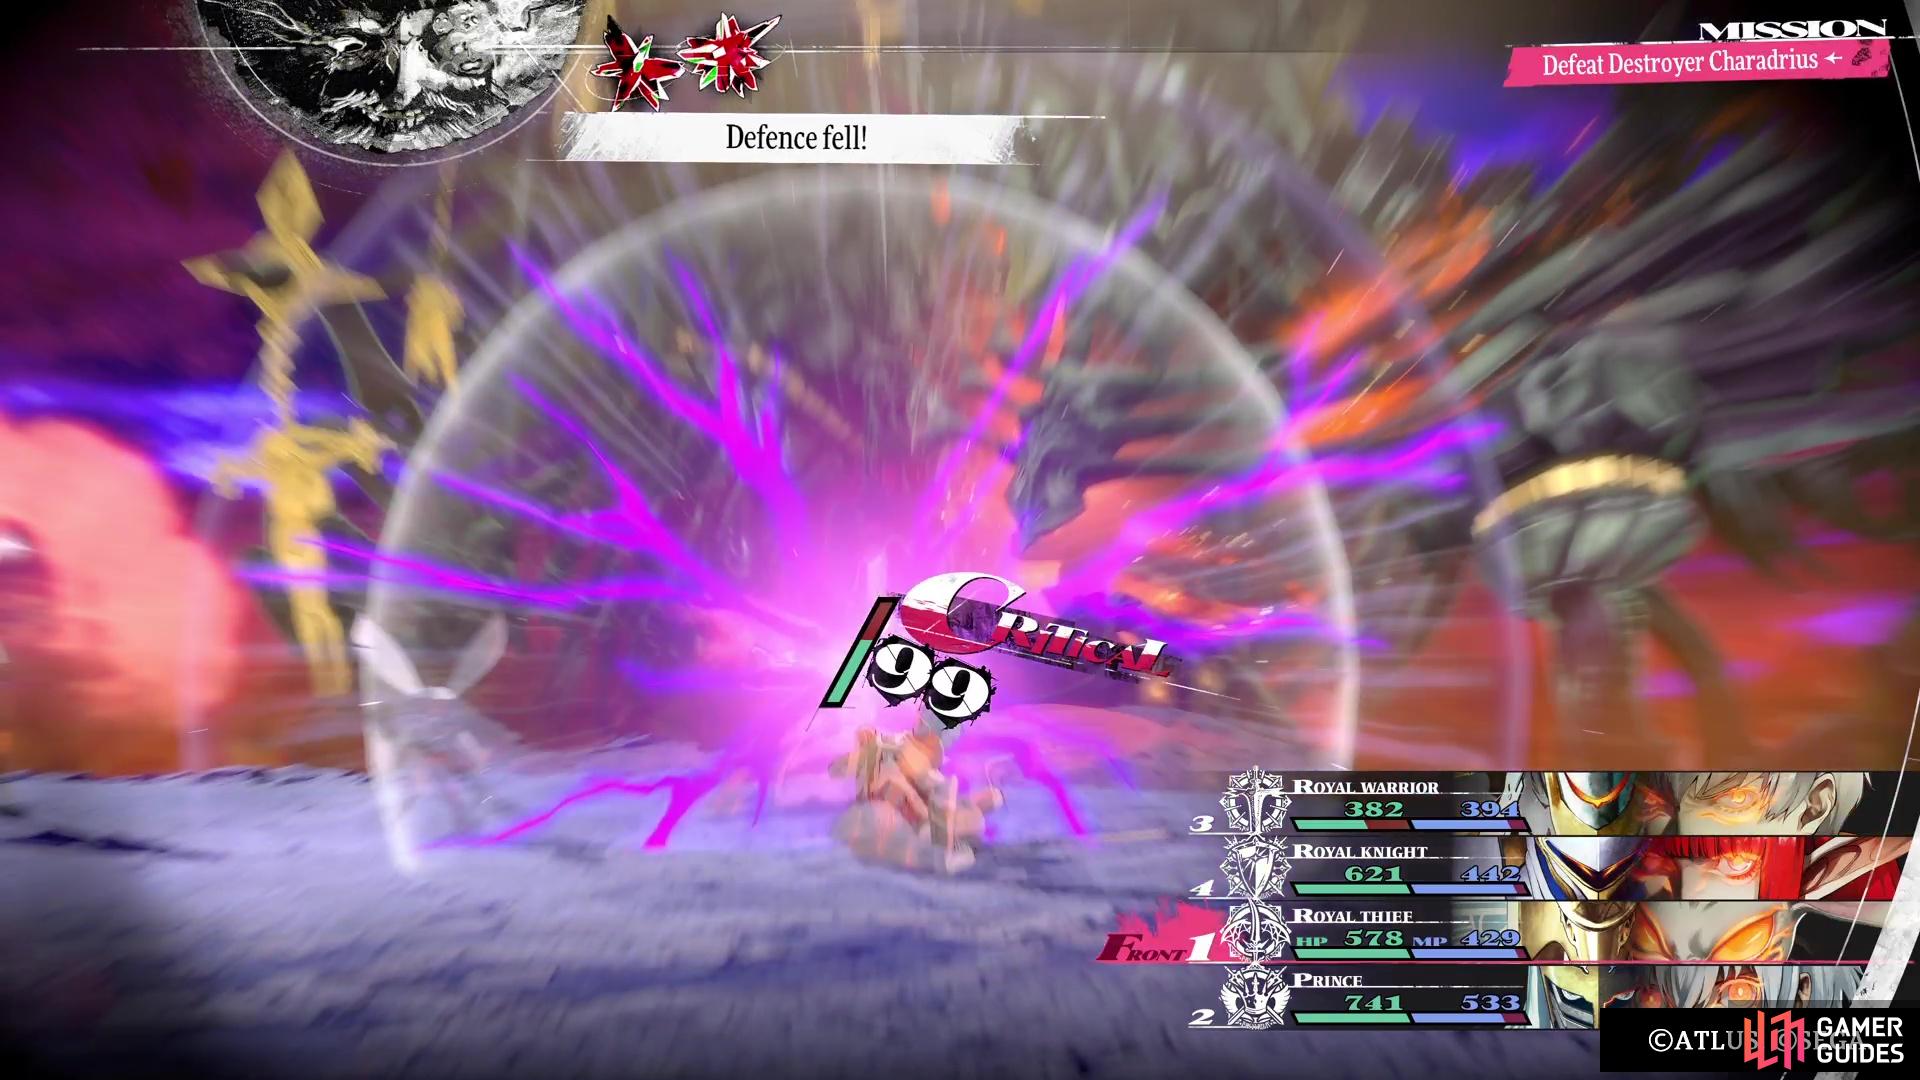
Now, one of the big problems with this battle centers around the Anxiety ailment. The Culled World is used pretty much right away, which will increase the chance that Anxiety is inflicted. Of course, this means that taking critical damage, having a weakness hit, or simply missing your attacks will almost guarantee that the ailment will be on that character. If you managed to unlock all of the classes for the Protagonist, then you unlock the ![]() King’s Sovereignty sword and one of the perks is that it completely prevents Anxiety for the entire party.
King’s Sovereignty sword and one of the perks is that it completely prevents Anxiety for the entire party.
If you don’t have that sword, then it’s highly likely someone will be hit with Anxiety, so you want to make sure they are healed of it as quickly as possible. There is actually one move that he does that can inflict Anxiety, called Great Reset. He doesn’t use it often, but it does appear to be connected to Terror Overflowering, where he gathers some energy. Doing that move twice means that Great Reset will eventually be thrown into the mix at some point. The boss also has one more trick up its sleeve, called New Dawn’s Sacrifice.
This move will have one of the masks put a magla puppet in its mouth. If you don’t destroy it on the subsequent turn, then that puppet will be consumed and a big attack will occur. The attack/ability used depends on the head, as well as the race of the puppet used. The Mask of Joy will use a magical attack on your party, the Mask of Ire will use a physical attack, and the Mask of Mirth will usually heal, as well as buff the masks or debuff the party. Some of the attacks from this will sometimes carry ailments, so make it a priority to destroy the magla puppet.
(1 of 3) New Dawn’s Sacrifice has Louis placing a puppet in one of the masks’ mouths.
This fight is definitely no pushover, so you want to make sure that you do some debuffing/buffing, despite the threat of Dekaja/Dekunda. The most important part is handling the Anxiety, as well as mitigating all of the chances of bigger attacks from New Dawn’s Sacrifice. Keep your health topped at all times, just in case, as you never know what might happen.
Destroyer Charadrius Final Battle Strategy
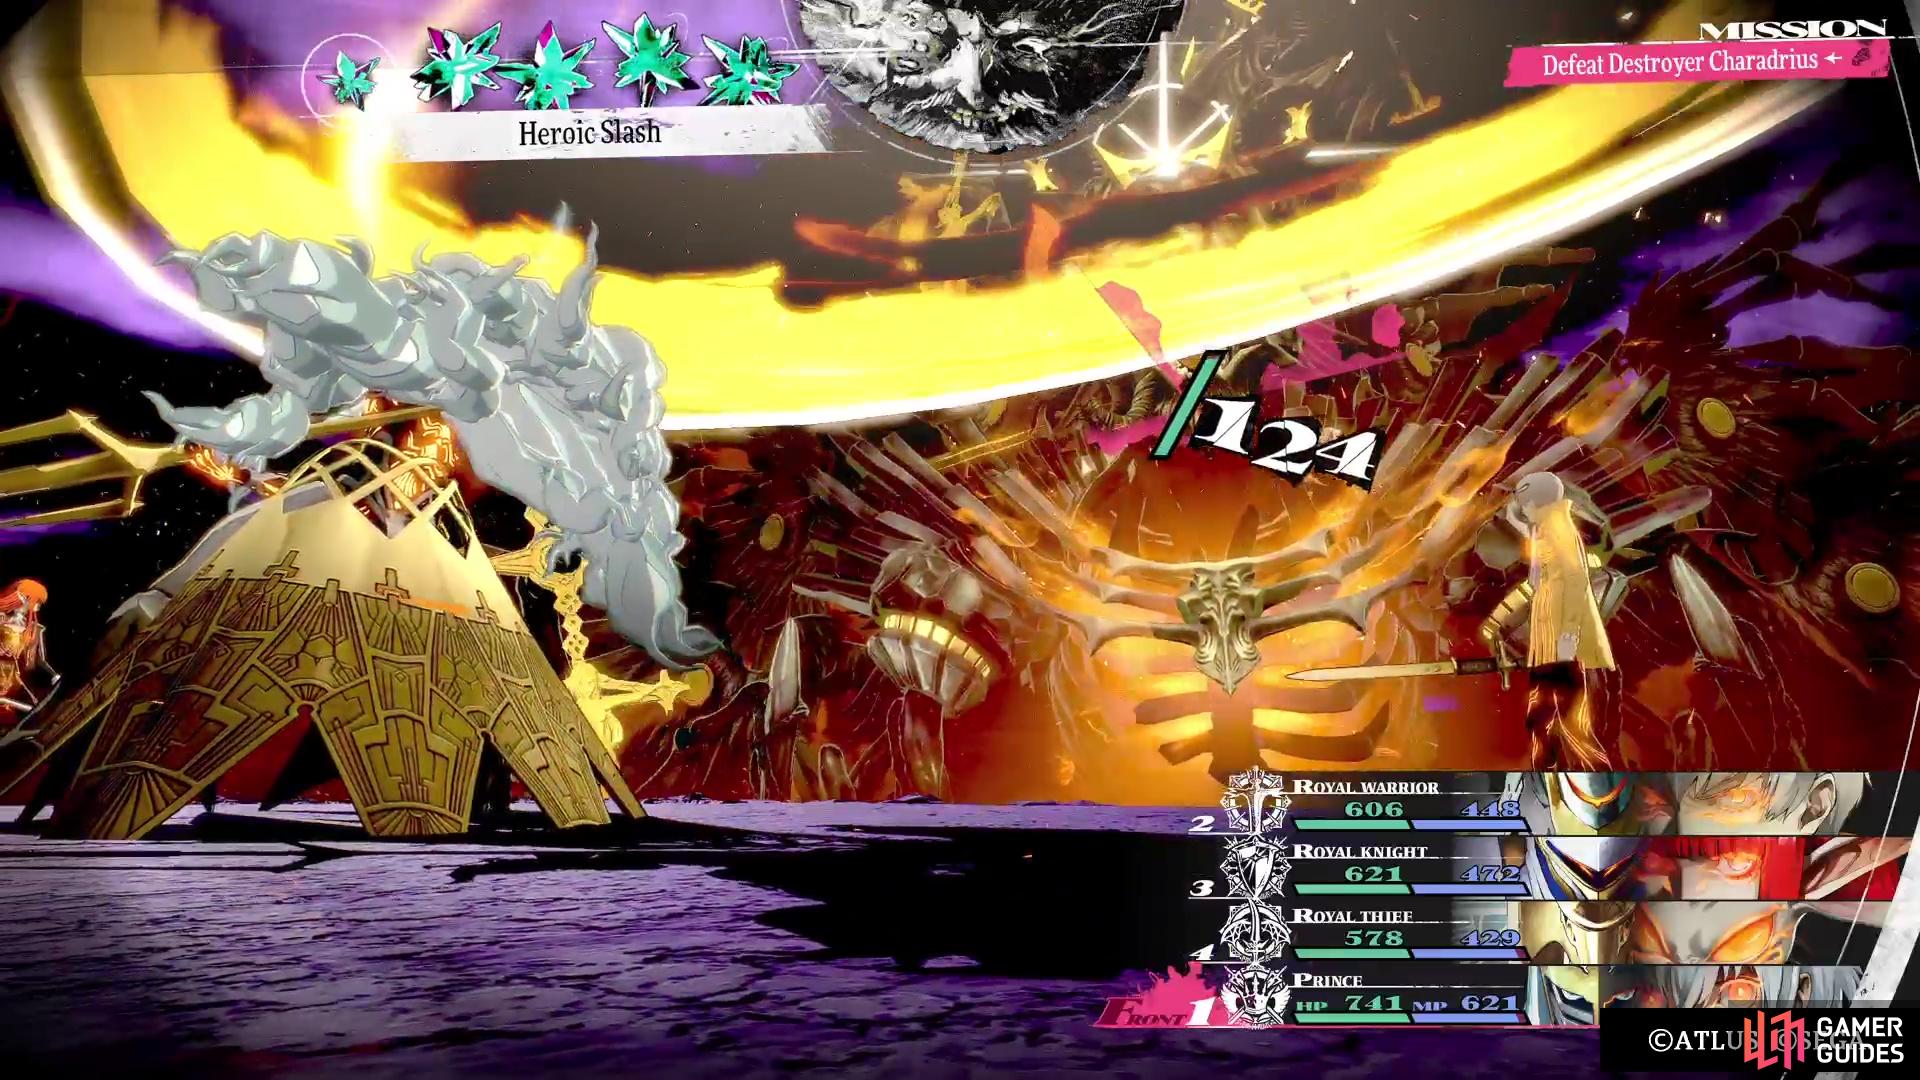
After destroying all three masks, the second phase will begin and it’s time for the true final boss of the game. As you would think, this form doesn’t have any resistances or weaknesses, so you can use whatever you want. He is also only a single target, so you won’t need to worry about spreading your damage out across multiple enemies. At this point, he will pretty much always use Dekunda and Dekaja to remove all debuffs/buffs, so only use them if you want him to waste a Turn Icon. He does use some of the same moves from the previous form, but he also has some new ones to add.
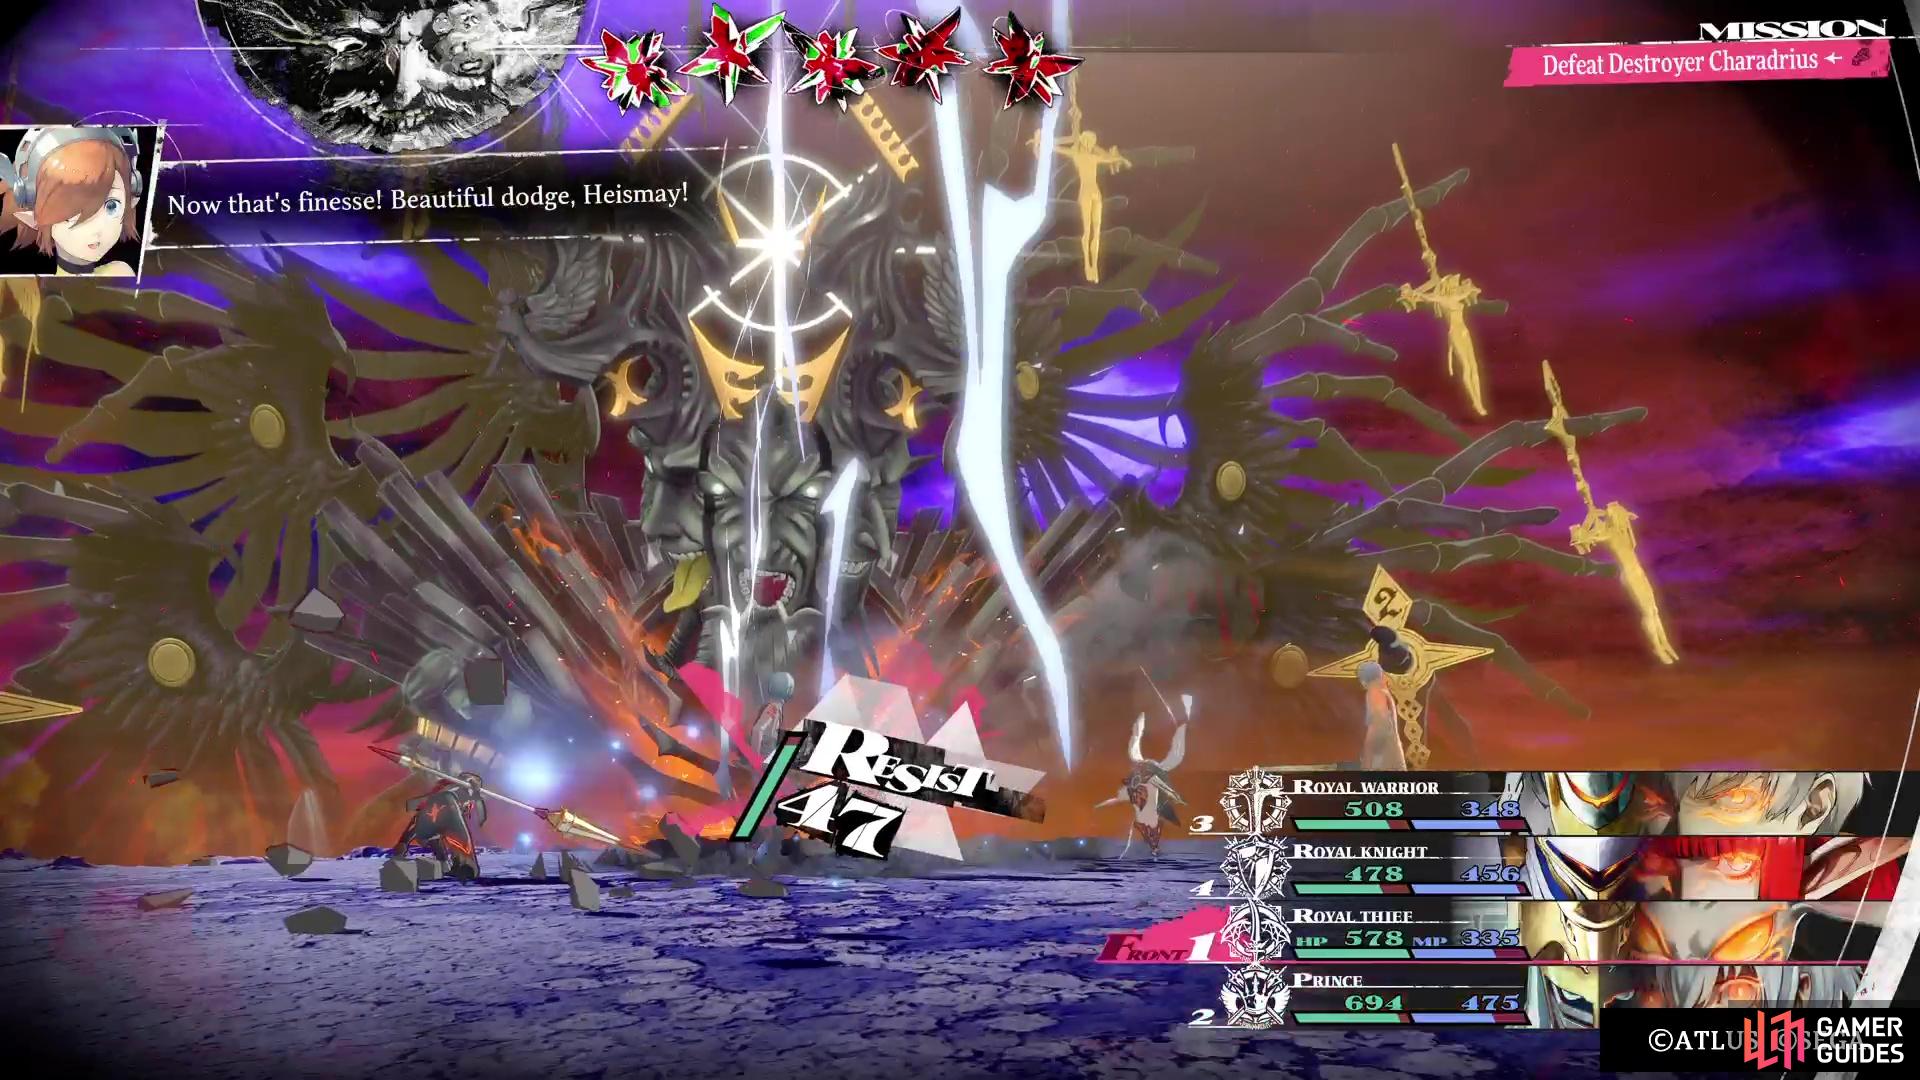
High Pressure is one of those new skills, where you won’t know what it really does until your following turn. Basically, it will take away some of your Turn Icons on your turn following the move’s use, so you won’t have your full set of actions. Louis will also have a bunch of bigger elemental attacks, stronger than the ones in the first phase. Unless they are weak to them, you should be more than fine, especially if you keep your health full at the end of every round you have. There is one more little trick that he will have in this phase, though.
(1 of 4) High Pressure will remove some of your Turn Icons on your subsequent turn.
At some point, Louis will start spouting about one of the game’s many races. For example, he might say something about the eugief, of which Heismay is one of them. Once this happens, there is nothing you can do, as on his subsequent round of actions, he will use A Tribe Condemned to just outright KO that character. This will likely just cause you to waste a few extra Turn Icons to recover. Otherwise, the battle is pretty straightforward for a final boss, outside of the one-hit KO attack.
Defeating the second phase of Destroyer Charadrius is the final nail in the coffin for Louis. Plenty of cutscenes follow, but there is something like an epilogue, where you can go around Grand Trad and speak to your Followers. Once you’re finished, head to the cathedral for more scenes, then the credits will roll. Don’t forget to save your game after the credits are over for a Clear Game File. Load this up to start a New Game+, if you wish. Go to that page to get an understanding of what carries over and doesn’t.


 Sign up
No Comments