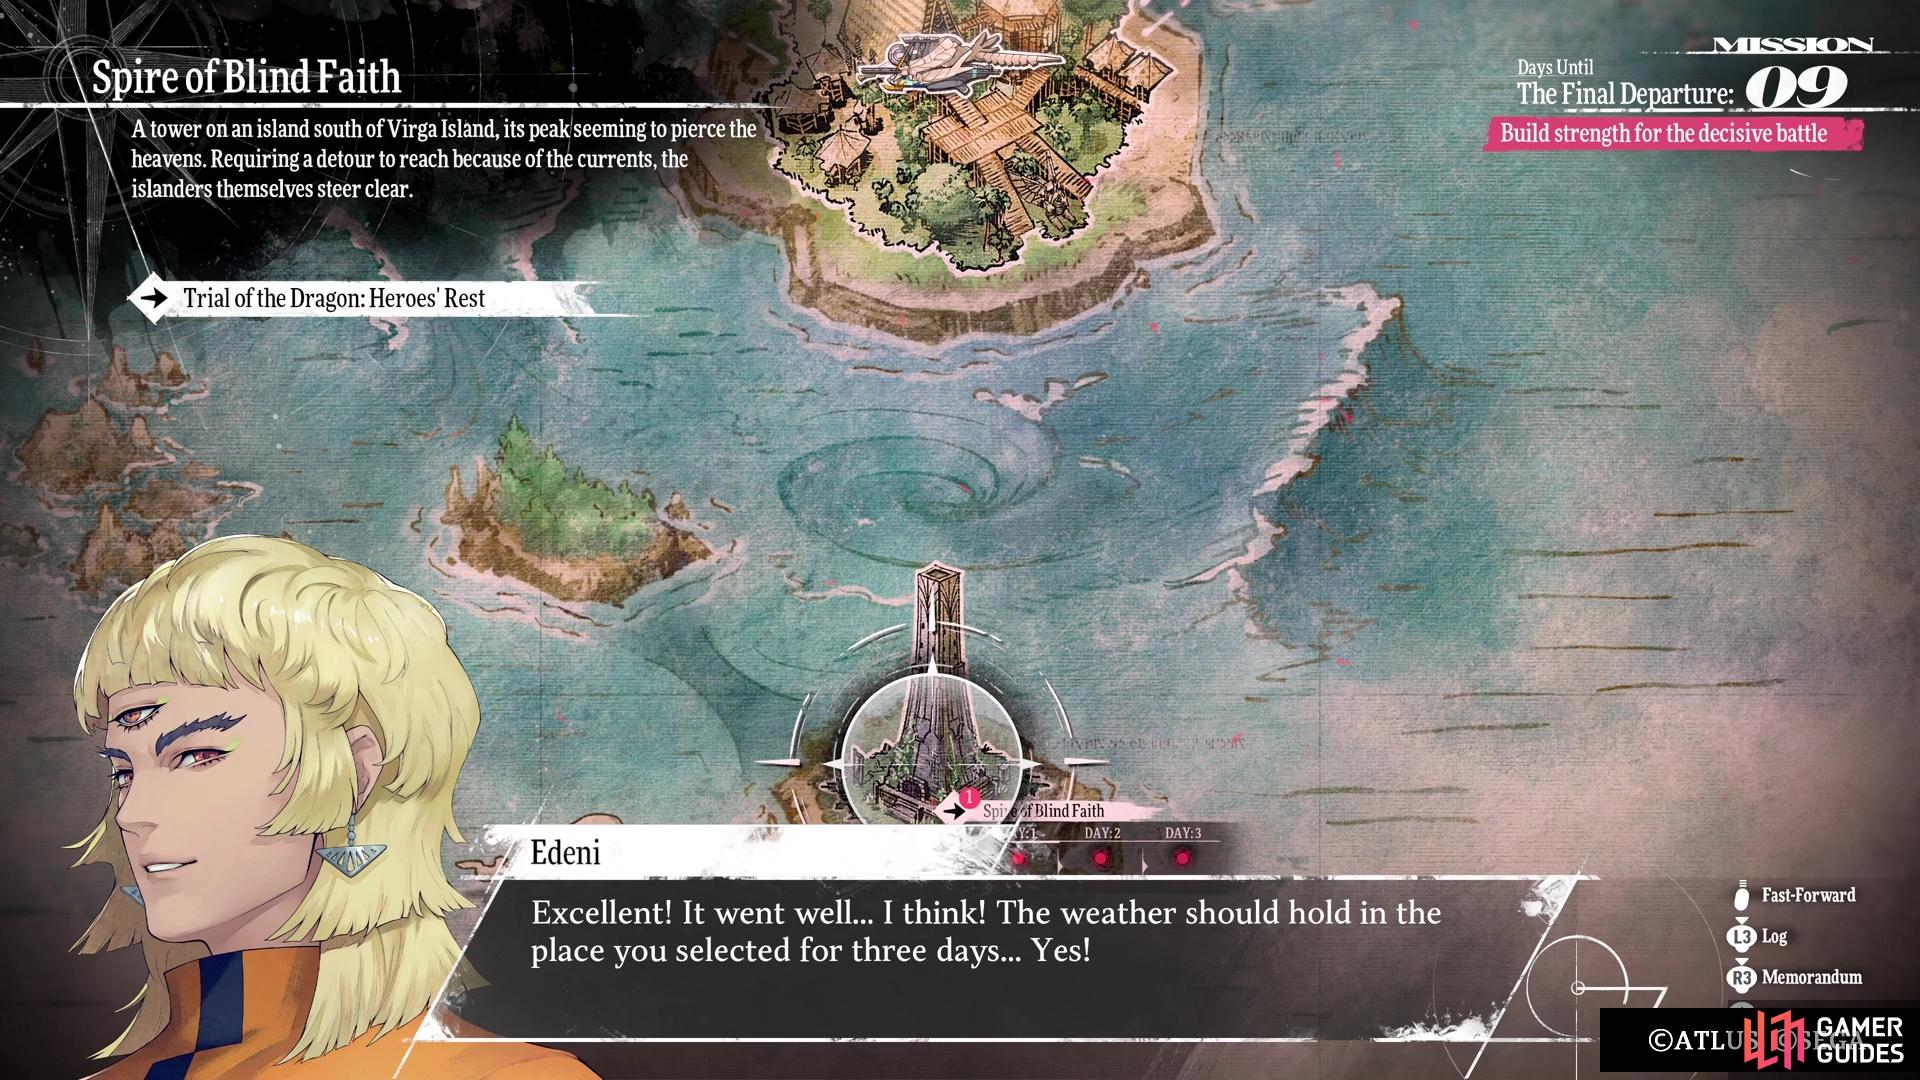
In the final month of the game, you will unlock a series of challenges called Trials of the Dragon. These will pit you against a series of tough battles, which will culminate in a showdown with one of the superbosses. ![]() Trial of the Dragon: Heroes’ Rest is one of the three quests, and it’s probably the one you should do last, due to one of the special moves the boss does during it. You will be journeying to the Spire of Blind Faith, located to the south of Eht Ria (Virga Island).
Trial of the Dragon: Heroes’ Rest is one of the three quests, and it’s probably the one you should do last, due to one of the special moves the boss does during it. You will be journeying to the Spire of Blind Faith, located to the south of Eht Ria (Virga Island).
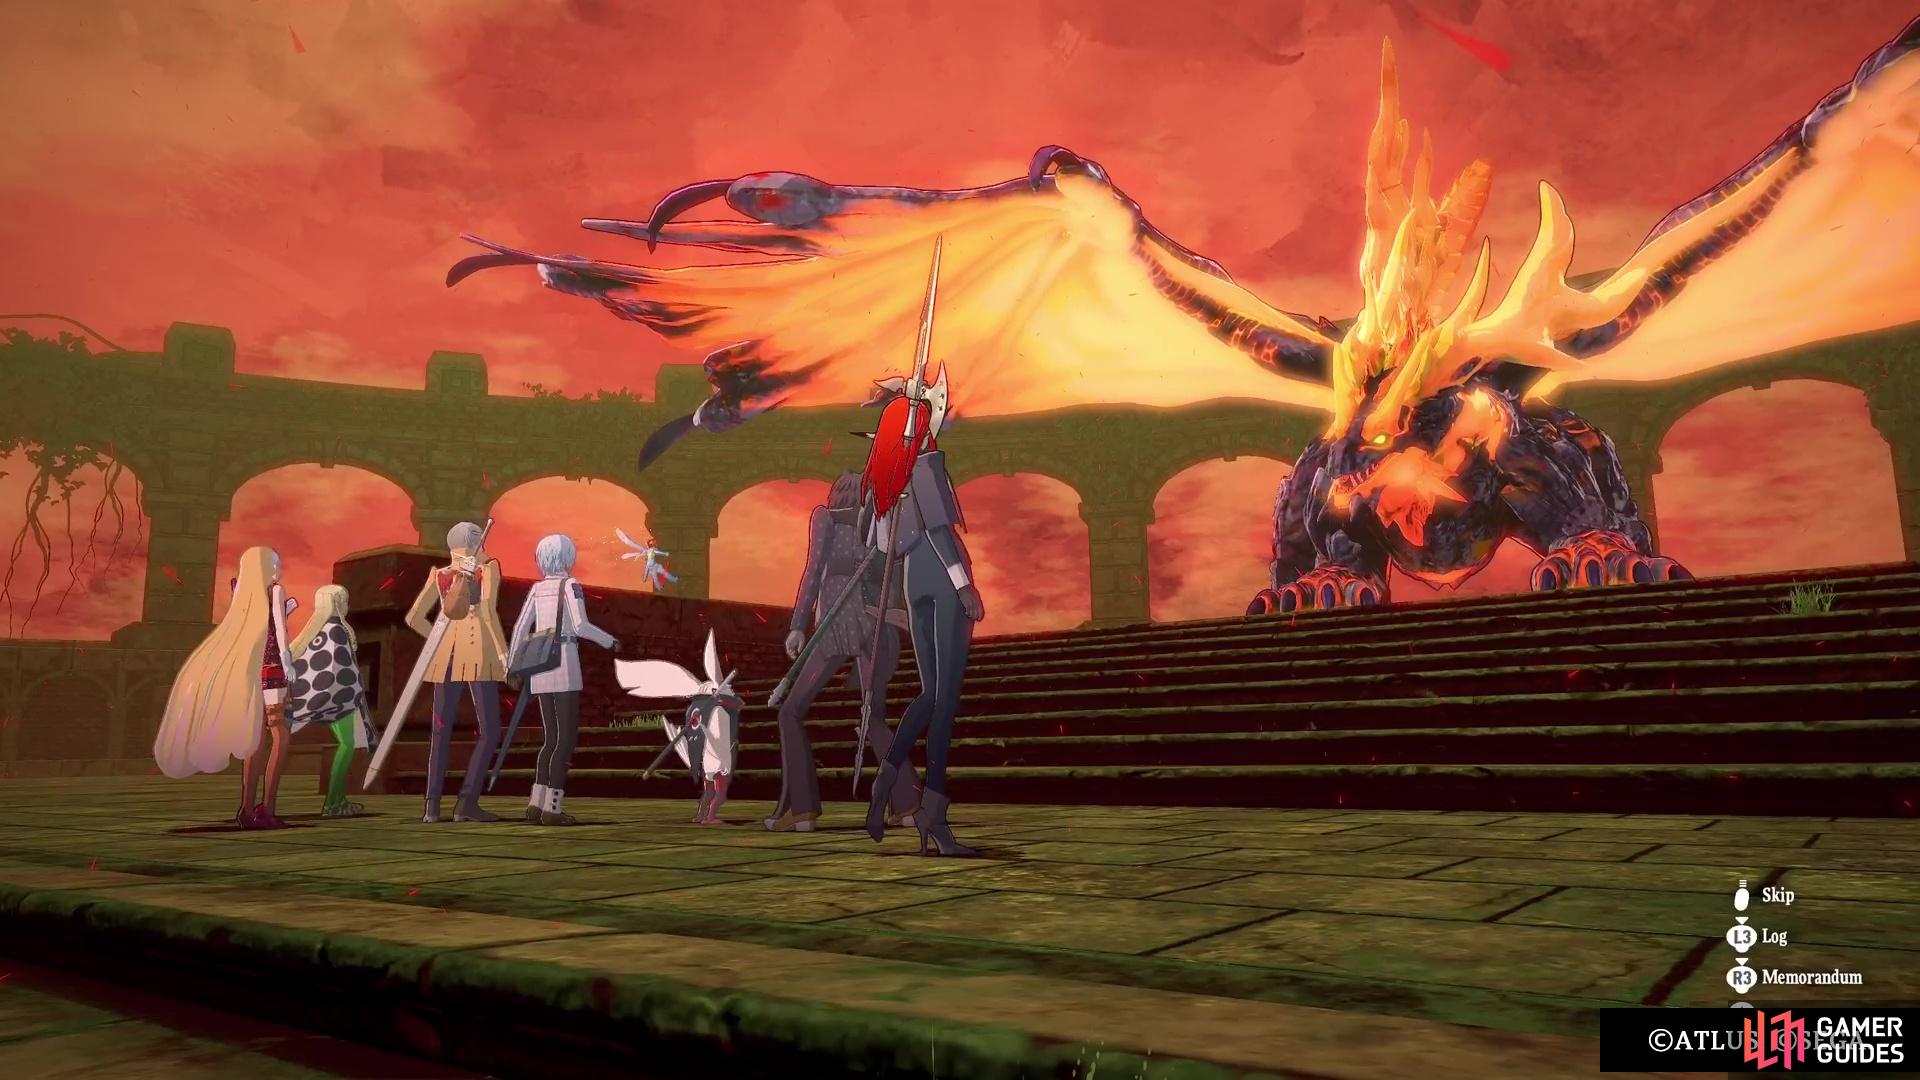
The Devourer of Flames is fought at the top of the Spire of Blind Faith.
Trial of the Dragon: Heroes’ Rest Location
If you’ve done the other two (it is recommended), then you know you won’t be able to do this quest until the final stretch of the main story. On 9/26 in the game, you will unlock some new side quests, one of which will be this one. Head to Virga Island and speak to Edeni there to start the quest, who will talk about the Spire of Blind Faith being your target. Note that the tower is perpetually in bad weather, so you can speak to Edeni again to try and have him to remove this bad weather. Thankfully, the travel to the tower is only one day, as opposed to the normal three days, thanks to the skyrunner.
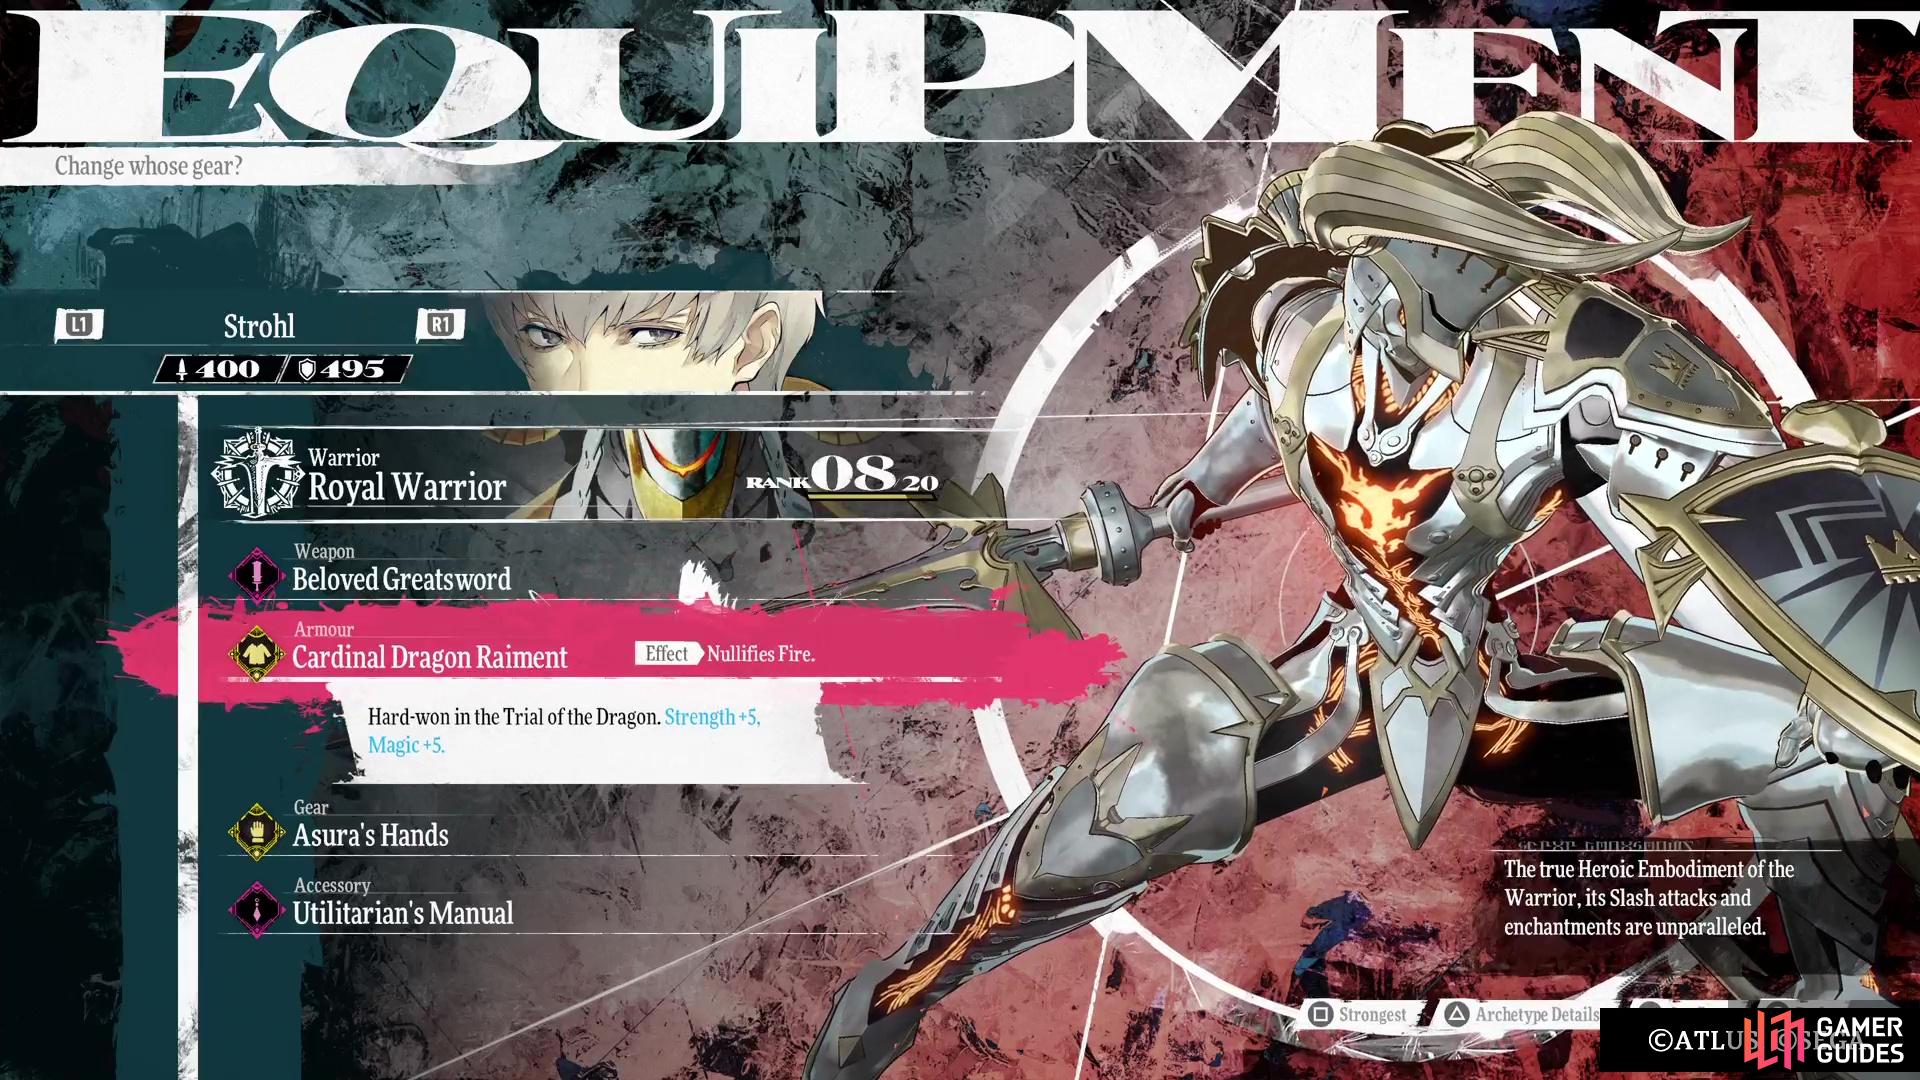
Before you head there, though, you’ll need to do some preparations. First and foremost, you will want protection from fire, as the boss at the tower can one-shot your entire party with one of its moves. It’s best to do the Mad Mischief and Bygone Legacy towers first, as they will grant you a piece of equipment that nullifies fire. Likewise, if you handed in enough Gold Beetles, you should have the ![]() Flameseal Corselet, another piece of armor that blocks fire. The last item you want is found in the Disgraced Ruins, the
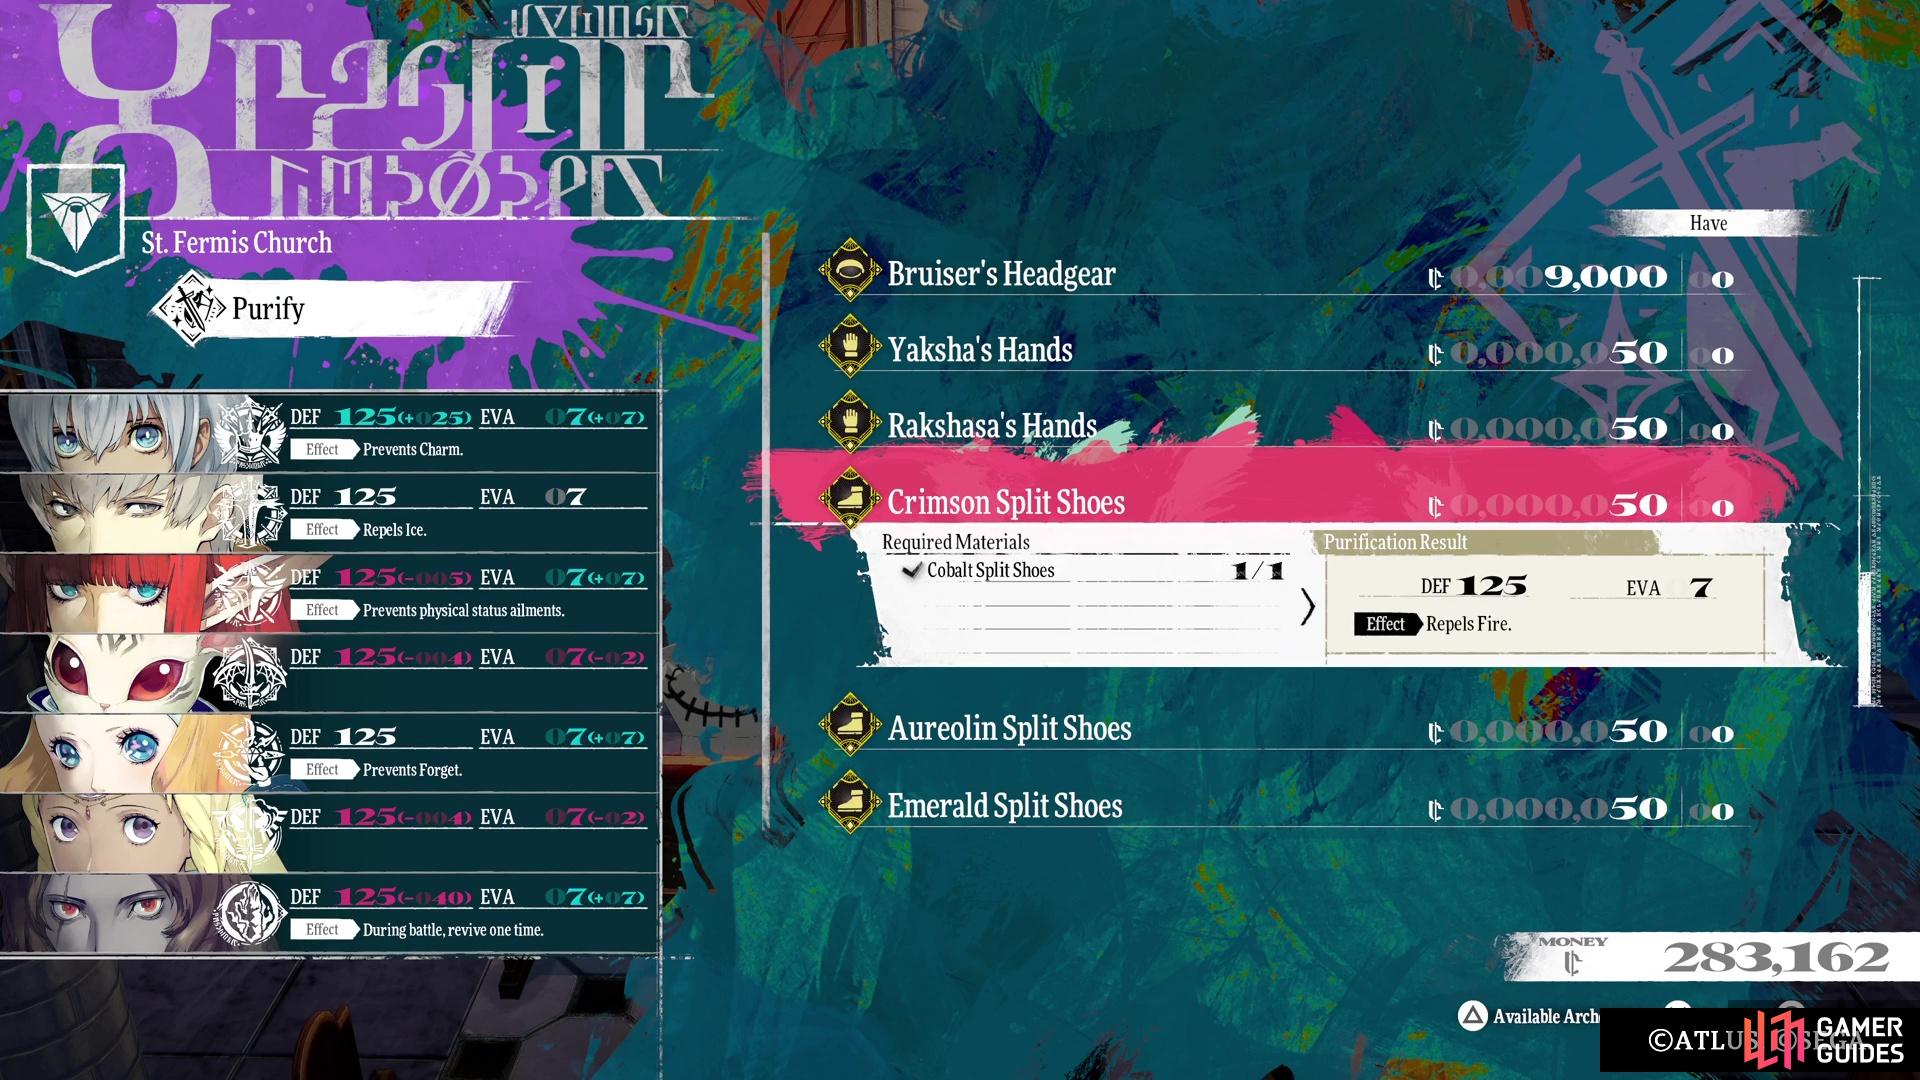
Flameseal Corselet, another piece of armor that blocks fire. The last item you want is found in the Disgraced Ruins, the ![]() Pure White Shoes. You can purify them at the church to get one of four different upgrades, but the one you want is the
Pure White Shoes. You can purify them at the church to get one of four different upgrades, but the one you want is the ![]() Crimson Split Shoes that repel fire.
Crimson Split Shoes that repel fire.
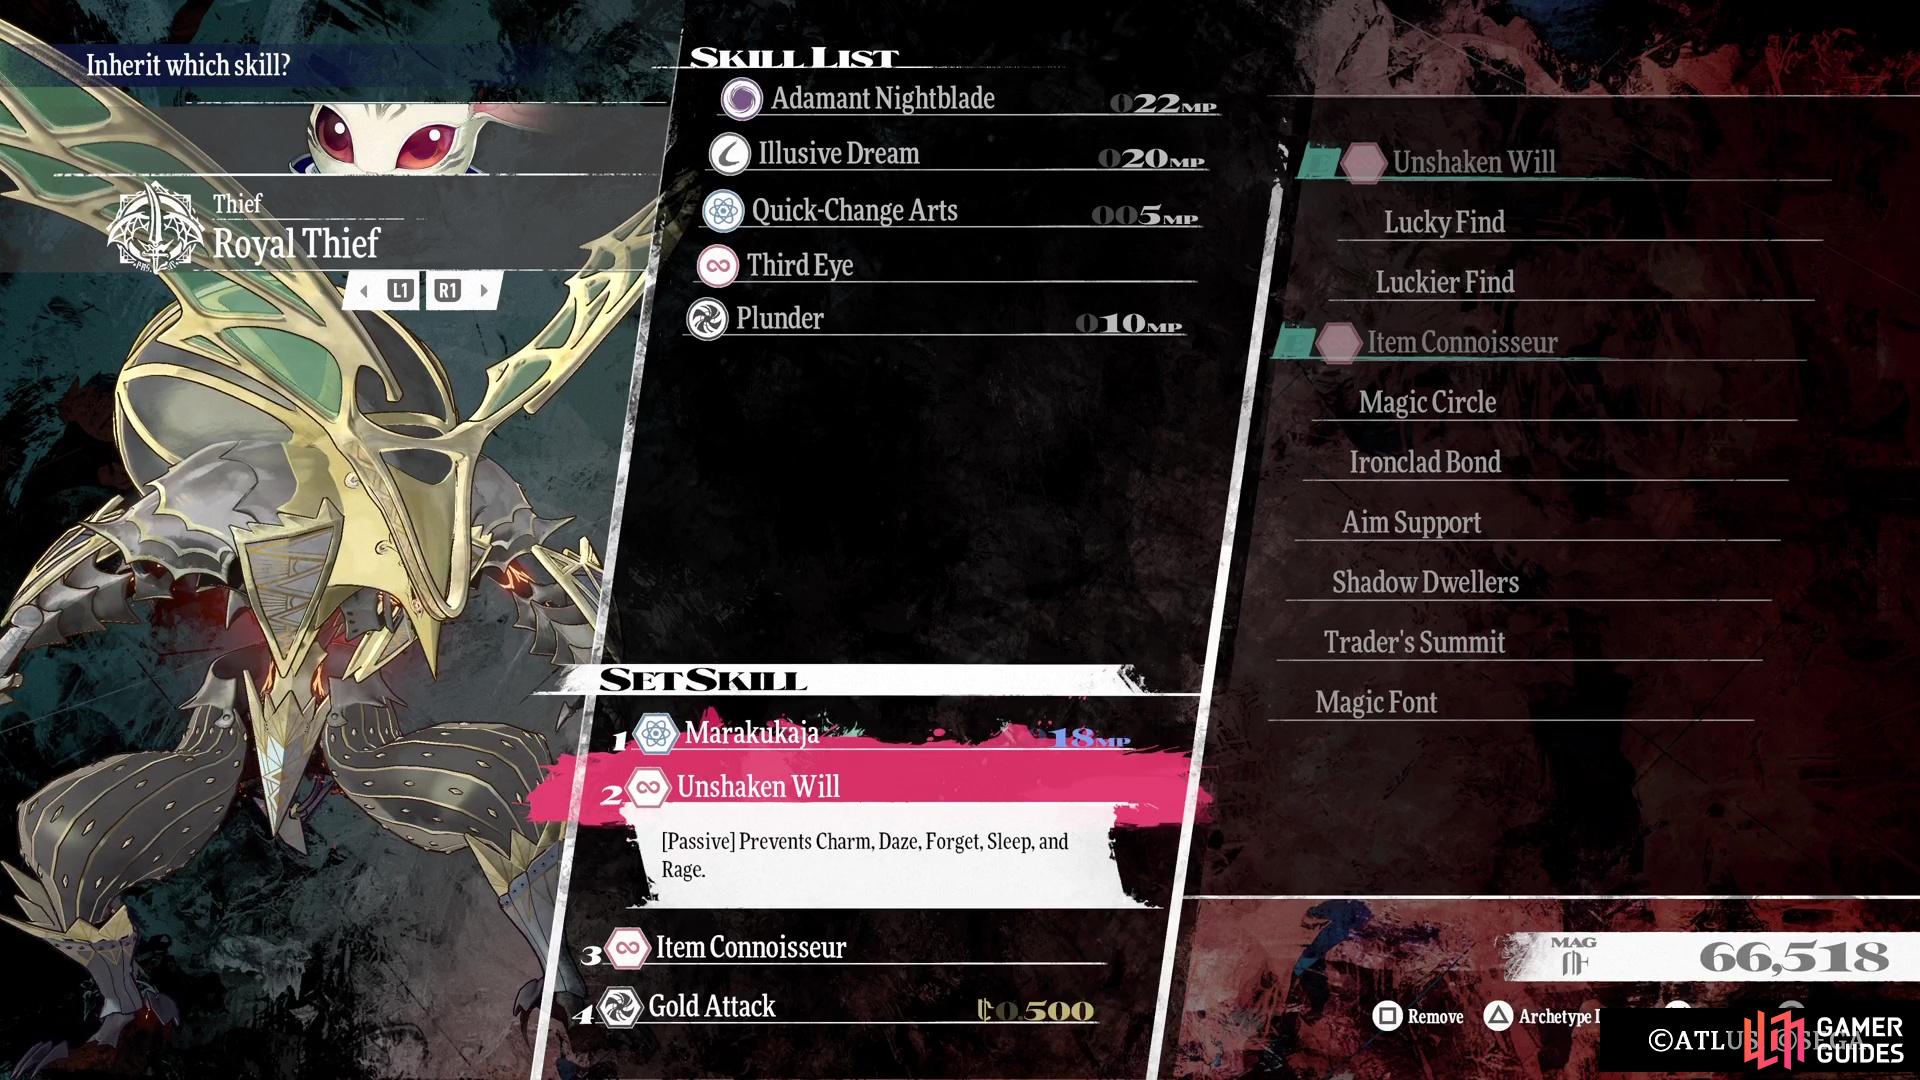
That’s one thing down, but you also want some protection against Charm, as the boss can inflict it. Unfortunately, you won’t be able to purchase the necessary equipment to stop this, but there is a skill from the ![]() Dragoon class that prevents it (
Dragoon class that prevents it (![]() Unshaken Will); it’s quite the endeavor to get everyone, but Heismay (part of his path to the
Unshaken Will); it’s quite the endeavor to get everyone, but Heismay (part of his path to the ![]() Royal Thief), to that point, though. If you did the
Royal Thief), to that point, though. If you did the ![]() Defeat Milo side quest, then you probably have the
Defeat Milo side quest, then you probably have the ![]() Narcissus Brooch. If not, then you will find Loveless in Altabury, speak to him and then travel to his runner for a fight. After that, you can then find Milo in the same town to do the same thing. Milo will yield the brooch after defeating him.
Narcissus Brooch. If not, then you will find Loveless in Altabury, speak to him and then travel to his runner for a fight. After that, you can then find Milo in the same town to do the same thing. Milo will yield the brooch after defeating him.
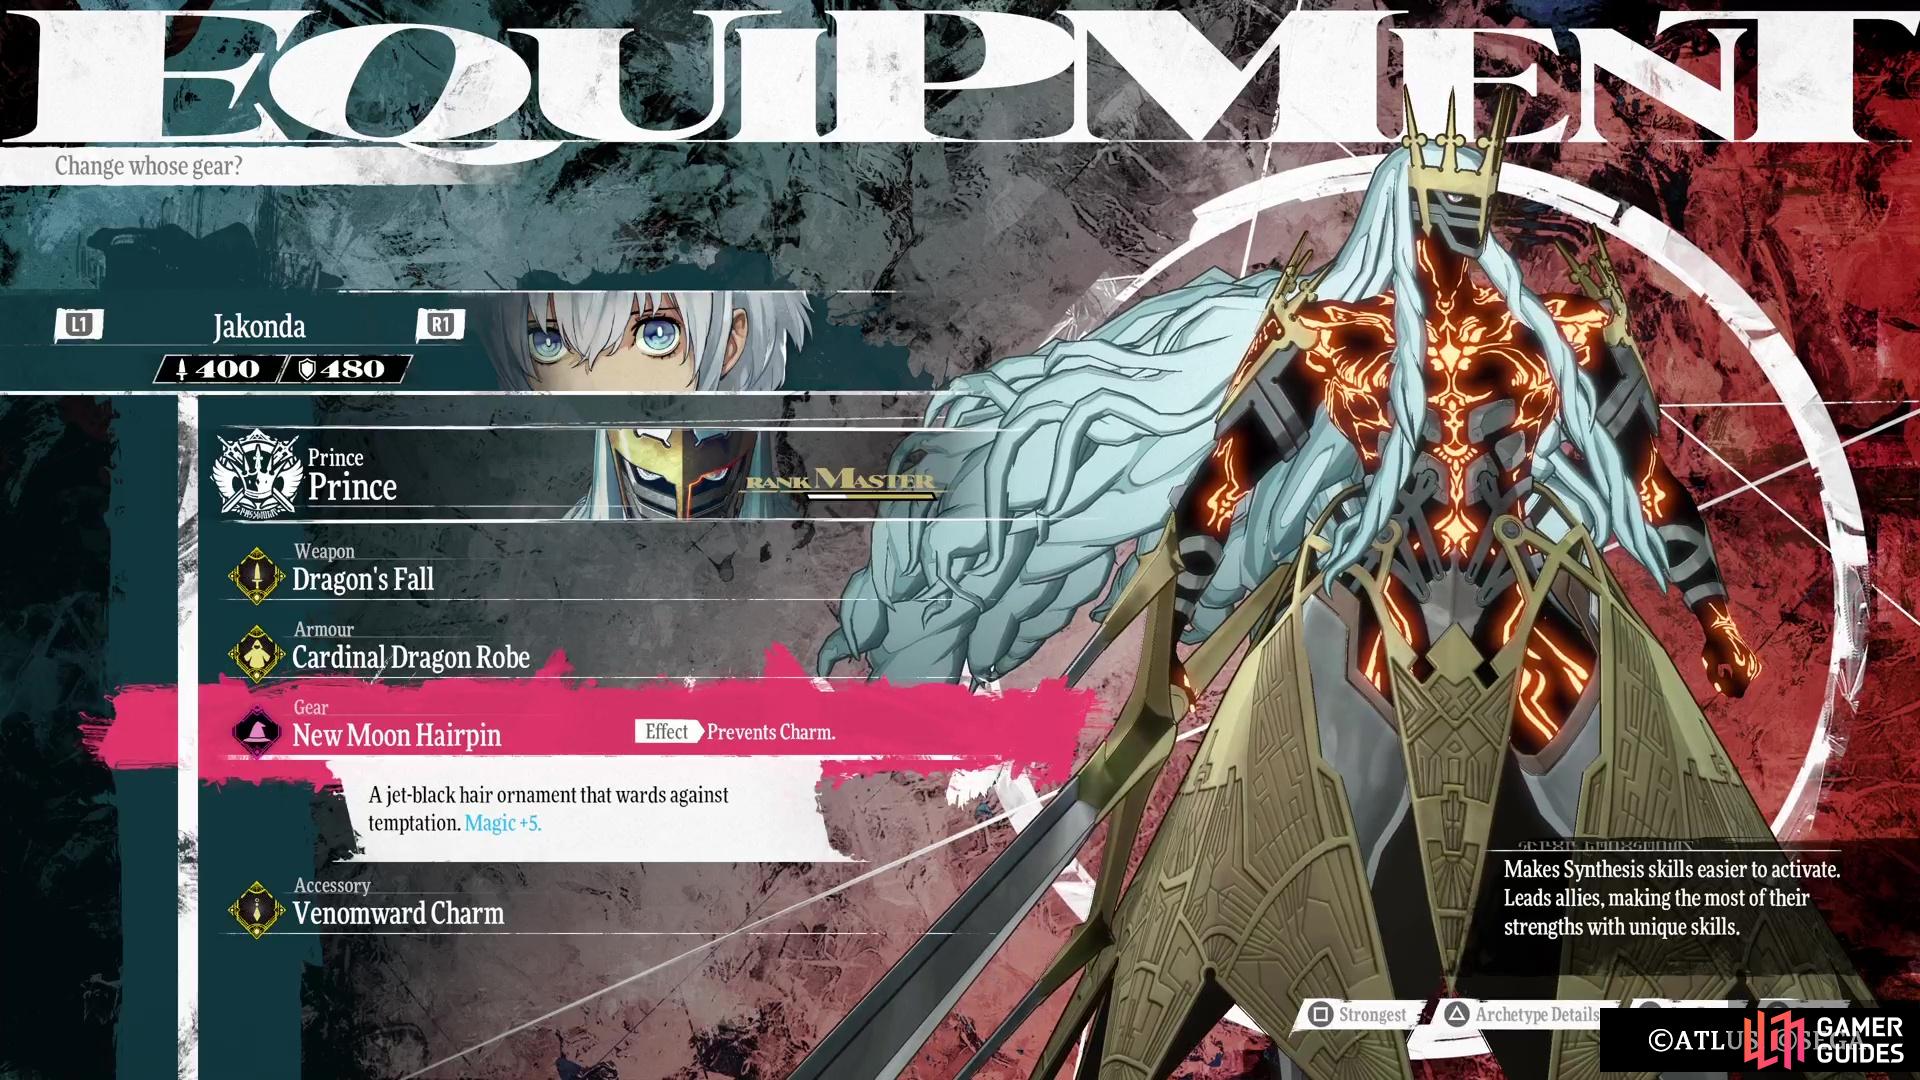
For other Charm-resistant equipment, there is the ![]() Yggdrasil Crown, which you receive for completing the Ranked Battles at the Varmareno Coliseum. If you did the Icebeast Chimenzahn bounty, then you might have stolen the
Yggdrasil Crown, which you receive for completing the Ranked Battles at the Varmareno Coliseum. If you did the Icebeast Chimenzahn bounty, then you might have stolen the ![]() New Moon Hairpin from it, which also prevents Charm. There is one final piece of equipment that can prevent Charm, but it’s a weaker armour, called
New Moon Hairpin from it, which also prevents Charm. There is one final piece of equipment that can prevent Charm, but it’s a weaker armour, called ![]() Vivid Ensemble. This is gotten by getting Mossy Threads and hoping youu get one from identifying at shops. Even if you only have three party members protected, you can do this easily, as long as you make sure your main damage dealer an healer immune to Charm.
Vivid Ensemble. This is gotten by getting Mossy Threads and hoping youu get one from identifying at shops. Even if you only have three party members protected, you can do this easily, as long as you make sure your main damage dealer an healer immune to Charm.
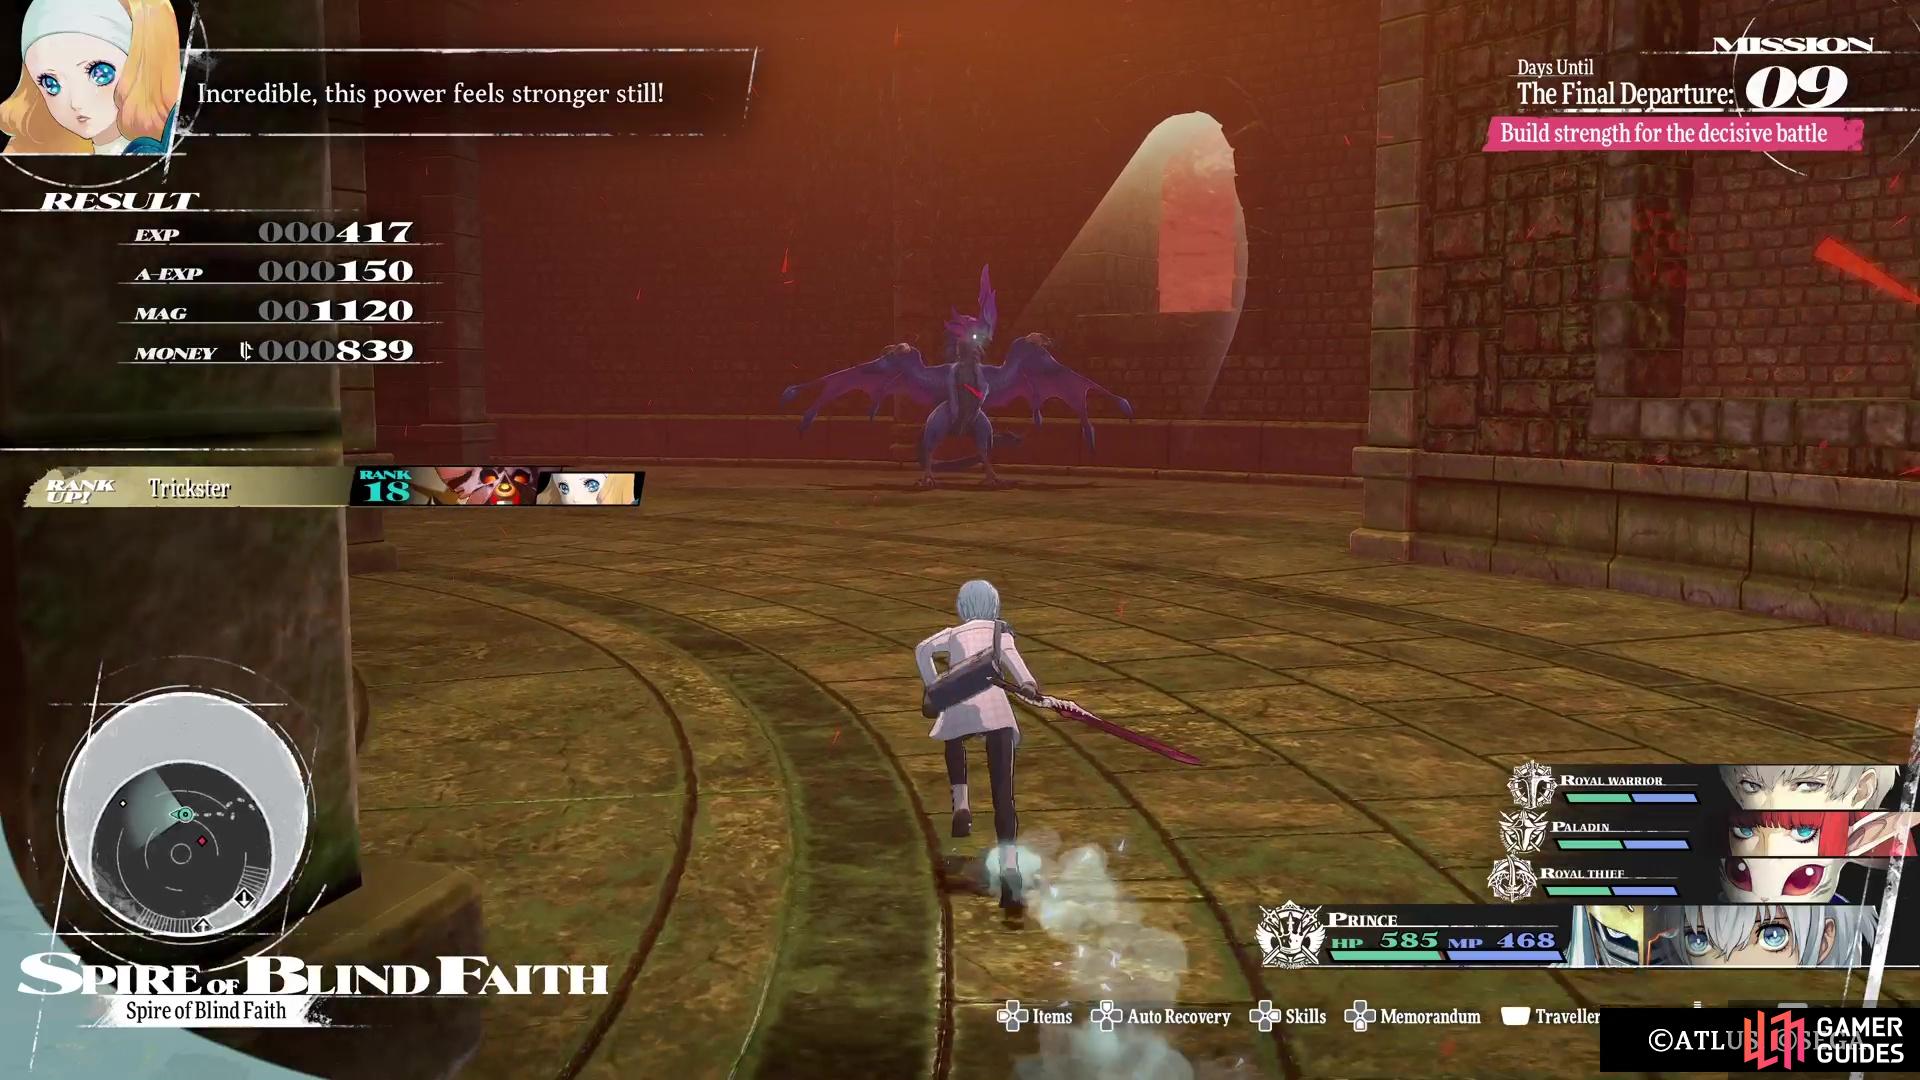
As with the other two towers, you will find that some new enemies have made the Spire of Blind Faith their new home. Since you likely have done the other towers, the Scourge Malmorta skeletons rear their heads again, but you will also see some Kokasadors. Remember that they can instantly kill anyone who isn’t protected by ![]() Rakukaja, so keep that in mind if you end up in a Squad Battle with them. Other than that, though, it’s pretty easy to get to the top without much troubles.
Rakukaja, so keep that in mind if you end up in a Squad Battle with them. Other than that, though, it’s pretty easy to get to the top without much troubles.
All of Devourer of Flames Attacks
The Devourer of Flames is a pretty standard boss fight, with not much that makes it different to most battles. It primarily uses fire-based attacks and it has one move that can instantly kill all your characters, if they aren’t protected from fire.
-
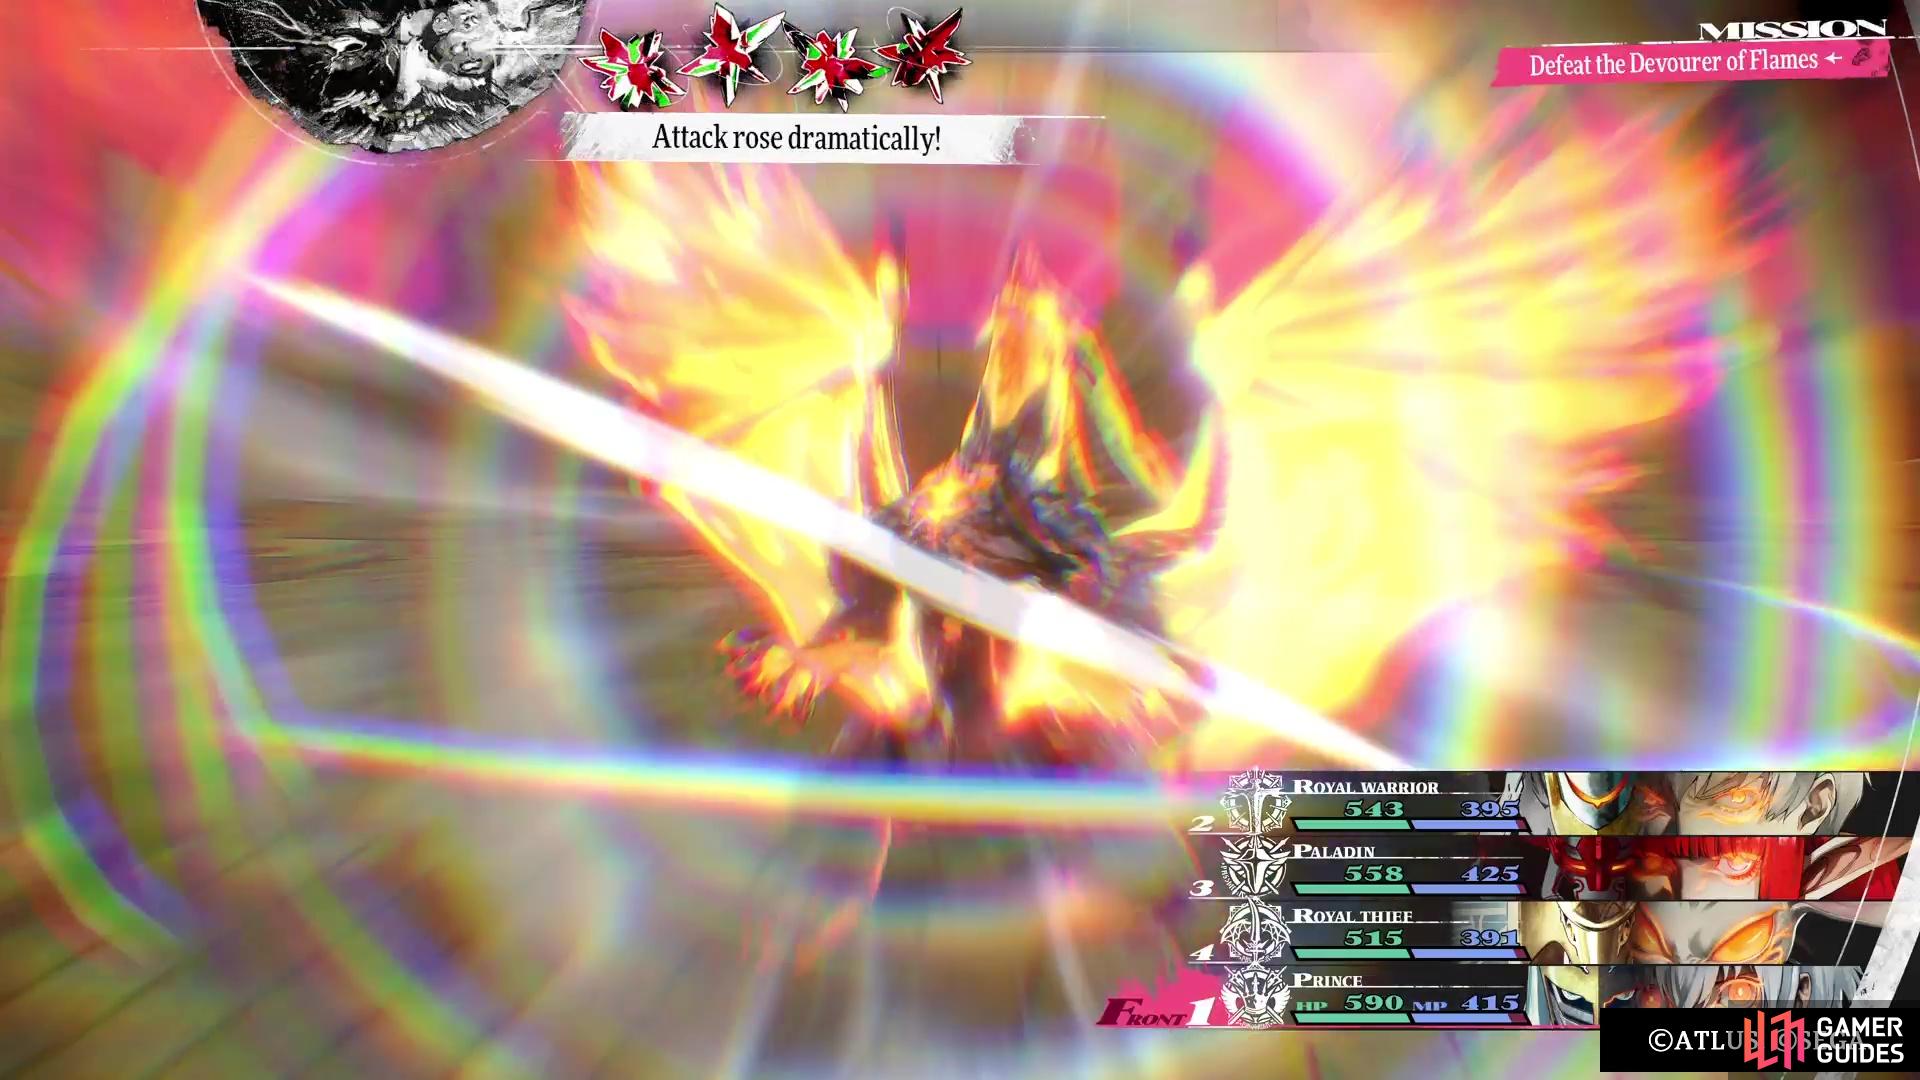
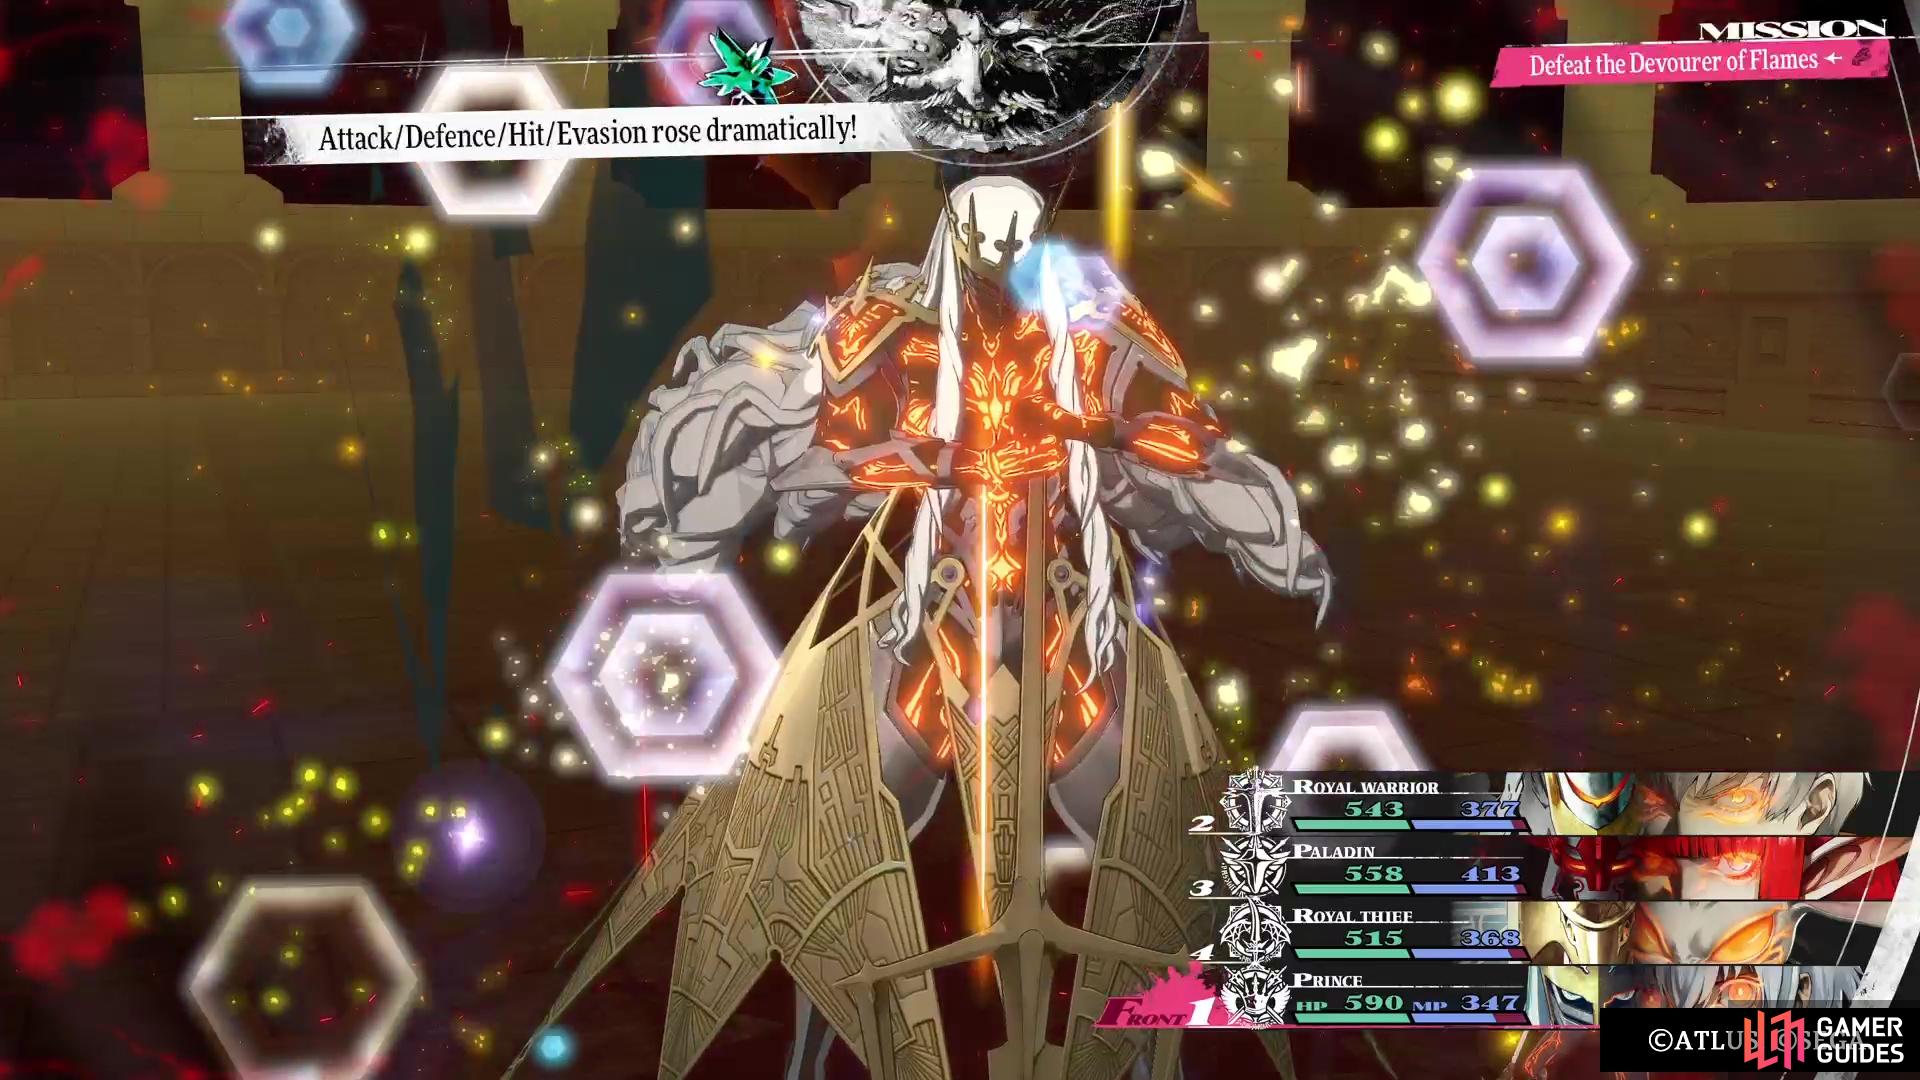
Great Dragon’s Wrath: The boss will use this to boost its attack by three ranks. It will also make sure to keep using it until its attack buff is maxed.
-
Great Dragon Shriek: The dragon will gain an additional six Turn Icons whenever this is used. It’s not clear if there’s a trigger for this or not, as it was only used once during our fight.
-
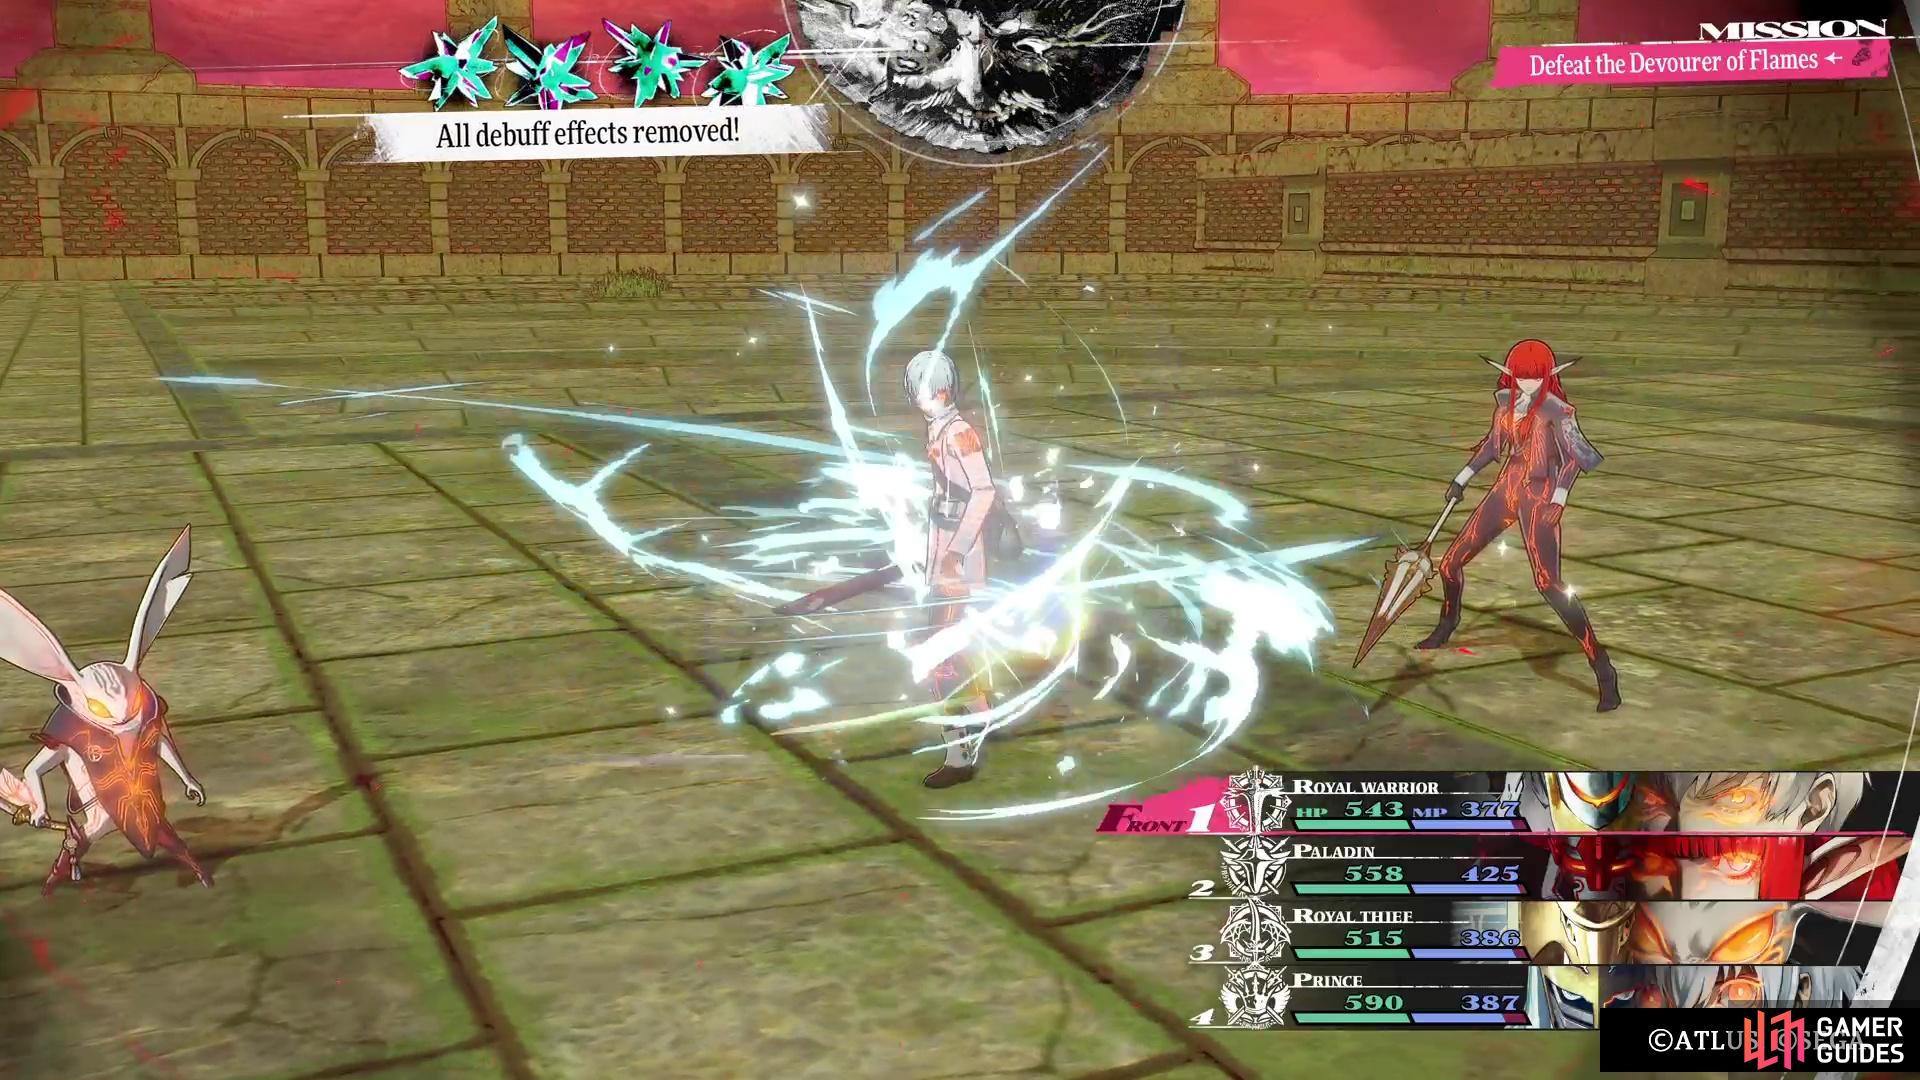
 Roar: This move will debuff the party’s Attack, Defence, and Hit Rate/Evasion by two ranks for three turns. You either want to use
  Dekunda or
  Reset Talismans to remove these debuffs.
 -
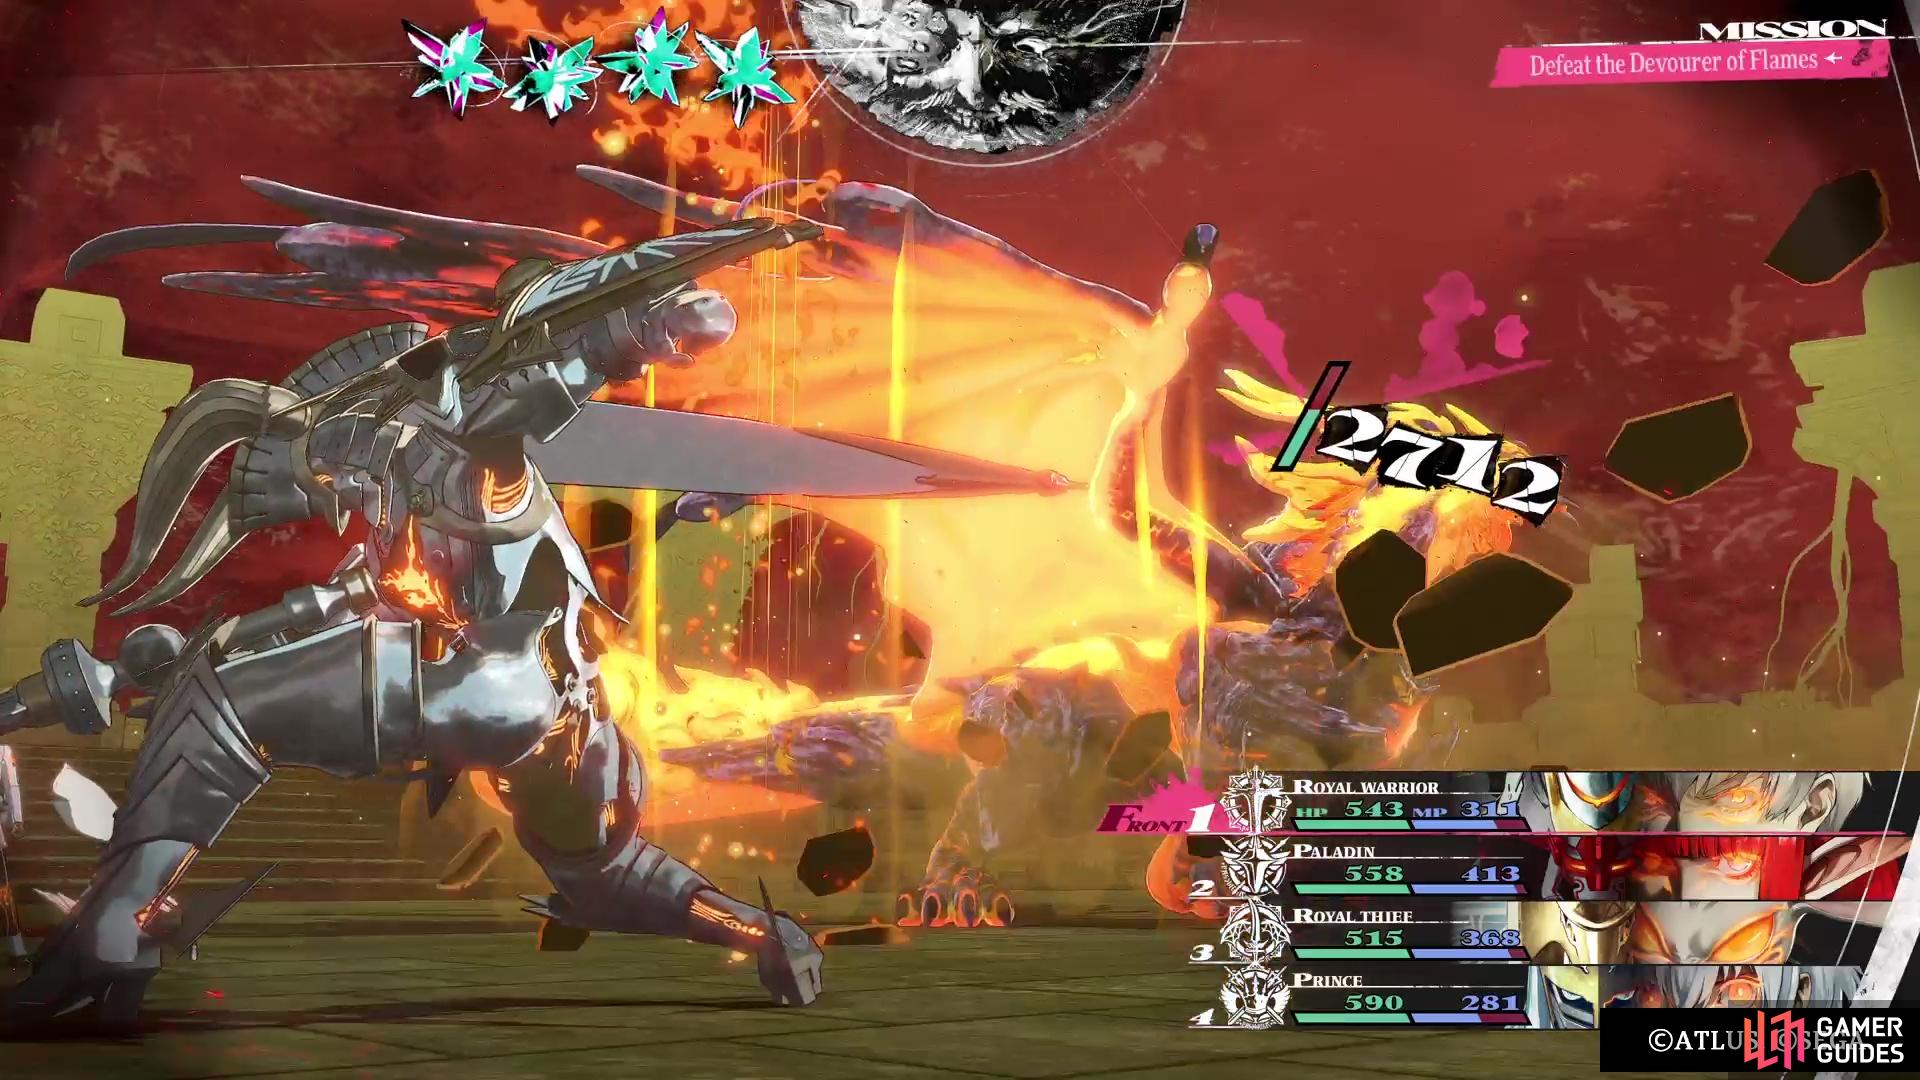
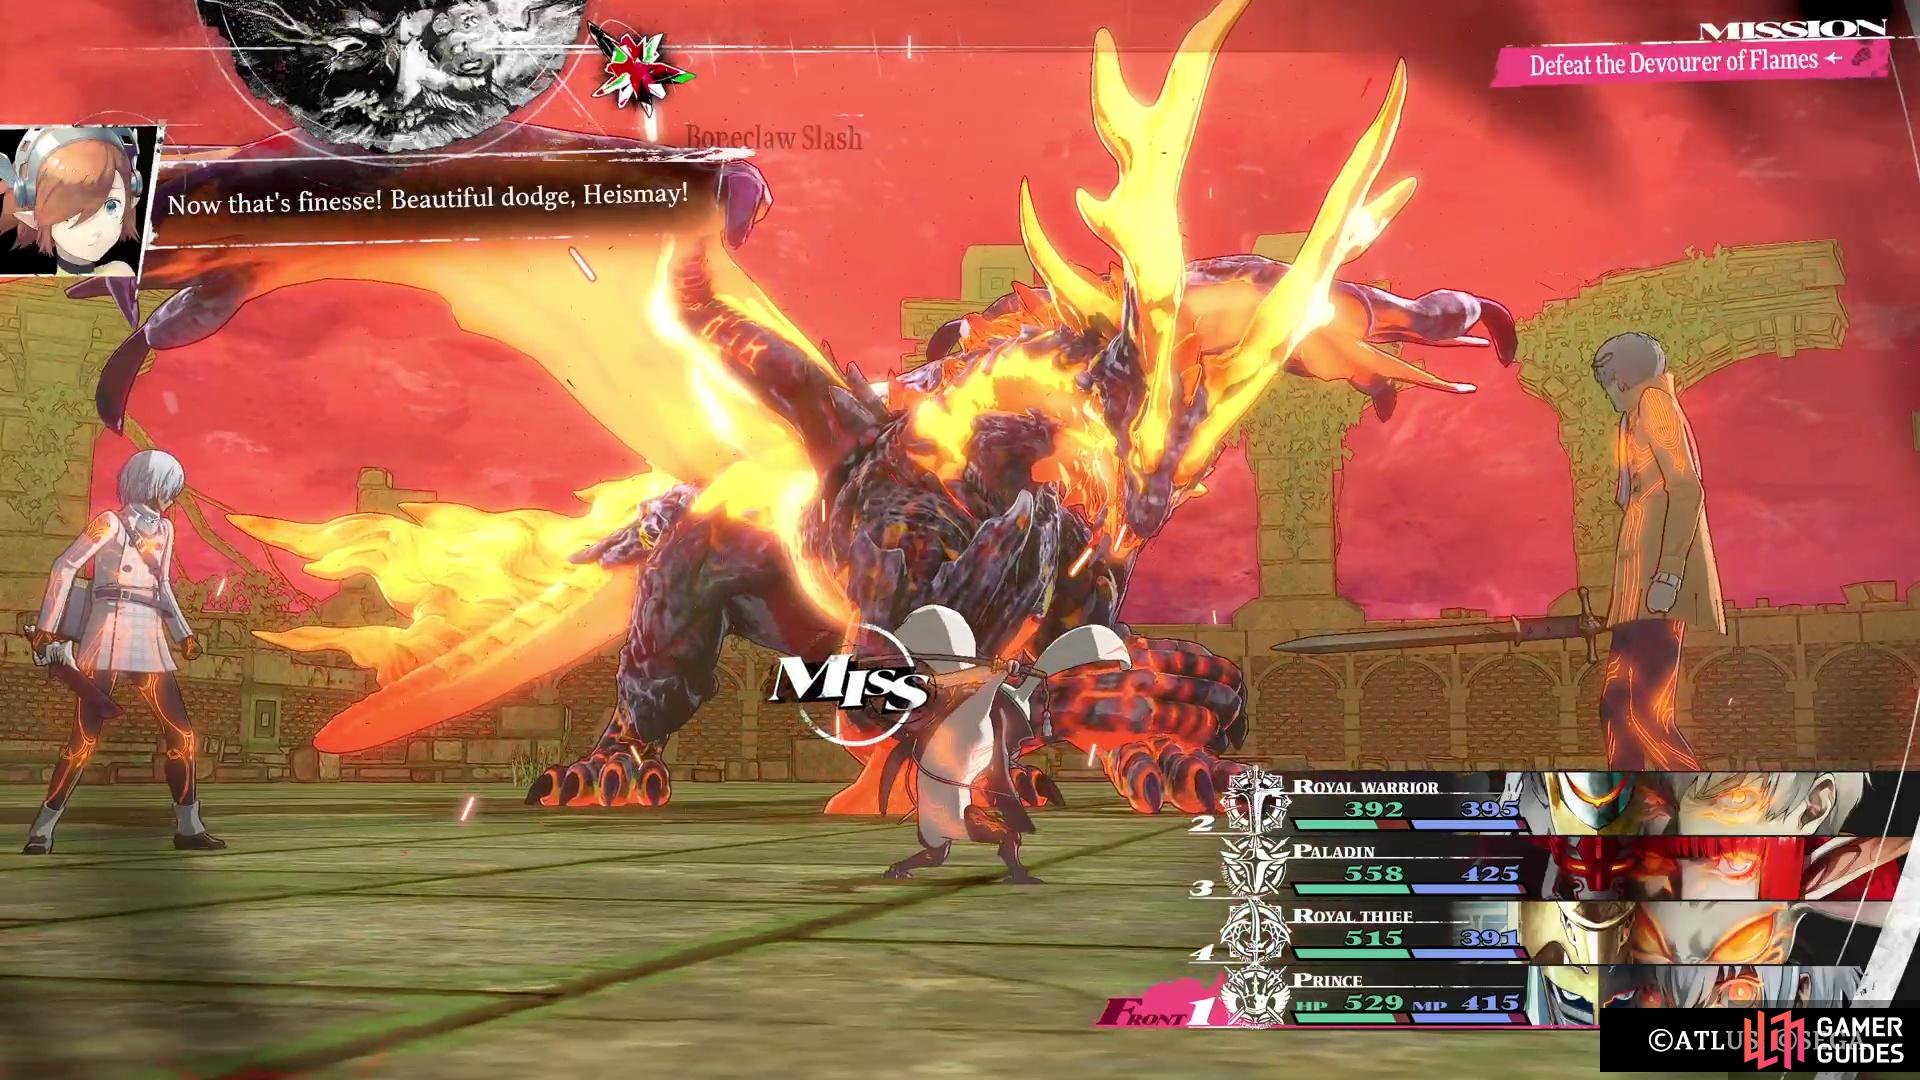
Boneclaw Slash: Deals heavy Slash damage to a single character.
-
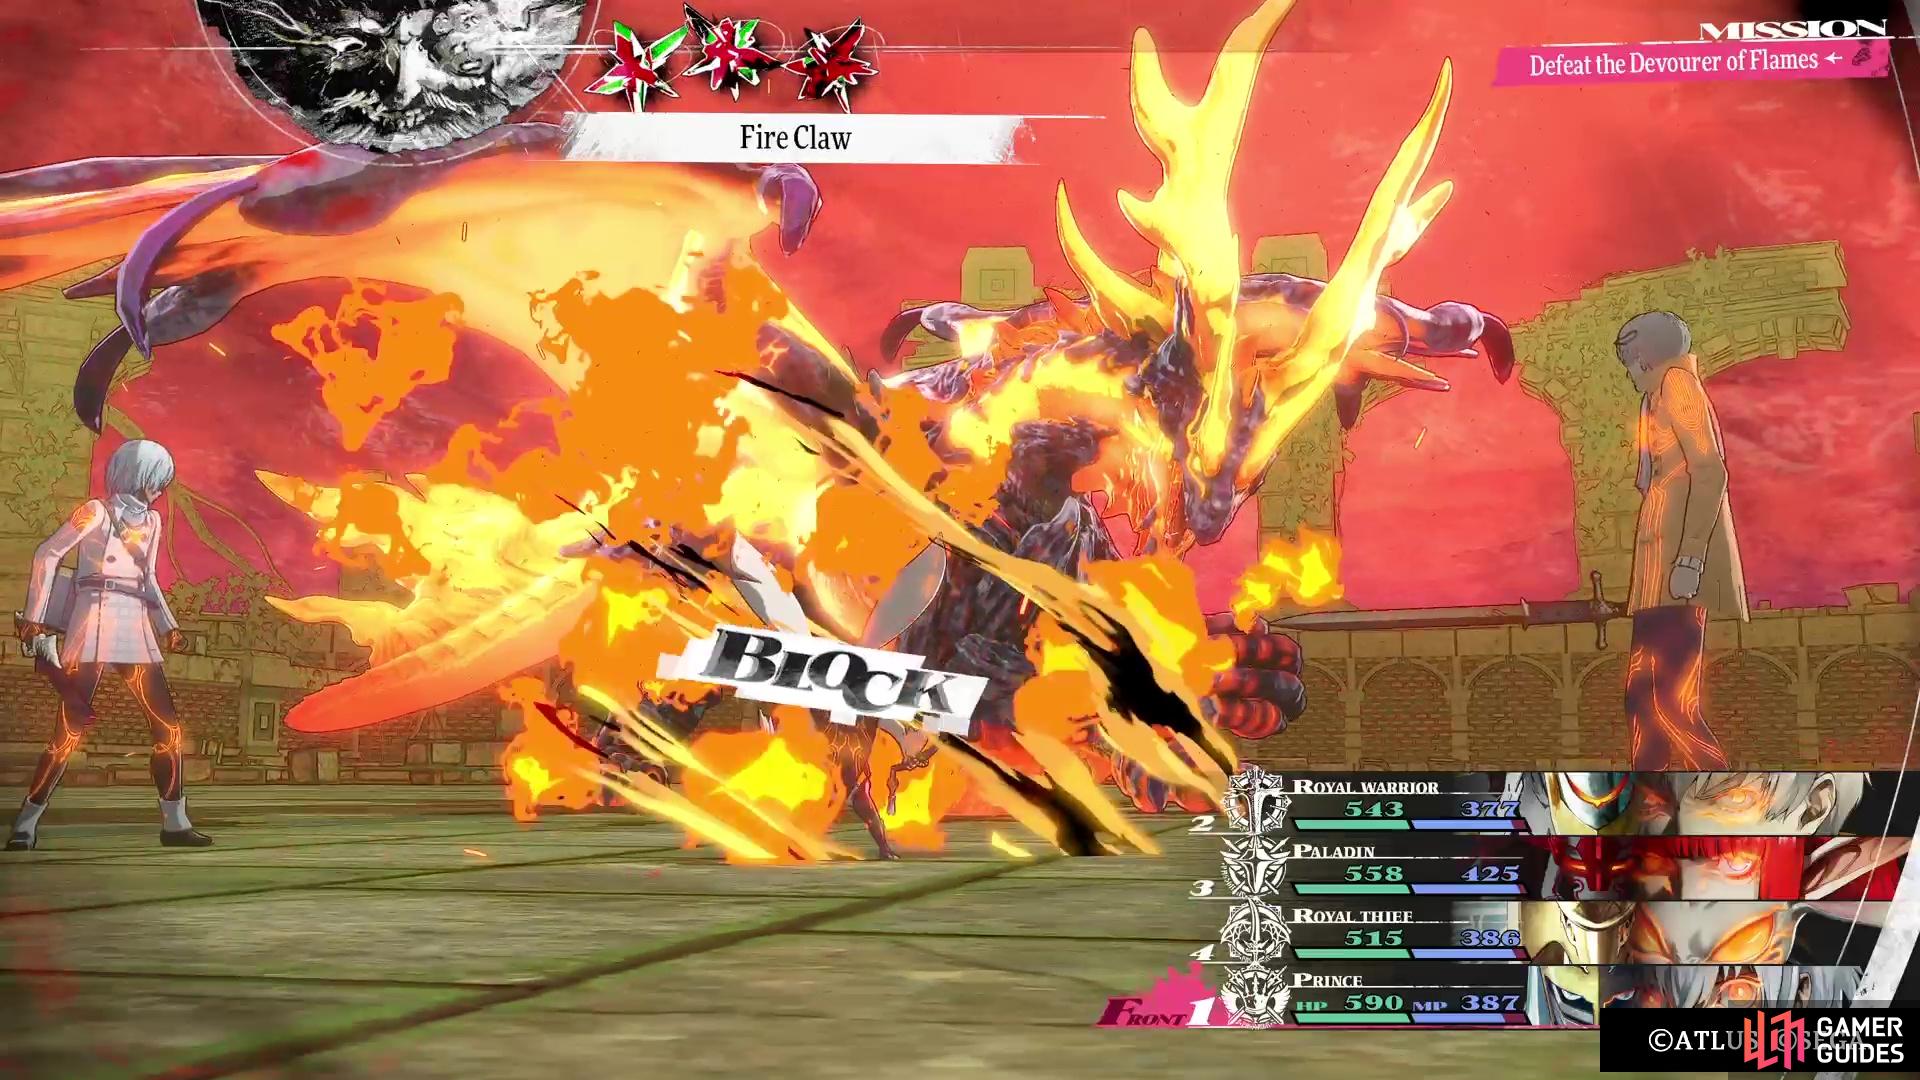
Fire Claw: Deals heavy physical Fire damage to a single character.
(1 of 4) Like the other dragons, this one will also keep its attack fully buffed at all times.
-
Flamespire of Ruin: Deals extreme magic Fire damage to one row. Has a high chance of inflicting Burn.
-
Infernal Breath: Deals heavy magic Fire damage to all characters. May inflict Burn.
-
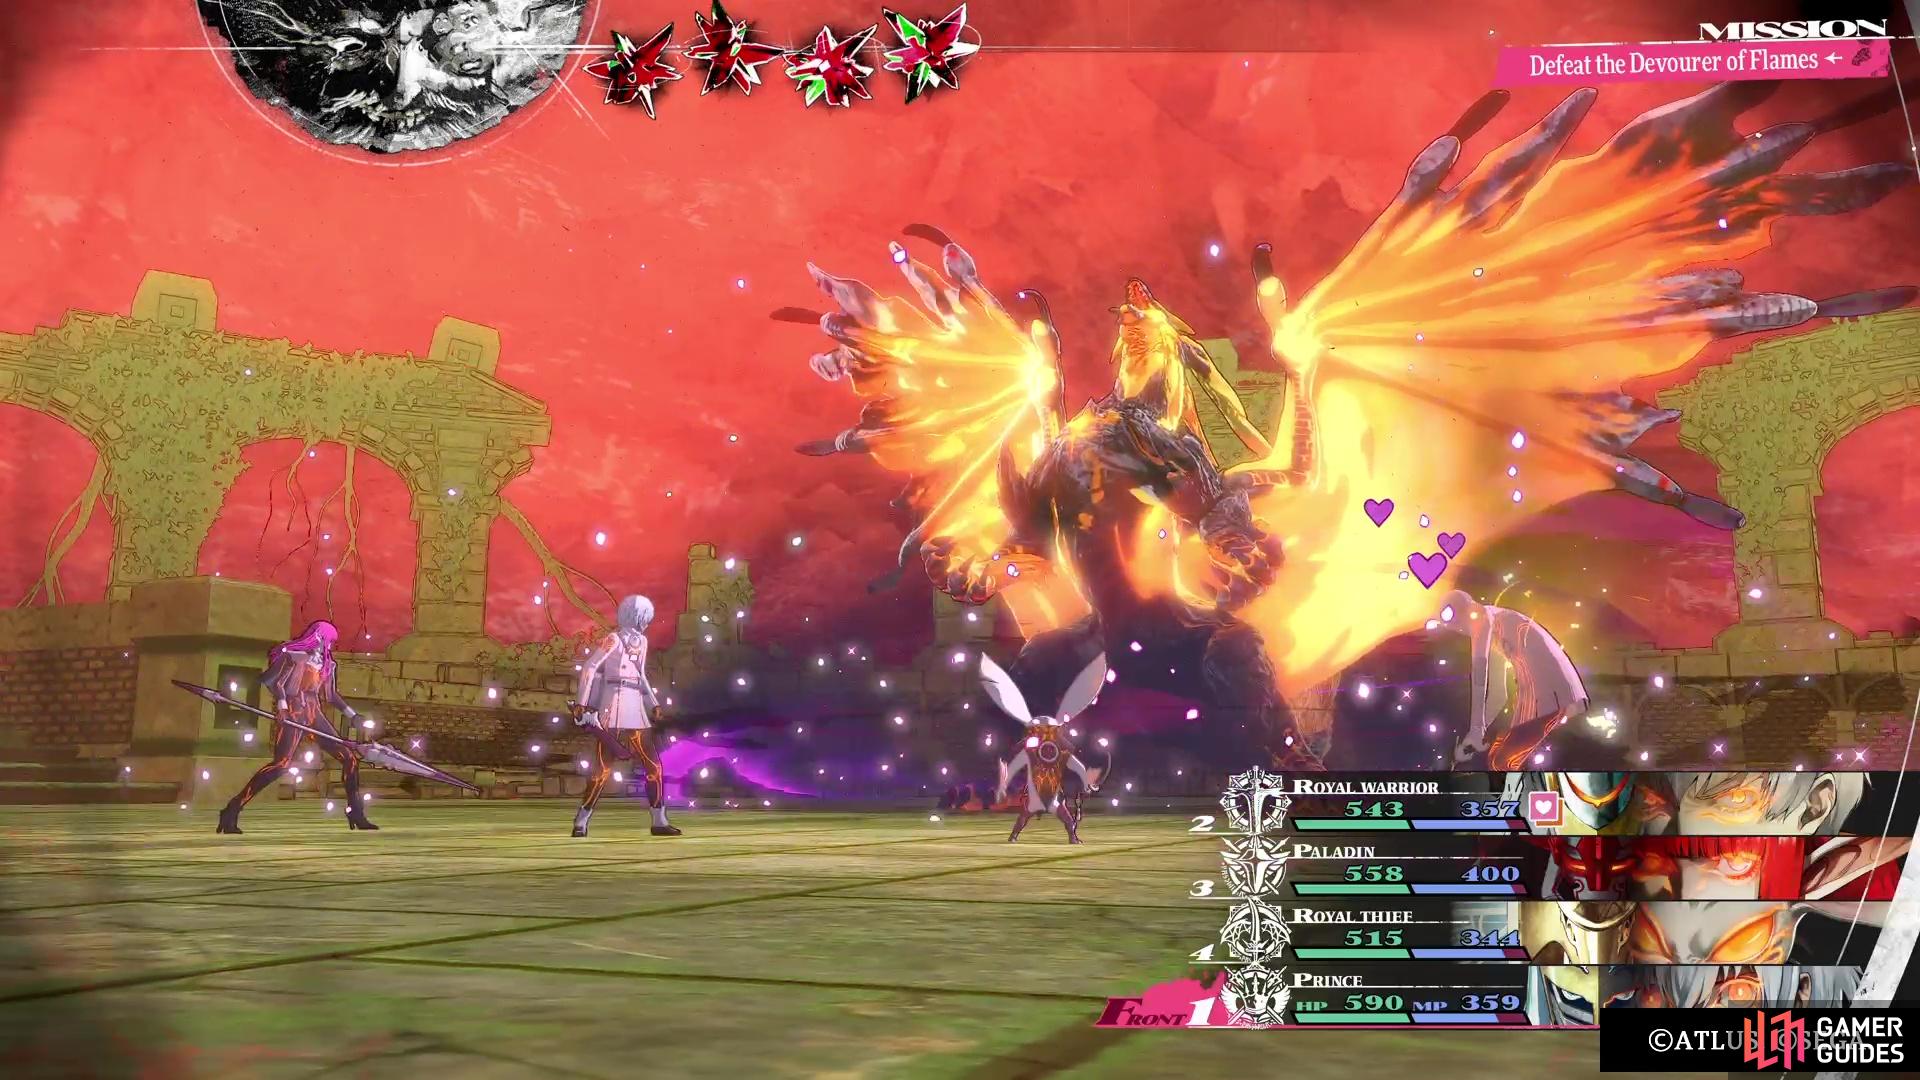
Bewitching Blaze: High chance of inflicting Charm on all characters.
-
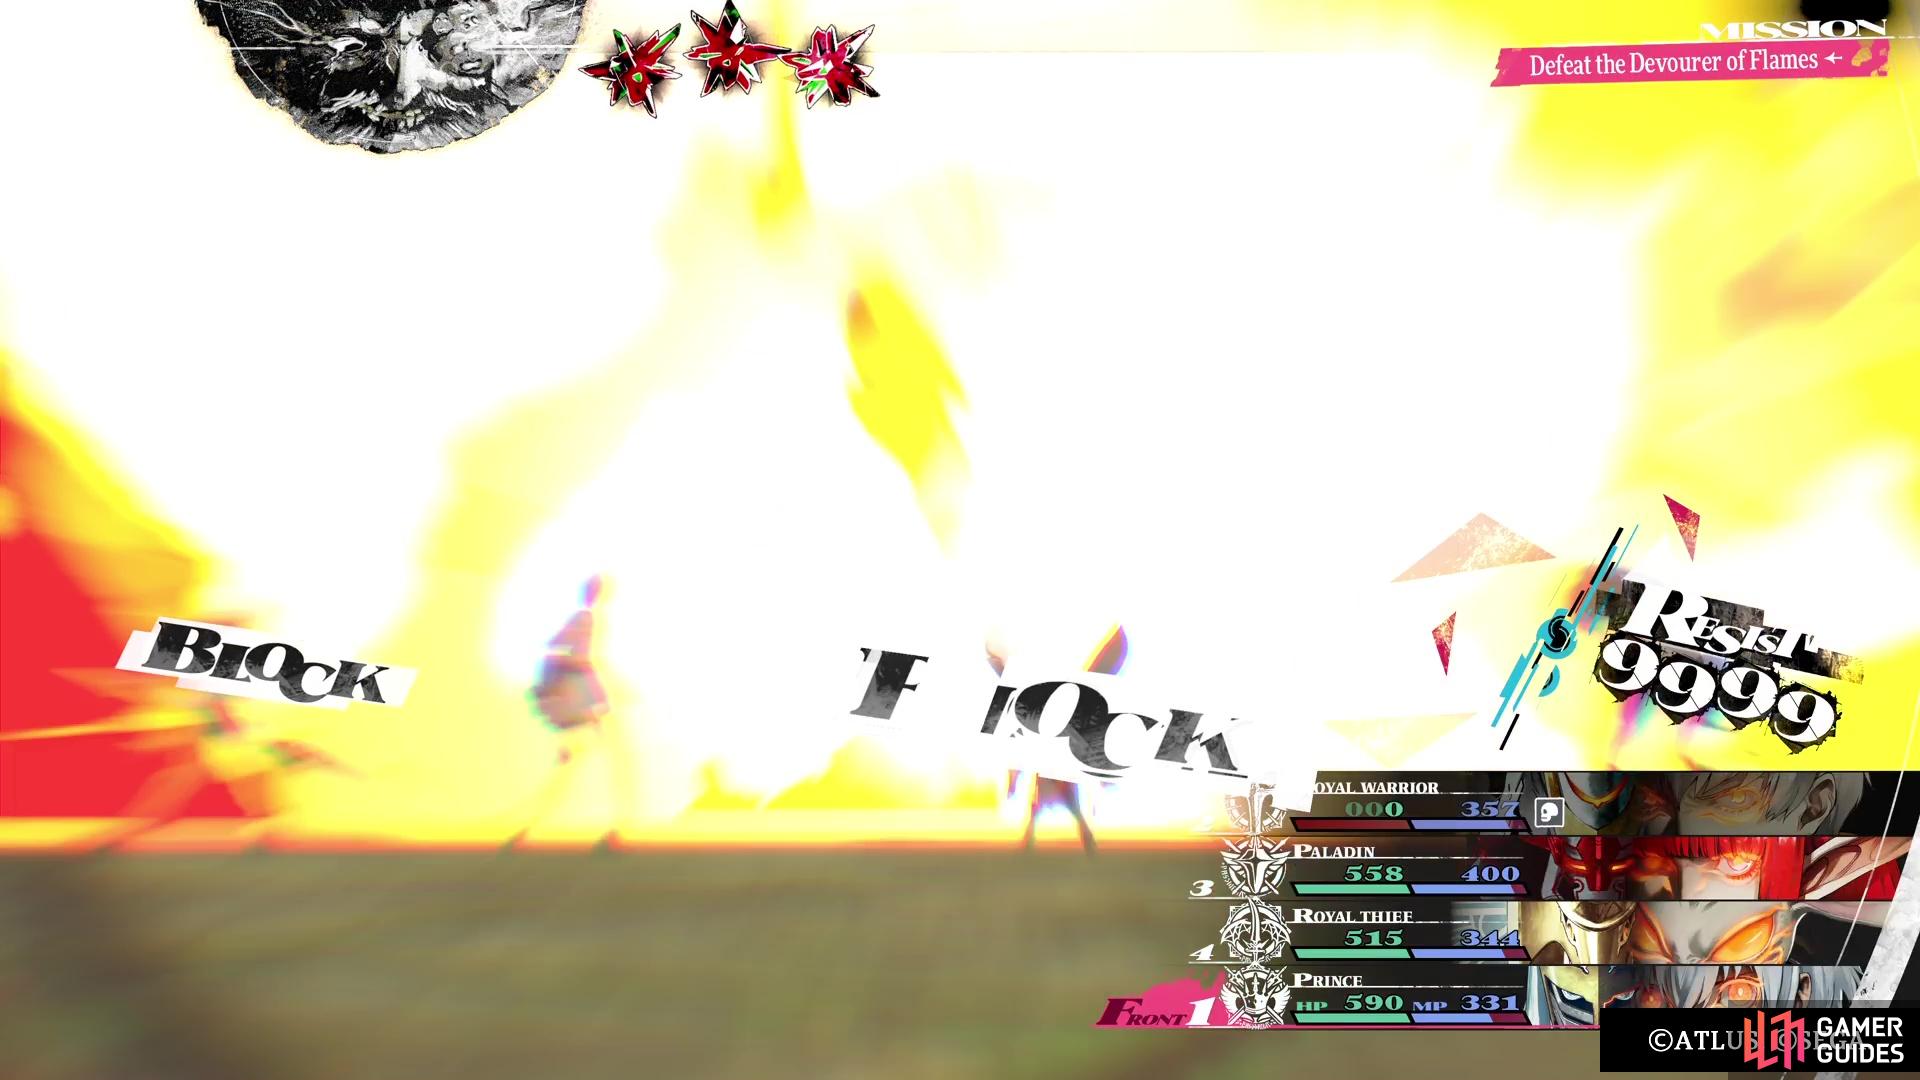
Burn Down: Deals 9999 magic Fire damage to all characters, unless they null or repel it.
Devourer of Flames Boss Guide
This battle will largely be easy or hard, depending on the preparation you put into it. If you have full protection against both Fire and Charm, then you should really have no troubles at all. The majority of the attacks the dragon can do are Fire-based, so blocking that damage type will make sure the only damage you take is from Boneclaw Slash. If you don’t have full protection from Fire, then things will get a bit dicey some ways into the fight. It’s not the damage from its normal attacks that will be a burden to you, but the fact that Burn Down will inflict 9,999 damage to whomever it hits without fire protection.
Yep, the only way to avoid this is by nullifying/repelling Fire, or having a skill that automatically revives you at 1 HP. Look above for information on equipment that can block fire, as you should have plenty of options available for all your characters. The other big challenging during your fight with the Devourer of Flames is dealing with Bewitching Blaze, which has a high chance of inflicting Charm on everyone. Of course, being immune to this will essentially negate having to deal with it, as you don’t want your characters smacking themselves to death, or potentially healing the boss.
(1 of 5) Bewitching Blaze will attempt to Charm your party, so hopefully you have protection.
With protection from both, the only thing that hurts is Boneclaw Slash, as mentioned. You still need to be annoyed by Roar, the debuff the boss can do to lower all of your stats. It’s a good idea to have Dekunda on your healer, or you could simply stock some Reset Talismans. Thankfully, the Devourer of Flames doesn’t have access to Dekunda or ![]() All Reset, so you can buff/debuff away without any fear of them being removed. The boss also doesn’t have any resistances, other than the obvious Fire one, so you’re free to use whatever damage types you want.
All Reset, so you can buff/debuff away without any fear of them being removed. The boss also doesn’t have any resistances, other than the obvious Fire one, so you’re free to use whatever damage types you want.
For defeating the dragon, you will complete the quest, and the reward you receive depends on the number of towers you’ve previously done. If it’s first, then you’ll receive the ![]() Cardinal Dragon Raiment. The second dragon you’ll killed will net you the
Cardinal Dragon Raiment. The second dragon you’ll killed will net you the ![]() Cardinal Dragon Robe and if it’s the third, then it’s the
Cardinal Dragon Robe and if it’s the third, then it’s the ![]() Cardinal Dragon Armour. Since this should be the final dragon, you will unlock the Trial of the Dragon: Essence of Power quest, which pits you against one of the game’s superbosses.
Cardinal Dragon Armour. Since this should be the final dragon, you will unlock the Trial of the Dragon: Essence of Power quest, which pits you against one of the game’s superbosses.


 Sign up
No Comments