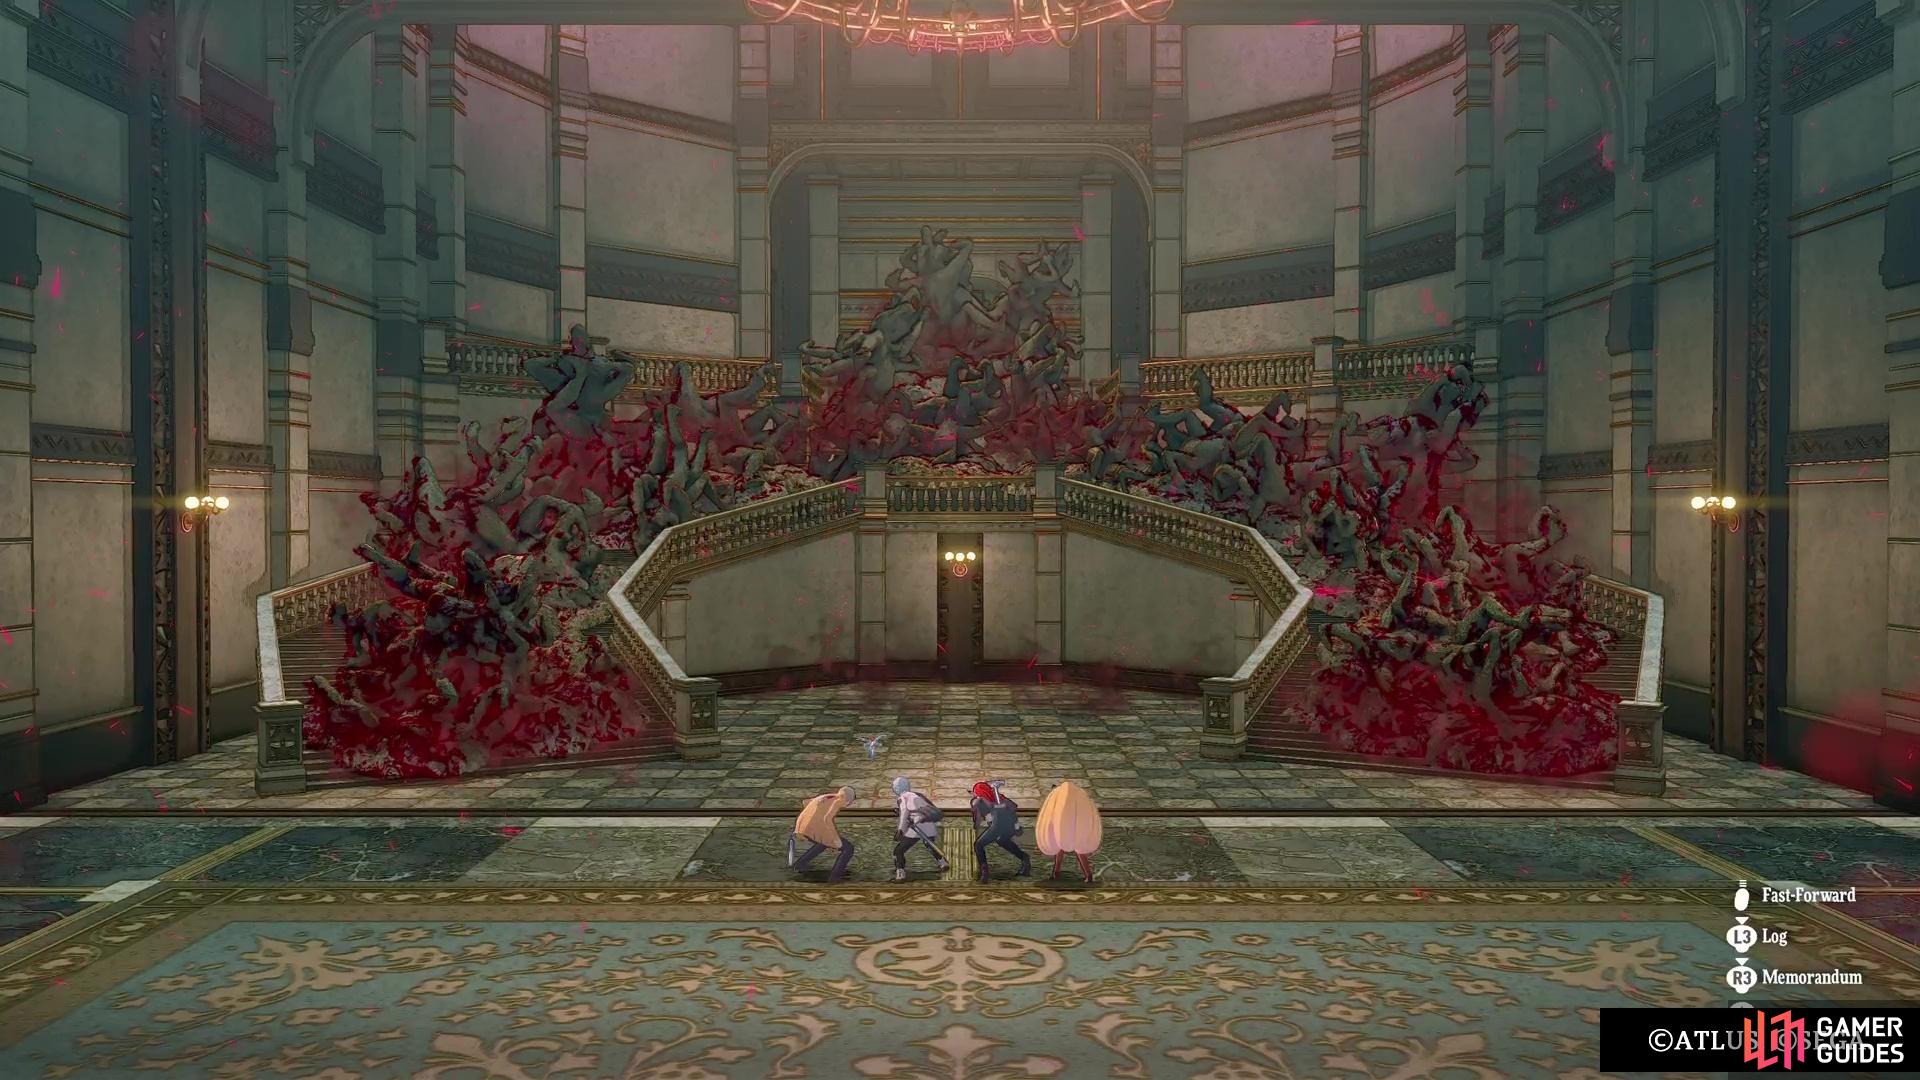
In the Royal Garden section of the Skybound Avatar, you learn that the King’s Servants statues have been corrupted. These cause a lot of emotions to pour forth and block you from progressing in the dungeon. In order to get further, you have to defeat the guardians in front of the statues, then break the magla crystal. After clearing the Royal Garden, you end up in the Royal Passage, where your goal is to destroy two more statues, with one of them being in the Palace Corridor.
You have two more areas to explore before you reach the end of this dungeon.
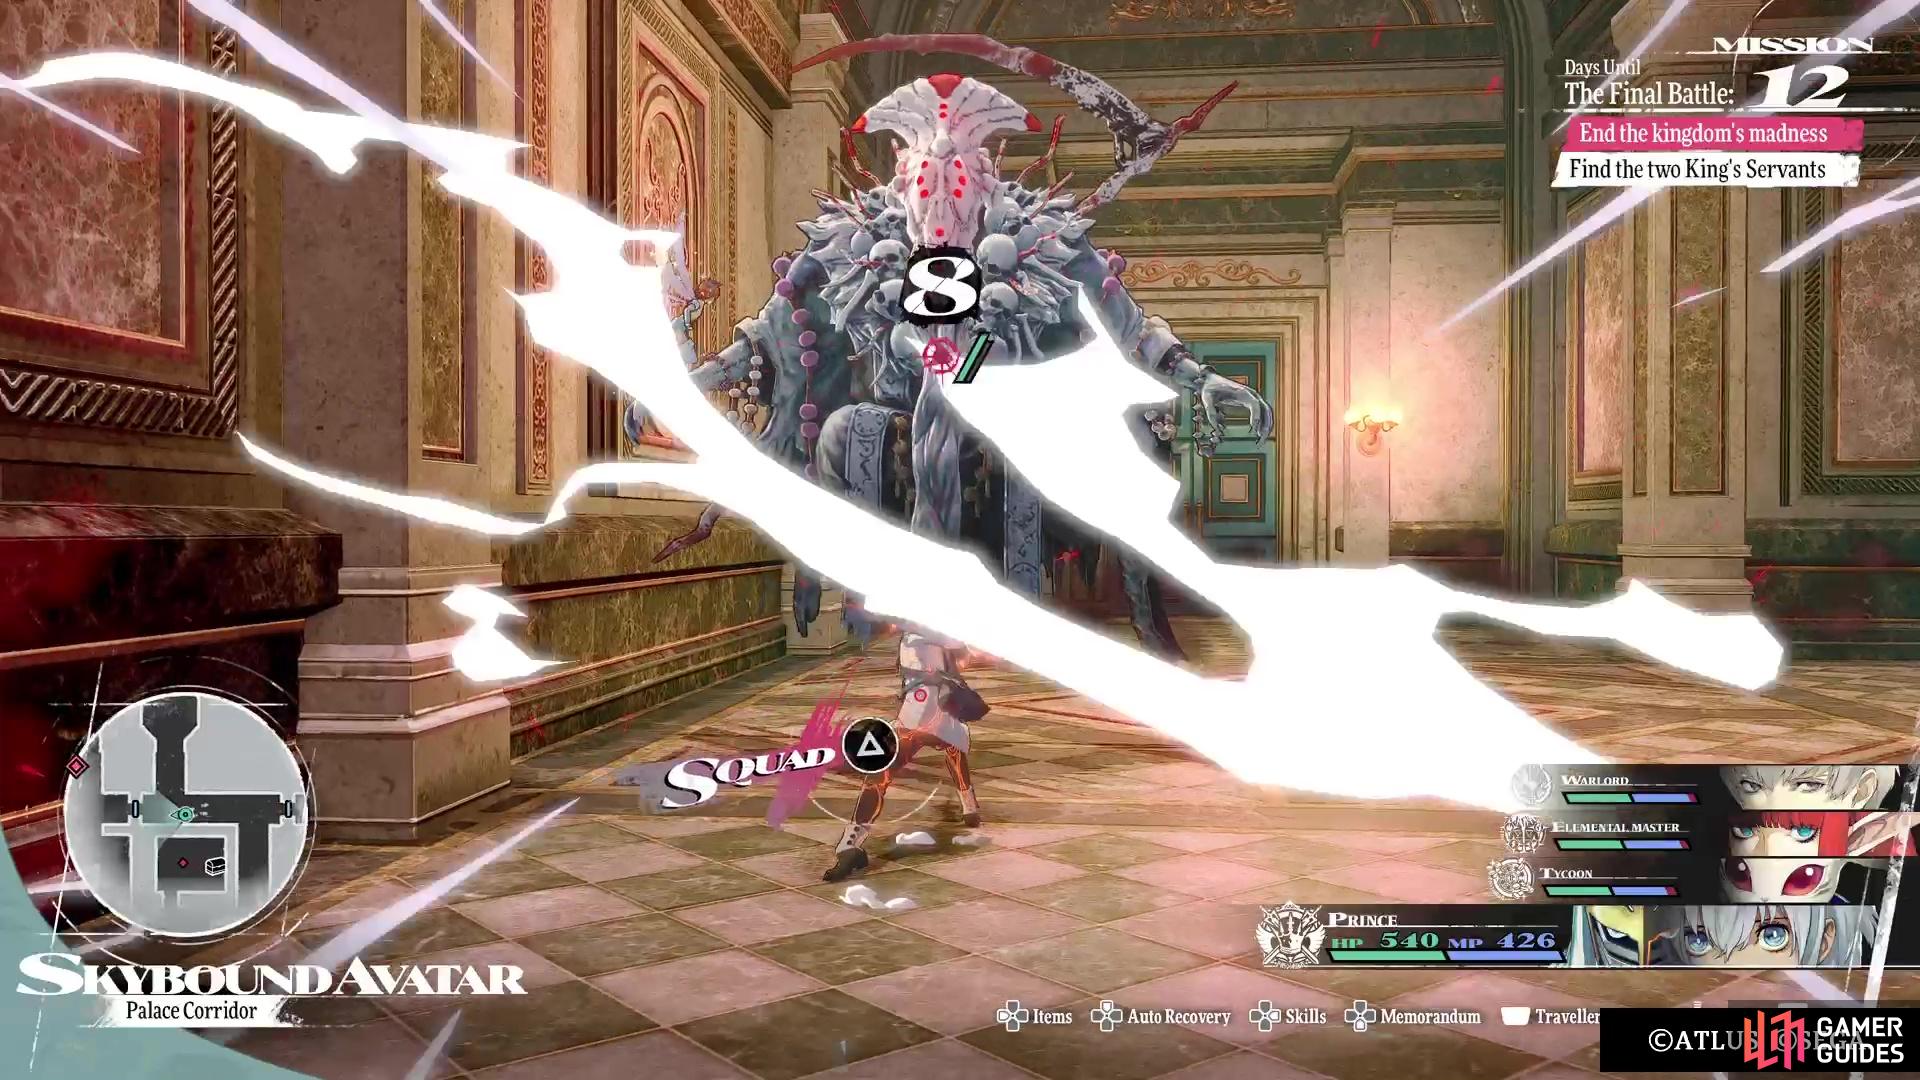
Skybound Avatar Palace Corridor Enemies
The following list is all of the enemies you will find in the Palace Corridor area of the Skybound Avatar, including their weaknesses and any resistances.
| Enemy | Level | Weak | Strength |
|---|---|---|---|
| Wrathwrought Gargostartz | 63 | Wind | Fire/Lightning (Resist), Slash/Pierce (Block) |
| Raging Corvosta | 57 | Pierce | Wind (Reflect) |
| Obsilas | 64 | Ice | Dark (Resist), Fire (Block) |
| Grotesque Chimenzahn | 70 | Ice, Wind | Lightning (Block), Fire (Absorb) |
| Moldilich | 75 | Strike | Light (Resist), Fire/Ice/Lightning/Wind/Dark (Reflect) |
| Ziocropos | 70 | Pierce, Wind | Lightning (Absorb) |
Skybound Avatar Palace Corridor Items
The table below lists all of the items you can find in the Palace Corridor area of the Skybound Avatar, including those from the blue orbs, as well as those from chests.
| Item |
|---|
| Lovers White Mask |
| Superior Tainted Blade |
| Taliman of the Foul |
| Superior Tainted Arm |
| Justice White Mask |
| Superior Tainted Heavy Armour |
Palace Corridor Door Puzzle Guide
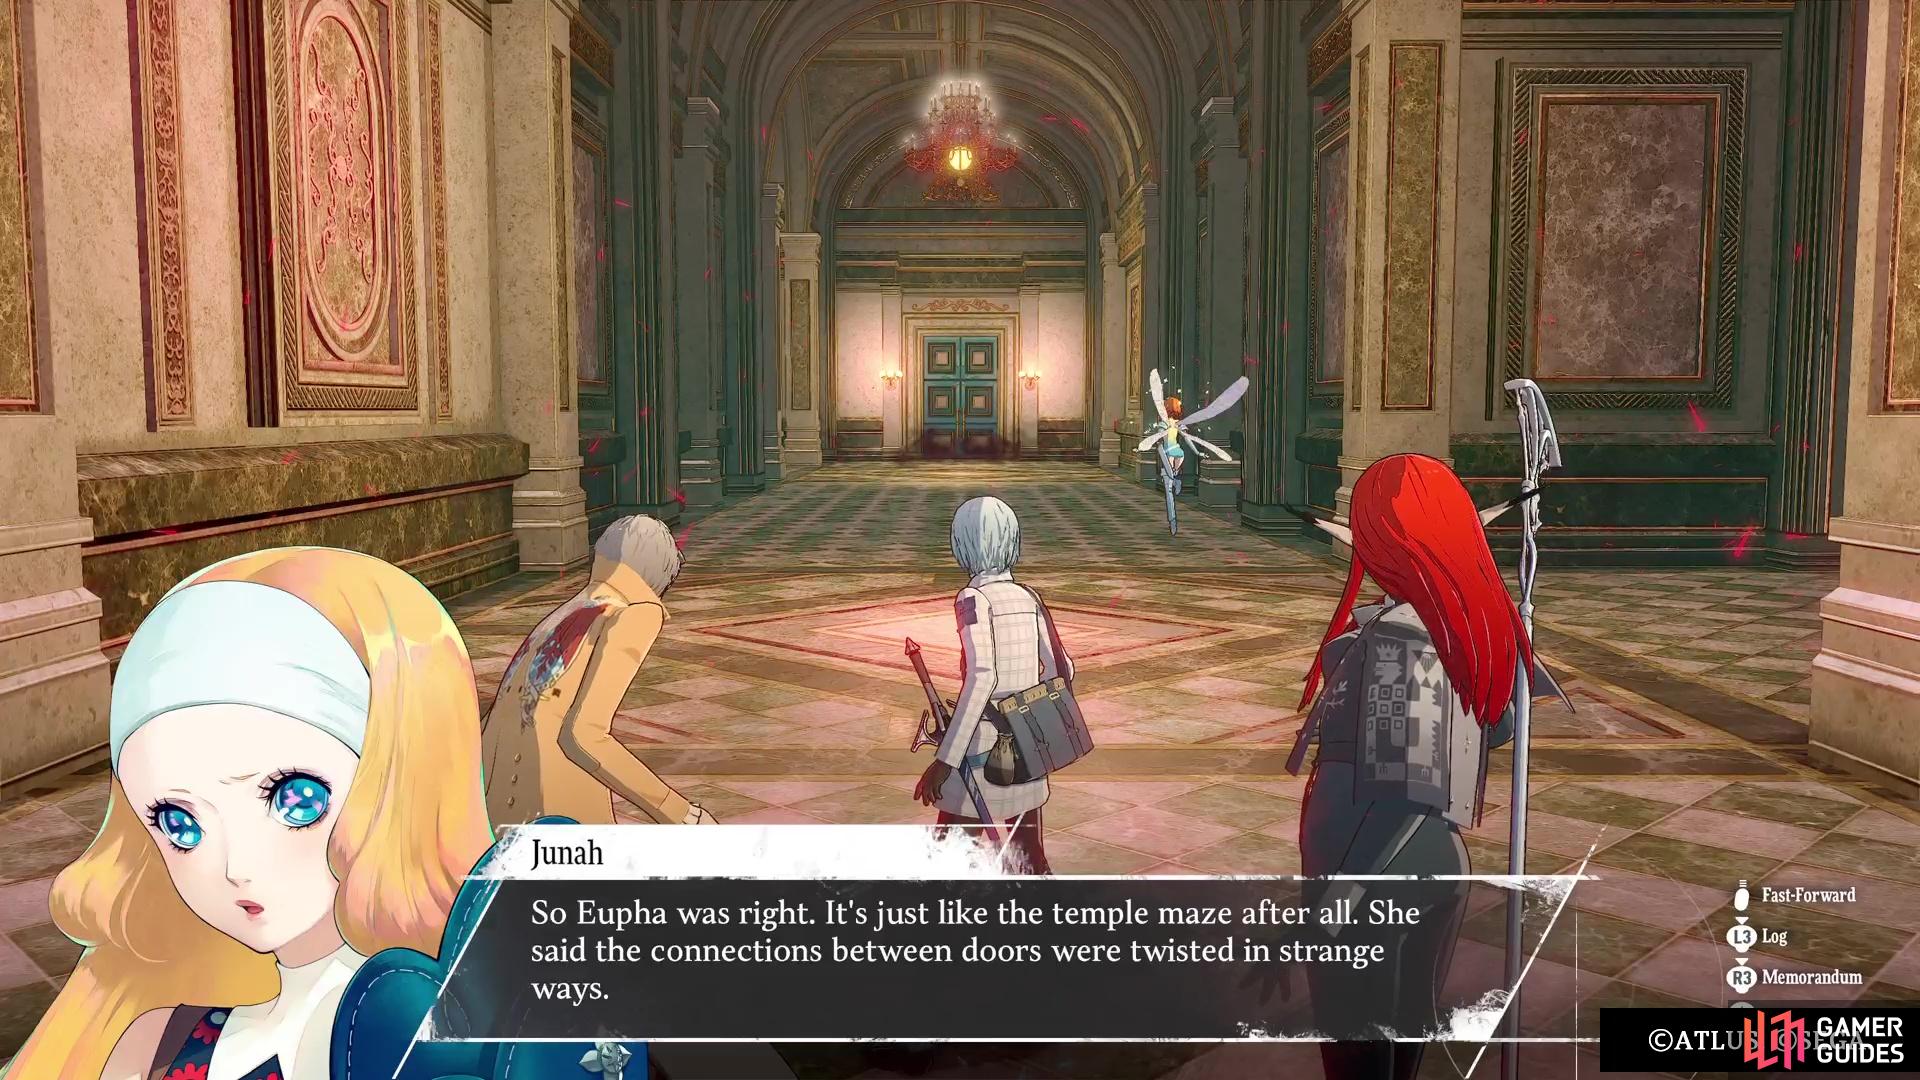
Of the two subareas here in the last section, the Palace Corridor is definitely the more annoying, as well as the longer portion. When you start, head straight west, ignoring the first northern path, until you reach the dead end with an item (![]() Heavenly Water). When you go up the other path, there will be a short scene, with
Heavenly Water). When you go up the other path, there will be a short scene, with ![]() Eupha mentioning that the magla here is twisted, similar to the maze in the Dragon Temple. Thankfully, the gimmick here is pretty easy to figure out, so it’s time to continue onward.
Eupha mentioning that the magla here is twisted, similar to the maze in the Dragon Temple. Thankfully, the gimmick here is pretty easy to figure out, so it’s time to continue onward.
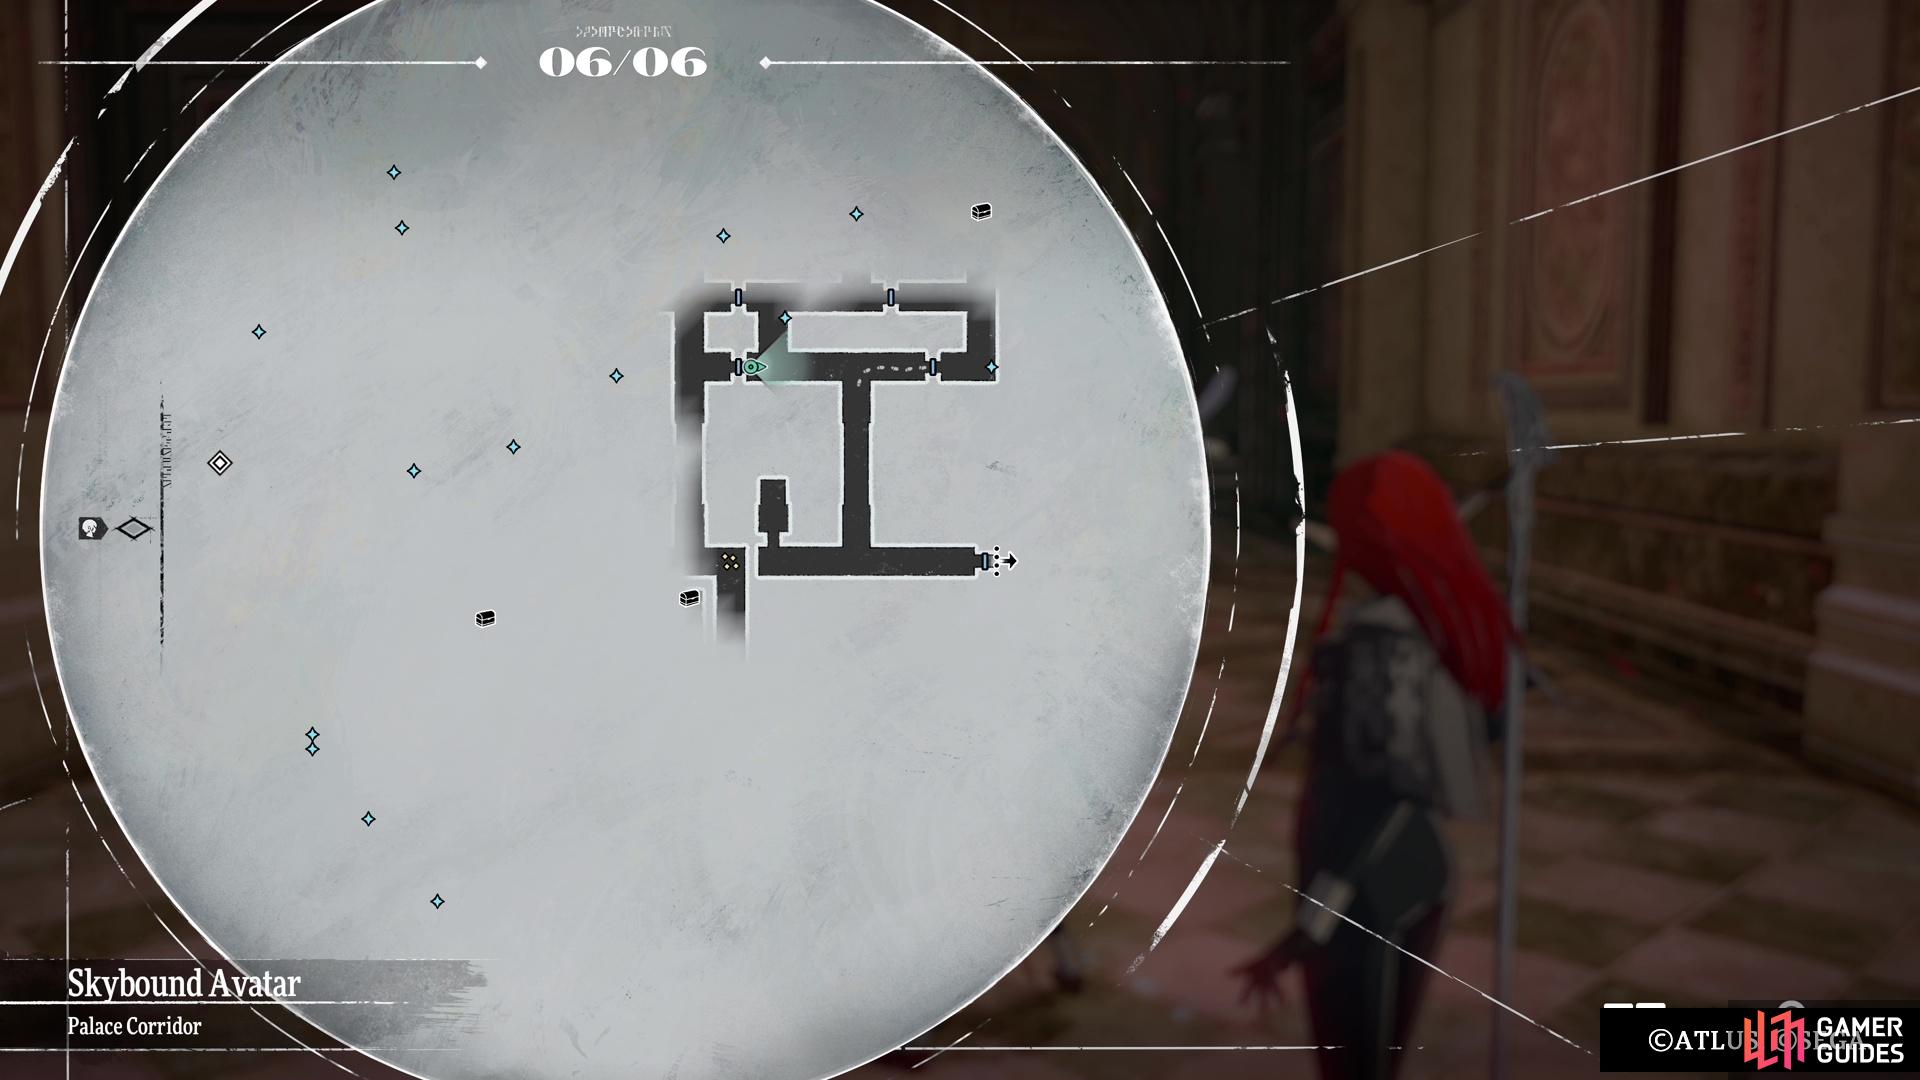
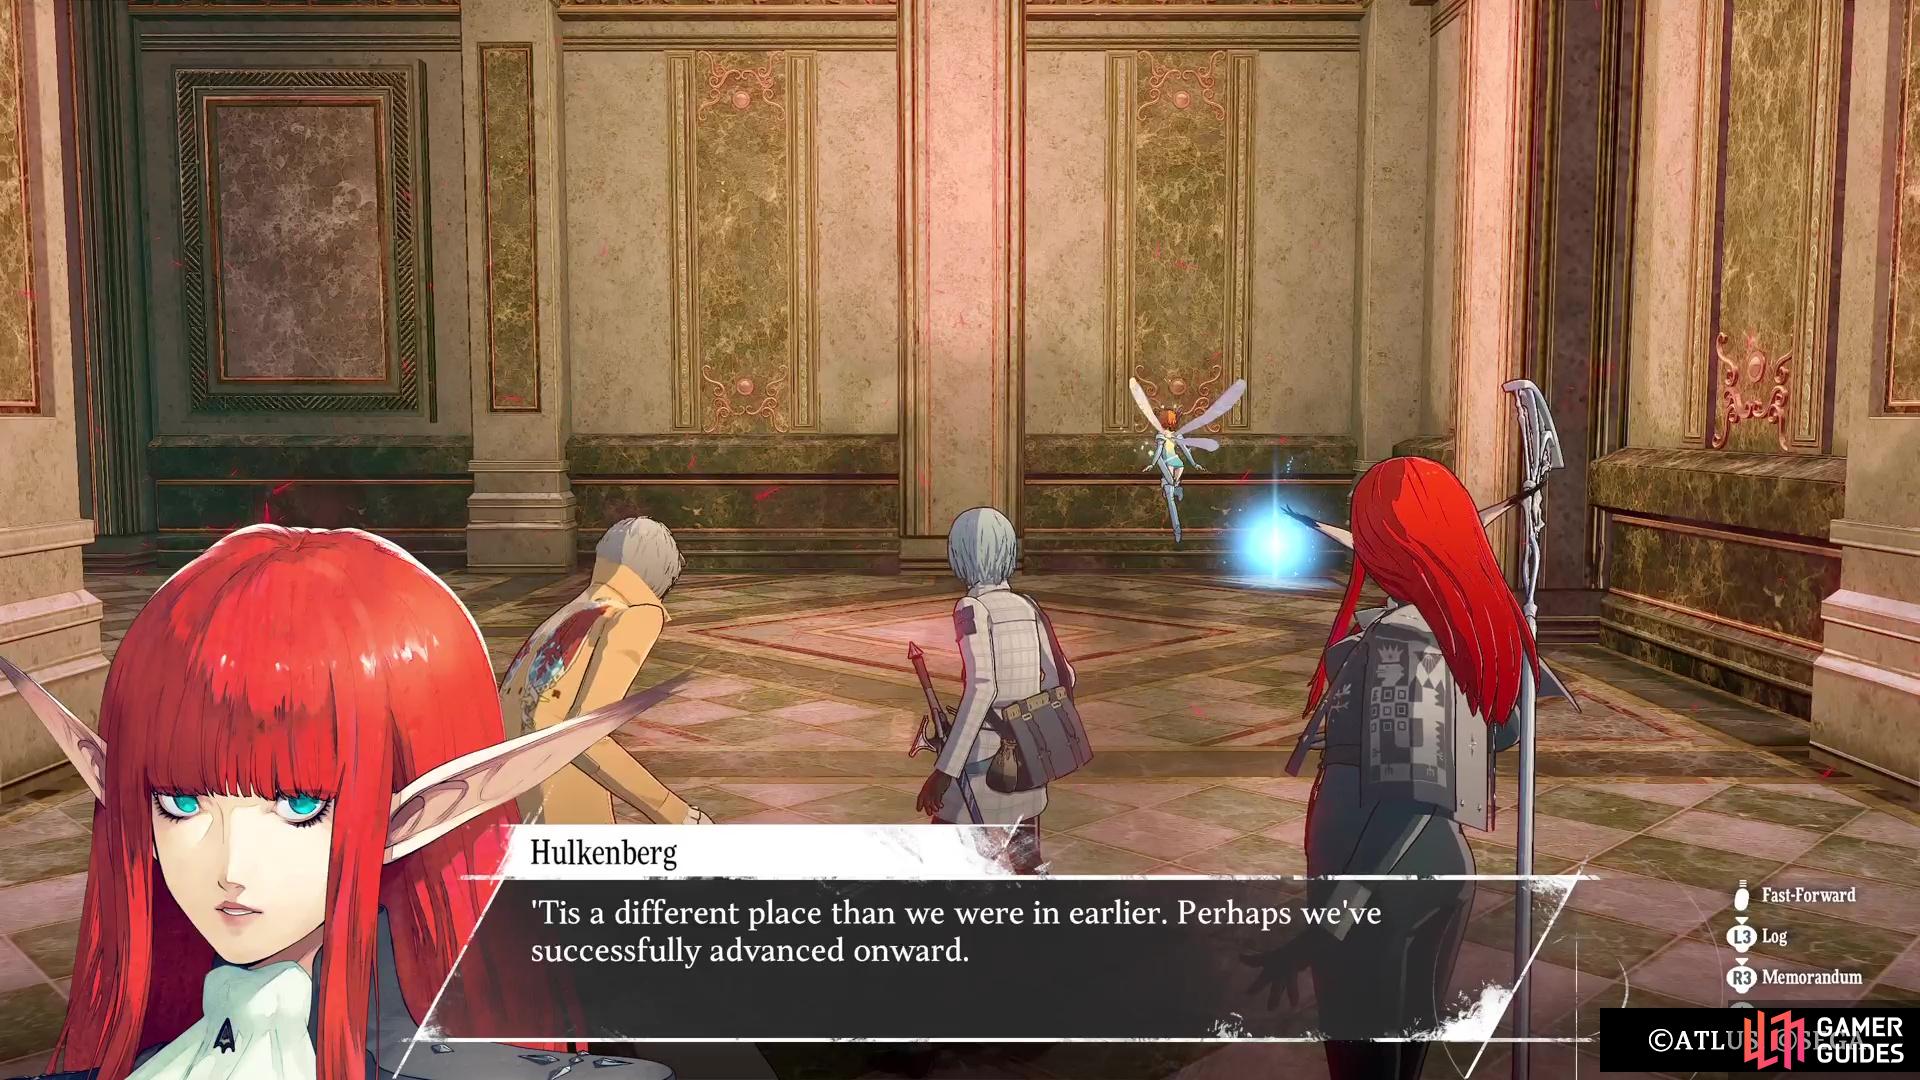
(1 of 3) The doors in the Palace Corridor are like a puzzle.
Go to the end of the hallway and try to enter the door to the east, which will spit you out of the door directly across from it on the western side of the hallway. Basically, if there are doors across from one another, entering one will have your party come out on the other side. So, if you wish to make any progress towards the western side, you’ll need to do something else. For now, just head to the top hallway and loot the two items there (![]() Ariadne’s Thread and
Ariadne’s Thread and ![]() Magla Candelabra). In the adjacent north-south hallway, go to the second door on the eastern side and enter it.
Magla Candelabra). In the adjacent north-south hallway, go to the second door on the eastern side and enter it.
If you chose the correct one, you will move over to the west, with an item right in front of you (Lovers White Mask). Head north, west, and south for another item (![]() Topaz), then go back north to the southern of the two doors on this side. This one will bring you further west, and you’re getting closer to the end. Head all the way north for an item (
Topaz), then go back north to the southern of the two doors on this side. This one will bring you further west, and you’re getting closer to the end. Head all the way north for an item (![]() Hero’s Jewelled Root), then start venturing to the south. When you get to the bridge with the Chimera, defeat it, then grab the Magla Candelabra.
Hero’s Jewelled Root), then start venturing to the south. When you get to the bridge with the Chimera, defeat it, then grab the Magla Candelabra.
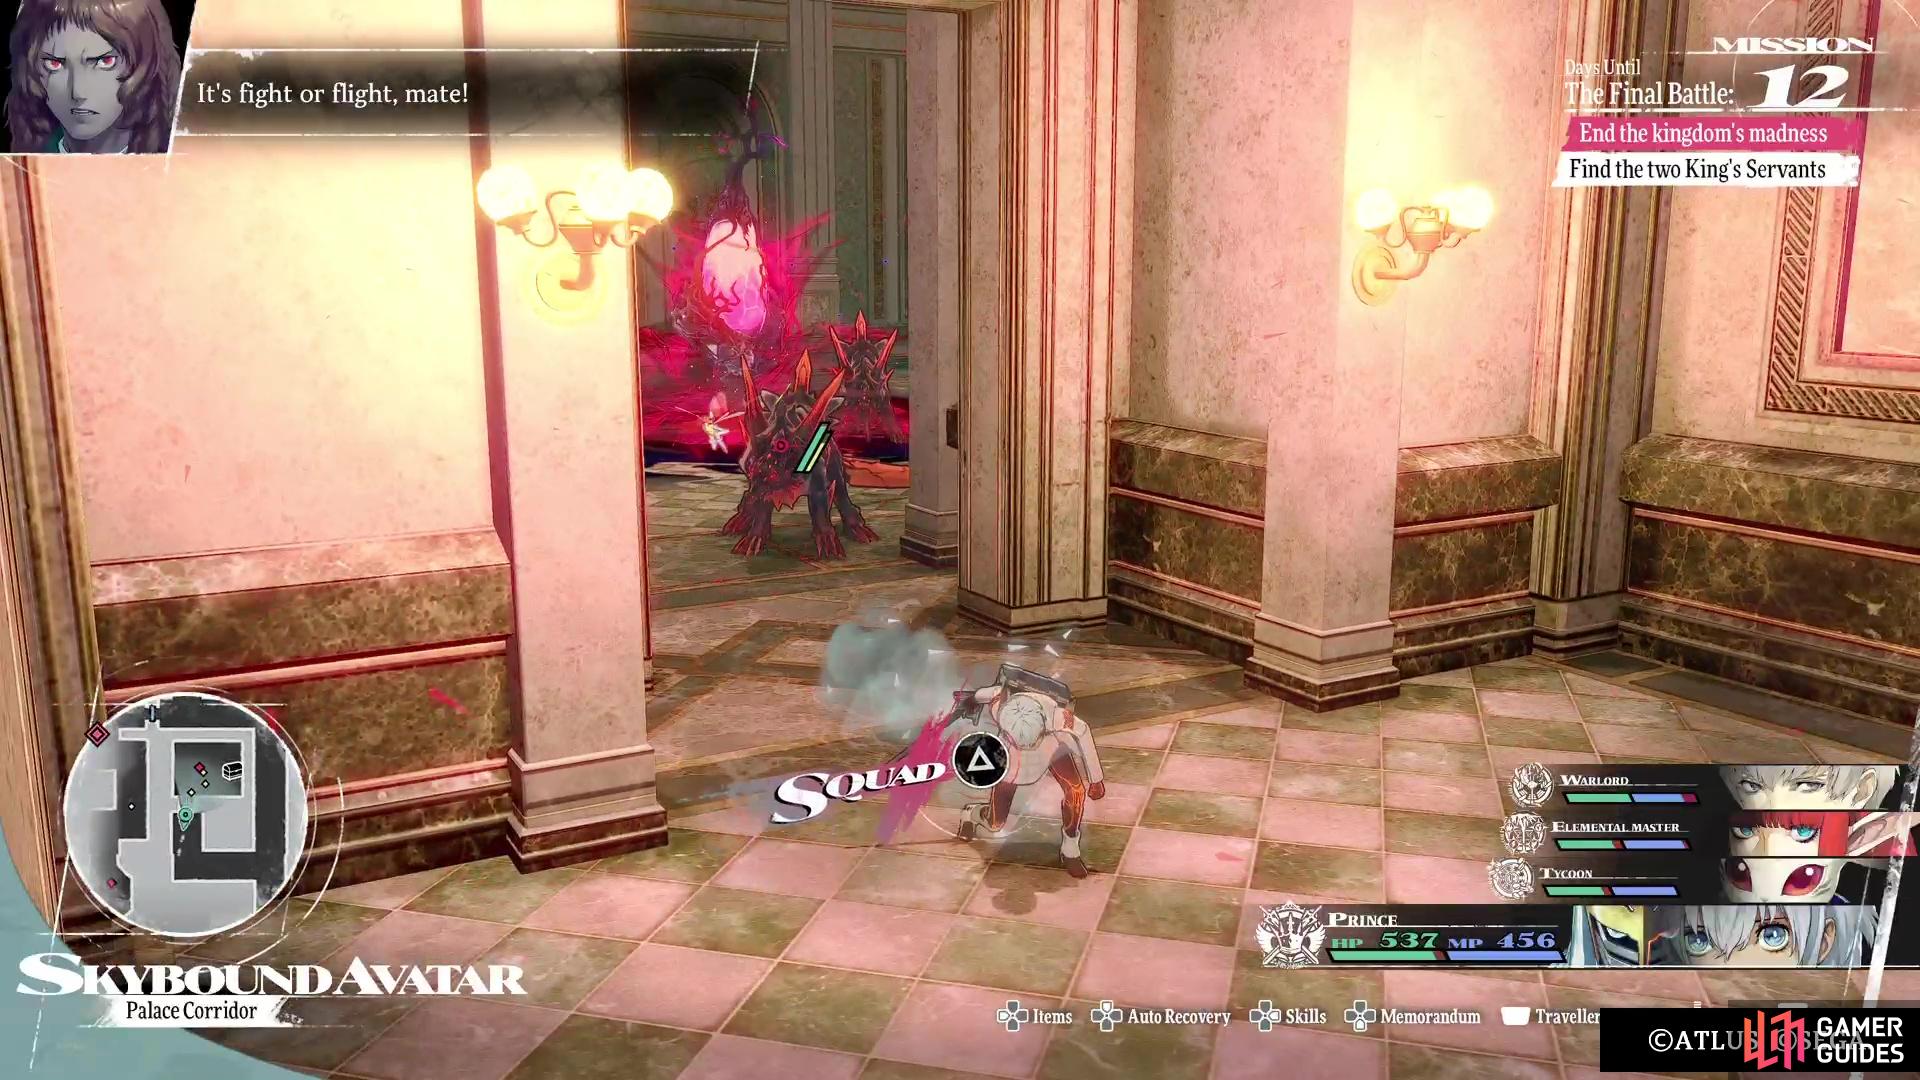
Be mindful of the Moldilich to the south, as it will teleport into the hallway, plus it’s quite a tough enemy. Head south, watching out for the Ziocrops, as it’s an enemy you don’t want to leave alone as the last enemy in a battle. Of course, there are some formations where you fight two at the same time, so you have no choice. When you get to a side path, take it to find a room with a Trance Crystal, which will be guarding a chest. With the coast clear, open the chest to find out it’s a Bloodcoin Imitec! Do your thing to bring it down and receive a ![]() Snowfield Mace.
Snowfield Mace.
(1 of 2) Be on the lookout for the Moldilich, as it is very powerful.
Be on the lookout for the Moldilich, as it is very powerful. (left), There is one treasure being guarded by a Trance Crystal. (right)
With that out of the way, return to the previous hallway and go all the way south, to the door at the very end. This one will put you in another hallway with a ![]() Graced Water, as well as one more door that brings you to the final hallway. Grab the Superior Tainted Blade nearby, then head straight north. The Ziocropos standing guard will lead to a save point, but you can run all the way to the northern dead end for a
Graced Water, as well as one more door that brings you to the final hallway. Grab the Superior Tainted Blade nearby, then head straight north. The Ziocropos standing guard will lead to a save point, but you can run all the way to the northern dead end for a ![]() Pristine Looking Glass. Double back to the save point, save your game, then go through the doors to confront another miniboss, the Leogrophon.
Pristine Looking Glass. Double back to the save point, save your game, then go through the doors to confront another miniboss, the Leogrophon.
Leogrophon Boss Guide
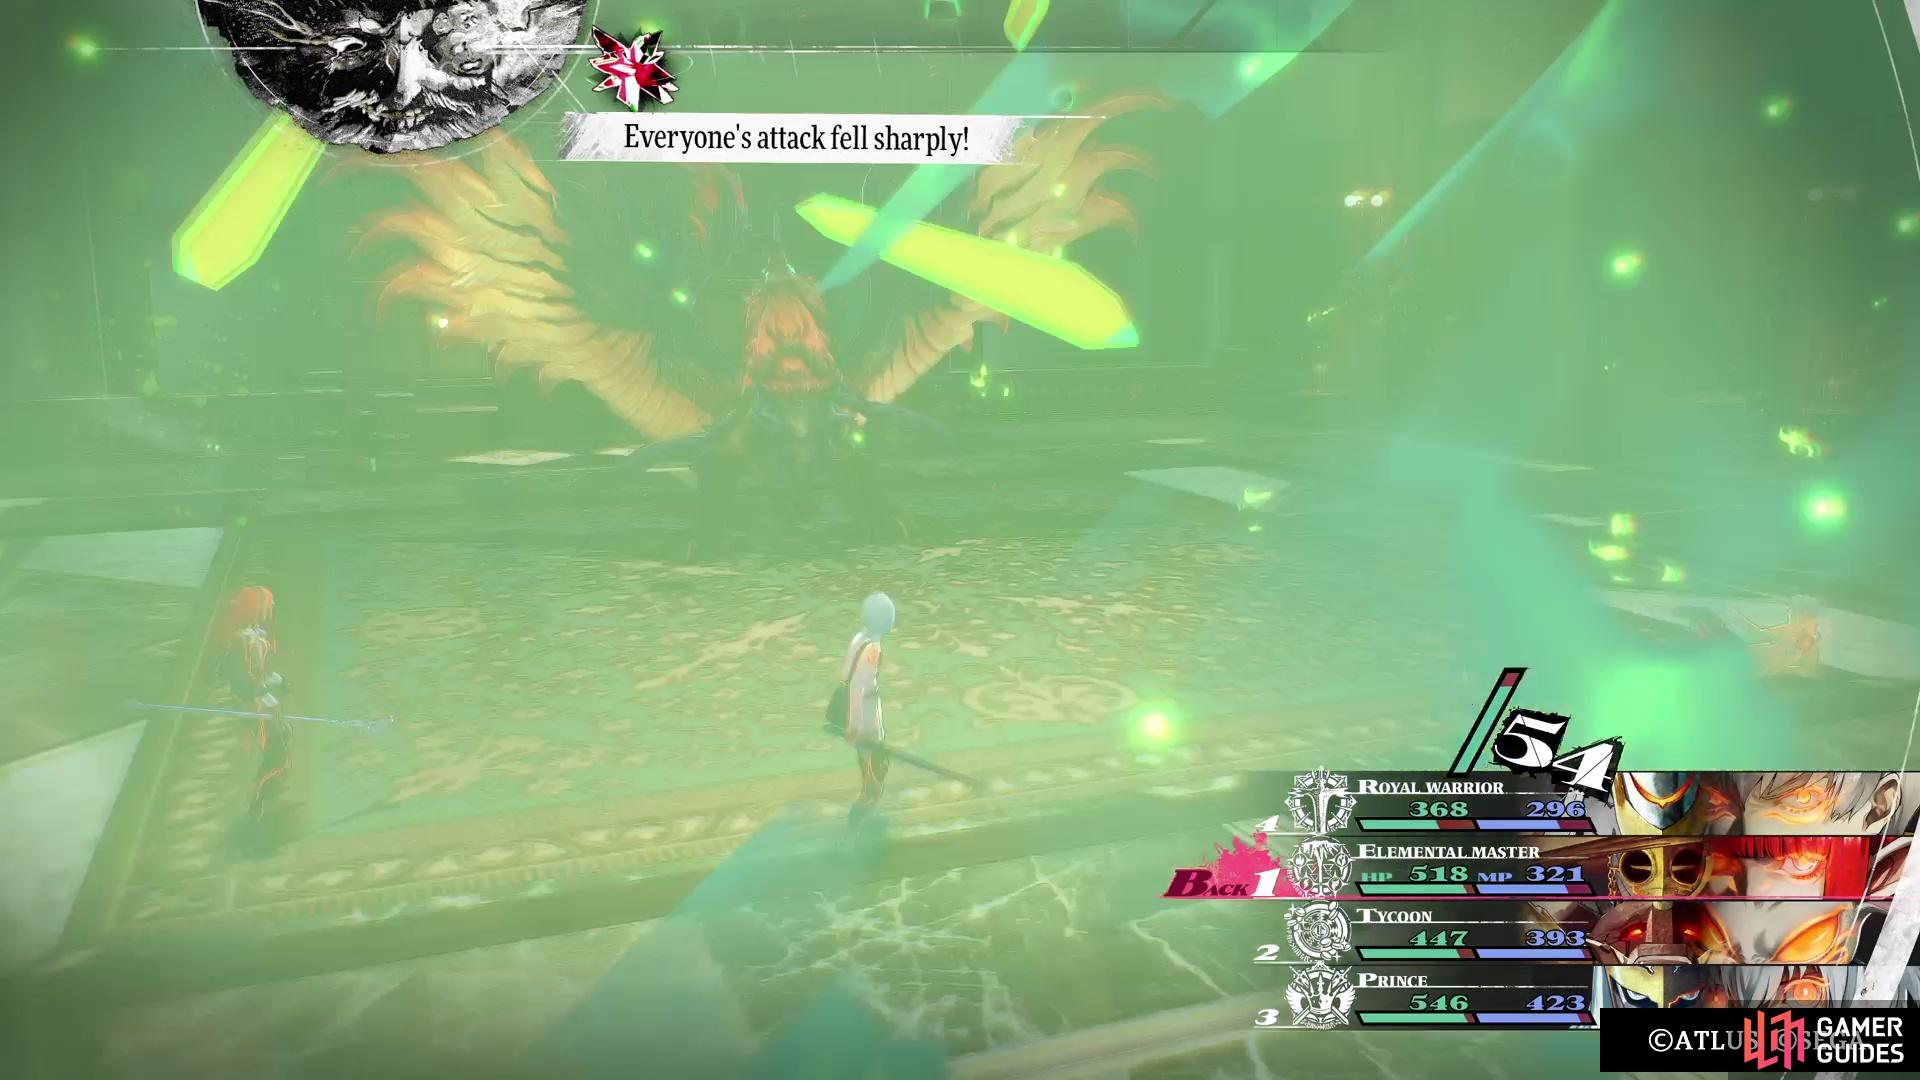
You’ve fought a few of these types of enemies in the game already, and this one isn’t going to be all too different. It is only weak to Pierce, while it resists Fire, Ice, and Light. Additionally, don’t use Wind at all, as the creature will reflect it back at you; all other attack types are fine. You will want to put all characters in the back row for this battle, as the Leogrophon becomes enraged if anyone’s in the front row. It will use Soul Scream to gain four Turn Icons, then Breath of Battle to boost its attack/defence and begin pelting you with attacks.
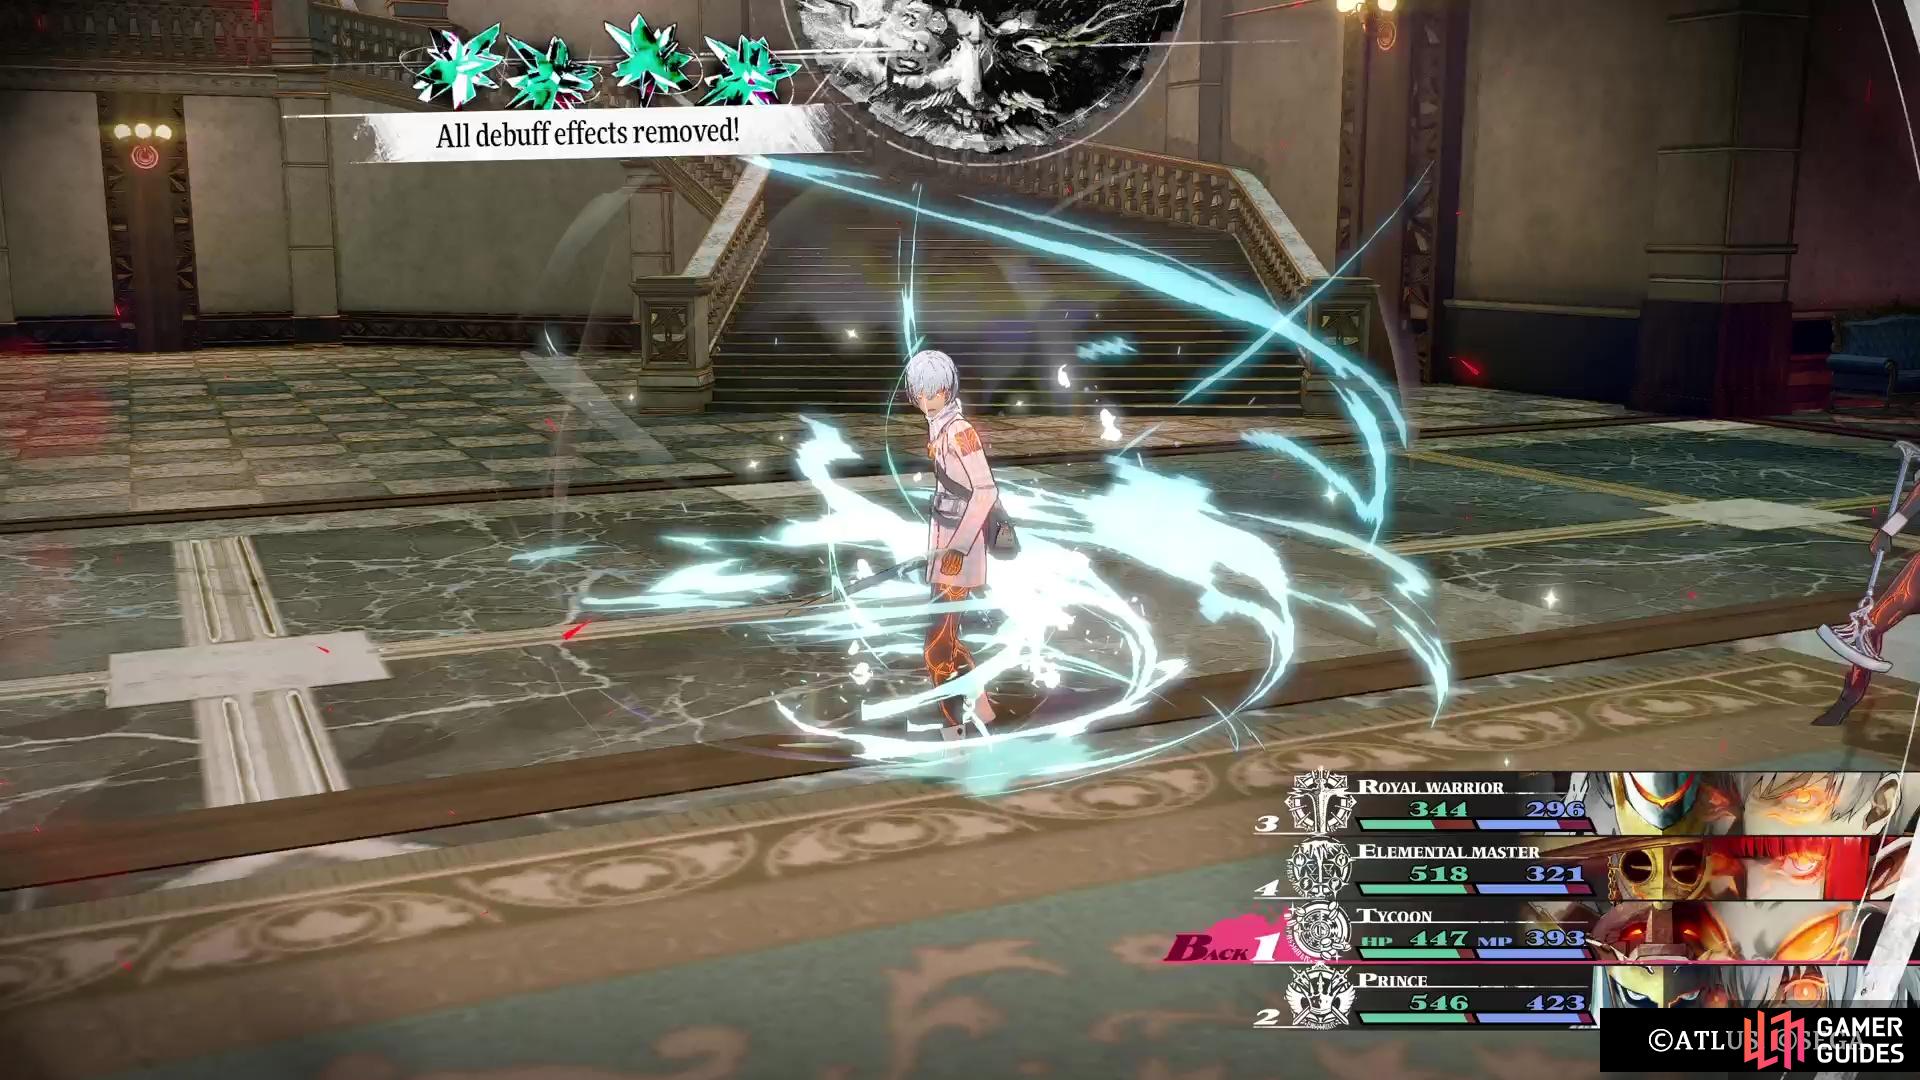
With everyone in the back row, it won’t use Soul Scream at all, but will pretty much use everything else. It has pretty standard attacks, like Fire Claw, ![]() Kandeon, and Boneclaw Slash. The most annoying move is when you see it use Deadeye Stance to make sure its next attack always hits, Chimera’s King Wing. The damage isn’t really anything to worry about, but this move lowers everyone’s attack by three ranks for three turns. It’s best to remove this debuff to make sure you get the most out of your party, especially since they lose some melee power while in the back row.
Kandeon, and Boneclaw Slash. The most annoying move is when you see it use Deadeye Stance to make sure its next attack always hits, Chimera’s King Wing. The damage isn’t really anything to worry about, but this move lowers everyone’s attack by three ranks for three turns. It’s best to remove this debuff to make sure you get the most out of your party, especially since they lose some melee power while in the back row.
(1 of 3) The Leogrophon will always keep Breath of Battle active.
As long as you can manage the attack debuff, the fight is fairly easy. With the enemy out of the way, you can destroy the King’s Servant, which will initiate a scene. With it over, you’ll go back to the main hallway, but there are still items left to loot in the Palace Corridor. Thankfully, all of the doors are now open, so you won’t need to fool with the puzzle anymore. Head to the northeast corner first for a ![]() Talisman of the Foul, as well as a
Talisman of the Foul, as well as a ![]() Blade of Totsuka in the chest. There’s another chest towards the center of the area, guarded by some dogs walking down the hallways (
Blade of Totsuka in the chest. There’s another chest towards the center of the area, guarded by some dogs walking down the hallways (![]() Lance of the Old God; this is a mimic).
Lance of the Old God; this is a mimic).
For the final bits, head towards the southwestern corner for a ![]() Hero’s Cuirass and
Hero’s Cuirass and ![]() Knight’s Last Stand, and to the northwestern corner for a Superior Tainted Arm. You should now be done here, so return to the Royal Passage, as there is one more King’s Servant left to destroy.
Knight’s Last Stand, and to the northwestern corner for a Superior Tainted Arm. You should now be done here, so return to the Royal Passage, as there is one more King’s Servant left to destroy.
Skybound Avatar - Banquet Hall
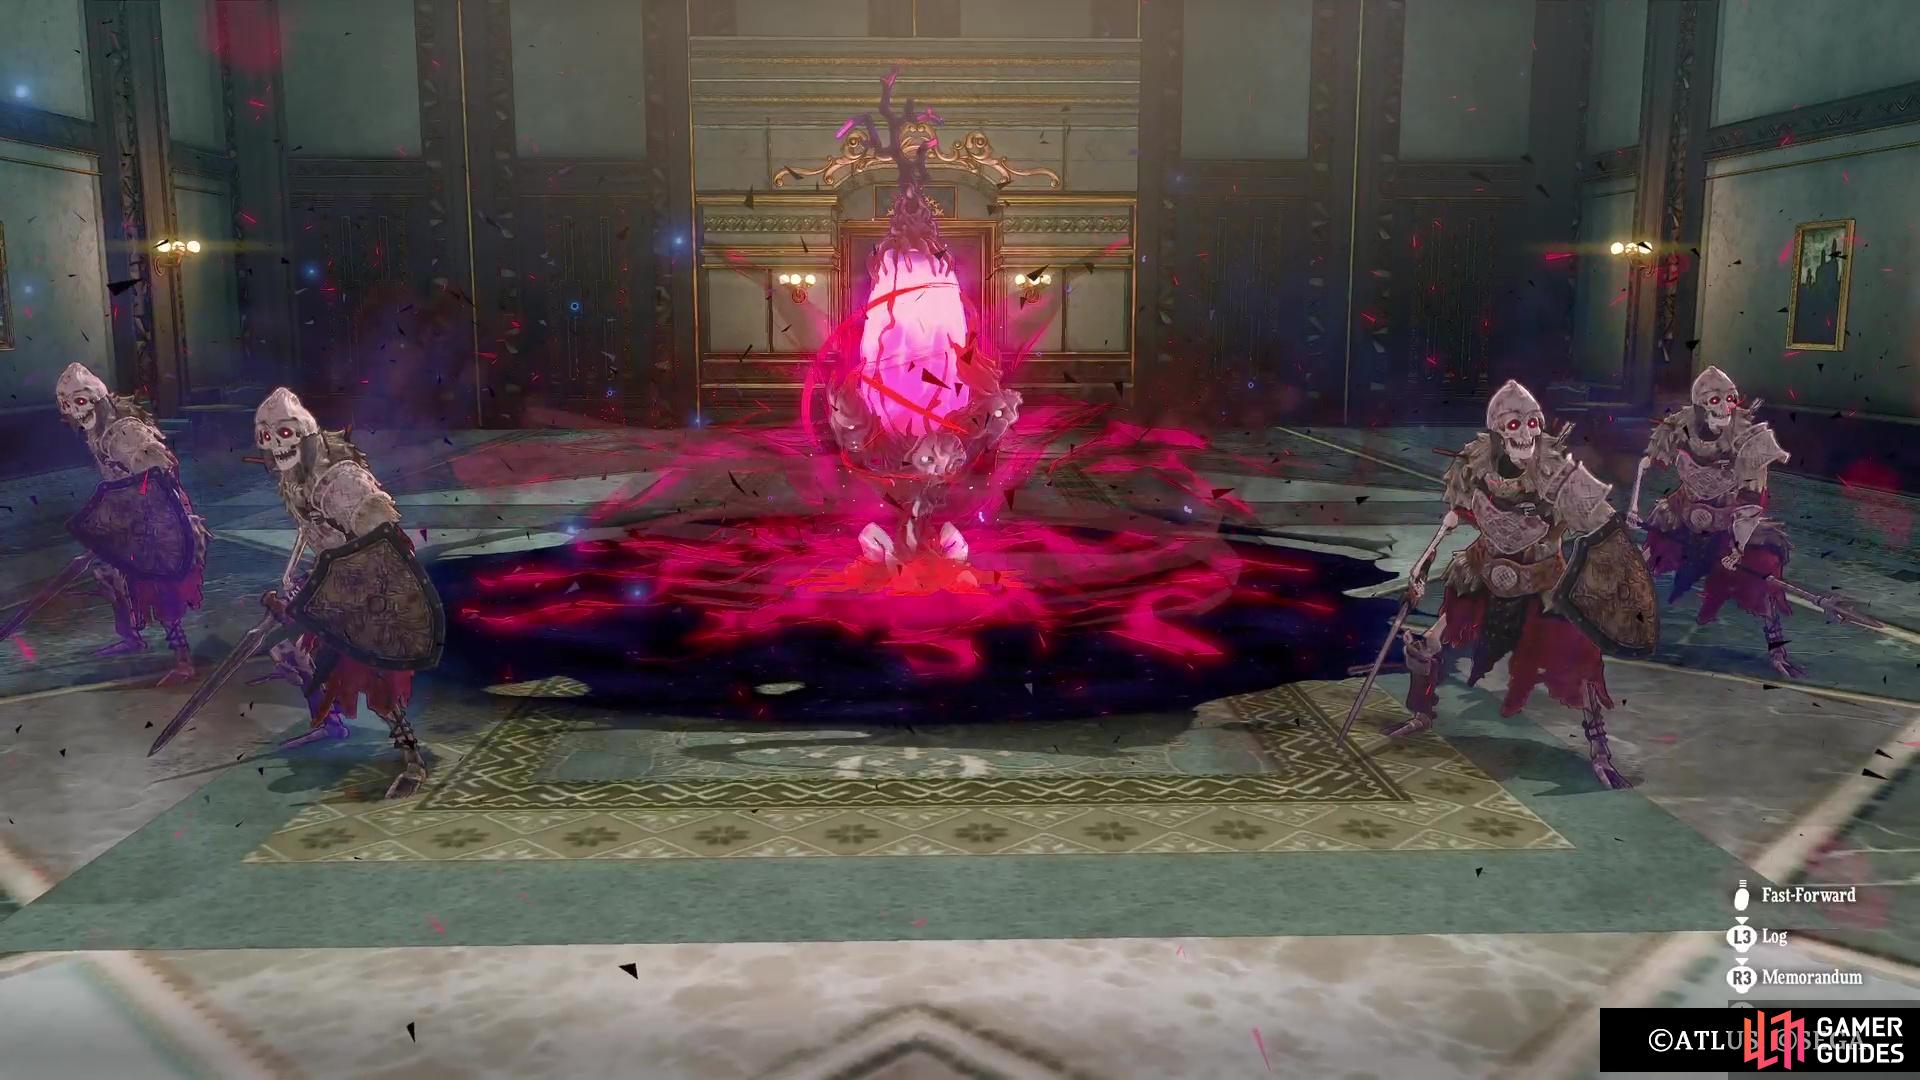
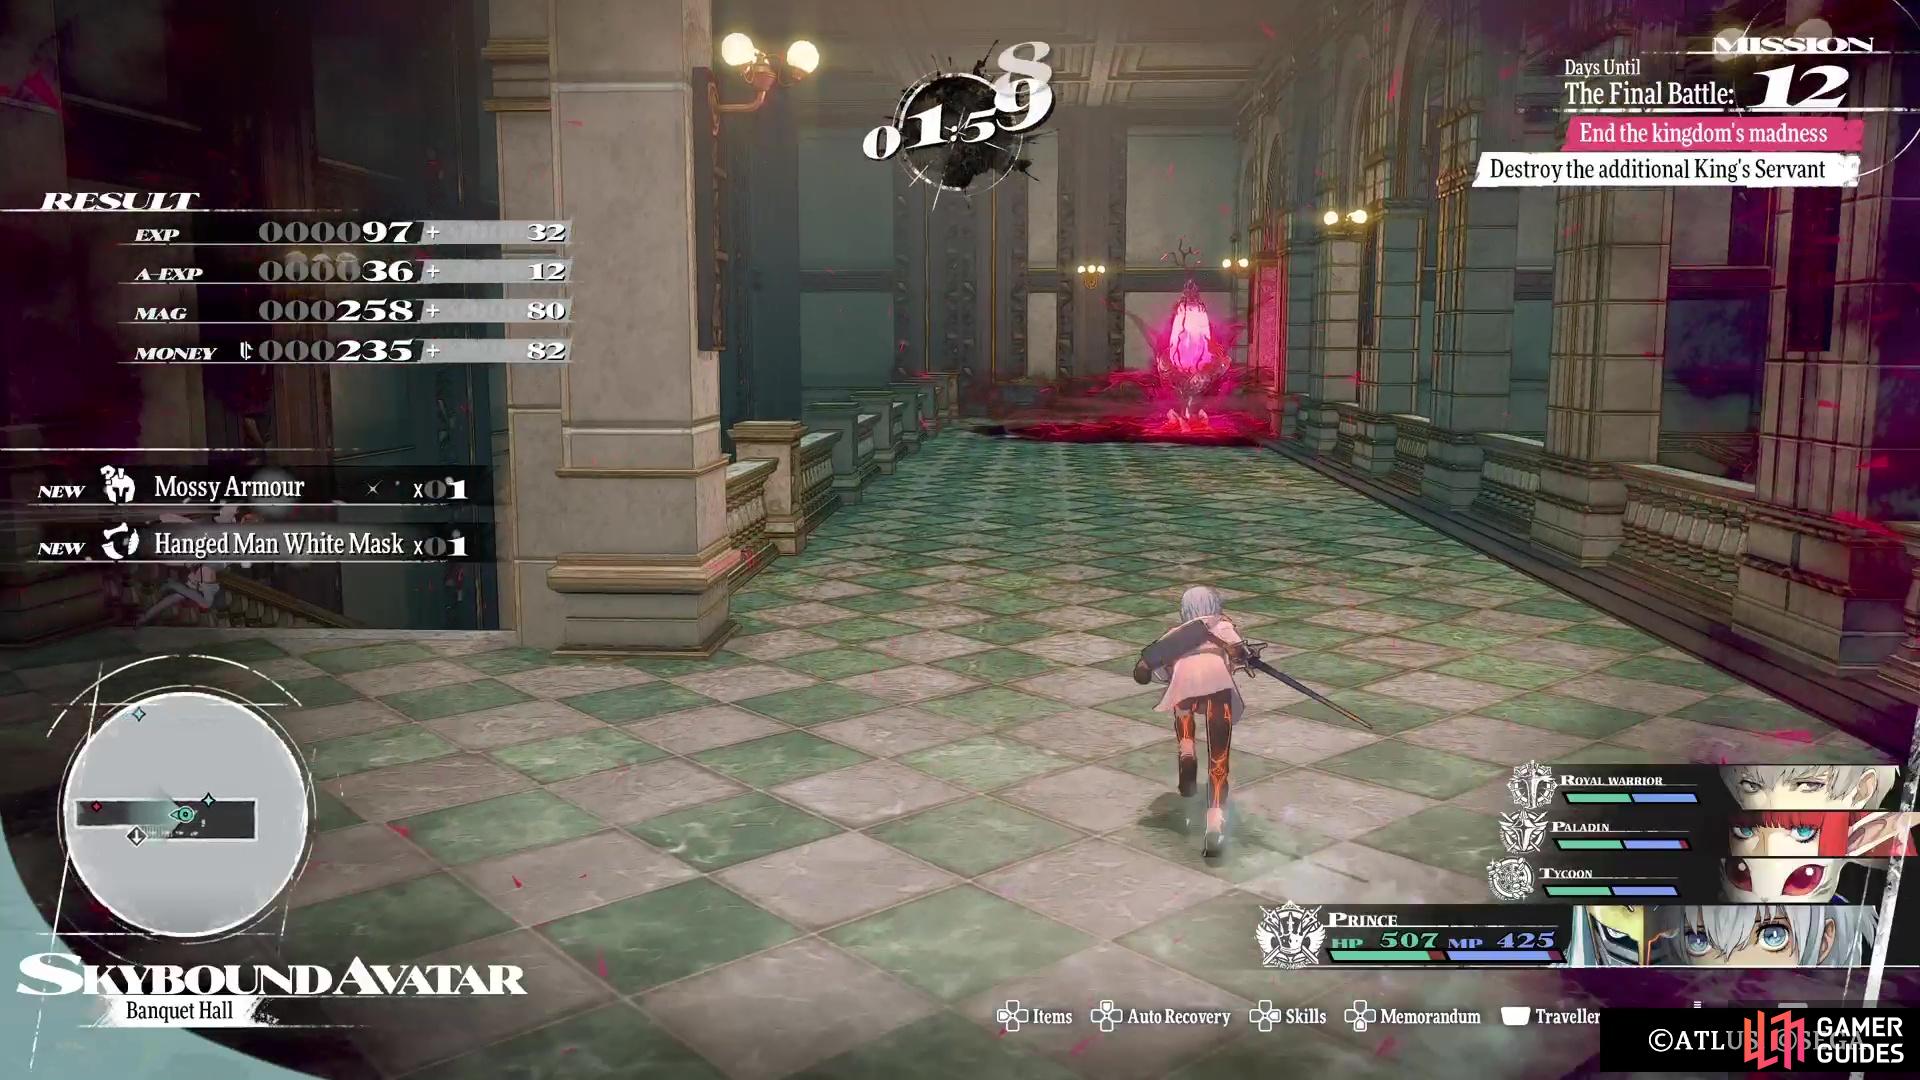
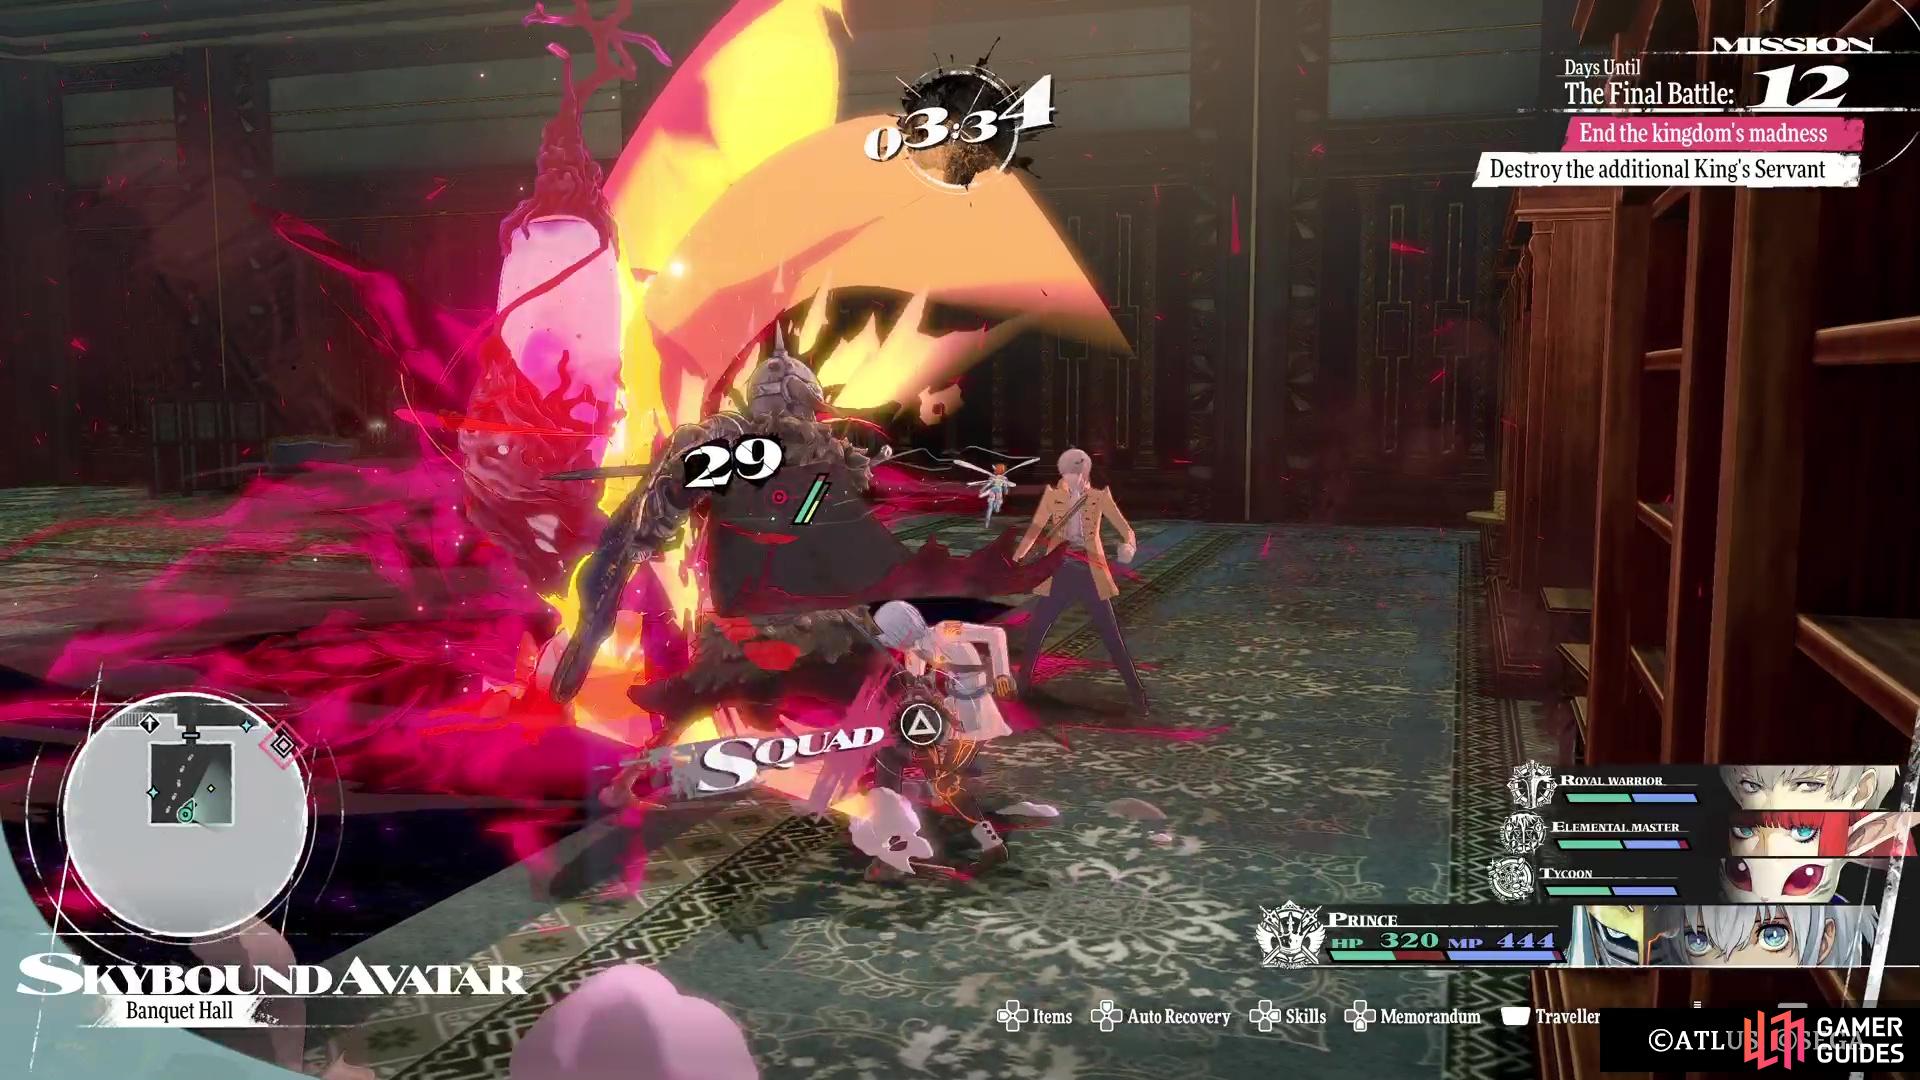
The second section of this floor is much simpler than the previous one, but once you enter the Banquet Hall, you won’t be able to leave until you’re finished. There are a bunch of Trance Crystals you have to destroy in this area, but the catch is you’re on a timer. You have a total of five minutes to destroy all of the Trance Crystals, but this timer will persist through any Squad Battles, so you will need to be a little extra careful here. The enemies straight ahead are Scourge Malmortas, skeletons that are around your level, so you will have to fight them normally if you choose that method.
(1 of 4) The Banquet Hall will have you taking out some Trance Crystals.
They are all weak to Pierce and Light, though, so if you have the Prince Archetype on your protagonist, you can use ![]() Radiance to hopefully deal heavy damage, should you get into a Squad Battle. Note that since you’re on a tight timer, it’s best to ignore the items you see here until you destroy all of the crystals first. There is one Trance Crystal straight ahead, then two in the side rooms on the bottom floor. Those bottom floor crystals will be guarded by the higher leveled skeletons, but the rest of them are lower leveled ones you can defeat on the overworld. There will be two crystals on the second floor, one up either side of the stairs you can take.
Radiance to hopefully deal heavy damage, should you get into a Squad Battle. Note that since you’re on a tight timer, it’s best to ignore the items you see here until you destroy all of the crystals first. There is one Trance Crystal straight ahead, then two in the side rooms on the bottom floor. Those bottom floor crystals will be guarded by the higher leveled skeletons, but the rest of them are lower leveled ones you can defeat on the overworld. There will be two crystals on the second floor, one up either side of the stairs you can take.
Once you have destroyed all of the Trance Crystals, you can run around and gather all of the items. The bottom floor will have a ![]() Talisman of the Femme,
Talisman of the Femme, ![]() Health Incense, Justice White Mask,
Health Incense, Justice White Mask, ![]() Euchronia Gold Coin, Hero’s Jewelled Root, and a Magla Candelabra. Go up both of the stairs on either side to get some more items, which are a
Euchronia Gold Coin, Hero’s Jewelled Root, and a Magla Candelabra. Go up both of the stairs on either side to get some more items, which are a ![]() Great Spirit Dust, Heavenly Water, and a Superior Tainted Heavy Armour.
Great Spirit Dust, Heavenly Water, and a Superior Tainted Heavy Armour.
Return to the bottom floor now and head through the now unlocked doors to come face-to-face with another miniboss.
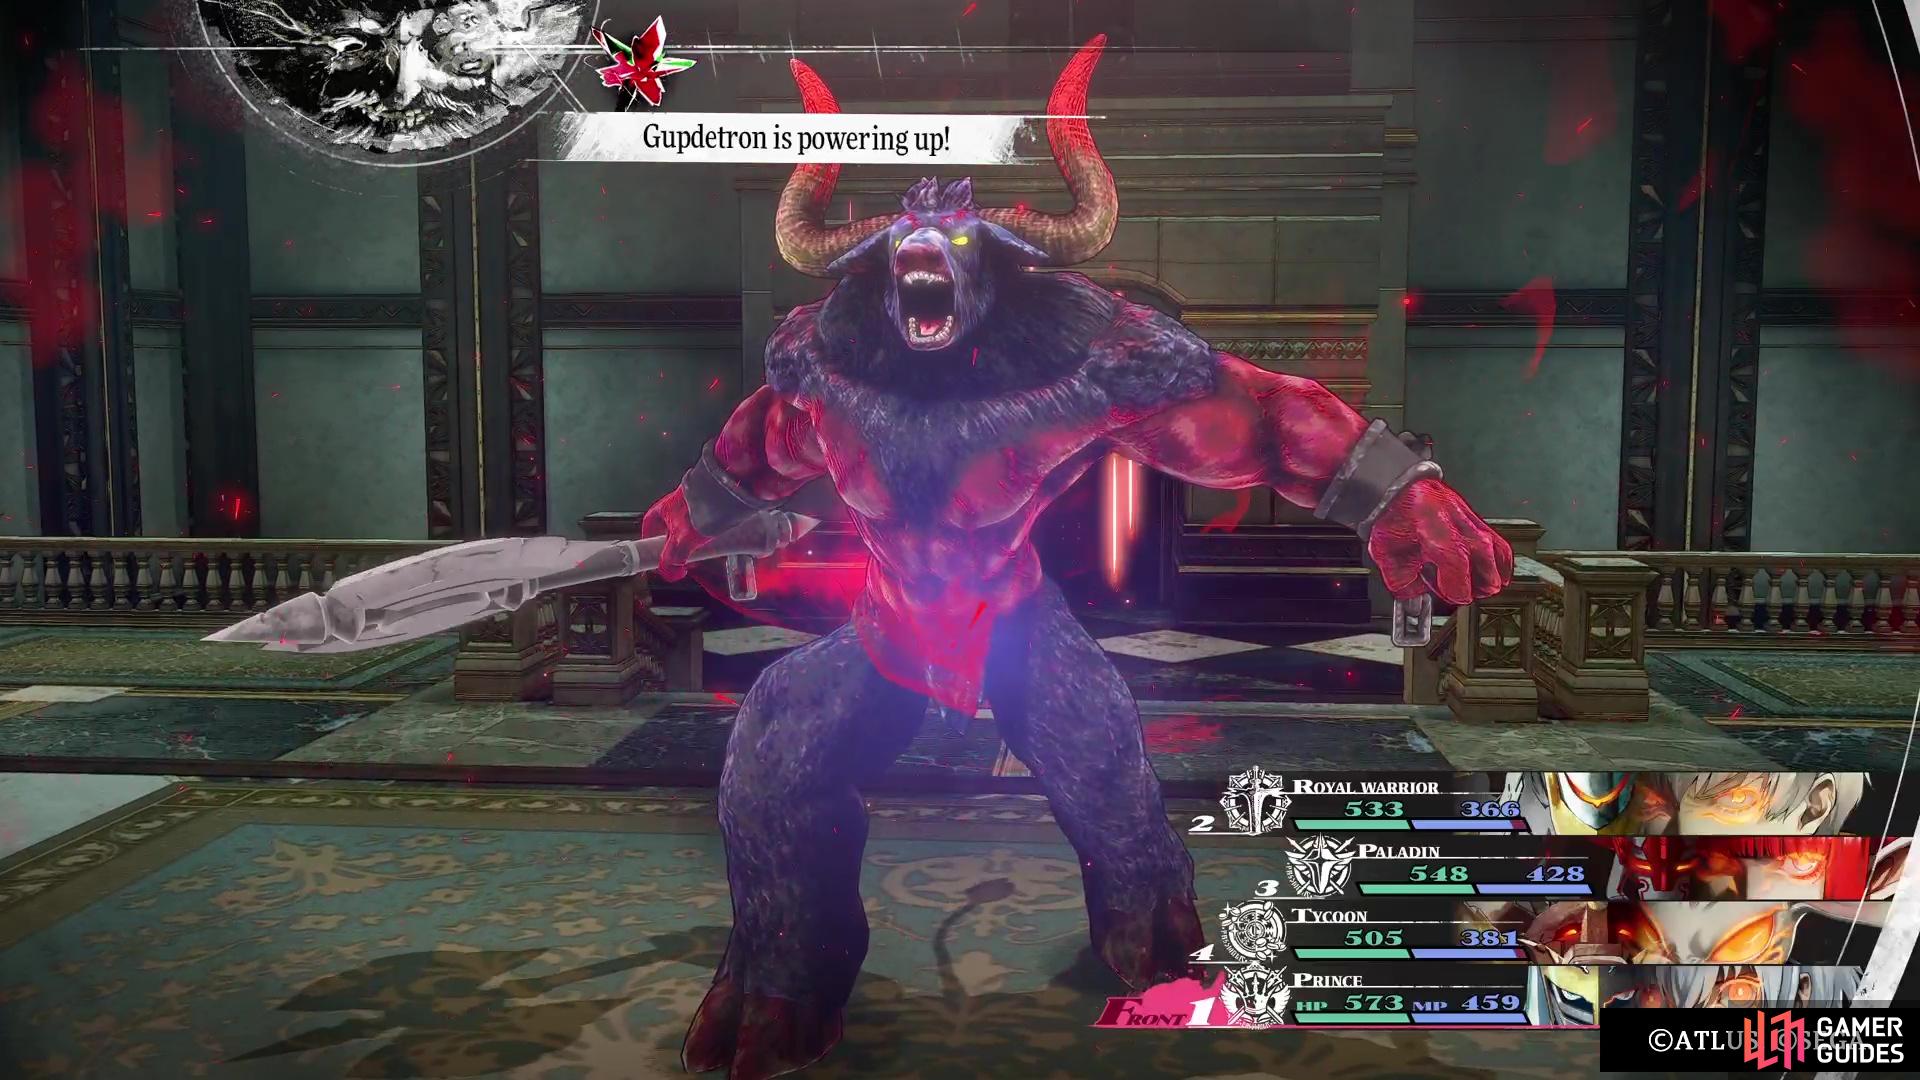
Gupdetron Boss Guide
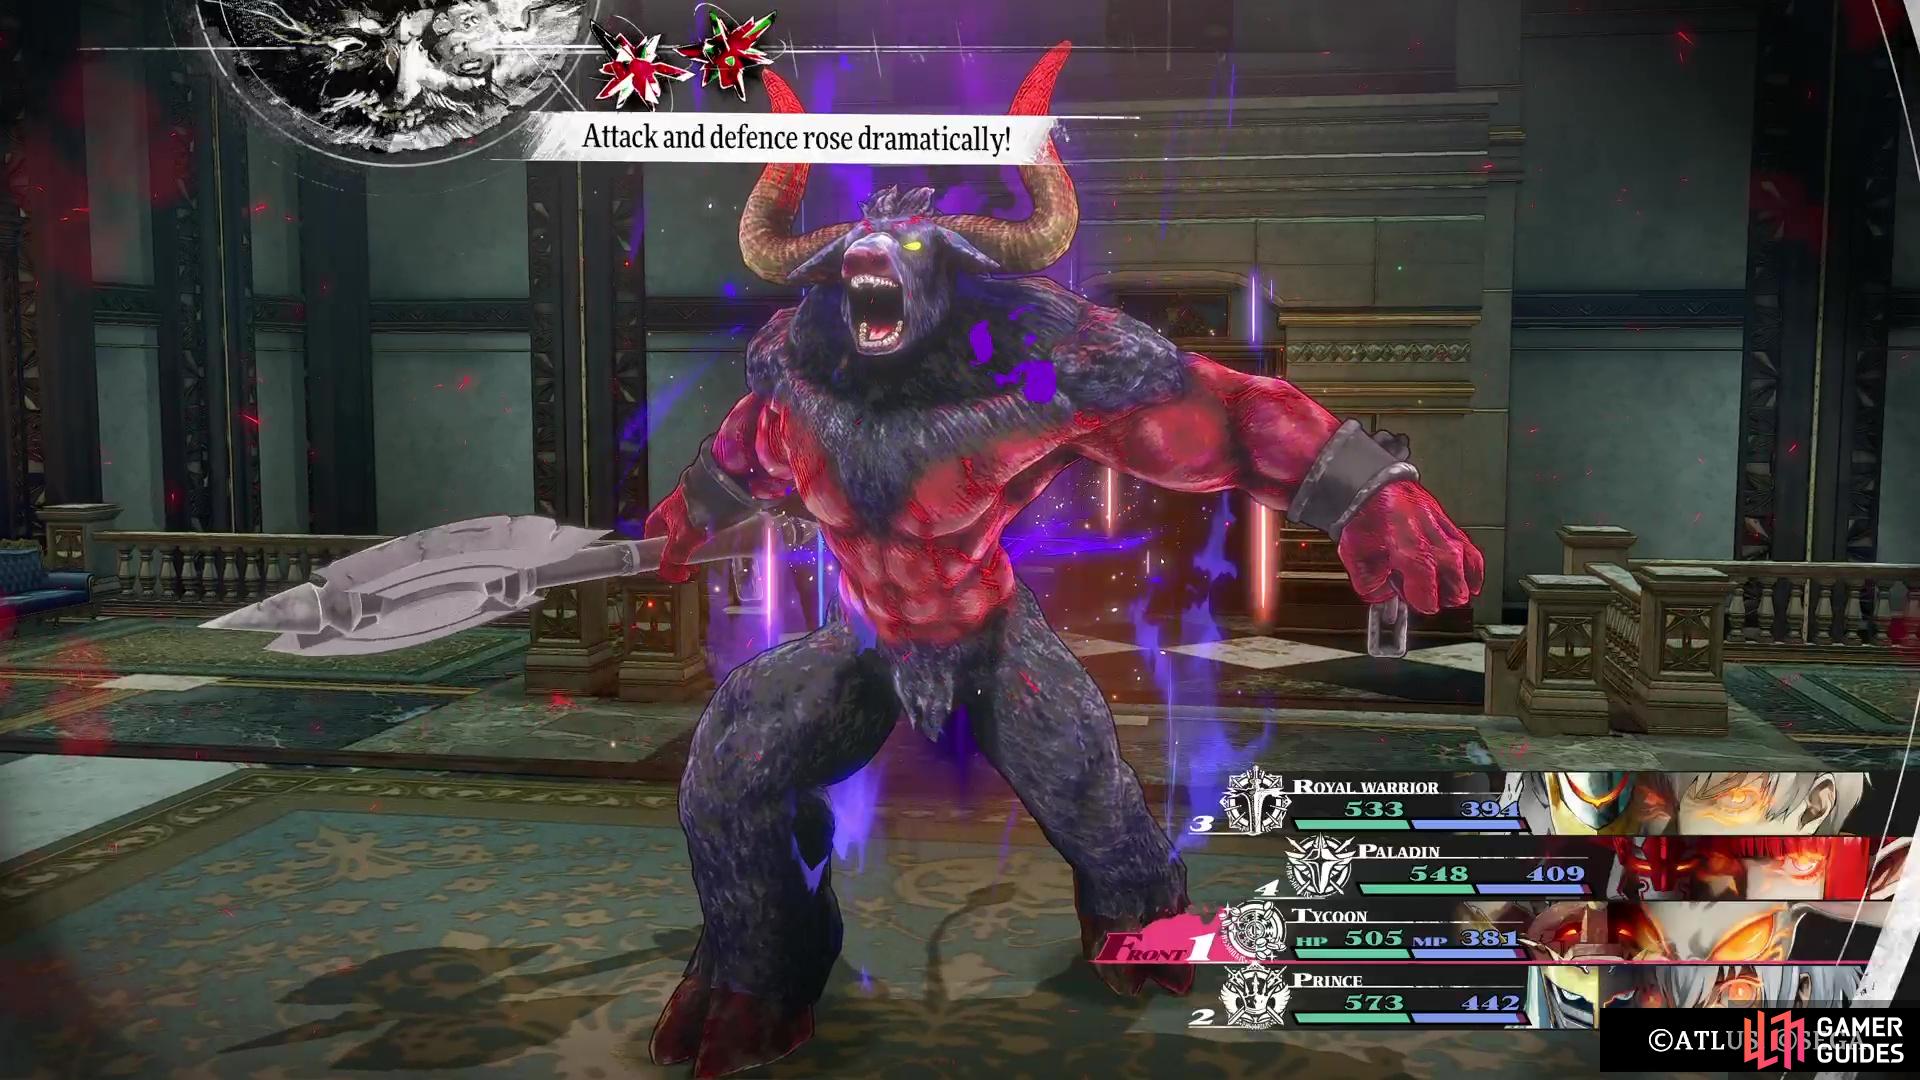
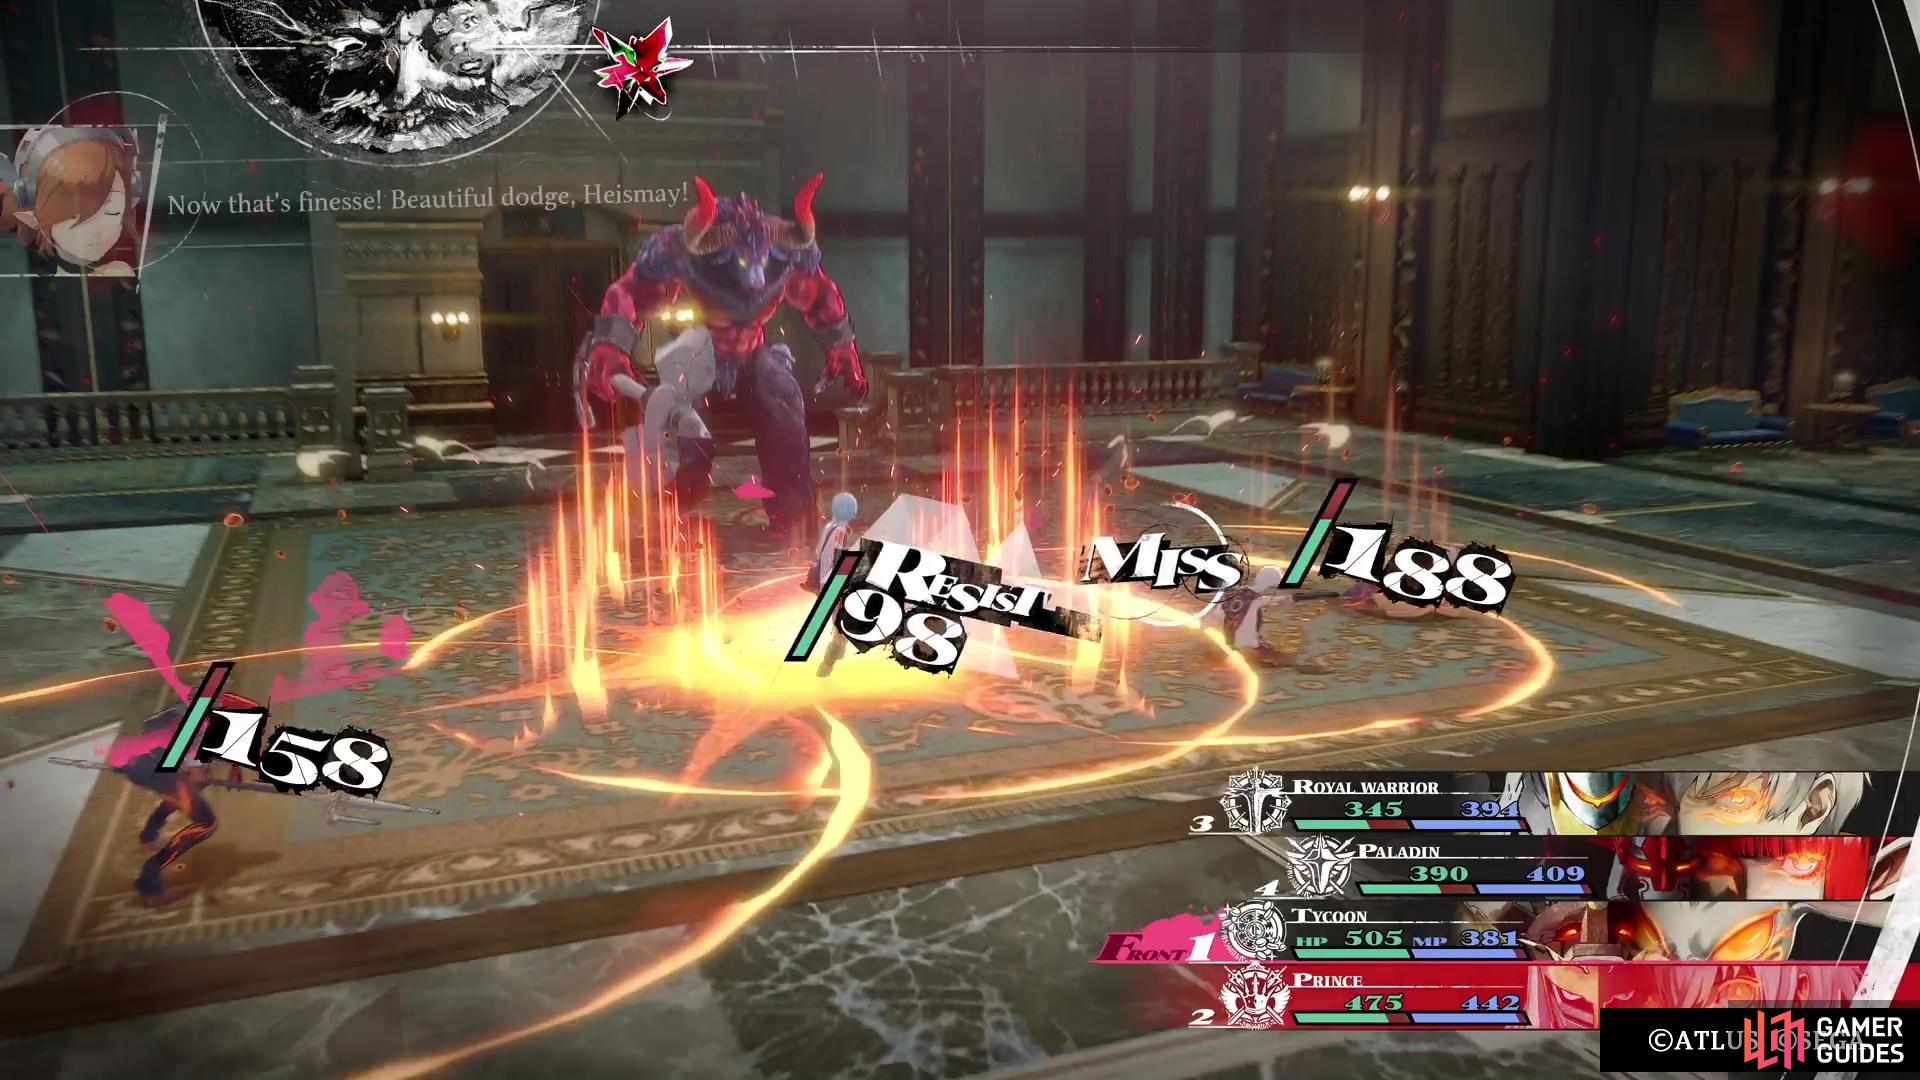
The Gupdetron has some similarities to the other minotaur-like bosses you’ve faced throughout the game. It is weak to both Pierce and Ice, while absorbing Fire, but you can use the other damage types to full effect. It will pretty much keep Breath of Battle active at all times, which will increase its attack and defence by a lot. You could try debuffing one of these (preferably the attack) to minimize the damage done by the creature, since its physical attacks can hurt a lot.
(1 of 3) Like the Leogrophon, the Gupdetron always uses Breath of Battle to buff itself.
![]() Slam Shatter is probably the biggest attack that it has, which hits everyone for some big damage, especially if it manages to do so after using
Slam Shatter is probably the biggest attack that it has, which hits everyone for some big damage, especially if it manages to do so after using ![]() Charge. In fact, when it does that, you should worry about using Defend to mitigate the damage done by the boss. It also has access to some single target attacks, but these aren’t as dangerous as Slam Shatter. You might be better off debuffing its hit rate/evasion over the attack, since it will reuse Breath of Battle often enough to rebuff itself. Overall, though, this is an enemy you’ve fought plenty of times and it doesn’t really do anything different.
Charge. In fact, when it does that, you should worry about using Defend to mitigate the damage done by the boss. It also has access to some single target attacks, but these aren’t as dangerous as Slam Shatter. You might be better off debuffing its hit rate/evasion over the attack, since it will reuse Breath of Battle often enough to rebuff itself. Overall, though, this is an enemy you’ve fought plenty of times and it doesn’t really do anything different.
With that out of the way, the King’s Servant will be destroyed and your party returns to the main hallway. The stairs will now be unblocked, allowing you to continue. Pick up the ![]() Hero’s Leaf of Light on the western side, then use the Magla Hollow as you venture east. Keep going in this direction, until you enter a room and trigger a scene, leading to a boss fight with Melancholia Zorba.
Hero’s Leaf of Light on the western side, then use the Magla Hollow as you venture east. Keep going in this direction, until you enter a room and trigger a scene, leading to a boss fight with Melancholia Zorba.



 Sign up
No Comments