Upon reaching the endgame of Metaphor: ReFantazio, you will unlock a series of quests called Trials of the Dragon. As the name suggests, these quests will pit you against some dragons, and they can be some of the most difficult fights in the game. It is best to do these quests after completing the Skybound Avatar dungeon, as that should get you comfortably into the 60s for levels. Outside of that, each of the dragons you face will have their own quirks, but it also helps to have some Royal Archetypes on your characters.
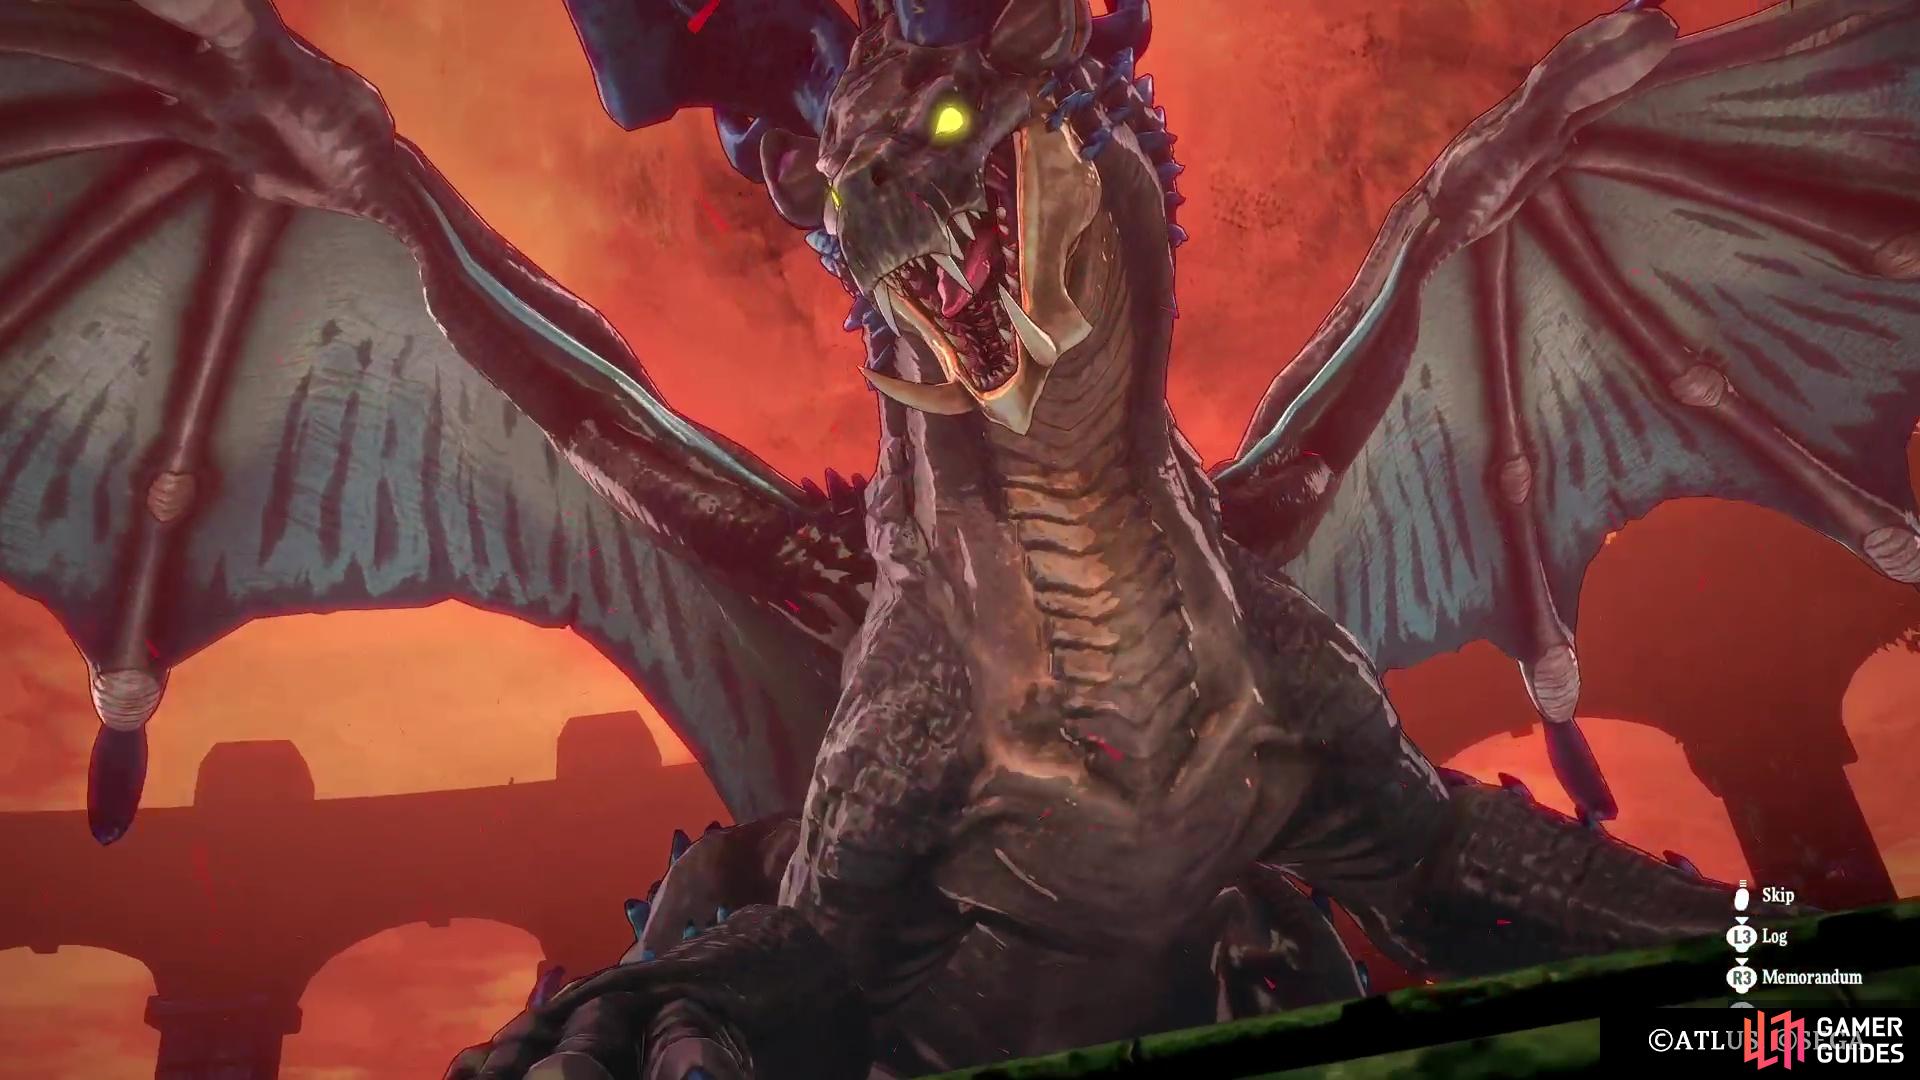
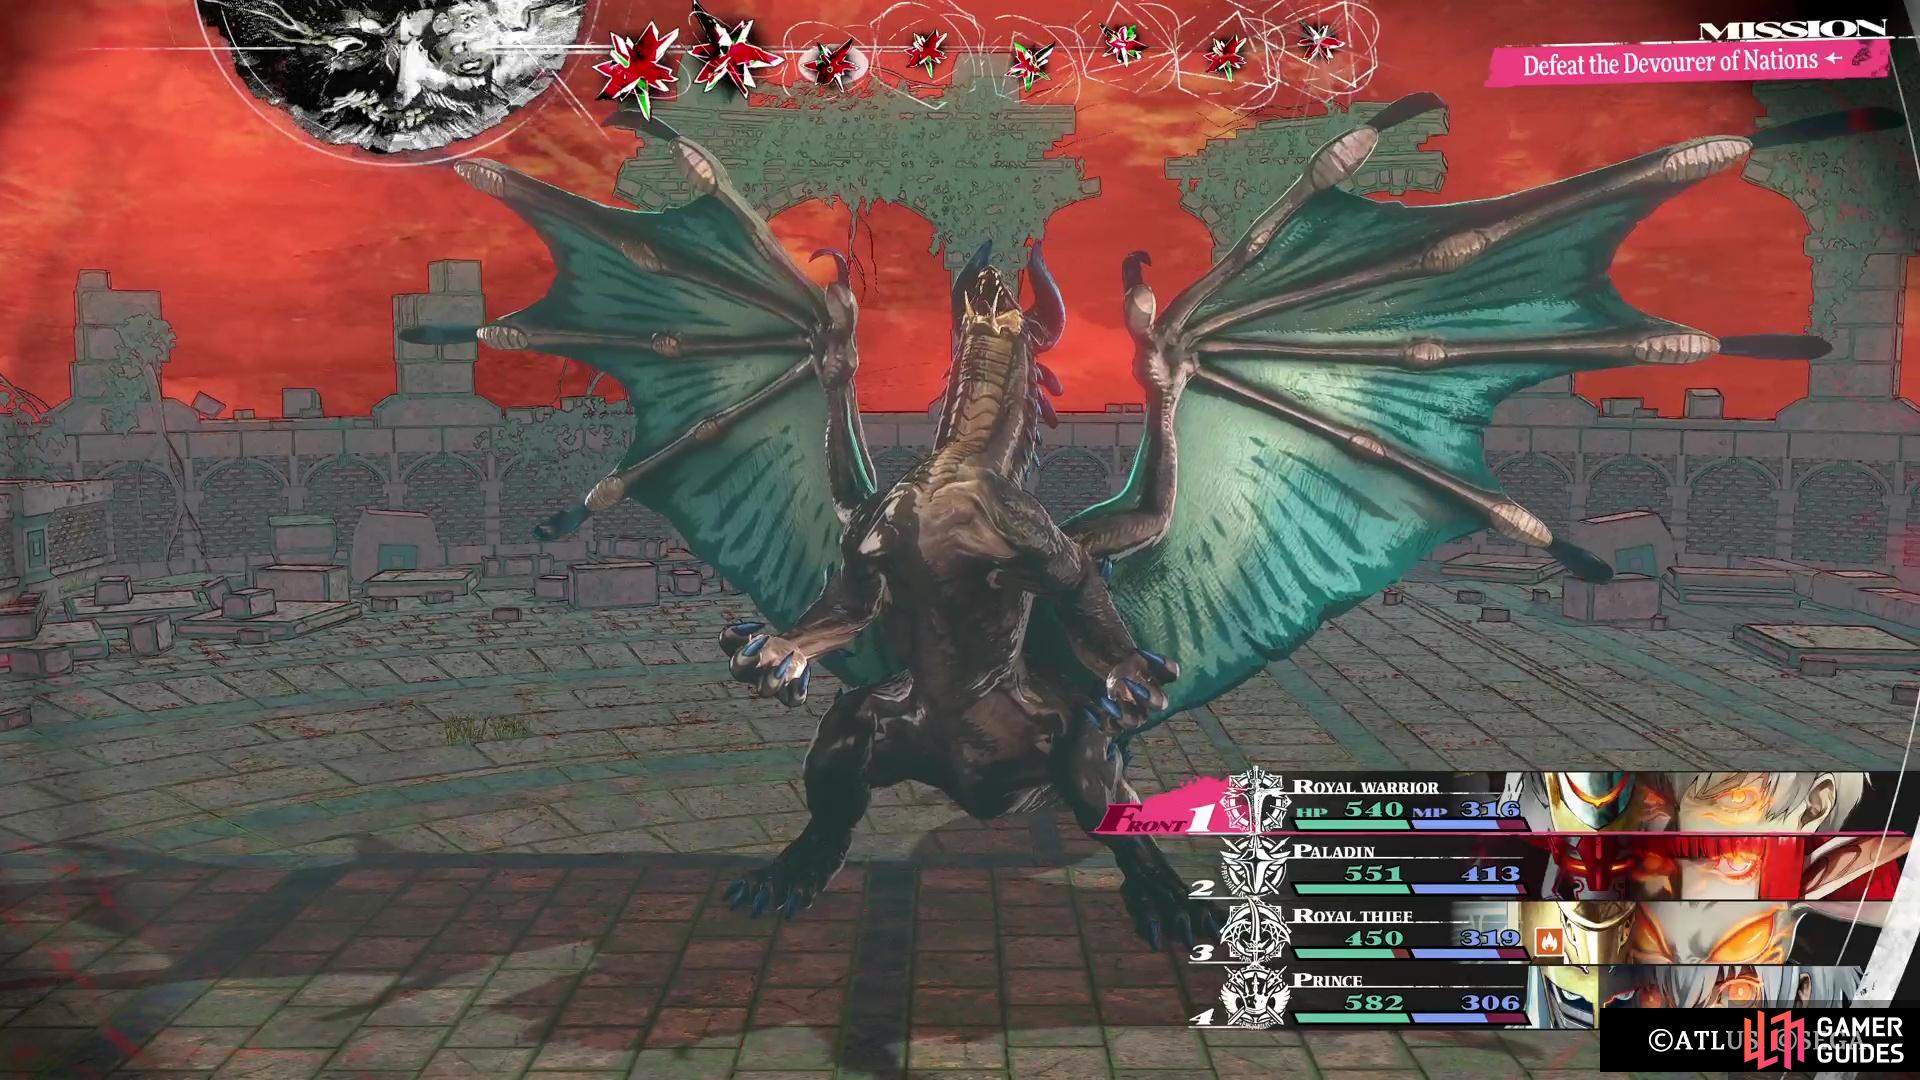
The Devourer of Nations will be fought at the top of the Forsaken Tower.
Trial of the Dragon: Mad Mischief Location
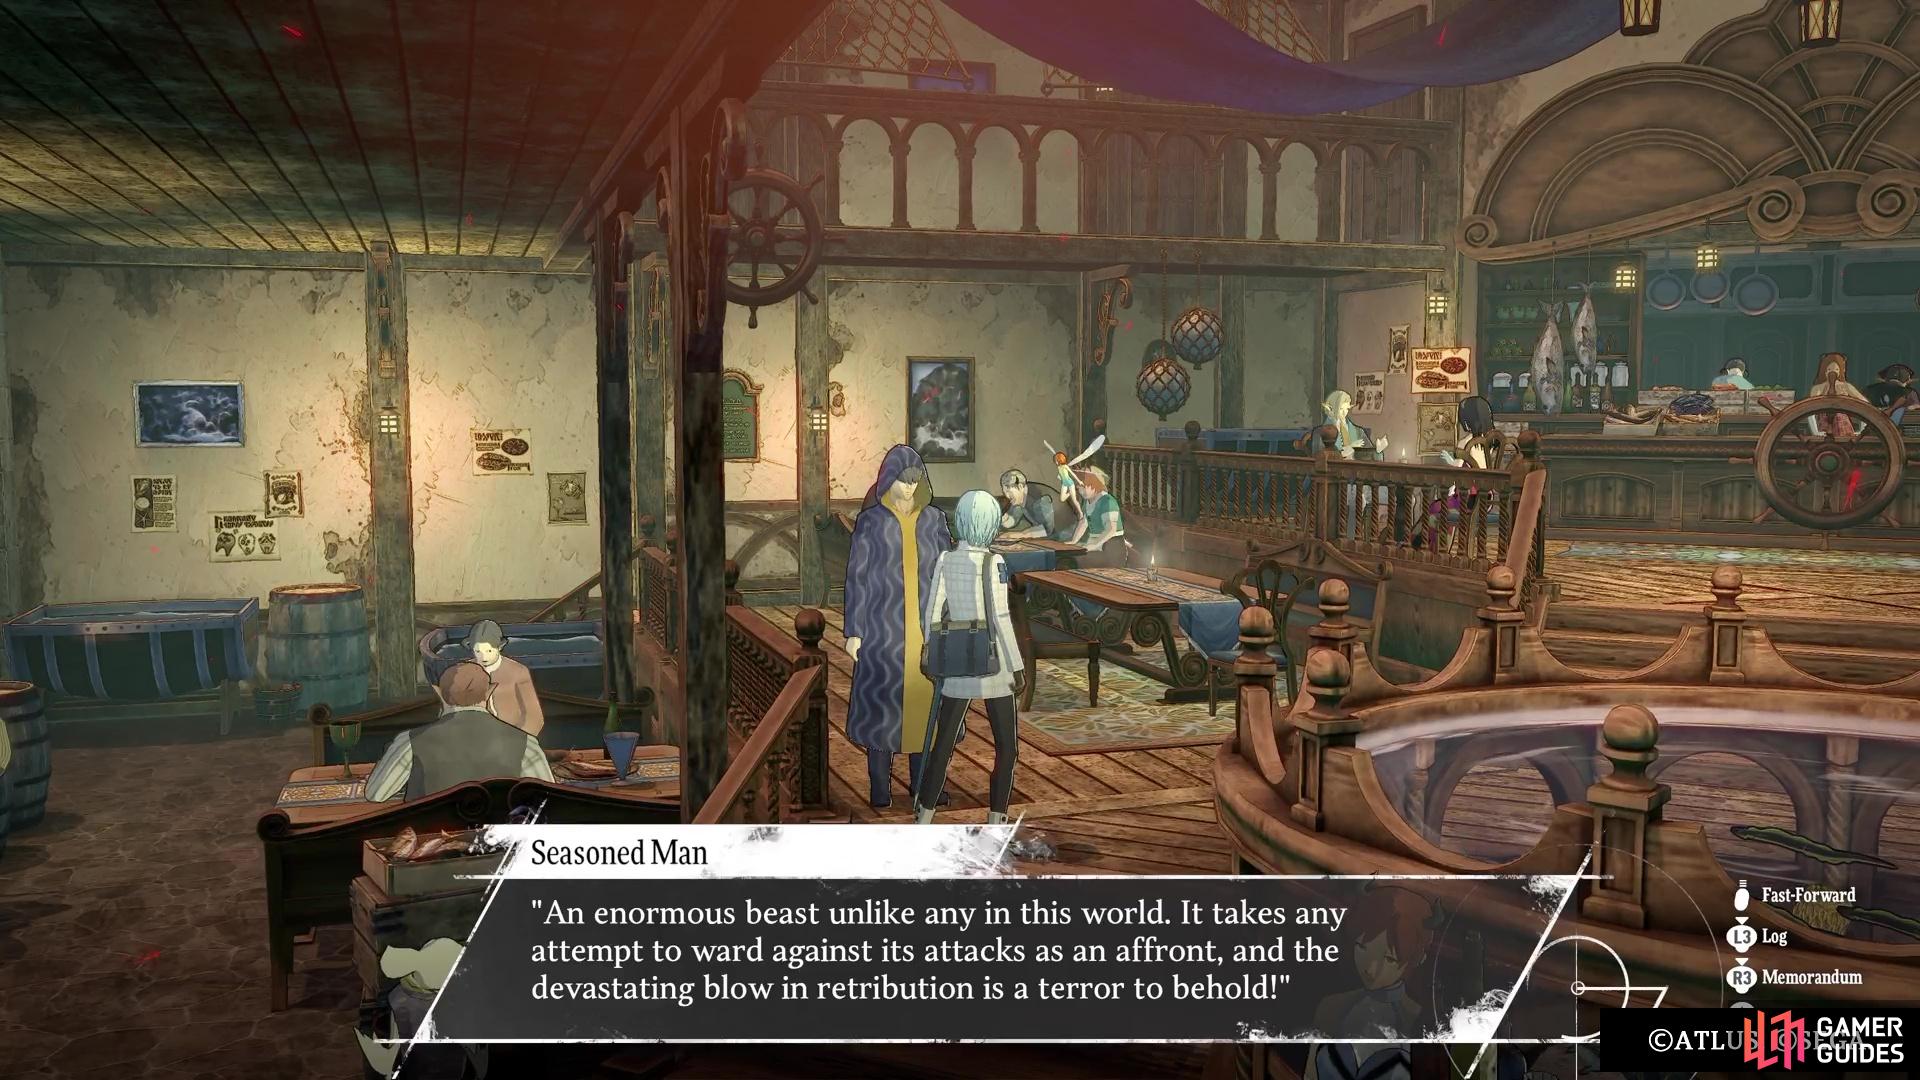
Once you have reached the final stretch of the game, which starts on 9/26 and lasts for about one month, you will be able to head on over Brilehaven. In the Angler’s Inn Square area, you should see a new quest available, just north of the tavern. Speak to the Gabby Mustari to learn of a trial at the nearby Forsaken Tower, thus starting the quest. He doesn’t offer much information past that, but you can get a slight hint from the ![]() Informant in the tavern. He will mention that whatever the creature is at the top of the tower, it doesn’t like it when you block or repel its attacks.
Informant in the tavern. He will mention that whatever the creature is at the top of the tower, it doesn’t like it when you block or repel its attacks.
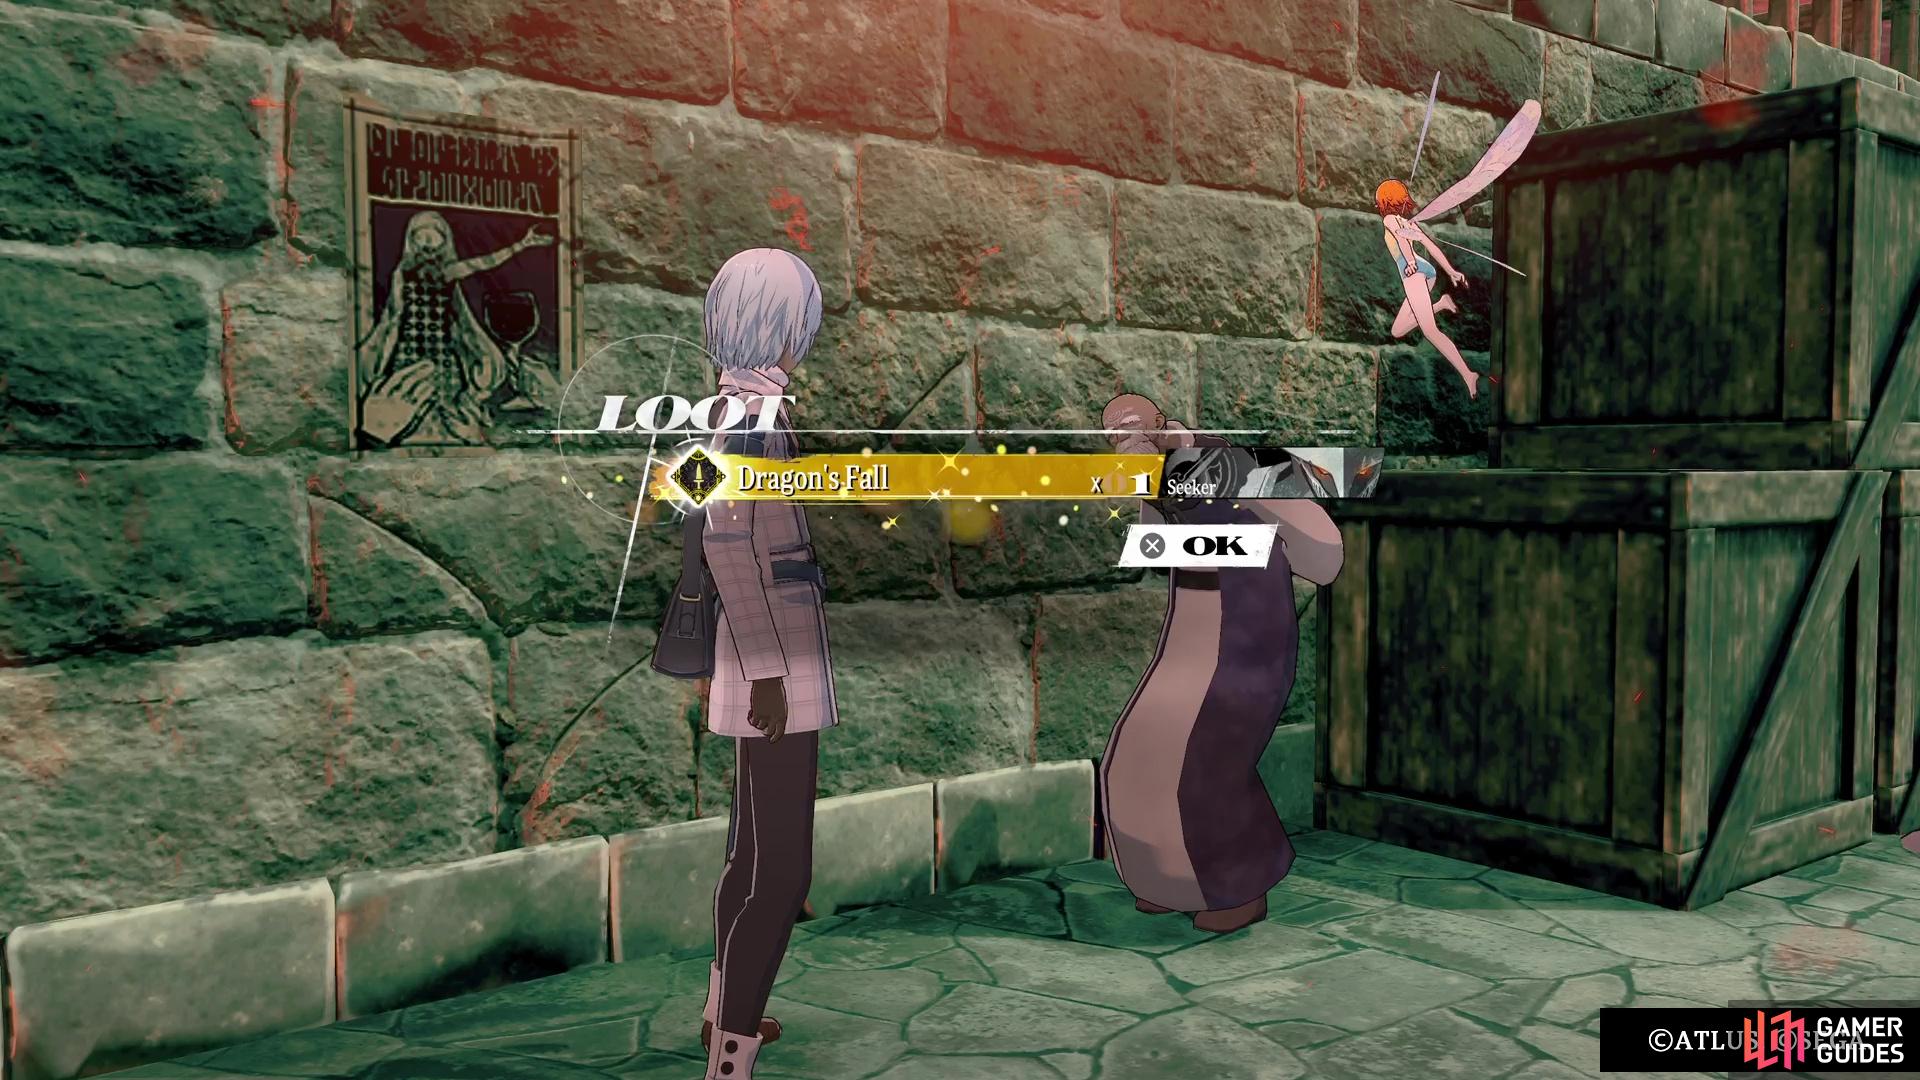
The basic idea is that you don’t want any equipment that repels or nullifies attacks here, as the dragon will spam a skill that grants it an extra six turns each time it starts doing anything. It’s also a good idea to have turned in all 46 of the Gold Beetles, as this will give you a weapon for the ![]() Seeker/
Seeker/![]() Prince class that deals more damage to dragons. Since he is likely going to be one of your best damage dealers, equipping the weapon to him is the best thing. You also won’t want anything weak to Fire, Ice and Slash, as the dragon will mainly be using these attacks.
Prince class that deals more damage to dragons. Since he is likely going to be one of your best damage dealers, equipping the weapon to him is the best thing. You also won’t want anything weak to Fire, Ice and Slash, as the dragon will mainly be using these attacks.
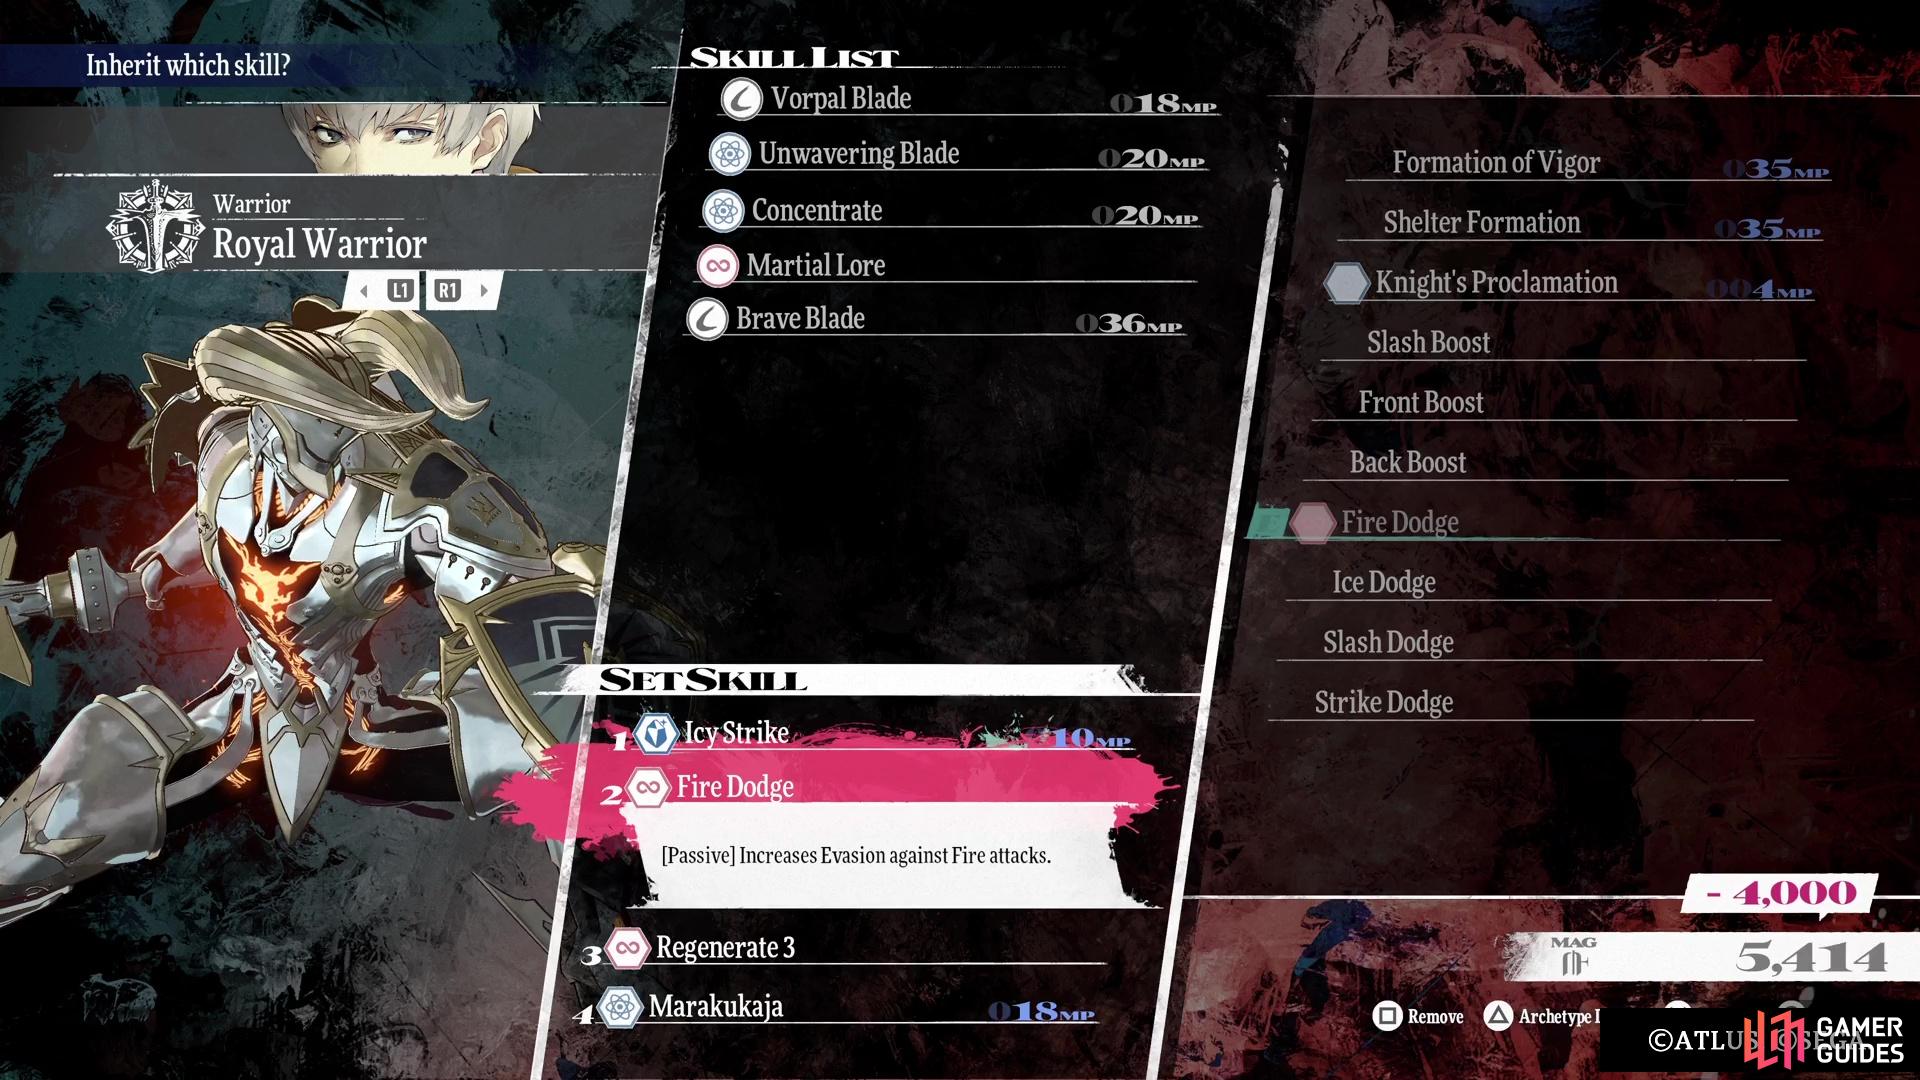
One way to make things easier on yourself is to build an Evasion Tank with Heismay. If he has access to his ![]() Royal Thief, the final skill he learns will make the dragon lose all of its turns should he dodge the attack. There is also an accessory that does the same thing, called the
Royal Thief, the final skill he learns will make the dragon lose all of its turns should he dodge the attack. There is also an accessory that does the same thing, called the ![]() Dodger Ring, which can be bought from any of the magic shops (the ones that open at night) once you have Alonzo’s Bond at level 7 or higher. Put this on Heismay (if no Royal
Dodger Ring, which can be bought from any of the magic shops (the ones that open at night) once you have Alonzo’s Bond at level 7 or higher. Put this on Heismay (if no Royal ![]() Thief) and inherit Third Step, which should make him an evasion beast. If you can get Fire Dodge from the
Thief) and inherit Third Step, which should make him an evasion beast. If you can get Fire Dodge from the ![]() Merchant class on everyone, that is also extremely helpful.
Merchant class on everyone, that is also extremely helpful.
(1 of 6) You won’t get much info from the Informant, other than not nullifying/reflecting elements.
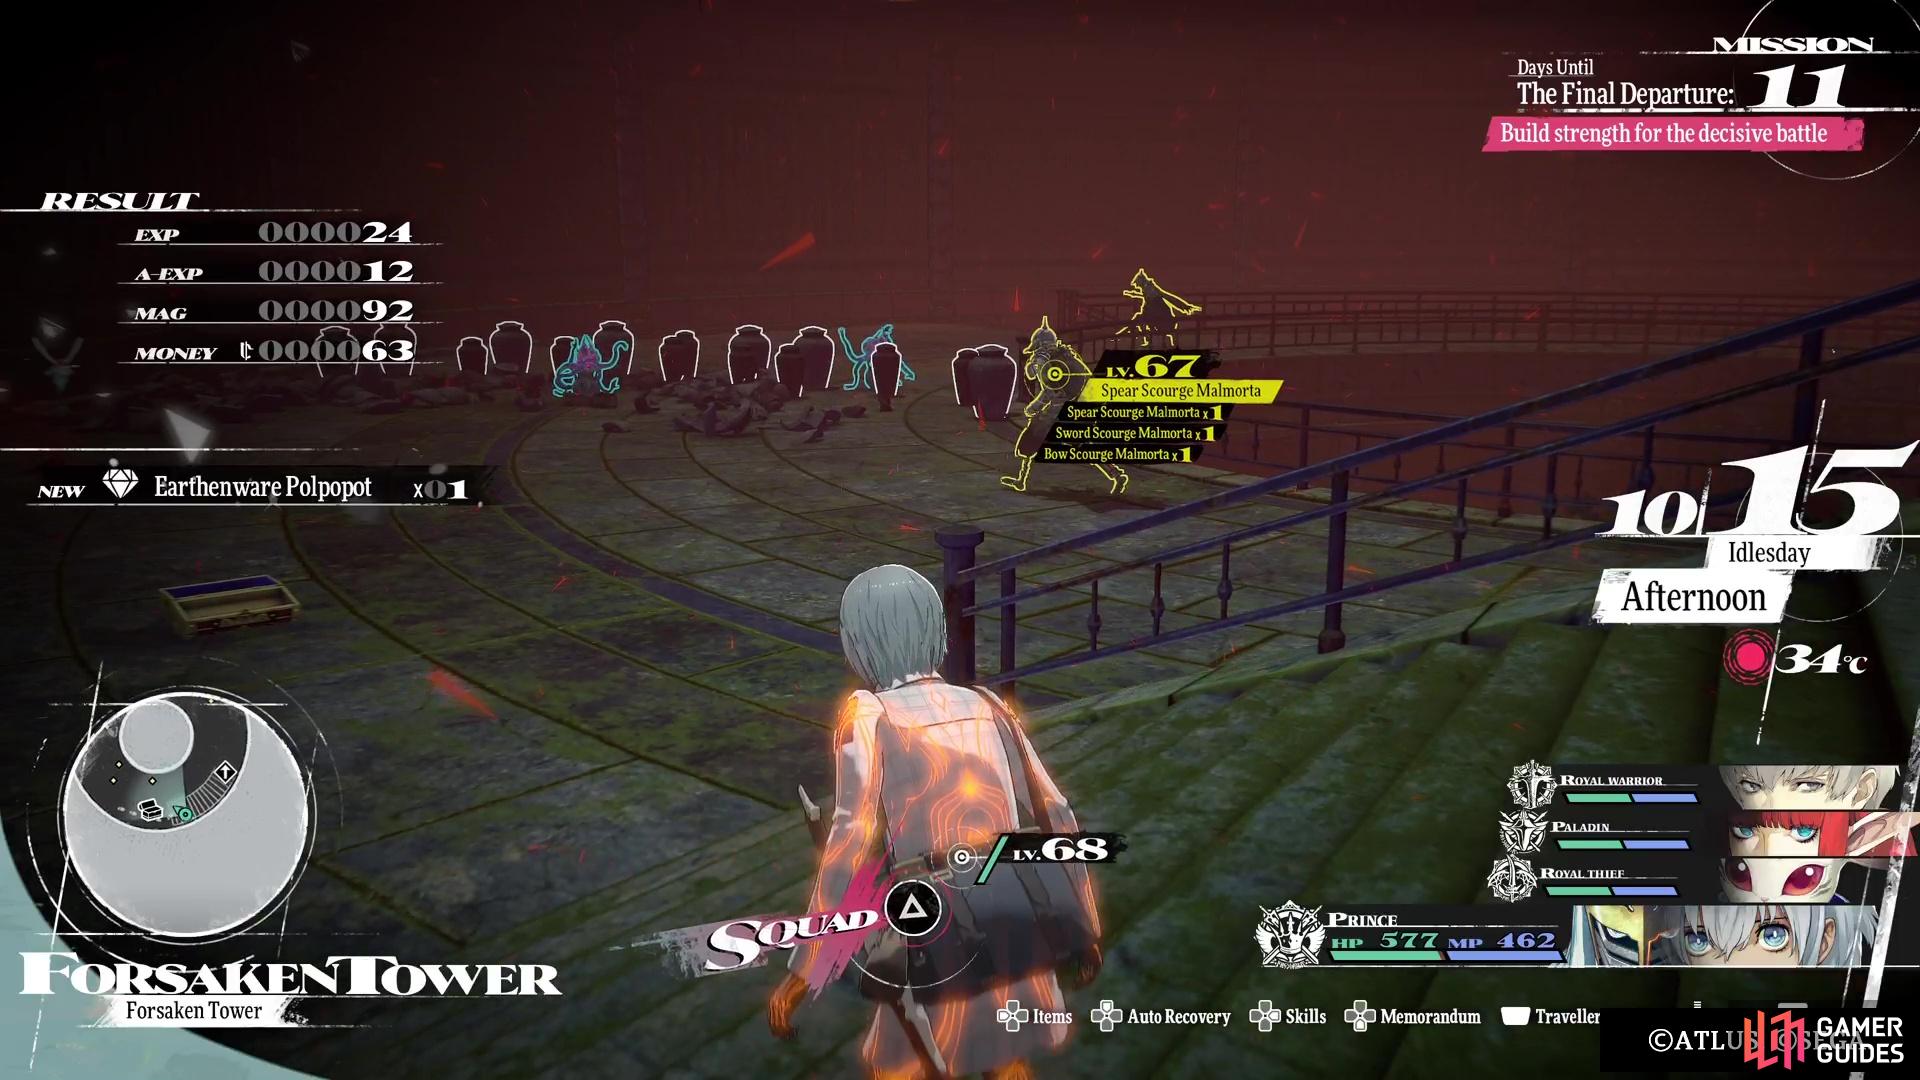
You’ll have to scale the Forsaken Tower here again and while it’s all the same, in terms of layout and treasures (they don’t respawn), there will be a few new enemies that reside. Mostly, the only real threats as you climb will be the Scourge Malmorta skeletons, which are all level 67. There are also the dog-like Obsilas enemies, at level 64, as well as a single level 73 Homo Luano on the floor right below the dragon. There is a save point at the top, then you can head to the altar place to face the dragon, the Devourer of Nations.
All of Devourer of Nations Attacks
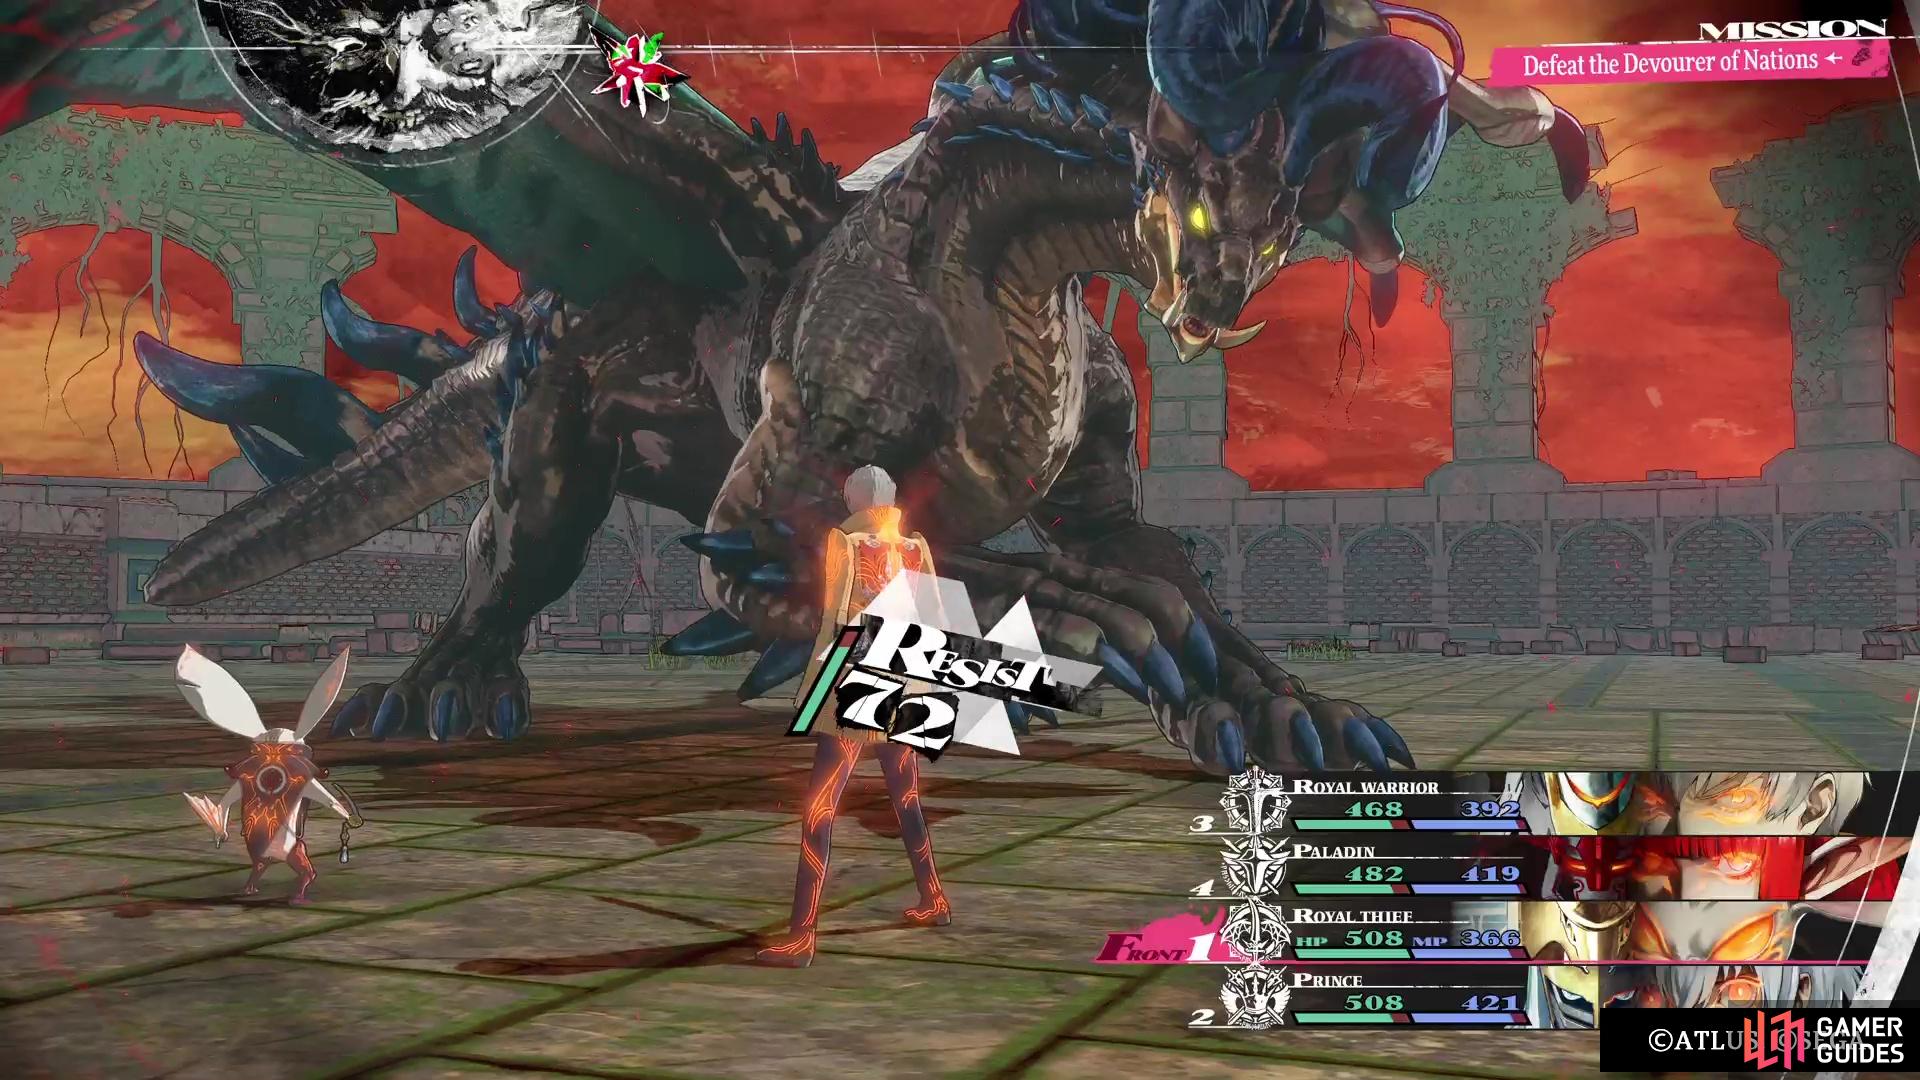
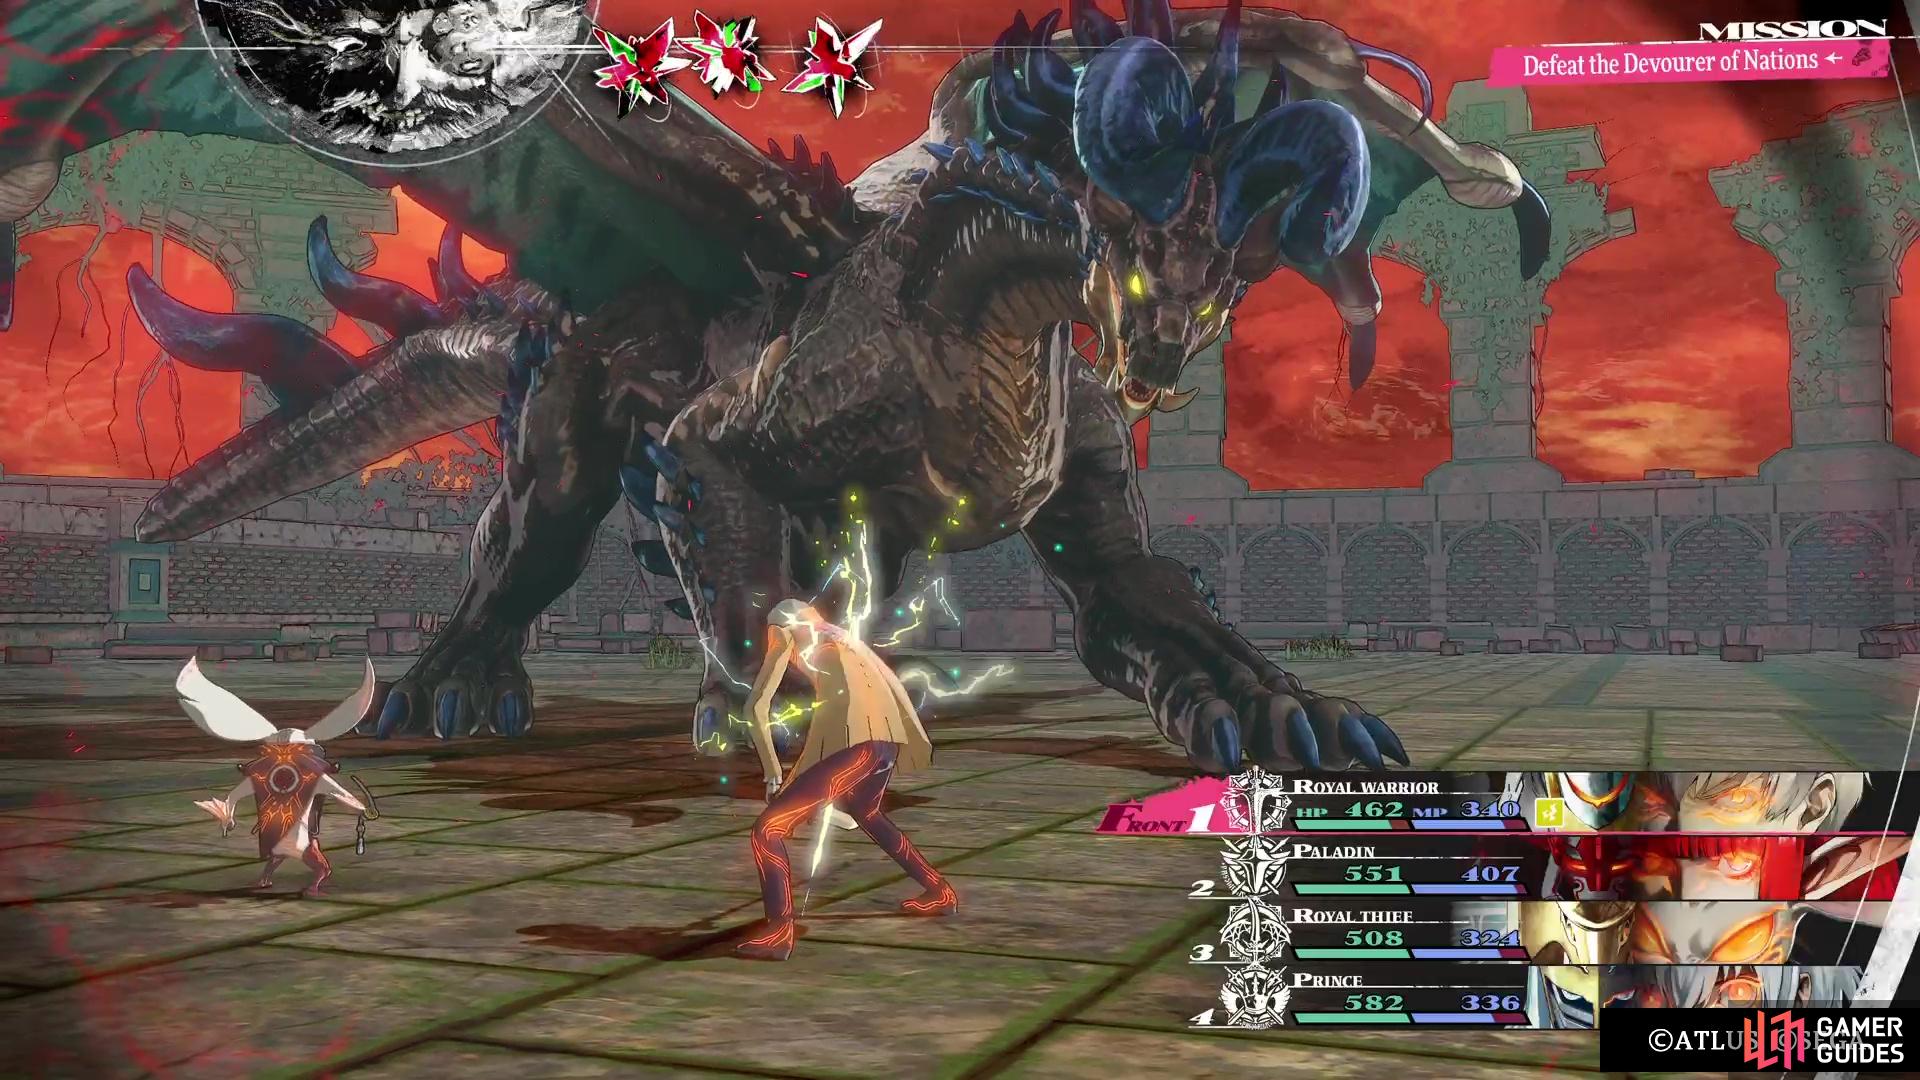
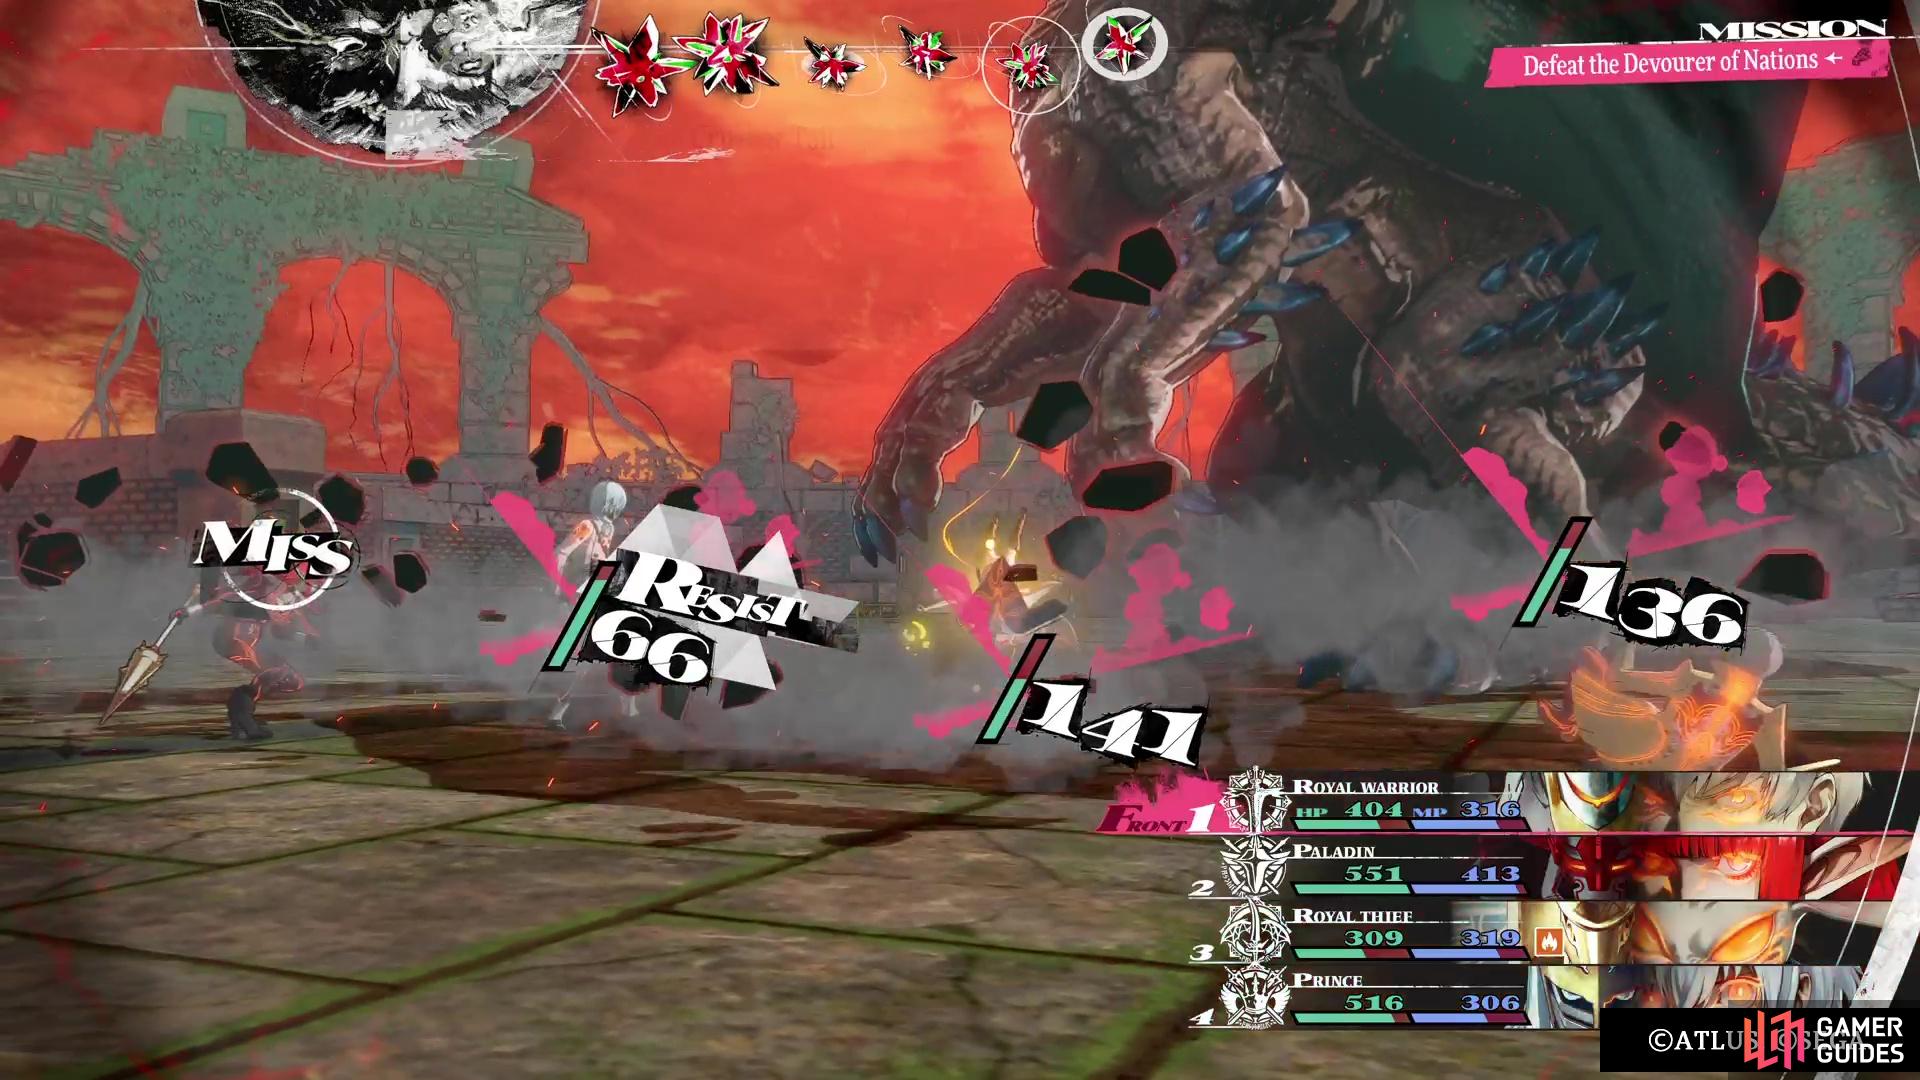
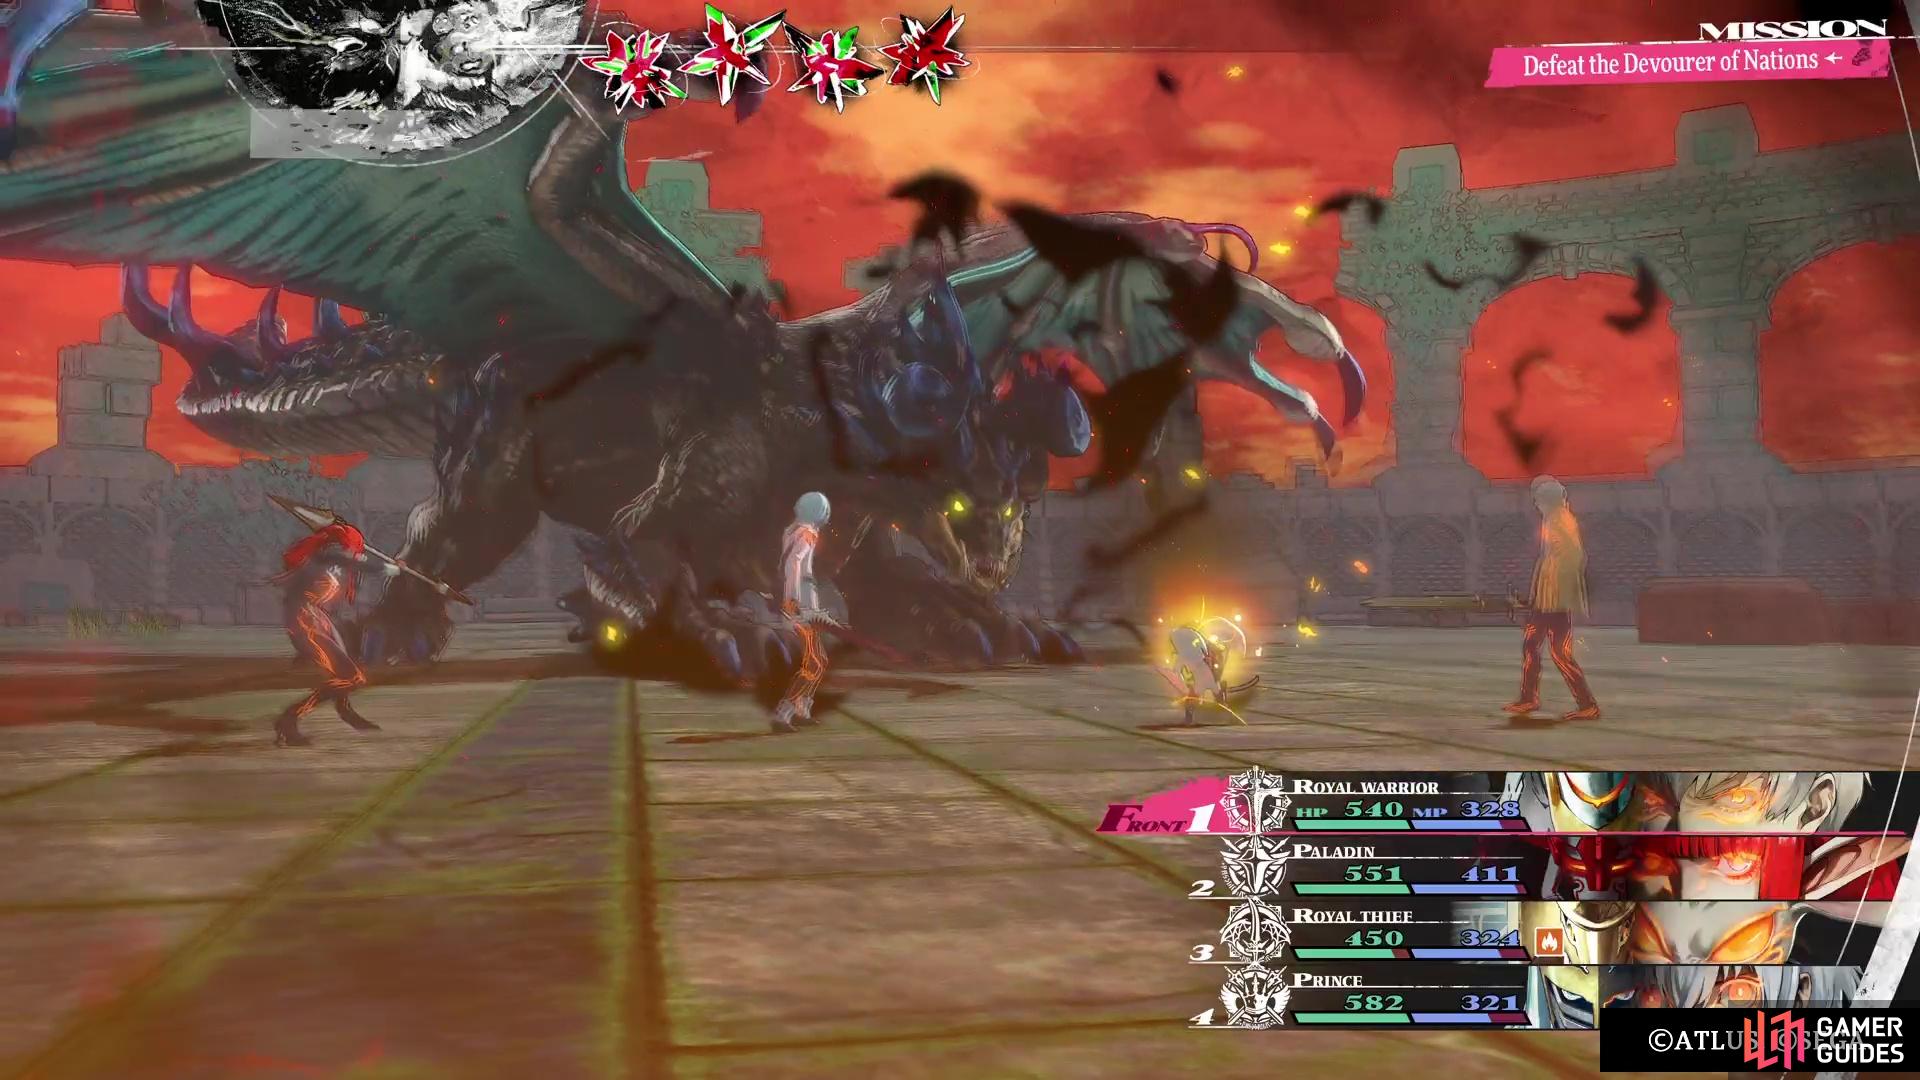
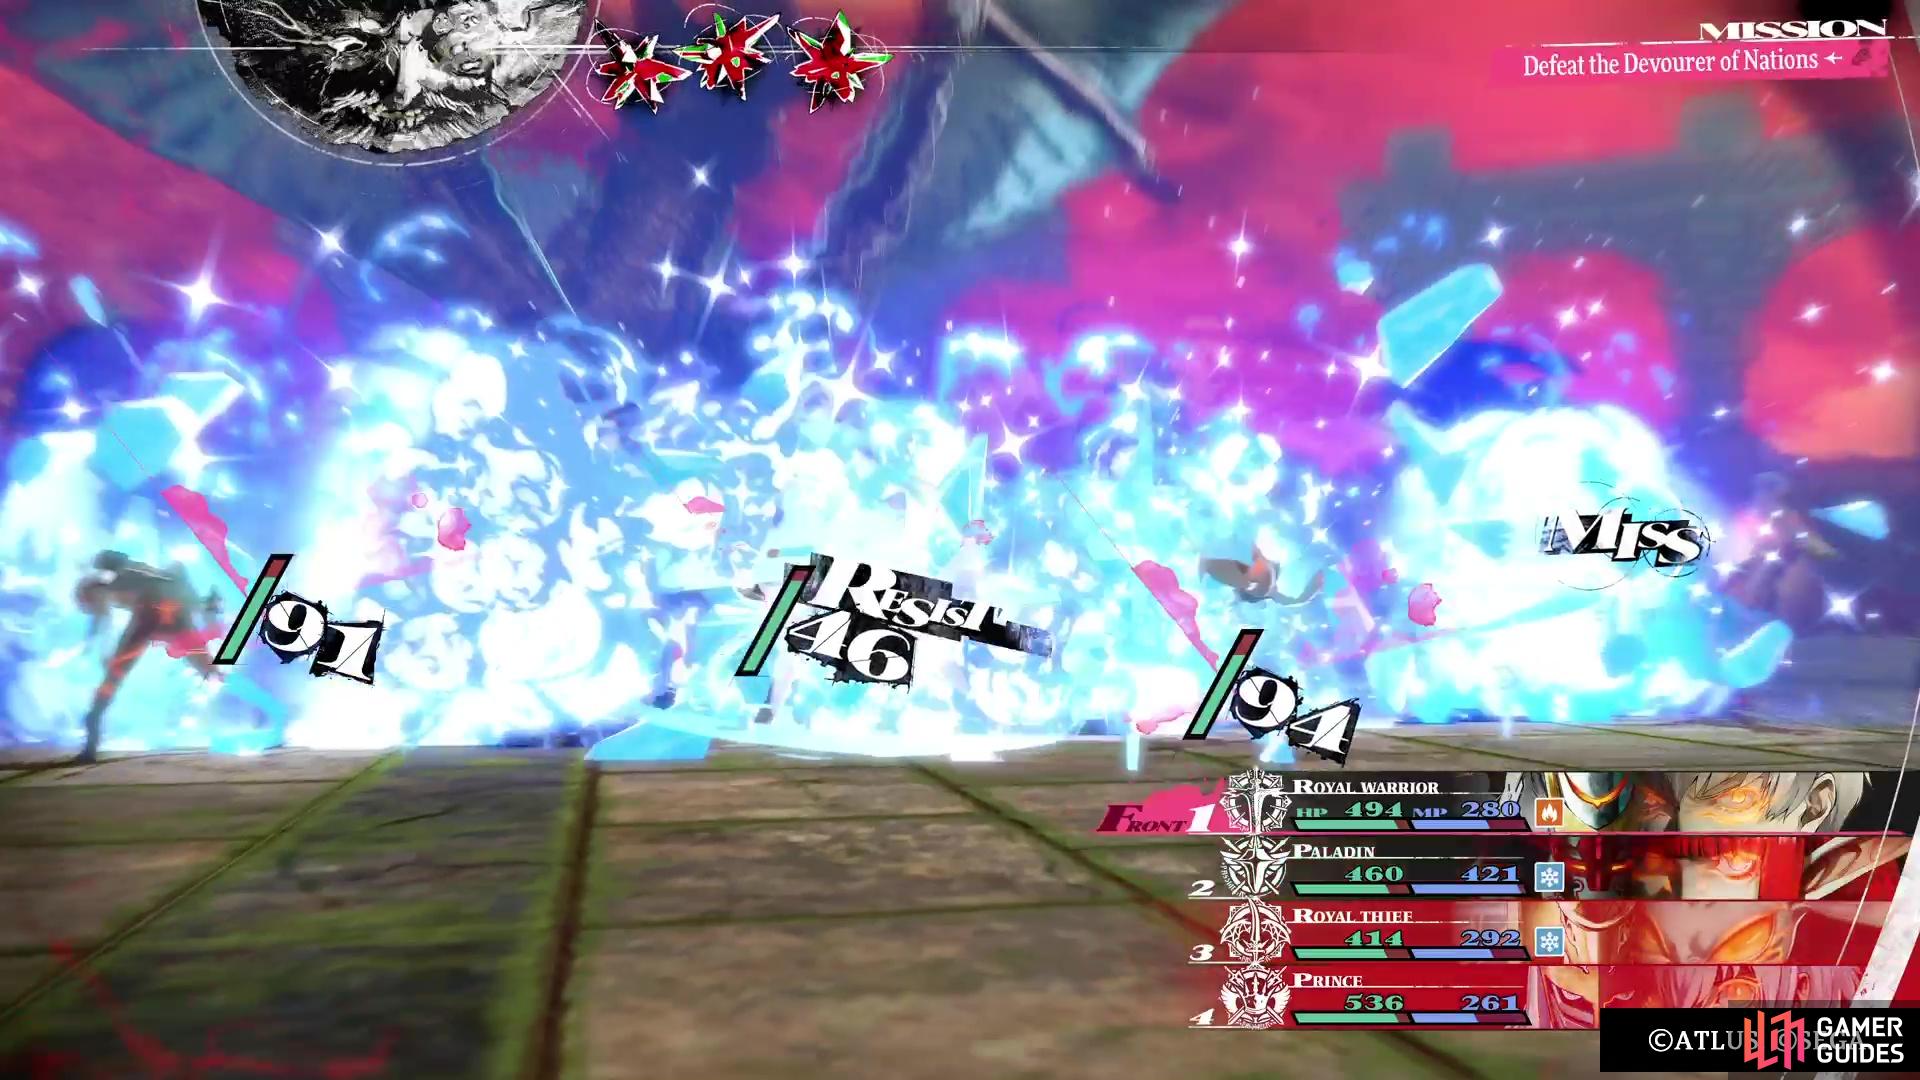
The Devourer of Nations can be a tough boss, but it is a pretty straightforward fight, as long as you adhere to the rules set out above.
-
Great Dragon’s Wrath: Will increase the dragon’s attack by three ranks. It will constantly use this to make sure its attack is always maxed.
-
Great Dragon Shriek: The dragon can use this to add six Turn Icons. Note that it does seem to use this very sparingly, but will always use it if you Block/Reflect any element.
-
 All Reset: Removes all buffs from your party. Only seems to use this if your buffs reach the third rank.
 -
Boneclaw Slash: Deals heavy Slash damage to a single character.
-
Puppeteer’s Claw: Deals extreme physical Slash damage to one character, and may inflict Paralysis.
-
Crusher Tail: Deals extreme physical Strike damage to all characters.
(1 of 5) The boss will always make sure its attack is fully buffed throughout the fight.
-
Great Fireball: Deals medium magic Fire damage to one character. May inflict Burn.
-
Infernal Breath: Deals heavy magic Fire damage to all characters. May inflict Burn.
-
Icy Breath: Deals medium magic Ice damage to all characters. May inflict Frostbite.
Devourer of Nations Boss Guide
The Devourer of Nations is probably the easiest of the three tower dragons, simply because it’s a pretty normal fight without any gimmicks. As long as you adhere to the rule of not nullifying or repelling any element, you shouldn’t see Great Dragon Shriek, which gives the boss a lot of turns. It may be possible for it to use the abiltiy randomly, but it seems pretty rare, so don’t take any chances in making it more susceptible to using the skill. The dragon does get four turns normally every round, so there is that.
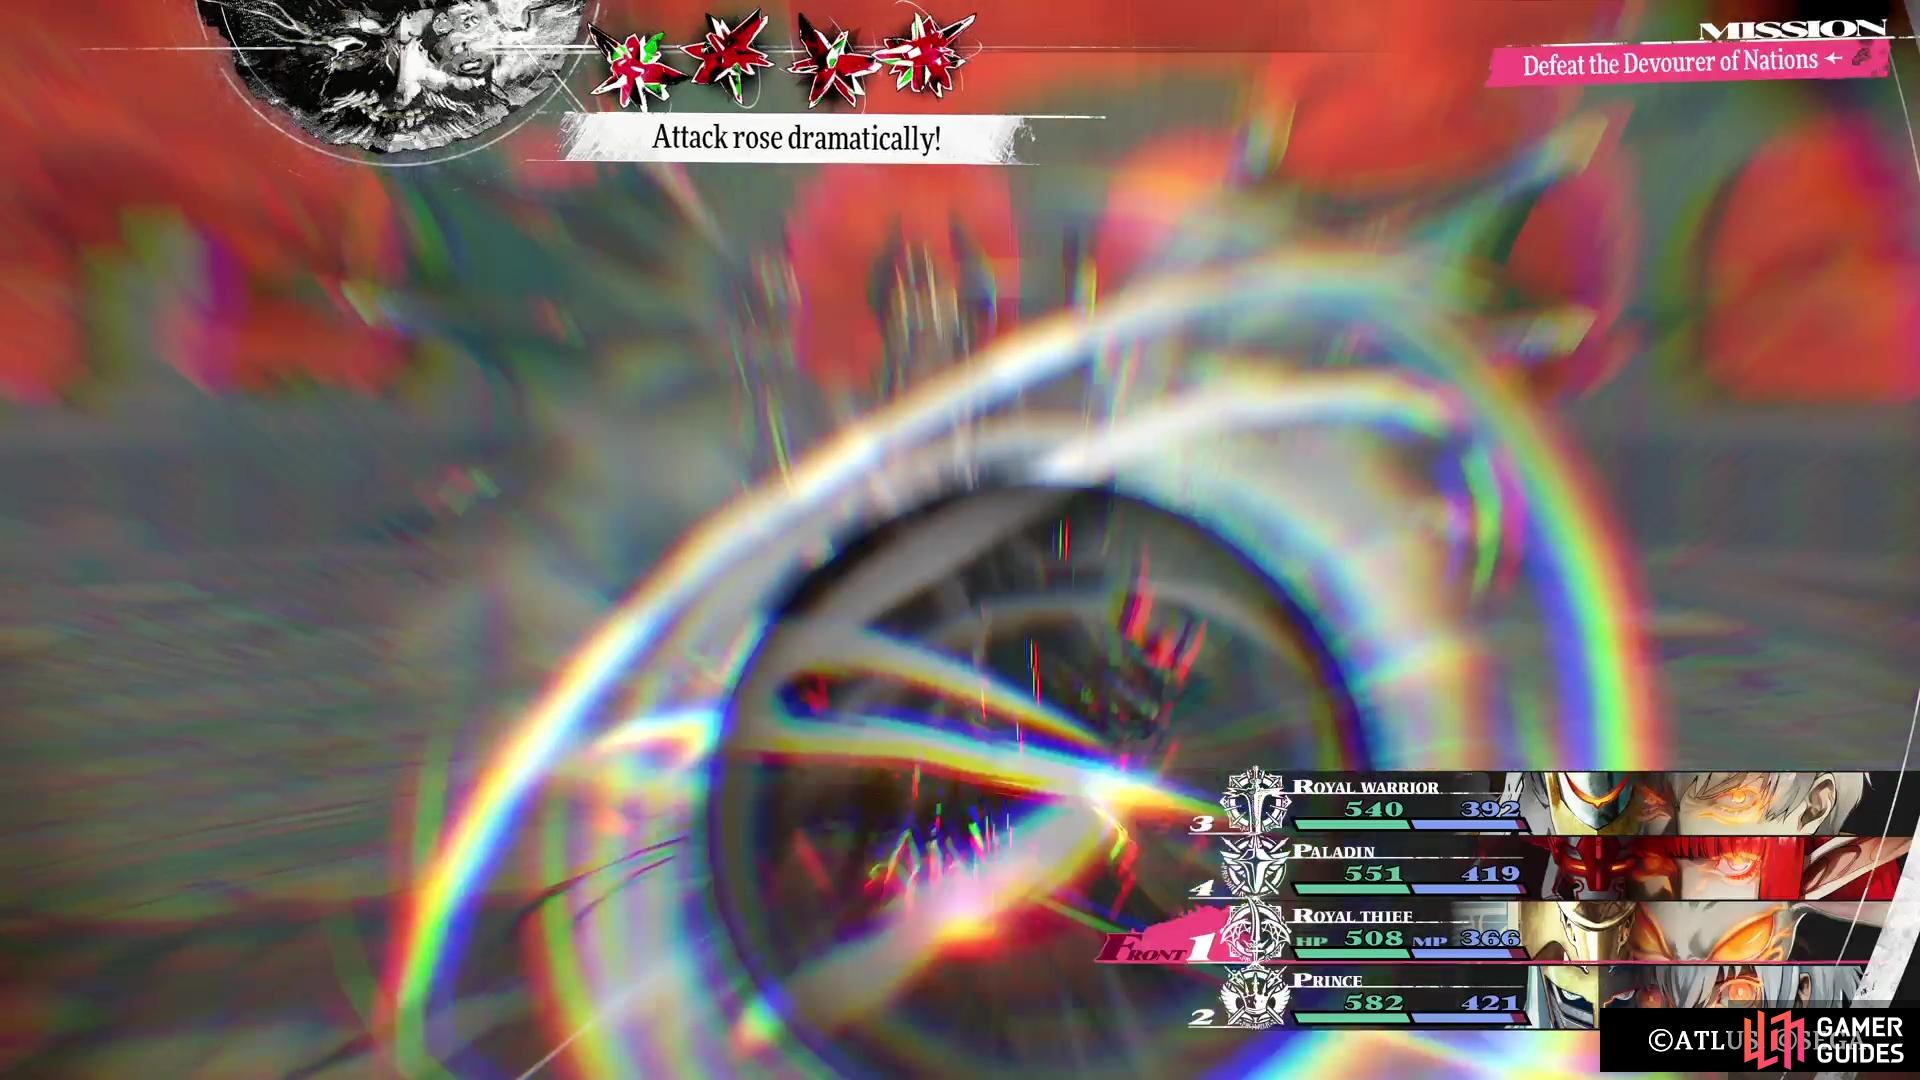
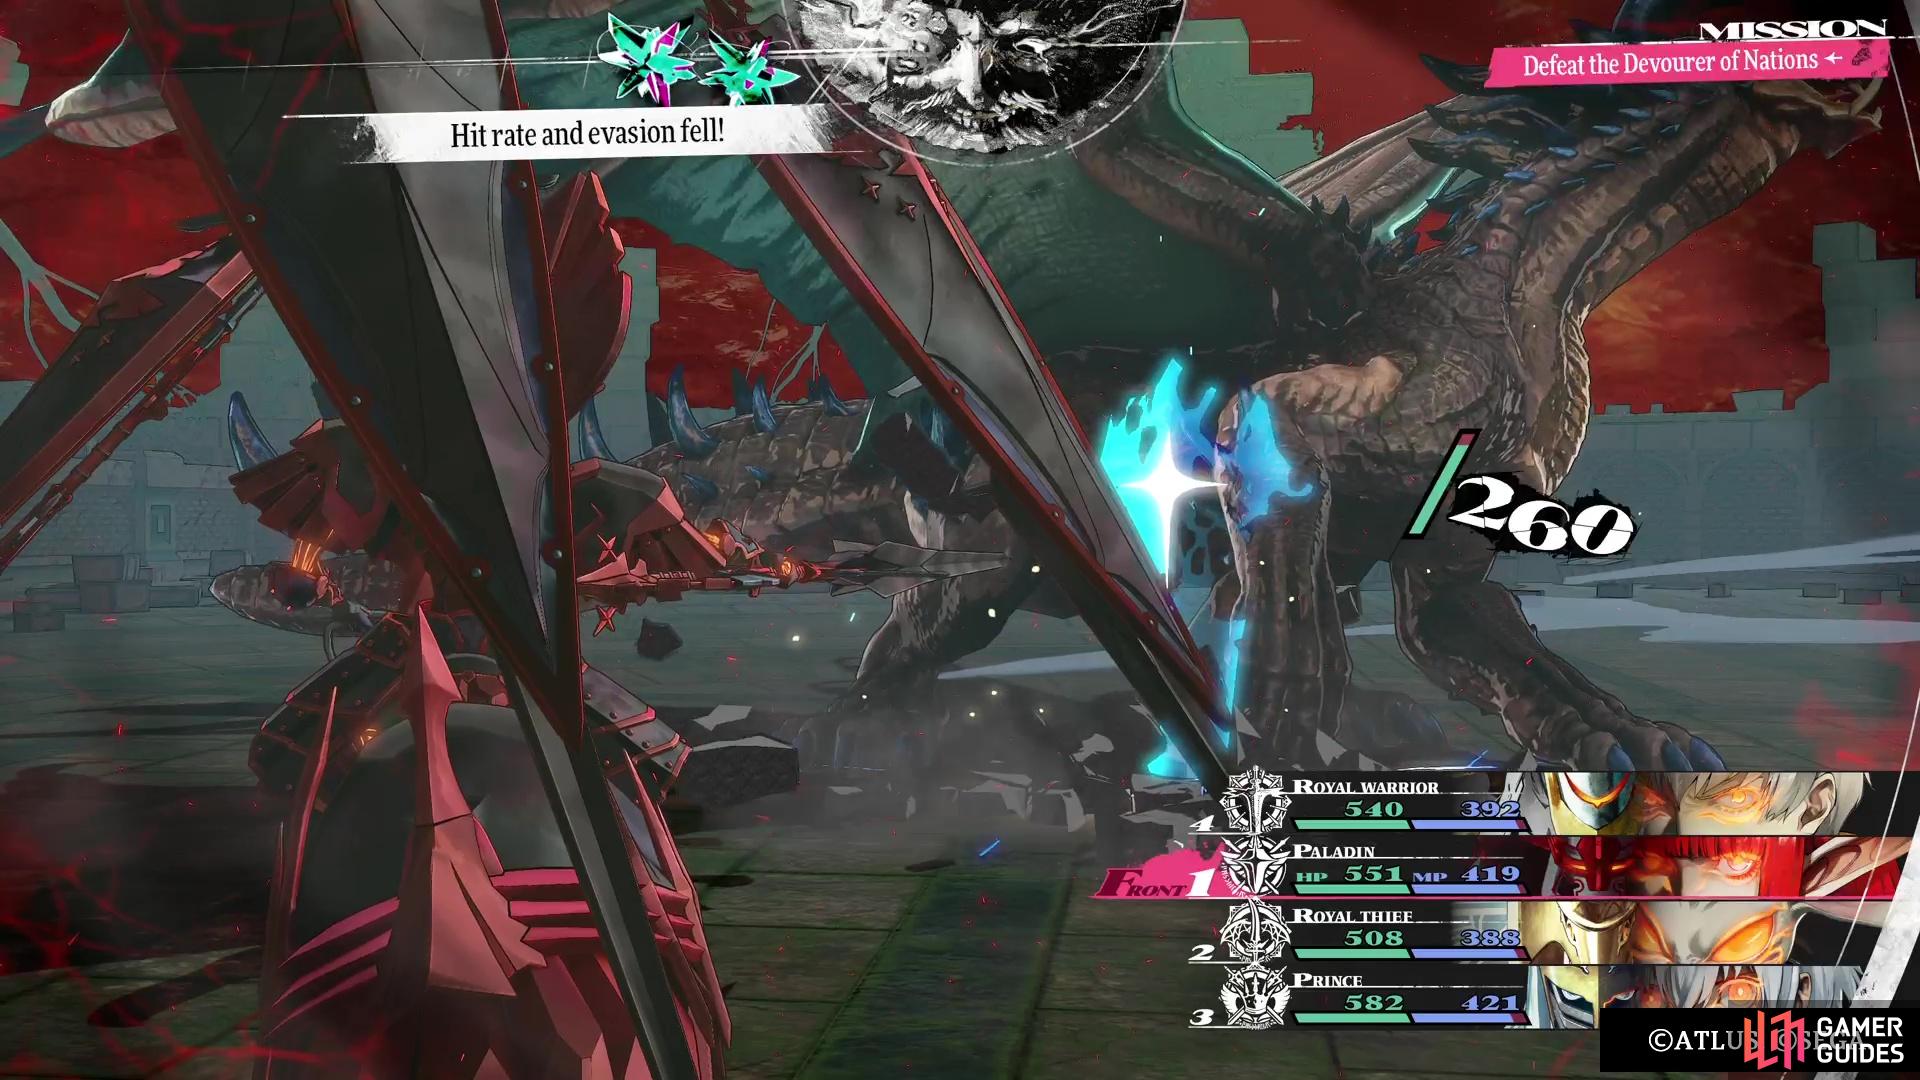
The dragon will pretty much always use Great Dragon’s Wrath to boost its attack, to the point where it always keeps its attack buffed to the max. Even if you debuff it, the dragon will use the skill on its next turn to boost it again. With this in mind, you will want to make sure that you keep your defences buffed, but there is also a catch there. It seems that whenever you boost one of your stats to three ranks, then that will trigger the dragon to use All Reset to remove all of the buffs. So, the idea is to use something like ![]() Marakukaja once, then wait until it’s about to wear off before applying it for the second time. It’s not ideal, but this will maximize the buff to last as long as possible.
Marakukaja once, then wait until it’s about to wear off before applying it for the second time. It’s not ideal, but this will maximize the buff to last as long as possible.
As far as the dragon’s attacks go, Puppeteer’s Claw is annoying, due to the chance that it might inflict Paralysis. Should this happen, remove it promptly, since you want everyone’s participating. This also holds true for the Frostbite from Icy Breath, as that is a severe ailment that can cripple your damage output. Burn can be annoying, but it’s hardly something that will be a detriment during this fight, so it can be largely ignored. There are three attacks that can hit your entire party, so you want to make sure to keep tabs on everyone’s health and heal accordingly.
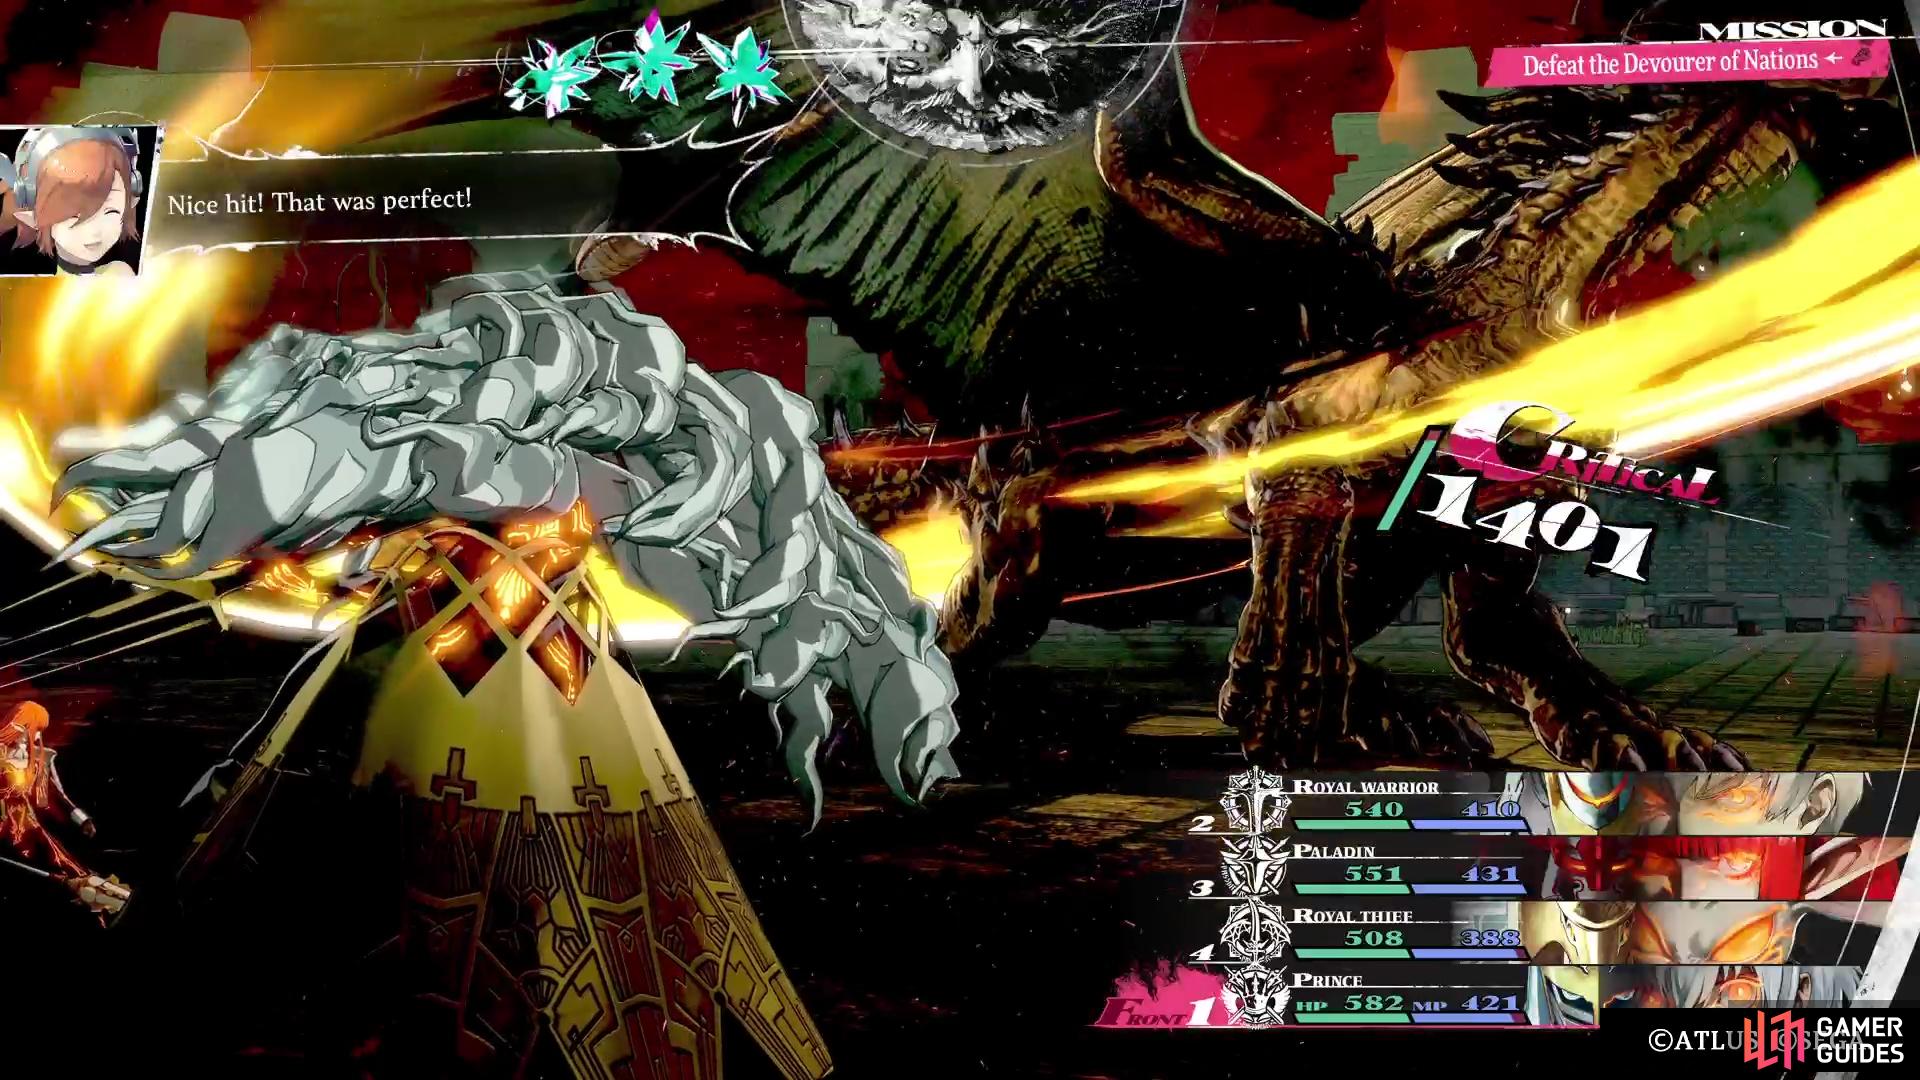
The dragon has no weaknesses and the only resistance is has is to reflect Fire, so you can pretty much use whatever you want, except for the obvious Fire. If you have the ![]() Dragon’s Fall sword, then put that on your protagonist and use the Prince Archetype as your main damage source. If you know how to utilize
Dragon’s Fall sword, then put that on your protagonist and use the Prince Archetype as your main damage source. If you know how to utilize ![]() Strohl’s
Strohl’s ![]() Royal Warrior’s damage potential, then he can be a secondary source. The other characters should probably be on healing/support duties, where you want to buff your team and debuff the dragon (defence and hit rate/evasion are what you want to debuff).
Royal Warrior’s damage potential, then he can be a secondary source. The other characters should probably be on healing/support duties, where you want to buff your team and debuff the dragon (defence and hit rate/evasion are what you want to debuff).
If you have the ![]() Utilitarian’s Manual (mage shop purchase with
Utilitarian’s Manual (mage shop purchase with ![]() Alonzo’s Bond at 7+), then equip that one someone like the protagonist, which will allow him to use his
Alonzo’s Bond at 7+), then equip that one someone like the protagonist, which will allow him to use his ![]() Royal Sword Synthesis Skill for only a single Turn Icon. You could also used Strohl’s
Royal Sword Synthesis Skill for only a single Turn Icon. You could also used Strohl’s ![]() Beloved Greatsword with the same accessory to use his strong Synthesis Skills.
Beloved Greatsword with the same accessory to use his strong Synthesis Skills.
For defeating the dragon, you will complete the quest, and the reward you receive depends on the number of towers you’ve previously done. If it’s first, then you’ll receive the ![]() Cardinal Dragon Raiment. The second dragon you’ll killed will net you the
Cardinal Dragon Raiment. The second dragon you’ll killed will net you the ![]() Cardinal Dragon Robe and if it’s the third, then it’s the
Cardinal Dragon Robe and if it’s the third, then it’s the ![]() Cardinal Dragon Armour.
Cardinal Dragon Armour.



 Sign up
No Comments