The Gambit paid off, your allies are retaking Minrathous, you found Solas, and retrieved the Lyrium Dagger. All that remains now is to slay Elgar’nan and prevent Solas from carrying out his plan. ![]() The Dread Wolf Rises is the final main quest in Dragon Age: The Veilguard and at the very end, you’ll get a chance to determine what ending you will get. Keep reading to learn more about how to defeat Elgar’nan and get the best ending.
The Dread Wolf Rises is the final main quest in Dragon Age: The Veilguard and at the very end, you’ll get a chance to determine what ending you will get. Keep reading to learn more about how to defeat Elgar’nan and get the best ending.
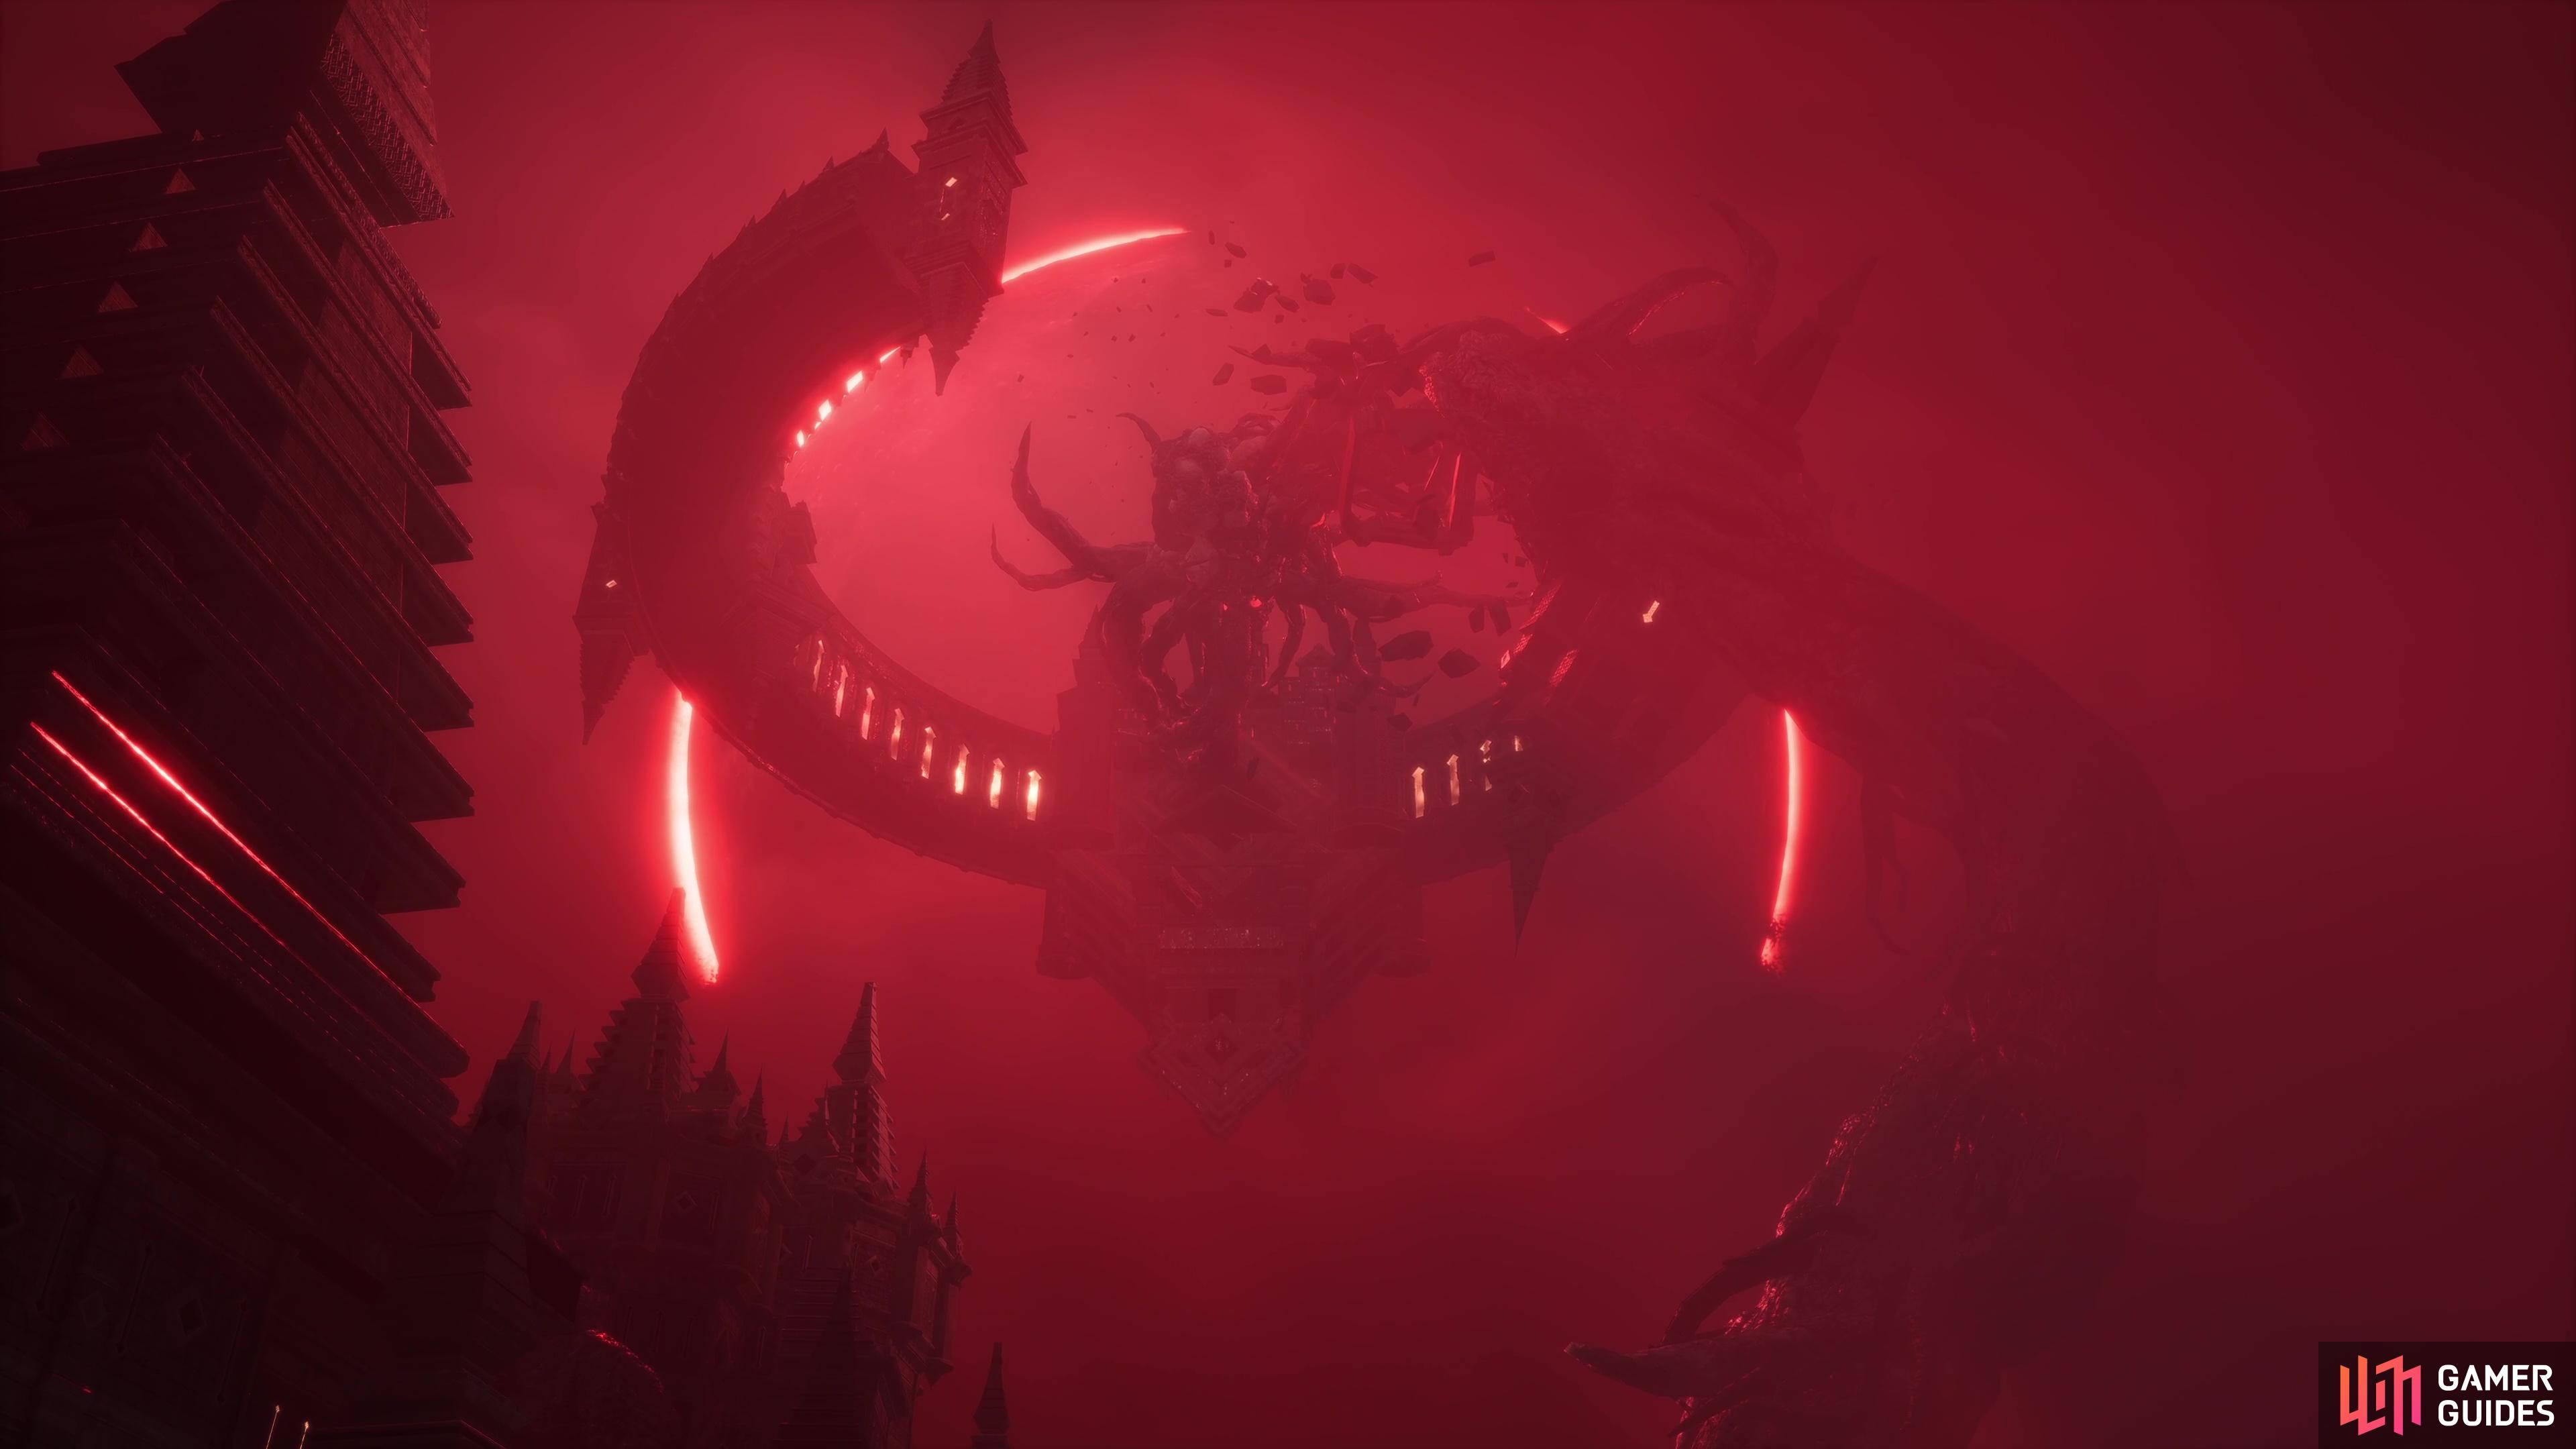
The Dread Wolf Rises is the final main quest in Dragon Age: The Veilguard.
Table of Contents
If you want to jump to a specific section, click on the links below.
| Quickjump |
|---|
| Starting The Dread Wolf Rises |
| Choice: Who Should Stay Back to Defend the Divine Manor? |
| Find the Throne Room |
| Defeat Elgar’nan |
| Choice: Ending |
Starting The Dread Wolf Rises
As mentioned above, The Dread Wolf Rises is the final quest in the game, and continues directly after completing The Last Gambit and ![]() One Last Breath as you find yourself about to climb to the Archon’s Palace. Take the time to make use of the merchants in the safe house before you begin the mission, and don’t forget to speak to Morrigan if you’ve met the conditions for
One Last Breath as you find yourself about to climb to the Archon’s Palace. Take the time to make use of the merchants in the safe house before you begin the mission, and don’t forget to speak to Morrigan if you’ve met the conditions for ![]() The Ultimate Salvation of Felassan Rune, it’ll make the confrontation with Elgar’nan far easier.
The Ultimate Salvation of Felassan Rune, it’ll make the confrontation with Elgar’nan far easier.
Once you’re ready to get the ball rolling on Dragon Age: The Veilguard’s finale, interact with the roots.
Choice: Who Should Stay Back to Defend the Divine Manor?
Similar to ![]() The Last Gambit, you’ll have to make a major decision at the start of this quest, who will stay behind and help defend the barricade? This choice can affect the fate of the companion you choose, and you can learn all about it by heading to our [Choices page](Choices page) for this quest. Ultimately, so long as you select a strong character and have their Hero of the Veilguard status, you should be fine.
The Last Gambit, you’ll have to make a major decision at the start of this quest, who will stay behind and help defend the barricade? This choice can affect the fate of the companion you choose, and you can learn all about it by heading to our [Choices page](Choices page) for this quest. Ultimately, so long as you select a strong character and have their Hero of the Veilguard status, you should be fine.
You will need to decide who will stay behind to protect the manor.
Find the Throne Room
Once you regain control, you’ll be immediately thrust into battle against some Darkspawn. Deal with them, and then follow the linear path up, witnessing the struggle between Solas and the Archdemon as you go. You’ll be forced to defeat this next group of Darkspawn, so look to deal with any ranged enemies first before focusing on the Alpha. After bursting the Boil, open the chest for some gear on your left and then head up the ramp.
At the top of the tower, you’ll drop down to the rooftop where you’ll once again need to deal with a large group of Darkspawn. Deal with any Boils first, then target the ranged enemies as usual, but the main threat is the Gluttonous Emissary, a mage that will deal heavy damage if left alone. Once the final enemy falls, burst the Boil at the top of the stairs to continue.
As you continue to follow this path, you’ll be stopped by the next set of Darkspawn you’ll be required to defeat, these should pose less threat than the last group to begin with, but as you go around the corner, you’ll find another Gluttonous Emissary and slightly stronger Ghouls will attack you.
You’ll enter a different tower at this point, and start making your way down it. Keep an eye on your right as you head down and you’ll spot some Blight Boils you can burst, do so and at the end you’ll find a chest containing some gear. Return to the main path and follow it outside, triggering a scene and you’ll regain control at the entrance to the throne room.
(1 of 4) Find the first gear chest just before you head into the first tower.
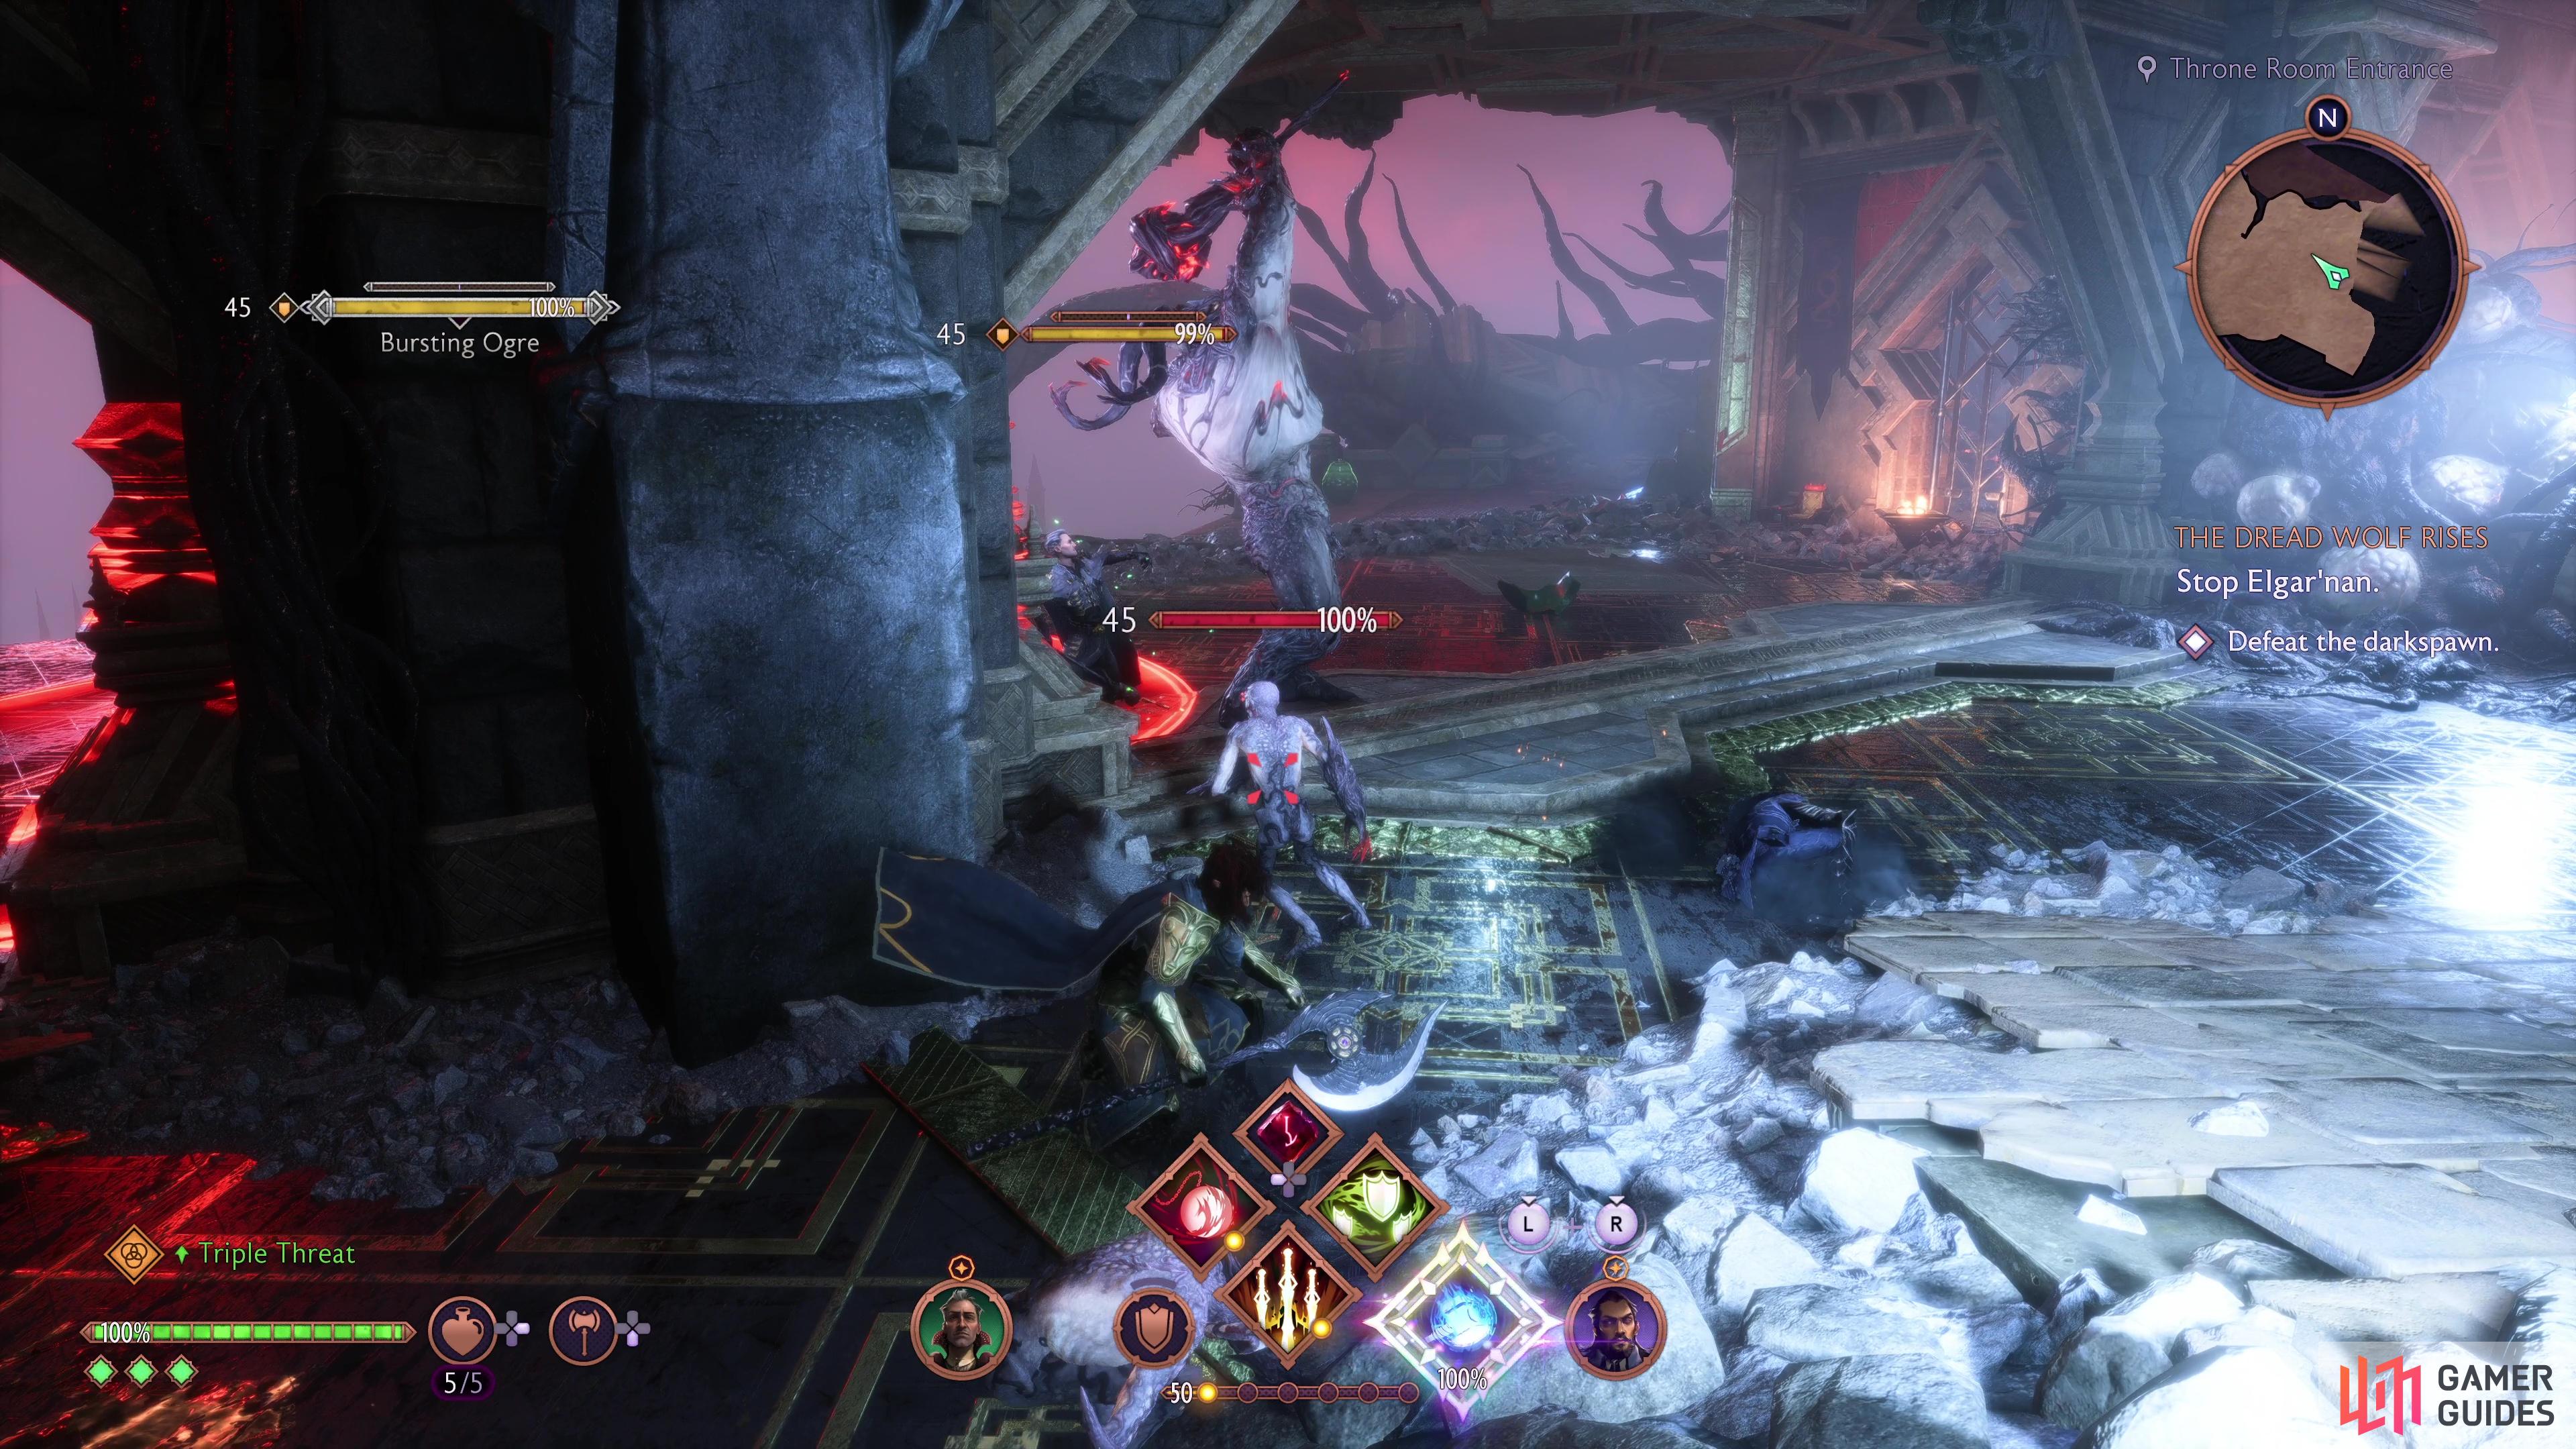
Unfortunately, it’s sealed off to you from here, so you’ll need to take the long way around the exterior which will trigger another group of Darkspawn to attack. At this point, you should know what to expect and, hopefully, shouldn’t be too taxing putting them down. Just try to avoid having both Burning Ogres attacking you at the same time, try to keep them apart.
Once you’ve dealt with them, burst the Boils behind them and continue up the slope behind it and then prepare yourself, once you head through the door at the top, the final battle will take place. If you have ![]() The Ultimate Salvation of Felassan Rune, be sure to equip it and then make sure you have the maximum number of Revives available to you. Once you’re ready to put an end to Elgar’nan, open the doors.
The Ultimate Salvation of Felassan Rune, be sure to equip it and then make sure you have the maximum number of Revives available to you. Once you’re ready to put an end to Elgar’nan, open the doors.
Defeat Elgar’nan
The battle against Elgar’nan will take place over a few phases, and you’ll need to survive throughout them to finally put him down. The battlefield itself is rather large without too much obstruction in the way, this is good, because Elgar’nan is agile and will use many attacks that will hit a wide AoE. Hopefully you have Lucanis or Emmrich with you, as Elgar’nan is weak to Necrotic (and resists Electric).
As you would expect with any final boss, Elgar’nan has many attacks across this multiple phases, and you can learn about them below:
Lightning Blast
Elgar’nan will remain stationary and gather electrical energy above him, a large AoE circle will appear around him after before he slams it to the ground dealing heavy damage to anyone caught in it. This should be simple enough to dodge, you can see him charging this for a while and you still have a few seconds once the AoE marker appears so get to range and attack him.
(1 of 2) Elgar’nan will conjure and release a massive Lightning Blast around himself.
Elgar’nan will conjure and release a massive Lightning Blast around himself. (left), He can also unleash smaller Lightning Strikes in a line in front of him. (right)
Lightning Bolts
Elgar’nan will drop many Lightning Bolts all around him which will deal splash damage where they land. Each bolt has a small AoE marker you can use to identify it so once again, as soon as you see the first one go off, get to range to avoid them.
Aspects of Elgar’nan
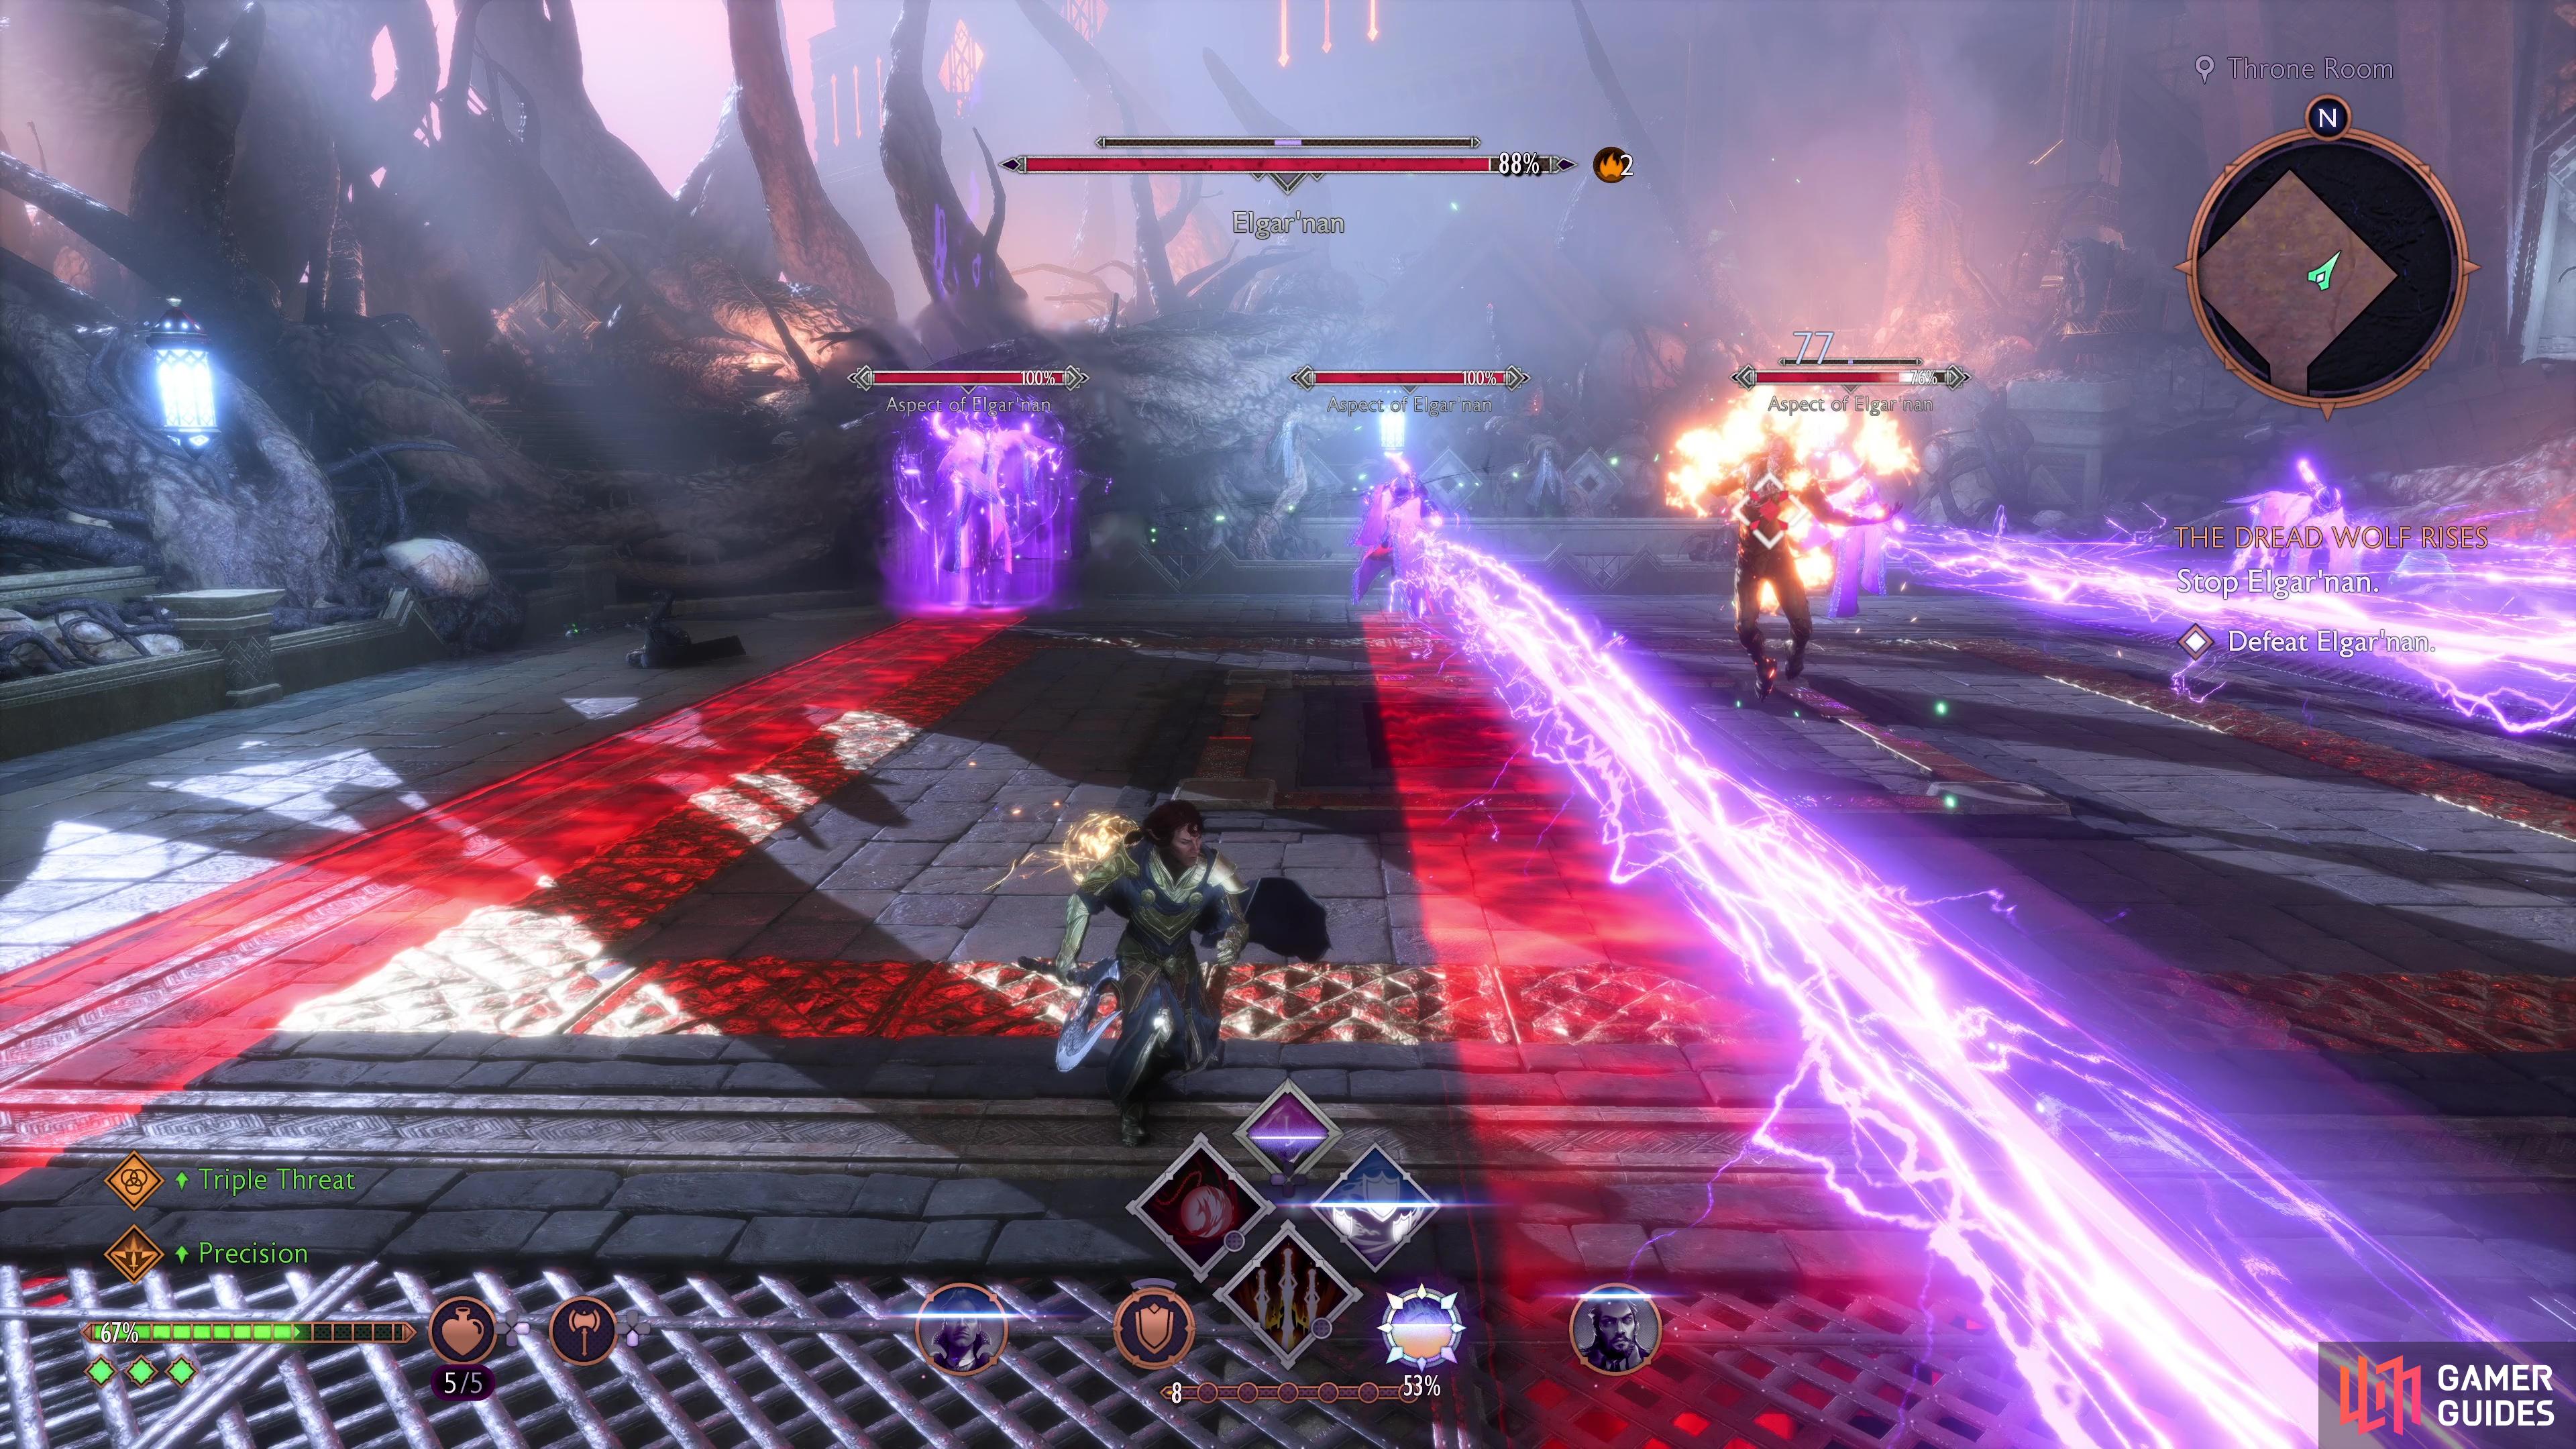
Elgar’nan will conjure four Aspects of himself that stand in a line, they will then use a line AoE that blasts anyone standing in the way. At the same time, Elgar’nan himself will continue to attack, and the Aspects will remain until defeated. Their attacks are easy enough to see, but you’ll want to focus on taking them out as quickly as possible still.
(1 of 2) Be sure to deal with the Aspects as soon as possible.
Be sure to deal with the Aspects as soon as possible. (left), You can deflect Elgar’nan’s Lightning Slashes. (right)
Lightning Slash
Elgar’nan will use a series of wide-arcing slashes with his sword that is imbued with electricity. These are simple enough to avoid if you see them coming, a dodge will deal with it, but if you’re feeling confident, you can Deflect each strike too.
Lightning Balls
Elgar’nan will retreat and then immediately fire three Lightning Balls that slightly split as they get further out from him. This is one of those attacks that is harder to deal with the closer you are to Elgar’nan, so try to keep your distance if you see him dash away from you.
(1 of 2) Elgar’nan’s Lightning Balls will spread out the further they are away from him.
Elgar’nan’s Lightning Balls will spread out the further they are away from him. (left), He can also fire Lightning Strikes that will track you. (right)
Lightning Strikes
Similar to the above attack, Elgar’nan will instead conjure slightly smaller Lightning Balls (but more of them) and fire them off at your direction one after the other (instead of all at once like the above attack). This is simple to avoid, but keep on the move to make sure you don’t get caught out.
The first phase is all about learning how to read Elgar’nan, his attacks are highly telegraphed and you have a large enough battlefield to avoid all of them easily enough. The biggest issue in this first phase is his Aspects attack, if you don’t kill them quickly enough, you’re going to cause yourself a lot of problems as Elgar’nan’s attacks then become a lot tougher to avoid if you’re having to worry about the line AoEs. Fortunately, they go down quick enough so they shouldn’t pose too much threat so long as you don’t neglect them.
Once you bring Elgar’nan down to around 10% HP remaining, a scene will trigger and once you regain control, he will quickly coat the entire area in darkness, leaving you alone. Forget attacking Elgar’nan here and instead focusing on avoiding his attacks, you can’t defeat him in this moment. Eventually, he’ll use a red electricity beam to subdue you and trigger another scene followed by the final phase.
For this phase, Elgar’nan gets access to some new attacks, and you can find out all about them below:
Explosive Leap
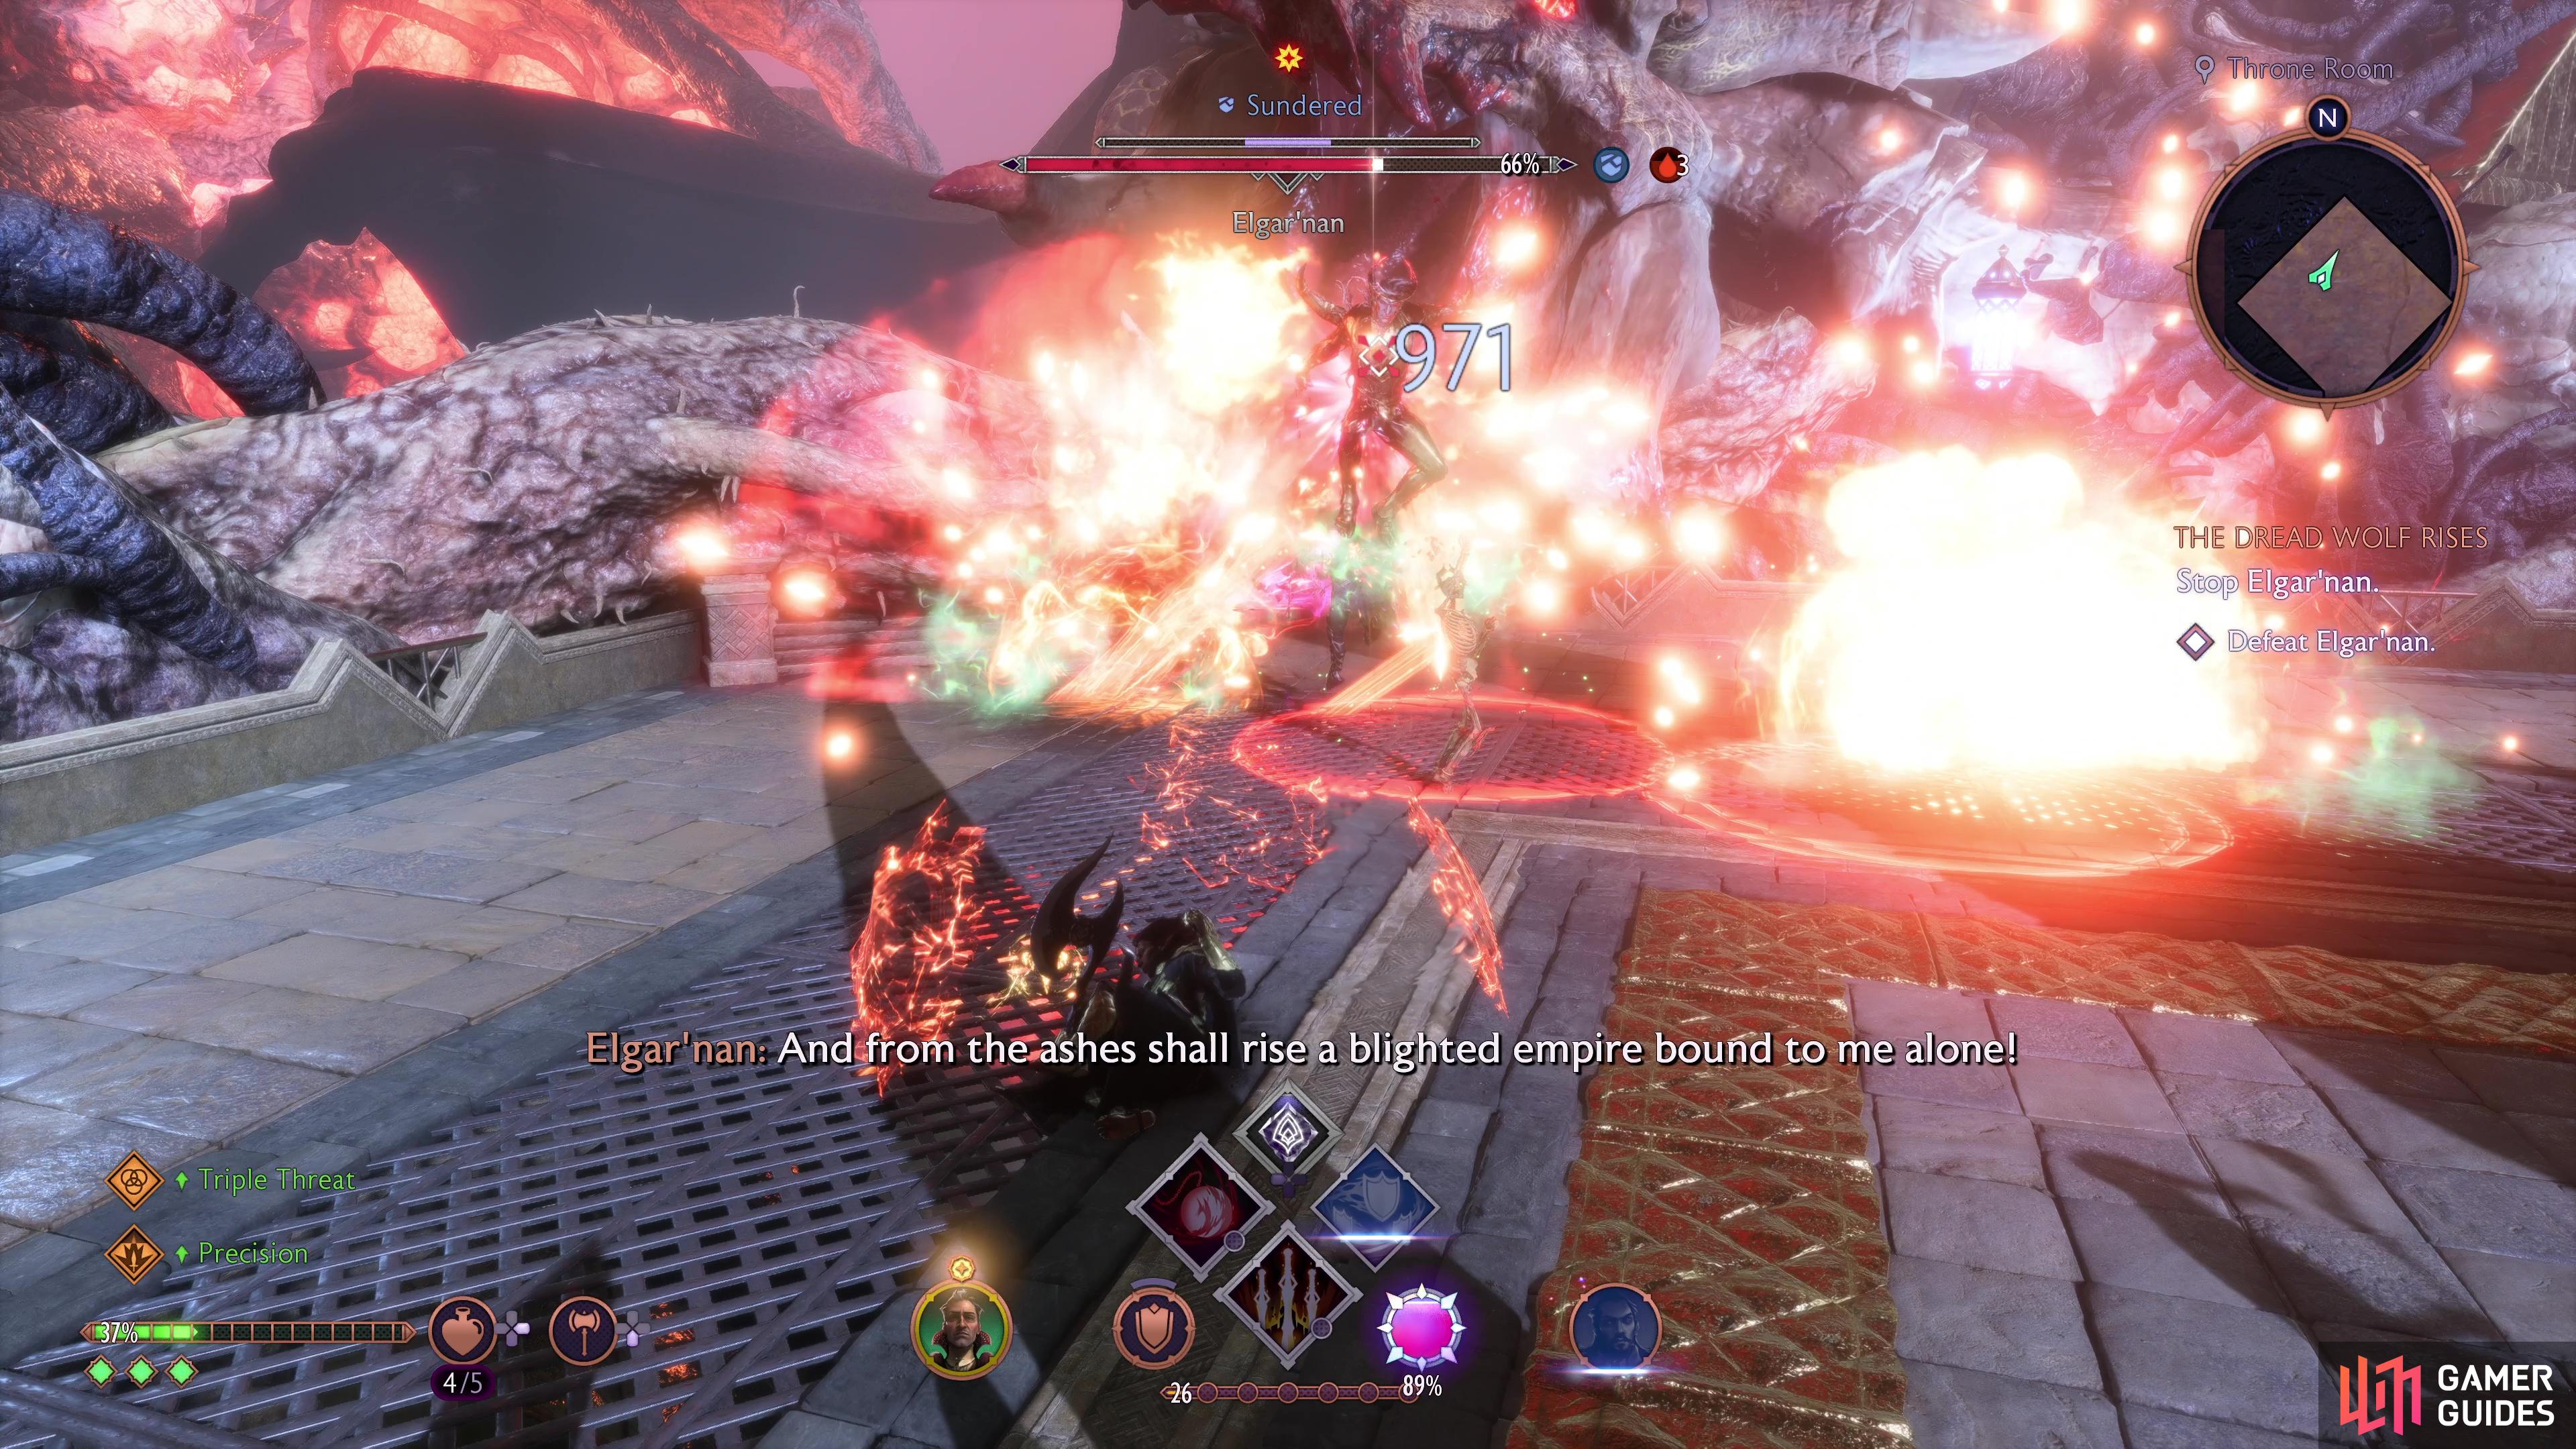
Elgar’nan will charge himself with explosive energy and then leap forward, once he lands, the area around him will create a fiery explosion. Despite this having a massive AoE, the attack itself isn’t the quickest, giving you plenty of time to get out of the area.
(1 of 2) Elgar’nan will cause a massive explosion around where he lands.
Elgar’nan will cause a massive explosion around where he lands. (left), His Eruption attack will create a ring of persistent flames. (right)
Flame Slash
Elgar’nan will use a series of wide-arcing slashes with his sword that is imbued with Fire. These are simple enough to avoid if you see them coming, a dodge will deal with it, but if you’re feeling confident, you can Deflect each strike too.
Eruption
Elgar’nan will prepare a large ring in the center of the arena that will cause eruptions, these will deal massive damage and inflict Burn should they connect. After the eruption occurs, the flames will persist for a while, creating a fiery wall. As soon as you see the AoE markers, either get to the center, or get close and behind him, this will leave him open for some attacks.
Fireballs
Elgar’nan will conjure multiple fireballs and aim them toward you, dealing splash damage where they land. A simple enough attack to avoid, you can see the Fireballs around Elgar’nan before he releases them, so keep on the move to deal with this attack.
Flaming Walls
Elgar’nan will create too huge line AoEs that will spew constant flames, leaving you only the space between the two walls to move about in. During this action, he will release Fireballs one after the other, so keep on the move in this tight area to avoid them.
(1 of 2) Elgar’nan can release Fireballs that land in front of him.
Elgar’nan can release Fireballs that land in front of him. (left), He will also conjure two fiery walls, leaving you only the middle to move about in. (right)
The first thing you should notice about Elgar’nan’s second phase is that he’s changed his elemental resistance to Fire (as he’s now imbued with the element himself) and his weakness is now Cold. On top of this, he’s much faster and has attacks that leave persistent flames after, severely limiting your ability to move around the battlefield.
Elgar’nan is a much tougher foe here, and you’ll have to be on the move constantly throughout to survive it. Unlike his first phase, his sweeping Flame Strikes are arguably his most used attack, so if you’re comfortable at Deflecting, you can limit the damage he can do to you. Once again, The Ultimate Salvation of Felassan Rune will give you a massive advantage here, make sure to use it and eventually you’ll defeat Elgar’nan.
Choice: Ending
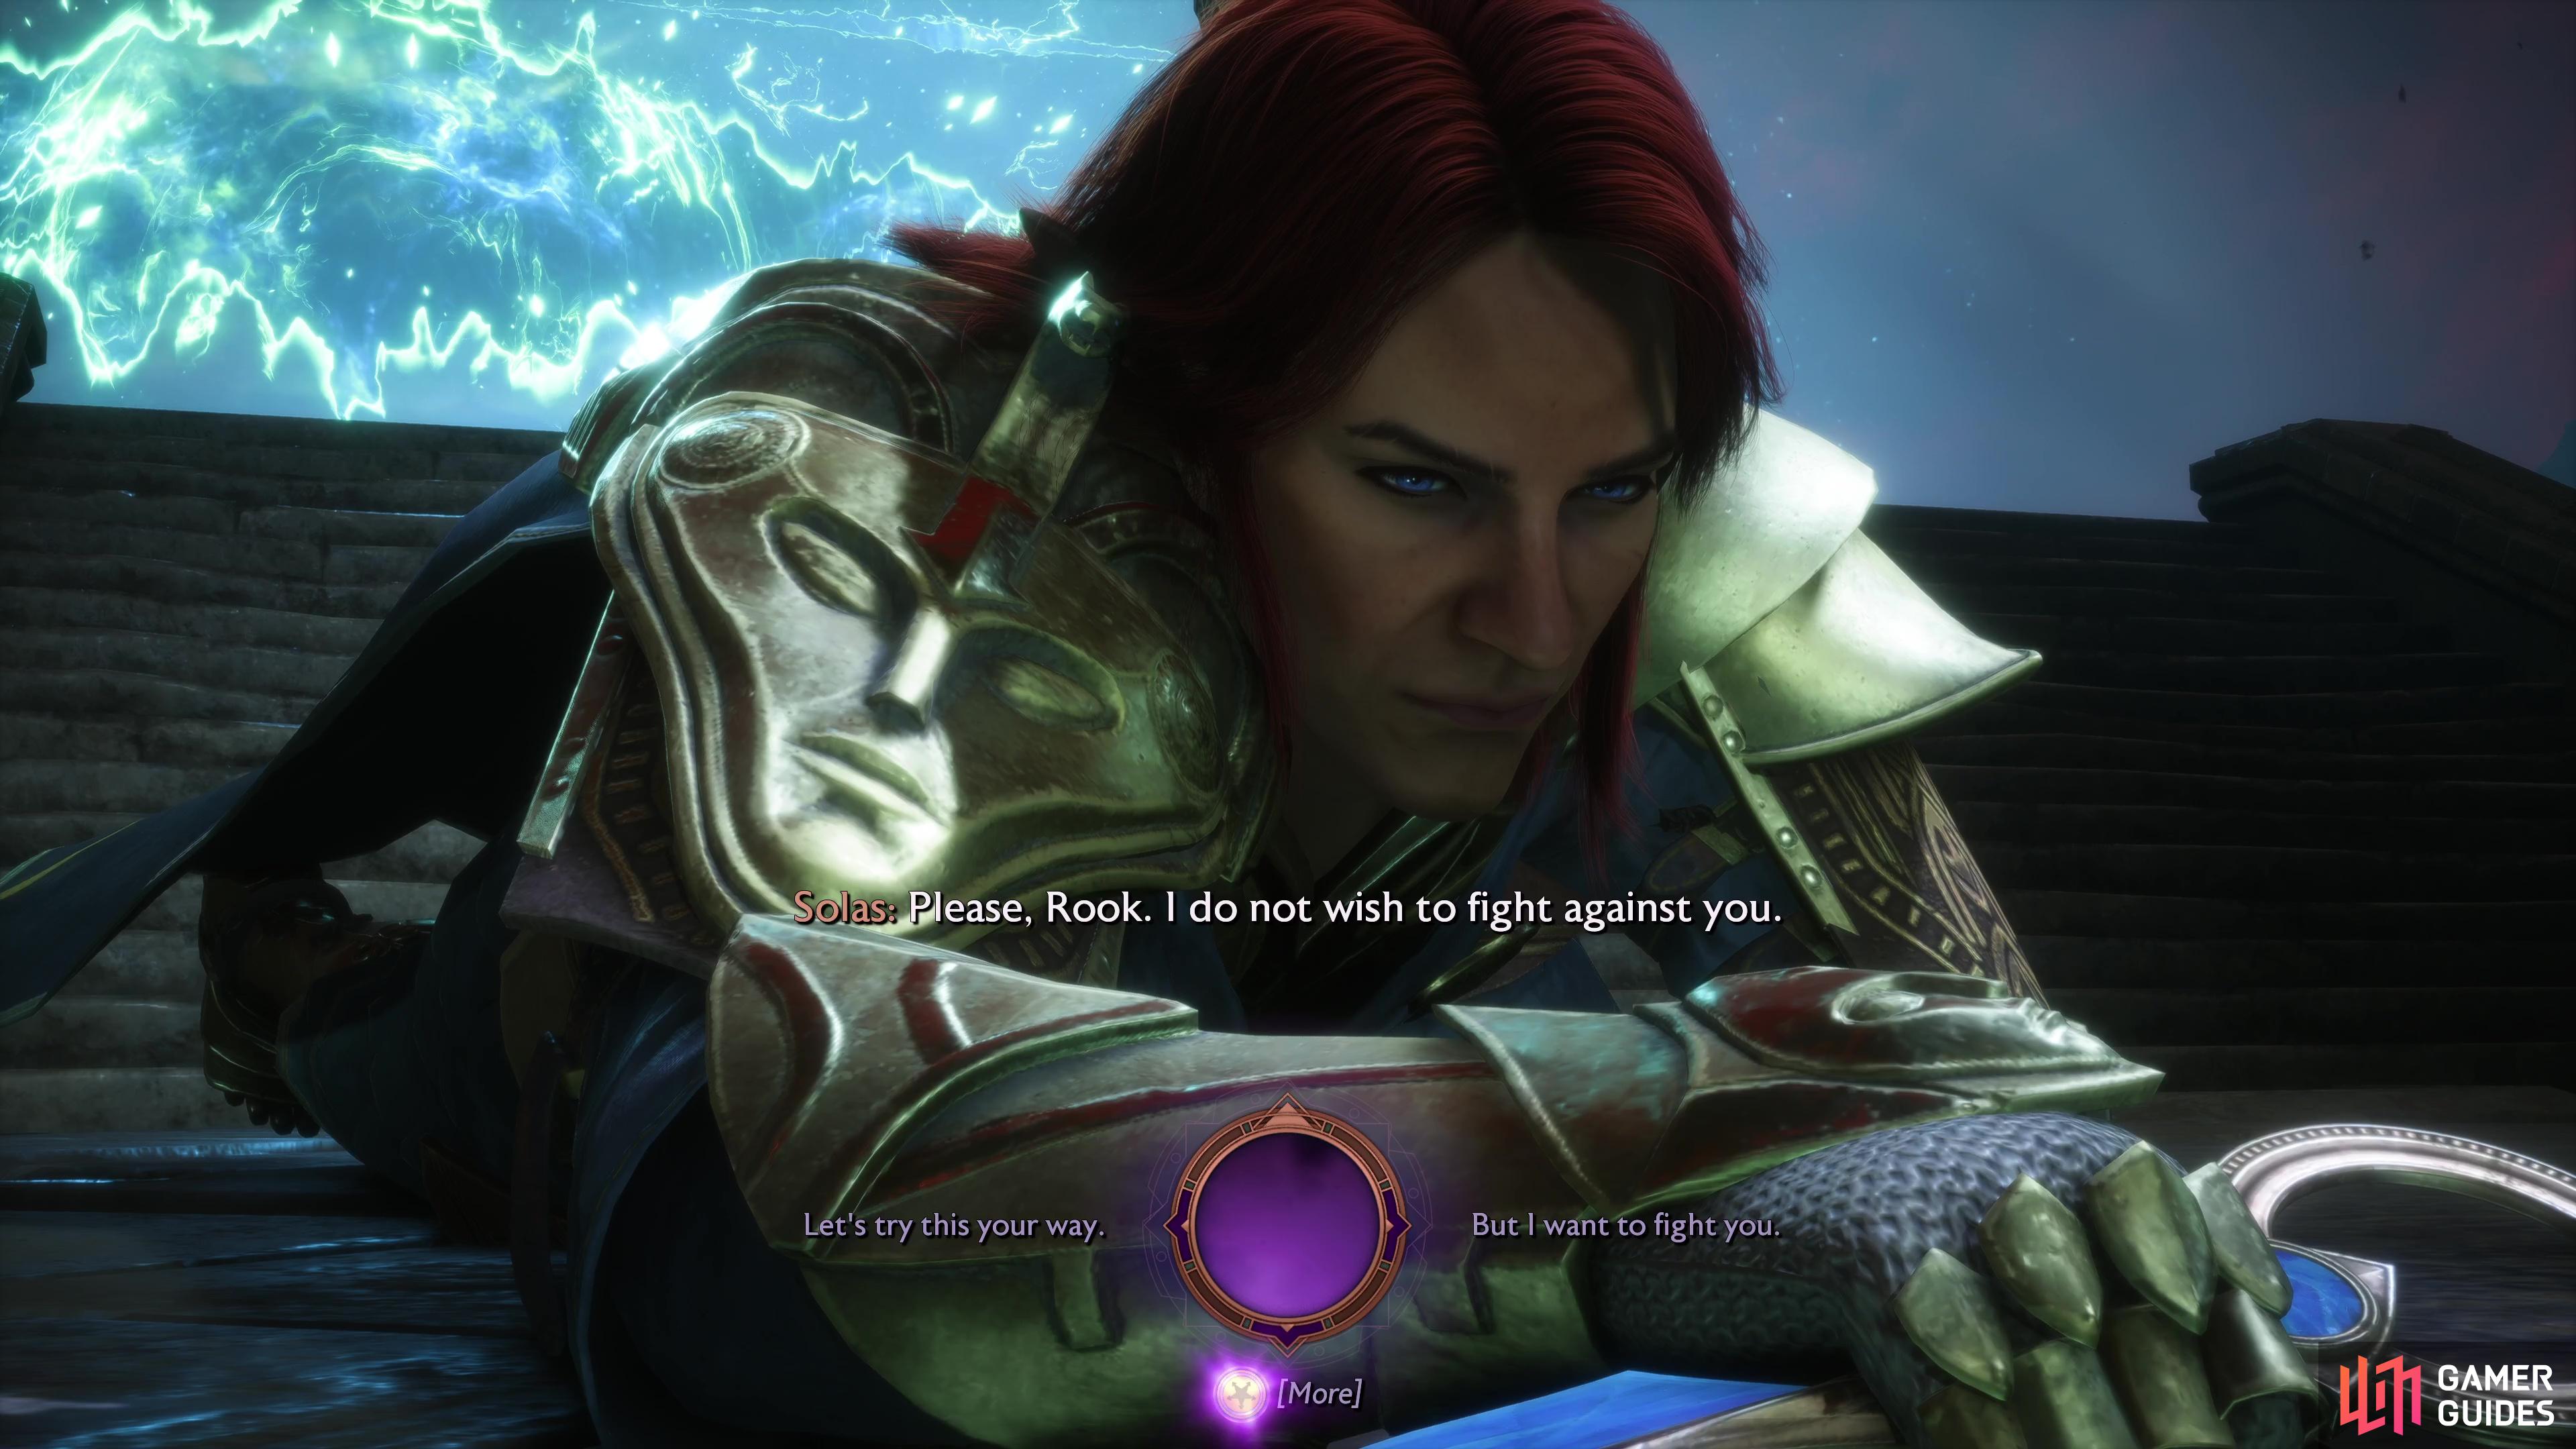
In the scenes that follow, you’ll be left to deal with the Dread Wolf himself, and your choice here will directly impact which of the three main endings you see for Dragon Age: The Veilguard. You won’t get the third choice unless you completed the ![]() Regrets of the Dread Wolf Quest, this choice is arguably the best ending. For more details on how all of these choices play out, check out the Choices guide.
Regrets of the Dread Wolf Quest, this choice is arguably the best ending. For more details on how all of these choices play out, check out the Choices guide.
You have one final choice to make after the battle that will affect what ending you will get.
There you have it; sit back and enjoy the scenes that follow, you’ve finished Dragon Age: The Veilguard. Be sure to stick around for the credits if you found the Mysterious Circles, you’ll have an additional part of the ending to witness.








 Sign up
No Comments