Dragon Age: The Veilguard offers a lot in the way of optional content, and The Pinnacle of its Kind quest is one of the more involving side quests you can undertake when you gain access to the Necropolis Halls. This challenging side quest will pit you against fearsome demons in three different locations before facing off with the main culprit and there’s an Achievement/Trophy to be had too!
The Pinnacle of its Kind quest is one of the longer ones in Dragon Age: The Veilguard.
Table of Contents
If you want to jump to a specific section, click on the links below.
| Quickjump |
|---|
| Pinnacle of its Kind Quest Location |
| Hossberg Wetlands Demon |
| Dock Town Demon |
| Arlathan Forest Demon |
| The Formless One Dragon Boss Strategy |
| Pinnacle of its Kind Rewards |
Pinnacle of its Kind Quest Location
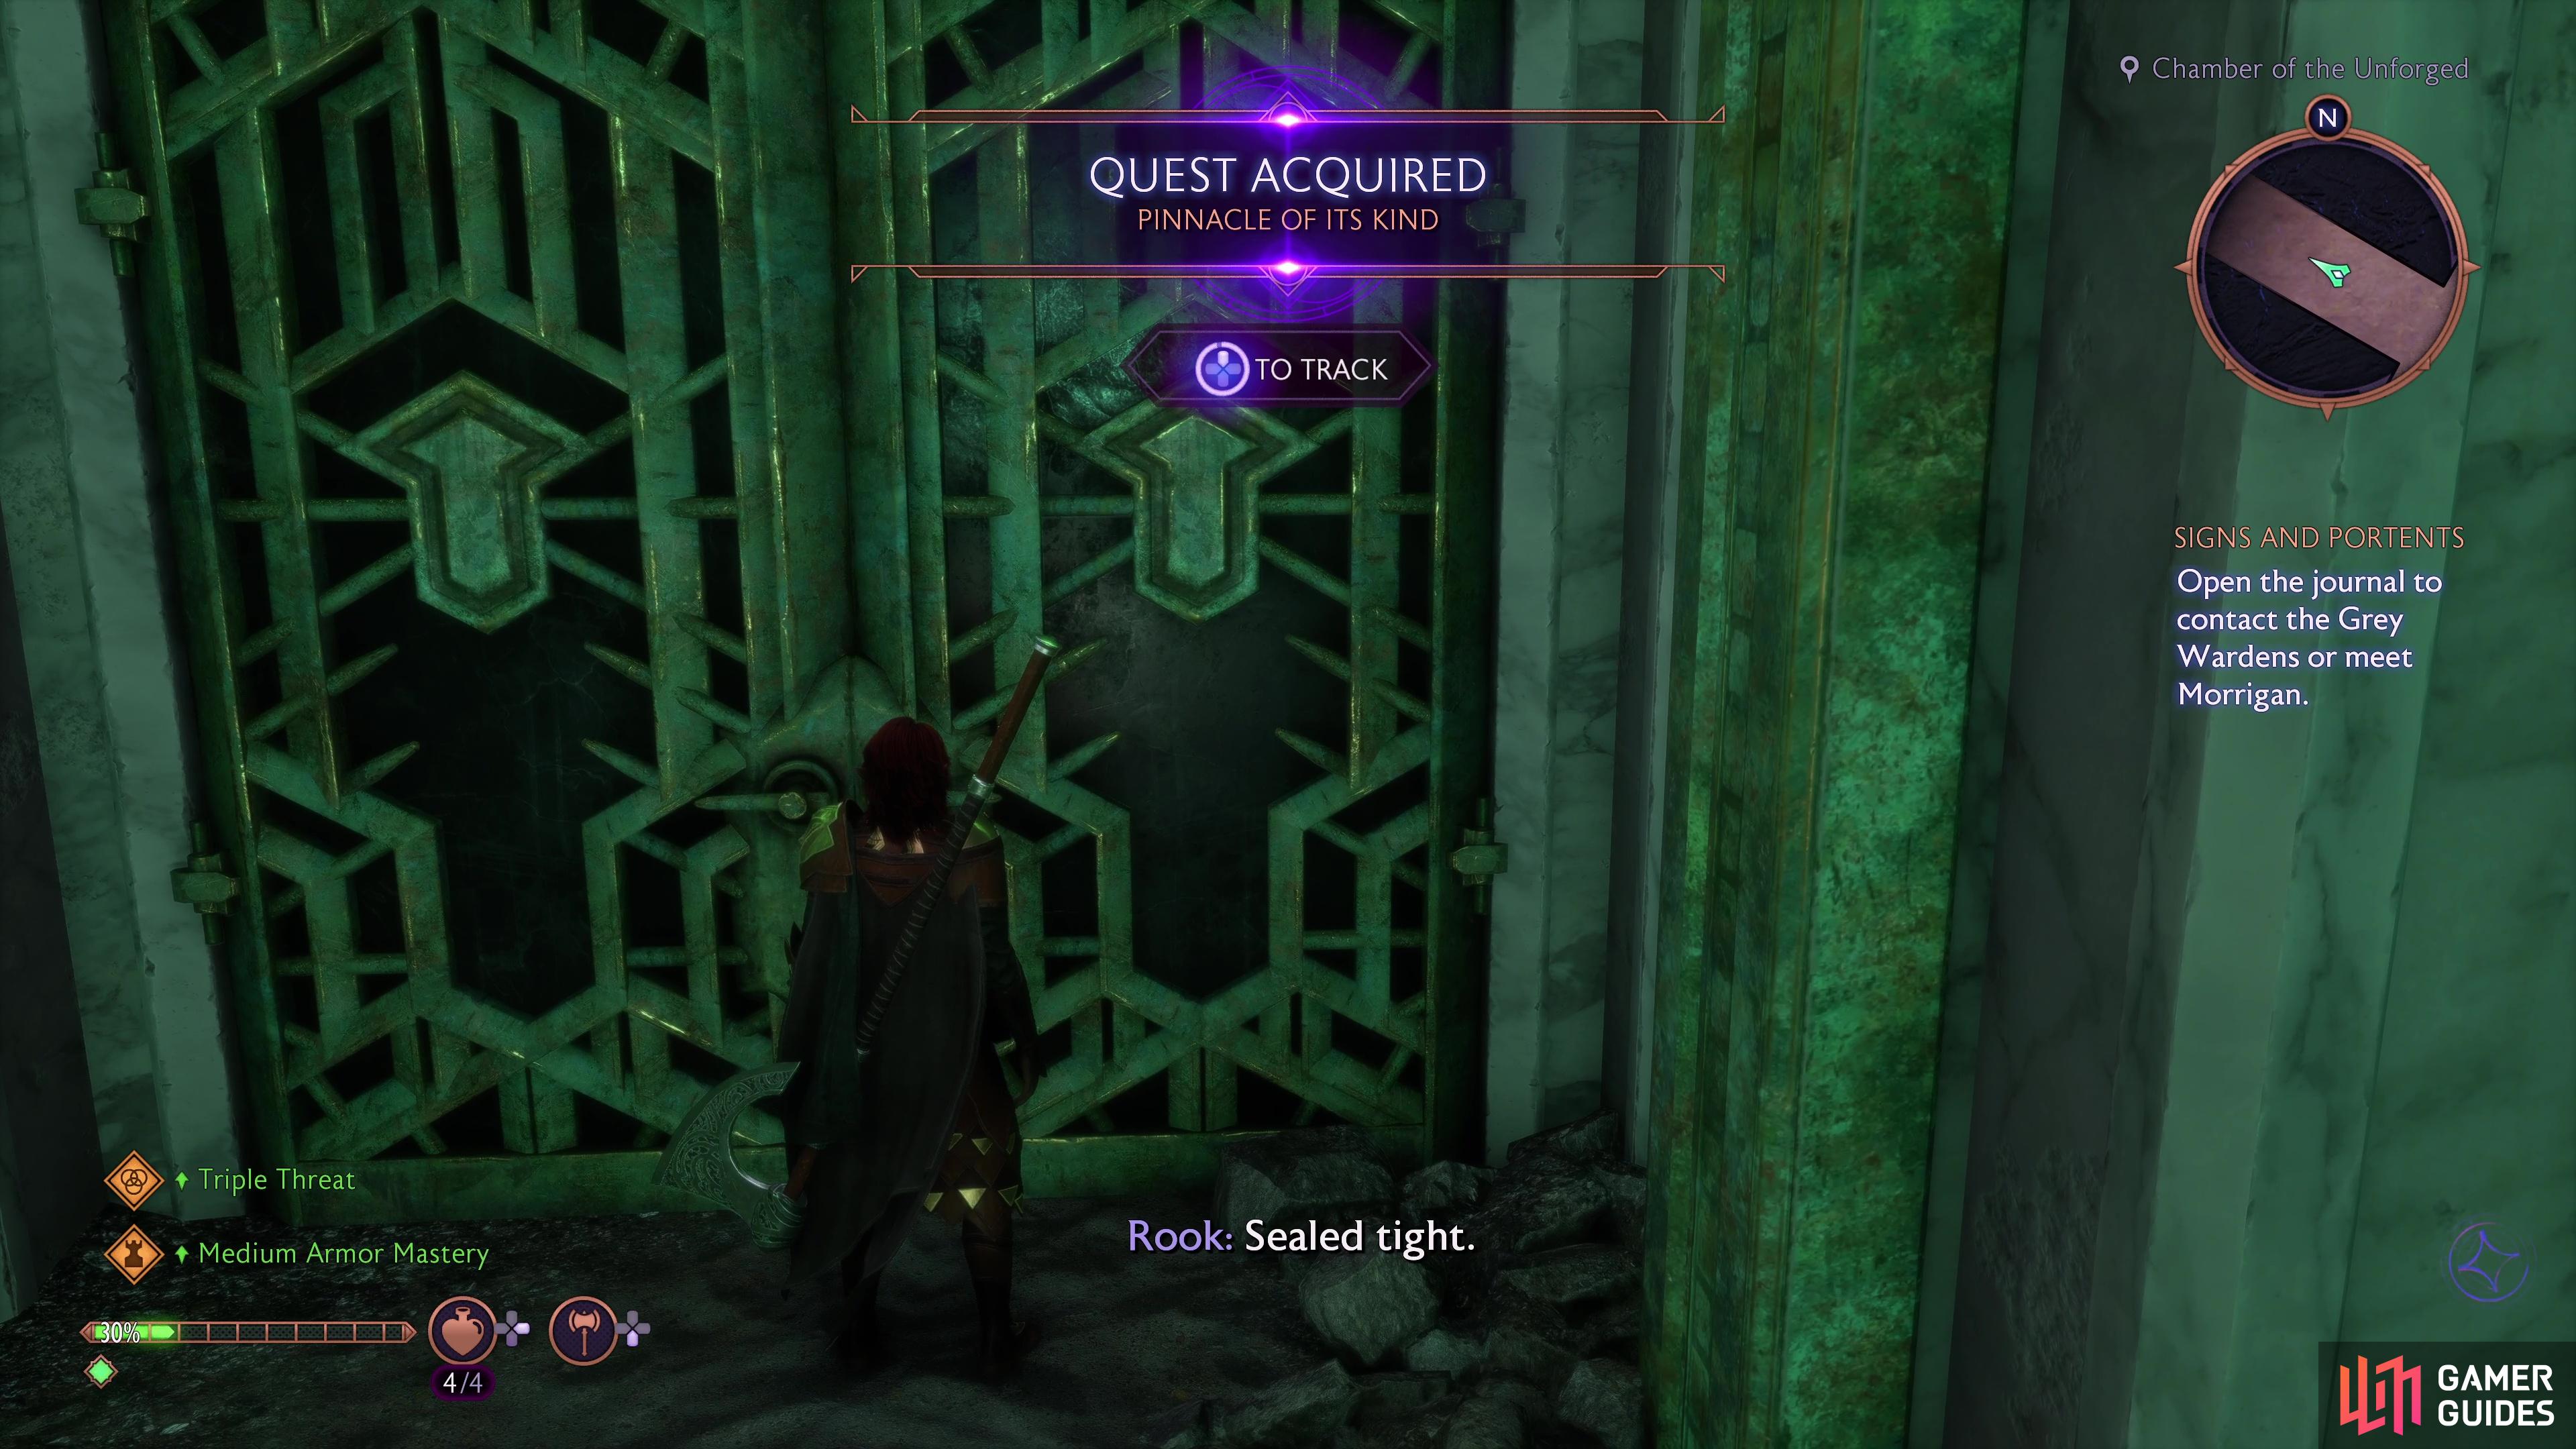
You’ll have to wait until you complete the main quest that takes place at the Necropolis Halls, Where the Dead Go, before you can start exploring and accepting Side Quests here. Once you return to the Halls, go to the northwest of the map, the Chamber of the Unforged, and deal with the Venatori that attack you. Once the area is clear, approach the door at the back and examine it to begin the Quest. Investigate the immediate vicinity to learn that you need to hunt down three Demons across Thedas before you can face the main threat behind the door, so let’s get on that!
Hunt down Demons across Thedas
As mentioned above, if you’re going to break the seal on the door and reach The Formless One, you’ll need to go to three areas in Thedas and deal with the Demon there.
Hossberg Wetlands Demon
Let’s start out search of these Demons at the Hossberg Wetlands and you’ll need to make your way to Solitude’s Edge, found in the central south of the region. Clear the area of any Darkspawn that may have appeared here so that you can focus on the Demon alone, then, when you’re prepared, go toward the brazier with the green flame and investigate it to spawn the Demon.
You’ll fight a lesser version of The Formless One, a Demon with a large barrier that you’ll need to deplete first, along with several Shades. Deal with the Shades as quickly as possible, despite not posing much of a threat, they can get in your way often. The Formless One itself is vulnerable to Shock, so Bellara is a great companion to bring along with you for the fight. As with most boss enemies, look to use Combos against them, and beware of its ability to spin its arms around, this will persist for some time and can deal heavy damage if you get caught in it. The other attack to watch out for is it’s magical orbs, which it can shoot out at any time and will attempt to track you.
(1 of 4) Head here in the Hossberg Wetlands.
Dock Town Demon
That’s one Demon down, two to go. Make Dock Town your next destination and teleport to the Spillway Beacon, over to the southeast of the region. Make your way down to the open area to the south and once again, interact with the green flame to spawn the next version of The Formless One.
While retaining some of the characteristics from the last version of this Demon, you’ll find that this time, The Formless One will rely on shock-based AoEs around the arena, of which is already on the smaller side. Keep out of the circles and be wary of the Shockwaves it can shoot out from a distance at you, these are tougher to avoid. This time around, it’s weak to Necrosis, so both Lucanis and Emmerich are your best bet for companions here.
(1 of 4) Head to the southeast of Dock Town to find the next demon.
Arlathan Forest Demon
One Demon to go, your final destination is Arlathan Forest and you’ll want to make your way to the Nameless Building, to the west of the region. Head down the path to the west and you’ll find the final brazier, this time with even less space to fight in than the previous two Demon encounters.
As has been the trend with each version of The Formless One, this one takes on the element of Fire and is vulnerable to Cold, so you’ll want to make sure you have Neve along for the ride. Be wary of the multiple charge attacks that the Formless One will use here, you don’t have much space so you need to be ready to dodge out of the way as soon as possible. More importantly, it can release Fiery Rings from its body that will shoot out, you’ll need to time your dodges through these to avoid any damage.
(1 of 3) Head to the northwest of Arlathan Forest for the final demon battle.
Regardless of the order you decide to take down the three Demons, you’ll need to return to the Necropolis Halls after. Make sure you’re prepared before returning to the door, your final encounter with The Formless One is the most difficult yet and you’ll want to be as close to Level 40 as possible.
The Formless One Dragon Boss Guide
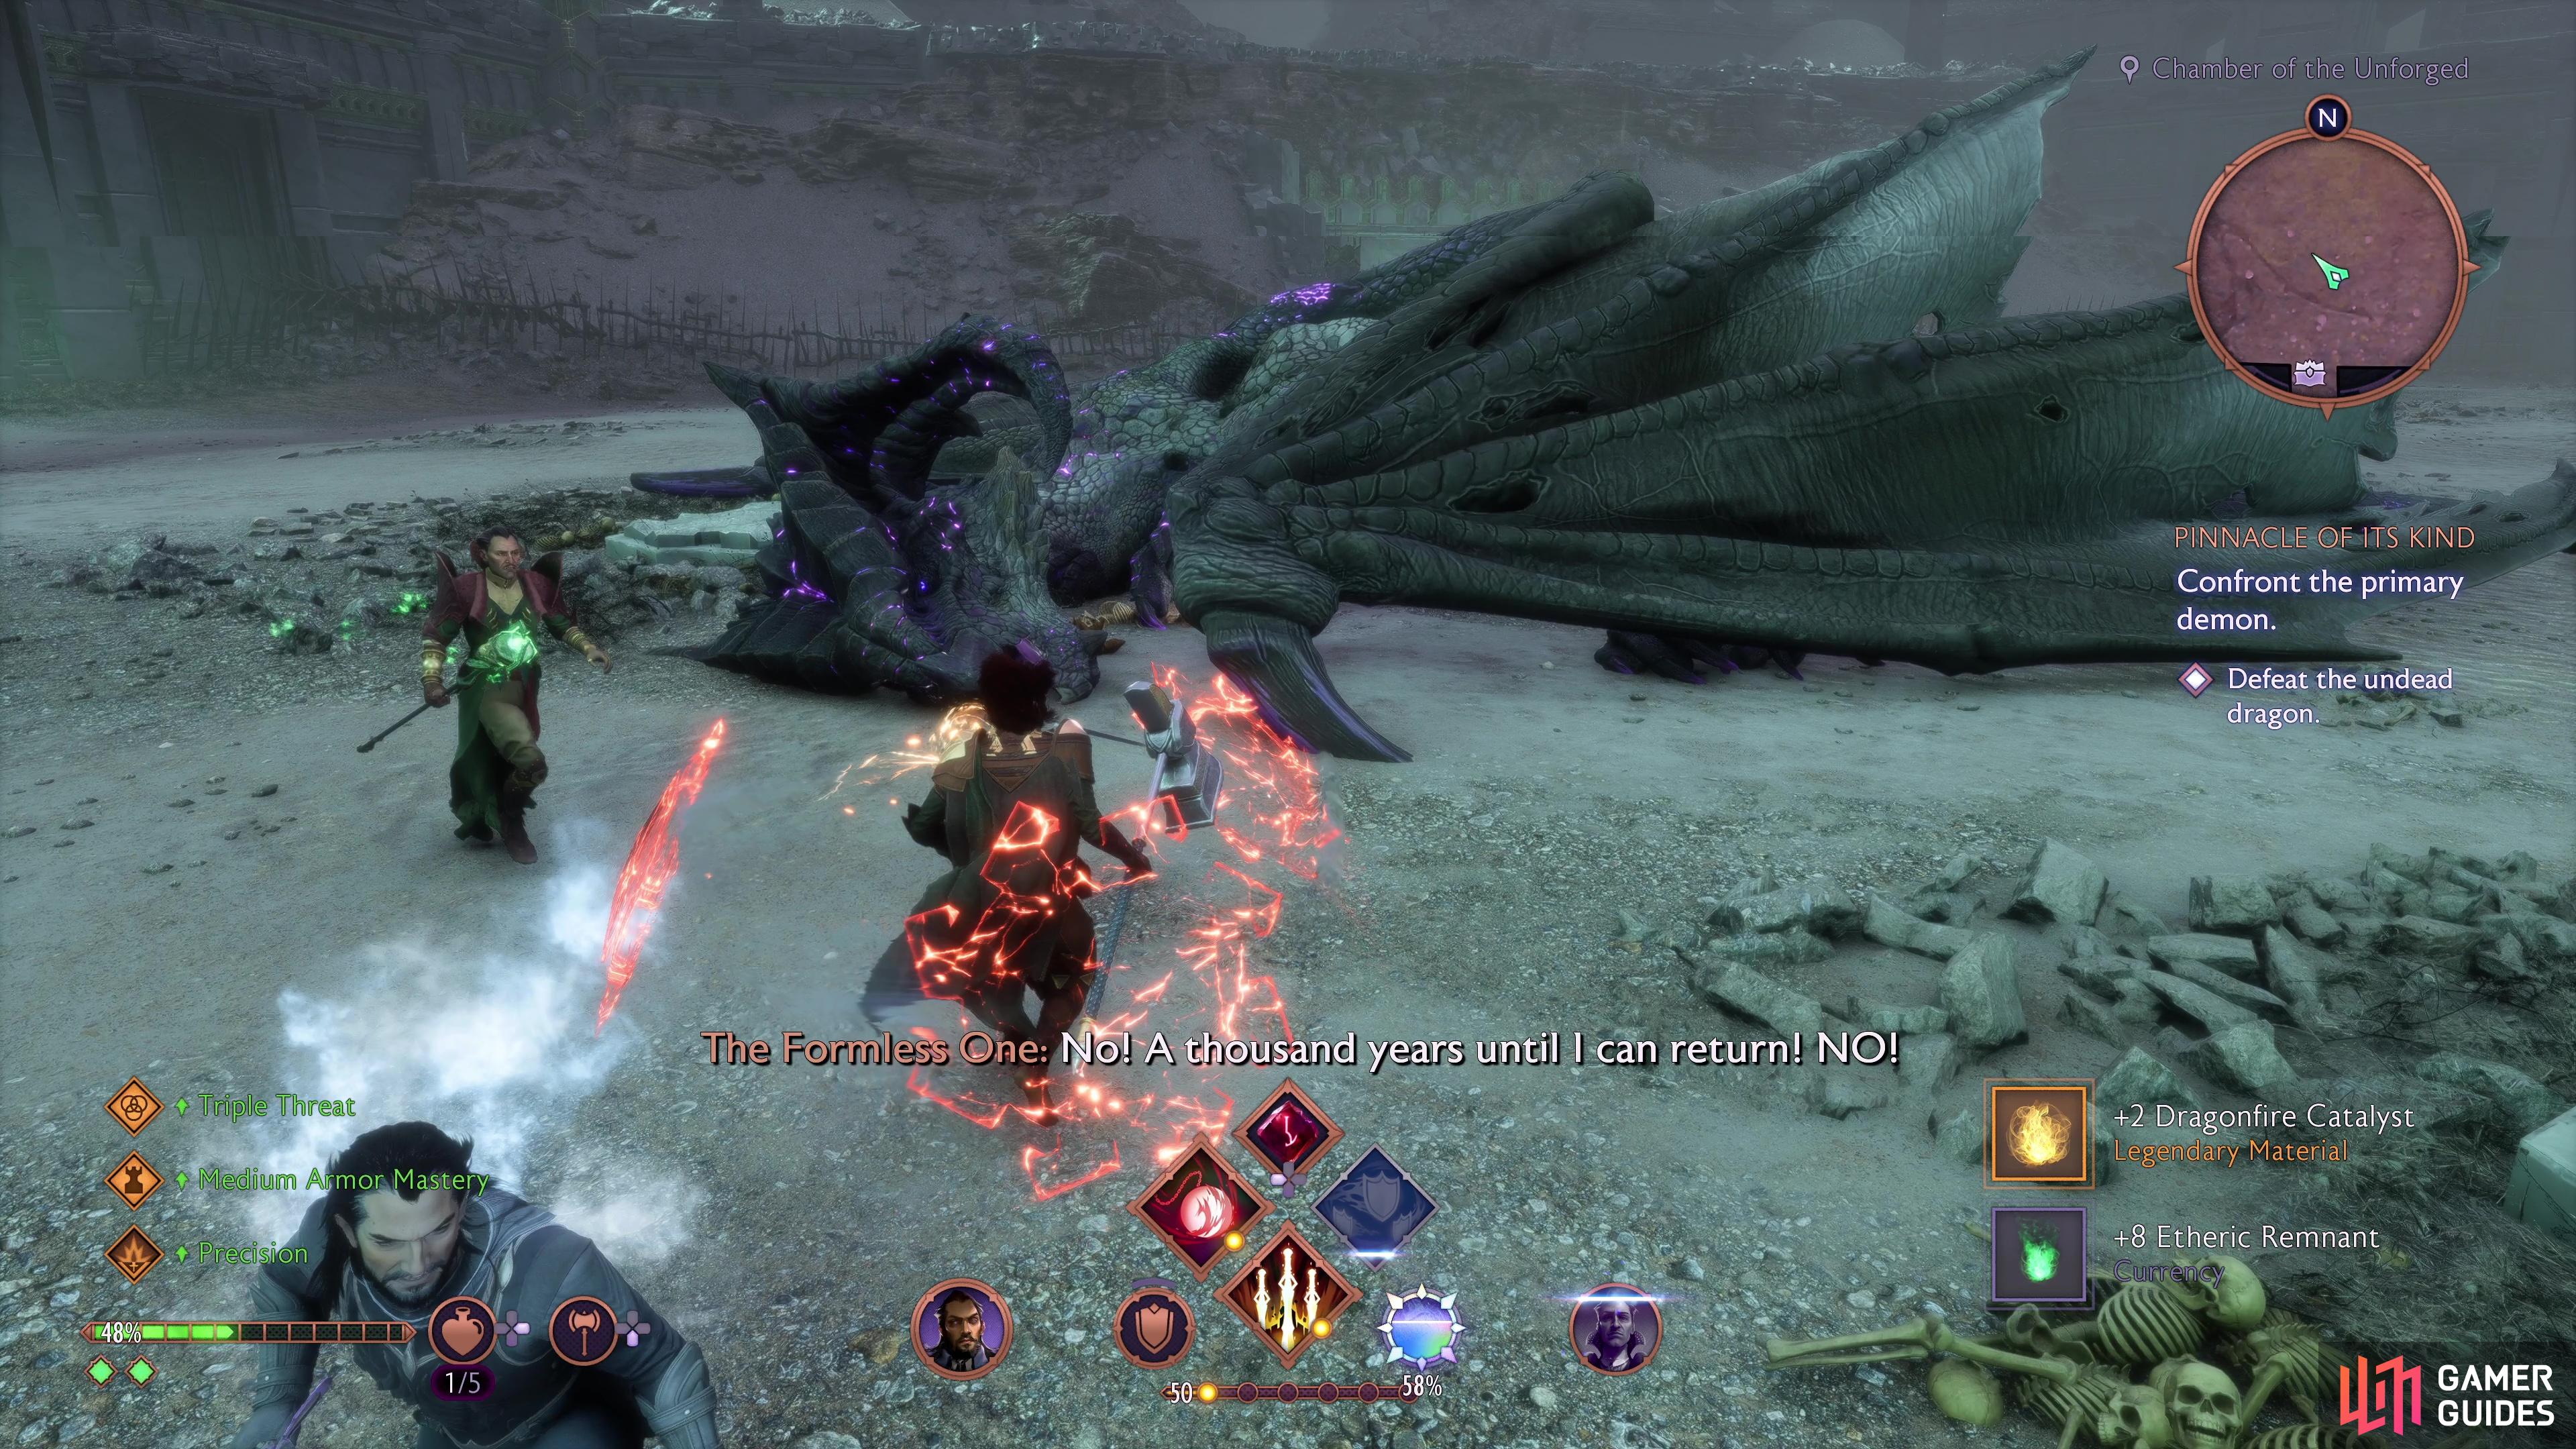
That’s right, the Formless One has managed to find itself a Dragon to inhabit, making your final contest with the Formless One much tougher than the other three. You will, however, get a massive arena to fight it in which is to your benefit, if this is your first time fighting a Dragon, you may struggle a little, but if you’ve downed one Dragon, then this shouldn’t be too bad. The Formless One’s Dragon form is vulnerable to Necrosis, so once again, Lucanis and Emmrich are a great pair to bring with you.
The first thing you should do if you’re fighting up close is to disengage Lock-On, this will not help you here due to the size of your foe and you’ll want to strike at different legs based on where the glow is, this indicates a temporary weak point. It’ll also let you more easily dodge its combinations of stomps, bites, and tail swipes, which are clearly telegraphed.
For the most part, this is what you’ll deal with, but The Formless One will retreat to the back of the arena from time-to-time to shoot out bolts of lightning that you can avoid by keep running in one direction. It will also attempt to close the distance by divebombing you, wait until it gets close and then dodge out of the way, leaving it open for some counters. If you see a large red circle around you, dash away as fast as possible, as the Ground Pound will deal massive damage should is strike you.
At around 70% HP, it will retreat out of the arena, gain a Barrier, and start shooting more lightning bolts at you. At the end of this sequence, it will let out a large burst of lightning around itself, so keep yourself toward the back of the arena during this phase. After each of these phases, The Formless One will also summon skeletons to assist it, eventually raising undead mages that will strike you from afar. While it’s easy to focus on them, ignore it and keep striking the Dragon, the arena is big enough that you can avoid them for the most part.
The goal of the battle, then, is to keep on the move at all times, use Combos involving Lucanis and Emmrich for Necrosis damage and, once you manage to stagger it, go all out with your damage on its weak point located on its chest after it’s toppled. There are Health Jars around the arena, so don’t forget to go top up if you’re running low.
Pinnacle of its Kind Rewards
There are many rewards for defeating The Formless One such as Faction Strength, legendary resources, and plenty of chests to plunder.
Once the dragon finally falls, you’ll succeed in sealing The Formless One away again and bring the quest to a close. Not only will you get 1,000 XP, a Dragon Tooth, and two Dragonfire Catalysts but you’ll also score +200 Mourn Watch Strength and +300 Lords of Fortune Strength! The good times don’t end there though, you’ll also unlock the Unbound Achievement/Trophy and can plunder the many chests that populate this area, including a unique chest. Before you leave, however, be sure to snag the Memento in one of the side rooms, this is A Second Circle, part of a series of Mementos that unlocks the Secret Ending!


 Sign up
No Comments