With the team stranded in Arlathan Forest, a Veil Jumper, Bellara Lutara, has agreed to help them find an ancient artifact that will allow them to escape the bubble. ![]() In Entropy’s Grasp is the third main quest in Dragon Age: The Veilguard, and this page will help you complete all of the necessary objectives.
In Entropy’s Grasp is the third main quest in Dragon Age: The Veilguard, and this page will help you complete all of the necessary objectives.
You will get a new companion, Bellara, during In Entropy’s Grasp.
Table of Contents
If you want to jump to a specific section, click on the links below.
Starting In Entropy’s Grasp
As you’re still at the start of the adventure in Dragon Age: The Veilguard, you don’t have too many options on what you can do. As you progress through the Shadow of Ancient Arlathan main quest, you’ll eventually take the Eluvian that will transport you to Arlathan Forest, leaving you stranded for a while. Fortunately, there’s a Veil Jumper nearby who may be able to help.
Find Bellara Lutare
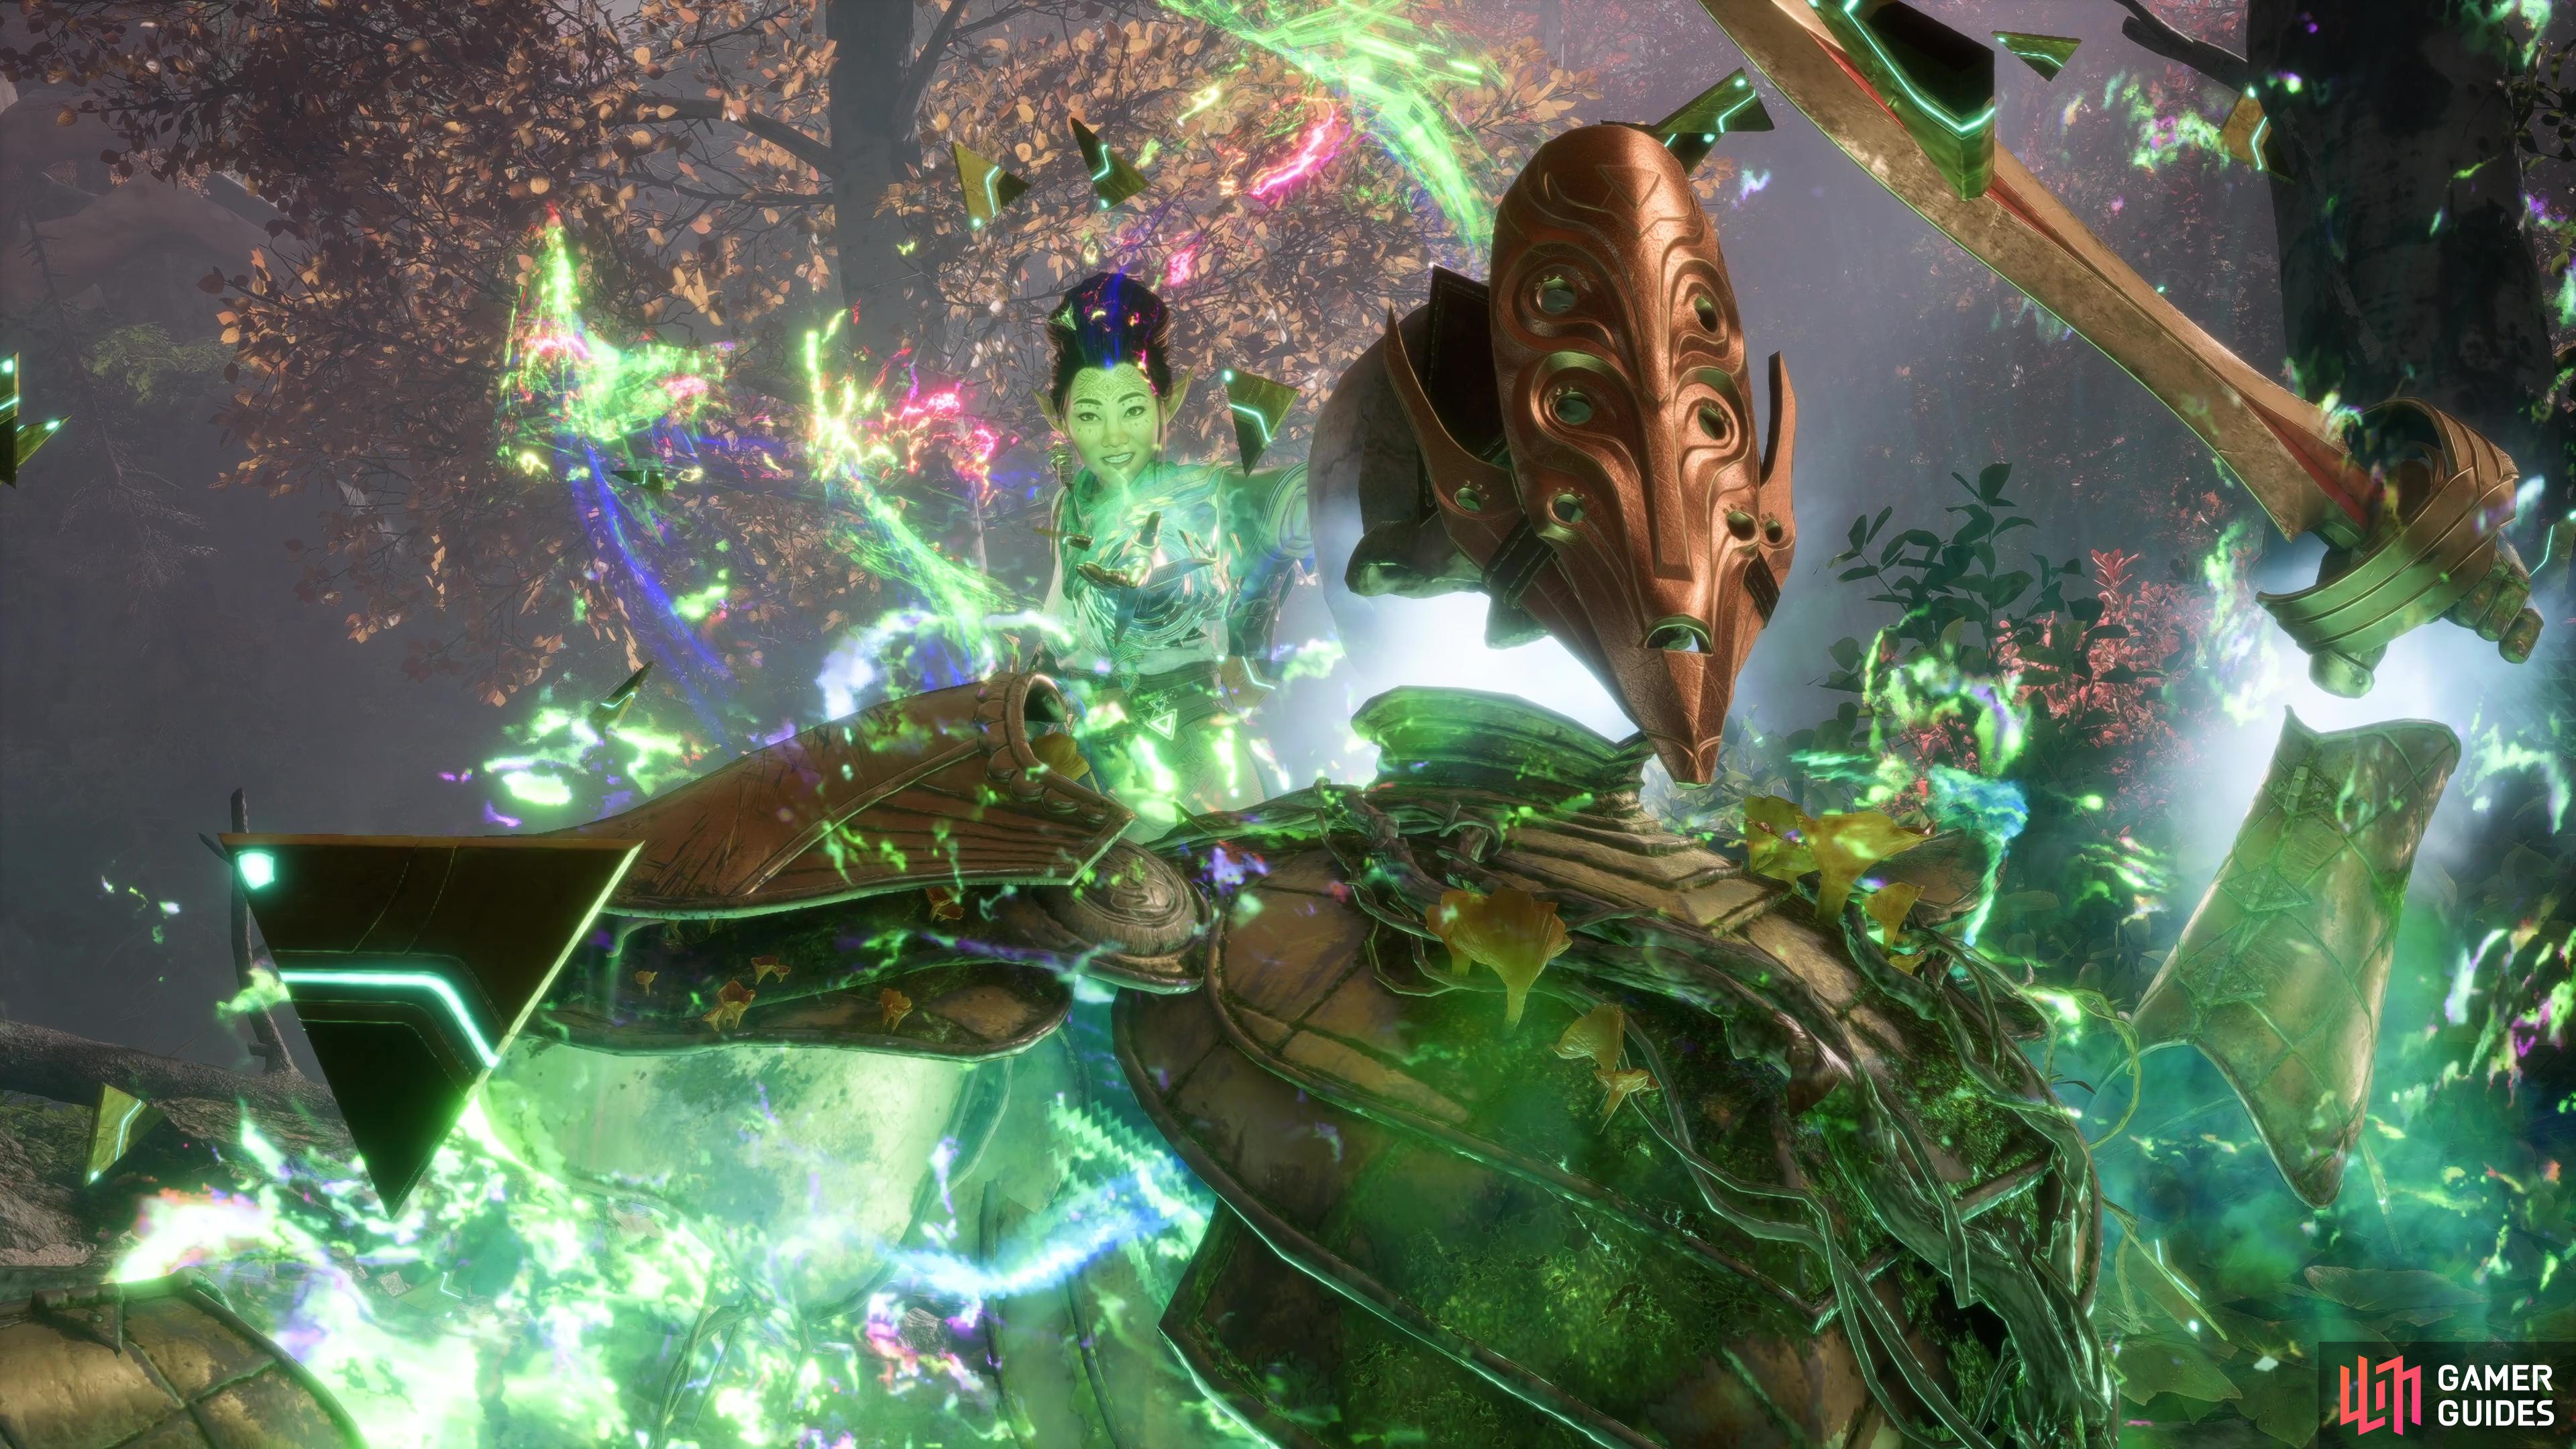
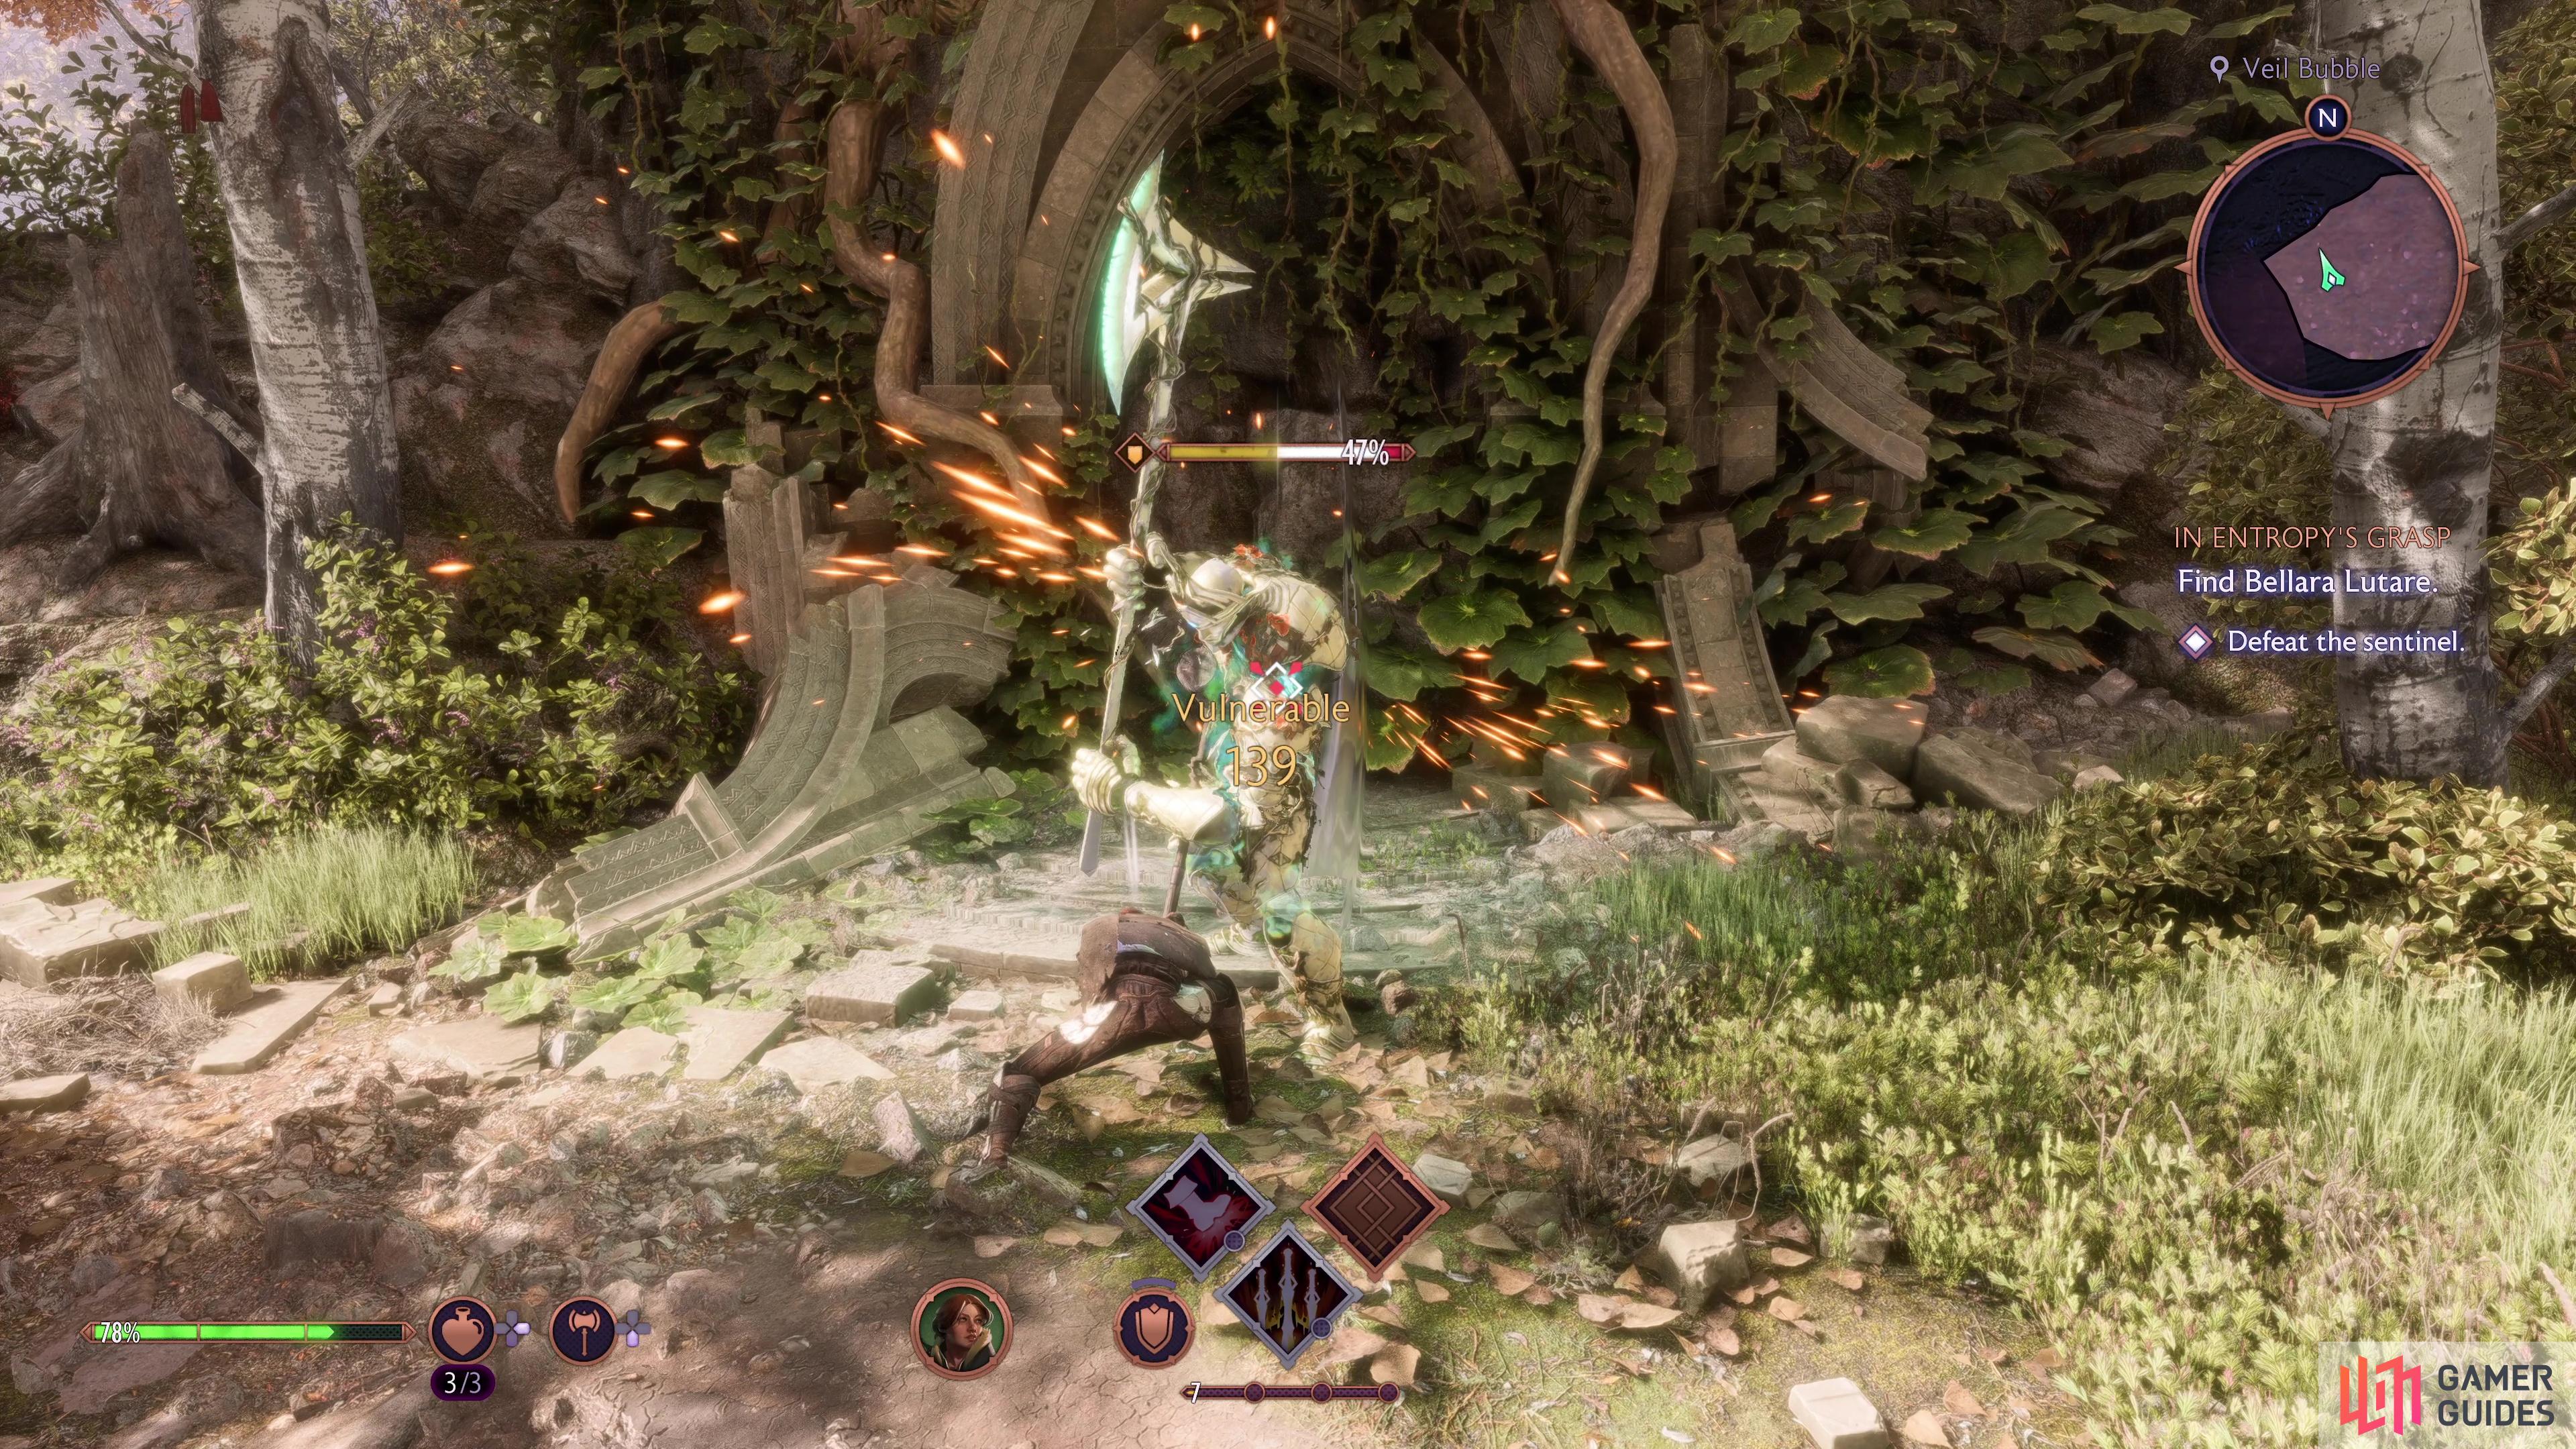
Your first task in this ancient Elven forest is to locate said Veil Jumper, and you’ll be accompanied by the Companion who didn’t get injured at the start of the adventure (the other will remain with the other Veil Jumpers). As you head down the slope to the west, you’ll run into a construct, an enemy with an Armor bar you’ll need to deplete first before you can start working on its health. Remember to use heavy attacks here to deplete it, and then finish it off.
Deal with the first construct as you look for Bellara.
Following the battle, a scene will trigger, and you’ll formerly meet Bellara Lutare, who will form the other half of your team for this quest. If you have Harding with you, then you’re in luck, as they both synergize well together, letting you Combo, this will be a boon during this quest. It’s also a good idea to make sure at least one of your companions have a healing ability equipped as a general rule.
Get to the Temple
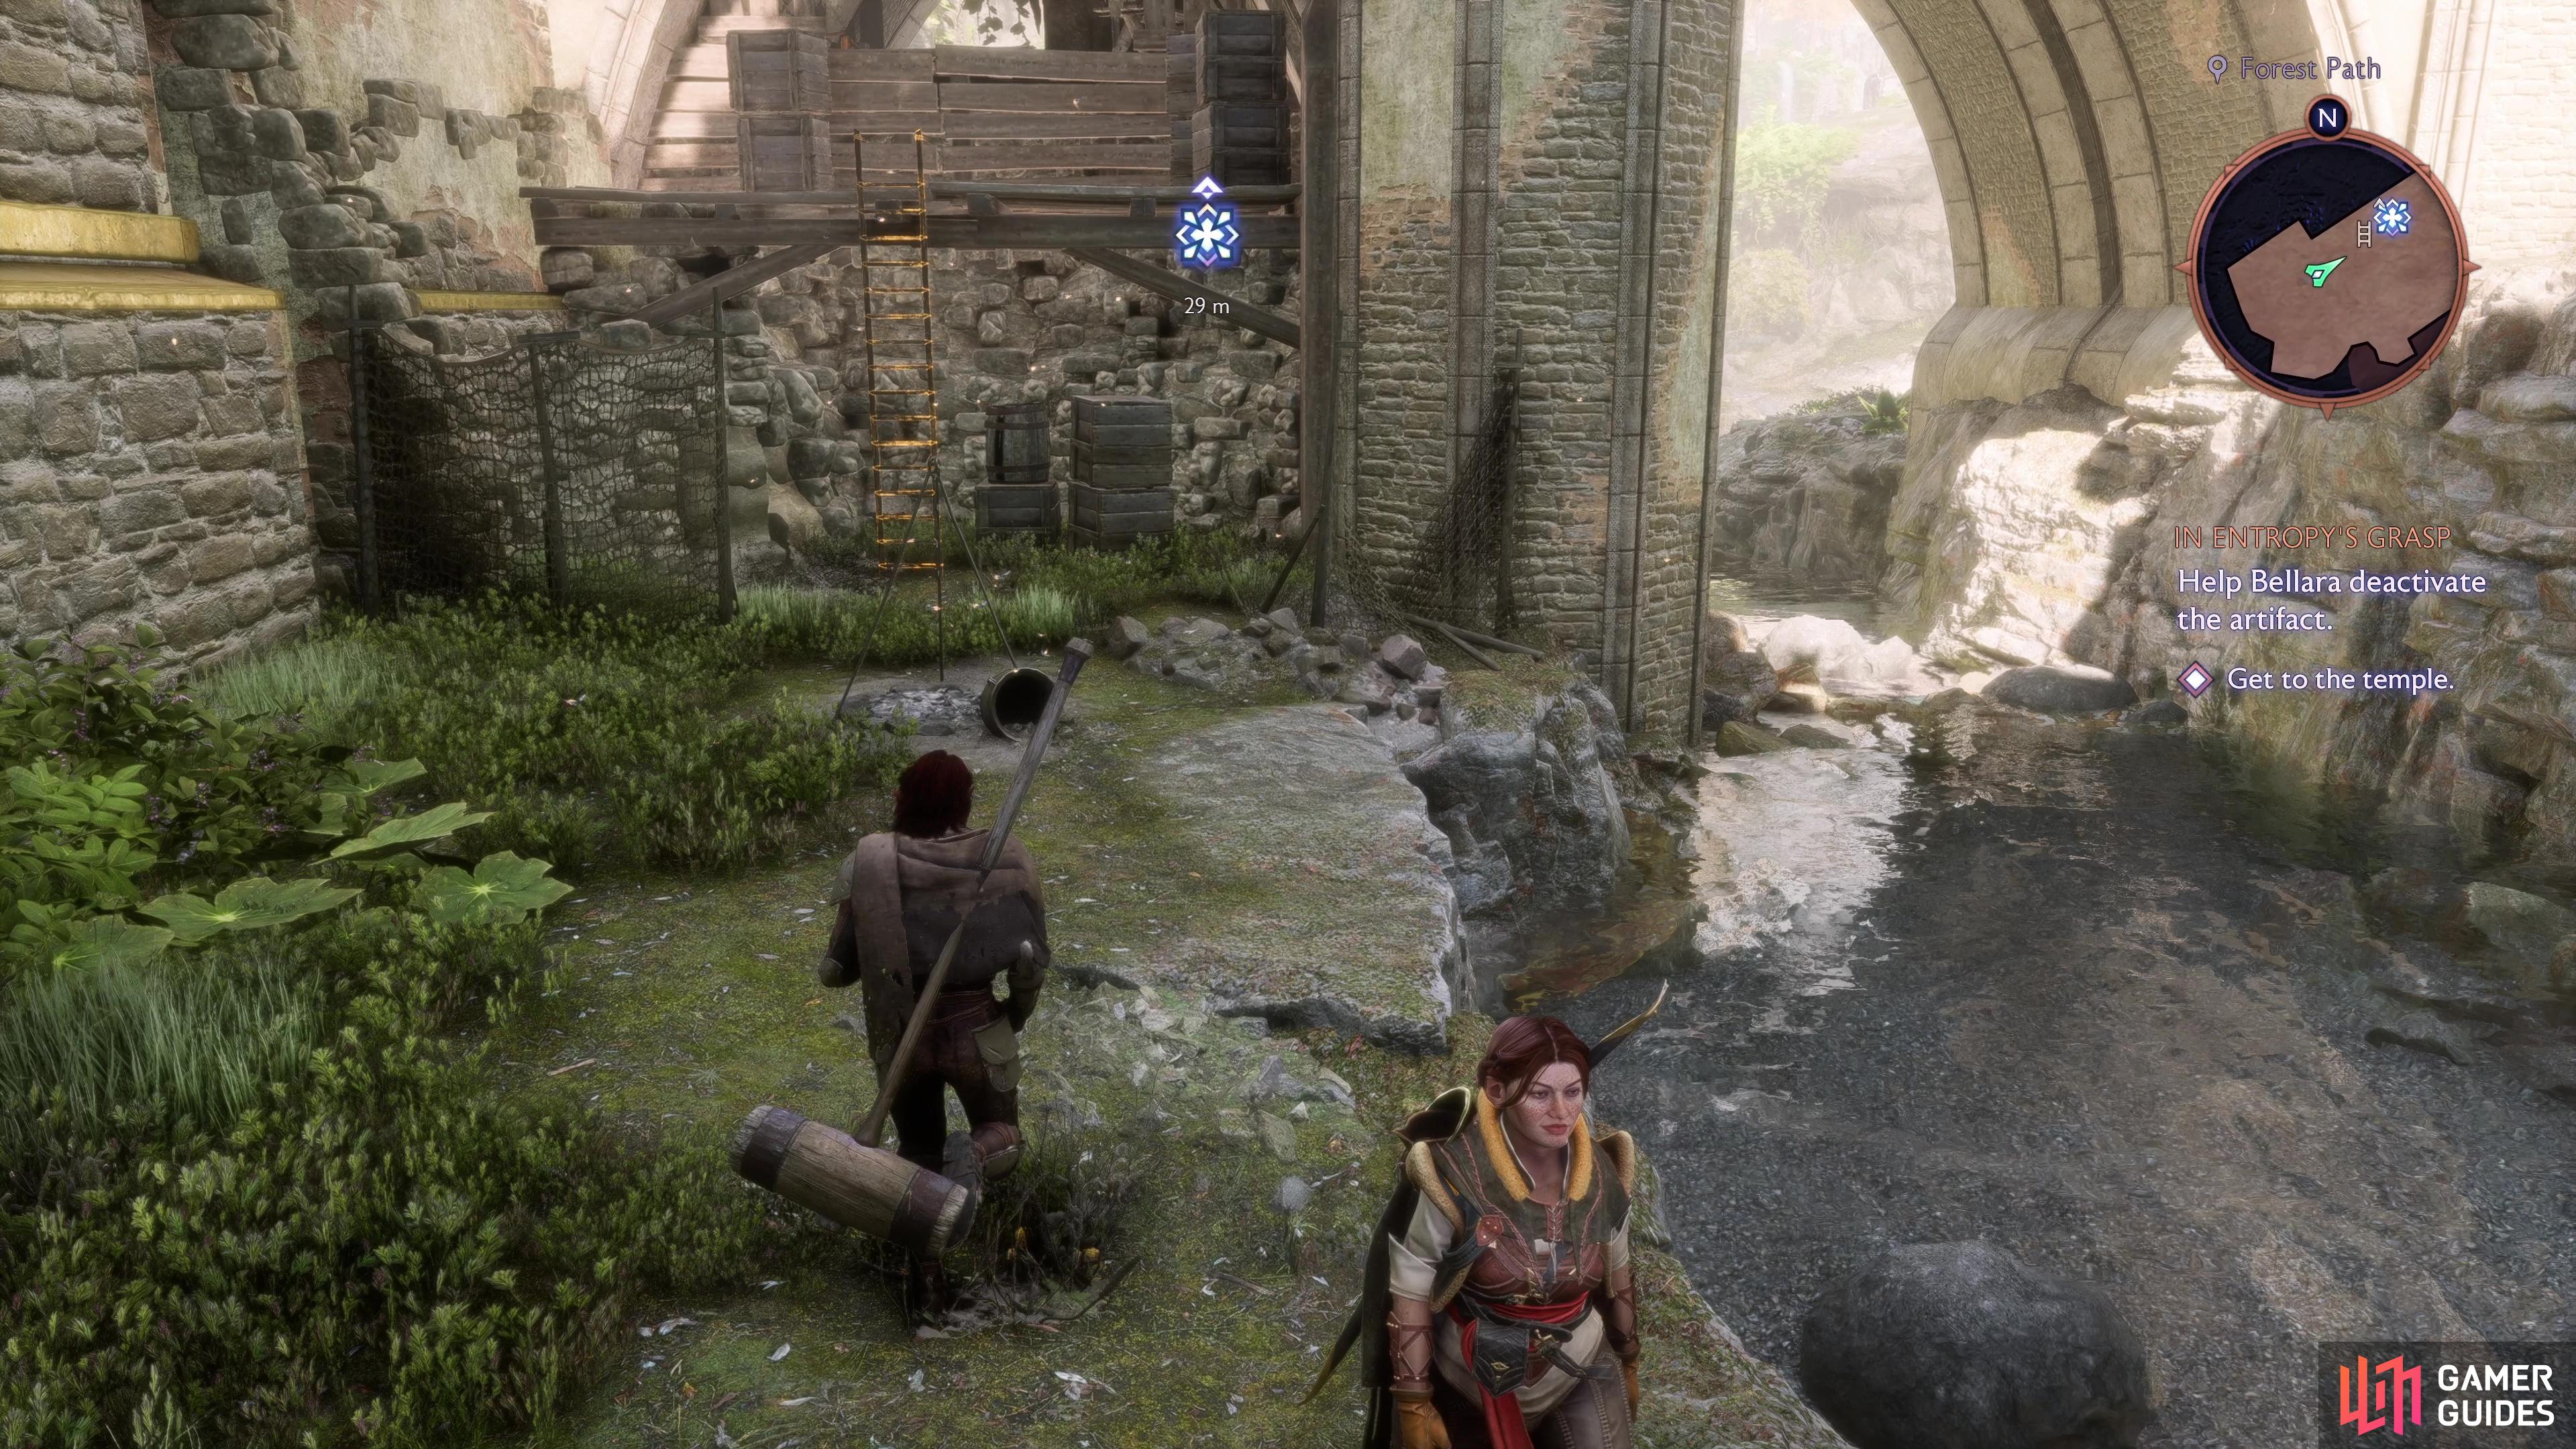
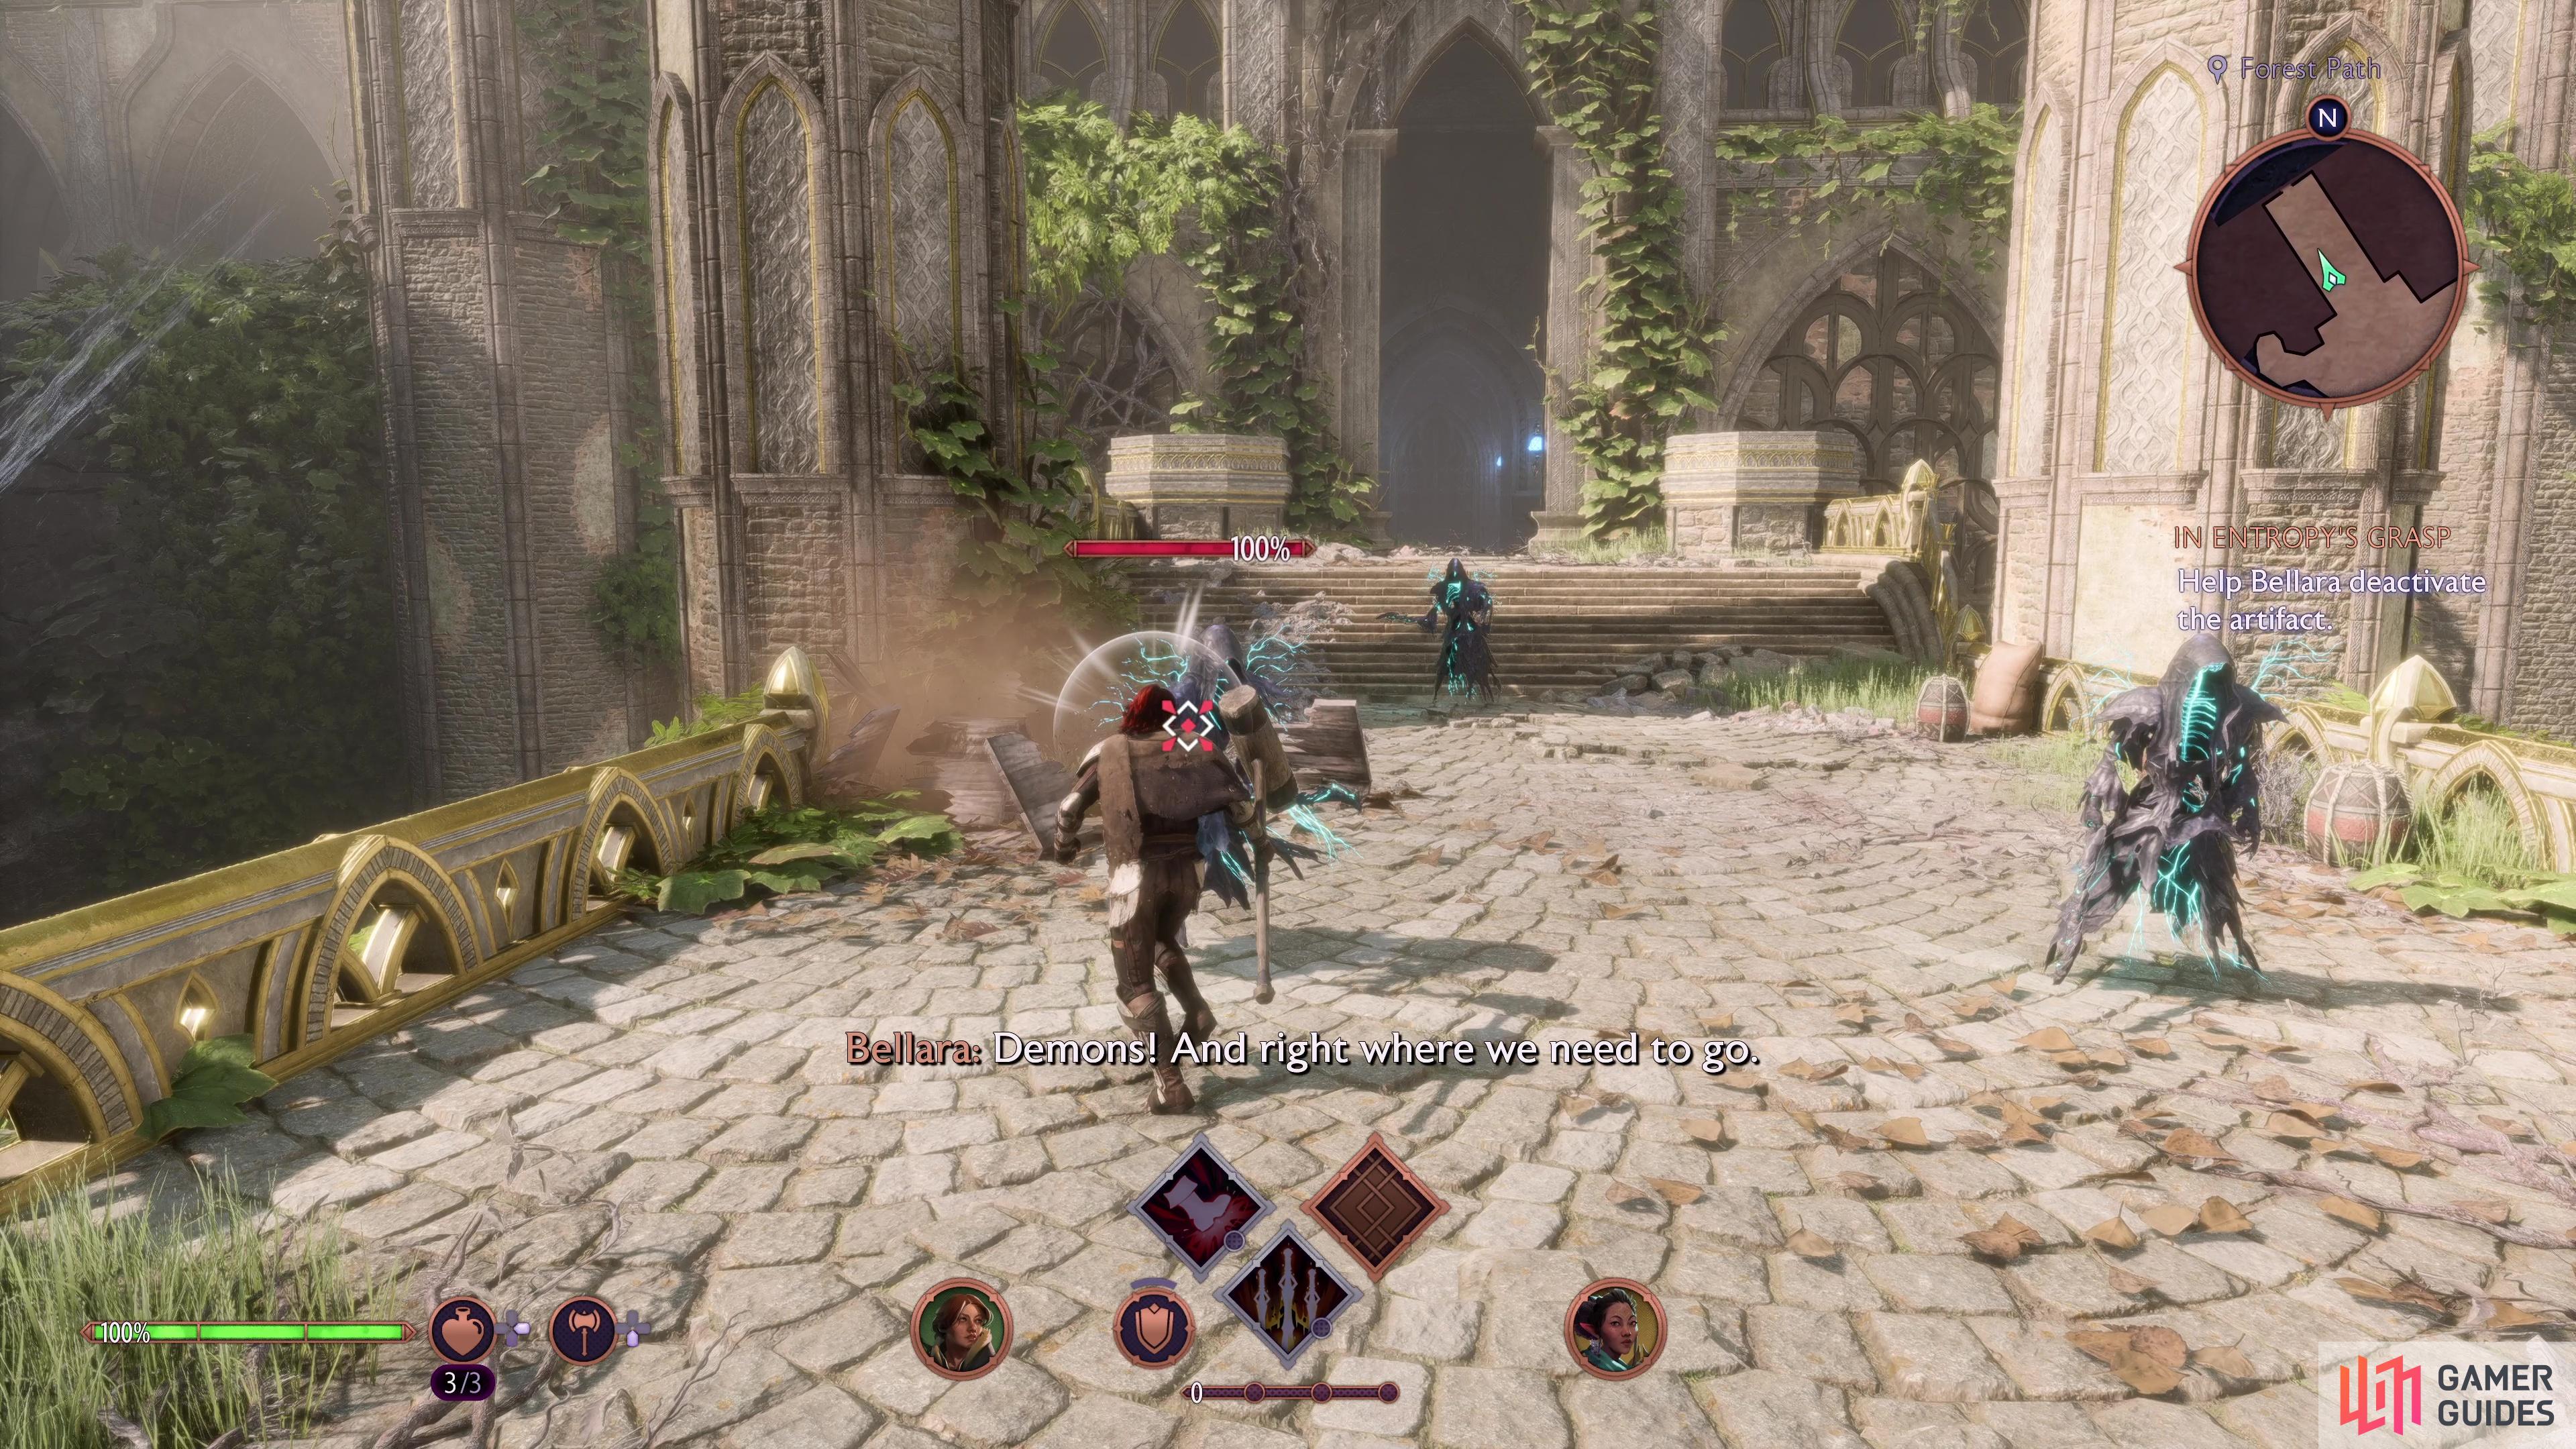
Once you regain control, follow the river north and keep an eye out to the left to spot a small path that leads to a chest. Continue north and instead of going up the slope to the bridge, pass under it and you’ll find a ladder, climb this to reach a second chest. Drop back down and now take the slope up to the bridge and as soon as you go to cross it, you’ll be attacked by Demons. Unlike the Constructs, these don’t have Armor you need to deplete first, and you’ll be taught how to make the most out of your companion’s attacks.
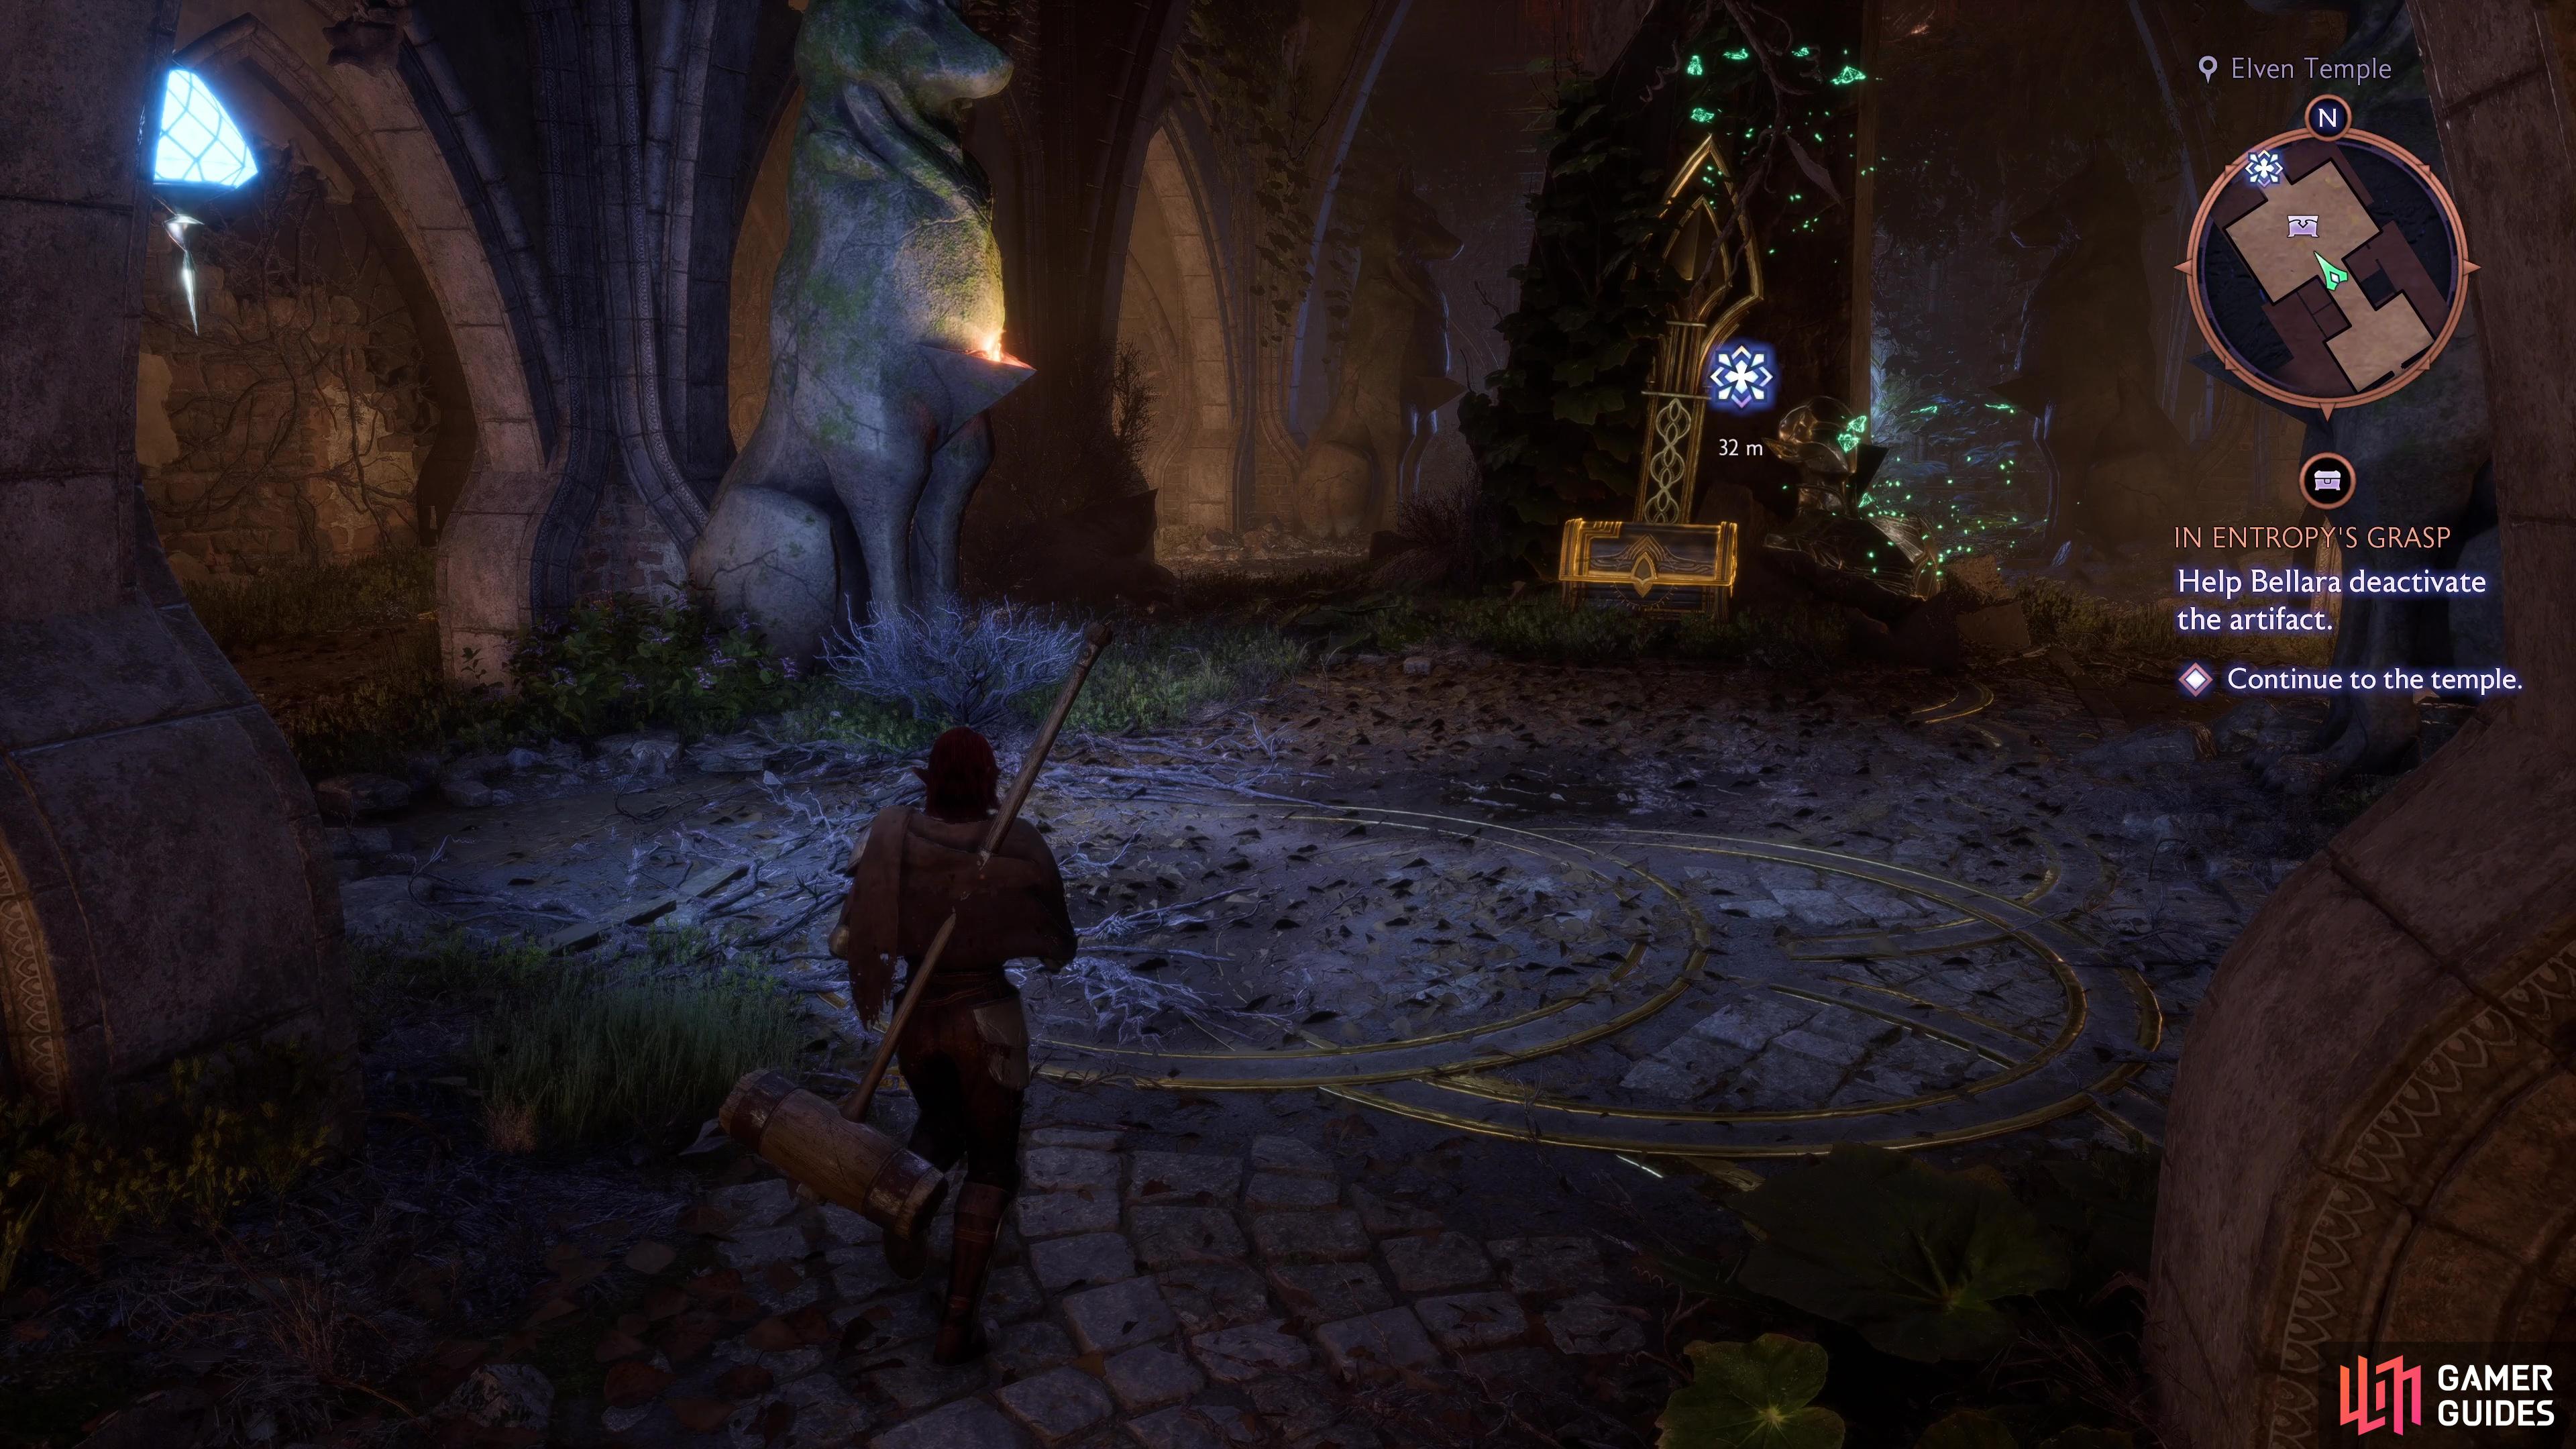
Continue into the Elven Temple once the Demons are defeated and you’ll come across a large chest in front of you, open it to obtain a piece of gear relevant to your Class (for us, it was some Light Armor as a Warrior). Once you’re ready, open the doors to the north to leave the temple and find yourself back outside once more.
(1 of 3) Go under the bridge to find a ladder leading to a small chest.
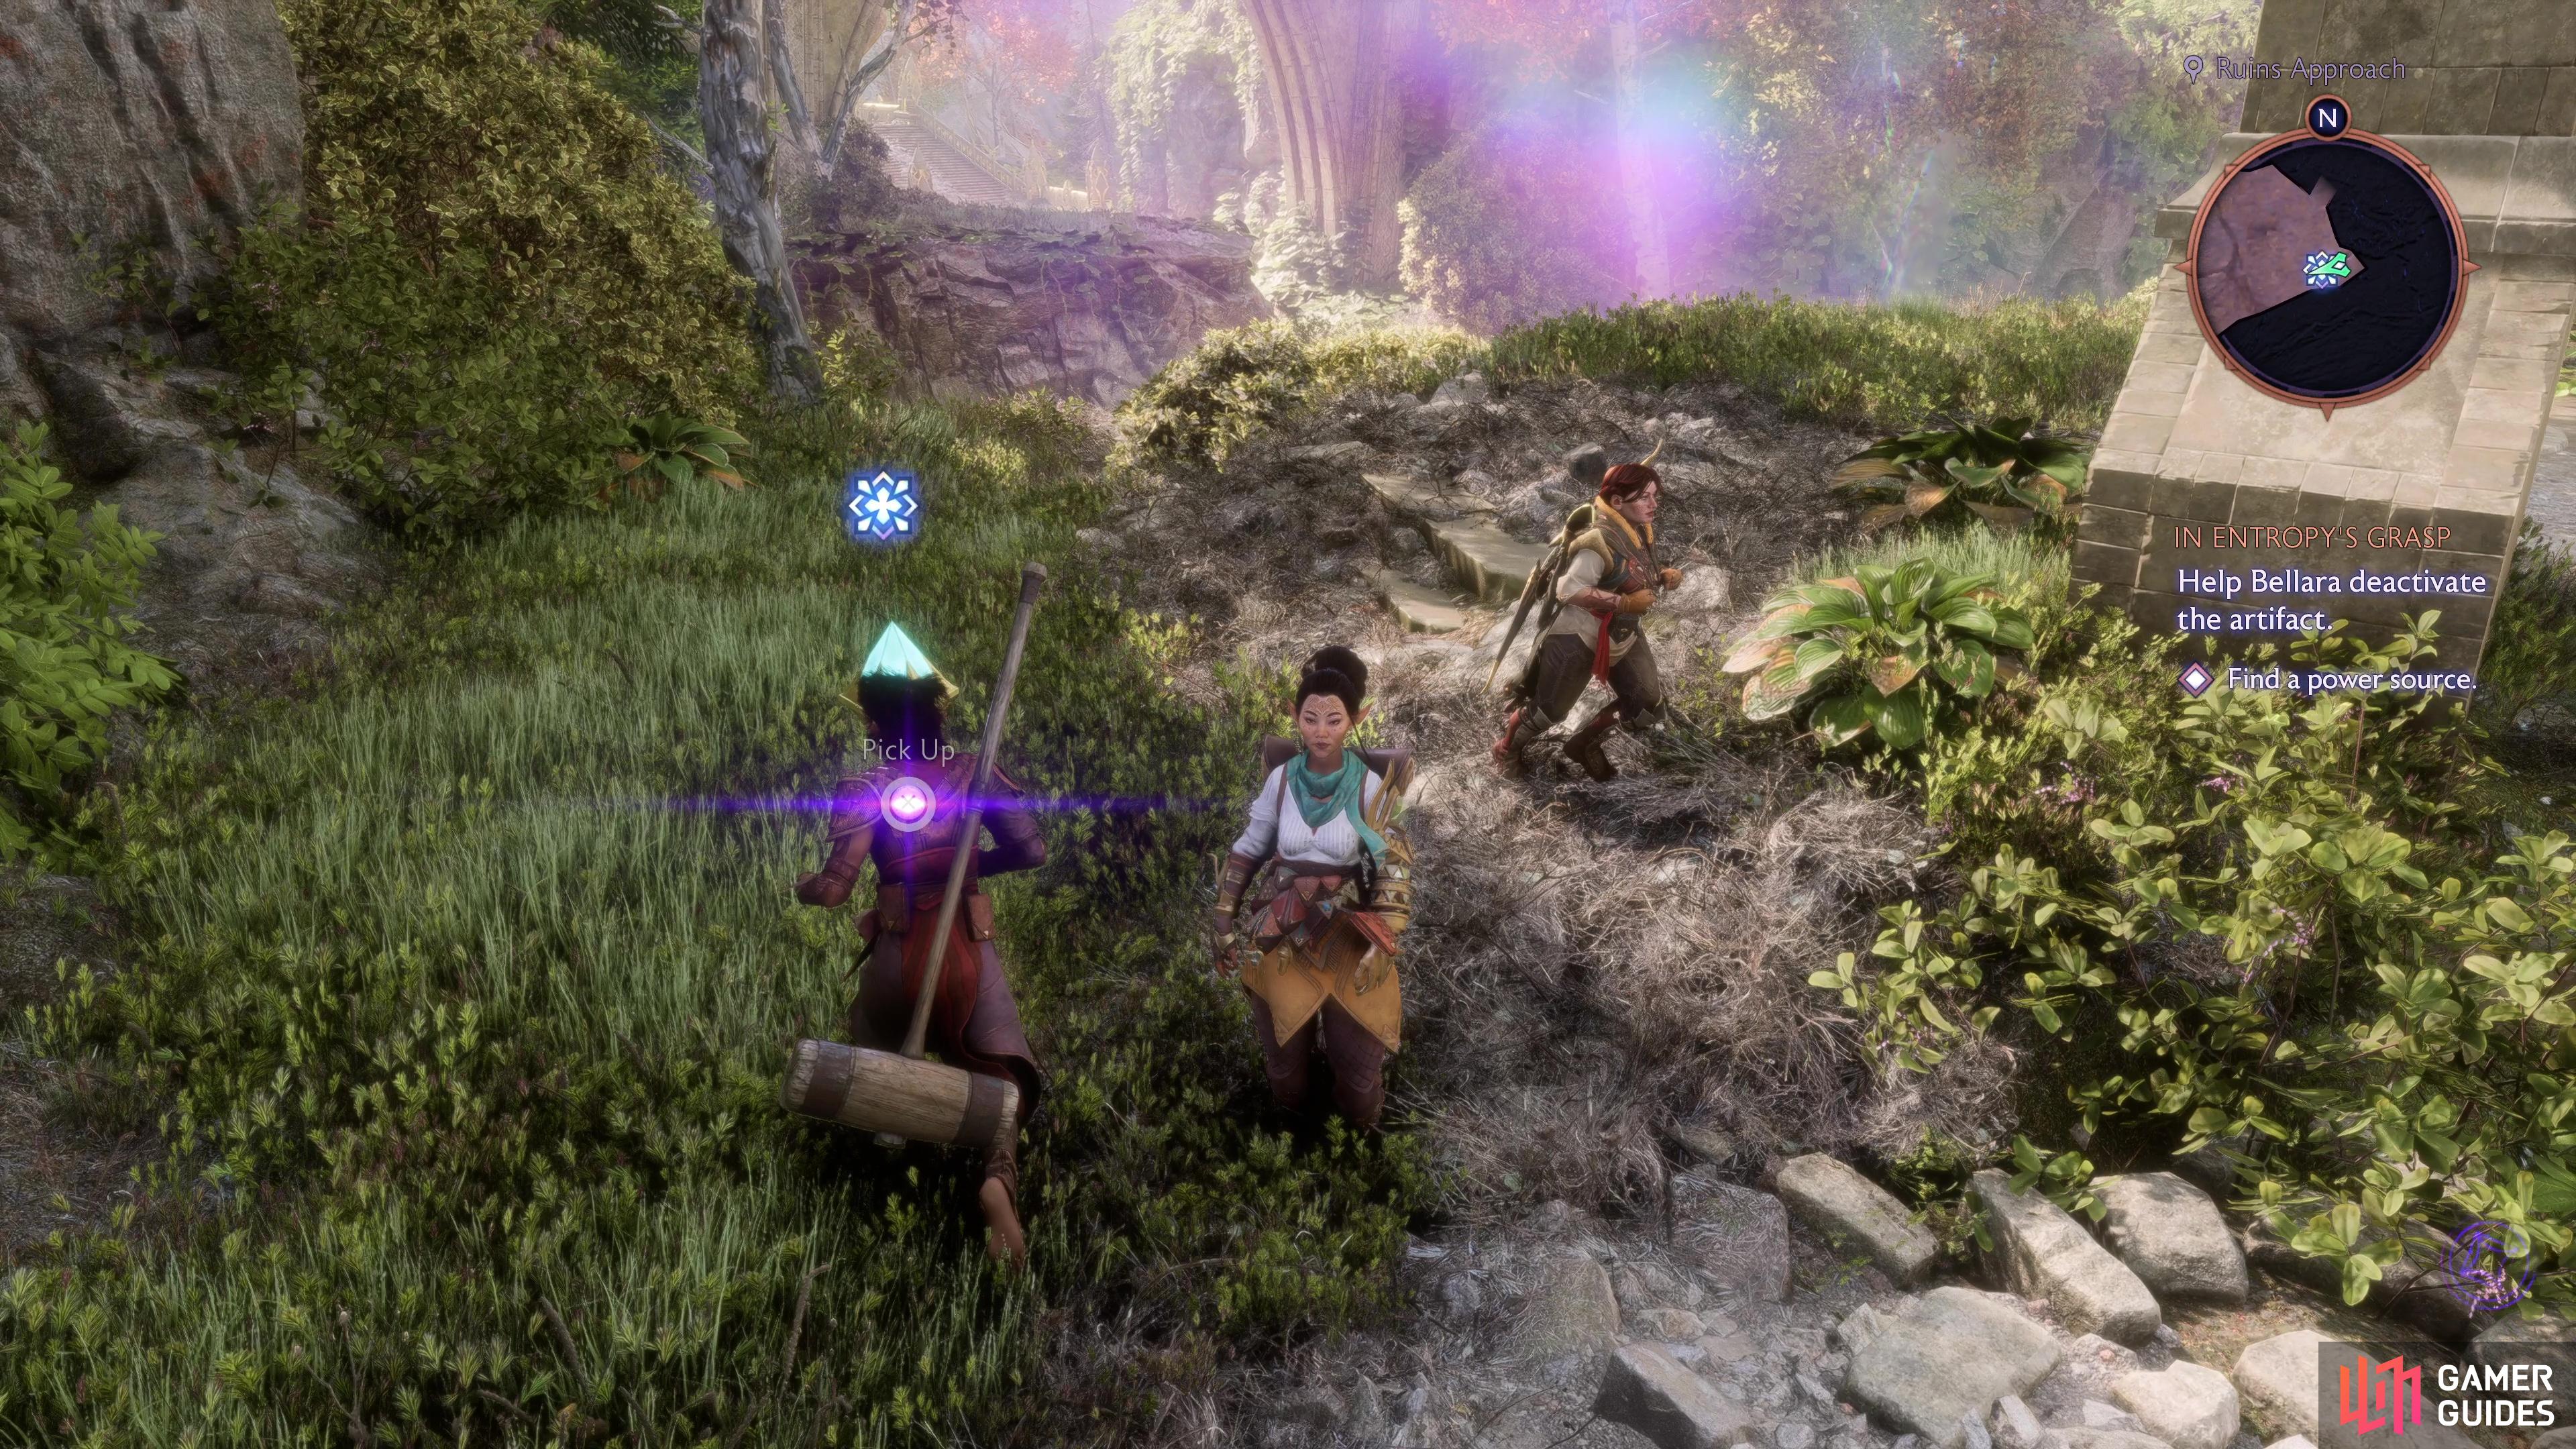
Despite seeing the main temple you’re looking for up ahead, you’ll have to trek through the Forest Path to get there. As you head along the linear path, you’ll come across a large gap that is too far to leap across, but look carefully and you’ll spot a Power Crystal to the right that you can pick up and bring back to the pedestal, powering a bridge to cross it.
When you cross it, you’ll find a Resonance Amplifier to your left, go over to it and have Bellara interact with it to start a sequence where you must defeat enemies while you protect her, as such, it will only be you and your other companion. The first group will feature a Lesser Voltaic Shade that has a Barrier, use ranged attacks to deplete it first. The second group resembles the first while the third will feature two of the Shades, be sure to dodge out of the way of their ranged attacks. Once the device is active, continue north up the Mountain Path and you’ll encounter another Sentinel, take it out and enter the Cliff Wolf Temple.
(1 of 3) Pick up the Power Crystal and drop it onto the pedestal to create a bridge.
The door on your right will be locked, so grab the Power Crystal from the pedestal on the left and use it on the pedestal outside the locked door to open it. As you continue down this path, you’ll walk by another Gear Chest (this contained a weapon for us as a Warrior), pocket it and head to the next room where you’ll find four inactive Sentinels. As you go toward the door to the north, they’ll become active, so try and not let them gang up on your and keep moving, the area you’re fighting in is not the largest.
Use the doors to leave this area and find yourself back outside, so follow the path and you’ll trigger a scene, indicating the appearance of Darkspawn, creatures of the Blight that attack in swarms. These won’t take much to down them, but you can get overwhelmed if you’re not quick about it, look to make use of any AoE capabilities you may have.
Once they’re defeated, look to the bridge and then head down to the left of it to find a small chest you can open, then go back and have Bellara interact with another Resonance Amplifier. Just like before, you’ll need to take care of several groups of enemies while protecting her, only this time you’ll be dealing with Darkspawn. Once the threat is over, go across the bridge and continue along the path to reach another open area.
Use the Ballista to break the wall and defeat the enemies behind it.
Your path is blocked, but fortunately, there’s a conveniently places Ballista facing a wall that is begging to be broken. Interact with it and then fire at the wall to smash it open, causing more Darkspawn to pour through in the process. Stick to the Ballista and take aim, they’ll make short work of them without you having to break a sweat. Continue along the path once they’re gone and you’ll find a third and final Resonance Amplifier, interact with it and deal with the waves of enemies to open the path ahead.
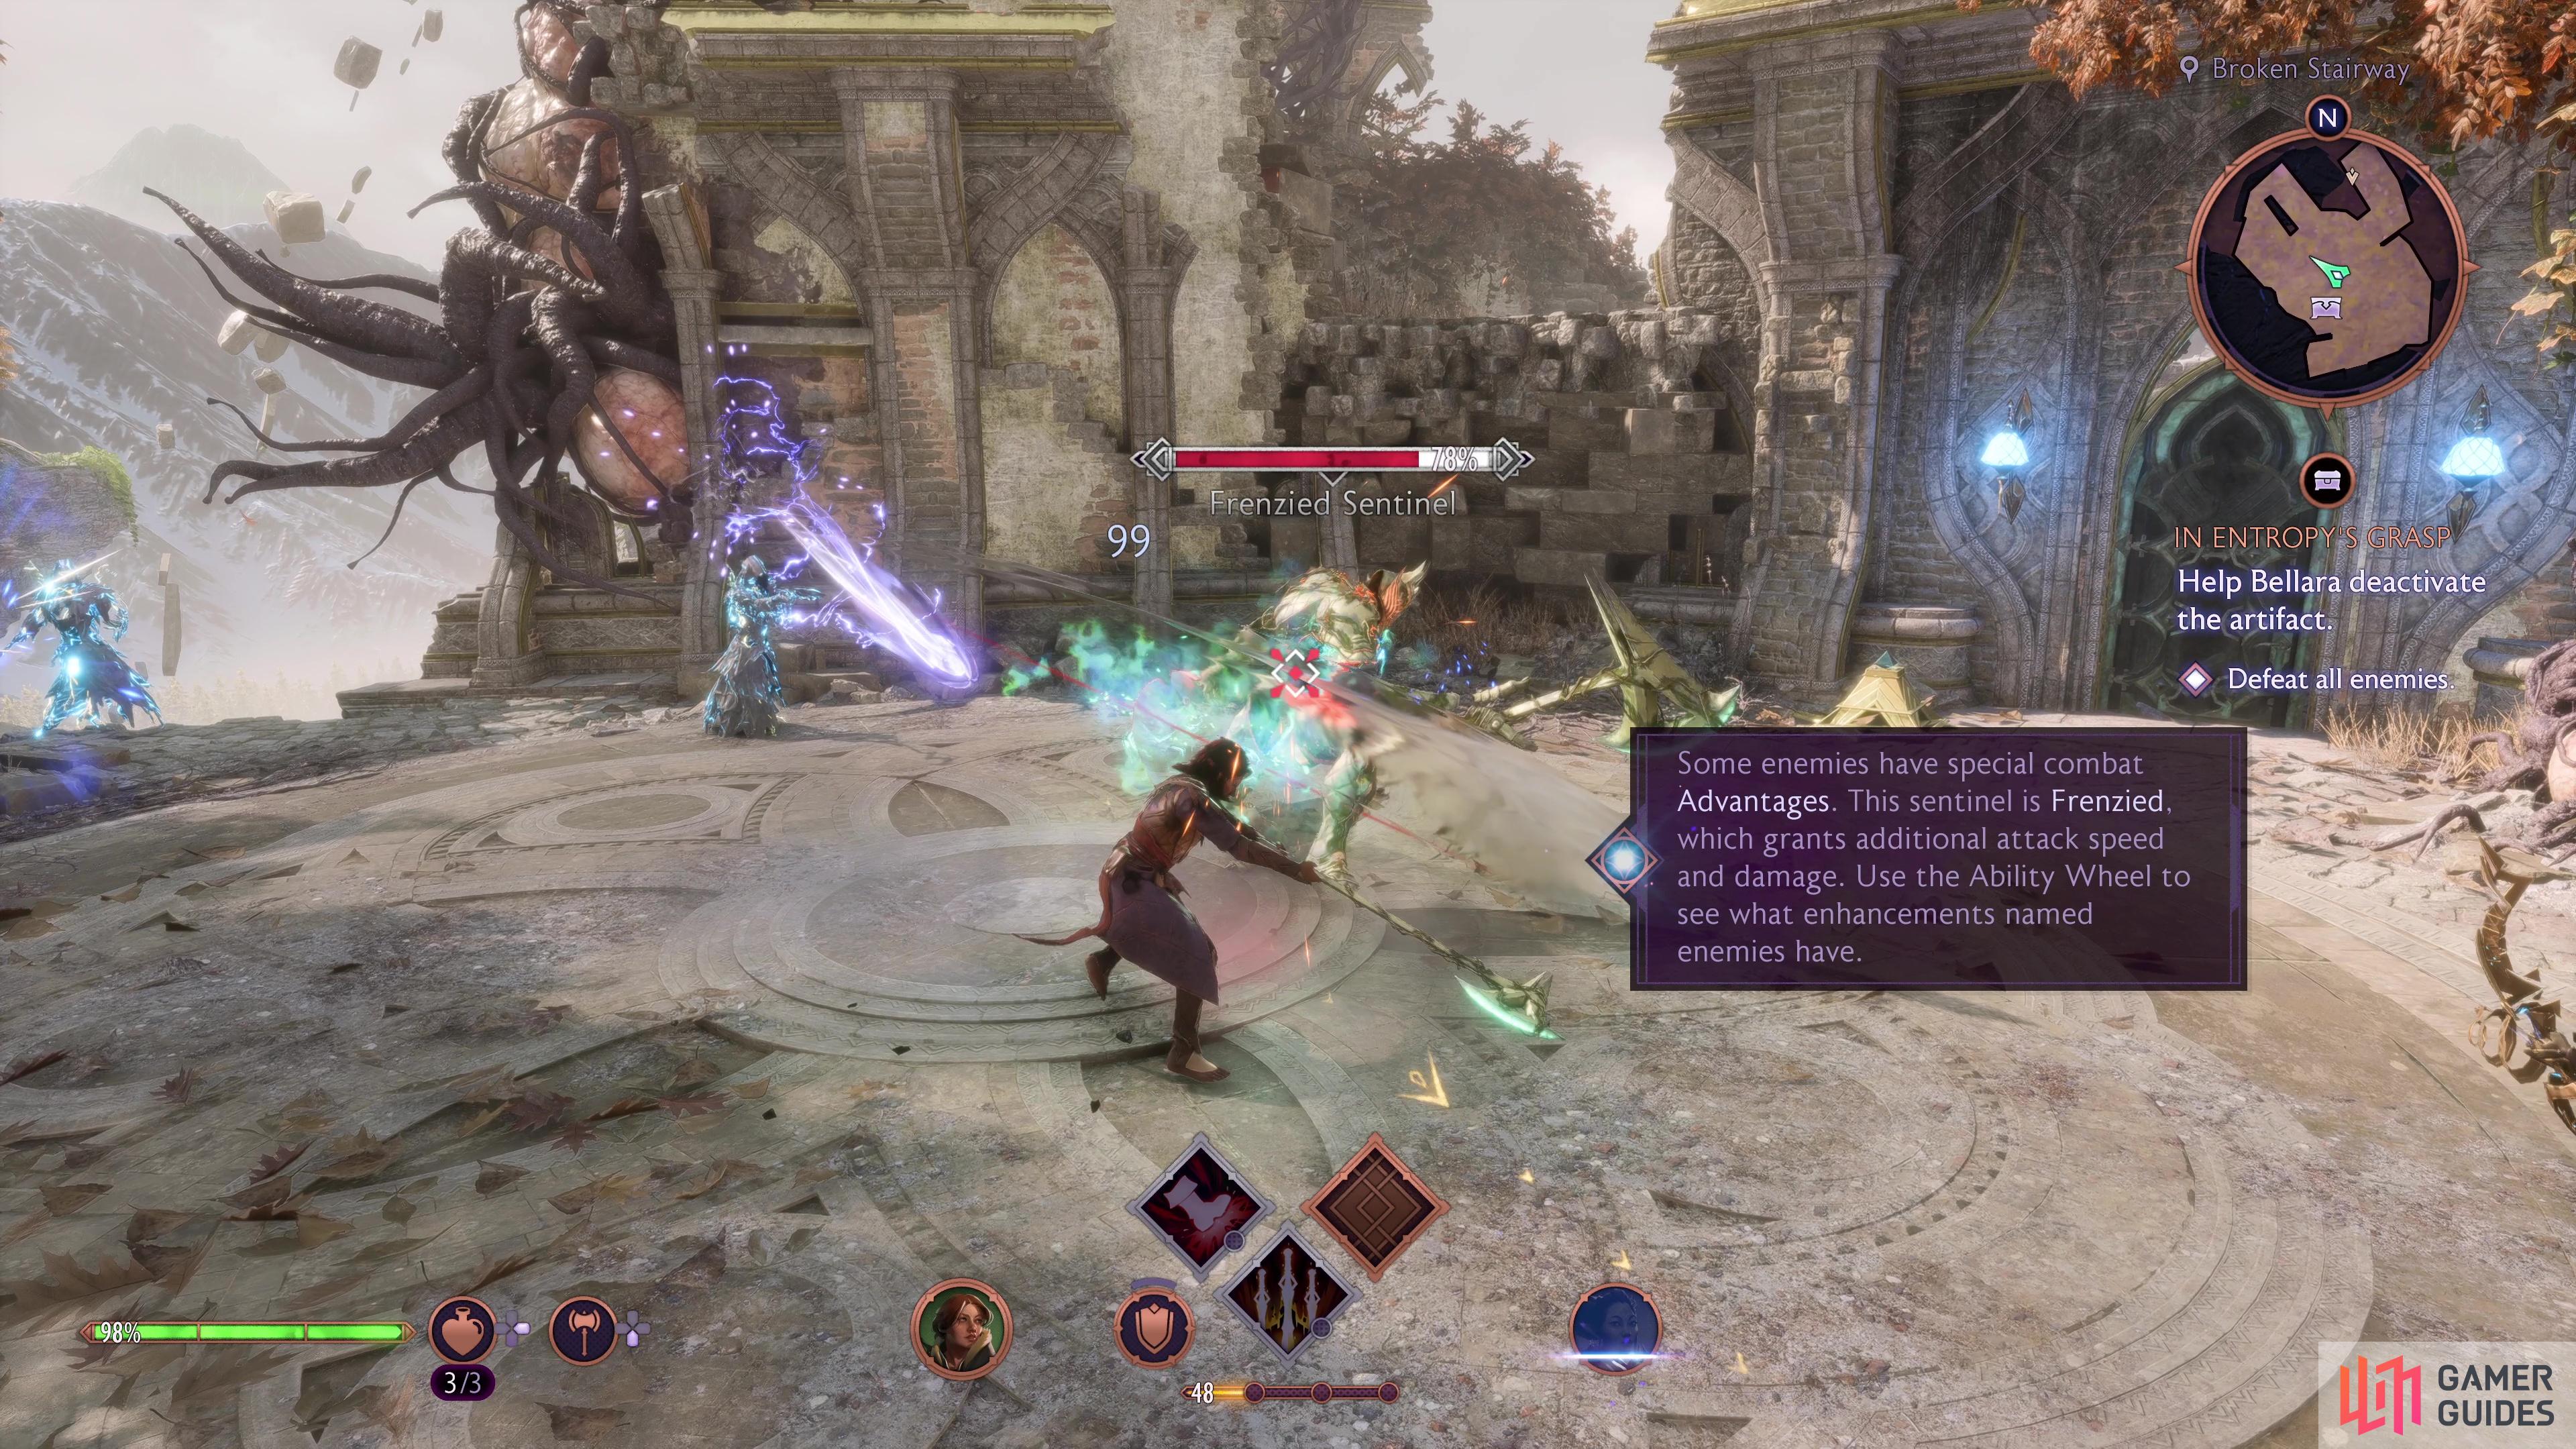
Head through and take the stairs up and around until you reach a central platform with a Gear Chest. As you near it, a Frenzied Sentinel will attack, a slightly stronger version of the other constructs you’ve been fighting. This one has slightly faster attack speed and damage (thanks to the Frenzied Advantage), so don’t leave yourself too open as you attack it. Once it and the other enemies are defeated, loot the Gear Chest and then you’ll realize the door up ahead needs a second Power Crystal.
(1 of 3) Watch out for the stronger Frenzied Sentinel.
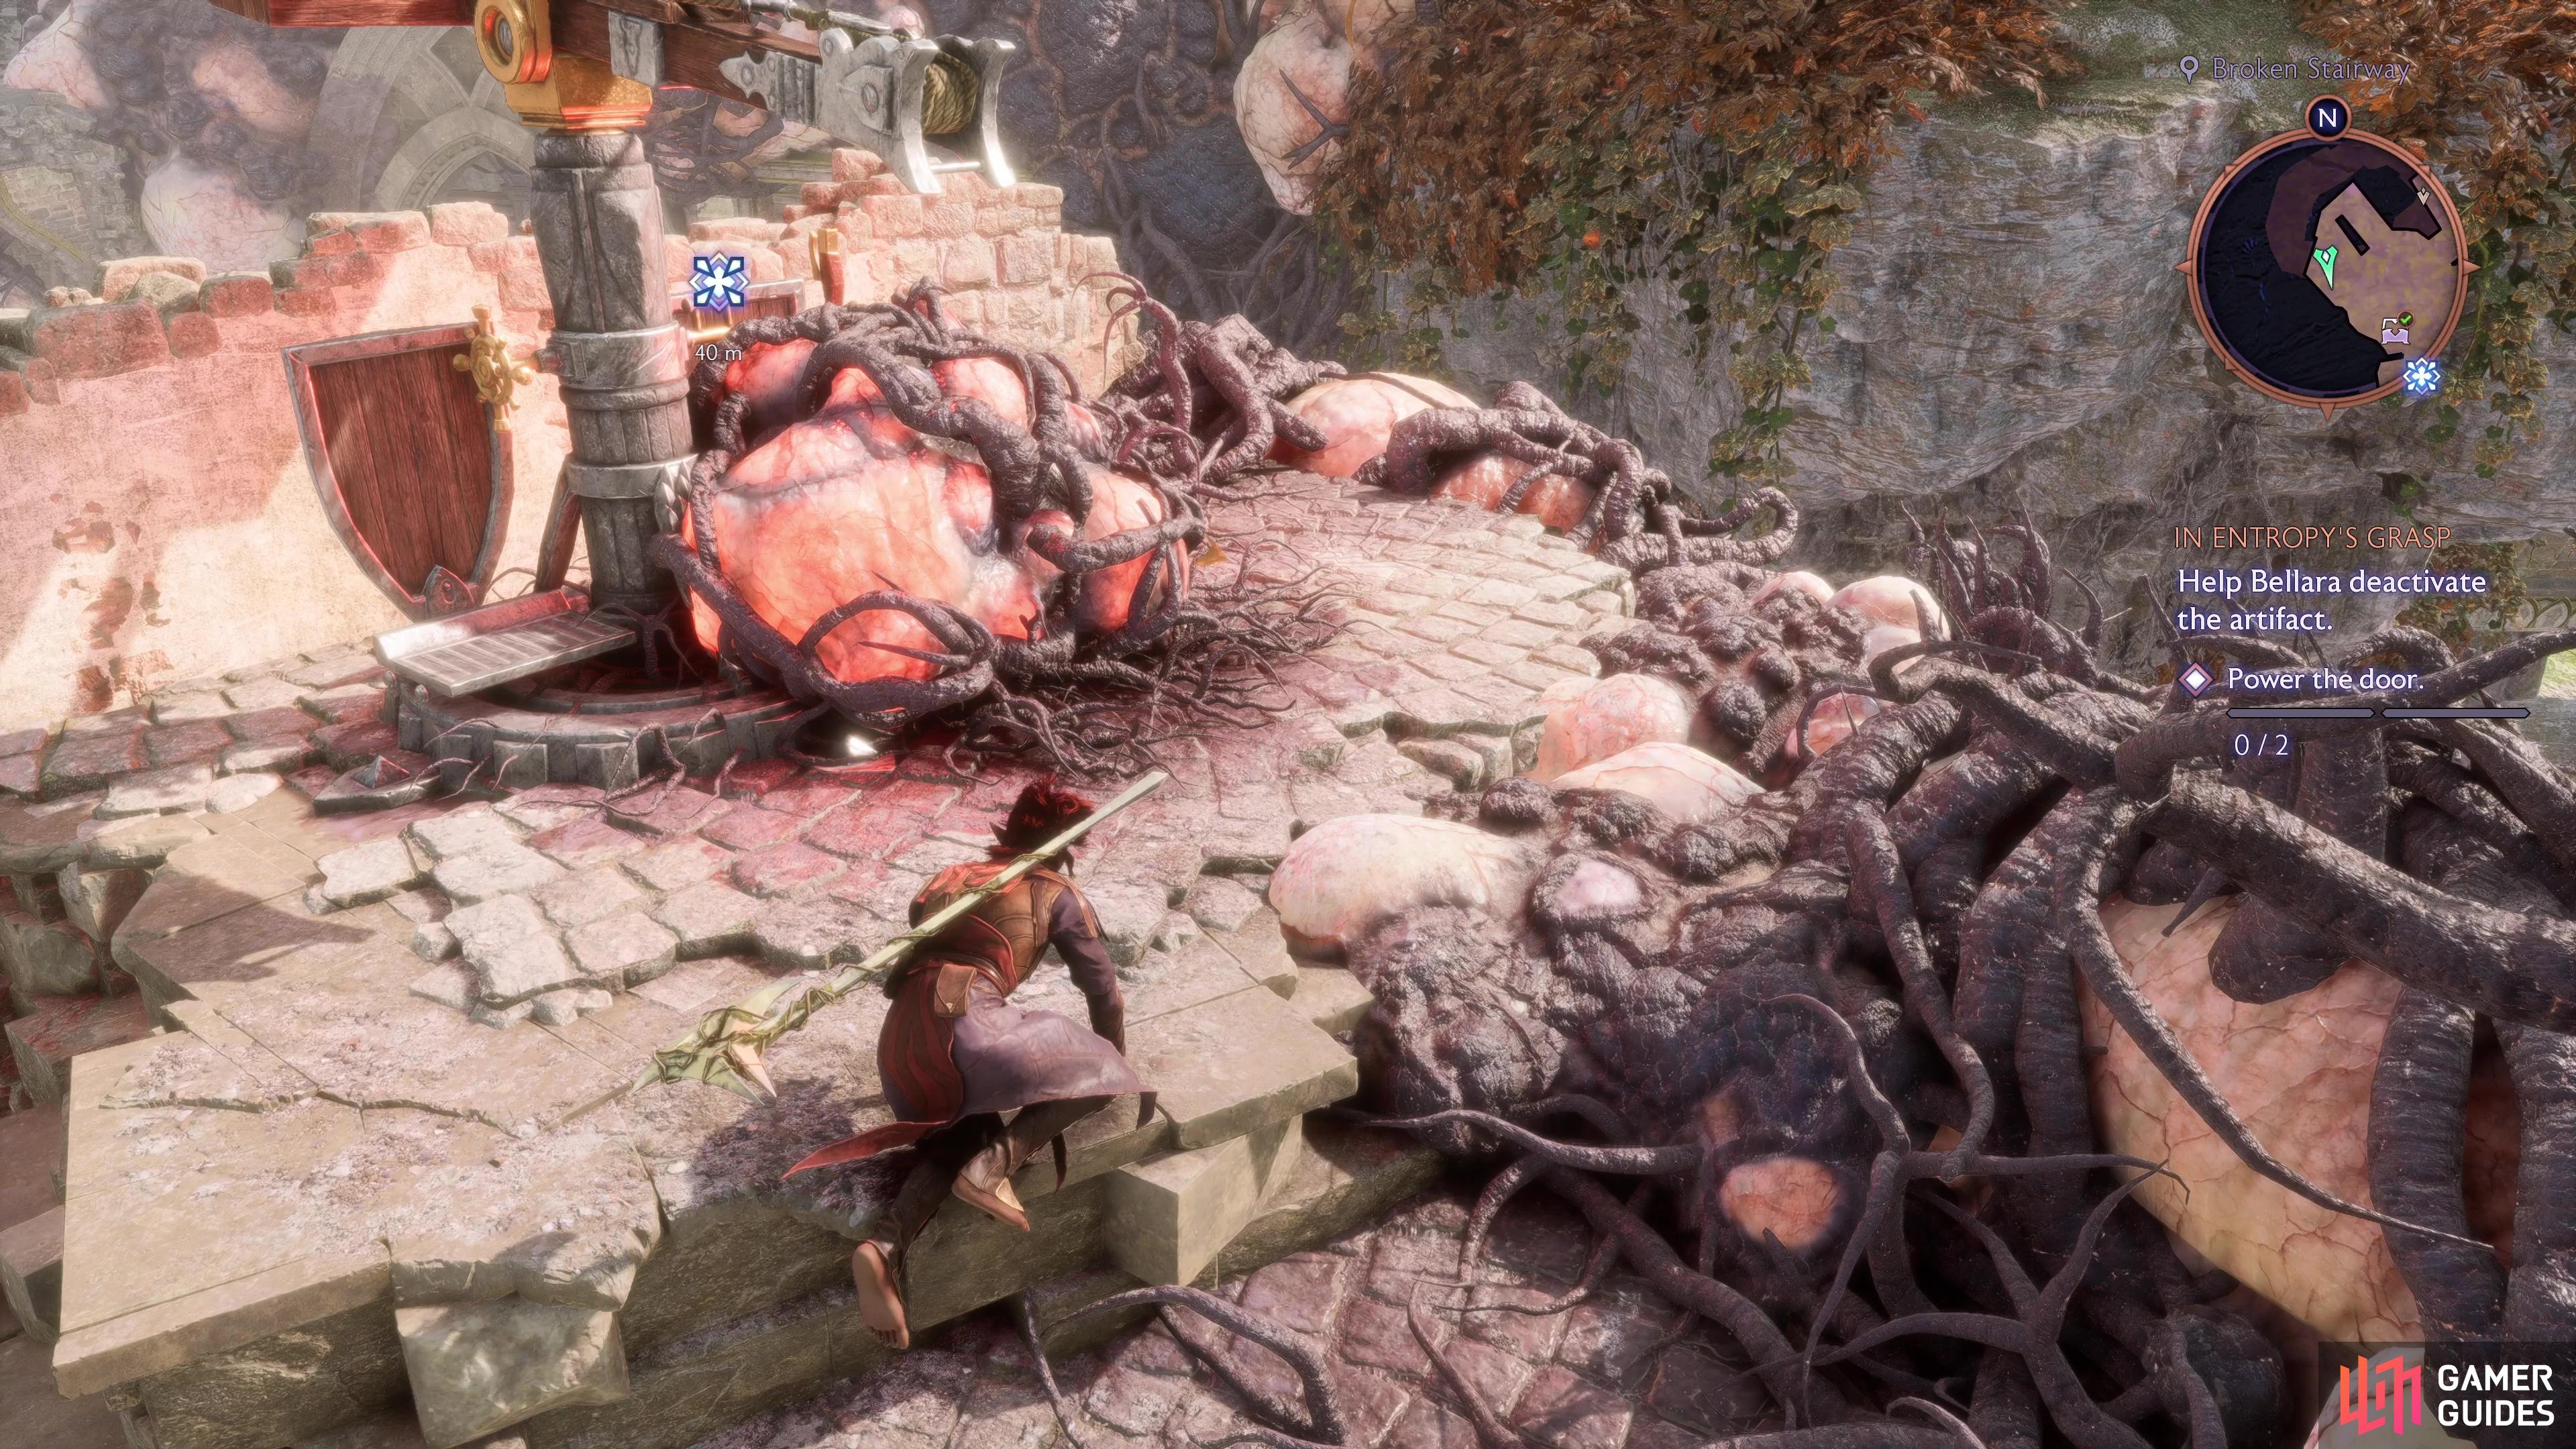
Start by grabbing the first Power Crystal near the door and placing it at the door opposite to open it. Head through, go up the stairs, and then climb the ledge to your right, you’ll find a Blight Boil (that’s glowing red) that you can burst by attacking it. This will free the Ballista which you can use to shoot the wall to the left to open a new path and cause enemies to pour through, which you should use the Ballista to deal with. Go through this opening after to reach the second Power Crystal, place this and the original one on the two pedestals near the locked door to open it.
You’ll finally find yourself in the temple you’ve been trying to reach for so long, all that’s left to do is get to the Artifact. You’ll immediately find another Gear Chest to your left as you go up the stairs, go to open it but then move away to avoid the gas trap. Go through the only available door here and into the next room to trigger a scene, and then a battle.
Defeat the Ogre
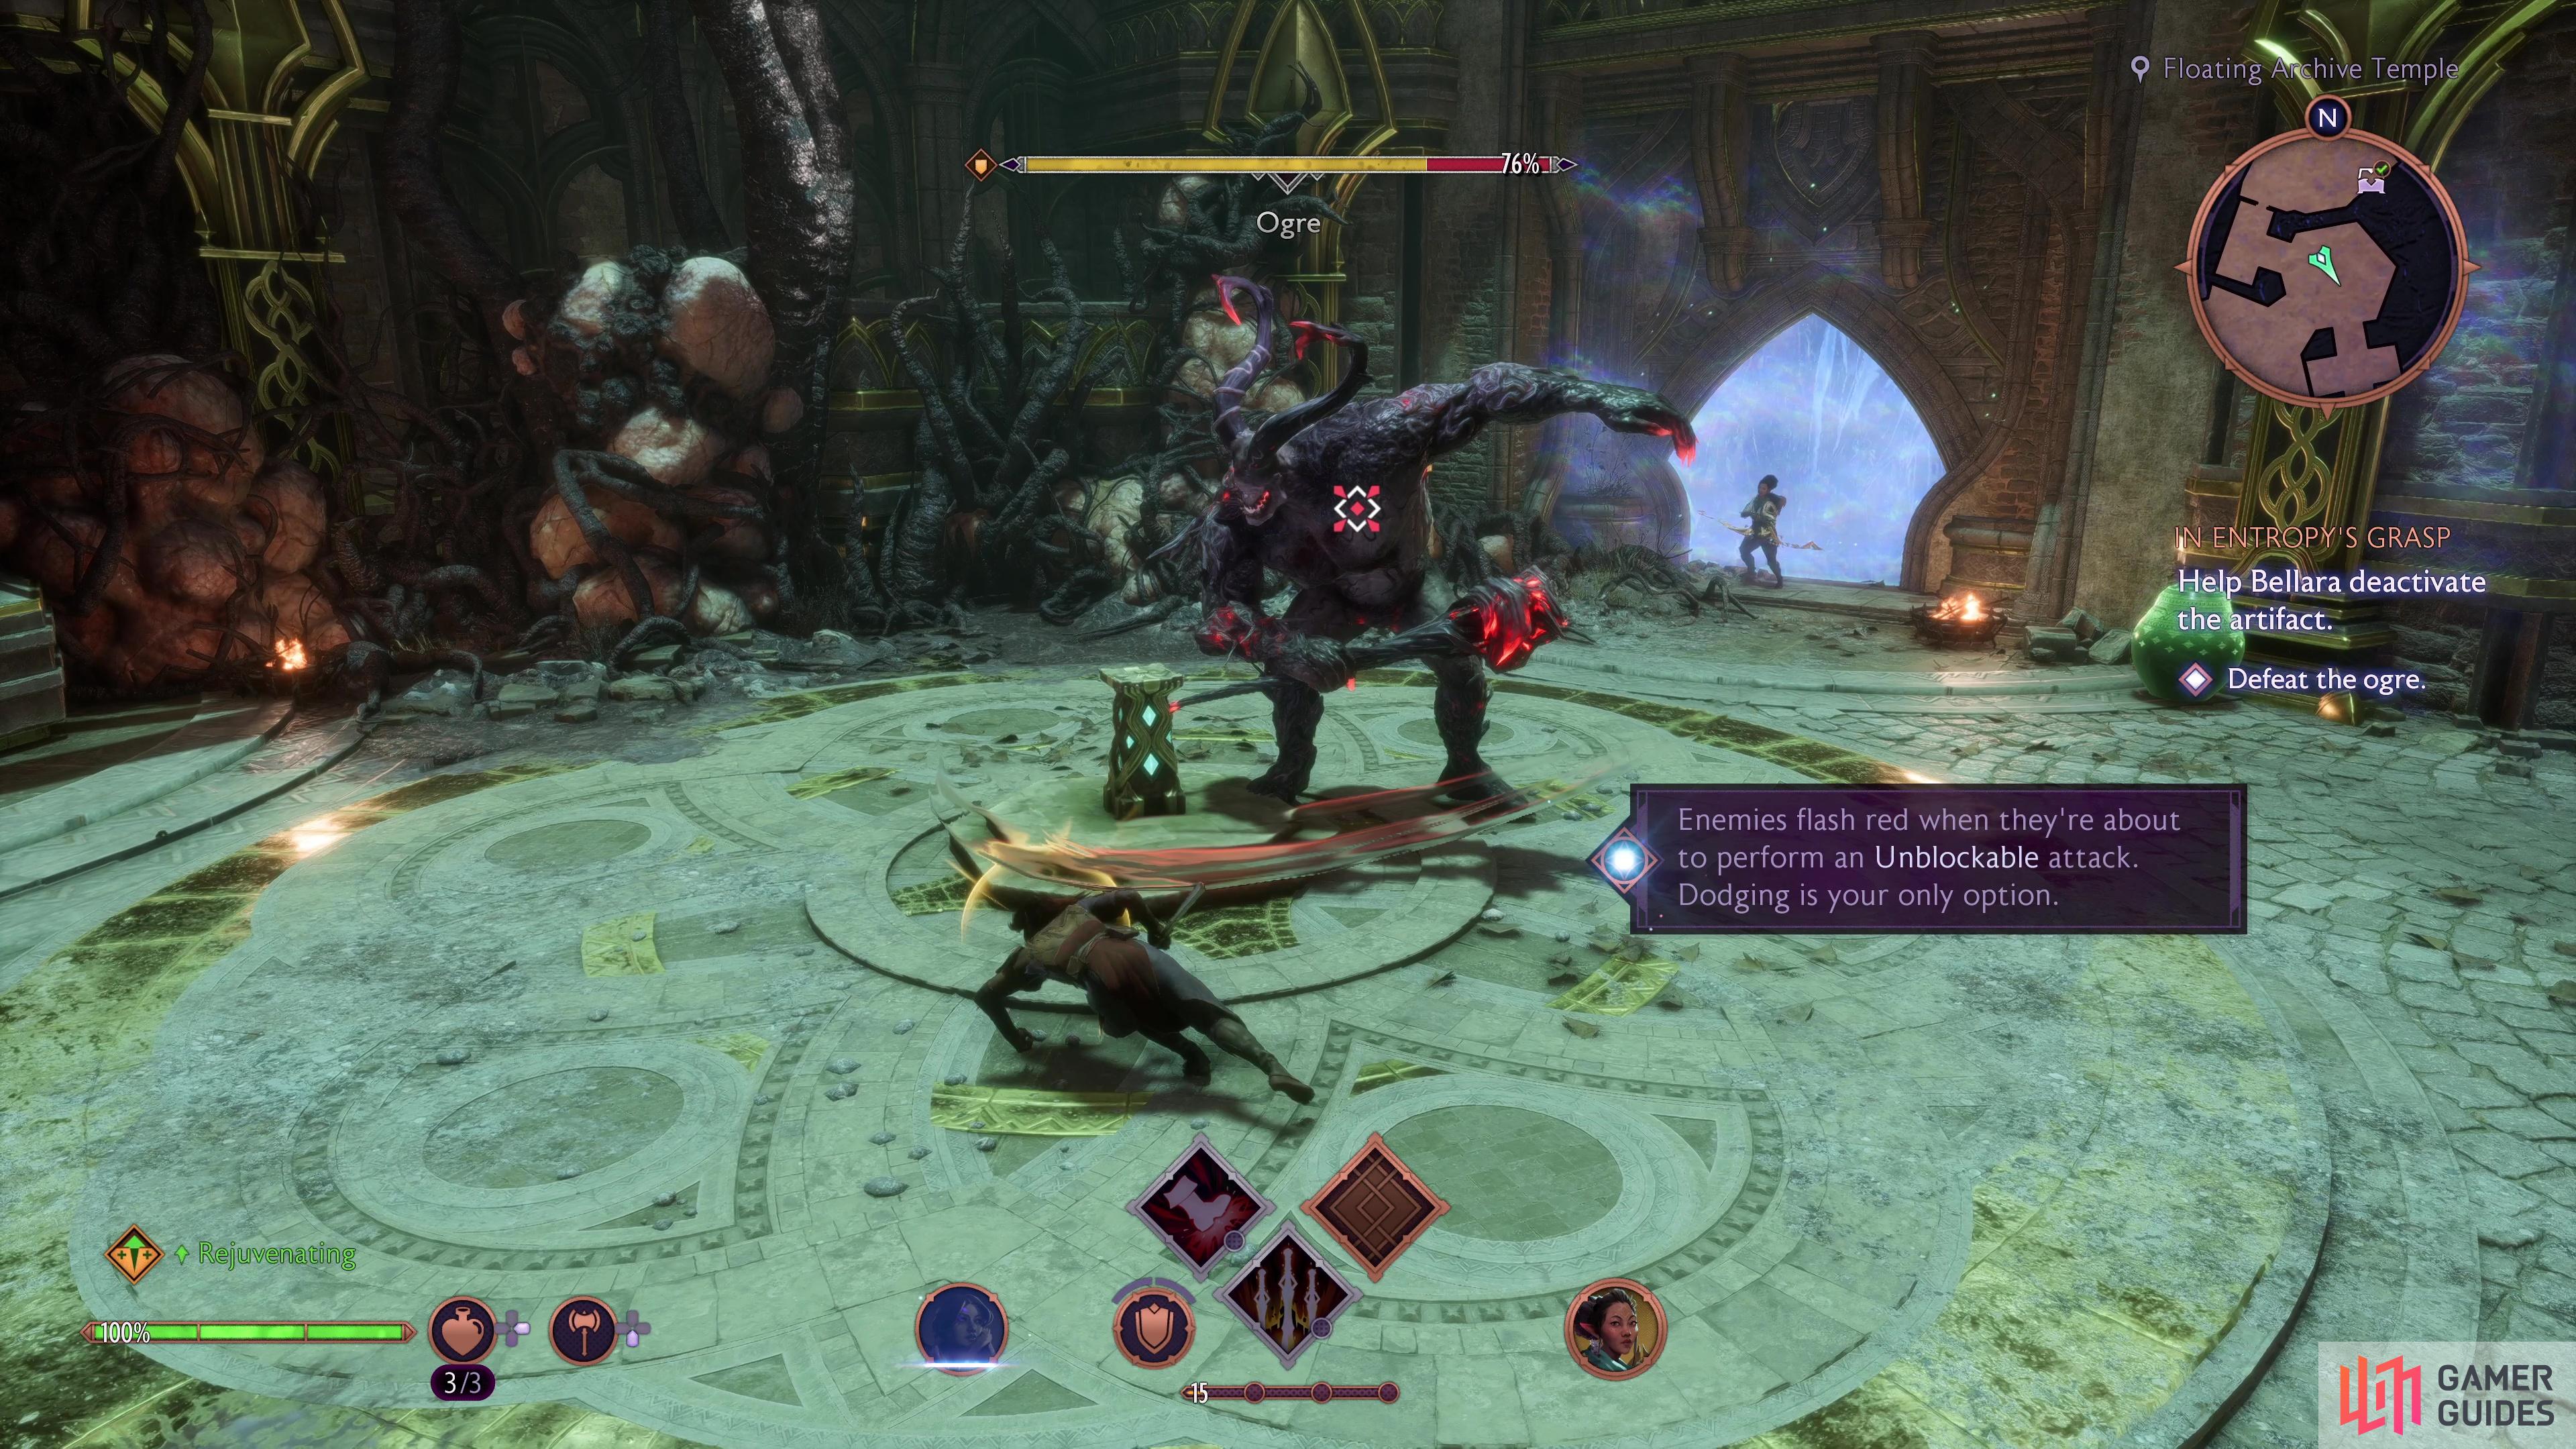
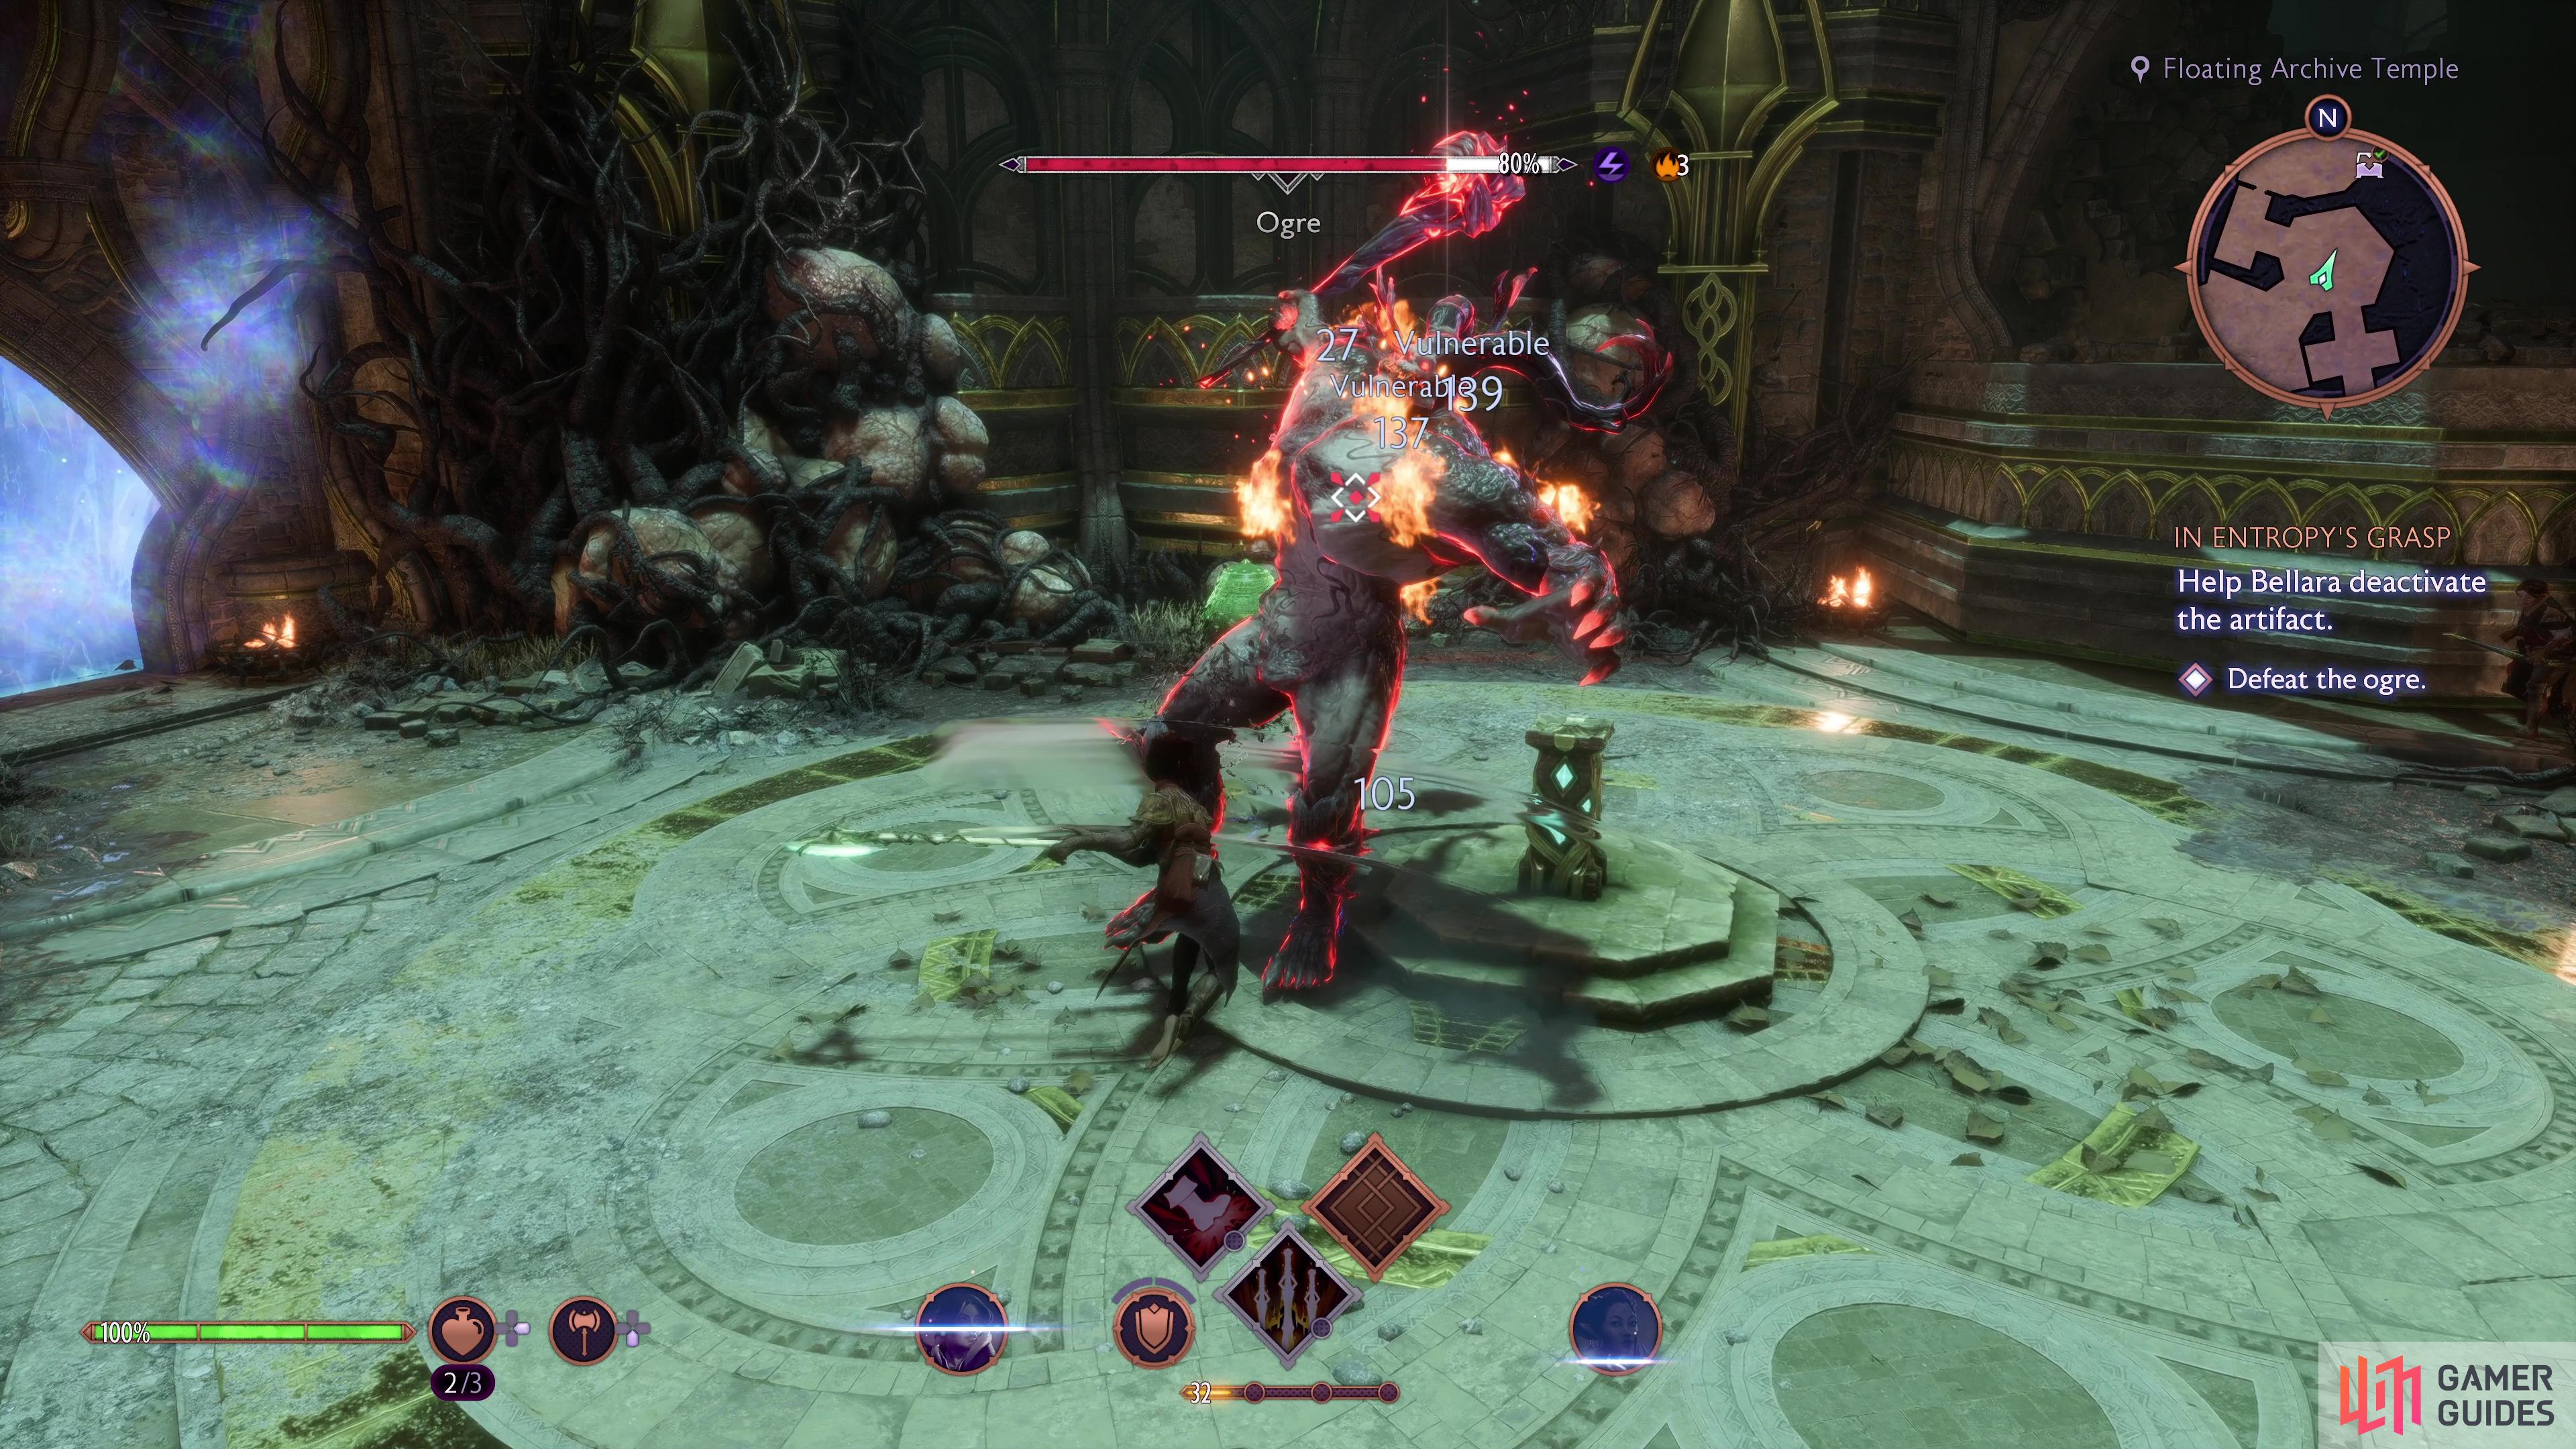
The Ogre is by far the toughest enemy you’ve had to face yet, and you’re not exactly in the best of areas to be fighting it, you have very limited room here. As a Darkspawn, your first goal is to deplete its Armor, done by using Heavy Attacks, you’ll find that the Ogre is weak to Fire, should your Rook’s Class have any means of dealing that yet.
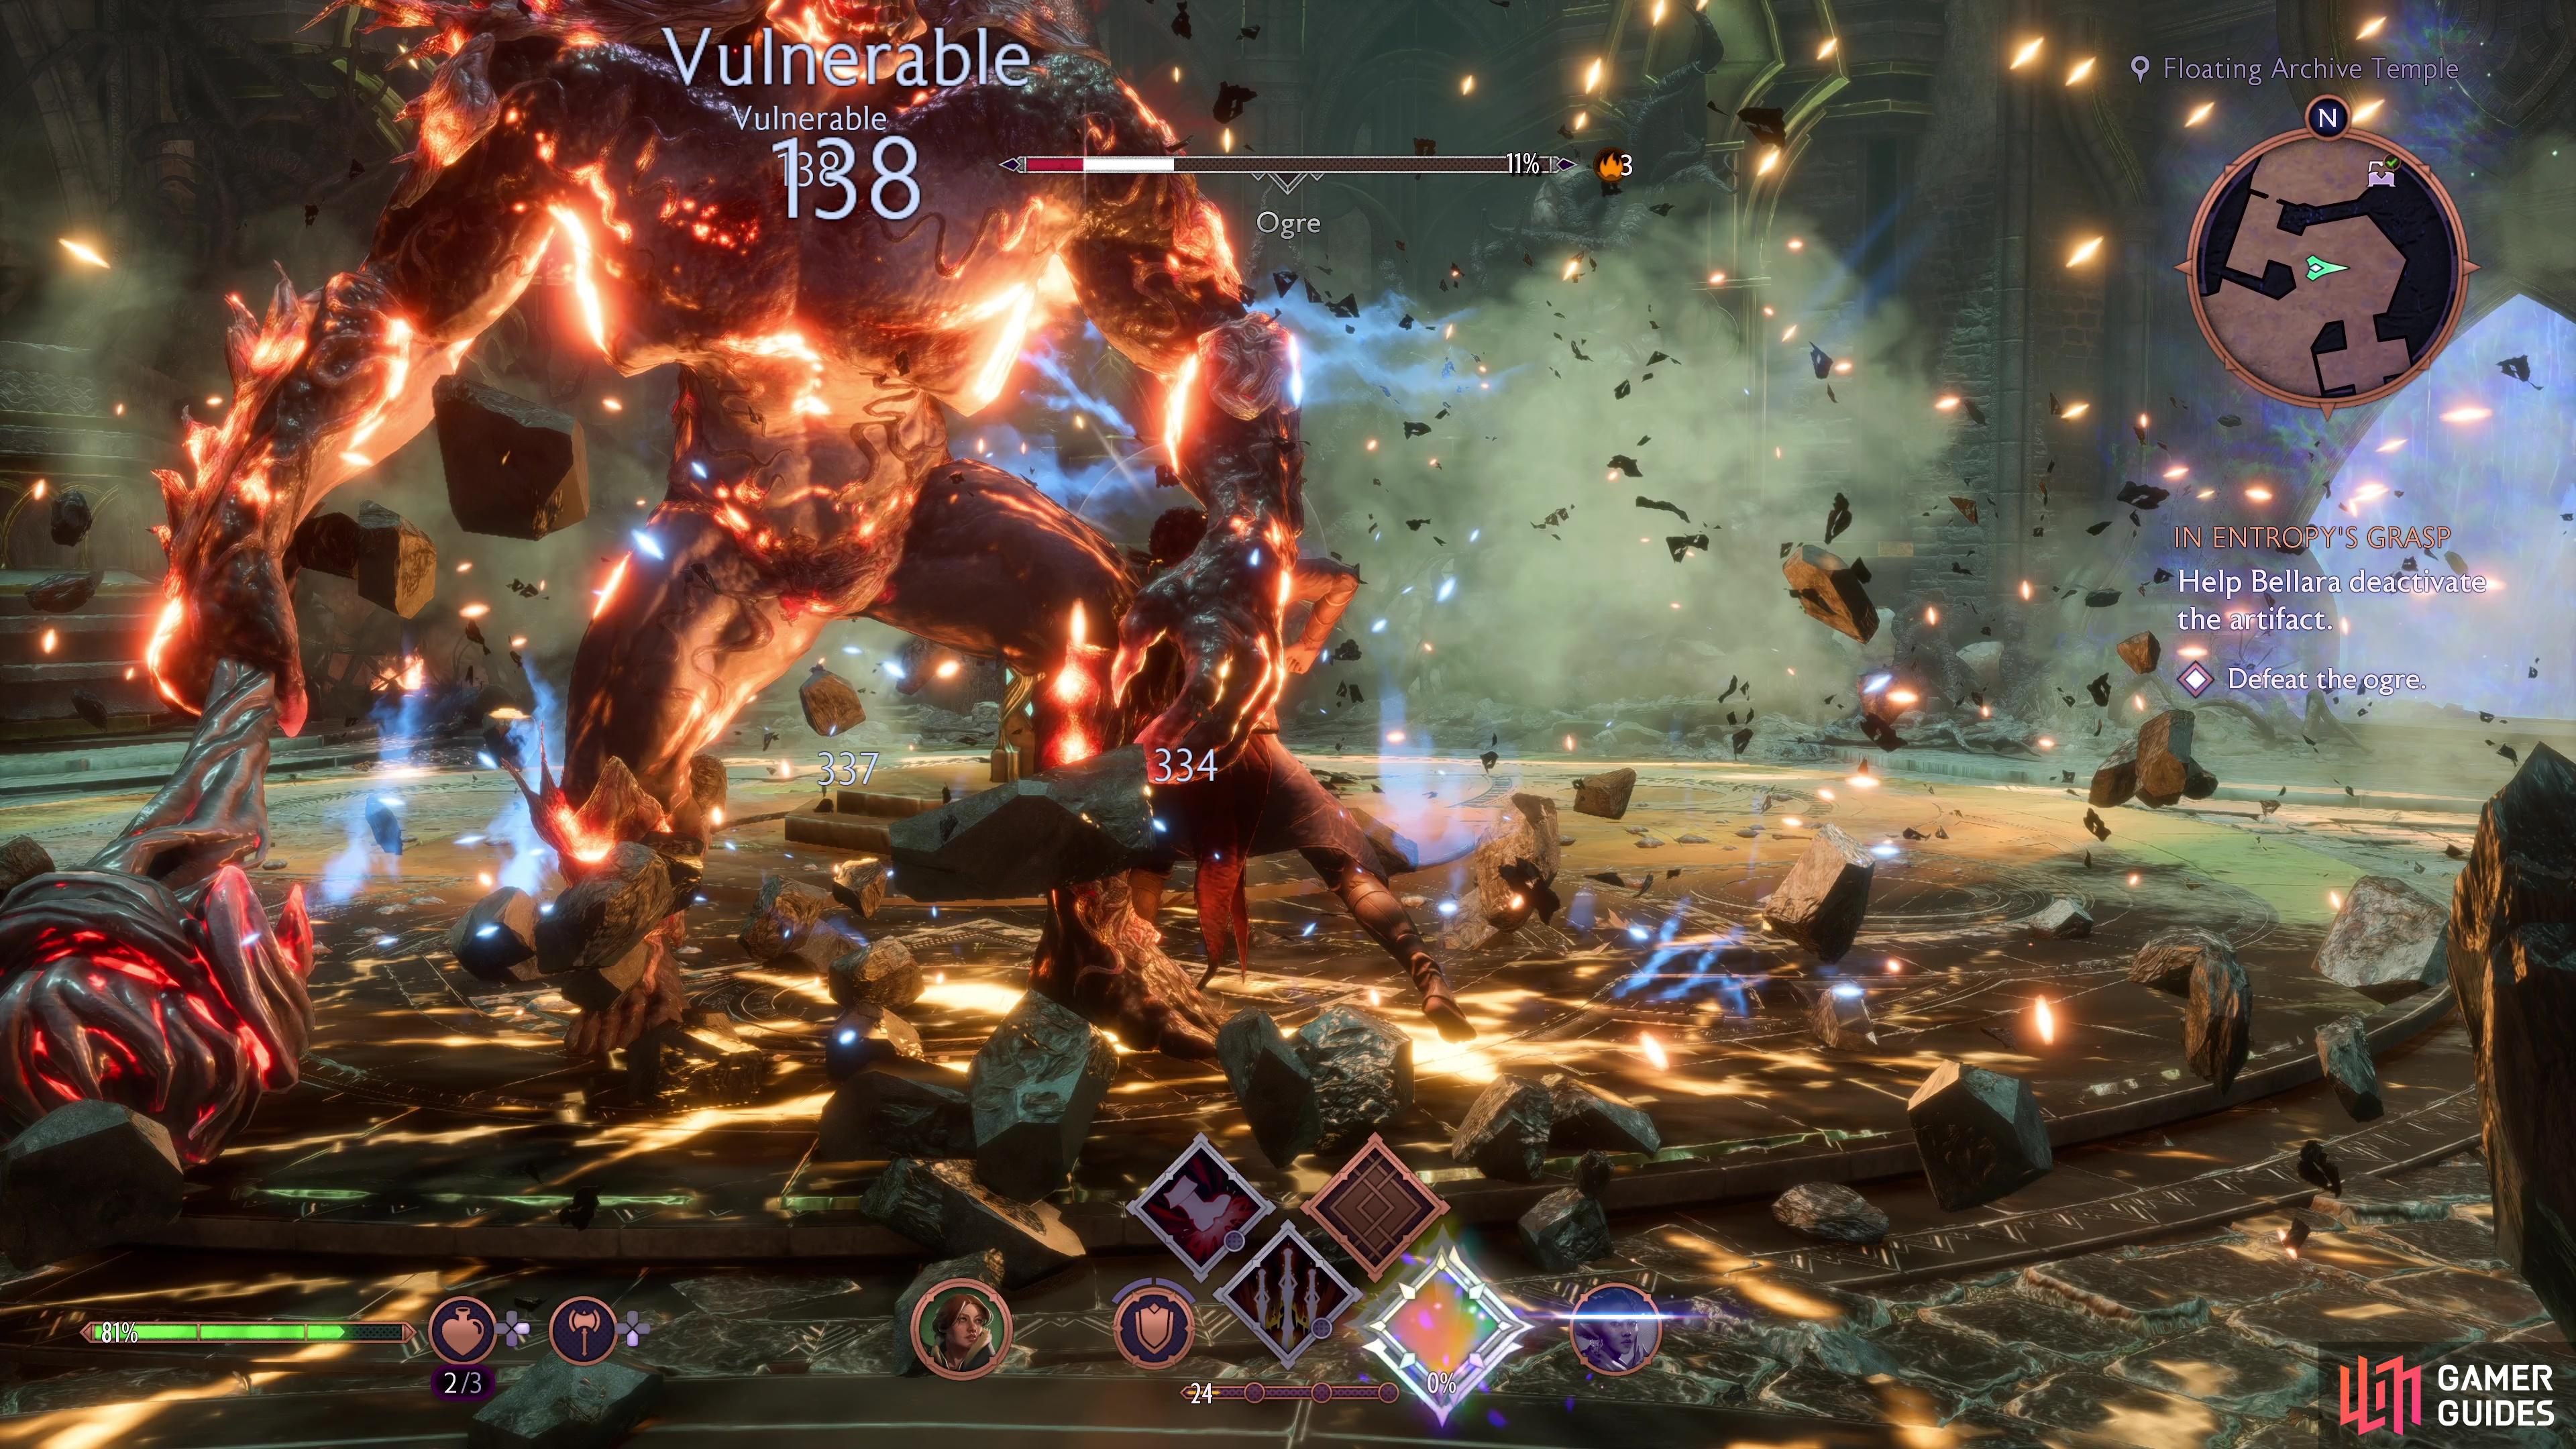
The Ogre’s attacks are slow but powerful, so look to dodge or Deflect where you can. The biggest thing to watch out for is when it glows red, this attack cannot be Deflected so you must dodge out of the way, if you fail, you’re going to take heavy damage so be ready to heal up quickly. Near the end of the battle, you’ll get a short tutorial on your Ultimate Ability, this fills up as you deal and take damage, and when used, will deal massive damage to your foe, use this on the Ogre to finish the battle.
(1 of 3) The Ogre has slow but powerful attacks.
Once the scene is over, you’ll most likely Level up and gain enough Bond Points for your Companions to get some Skill Points too. Use them, loot the nearby small chest, and then speak with Bellara to bring the quest to an end.




 Sign up
No Comments