The Garbage region will most likely be the second one you visit during the earlier stages of Stalker 2: Heart of Chornobyl and just like the ![]() Lesser Zone, you’ll find plenty of optional side missions to get your teeth stuck into.
Lesser Zone, you’ll find plenty of optional side missions to get your teeth stuck into. ![]() No Honor Among Thieves is one such mission that you can find and complete once you get access to the Slag Heap, keep reading to learn how to complete the mission.
No Honor Among Thieves is one such mission that you can find and complete once you get access to the Slag Heap, keep reading to learn how to complete the mission.
No Honor Among Thieves is a side mission in Garbage in Stalker 2: Heart of Chornobyl.
Table of Contents
If you want to jump to a specific section, click on the links below.
| Quickjump |
|---|
| No Honor Among Thieves Mission Location |
| Talk to the Brood Bandits |
| Pick up the Brood’s Shipment from Docent |
| Attack or Spare Docent |
| Locating Shah’s Stash |
No Honor Among Thieves Mission Location
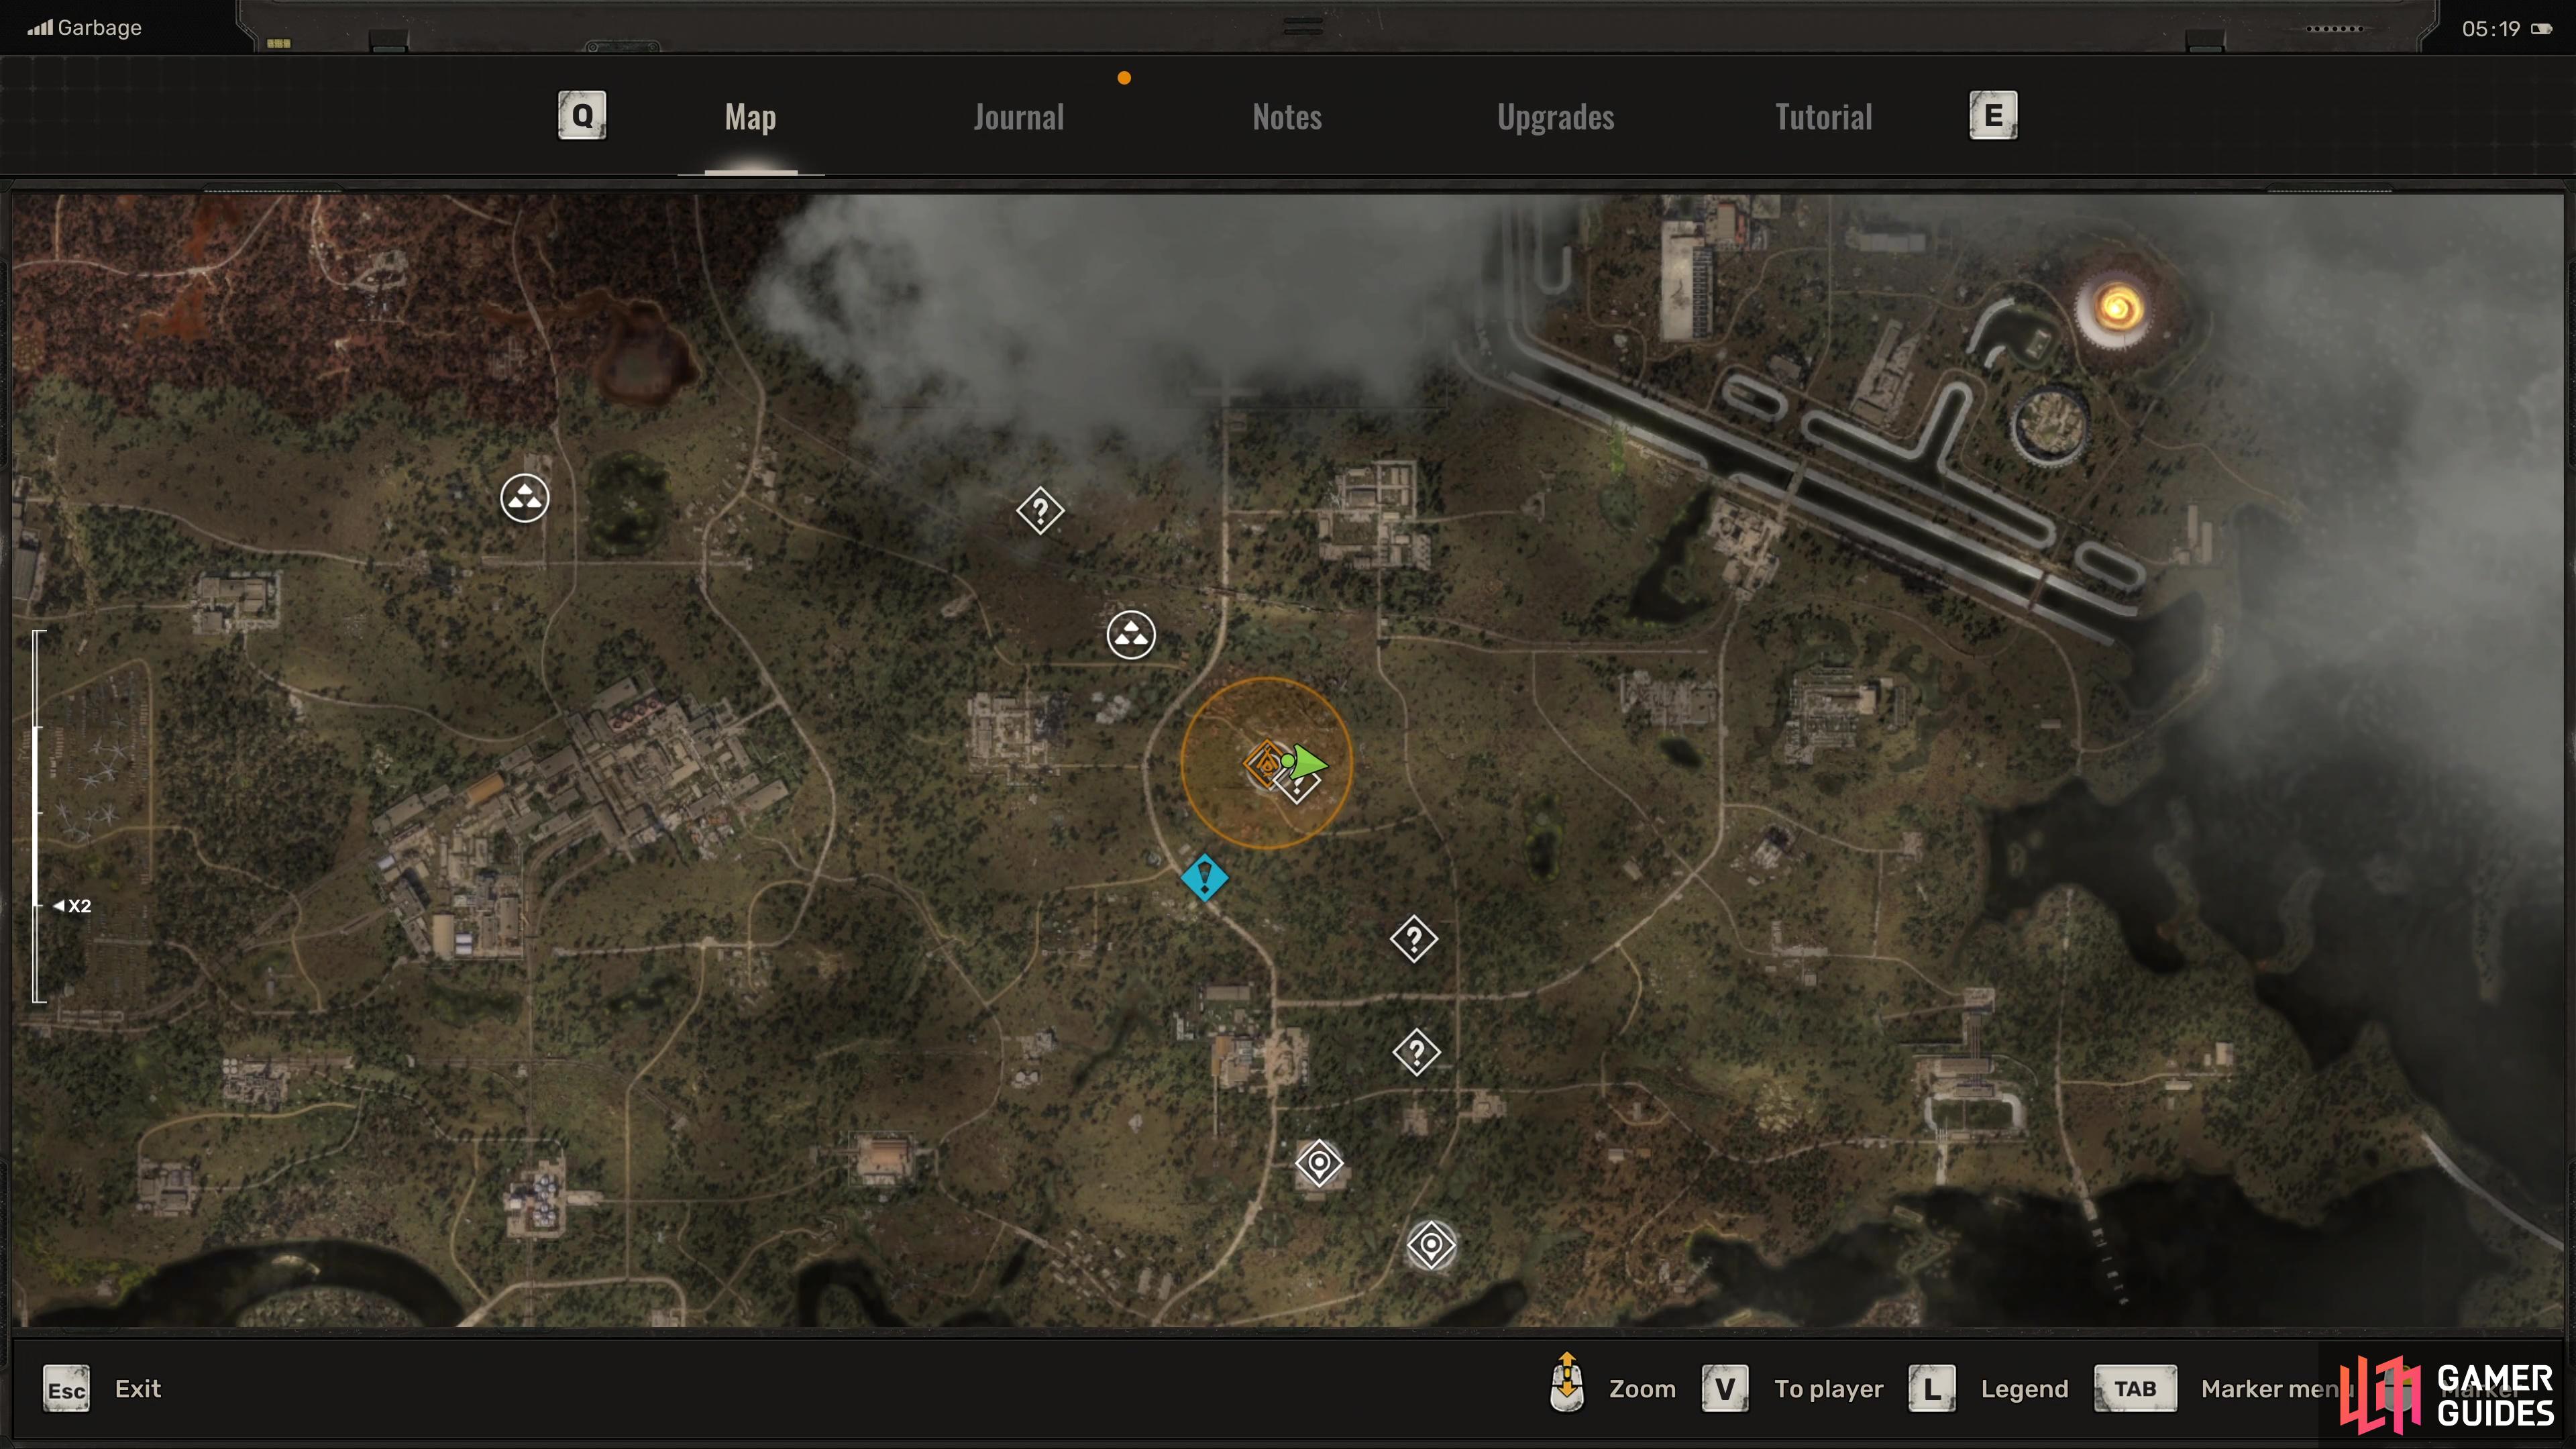
Before you can even think about starting this mission, finish the Answers Come at a Price main mission that will direct you to the Slag Heap, a settlement where you can find more information on Nestor. You’ll find the Slag Heap to the northeast of the ![]() Garbage region, following the roads will take you there, just beware of Anomalies such as Shards (that will cause Bleeding when walked through) and other tricky ones.
Garbage region, following the roads will take you there, just beware of Anomalies such as Shards (that will cause Bleeding when walked through) and other tricky ones.
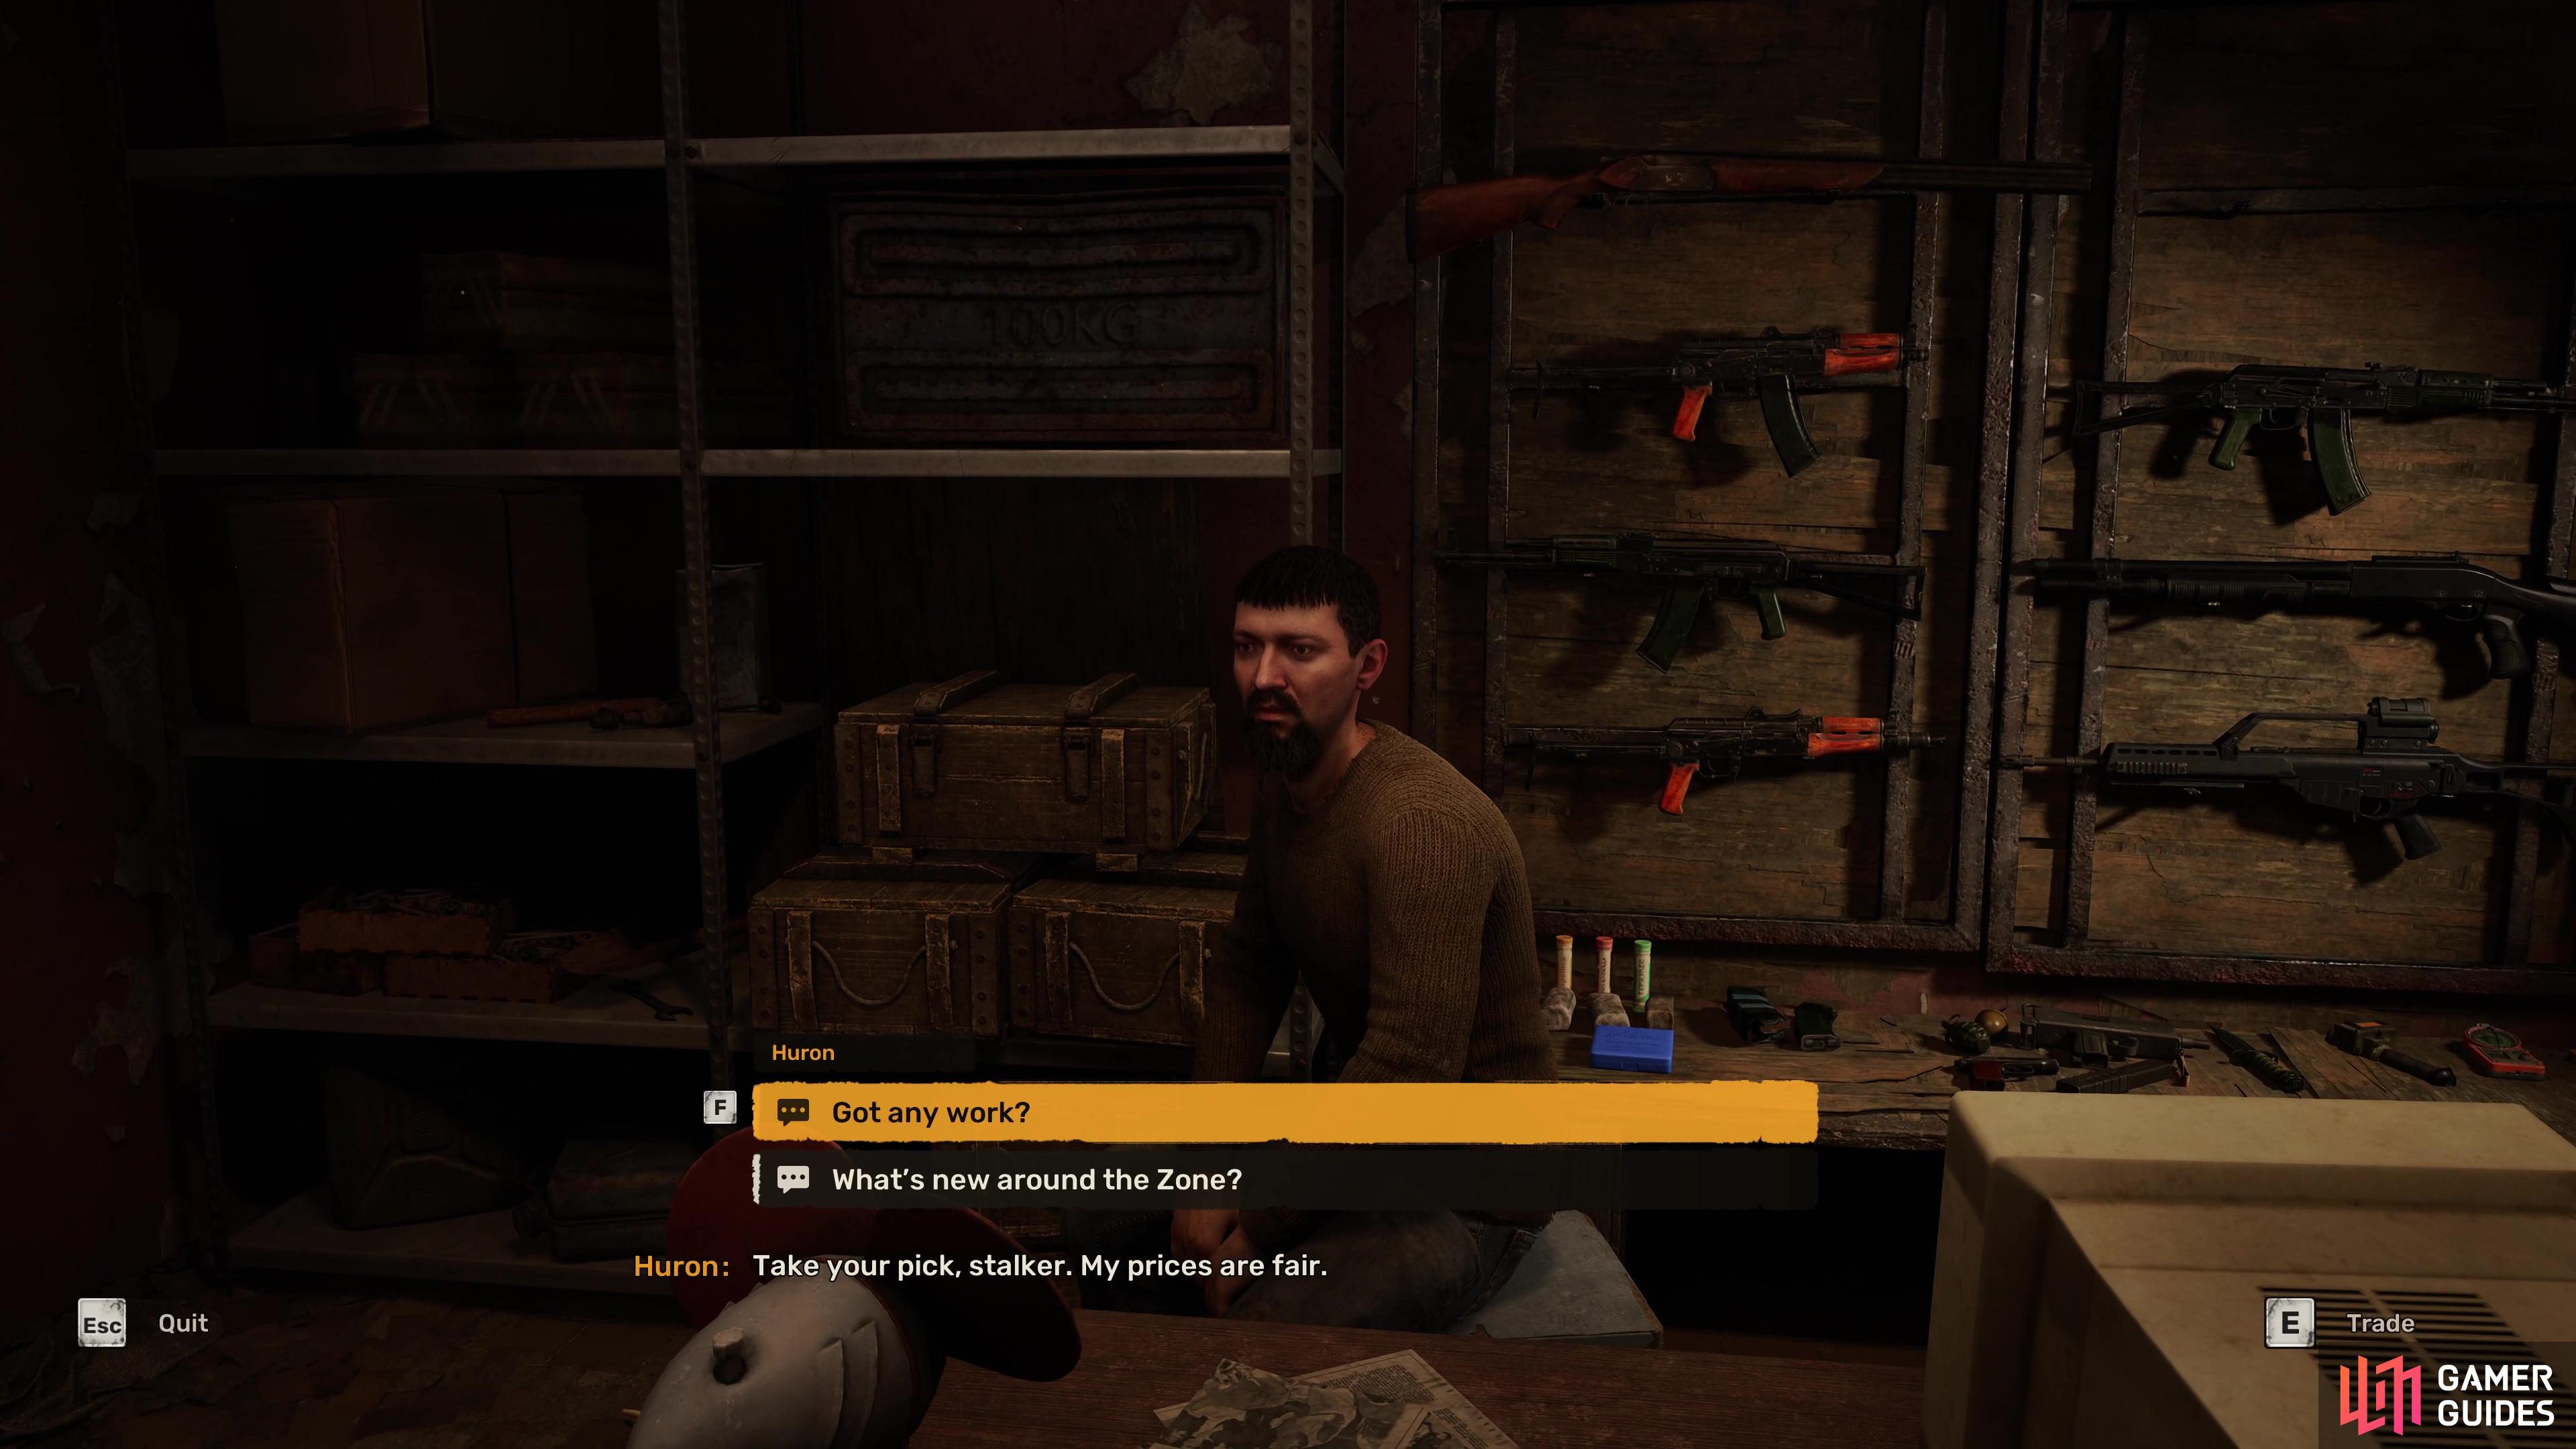
Once you reach this new settlement, make use of the stash to store away any loot you may have picked up along the way and then speak to Huron, the gun merchant, in the same room. Ask him if he has any work and he’ll insult you to begin with, tell him to watch his mouth and he’ll open up a little more, explaining that a courier of his went missing and he wants you to check it out.
You can find Slag Heap to the northeast of the Garbage region.
Talk to the Brood Bandits
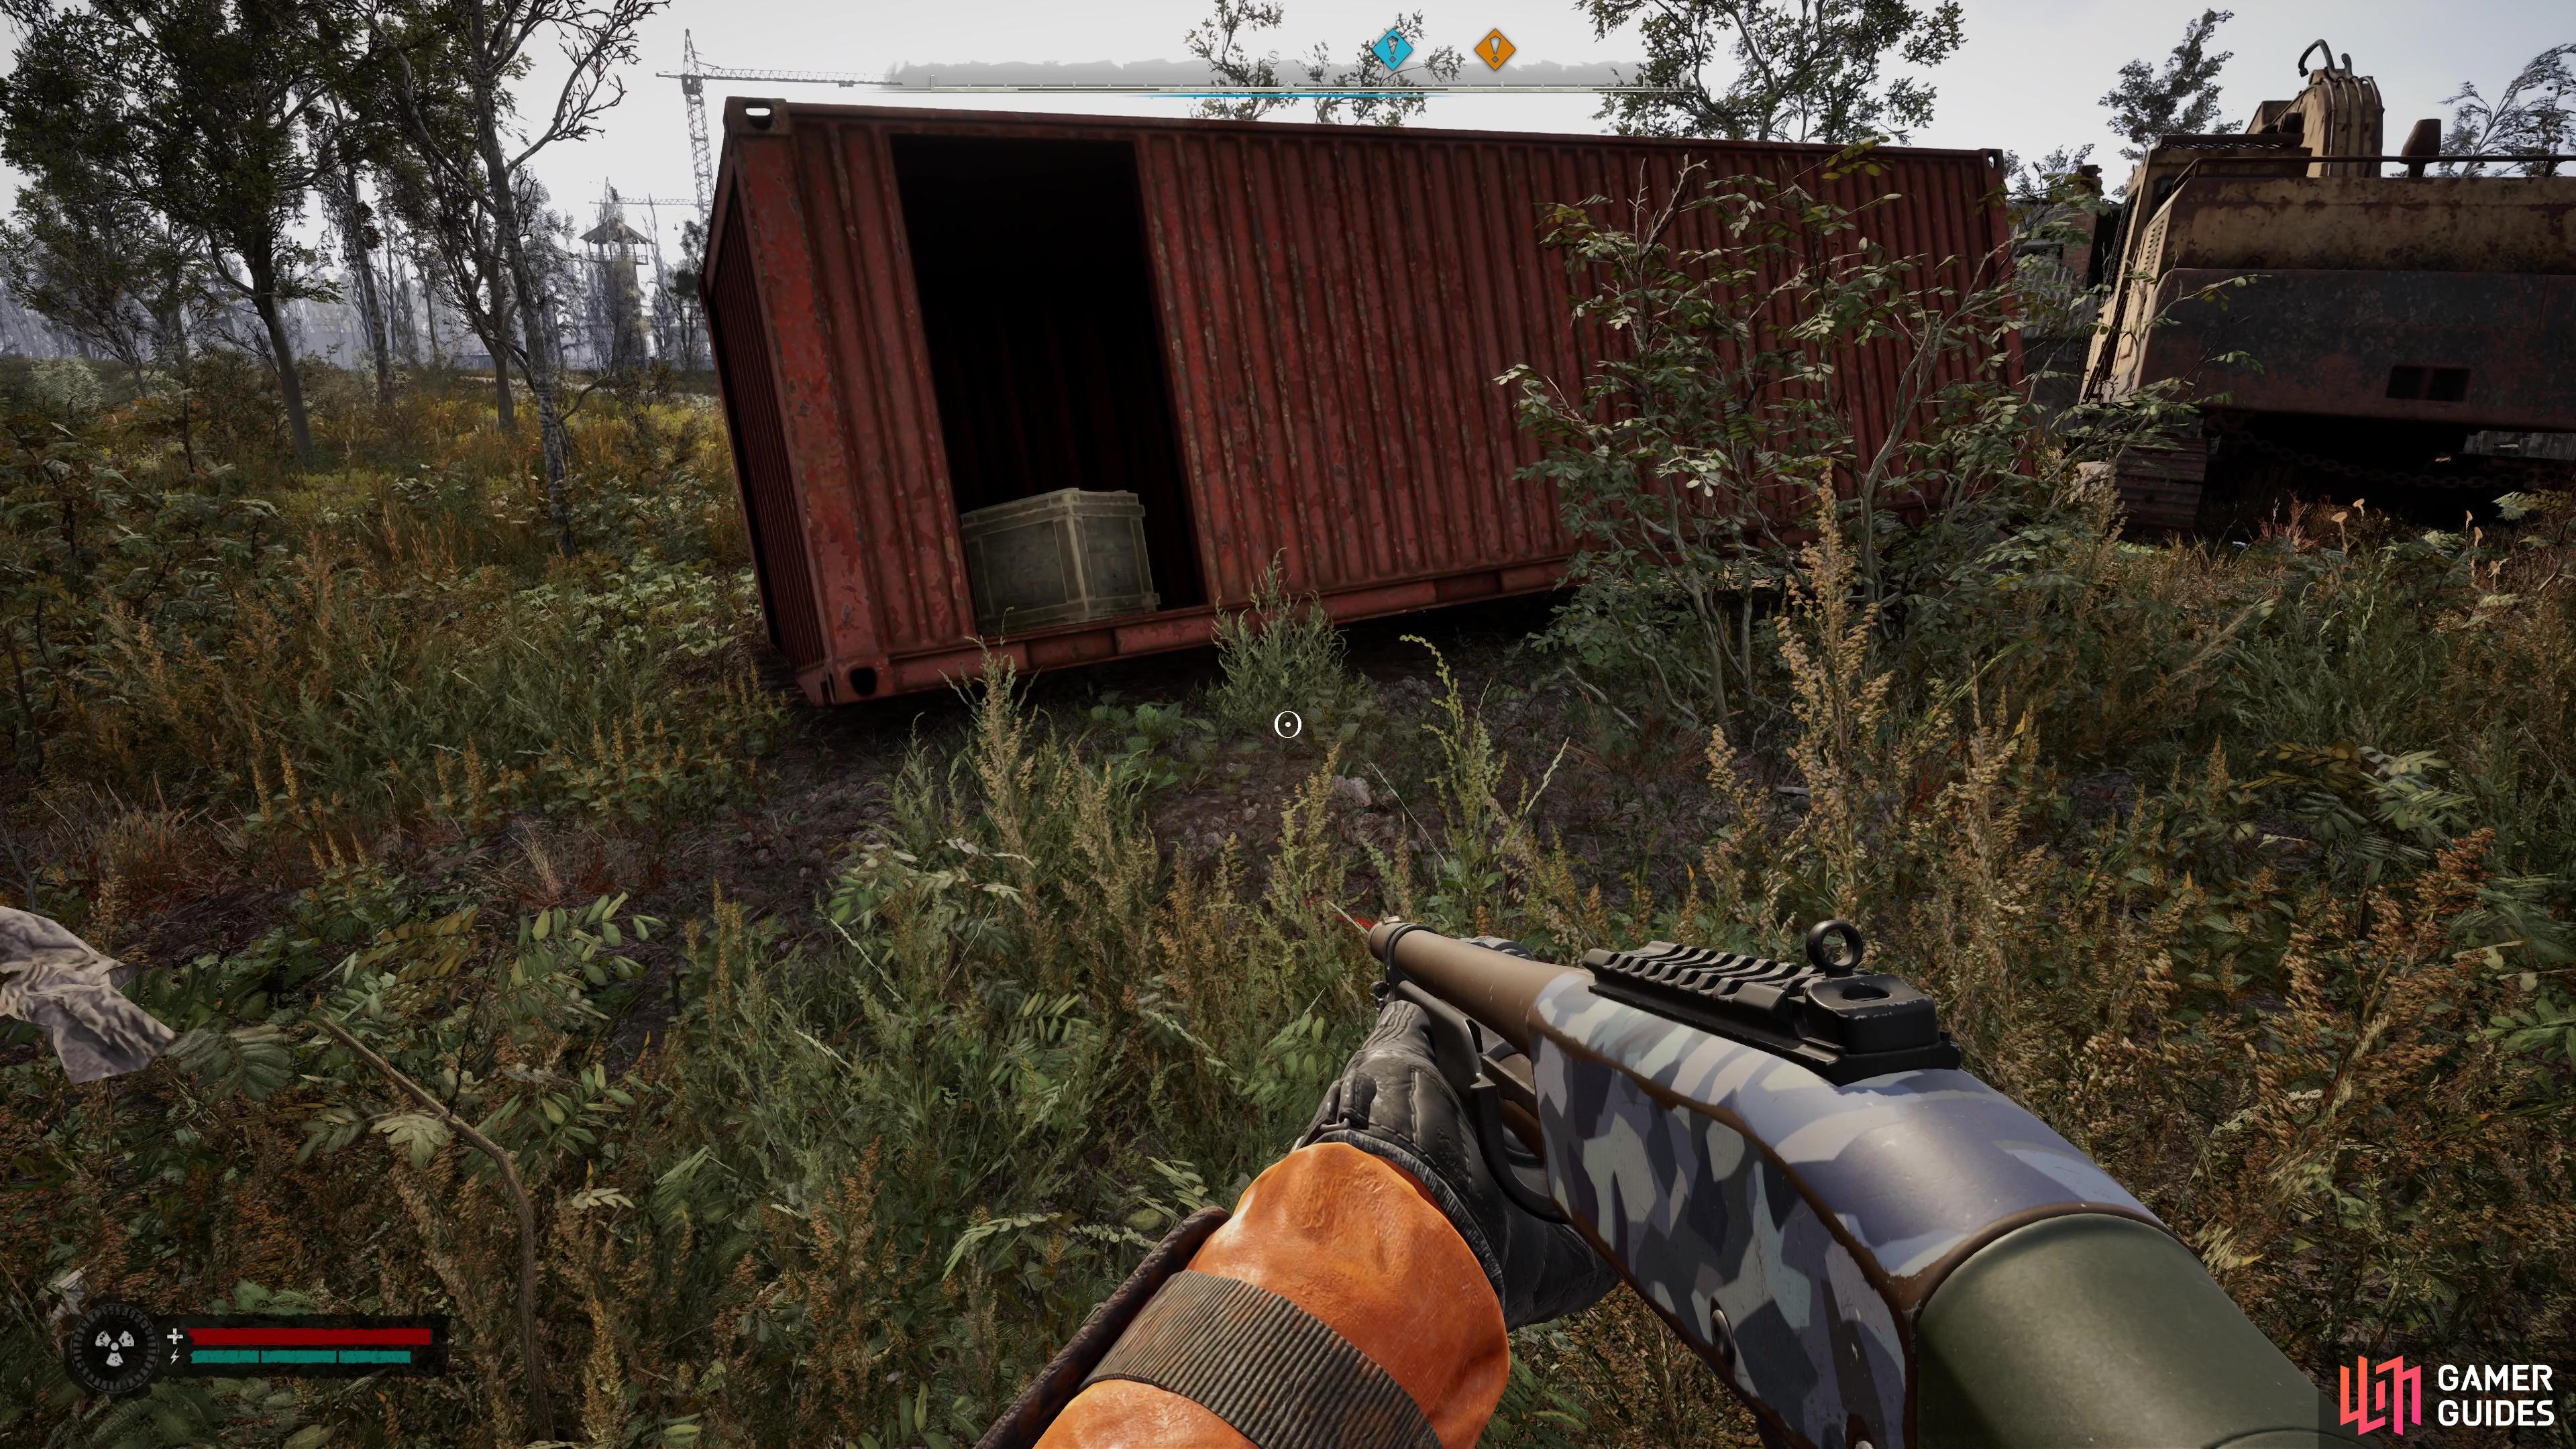
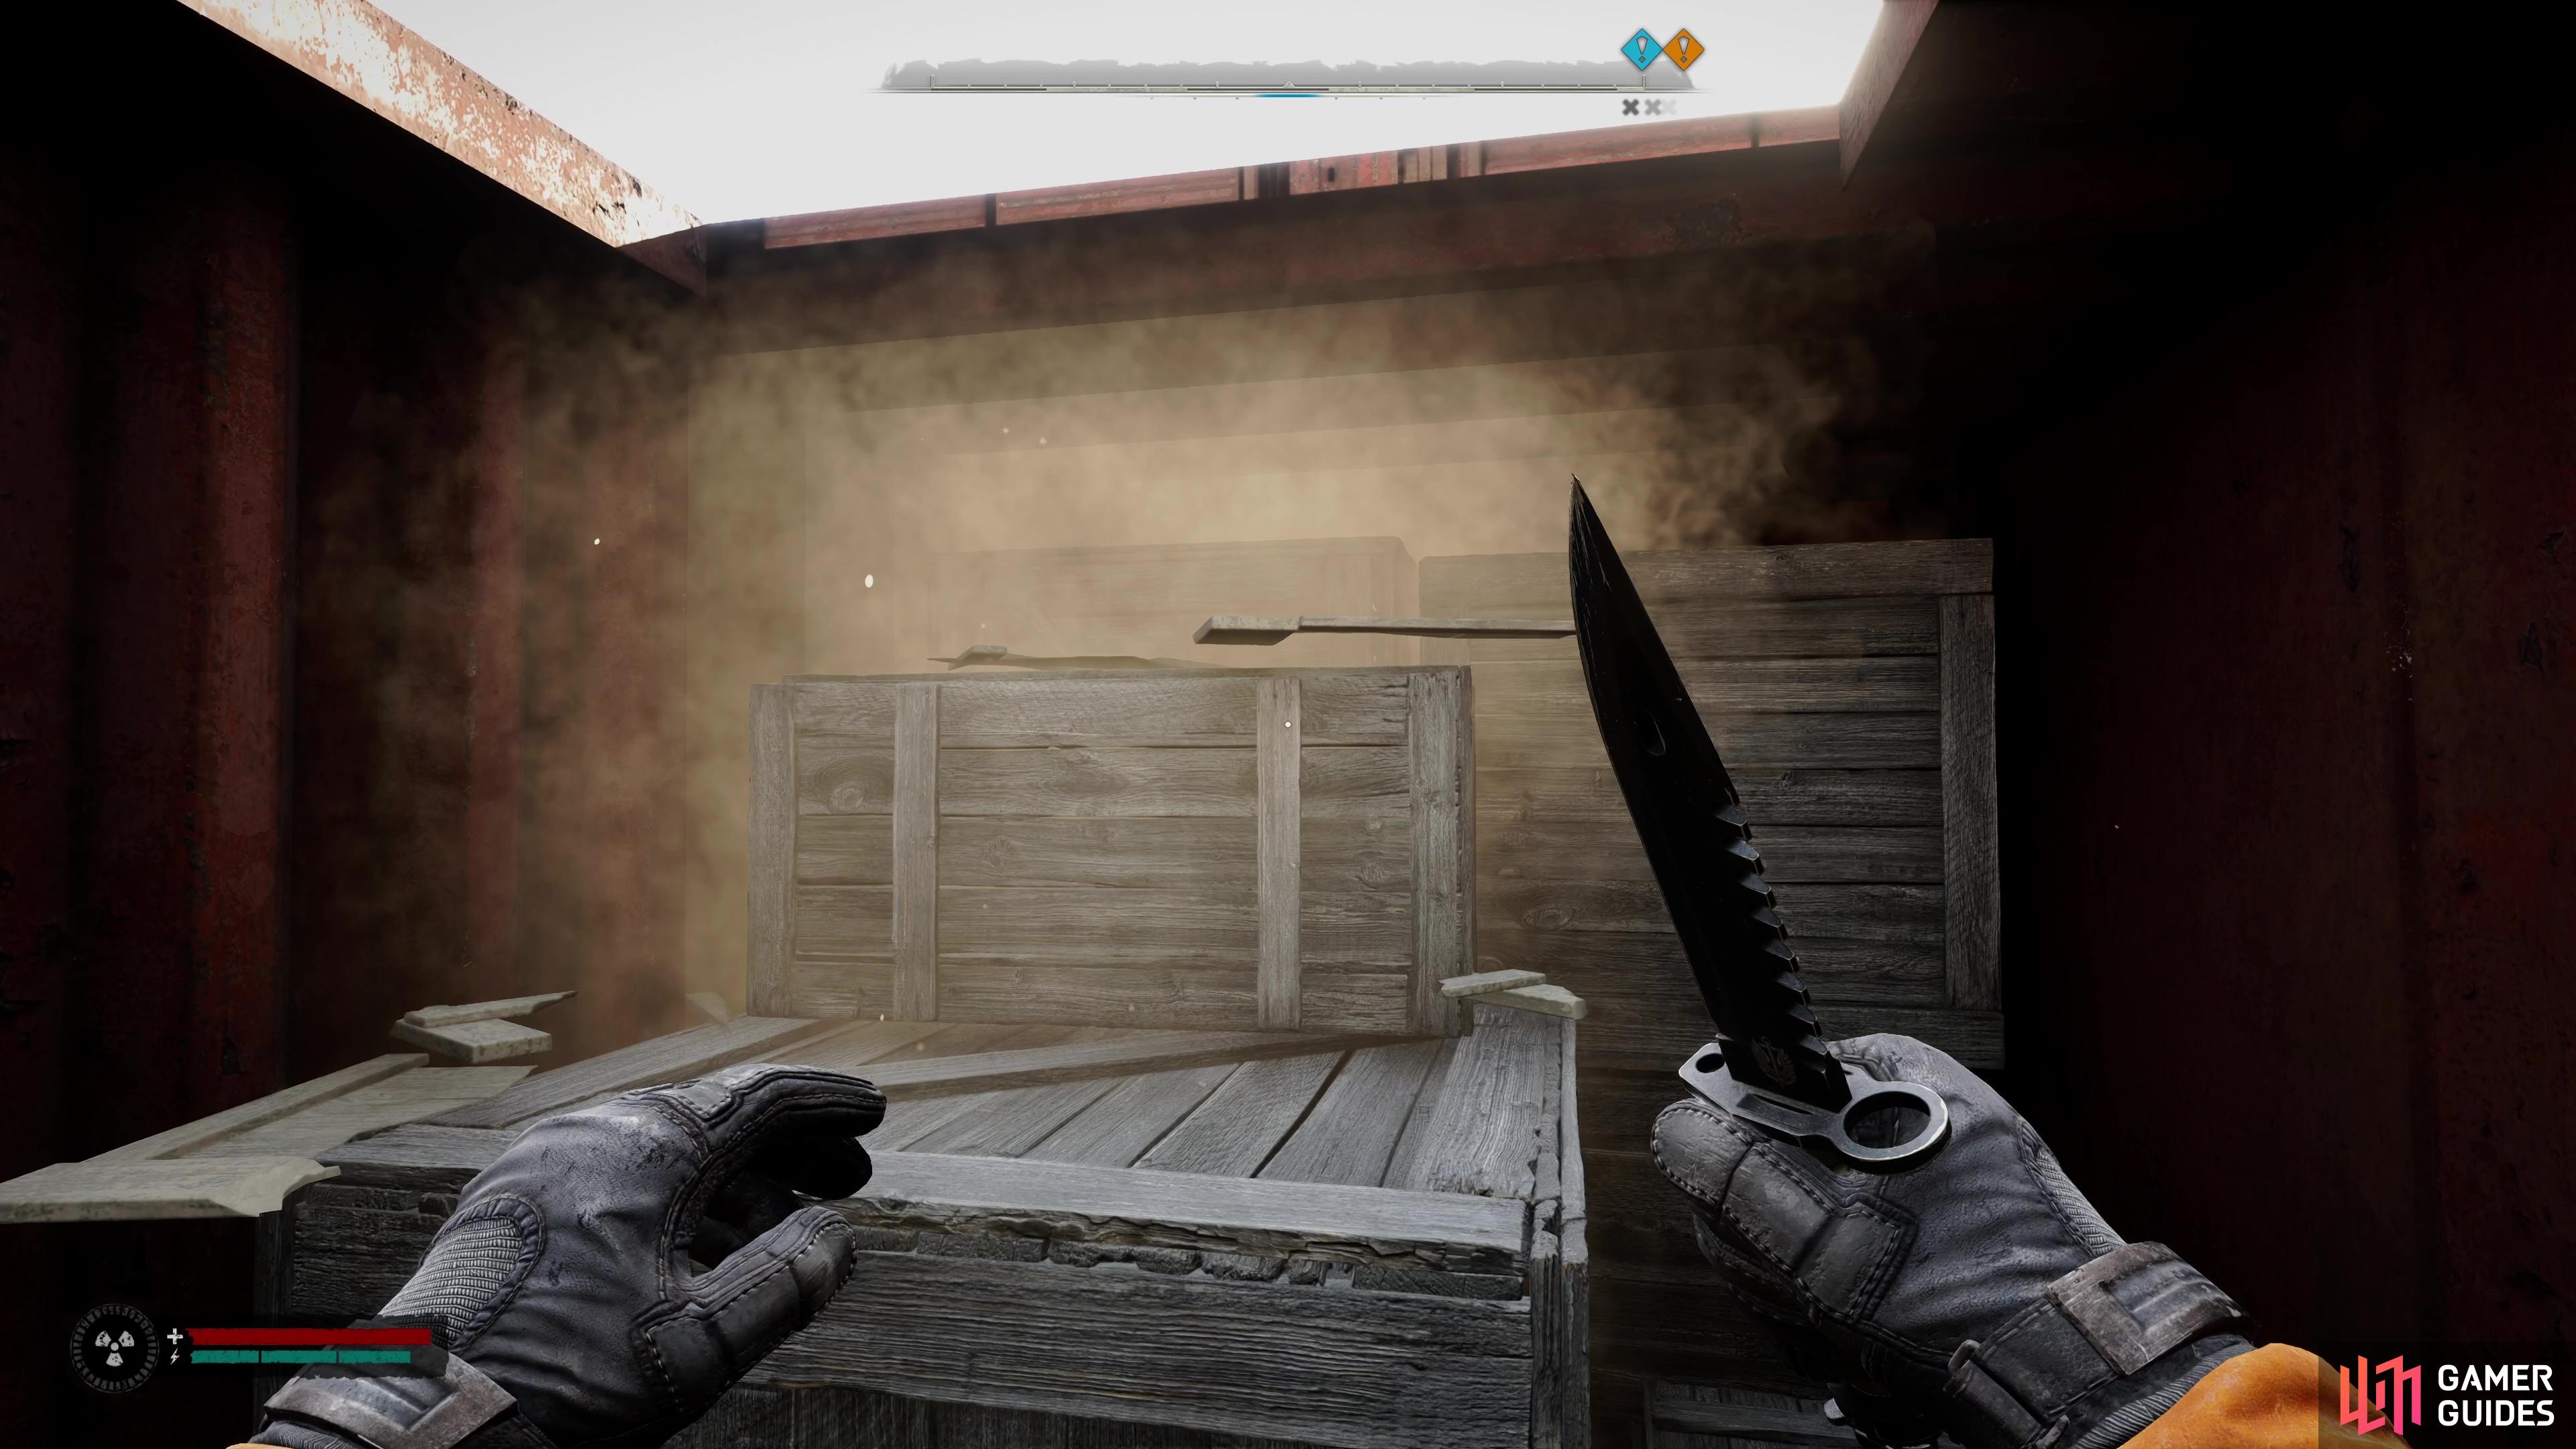
The Brood Bandits can be found by heading southwest a little from the Slag Heap, so leave via the western entrance and make the short trek over. Ignore the objective marker for now once you reach the area, and look for some red cargo containers, one of which you can enter after breaking some boxes. Do so and then go through to the next one, breaking boxes as you go, and you’ll be able to climb on some unbreakable boxes at the end to climb to the top of it.
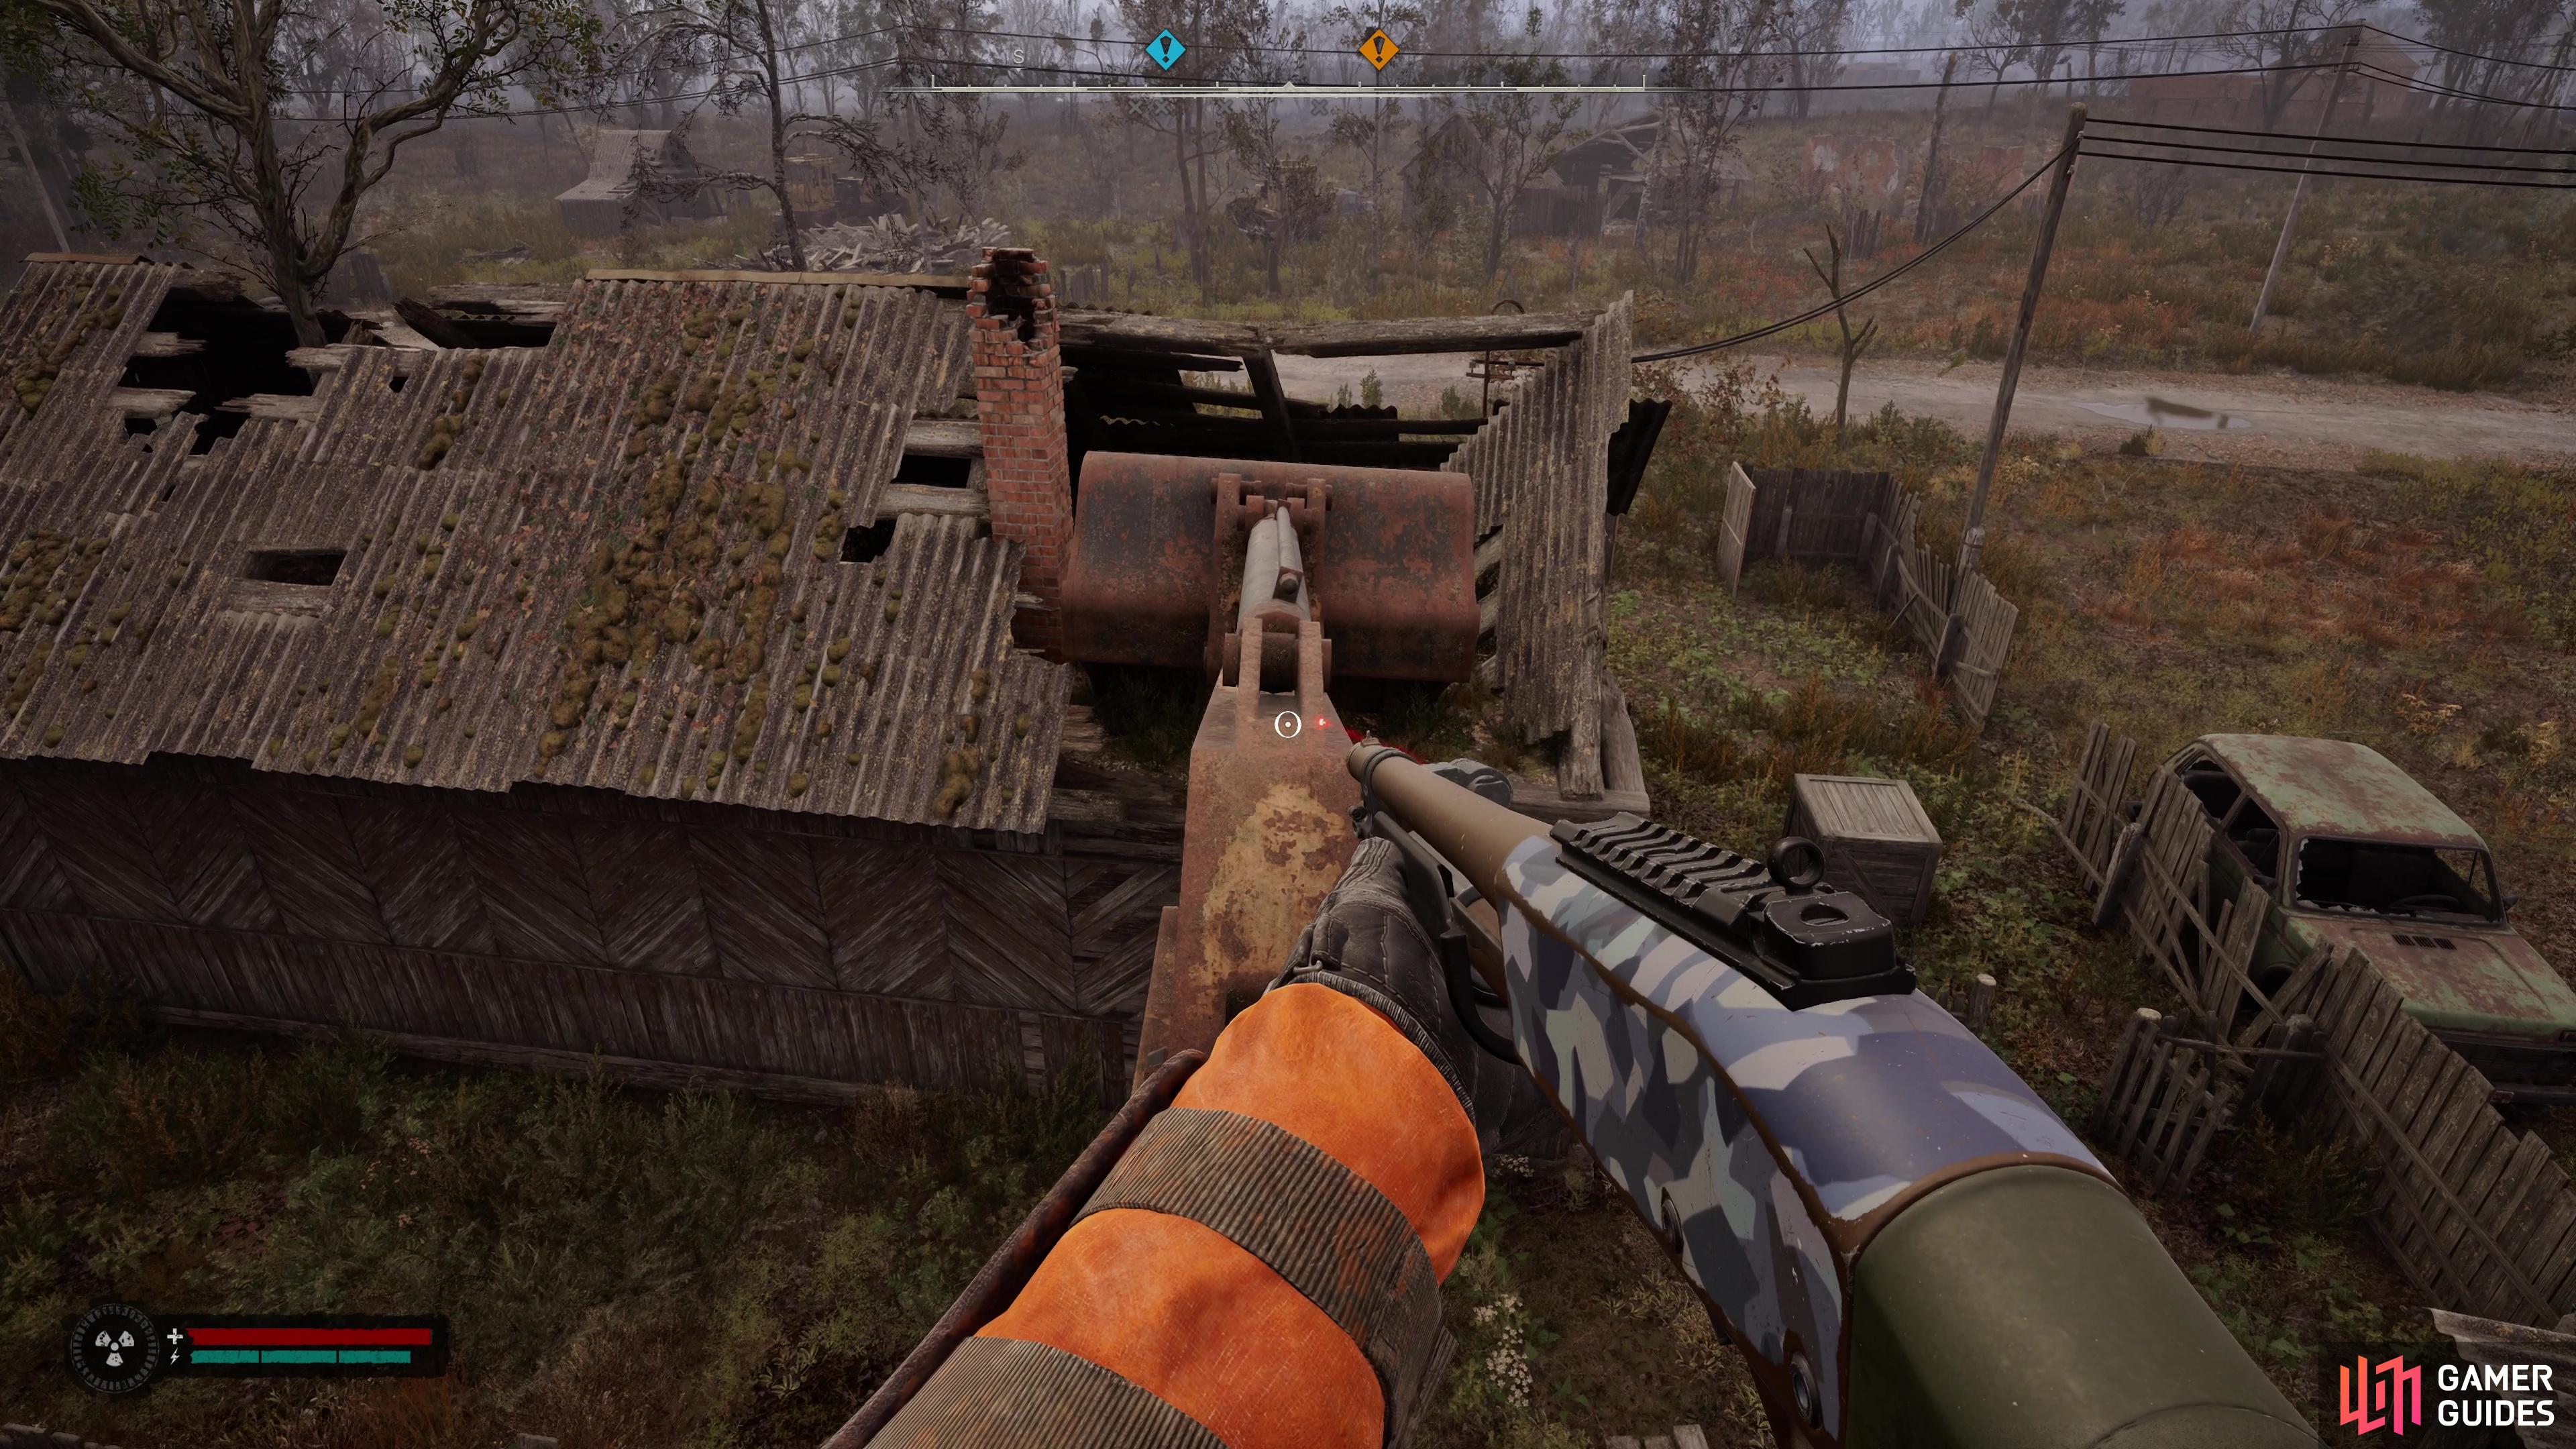
Now, look at the house just ahead, where the marker is, you’ll spot a digger that has managed to get itself stuck in the roof. This is where you need to go, but the door is locked with no way inside. Good job that you’re on this cargo container then, as you can simply walk along the arm of the digger and get into the roof of this house. From here, drop down below to find the bodies of the couriers you were searching for, looks like something went down here and you’re late to the party.
(1 of 4) Find this cargo container and go inside.
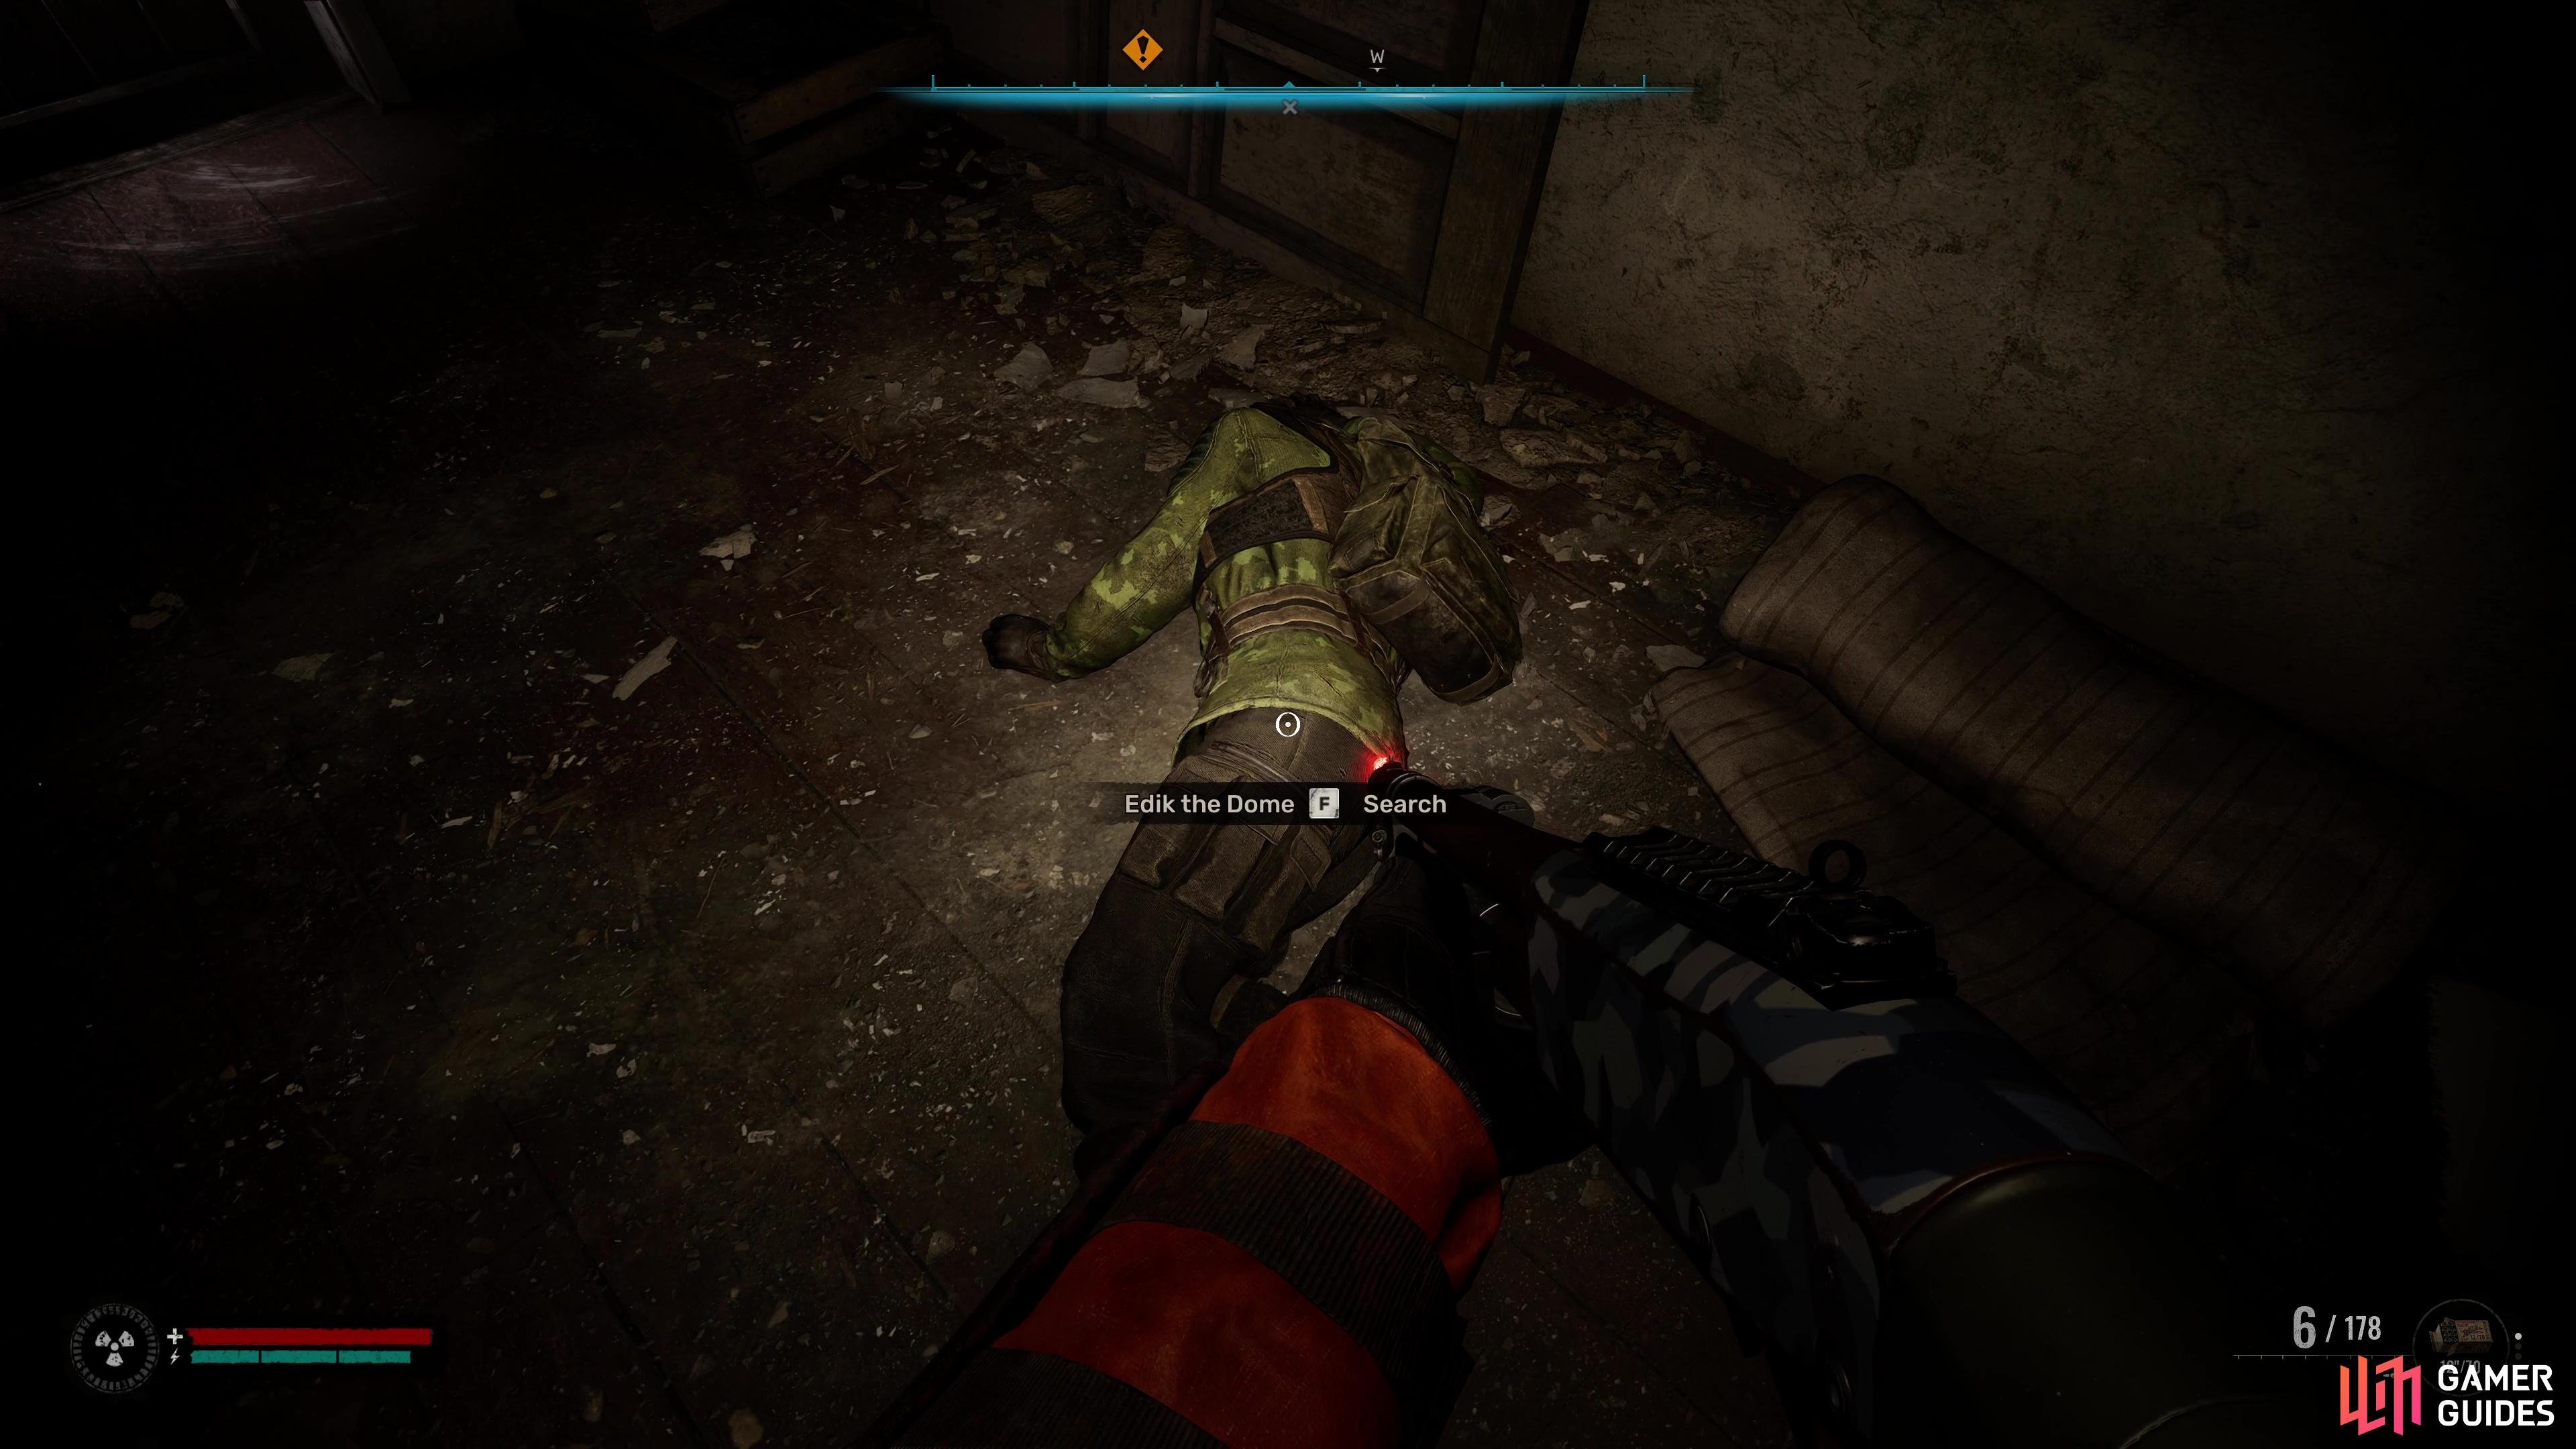
Be sure to search all of the bodies here to try and learn what happened, along with all of the loot you can pocket, they won’t be needing it anymore. The one you’re looking for, though, is Edik the Dome, situated near the front door. Examine his belonging to find a ![]() PDA that will give you some insight on what happened here, and your next destination.
PDA that will give you some insight on what happened here, and your next destination.
Pick up the Brood’s Shipment from Docent
Your next destination is the Plant Boiler Station, located to the southeast of your location. Unlock the front door and make the trek over there, but slow down as you get closer to your location, the gang holed up there won’t be asking questions.
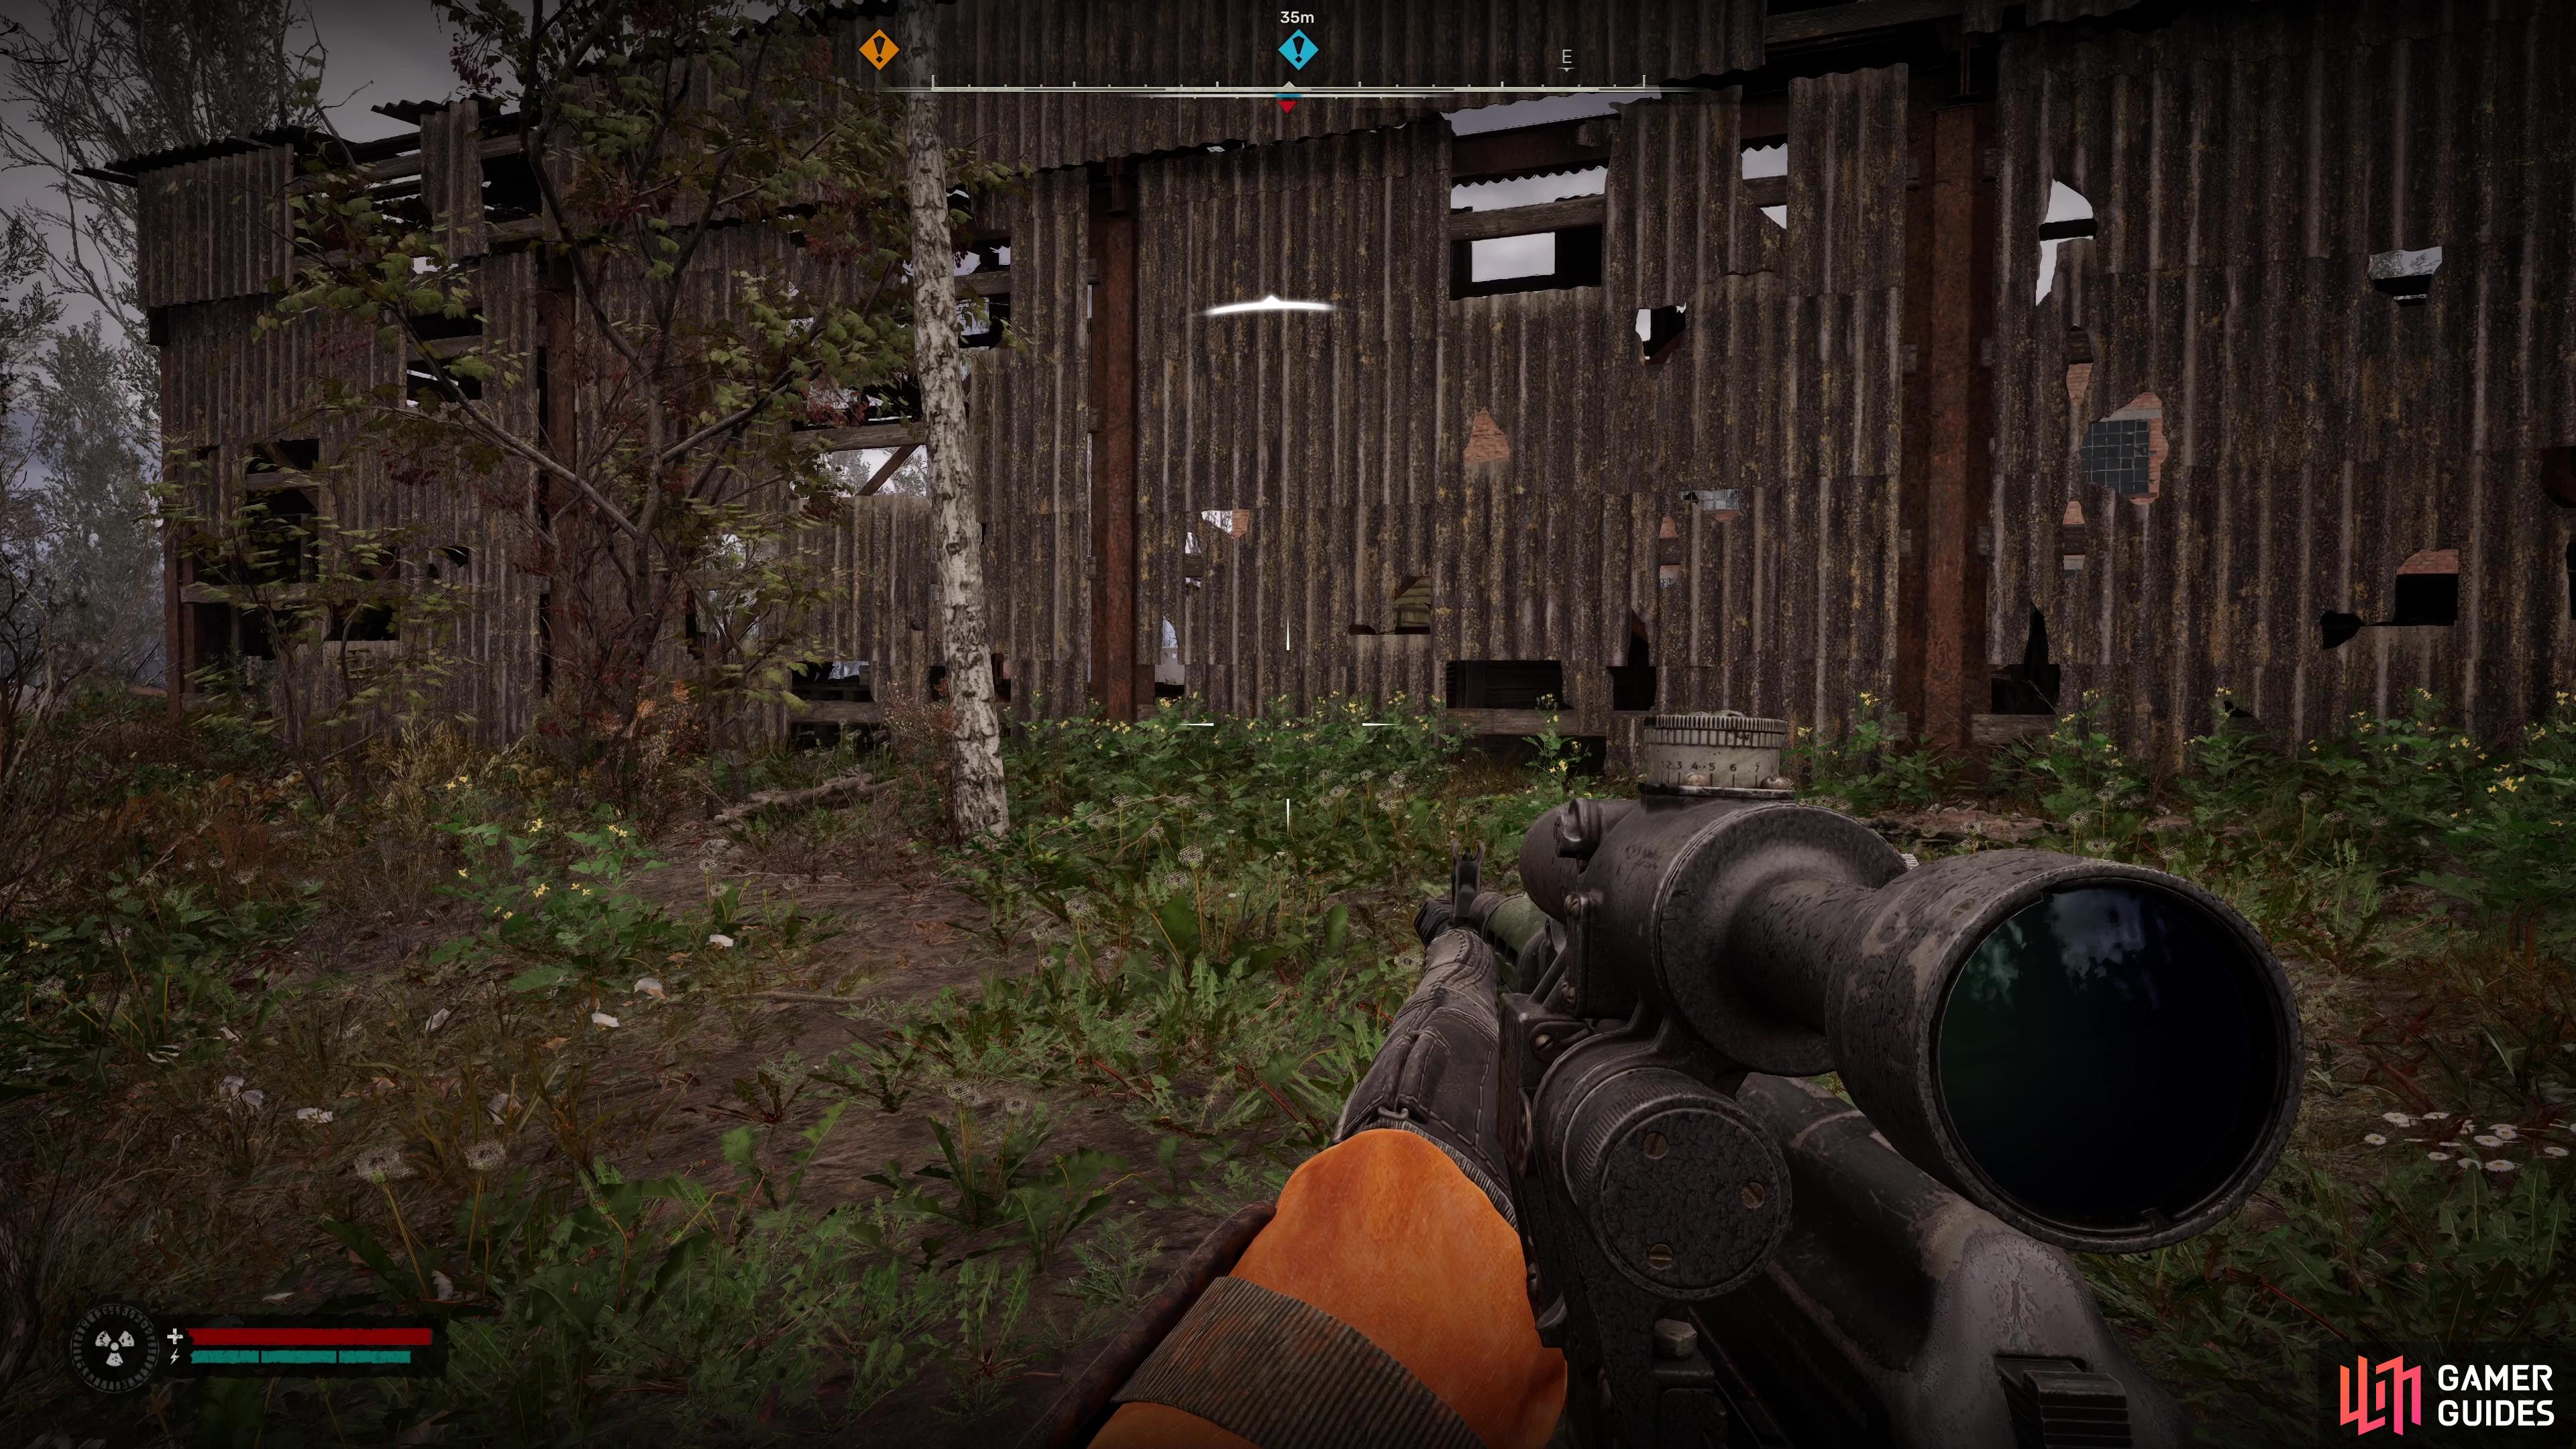
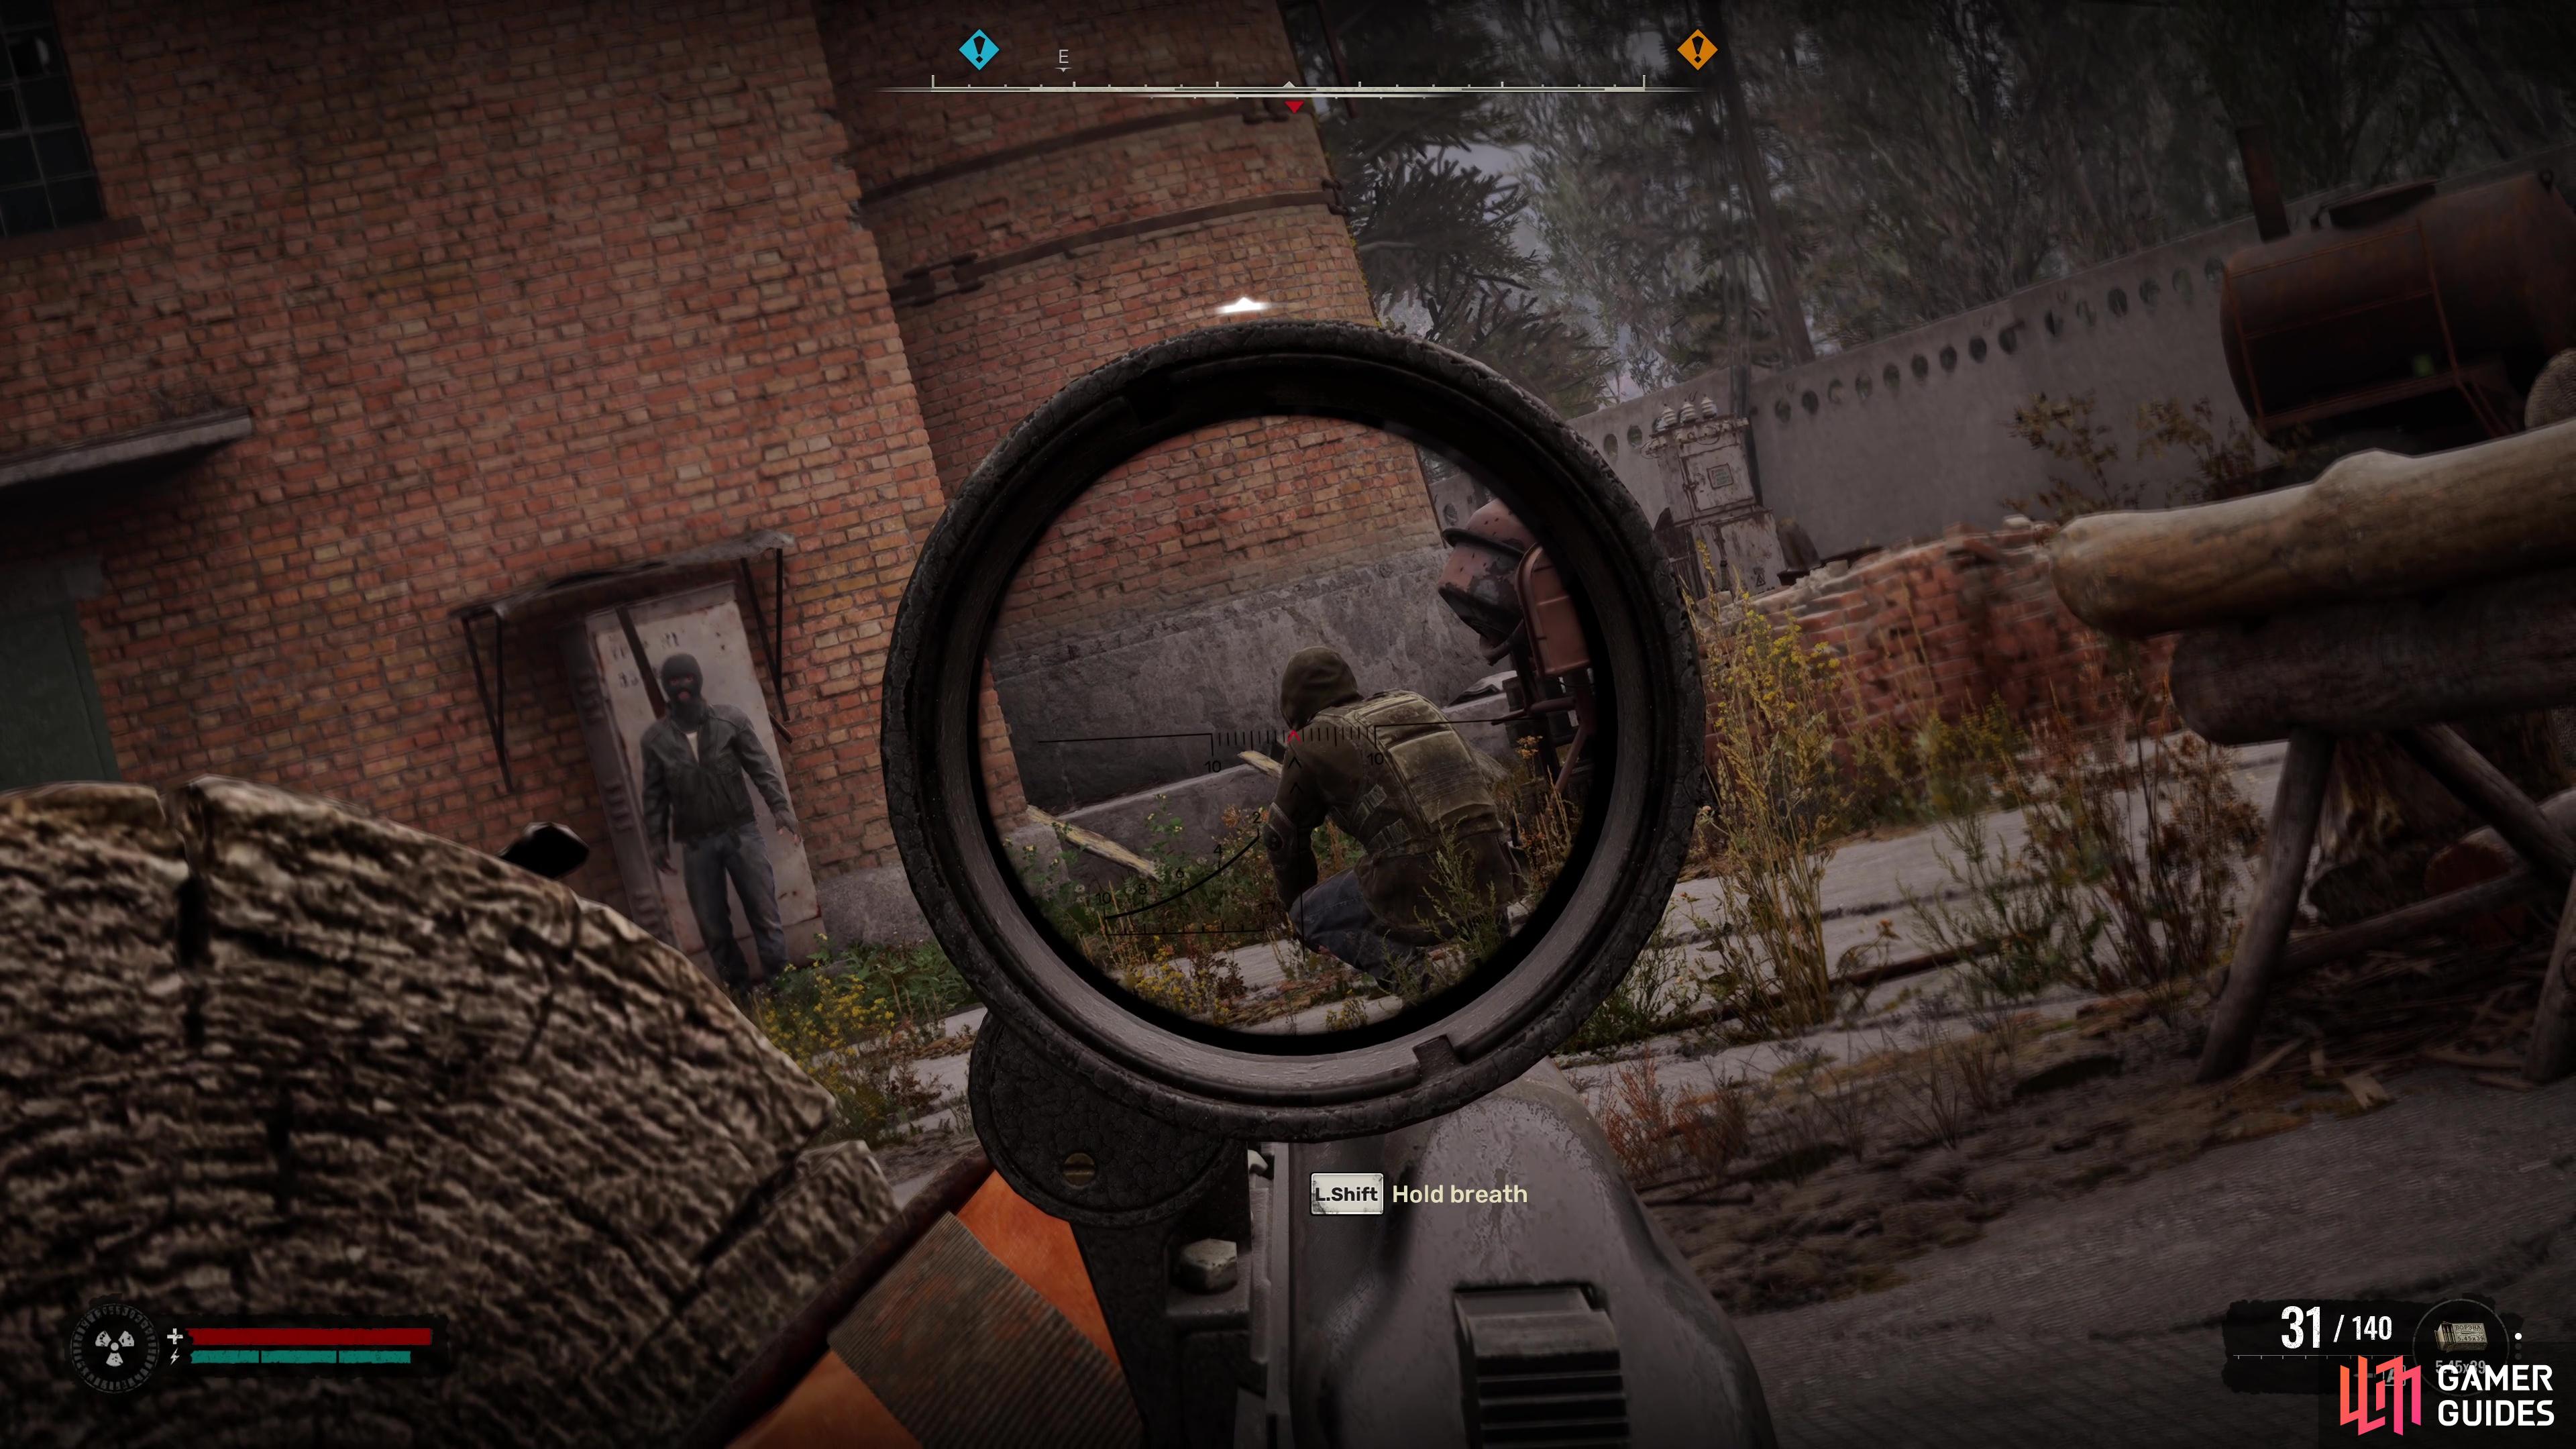
Approach quietly from behind the warehouse to the east, and you’ll find a logpile you can use as cover. There are Bandits all over this area, including some on the roof and some that will come out near the door, so using a weapon with a scope can be useful here, there’s no need to worry about stealth once the firefight begins.
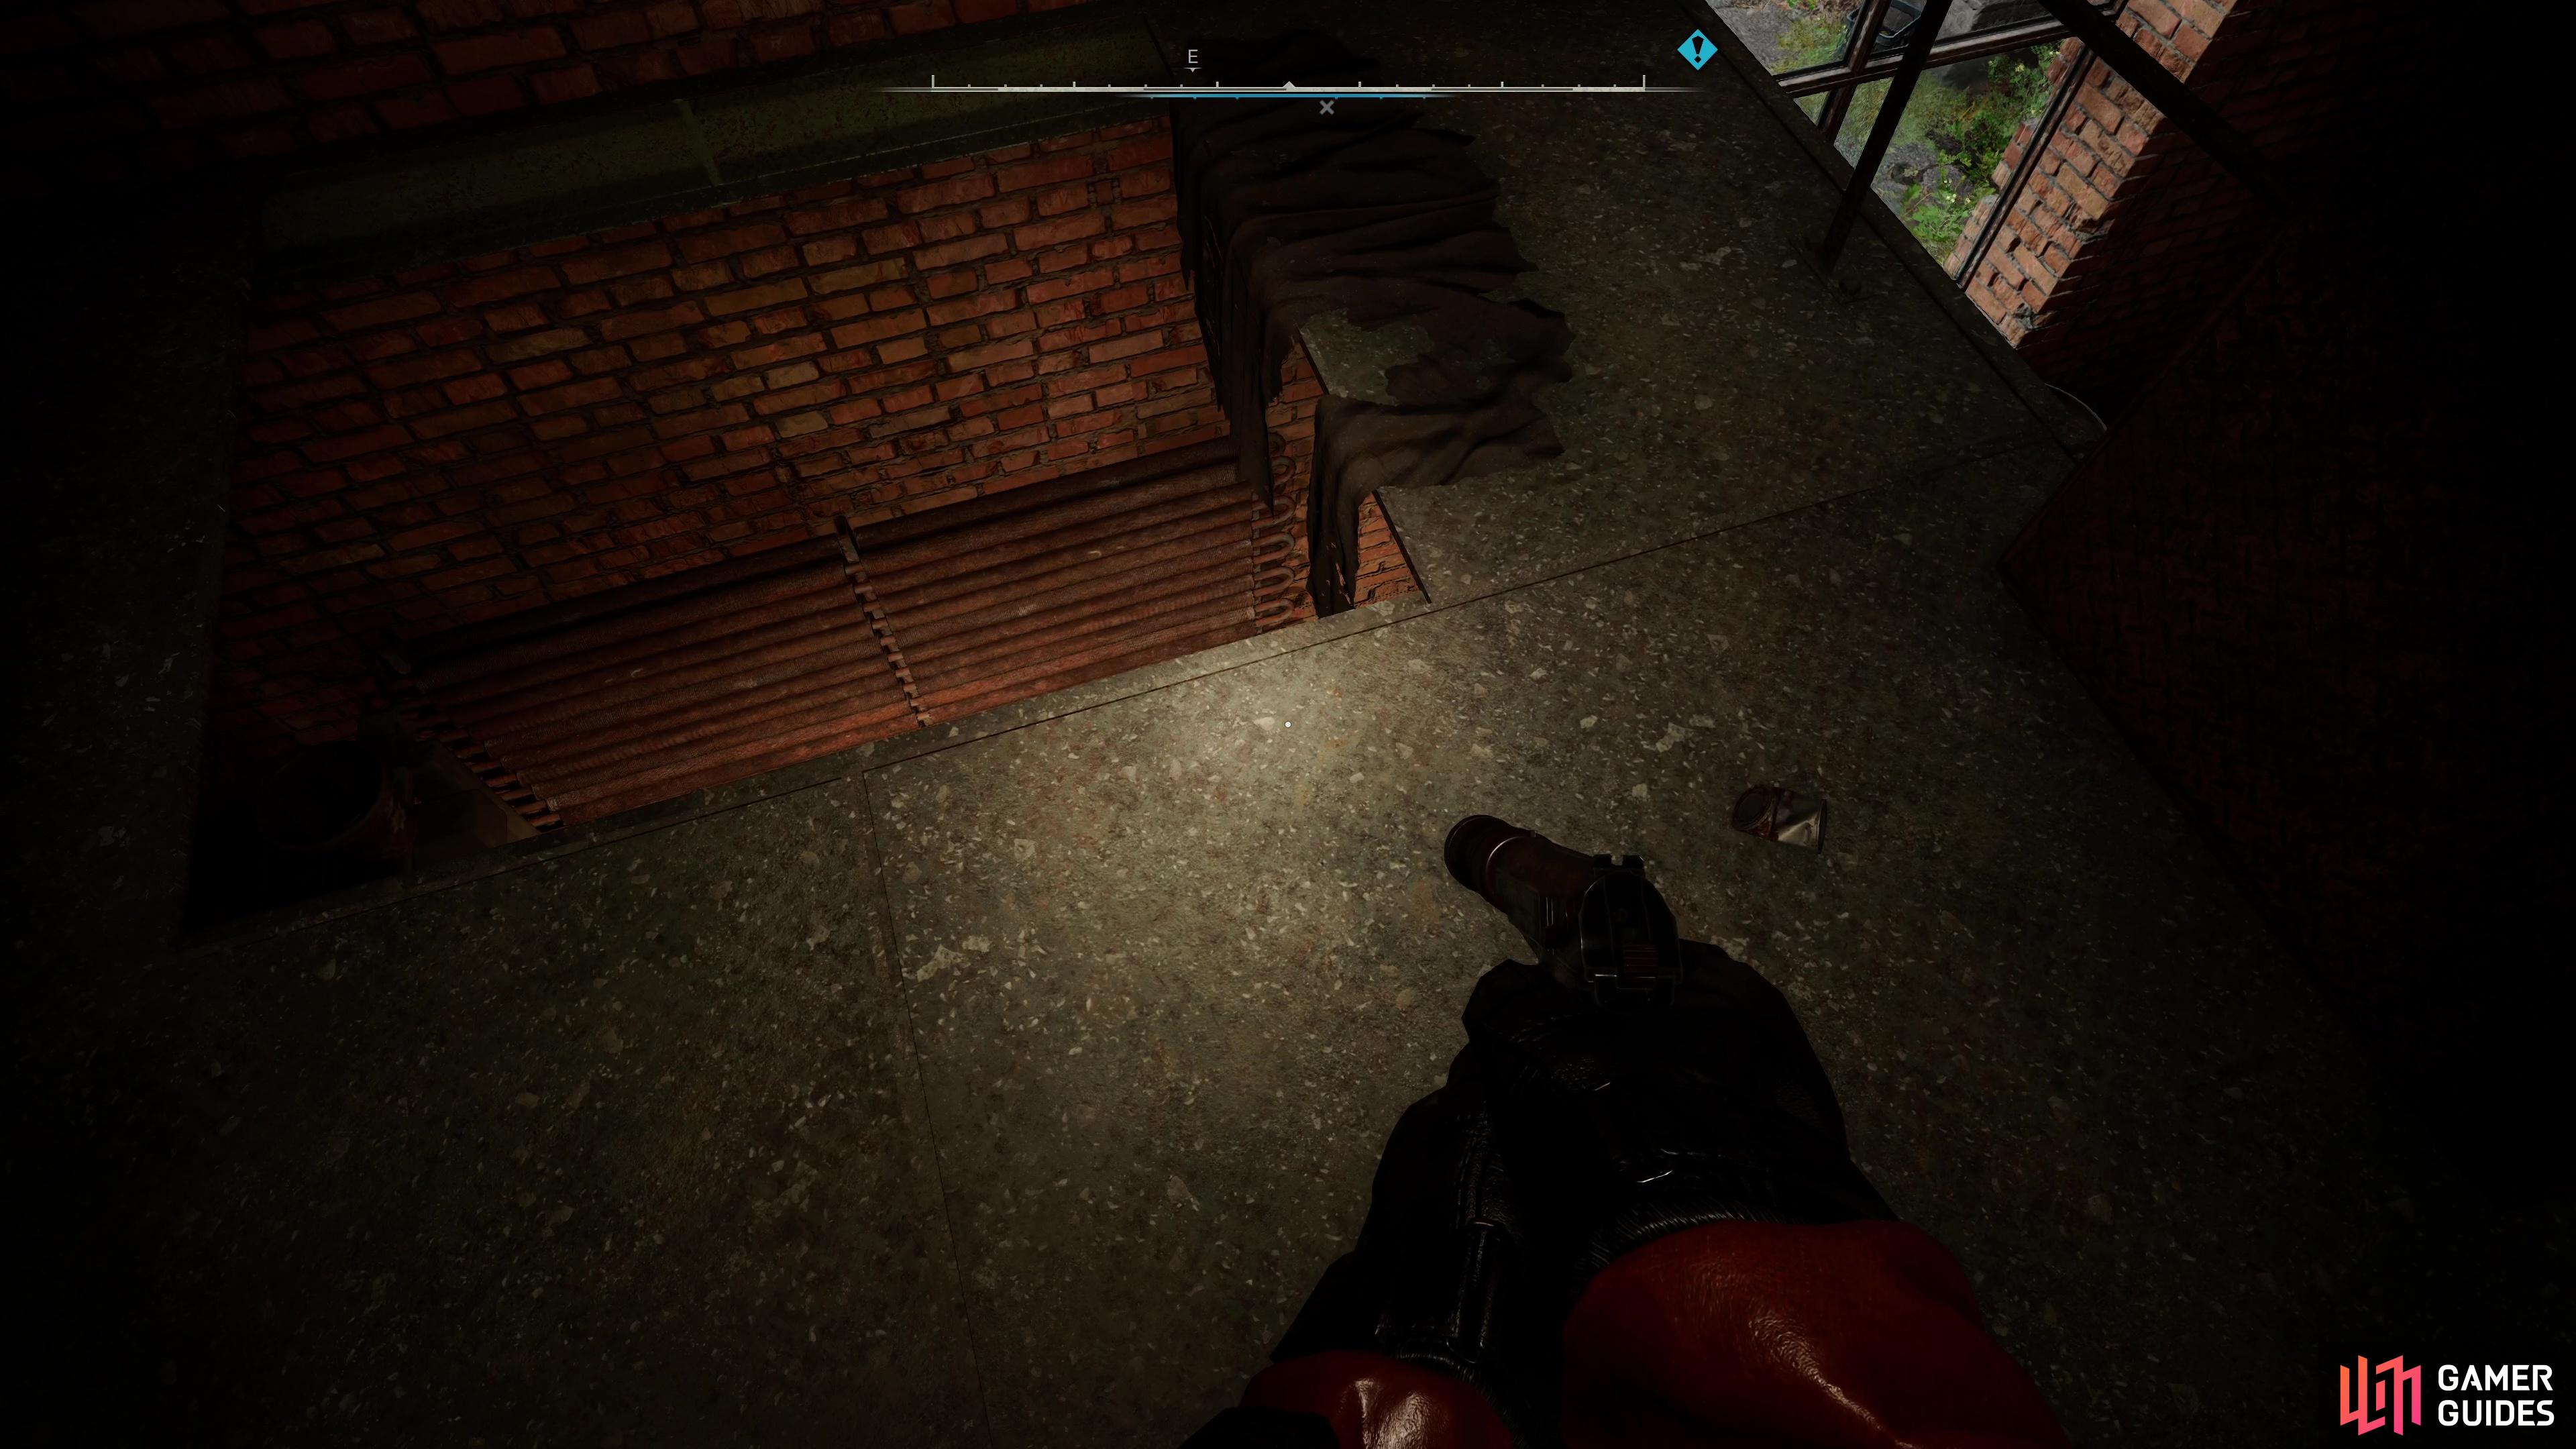
They will, however, toss Grenades your way, so should you see one coming your way, dash away from your location to avoid the damage it will deal. Once you’ve dealt with all of the enemies here, loot the bodies and then climb up the boxes near where the ladder to the roof is and go through the door here, taking out any stragglers that may be remaining in the main warehouse itself. Look to your left from the entrance of this warehouse and you’ll find a hole you can drop into.
(1 of 4) Attack the warehouse from this location.
Attack or Spare Docent
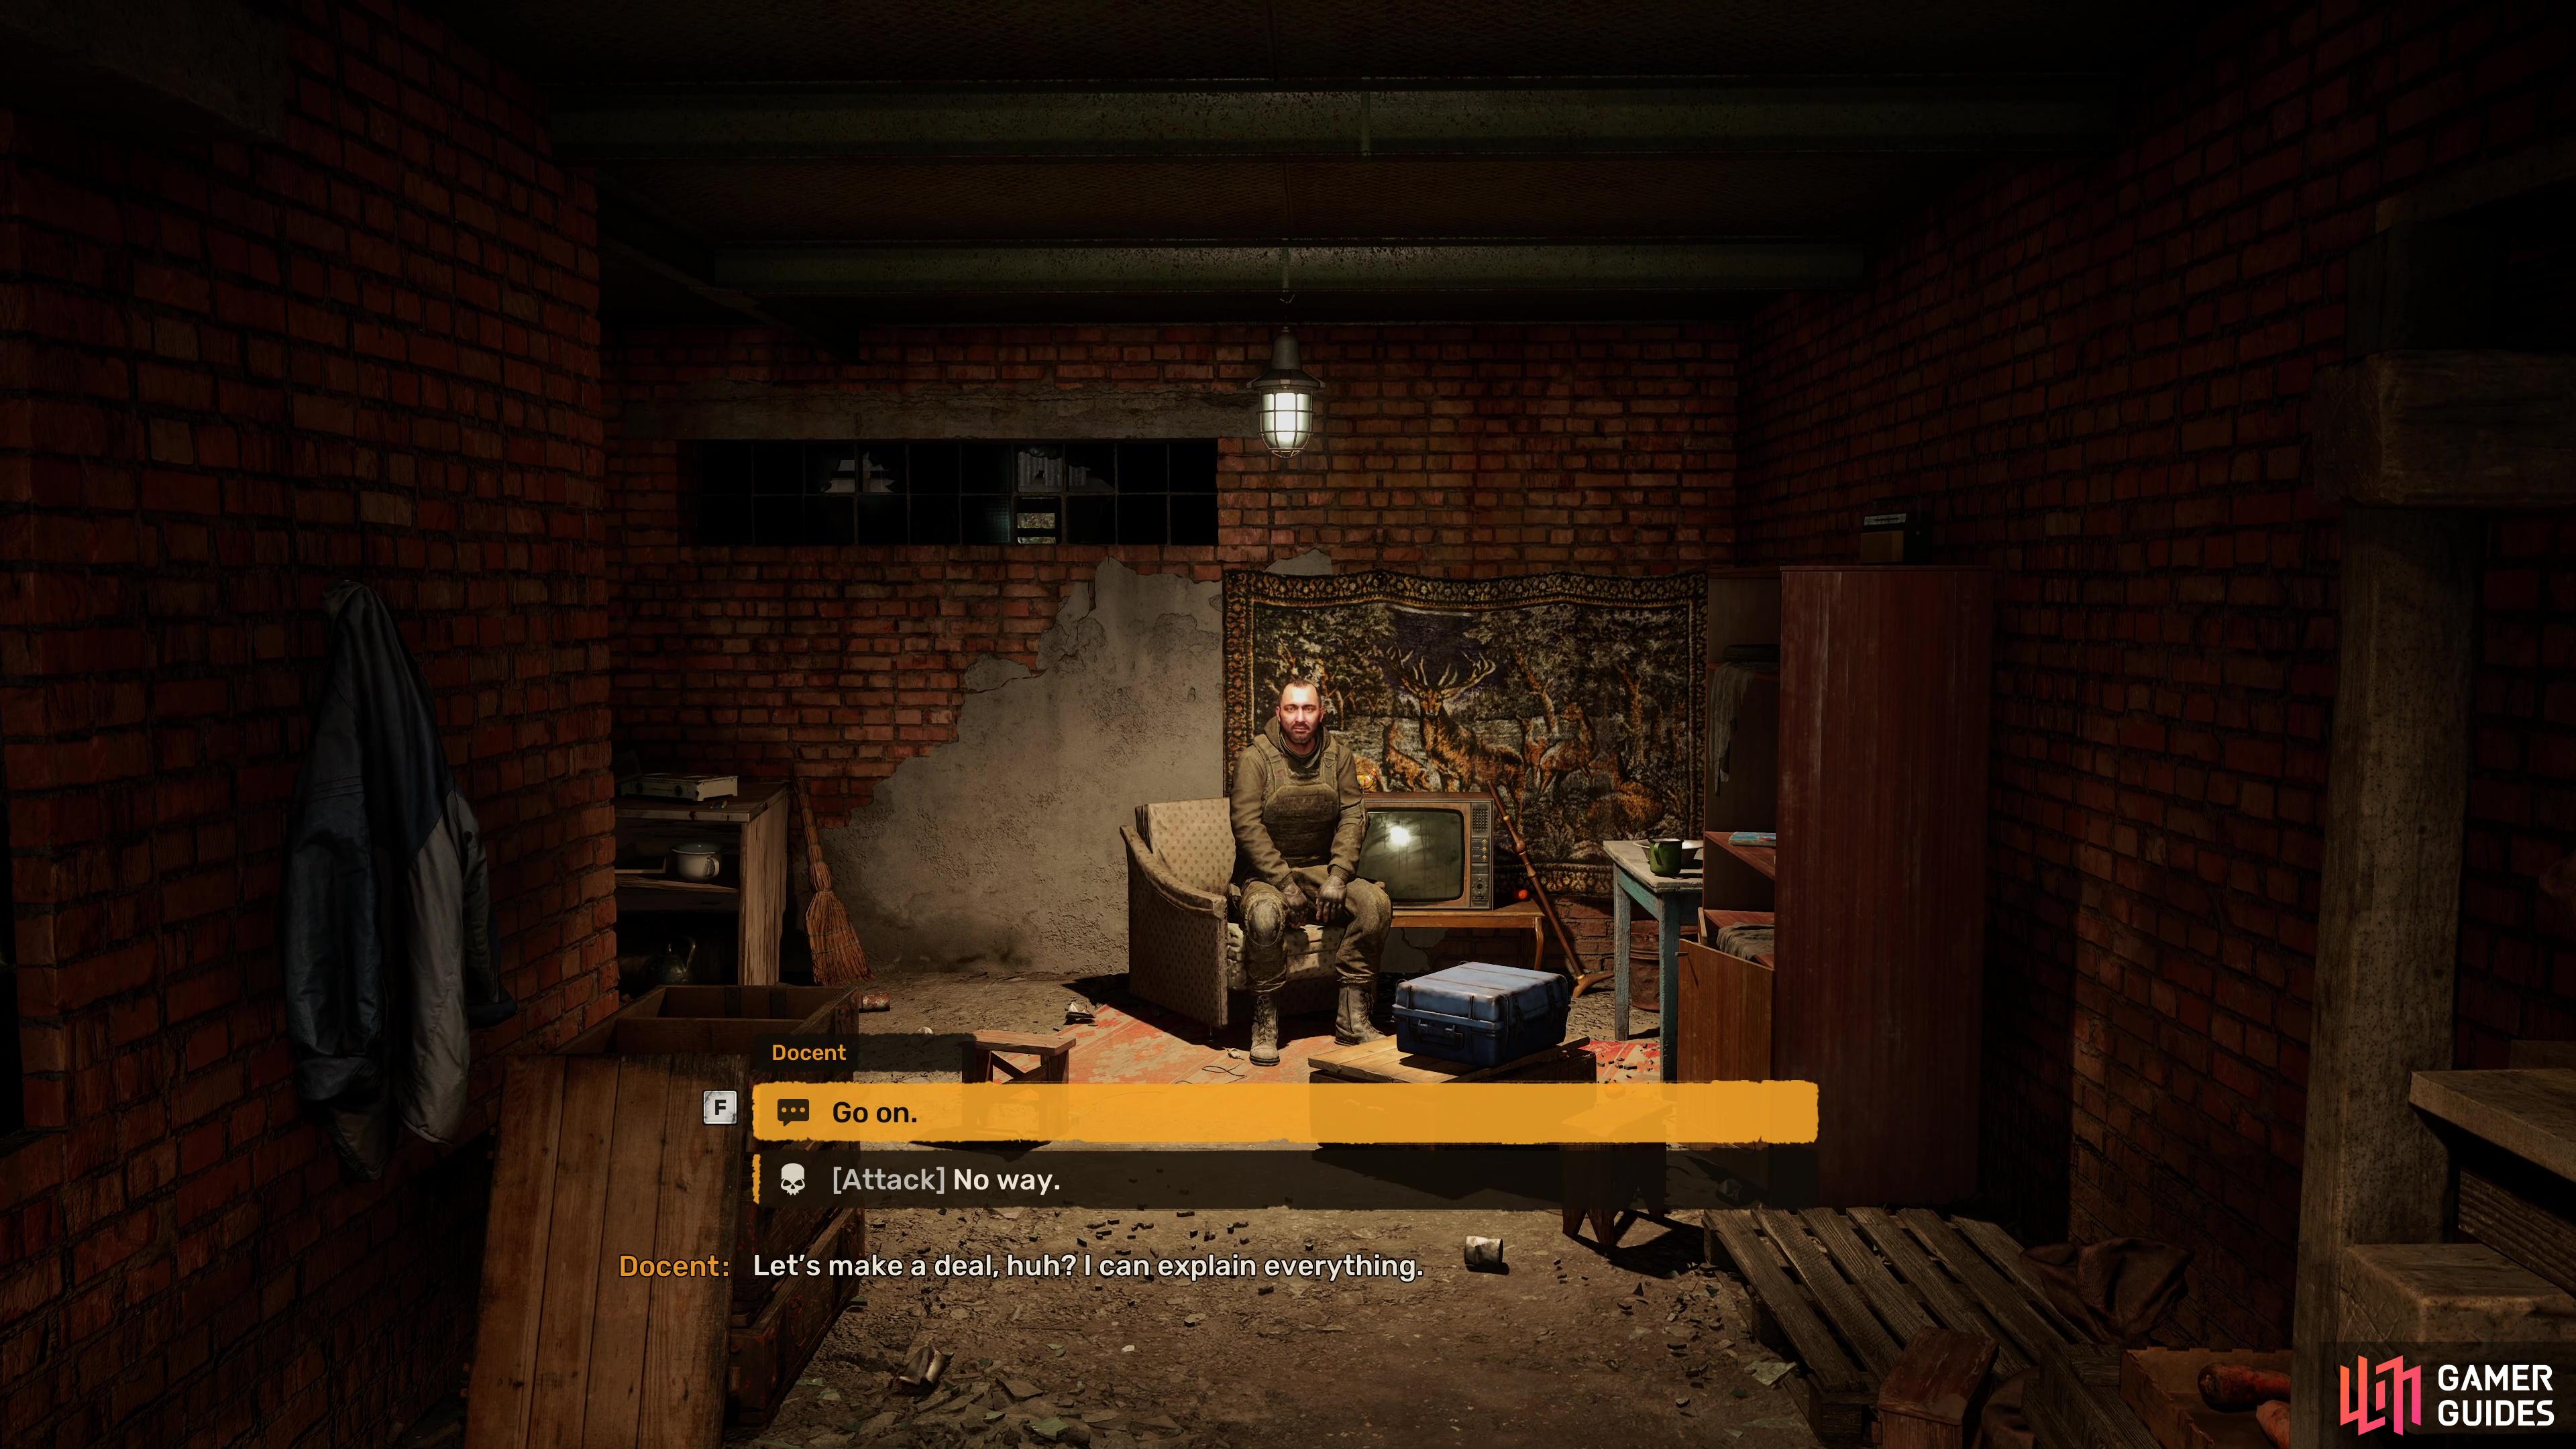
You’ll have a decision to make here, before you can even learn the entire situation of what happened. Do you attack Docent for what he did to Huron’s couriers and claim the shipment, or do you hear him out and leave him alone while still taking the shipment.
The best decision here is unquestionably to leave Docent alive, you gain nothing extra from his death, you still gain the shipment without a fight and he’ll happily hand over the coordinates of a stash that contains a unique gun, sounds like a win all around to us. Once you’re done speaking with him, don’t forget the shipment in the same room before you leave. Before you head back to Huron, now is a great time to go and check out that stash you just got the coordinates for.
Locating Shah’s Stash
This is not an official mission objective, you only simply need to return to Huron and hand over the shipment to complete the mission and obtain 1,600 Coupons. Instead, open your map and look to the far northwest, close to where the Poisonous Hole (Map Marker) is (where one of the stashes for the Budmo! Mission can be found) and start heading in that direction.
You’ll eventually reach a tunnel that is littered with corpses, this should get you prepared that not all is right in this area. The stash can be found in a corner here, and you’ll get ![]() Shah’s Mate, an excellent gun that you should probably equip right away! That’s due to the fact that a nasty Bloodsucker will immediately jump you, and there’s not really many open areas to fight it in. If you’re got the Stamina to spare, and you’re already done looting the area, it’s probably better to just dash away, but if you’re not finished, try to keep your back to a corner somewhere and shoot it as it approaches.
Shah’s Mate, an excellent gun that you should probably equip right away! That’s due to the fact that a nasty Bloodsucker will immediately jump you, and there’s not really many open areas to fight it in. If you’re got the Stamina to spare, and you’re already done looting the area, it’s probably better to just dash away, but if you’re not finished, try to keep your back to a corner somewhere and shoot it as it approaches.
There you have it; you now know how to complete No Honor Among Thieves and get your hands on a powerful unique gun, now it’s time to scour the Garbage for any more missions that may be awaiting your assistance.


 Sign up
No Comments