Following your escapades in the ![]() Lesser Zone, you’ll find yourself in Stalker 2: Heart of Chornobyl’s second region,
Lesser Zone, you’ll find yourself in Stalker 2: Heart of Chornobyl’s second region, ![]() Garbage, as you track down some allies of Richter if you chose to hand the sensors to him back in Behind Seven Seals. Keep reading to learn how to complete Richter’s version of
Garbage, as you track down some allies of Richter if you chose to hand the sensors to him back in Behind Seven Seals. Keep reading to learn how to complete Richter’s version of ![]() Answers Come at a Price.
Answers Come at a Price.
Answers Come at a Price is a main mission in Garbage in Stalker 2: Heart of Chornobyl.
Table of Contents
If you want to jump to a specific section, click on the links below.
| Quickjump |
|---|
| Get to the Detention Center |
| Go Down to the Laboratory |
| Entering the Factory and The Road to Salvation |
| Find Information About Nestor |
| Get to the Top Floor and Meet up with the stranger |
Get to the Detention Center
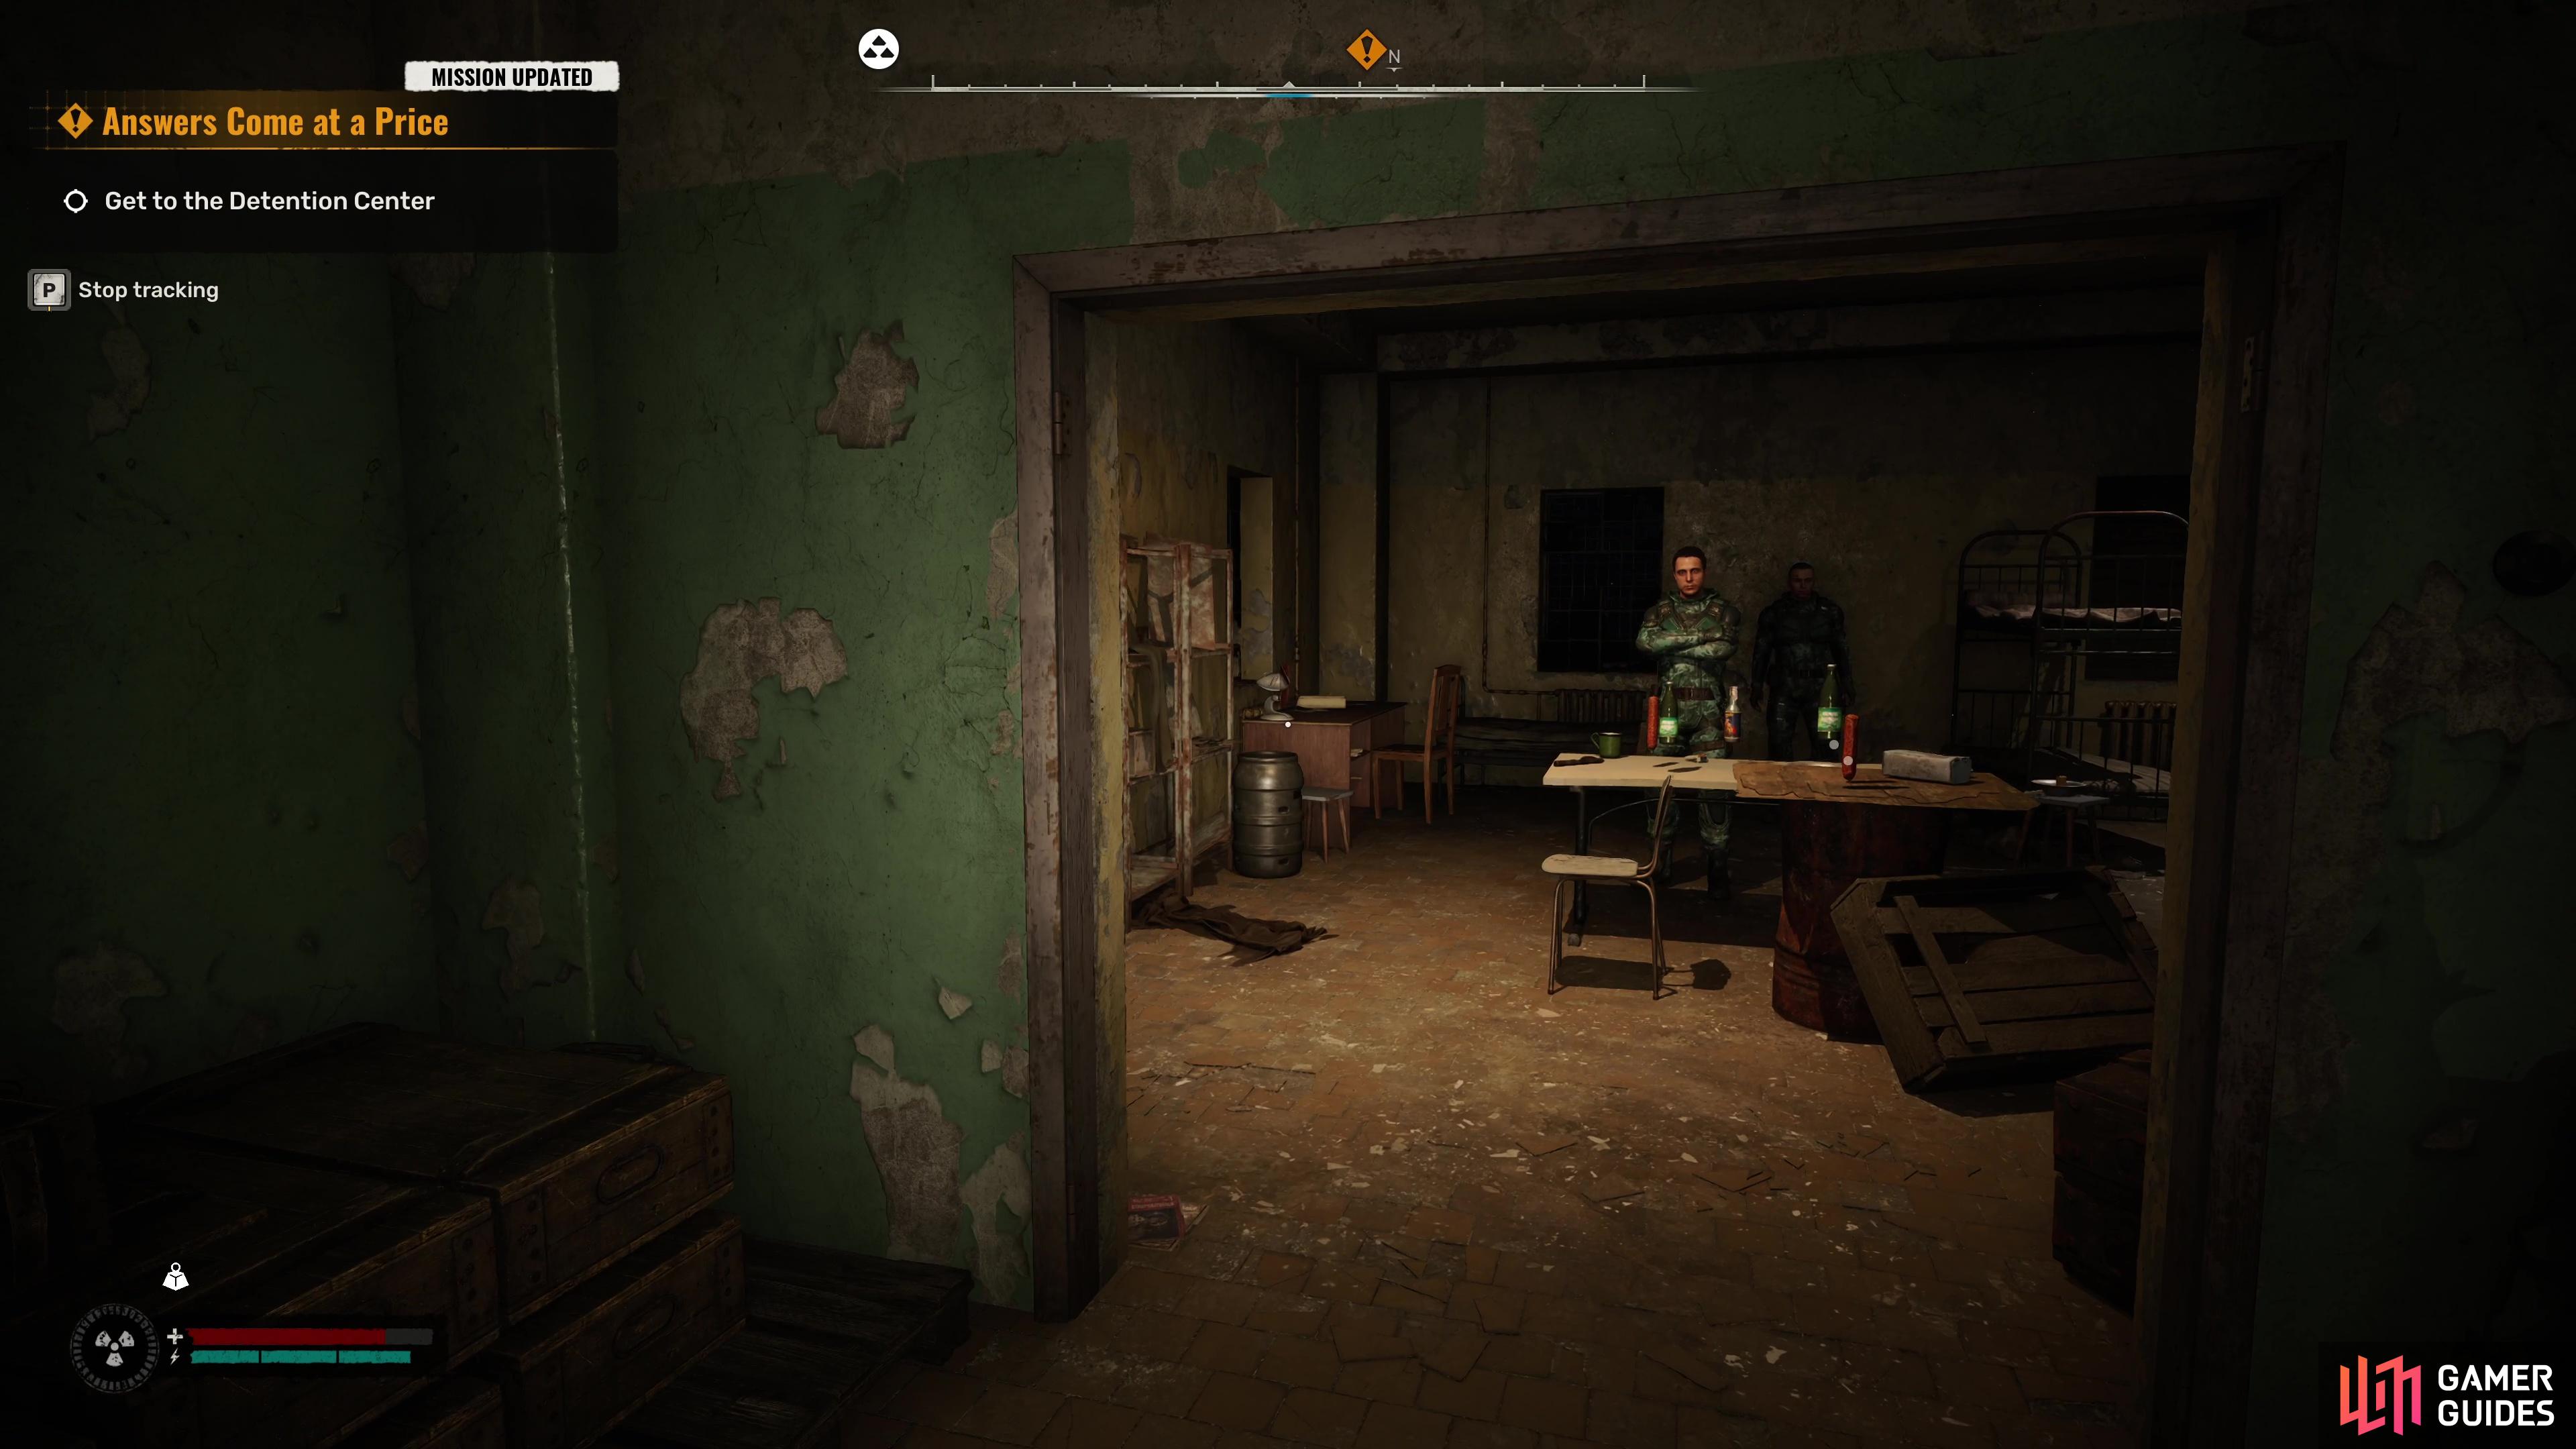
As you take your first steps into the Garbage region, you’ll recall that Richter sent you to the Detention Center to meet up with some of his men that may be able to help you track down Nestor, your current lead. If you open the map and take a look, you’ll discover that this Detention Center (Map Marker) isn’t too far away, a short trek to the east of where you enter Garbage from the Northern Checkpoint.
If you stick to the main path, you may want to take a short detour to the Garbage Camp, a small location found along the north of the eastern path that leads to the Detention Center. If you’re unfortunate, you may run into other Stalkers here, but you’ll find a treasure trove of useful loot including some possible gun upgrades (you’ll also find a Journalist’s Stash here, if you have that mission picked up).
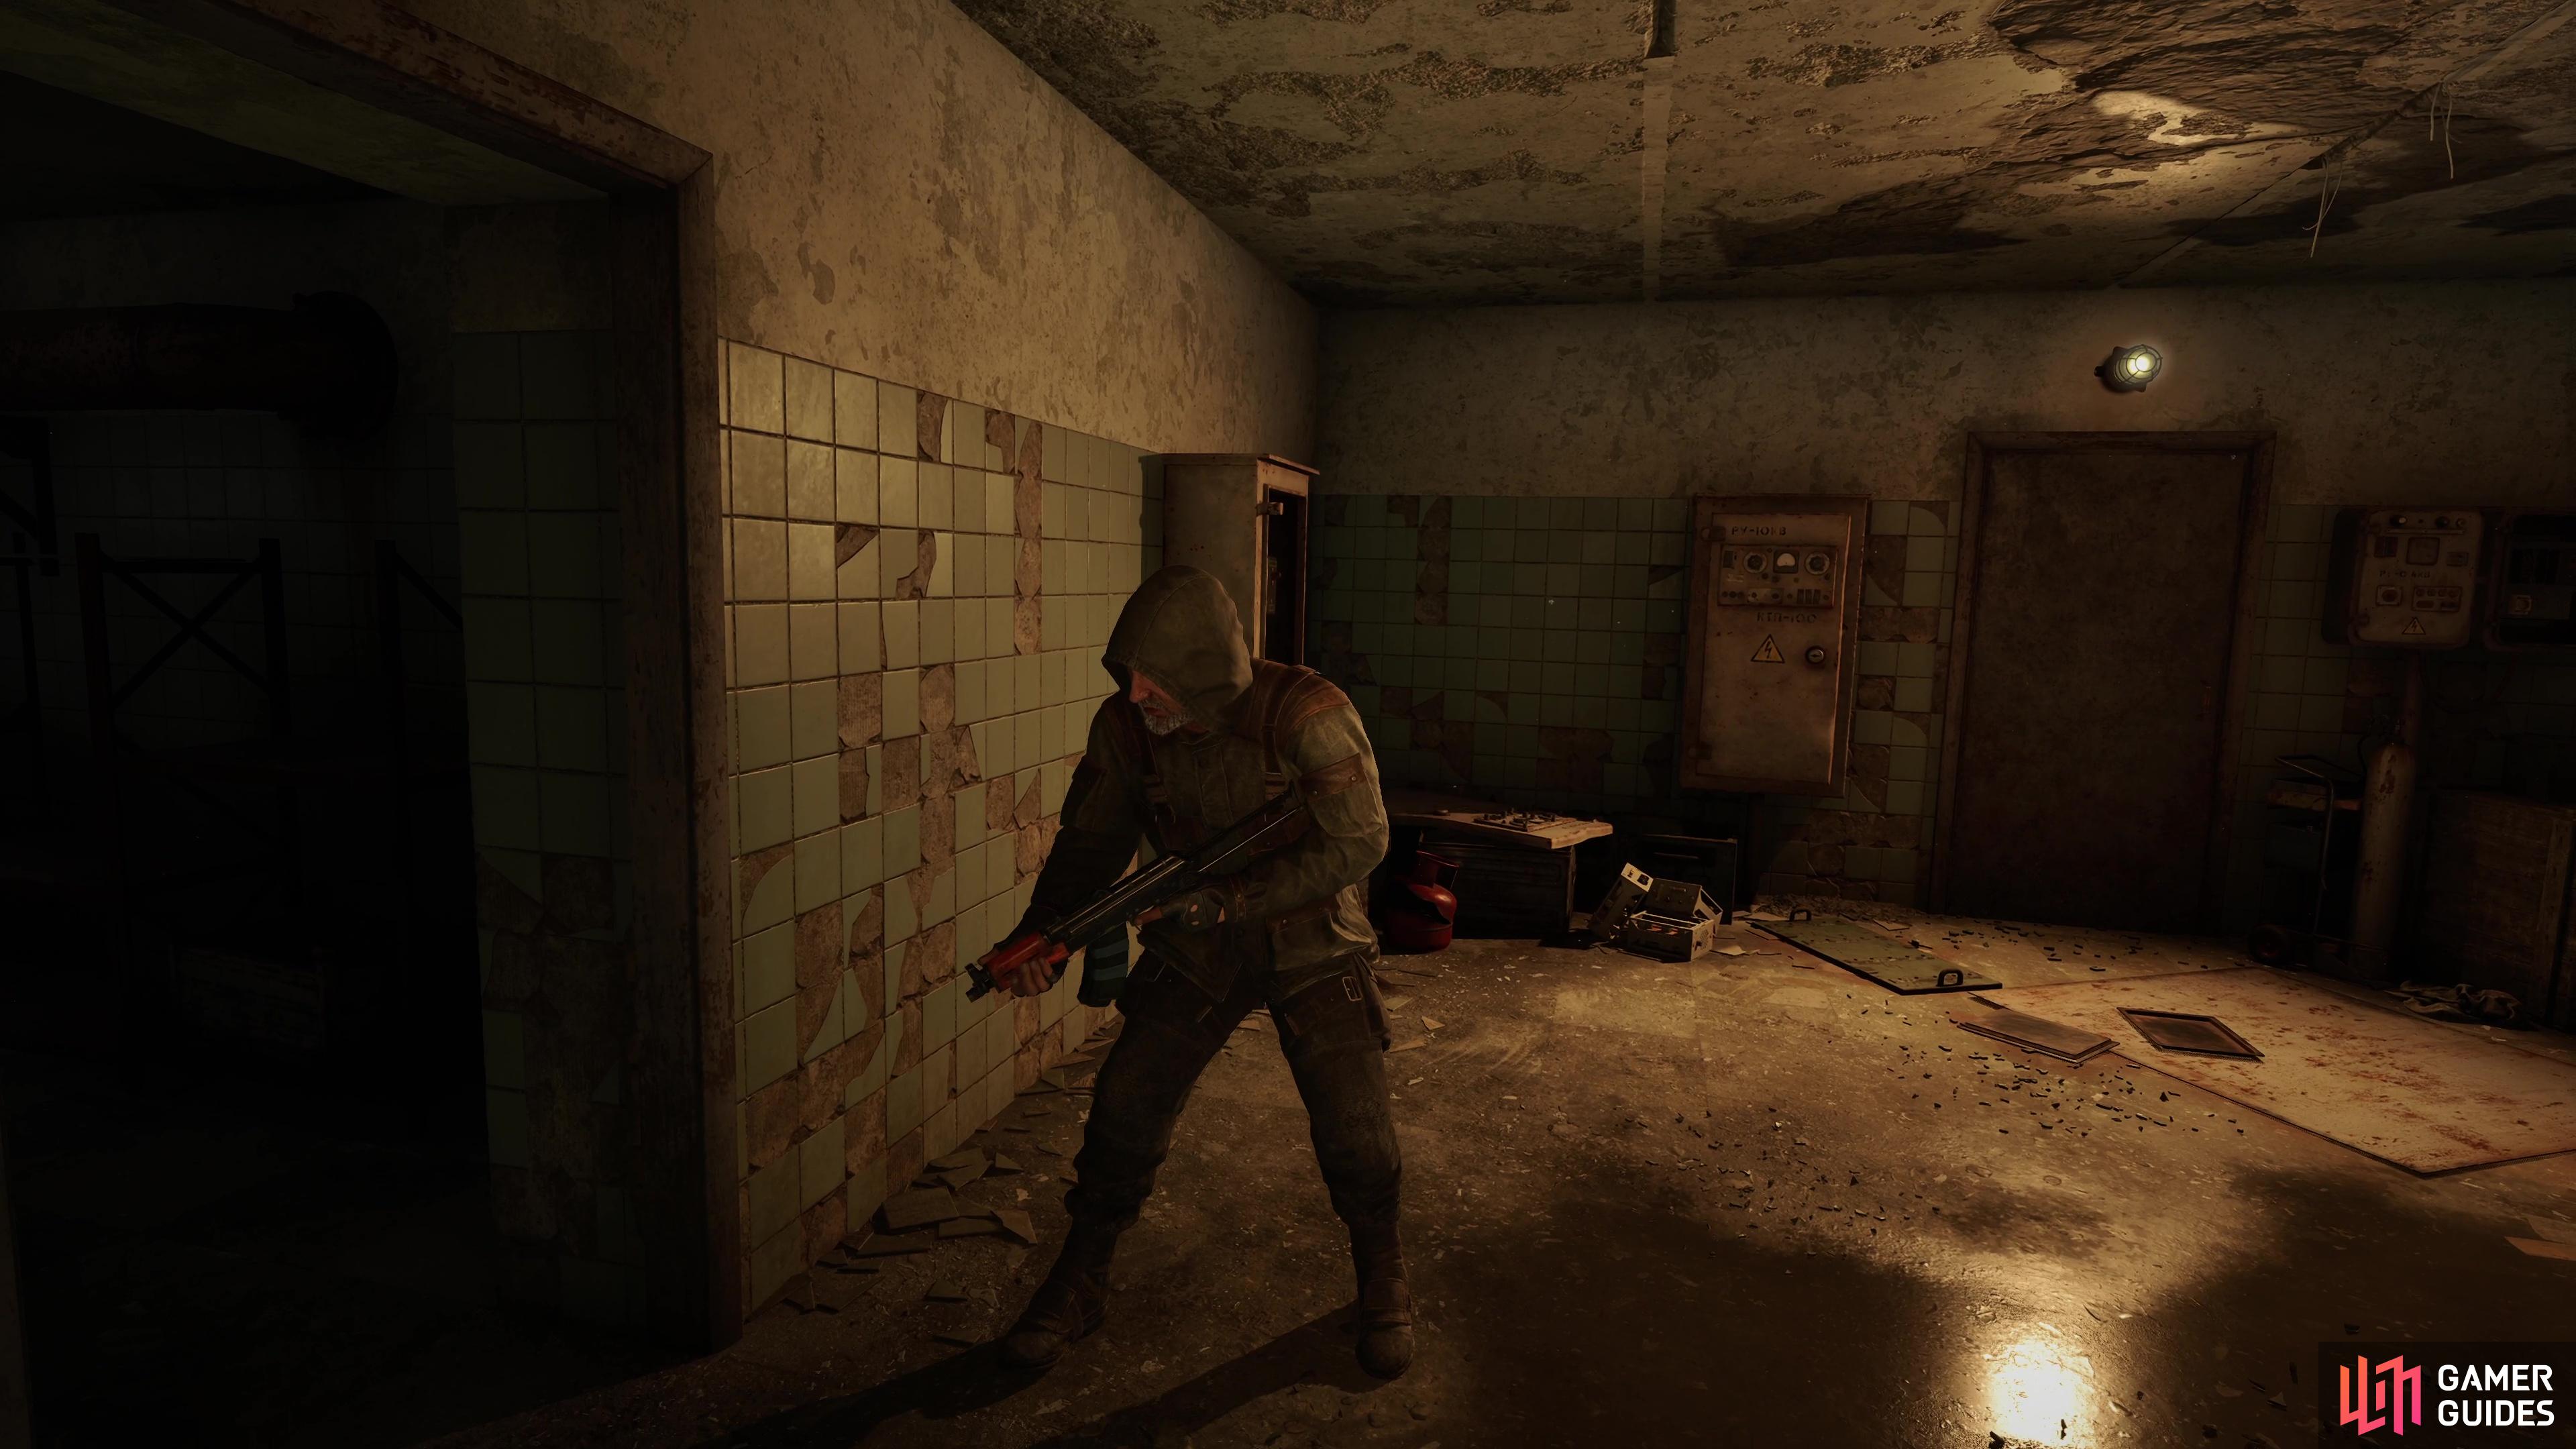
If you are sticking to the main path though, beware of a new type of Anomaly that will inflict Bleeding on you as you walk through the suspended shards, so try to avoid the road itself if you can, you’ll find several as you approach the Detention Center. Beware of the rabid pack of dogs that head your way as you enter the complex, jump on something so you’re not on the ground and take them all out before heading through the northern doors. Head up two flights of stairs and you’ll finally meet Richter’s man, Star.
(1 of 3) The Detention Center can be found to the east of the entrance to Garbage.
Go Down to the Laboratory
Star will explain that you can get the information you’re looking for at a nearby X-18 Lab to the northwest of your current location (Map Marker), while also asking if you can help get his man out, starting ![]() The Road to Salvation Side Mission, this is one you’ll complete along the way on this Main Mission. He’ll also offer a Silenced
The Road to Salvation Side Mission, this is one you’ll complete along the way on this Main Mission. He’ll also offer a Silenced ![]() PTM pistol to help with a stealthy infiltration if you should choose it.
PTM pistol to help with a stealthy infiltration if you should choose it.
If you’d rather attach this ![]() Suppressor to
Suppressor to ![]() Skif’s Pistol, you can simply remove it from the basic Pistol he gives you and equip it on your preferred one. Finally, he’ll provide the code needed to get into the X-18 Laboratory itself (2605), and with that, you’re ready to move on (don’t forget to loot this area).
Skif’s Pistol, you can simply remove it from the basic Pistol he gives you and equip it on your preferred one. Finally, he’ll provide the code needed to get into the X-18 Laboratory itself (2605), and with that, you’re ready to move on (don’t forget to loot this area).
Entering the Factory and The Road to Salvation
Once you reach the Factory, there are several ways to enter, and you’ll need to make a decision on if you want a stealthy approach or to go in guns blazing. If you do take the latter route, stick to the outside of the gates and use the cover to take the many guards that litter this area. Of course, if you opt for this route, you’ll find that Star’s man has no chance of surviving (although you can still complete this side mission with the same rewards).
If you want to keep to the shadows though, which we recommend, head to the northeast of the exterior to find a hole in the wall you can sneak in by. You’ll then spot some pipes to your right that you can use to climb up and reach a hole in the wall (you’ll also pass by Star’s man). Make a quicksave here and keep crouched as you enter the upper floors of the building though, there are Ward soldiers here that will become alerted very quickly.
Tiptoe around the area and you’ll find a door with a lock, use your melee to strike it and you’ll find Star’s man who you can free and will make his own way out. He’ll also mention that there’s some documents down at the bottom floor of the lab that you need to retrieve.
With that little excursion out of the way, return carefully to where you entered the building and make your way down the stairs to the ground floor. In the corner here are more stairs leading to the basement (there may be soldiers down here, so have your silenced Pistol at the ready and be quick) and the door where you can use the code (2605).
Find Information About Nestor
Now that you’re in the Lab, you’ll need to deal with what you came here for, finding information about Nestor and locating the documents that Star’s man mentioned. Make your way down the stairs and take the time too loot the surroundings, you can find some ammo and health boxes laying around here and they’ll come in handy shortly.
Follow the linear path for now and take the broken stairs down (you’ll be back here later to go up once you have the code) and once you reach the bottom, you’ll find a body belonging to one of Star’s men. This should be a hint for you, equip your hardest hitting weapon (such as a Shotgun) and slowly walk through the doorway.
As you head around the corner (grab the ![]() Medkits from the bathroom nearby!) and into the door on your right, you’ll be attacked by a Bloodsucker, the same type of Mutant that assaulted you during There and Back Again and the same strategy works here. Go back to the room like the bathroom, have a Shotgun prepped and fire away at it as it enters the door, the last thing you want to do is fight a creature like this in the open.
Medkits from the bathroom nearby!) and into the door on your right, you’ll be attacked by a Bloodsucker, the same type of Mutant that assaulted you during There and Back Again and the same strategy works here. Go back to the room like the bathroom, have a Shotgun prepped and fire away at it as it enters the door, the last thing you want to do is fight a creature like this in the open.
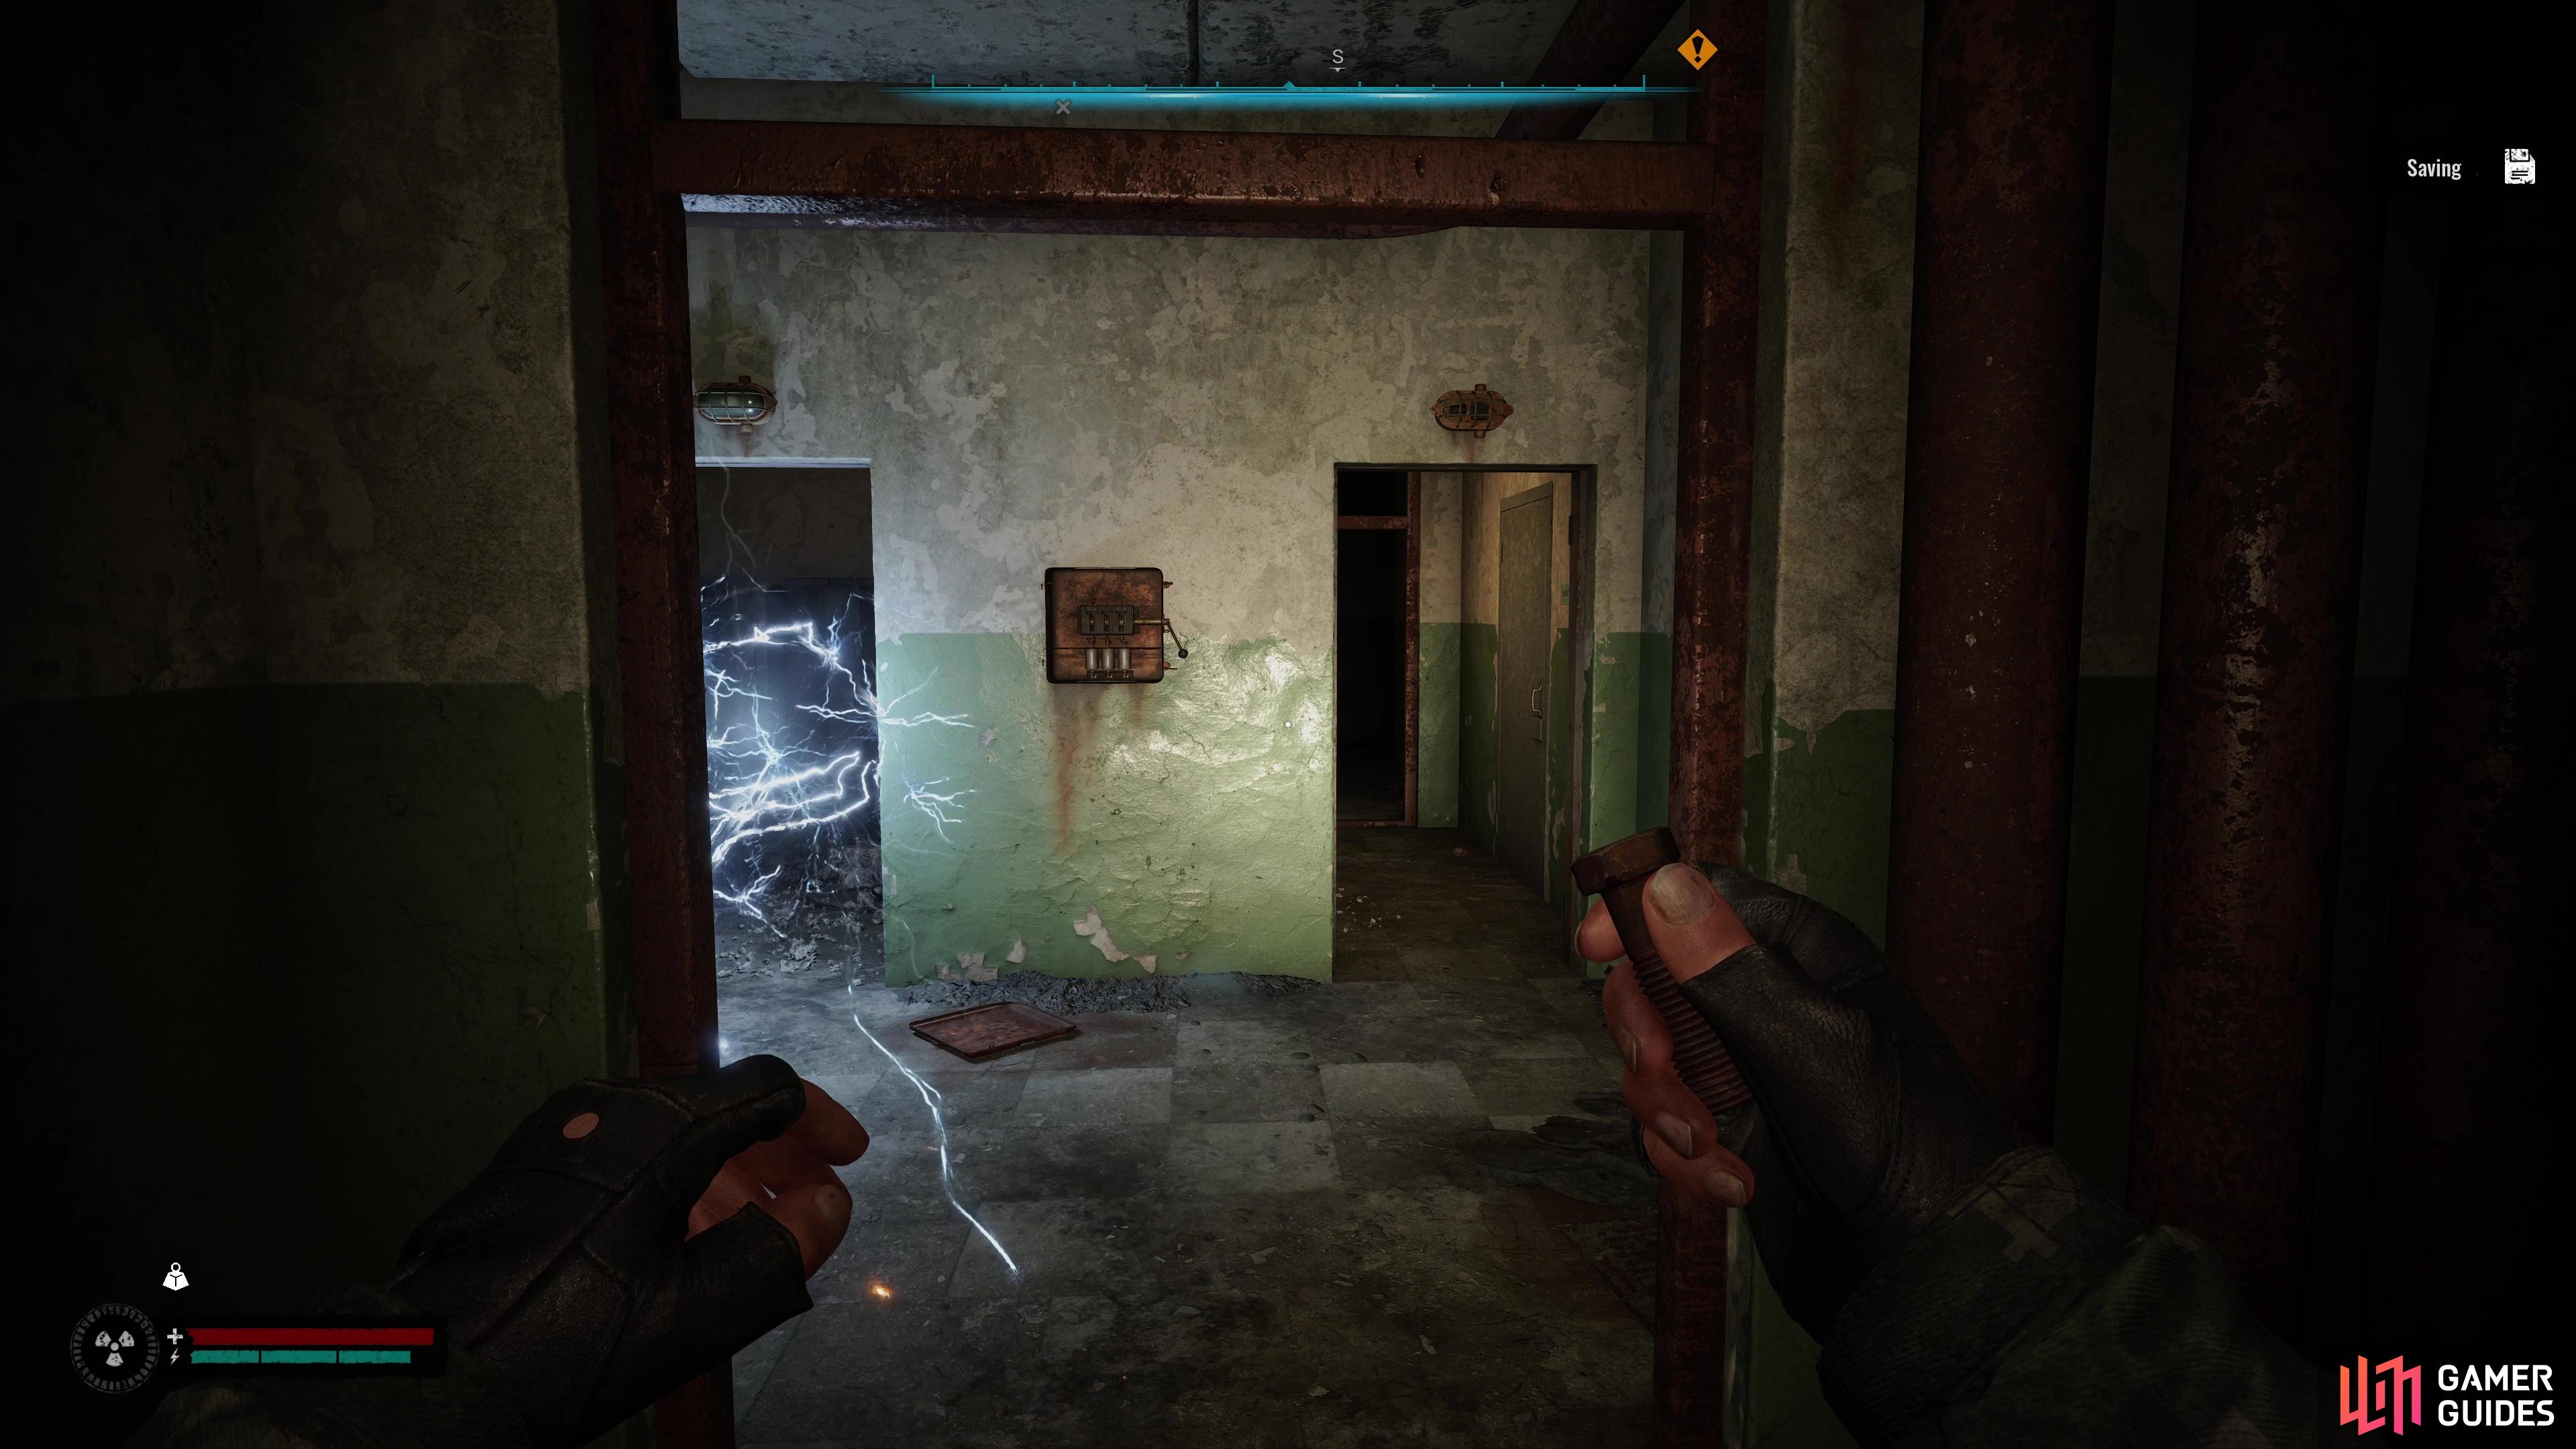
(1 of 3) Go through the door on the left once the Electro Anomaly passes you by.
Once the threat has been dealt with, you’ll be presented with two directions you can head, through the door on your right where the Bloodsucker emerged from, this leads to a tape recorder that has the information on Nestor you’re looking for. Instead, though, take the route to your left.
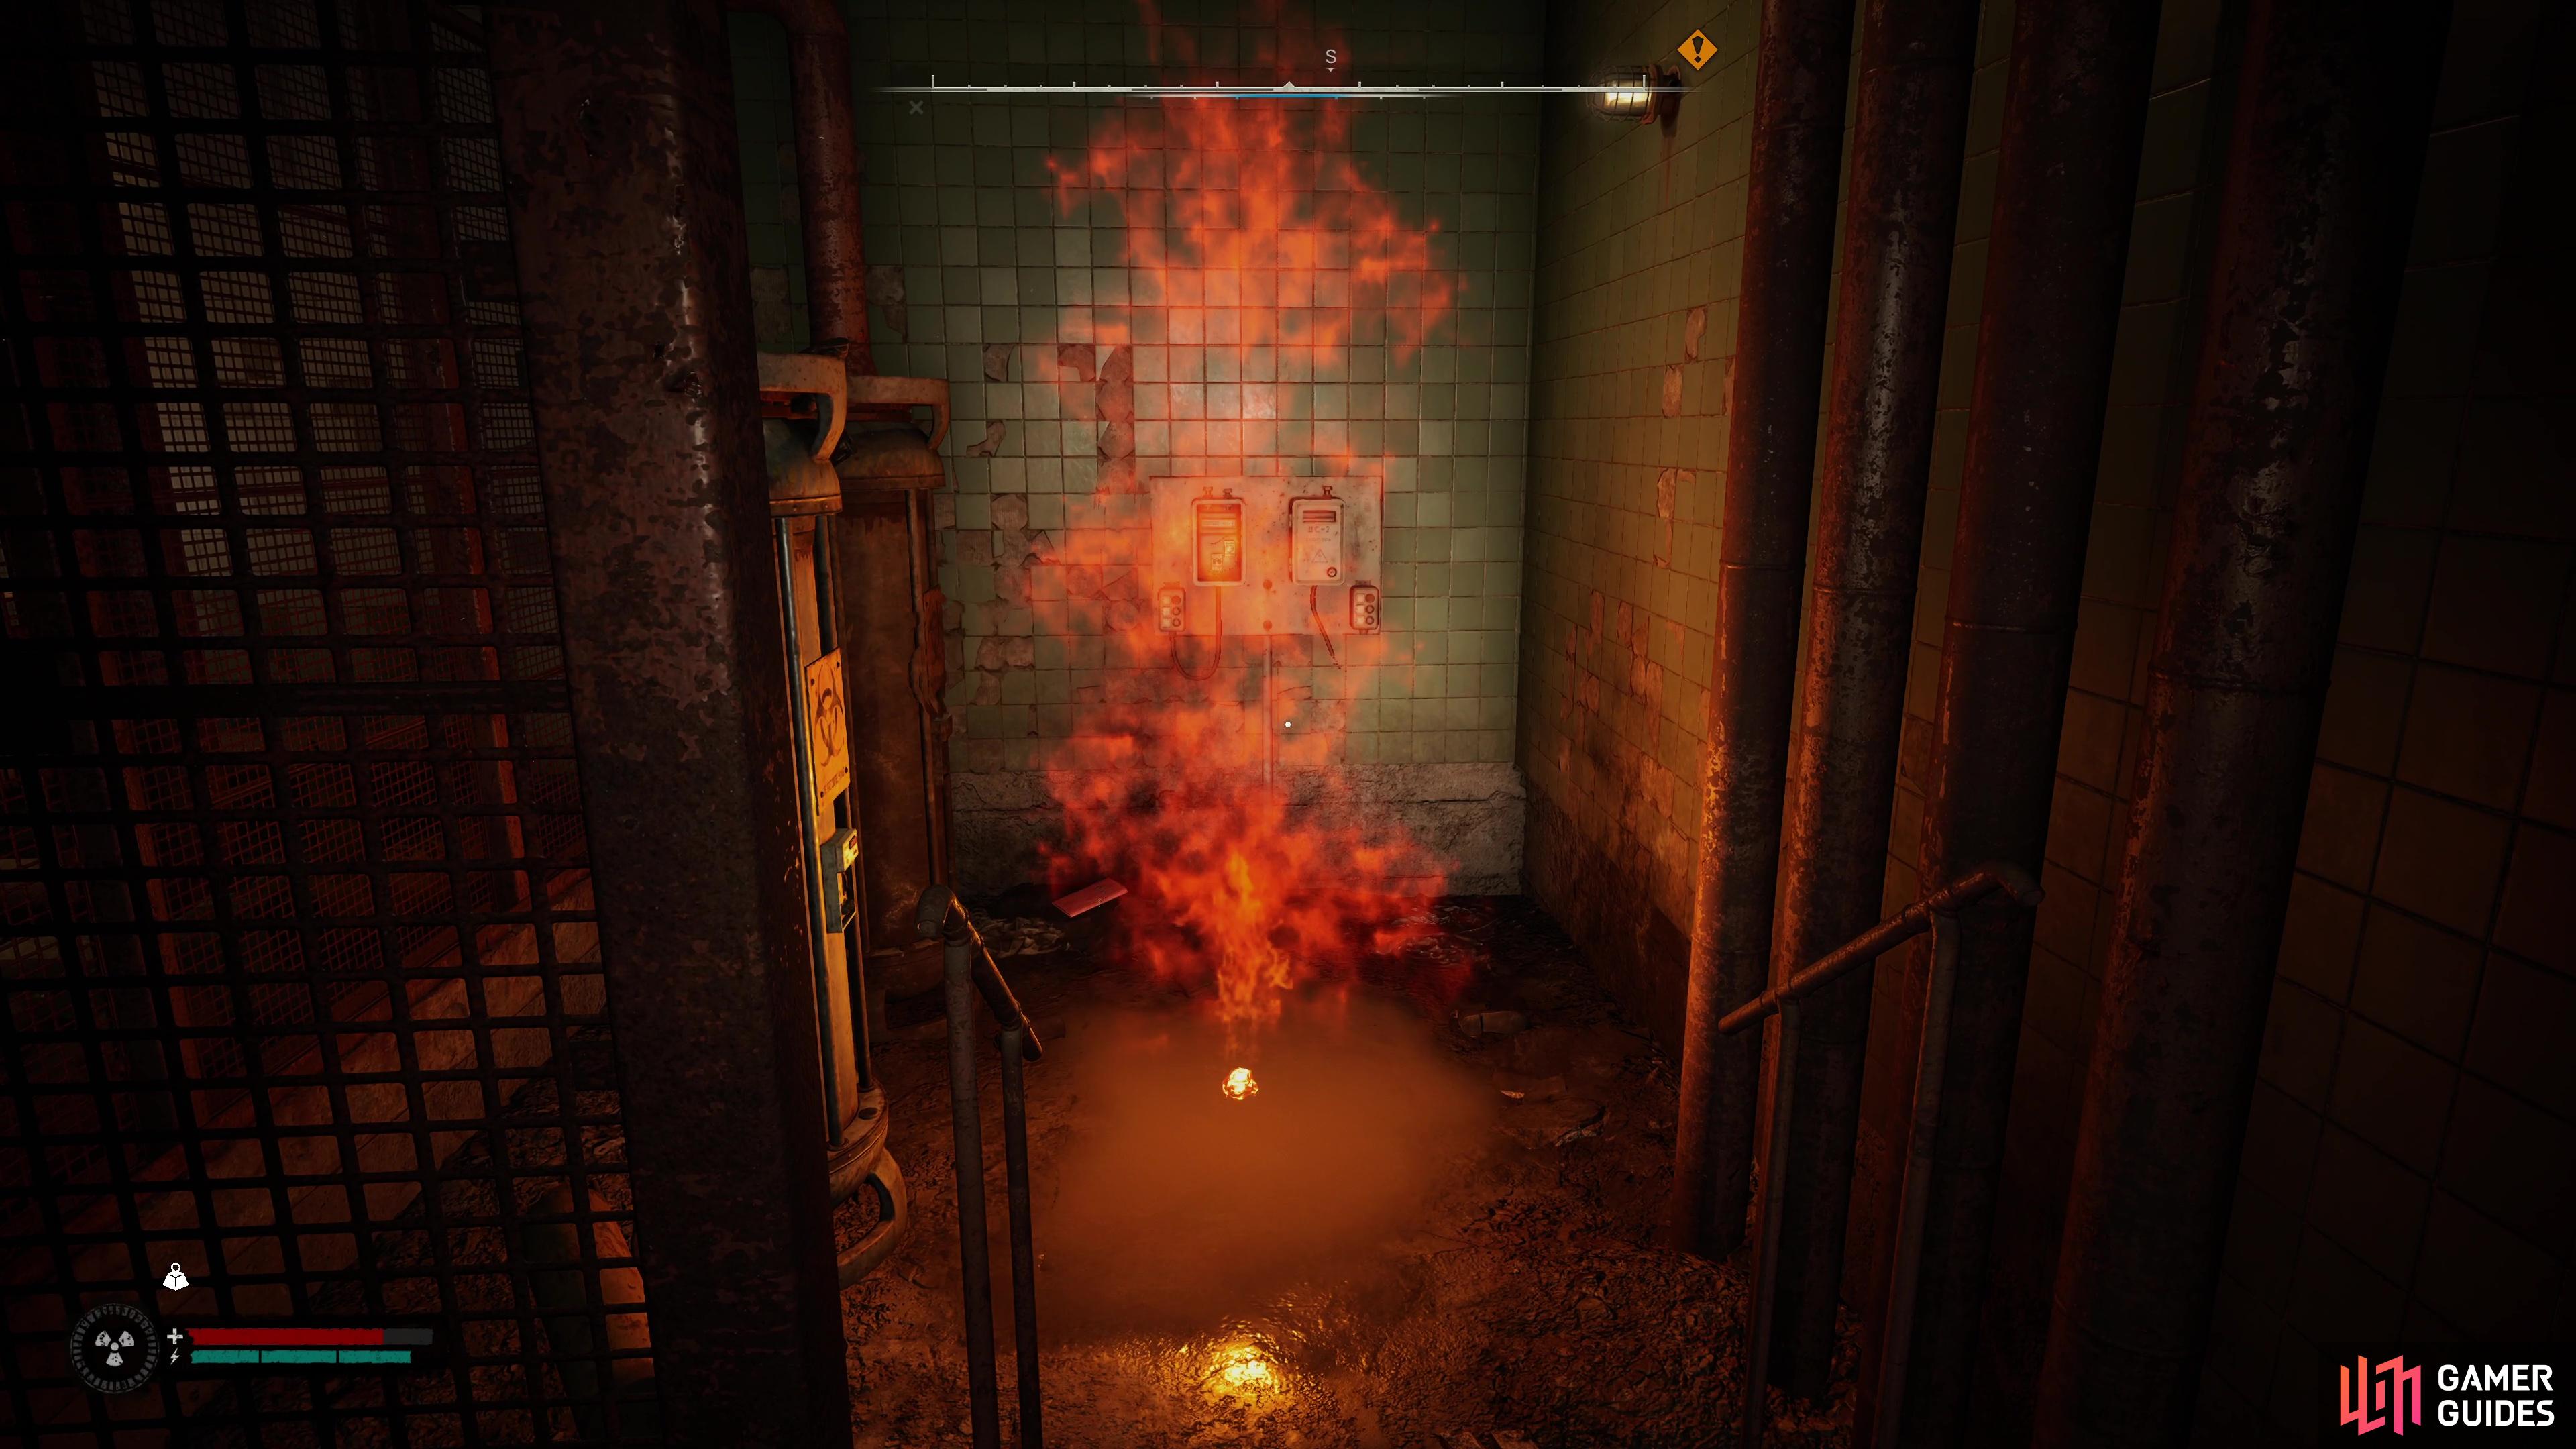
Don’t rush through the door immediately though, there’s an Electro Anomaly that loops around this area, so wait for it to go past and then go through the door to your left to find another of Star’s men. This is the one you’ve been looking for, near his body, in a caged room, are the documents you’re looking for, but use a Bolt to trigger the Thermal Anomaly first and then rush in to pocket the ![]() Product 81 Specifications needed to complete The Road to Salvation mission. All that remains now is to head into the other room where the Bloodsucker came from, find the tape recorder, and get the information on Nestor you’re after.
Product 81 Specifications needed to complete The Road to Salvation mission. All that remains now is to head into the other room where the Bloodsucker came from, find the tape recorder, and get the information on Nestor you’re after.
Get to the Top Floor and Meet up with the Stranger
You’ll be contacted by a stranger after the recording is done playing, answer how you wish (but best not to antagonize a complete stranger) and he’ll provide you with a code to meet him (2603). Return to the stairs, take them up by walking across the wooden beam and you’ll find the locked door for which the code belongs to.
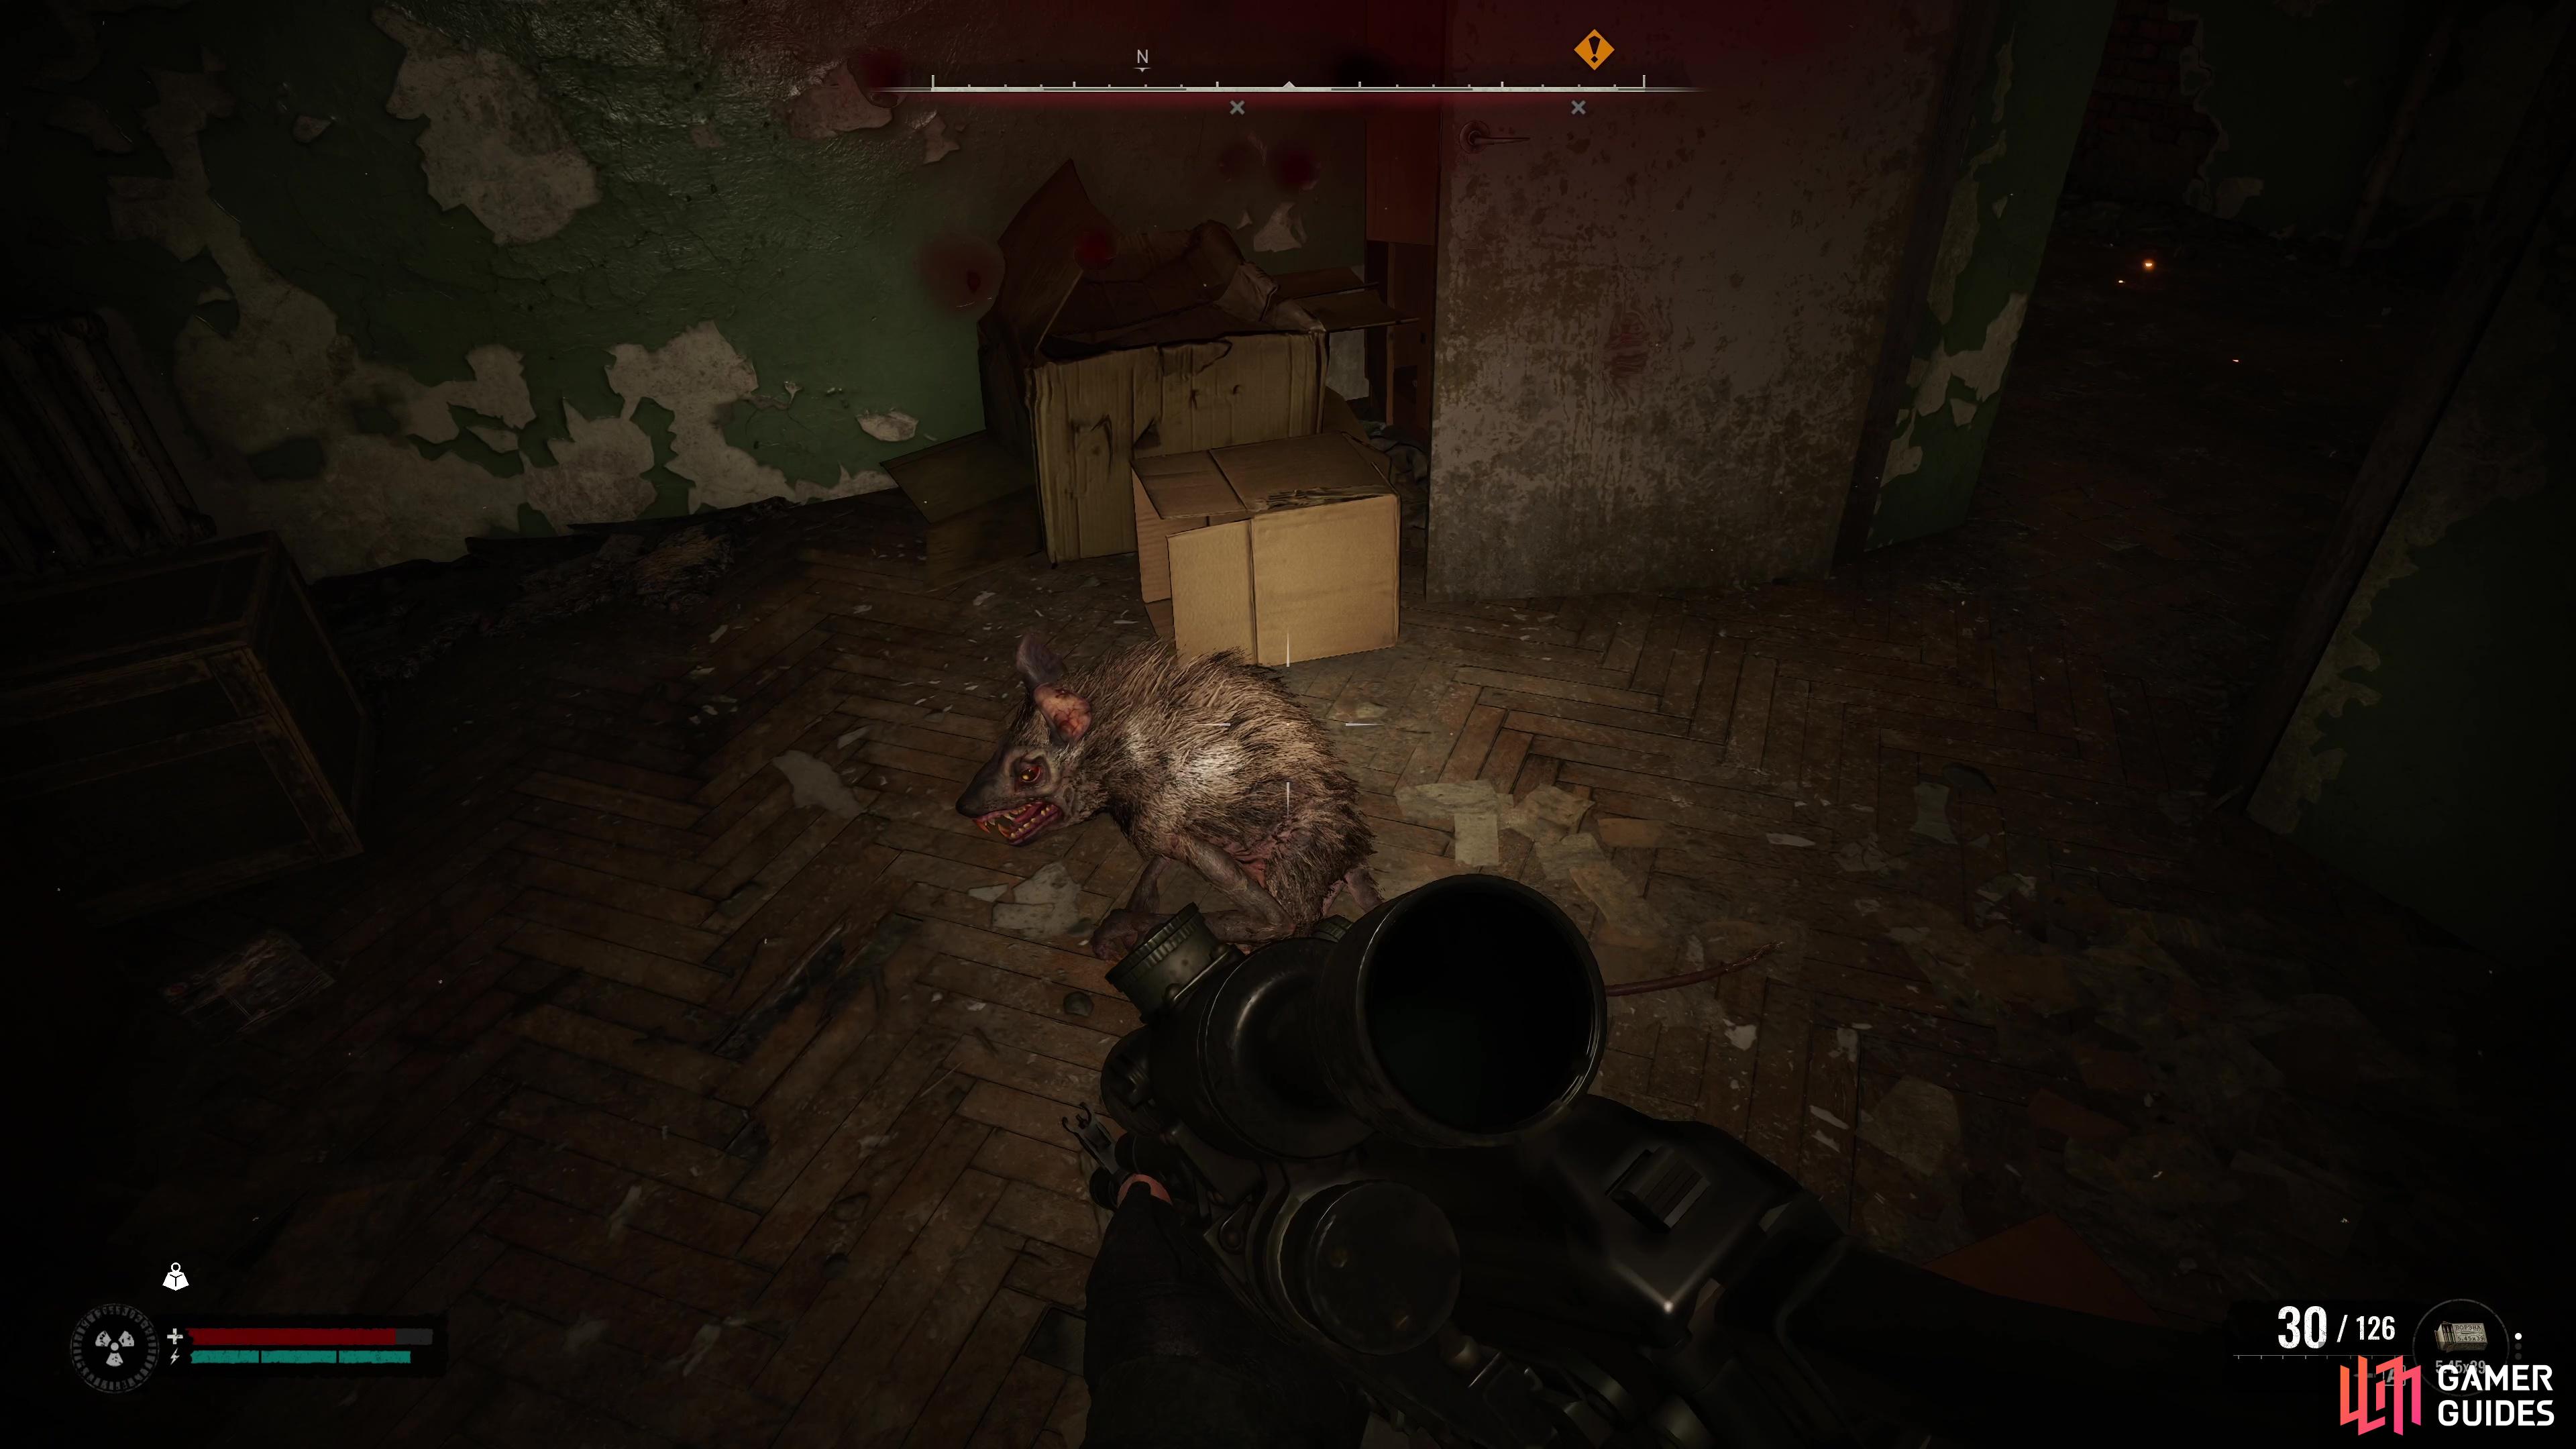
As you head into the corridor beyond, you’ll be attacked by Rats, use your Pistol to take them out and then loot the rooms as you go for some useful supplies. As you enter the room at the end, you’ll trigger a scene where you’ll be introduced to the Stranger, who quickly makes short work of the Ward soldiers that have been following him.
(1 of 4) Kill the rats that swarm at you in the corridor.
At this point, Answers Come at a Price completes, and the follow-up, ![]() The Price Goes Up begins, even though you’re still in the Lab that sends you to speak to Diode at the Slag Heap. On your way out though, look through the door on your right to spot an Acid Anomaly, quickly dash through and in the hole on the wall, then get ready for some Shard Anomalies in the next room. If you look in the corner where there are some overturned cabinets, you’ll be able to crouch into an area that houses a
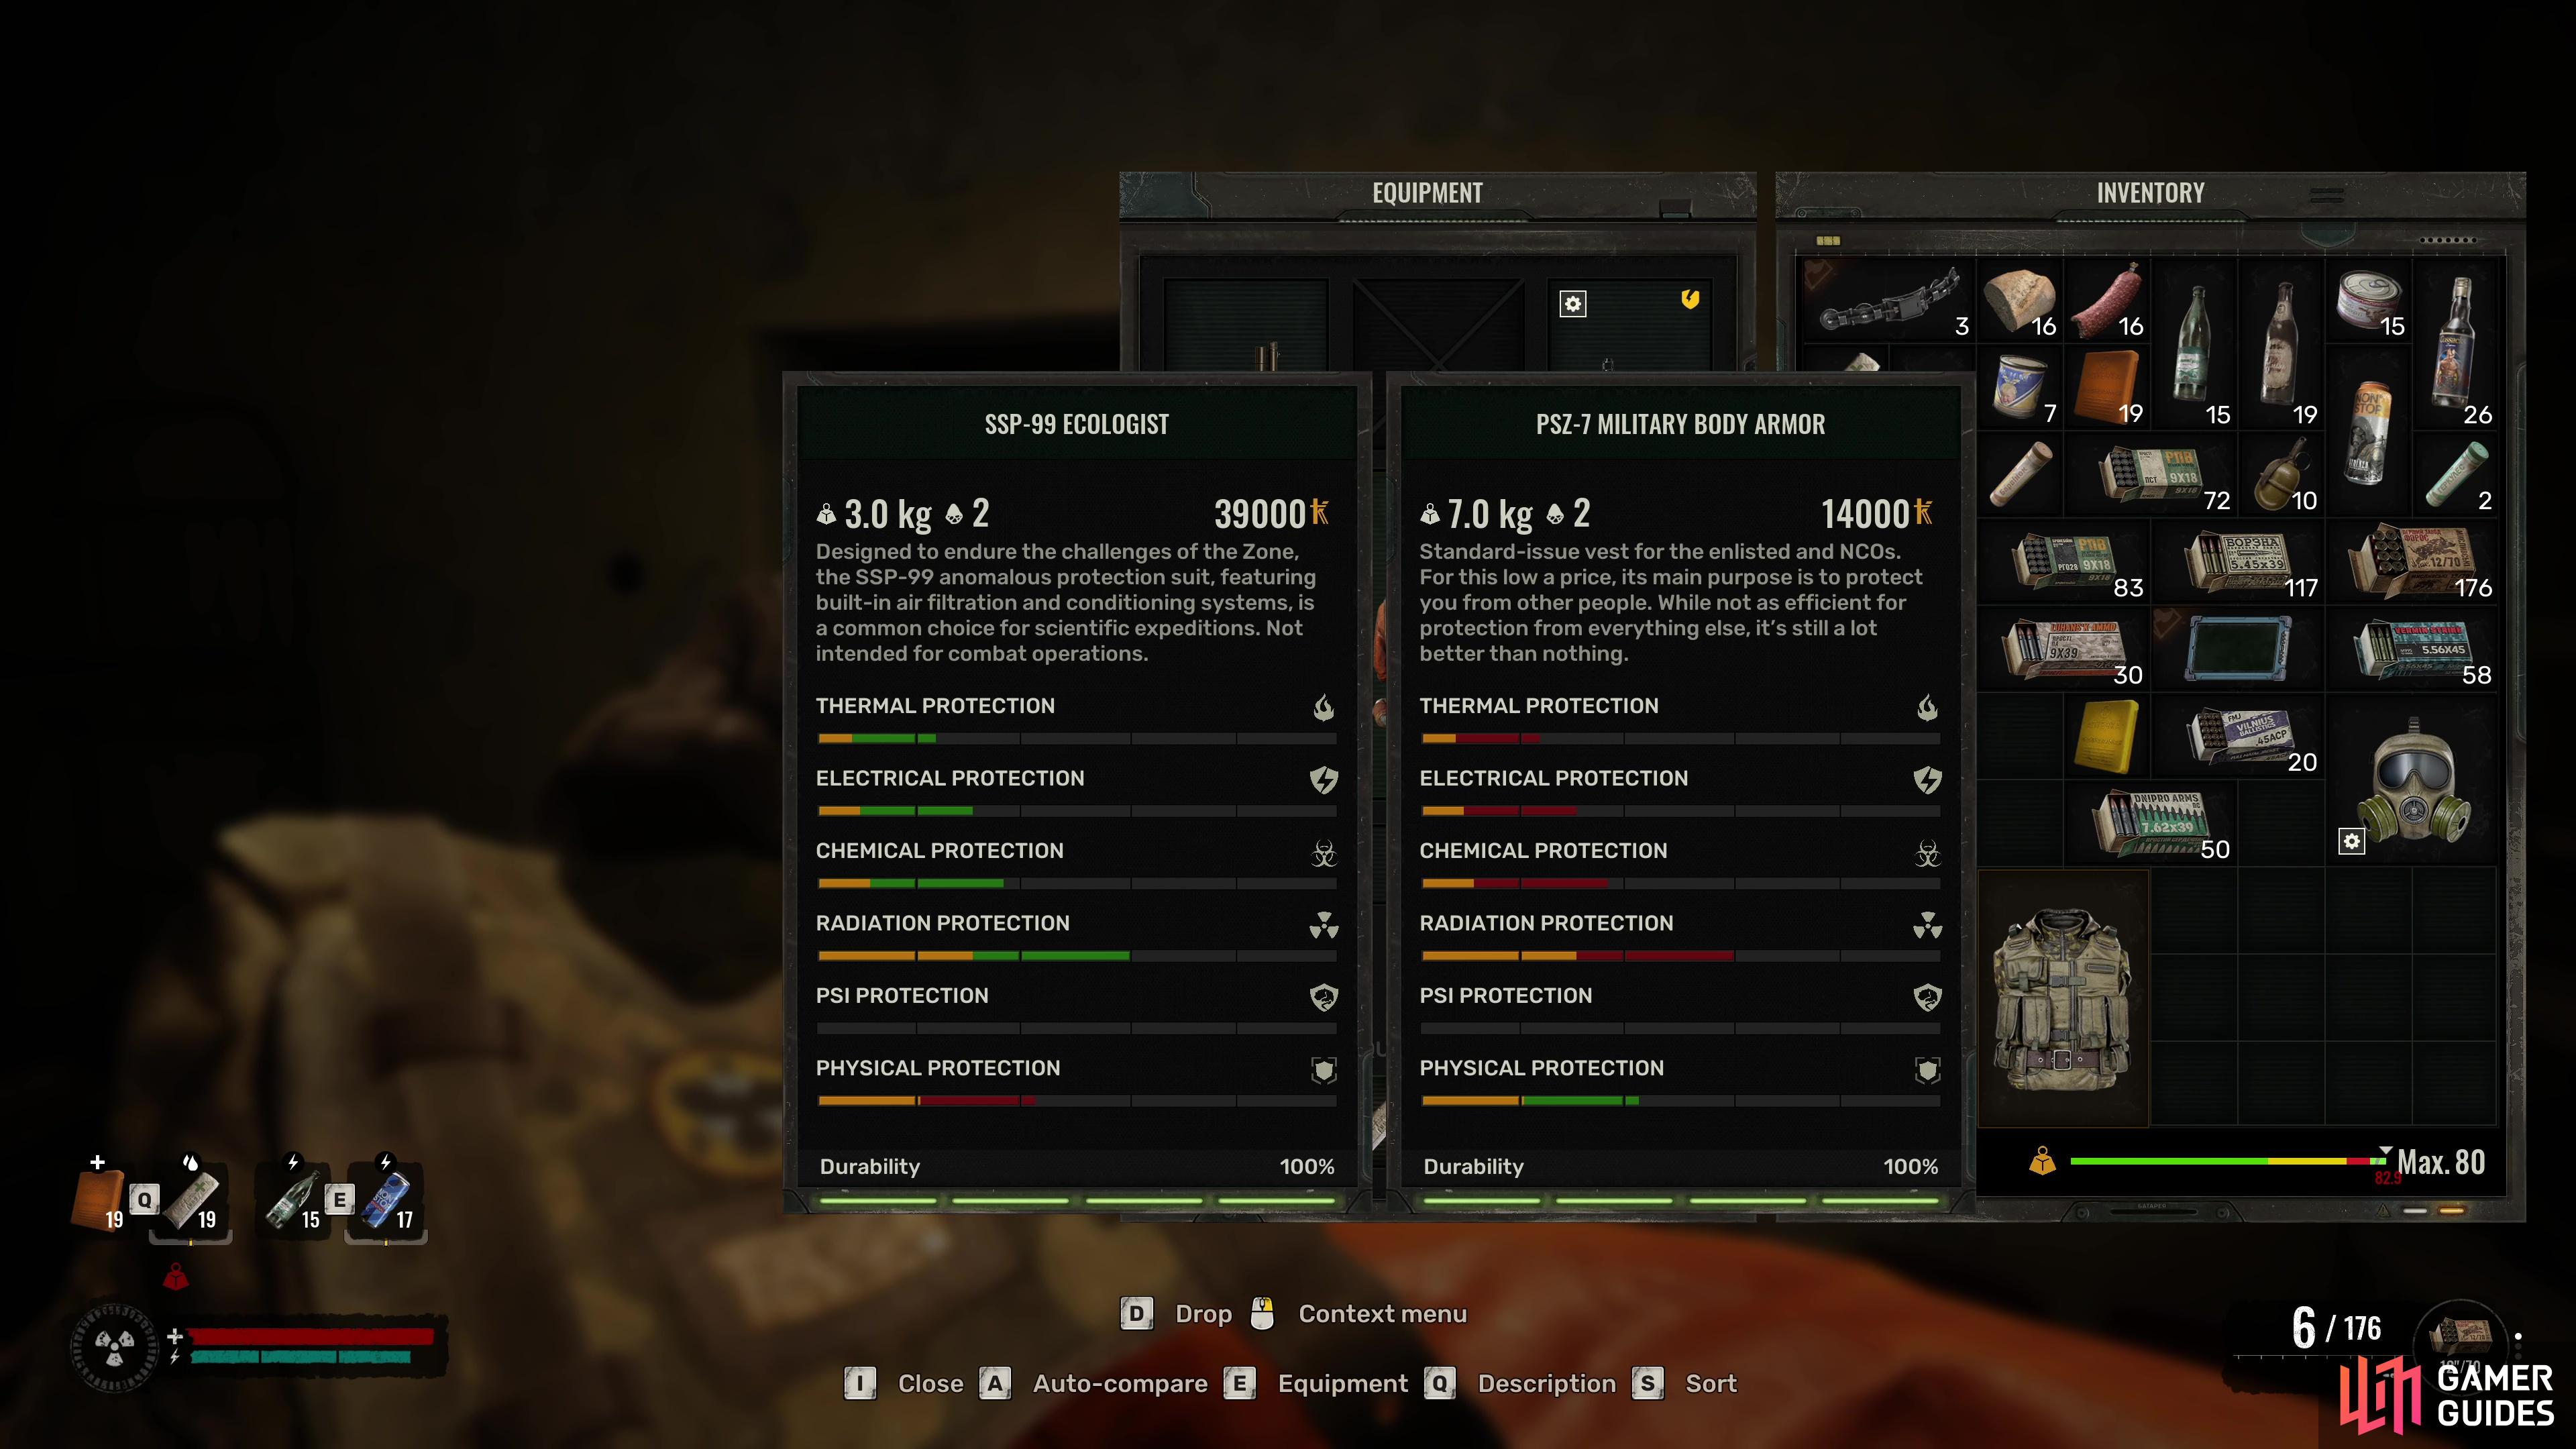
The Price Goes Up begins, even though you’re still in the Lab that sends you to speak to Diode at the Slag Heap. On your way out though, look through the door on your right to spot an Acid Anomaly, quickly dash through and in the hole on the wall, then get ready for some Shard Anomalies in the next room. If you look in the corner where there are some overturned cabinets, you’ll be able to crouch into an area that houses a ![]() SSP-99 Ecologist suit that is very useful for this stage of the game.
SSP-99 Ecologist suit that is very useful for this stage of the game.
All that remains is to follow the path out of the Lab and before continuing with the next mission, return to Star at the Detention Center to hand over the documents, as a reward for completing this Side Mission, you’ll get another suit, this time the ![]() PSZ-7 Military Body Armor.
PSZ-7 Military Body Armor.







 Sign up
No Comments