How to Get the Gold Medal
Trial of the Raven Objectives
To earn the gold medal for the Trial of the Raven at Wenlocan Outpost, you need to earn the following points for each objective, which amount to the perfect score of 1,000 points combined.
| Objective | Mastery Points |
|---|---|
| Assassinations | 702 |
| Remain anonymous | 198 |
| Steal all the artifacts | 100 |
An important thing to note about the above objectives is that you should assassinate all the enemies in the outpost before you steal the final artifact. If you steal all the artifacts and leave any enemies in the camp alive, the trial will automatically complete and you’ll be deprived of the opportunity to earn the maximum amount of points required for the gold medal by assassinating all the enemies. For this reason you should steal the final artifact only after you’ve assassinated the last enemy.
How to Remain Anonymous, Assassinate All Enemies, and Steal All Artifacts
Things to Keep in Mind
If you want to get this trial done quickly and efficiently, we suggest you follow the steps below. However, if you’d rather take your own route, you can do so while being mindful of the order in which you should assassinate enemies and steal artifacts, as noted above. You should also remember that you can use Chain Assassination to to throw an axe at an enemy in range, immediately after assassinating the first enemy. This skill will be incredibly useful to ensure that you’re not spotted if you need to assassinate two enemies who are close together. If you follow our route below, there should only be one instance when you need to use Chain Assassination.
Dive Into the Haystack Beneath the First Platform
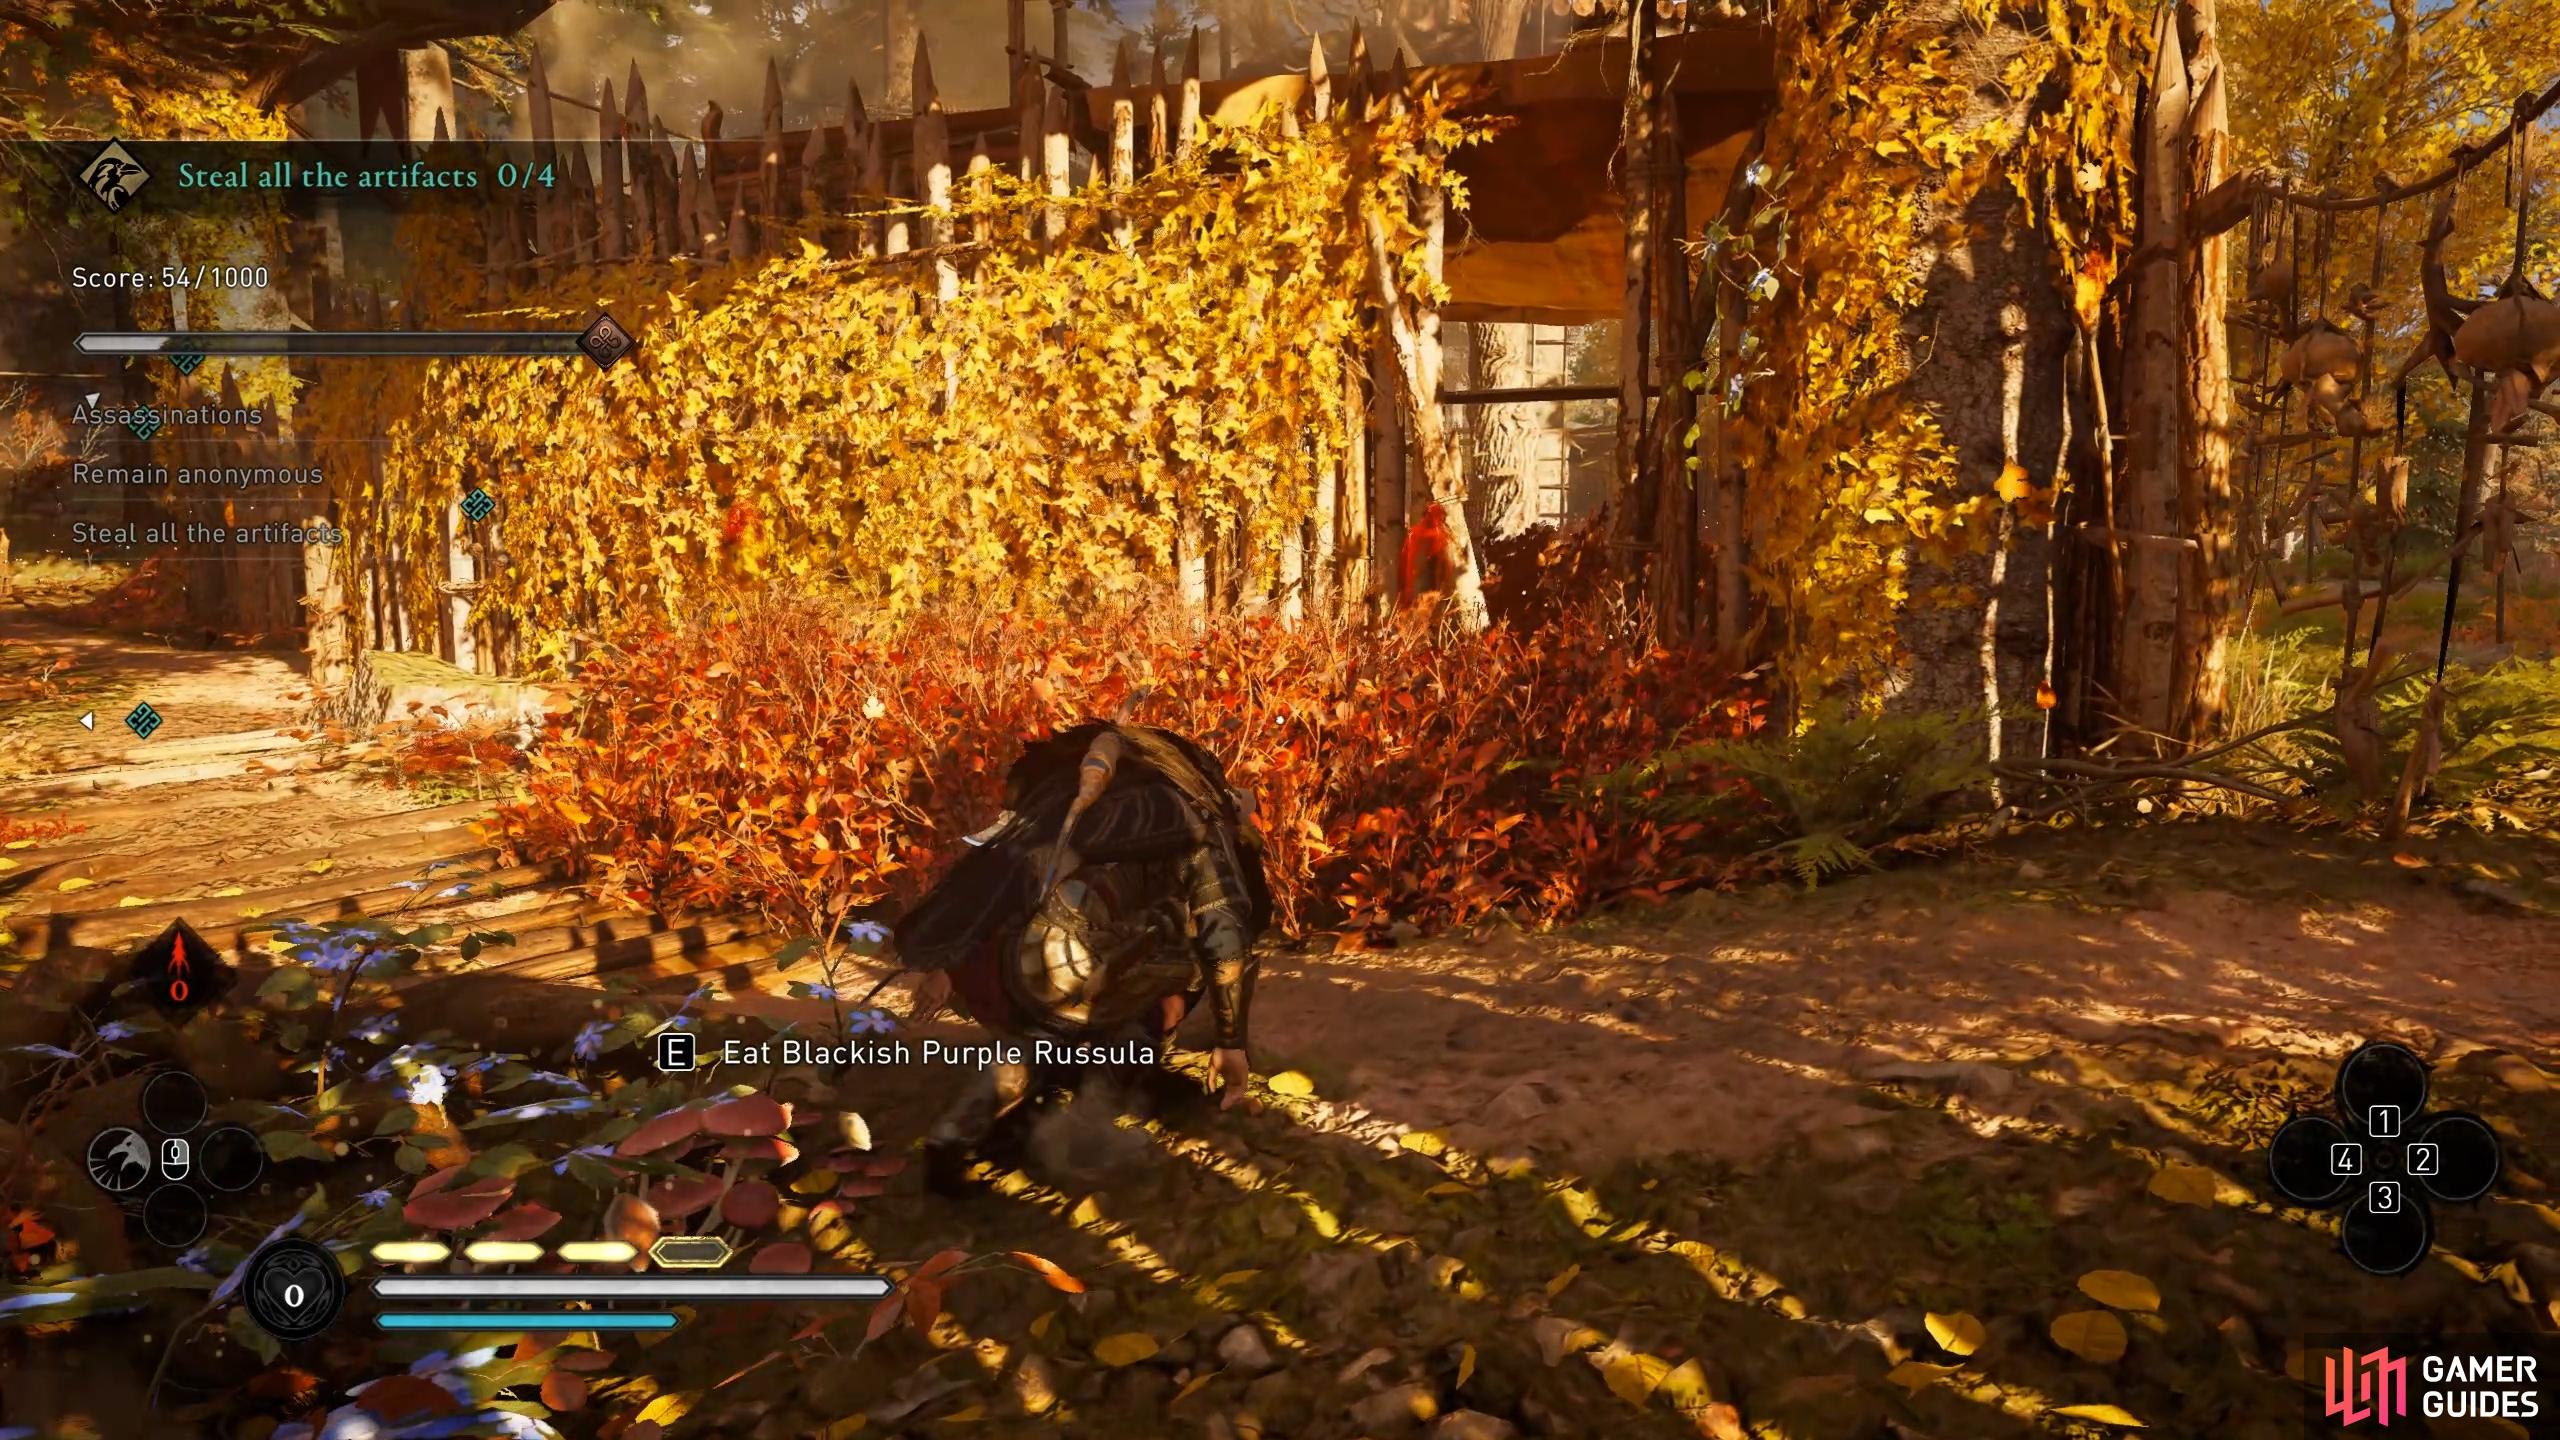
As you begin the trial, turn around and look for a wooden post from which you can dive into a haystack below. Once you’re in the haystack, use the whistle function (as you normally would to call your horse) to cause the guard to come over and inspect the haystack. When the guard is close enough, assassinate them from the haystack. When the guard is dead, jump out of the haystack and loot the nearby mushrooms to increase your adrenaline.
Jump Through the V-Shaped Gap in the Fence
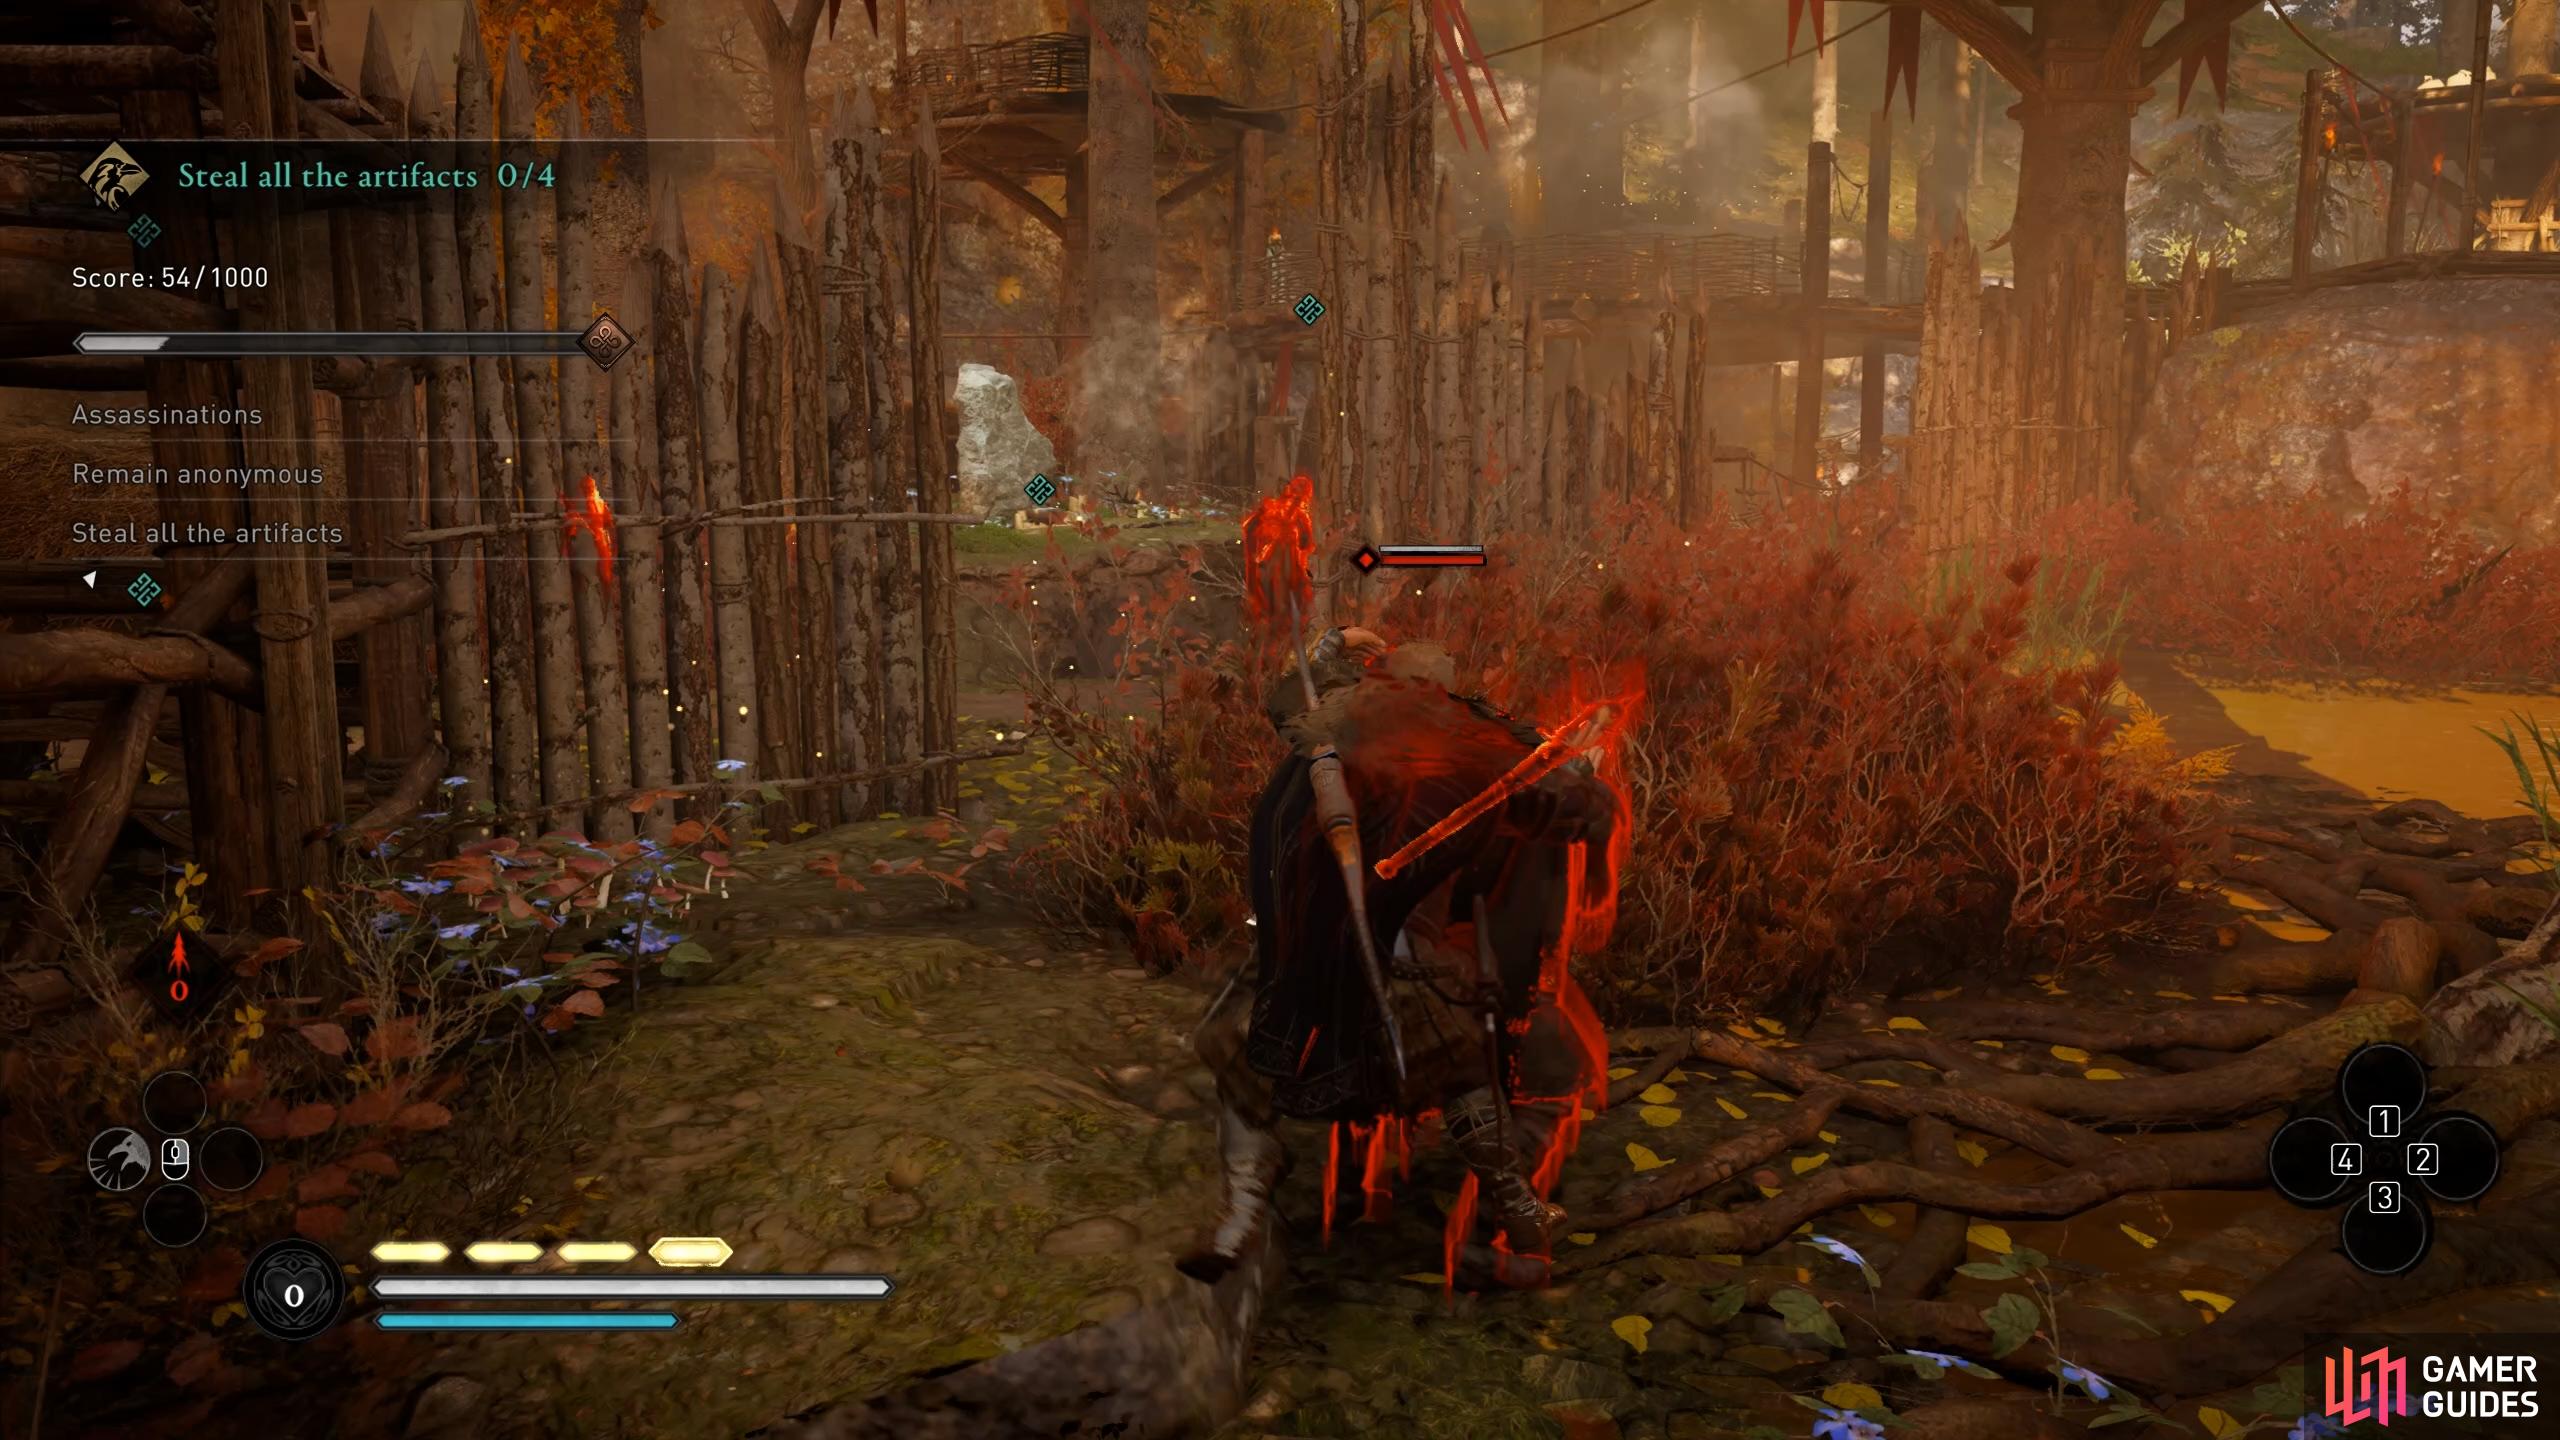
After assassinating this first guard, turn around and look toward the platform you just jumped from. You’ll see a v-shaped gap in the fence which you can climb through. Do this and assassinate the guard on the other side from the bushes. After killing this guard you can move toward the nearby artifact and kill the guard just beyond the fence. At this point you should spam the assassination key to ensure that you kill the guard on the other side of the rock with Chain Assassination. When both are dead, loot the artifact and move on.
(1 of 3) Dive into the haystack, whistle and wait for the guard to approach to assassinate them.
Kill Guard Near Haystack and Climb the Platform
Once you’ve looted the artifact on the rock, go back to where you killed the guard after jumping through the v-shaped gap in the fence. From here, walk through the water to the other side of the outpost, where you’ll find another haystack with a guard nearby. Move around the haystack and assassinate the guard from behind. Next, climb the ladder next to the haystack leading to the platform above, where you can assassinate another guard. After this you should immediately hide behind the tree trunk to avoid being detected by another guard from a platform opposite.
Use Raven Distraction and Assassinate Guard on Opposite Platform
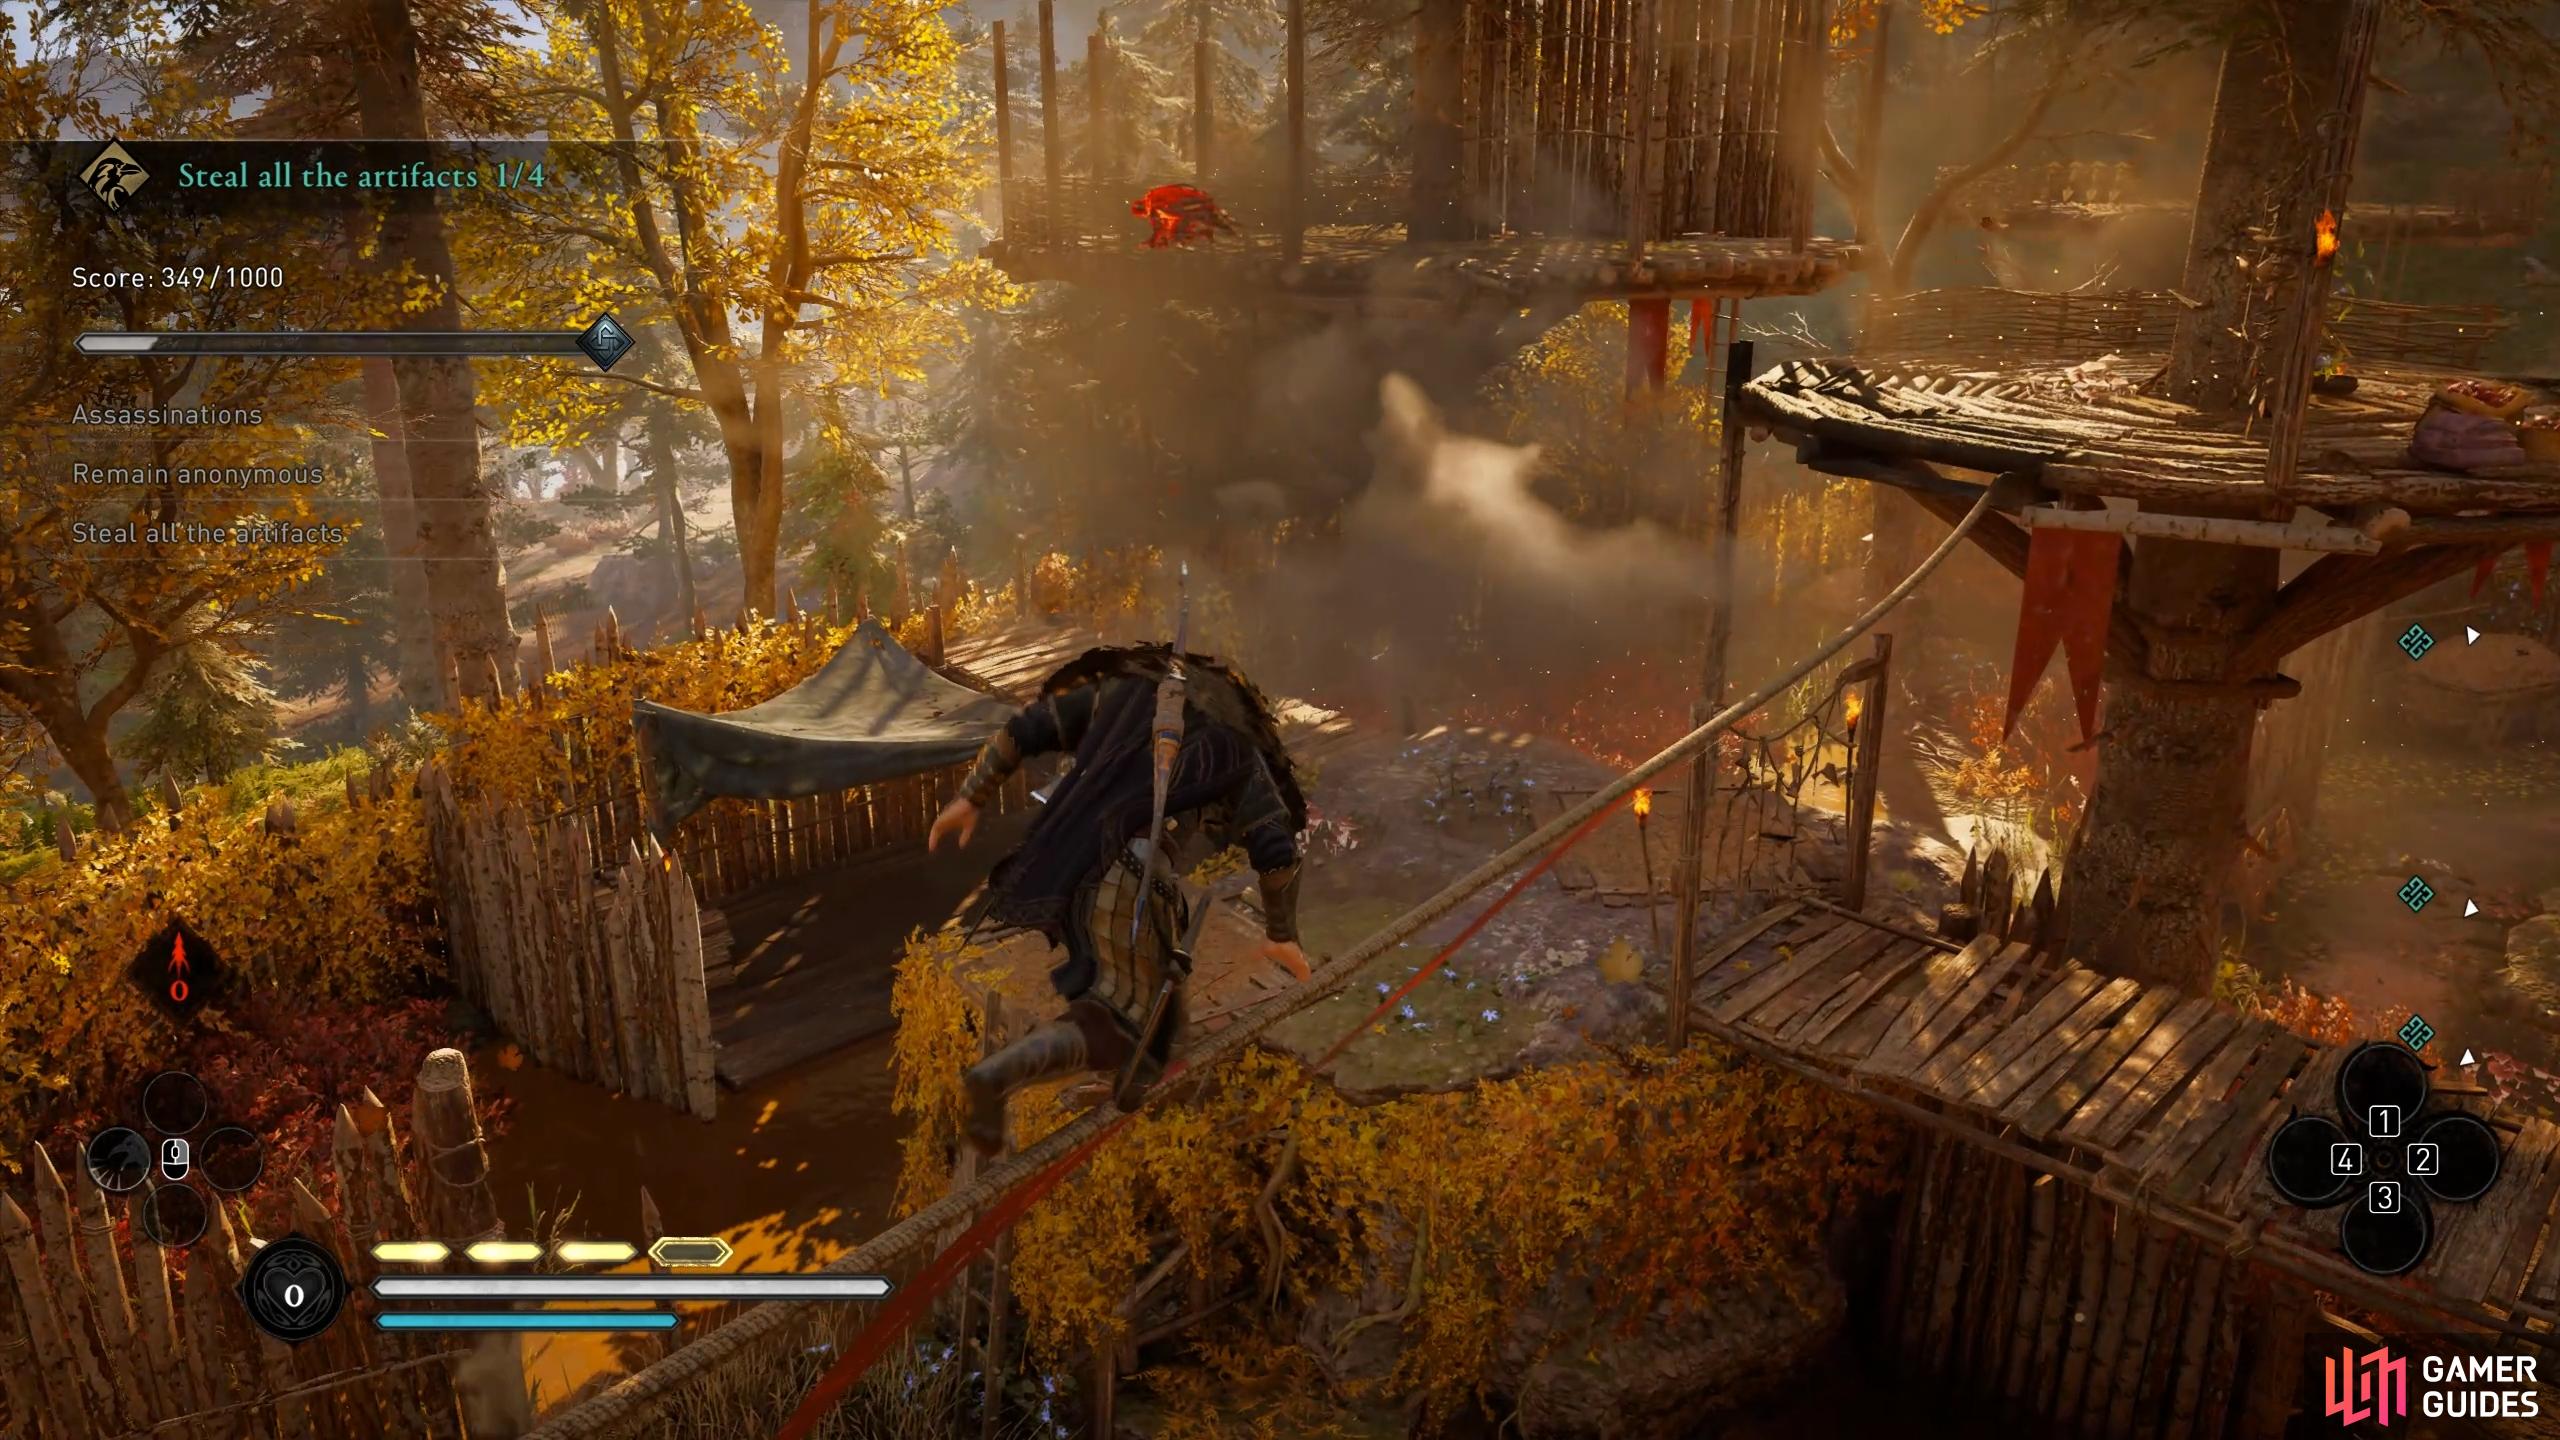
Once you’re behind the tree trunk, you can take some time to breathe as you look for the guard on the opposite platform. When you’re ready, aim at him from behind the sacks next to the tree trunk and use the Raven Distraction ability to stun the guard. As soon as you raven is on the guard, run along the rope leading to the platform and jump to where the guard is being attacking by your bird. You can then assassinate the guard while they’re stunned before they regain their composure, but be sure to do it quickly since your bird won’t distract the guard indefinitely.
(1 of 3) Kill the guard near the haystack and then climb the ladder to the top of the platform nearby.
Avoid Rattling Bones and Assassinate Guard Near Artifact
Once you’ve killed the guard on the platform, jump down from the post and look toward the waterfall flowing from the rocks. You’ll see another guard on the same platform that you’re on, with an artifact waiting to be looted beside him. Although the guard is facing away from you, don’t be tempted to run at them. If you do, you’ll go through the rattling bones and alert the guard to your presence. Instead, use Raven Distraction on the guard and wait for them to be stunned. Only then should you move in to finish them off with an assassination, then loot the artifact.
Assassinate the Guards Beneath the Canopy and in the Cave
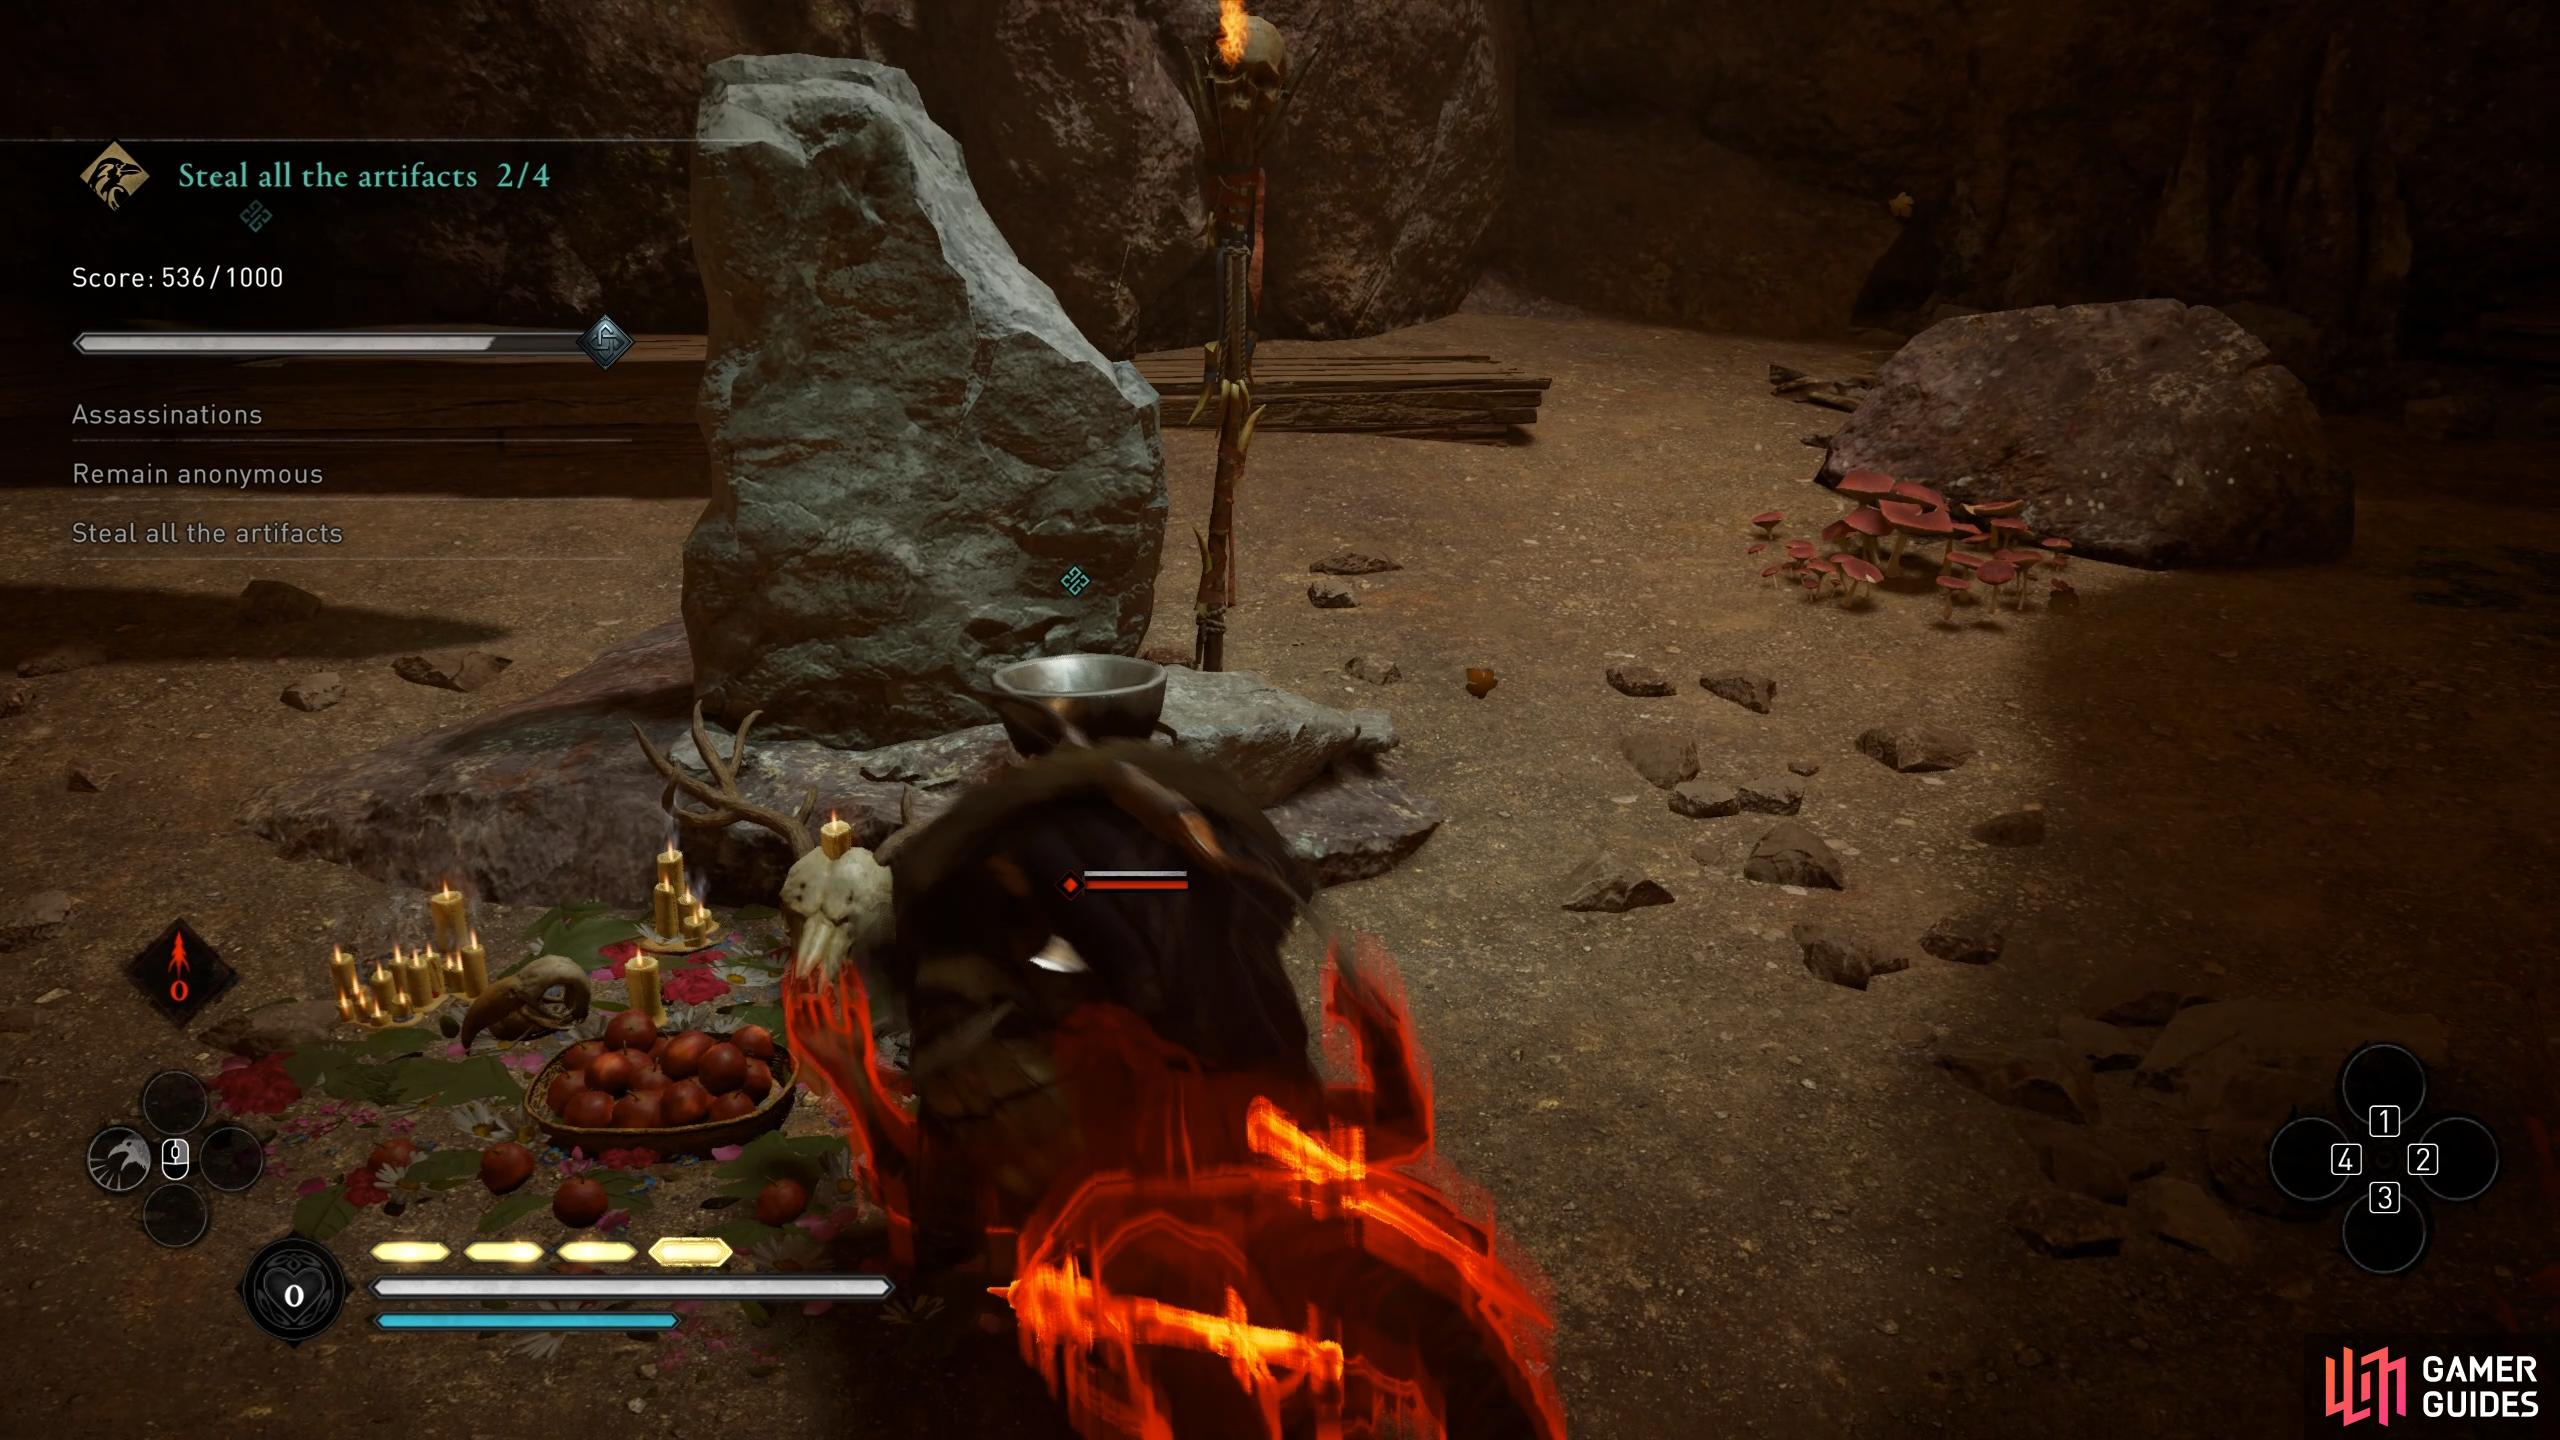
After looting the artifact on the platform, jump down to the right of it, where you’ll find another haystack beneath the platform. From here you can use Raven Distraction again on the guard beneath the canopy, then sneak up to assassinate them once they’re stunned by your bird. Next, enter the cave next to the canopy. You’ll need to run through two sets of rattling bones which are unavoidable here, but before you go through the first you should use Odin’s Sight to highlight the location of the guard. When the guard is near the back of the cave, use sprint while remaining crouched to approach them quickly from behind, then assassinate them before they detect you. The guard will likely see you just as you approach, but if you’re quick with the assassination you’ll remain anonymous. When the guard is dead, you can loot the artifact in the cave.
(1 of 3) Use Raven Distraction on the guard near the artifact, then pass through the rattling bones and assassinate them.
Kill the Last Three Guards Above the Waterfall
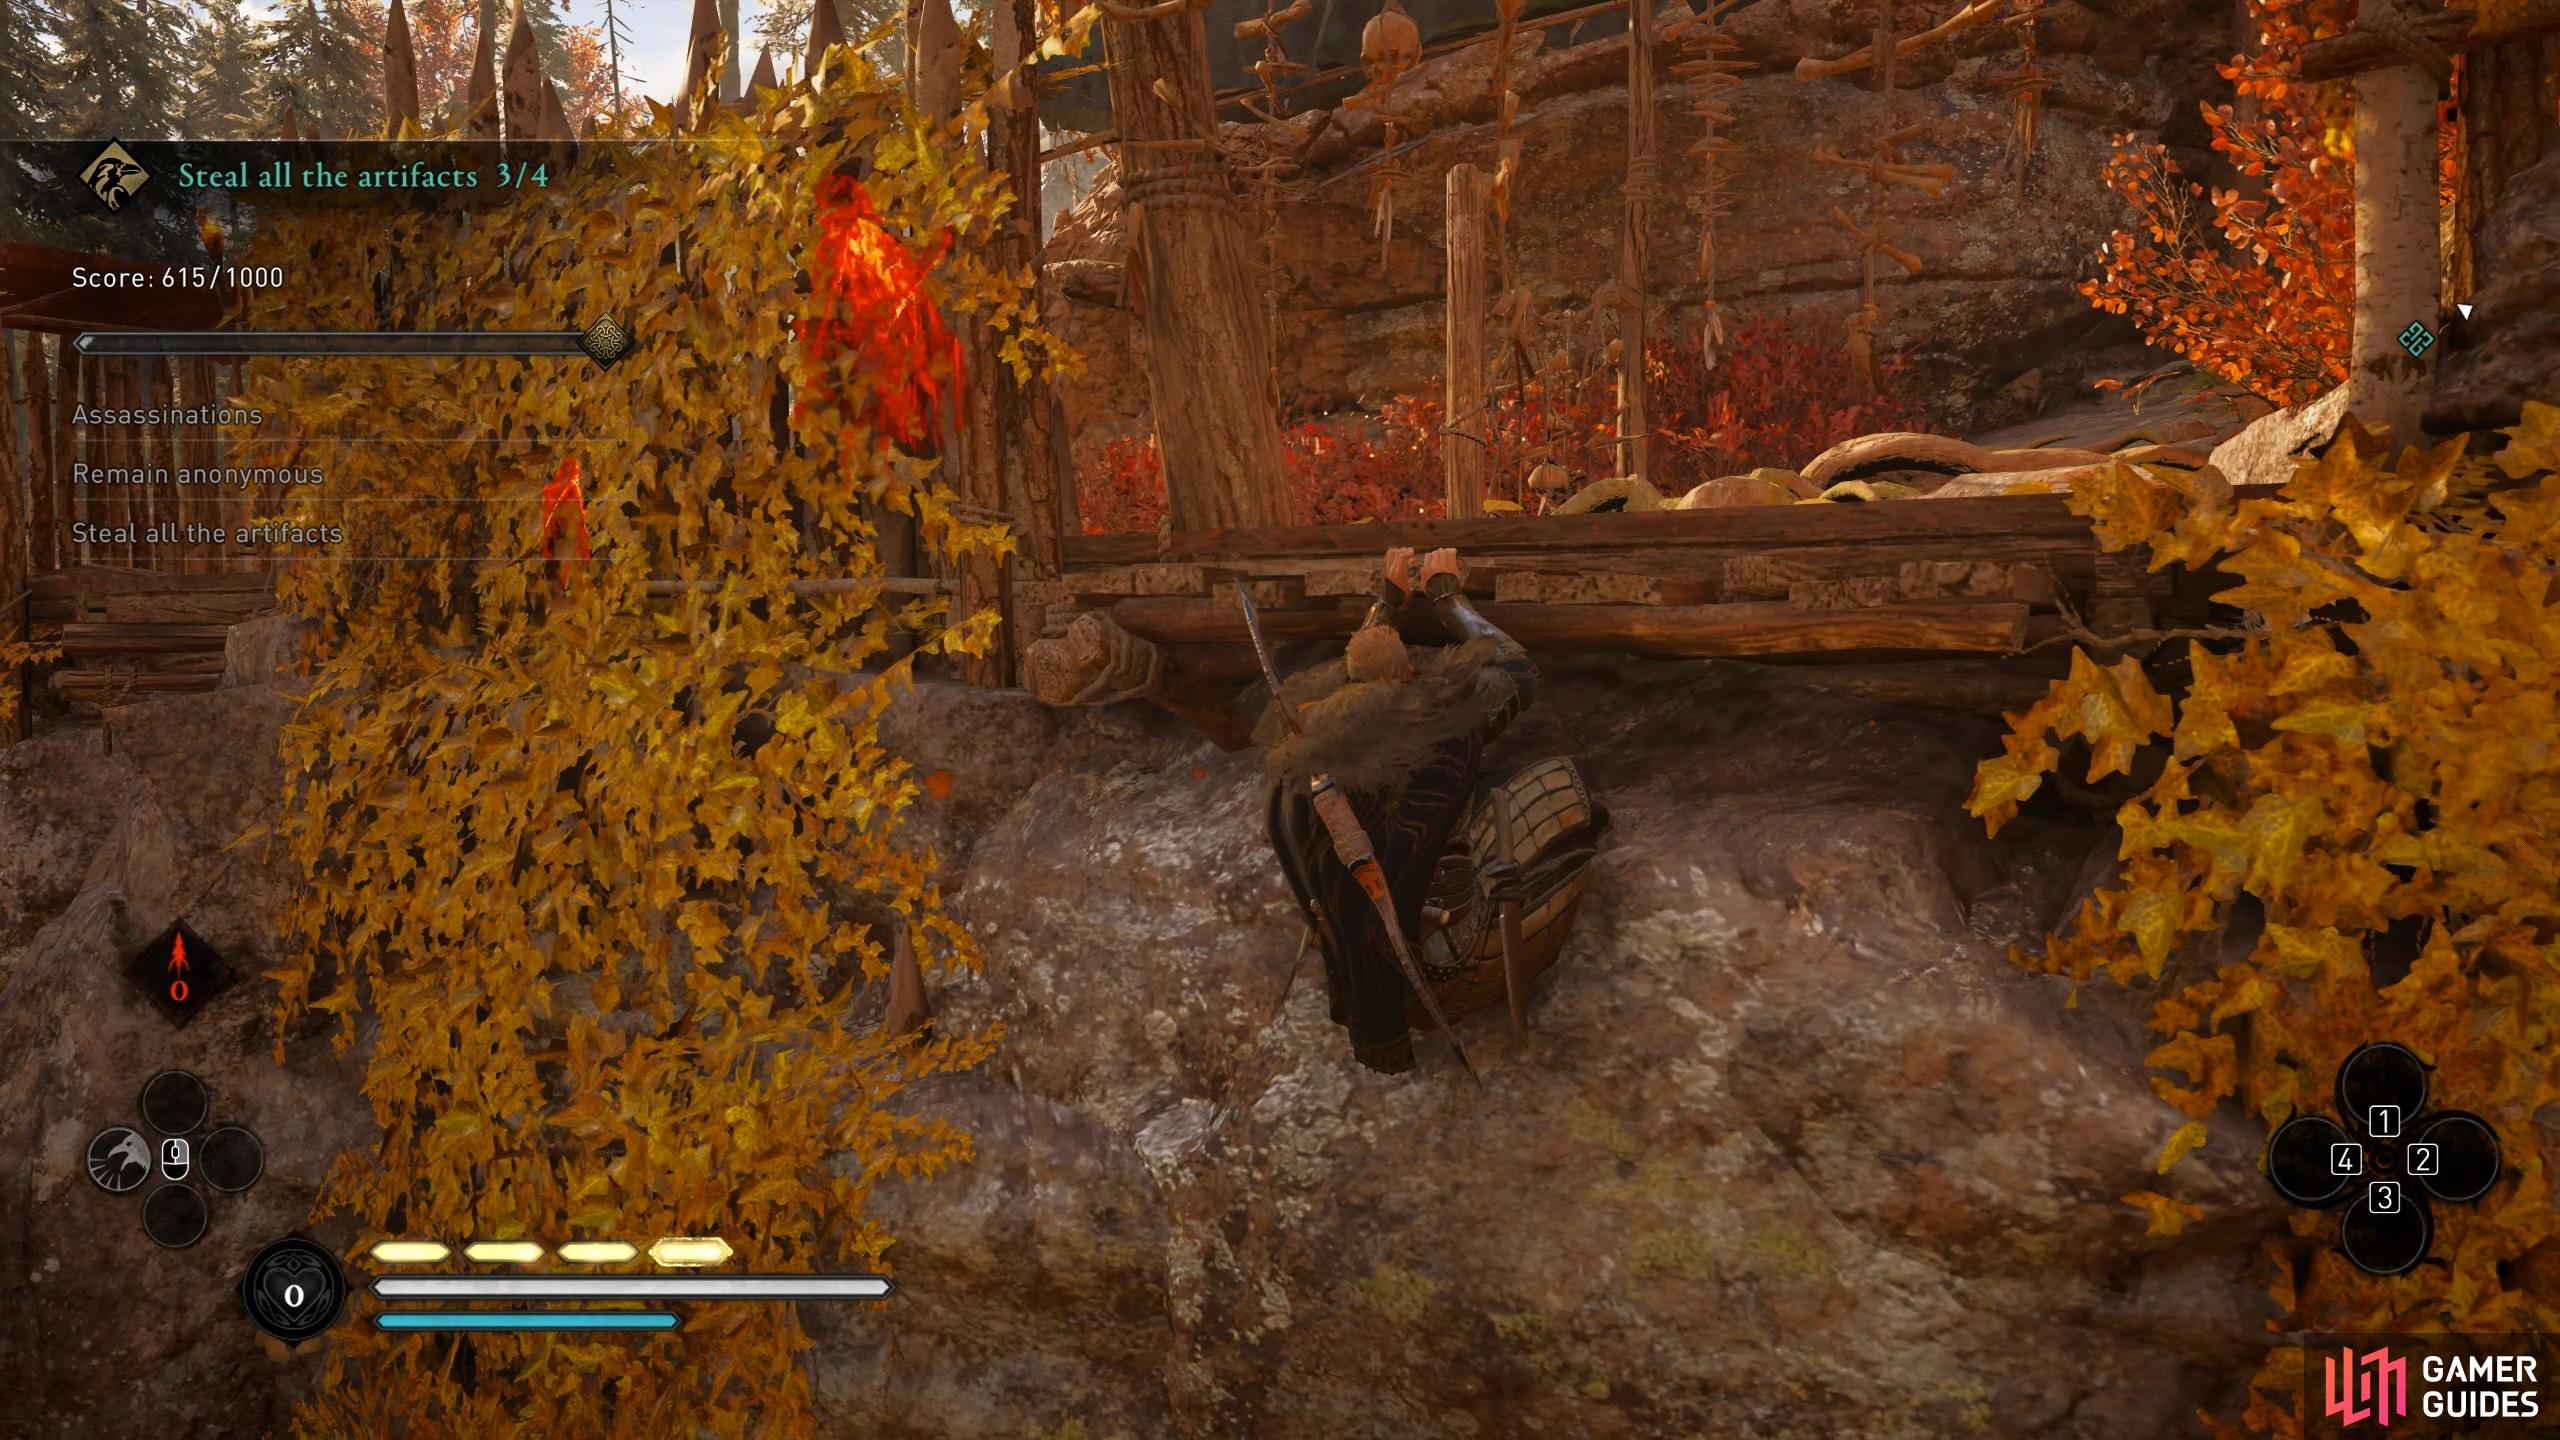
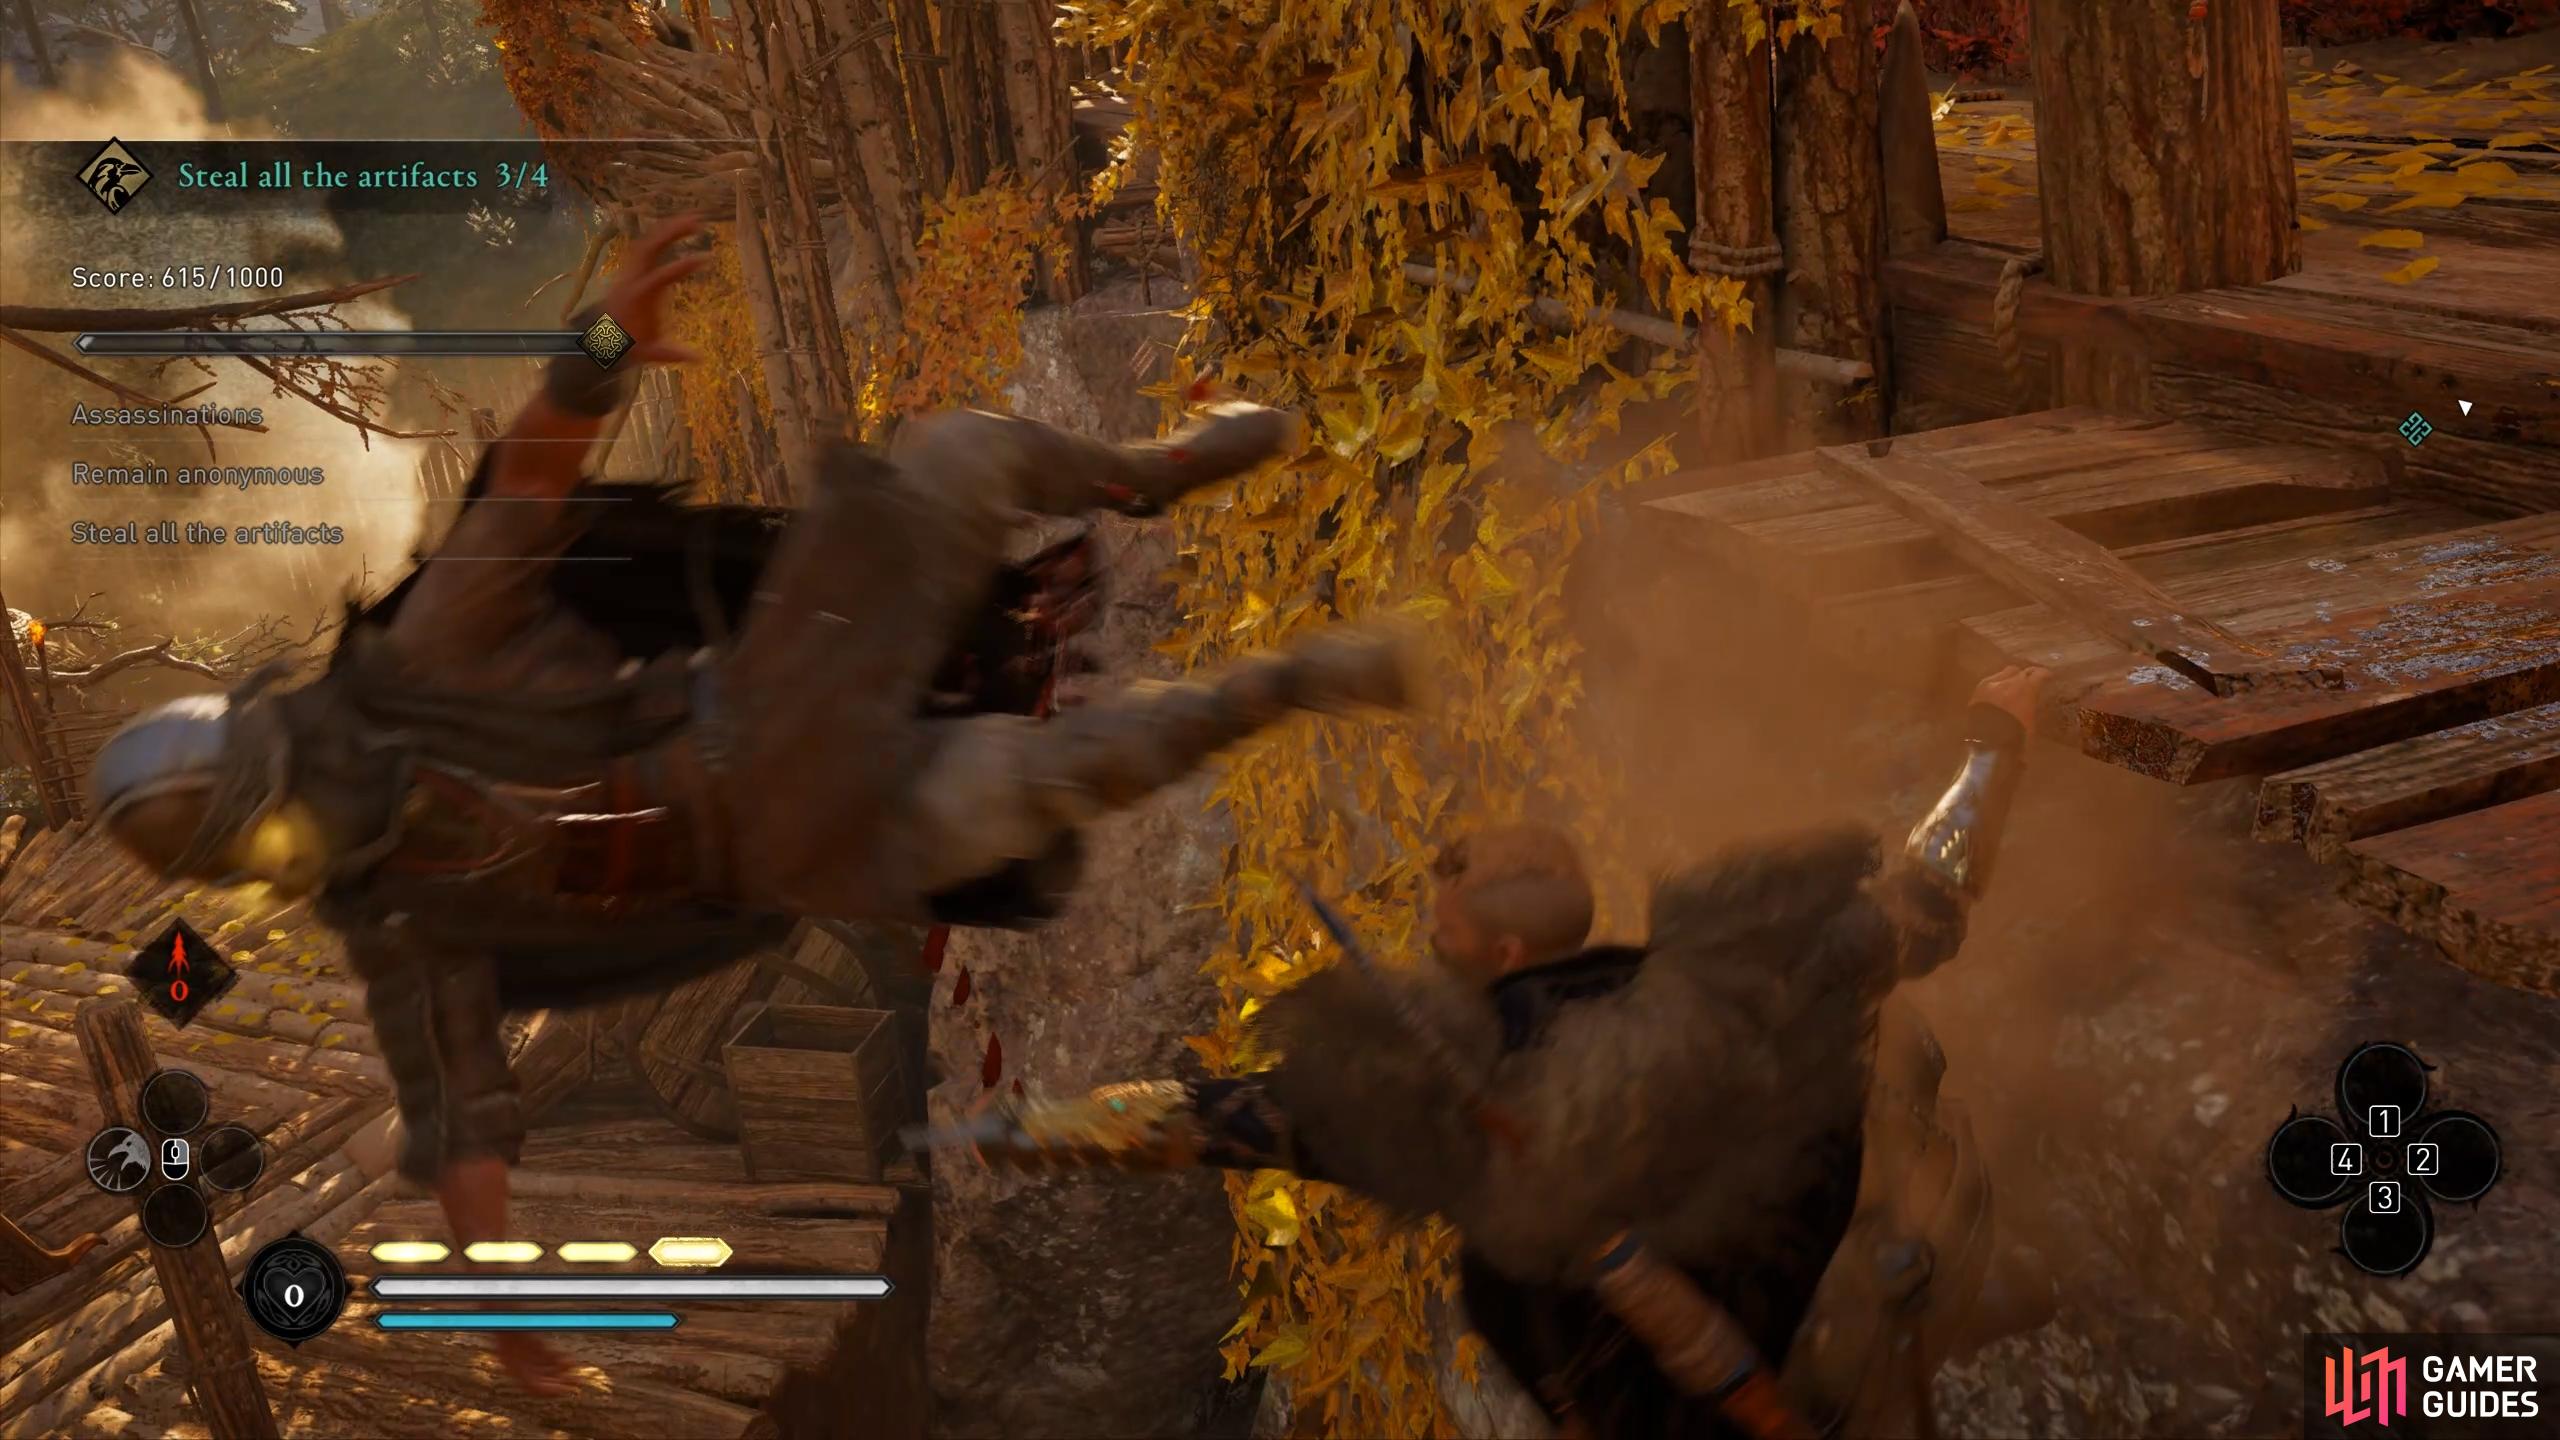
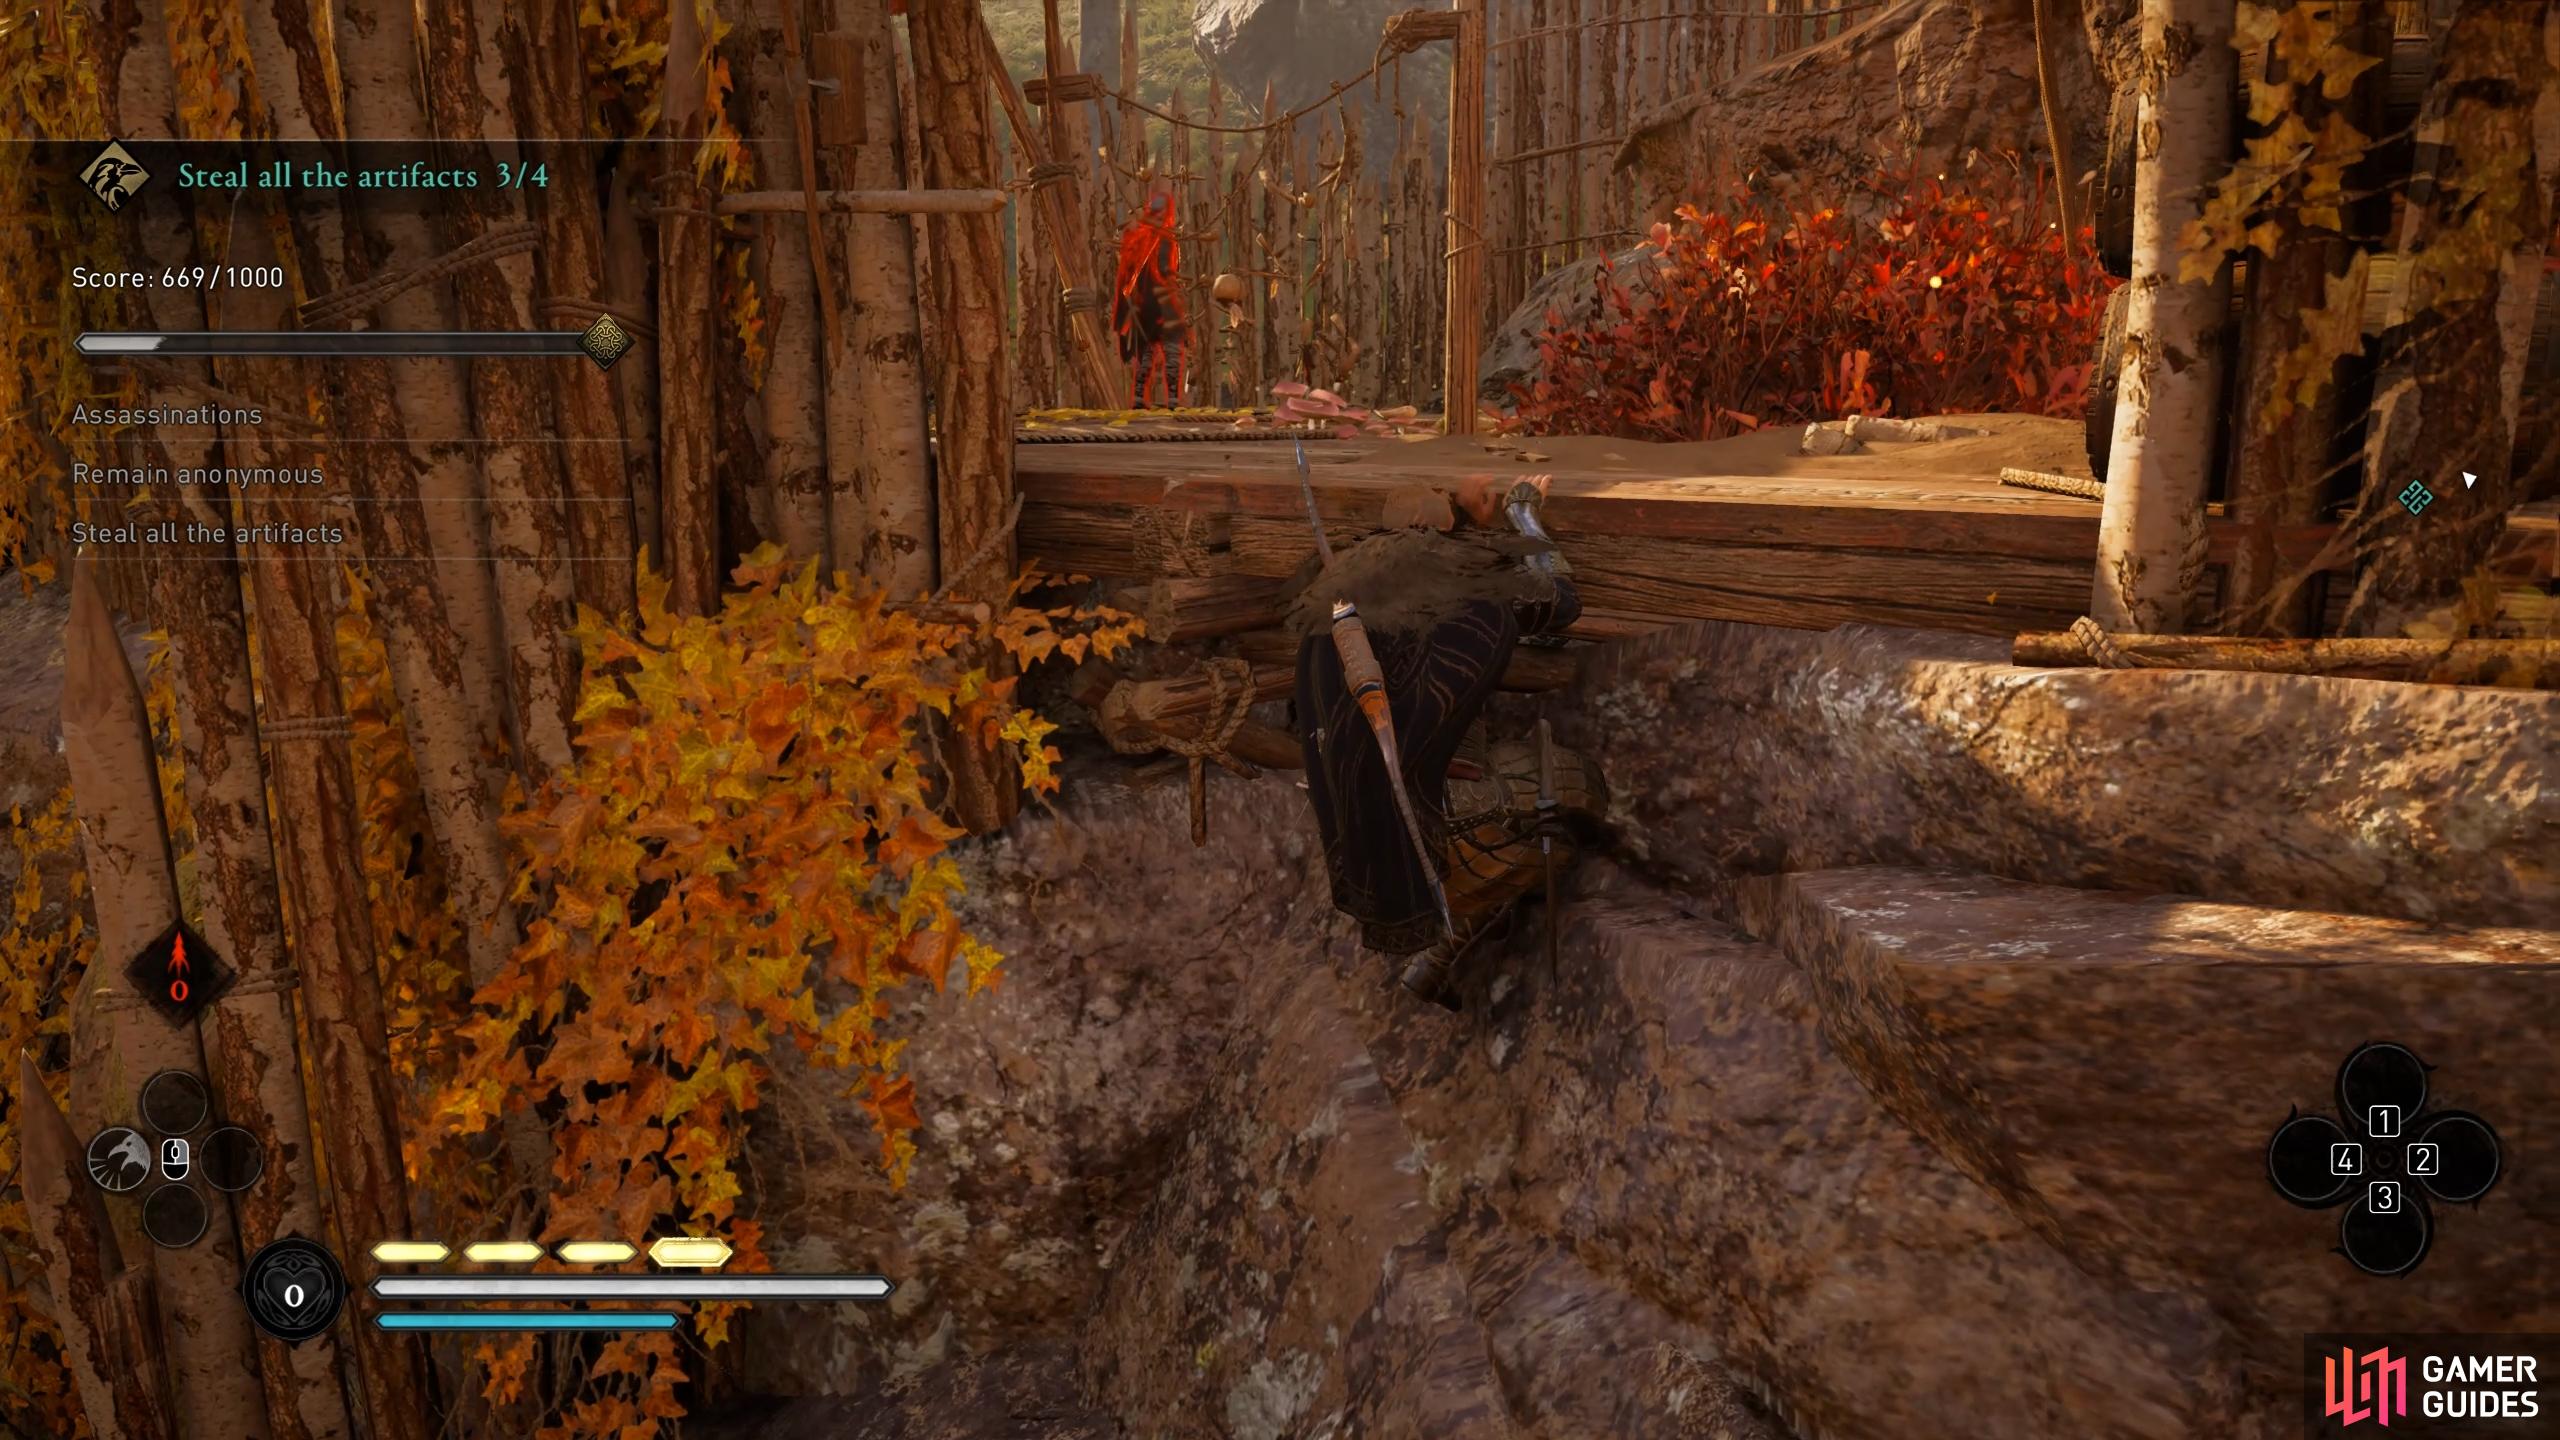
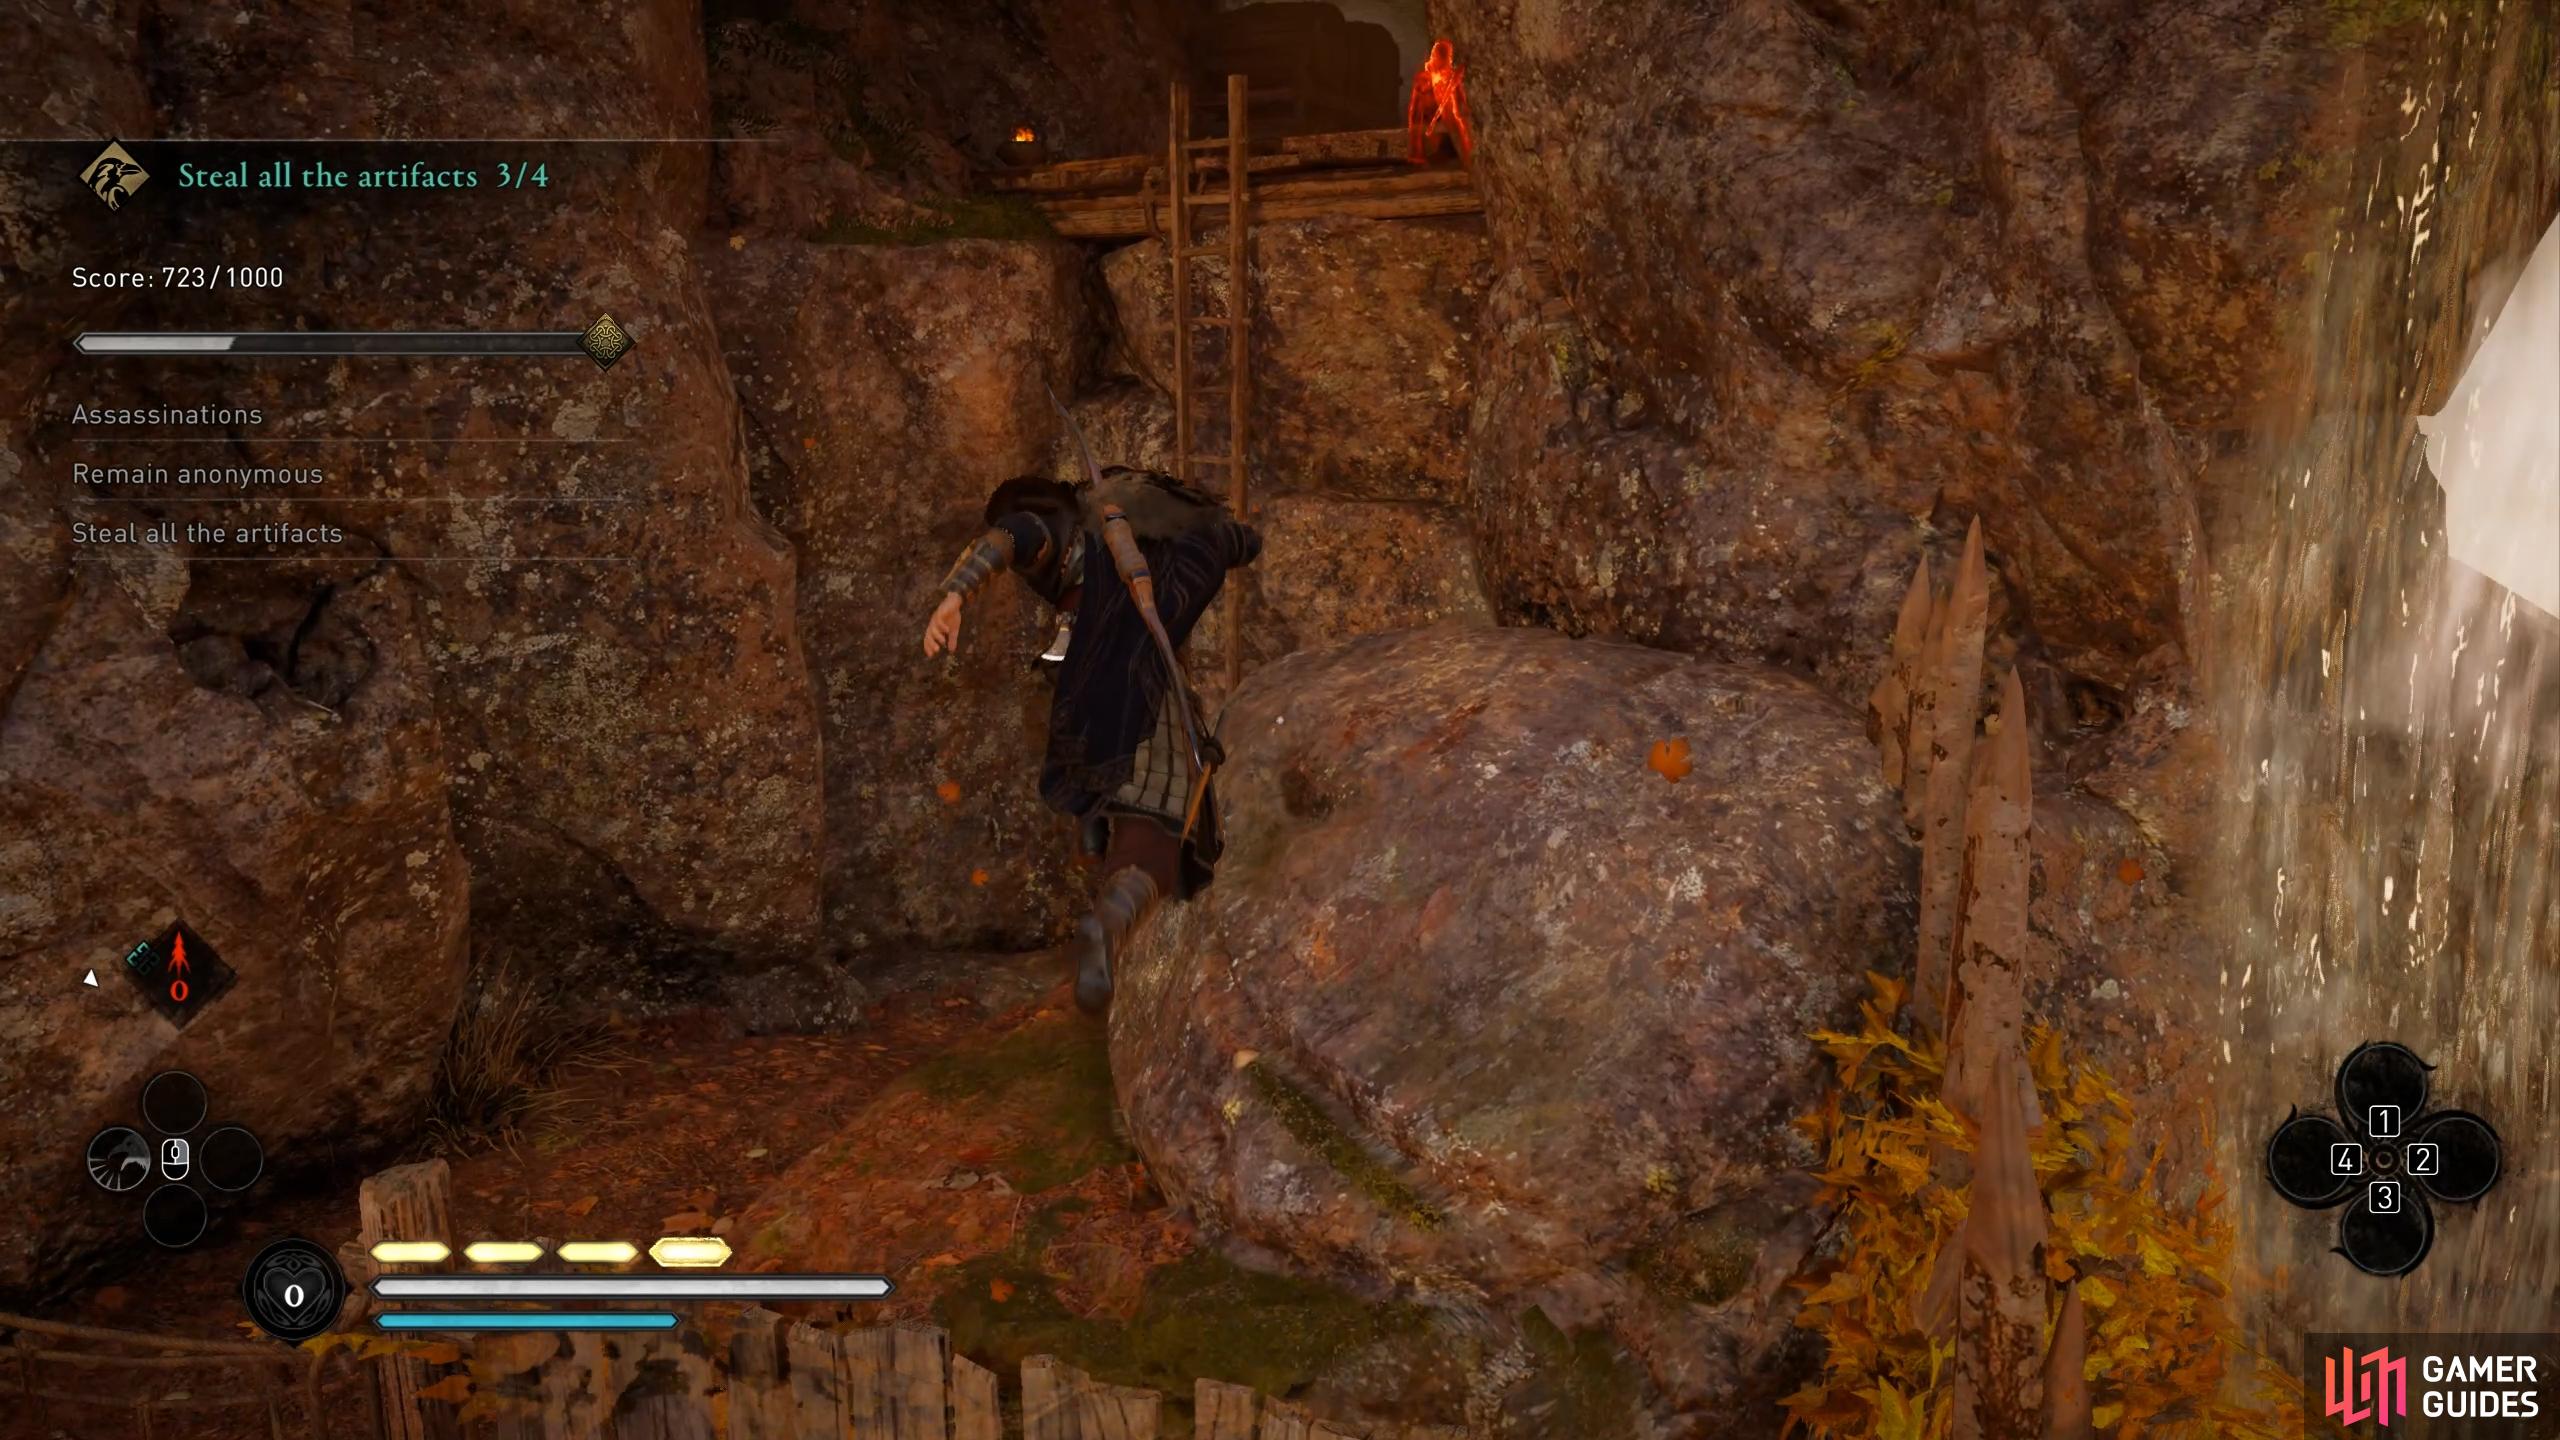
When you’ve killed the guard in the cave and looted the artifact there, exit the cave the same way you entered and turn right, crouching just under the waterfall beneath the three guards above. Keep moving beyond the waterfall and then climb the rock and ivy just to the left of it. From here you’ll see a platform with some rattling bones above it, and a guard close by. You won’t be able to go through the rattling bones without alerting the guard, so instead you should climb to the edge of the platform and hang there. From this position (shown in the screenshot below) you can whistle to draw the attention of the guard to the ledge. When they’re close by, assassinate them to throw them off the side.
Once you’ve killed this first guard, shuffle over to the left from the same position, just beneath the top of the rock, until you come to another opening. Here you’ll see another guard to your left. To assassinate this guard quickly, make sure that they’re facing away from you before you jump up onto the ledge. At this point you can use Raven Distraction to stun the guard, then run over and finish them off with an assassination.
After killing this guard, you’ll notice the final artifact up here. Don’t loot it yet! If you do, the trial will end without you assassinating the last guard. You’ll find this guard behind the waterfall. Assassinate them from behind and then loot the artifact below to complete the trial.
(1 of 5) Climb the rock next to the waterfall and whistle for the guard to approach the ledge.







 Sign up
No Comments