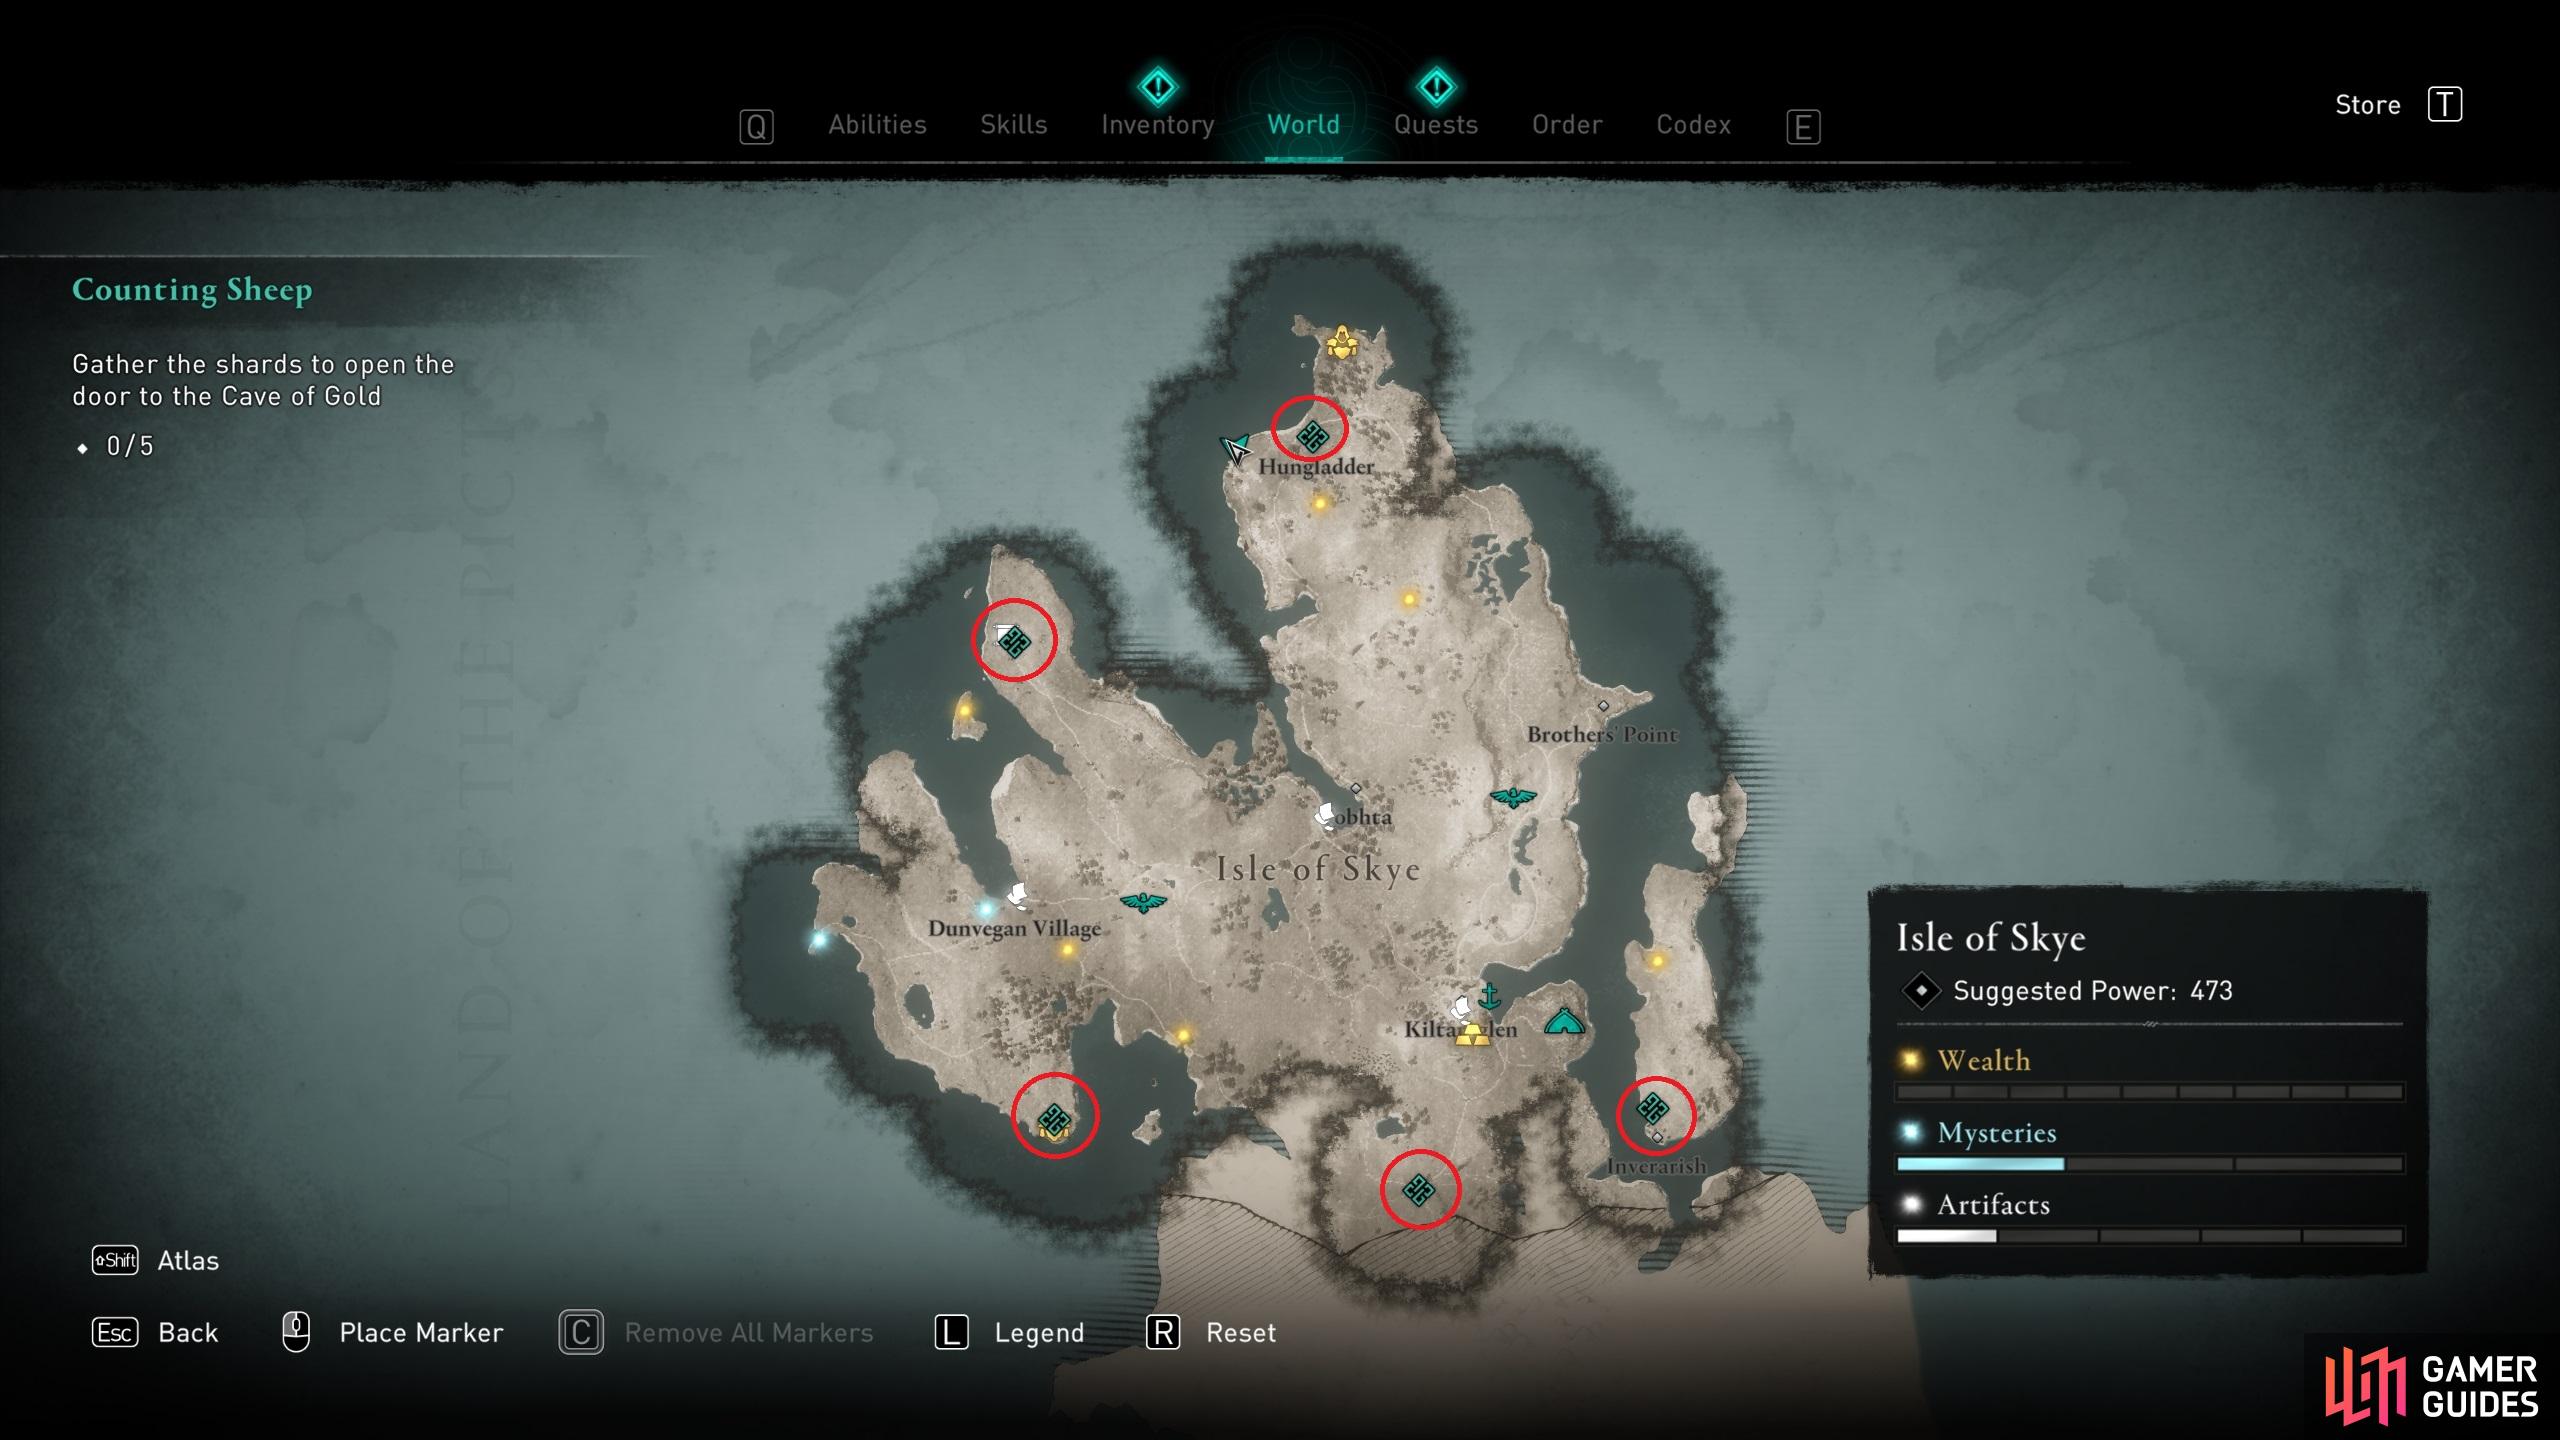
This quest begins immediately after Night and Day. Eivor has decided to seek out the shards on their own, and there are five to collect throughout the Isle of Skye.
Gather Shards for the Cave of Gold
The locations of all five shards on the Isle of Skye.
Hungladder
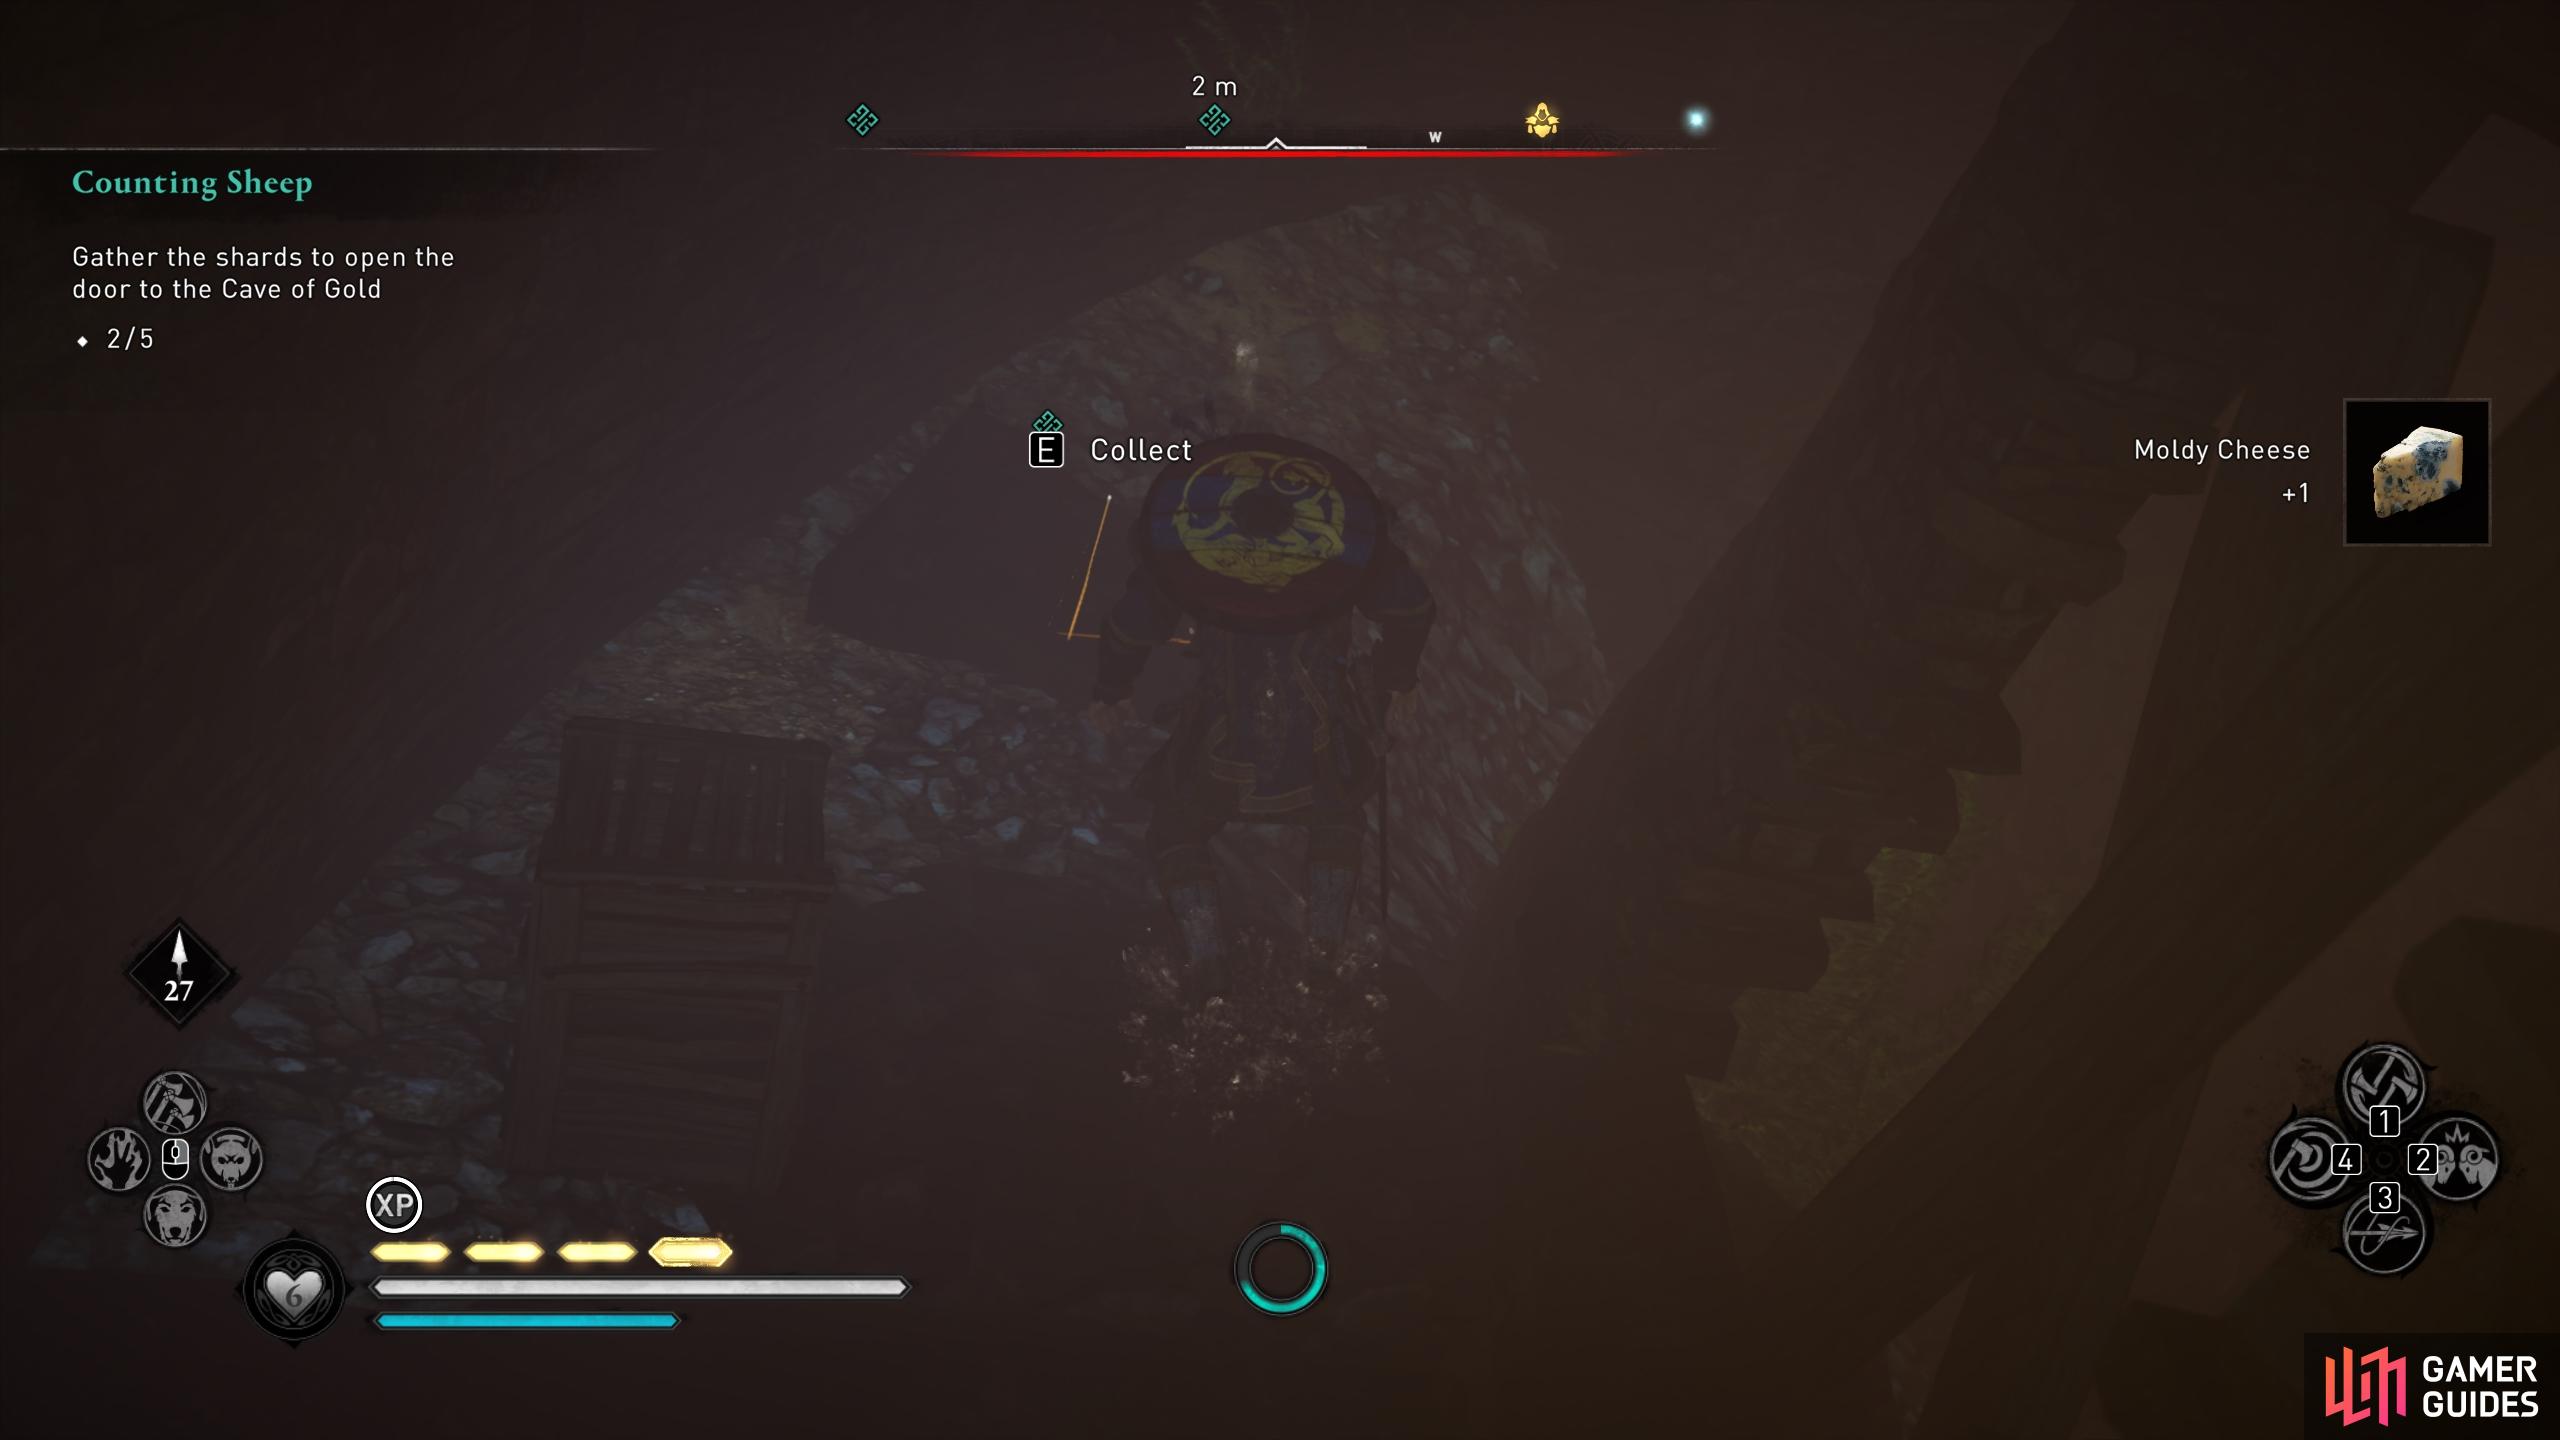
The first shard that we’ll collect is the one closest to the Cave of Gold, at a camp named Hungladder to the east. You’ll find the shard at Hungladder in a crypt-like area beneath a small bridge at the centre of the camp, as shown in the screenshot below. The camp is heavily guarded so you may need to kill a few guards before you can loot it in peace, or you can try to sneak in. However, there’s one guard next to the shard who you can easily assassinate.
(1 of 2) The entrance to the crypt-like area at Hungladder, where the shard can be found.
The entrance to the crypt-like area at Hungladder, where the shard can be found. (left), Loot the shard after killing the enemy next to it. (right)
Excavation Site
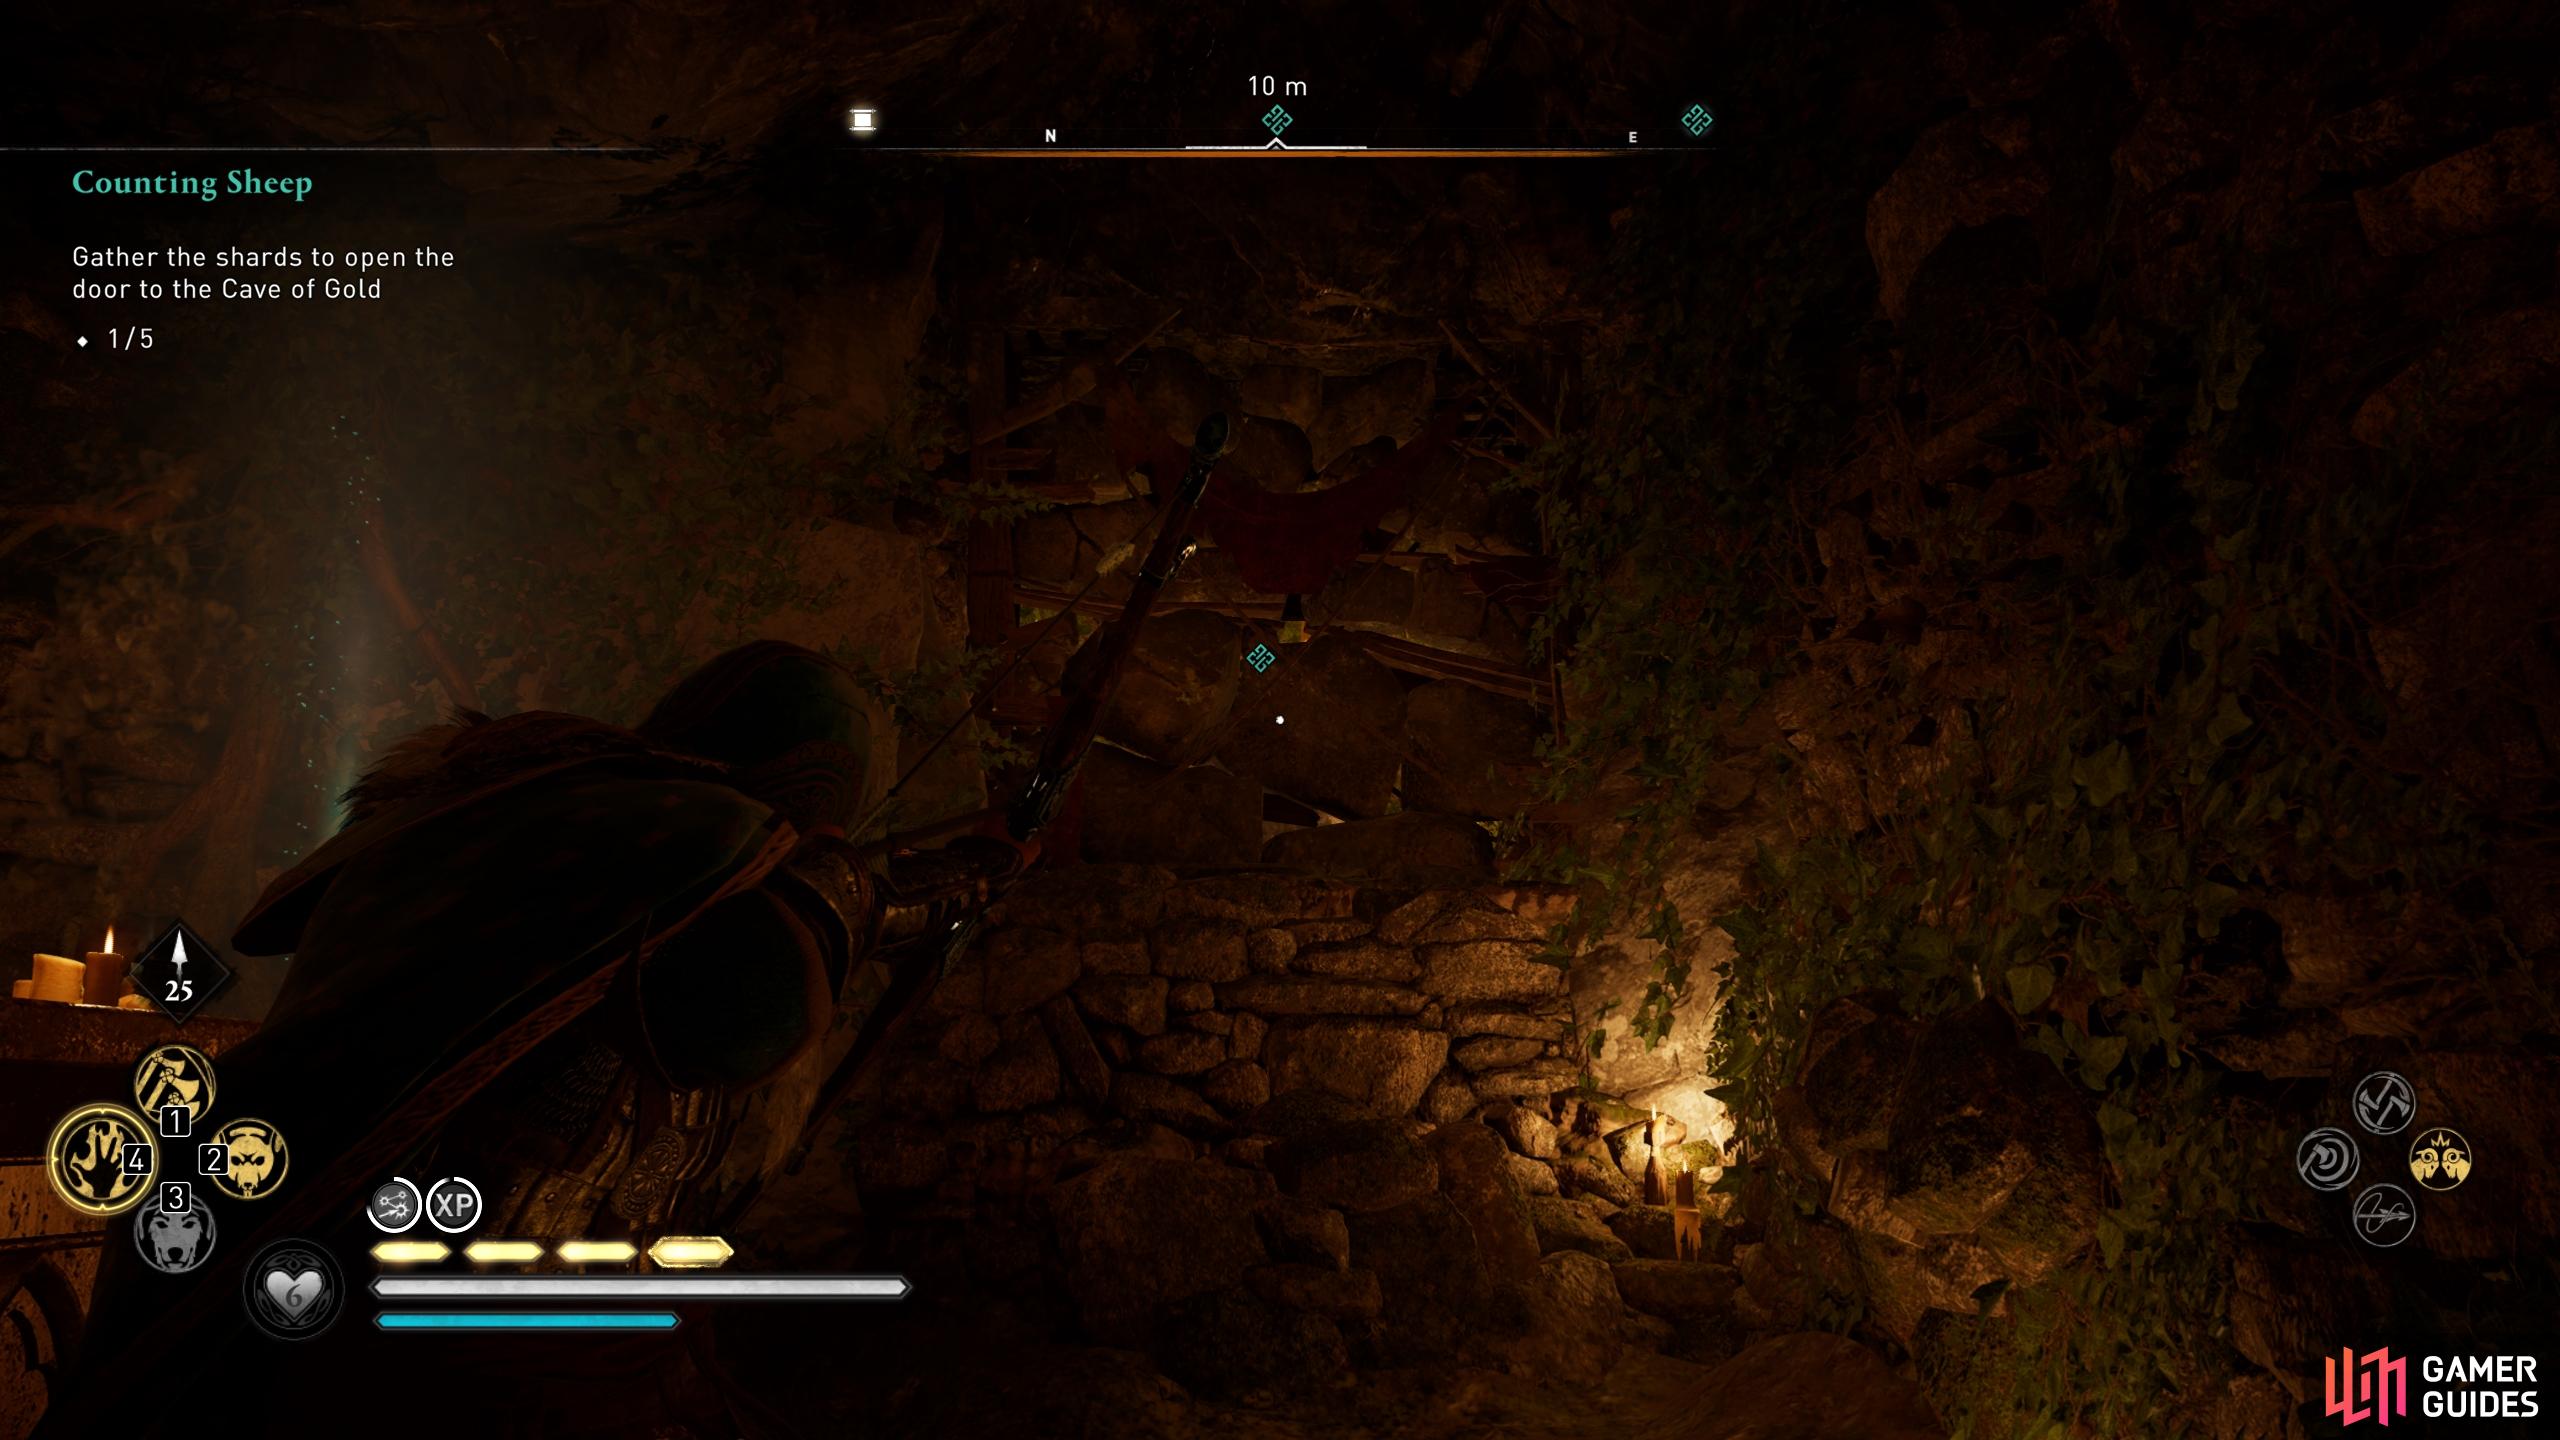
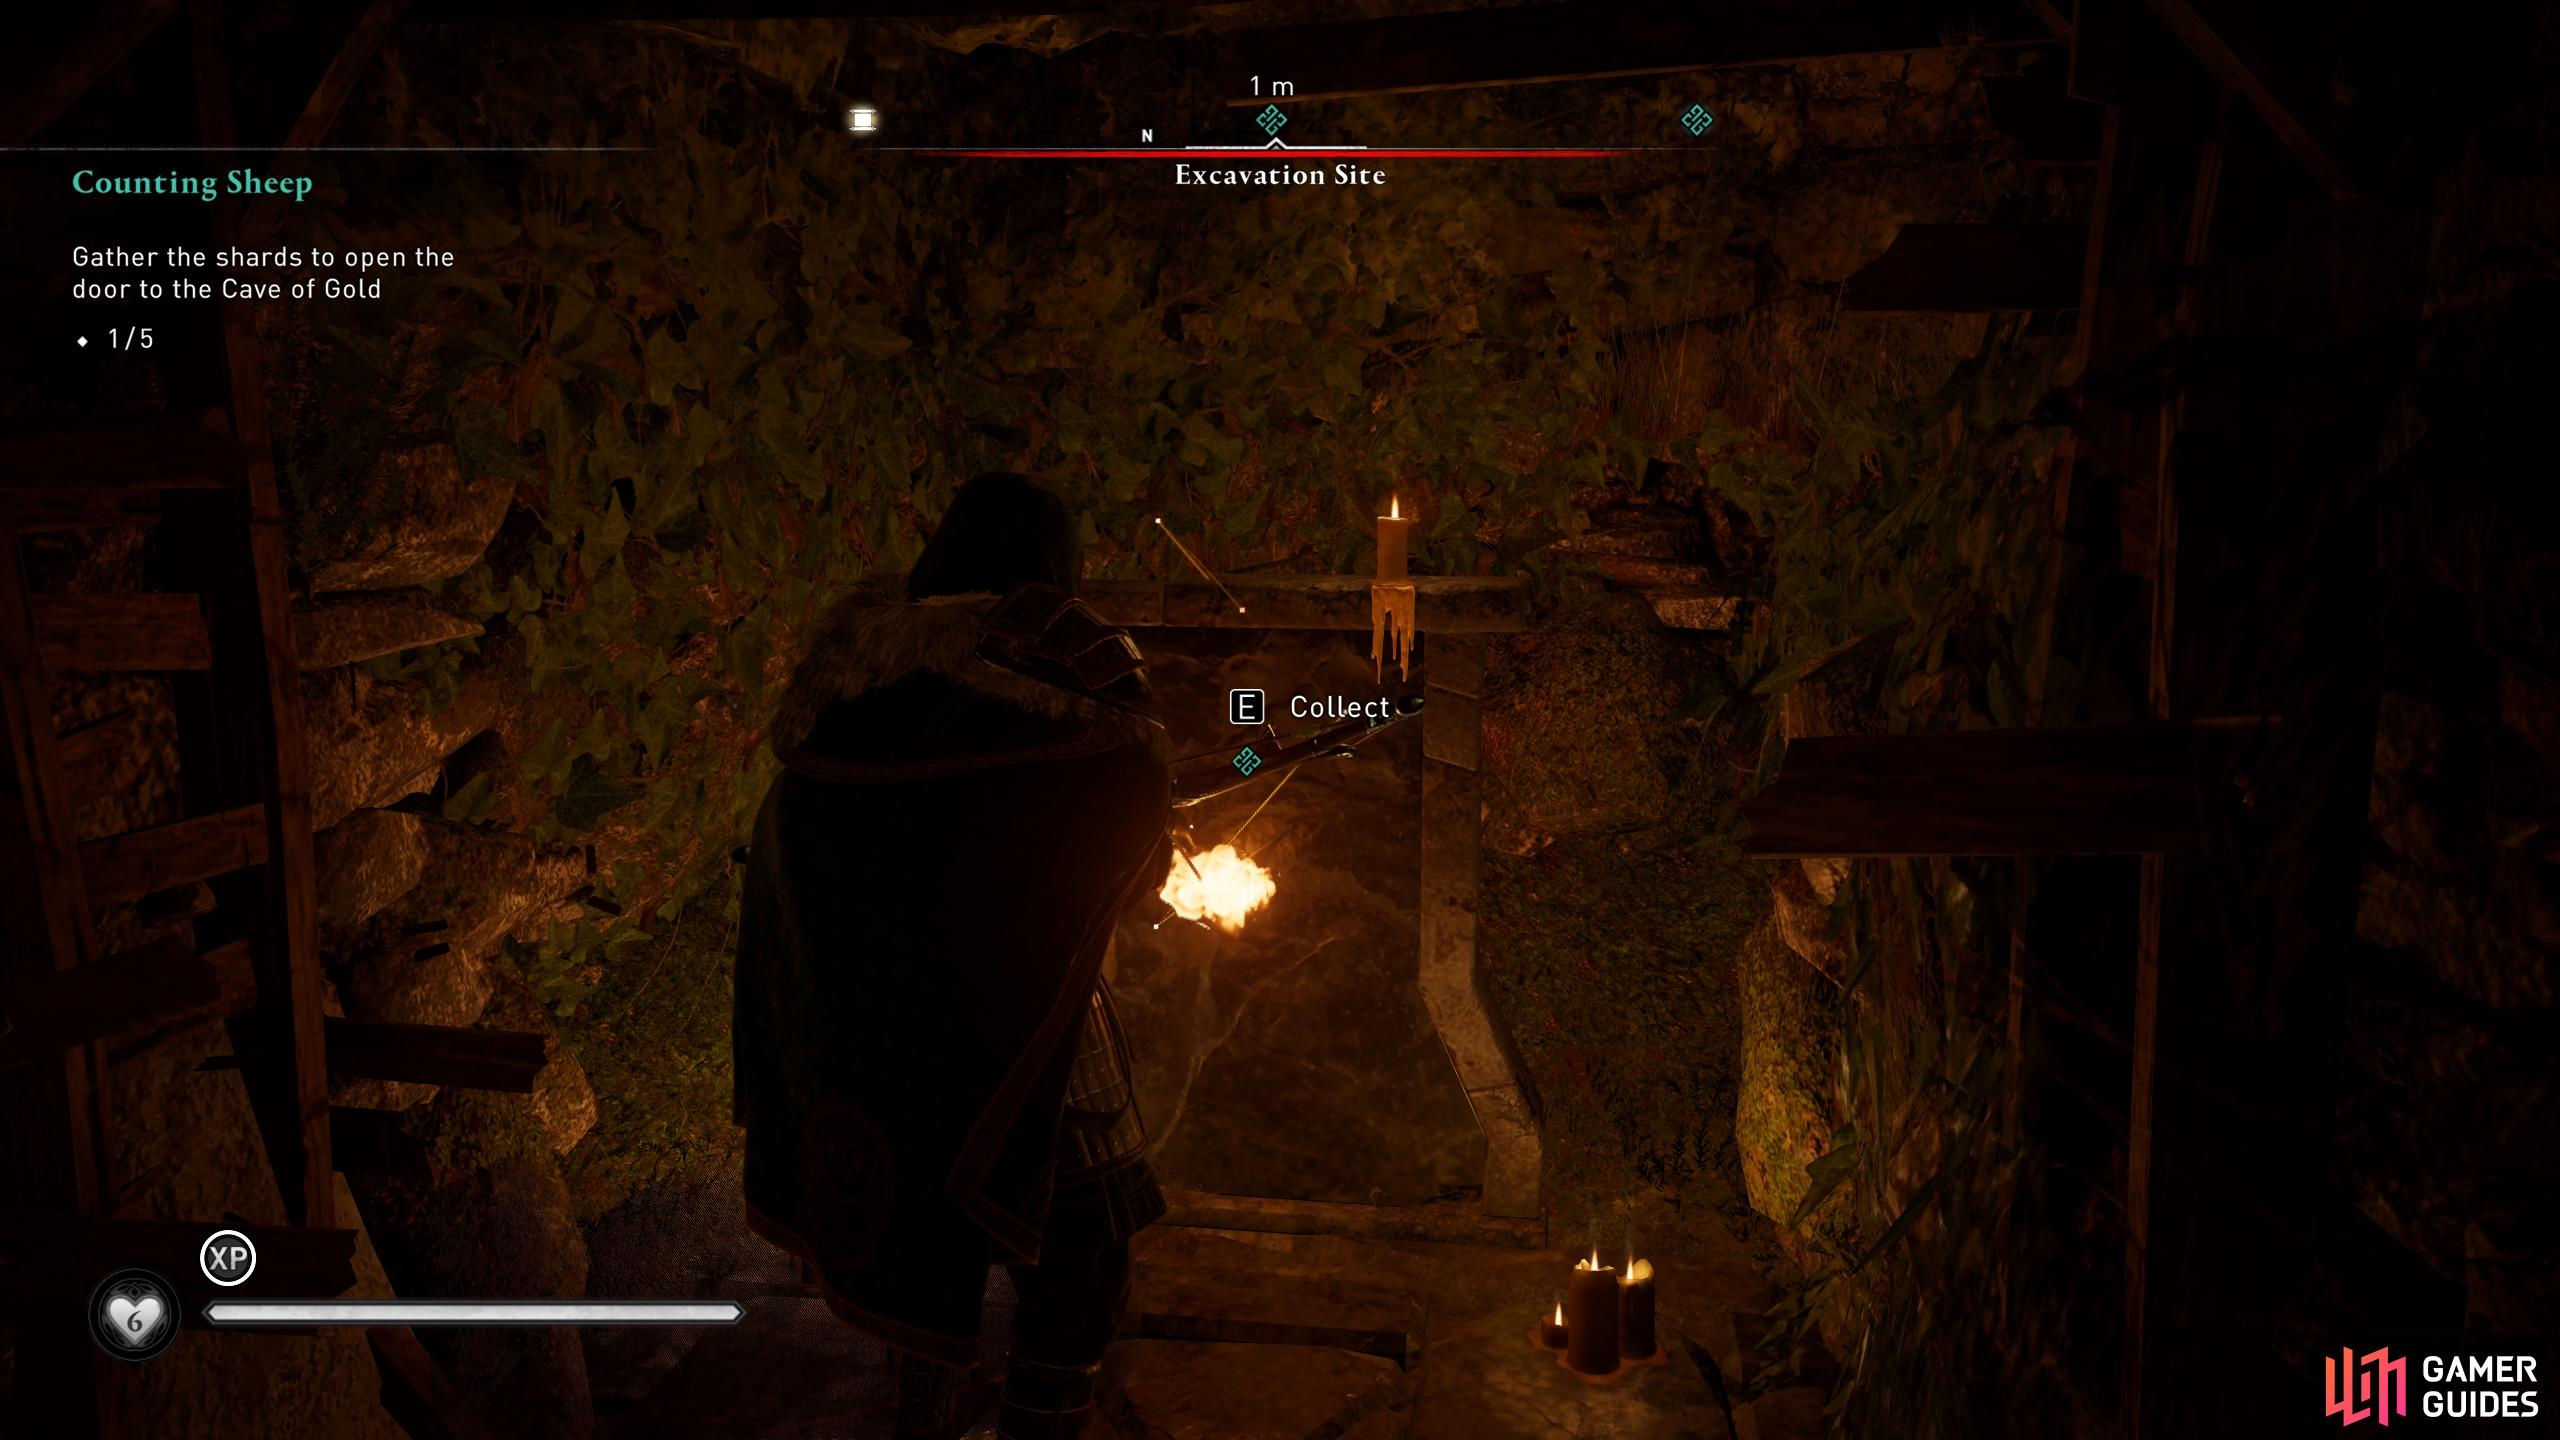
The next shard we’ll collect is at an excavation site near the coast to the southwest of Hungladder. You can use the synchronization point south of the site to reach it, or you can summon your longship and sail down instead. Either way, you’ll be looking for an entrance to an area beneath one of the ruined structures in the east of the excavation site. There are plenty of guards here too, but only one side near the shard. This time you’ll need to use a fire pot to destroy the barricade, or alternatively the Incendiary Powder Trap ability. The shard is located behind the barricade.
(1 of 3) Look for the entrance to the crypt in the east of the excavation site.
Dun Ardtreck
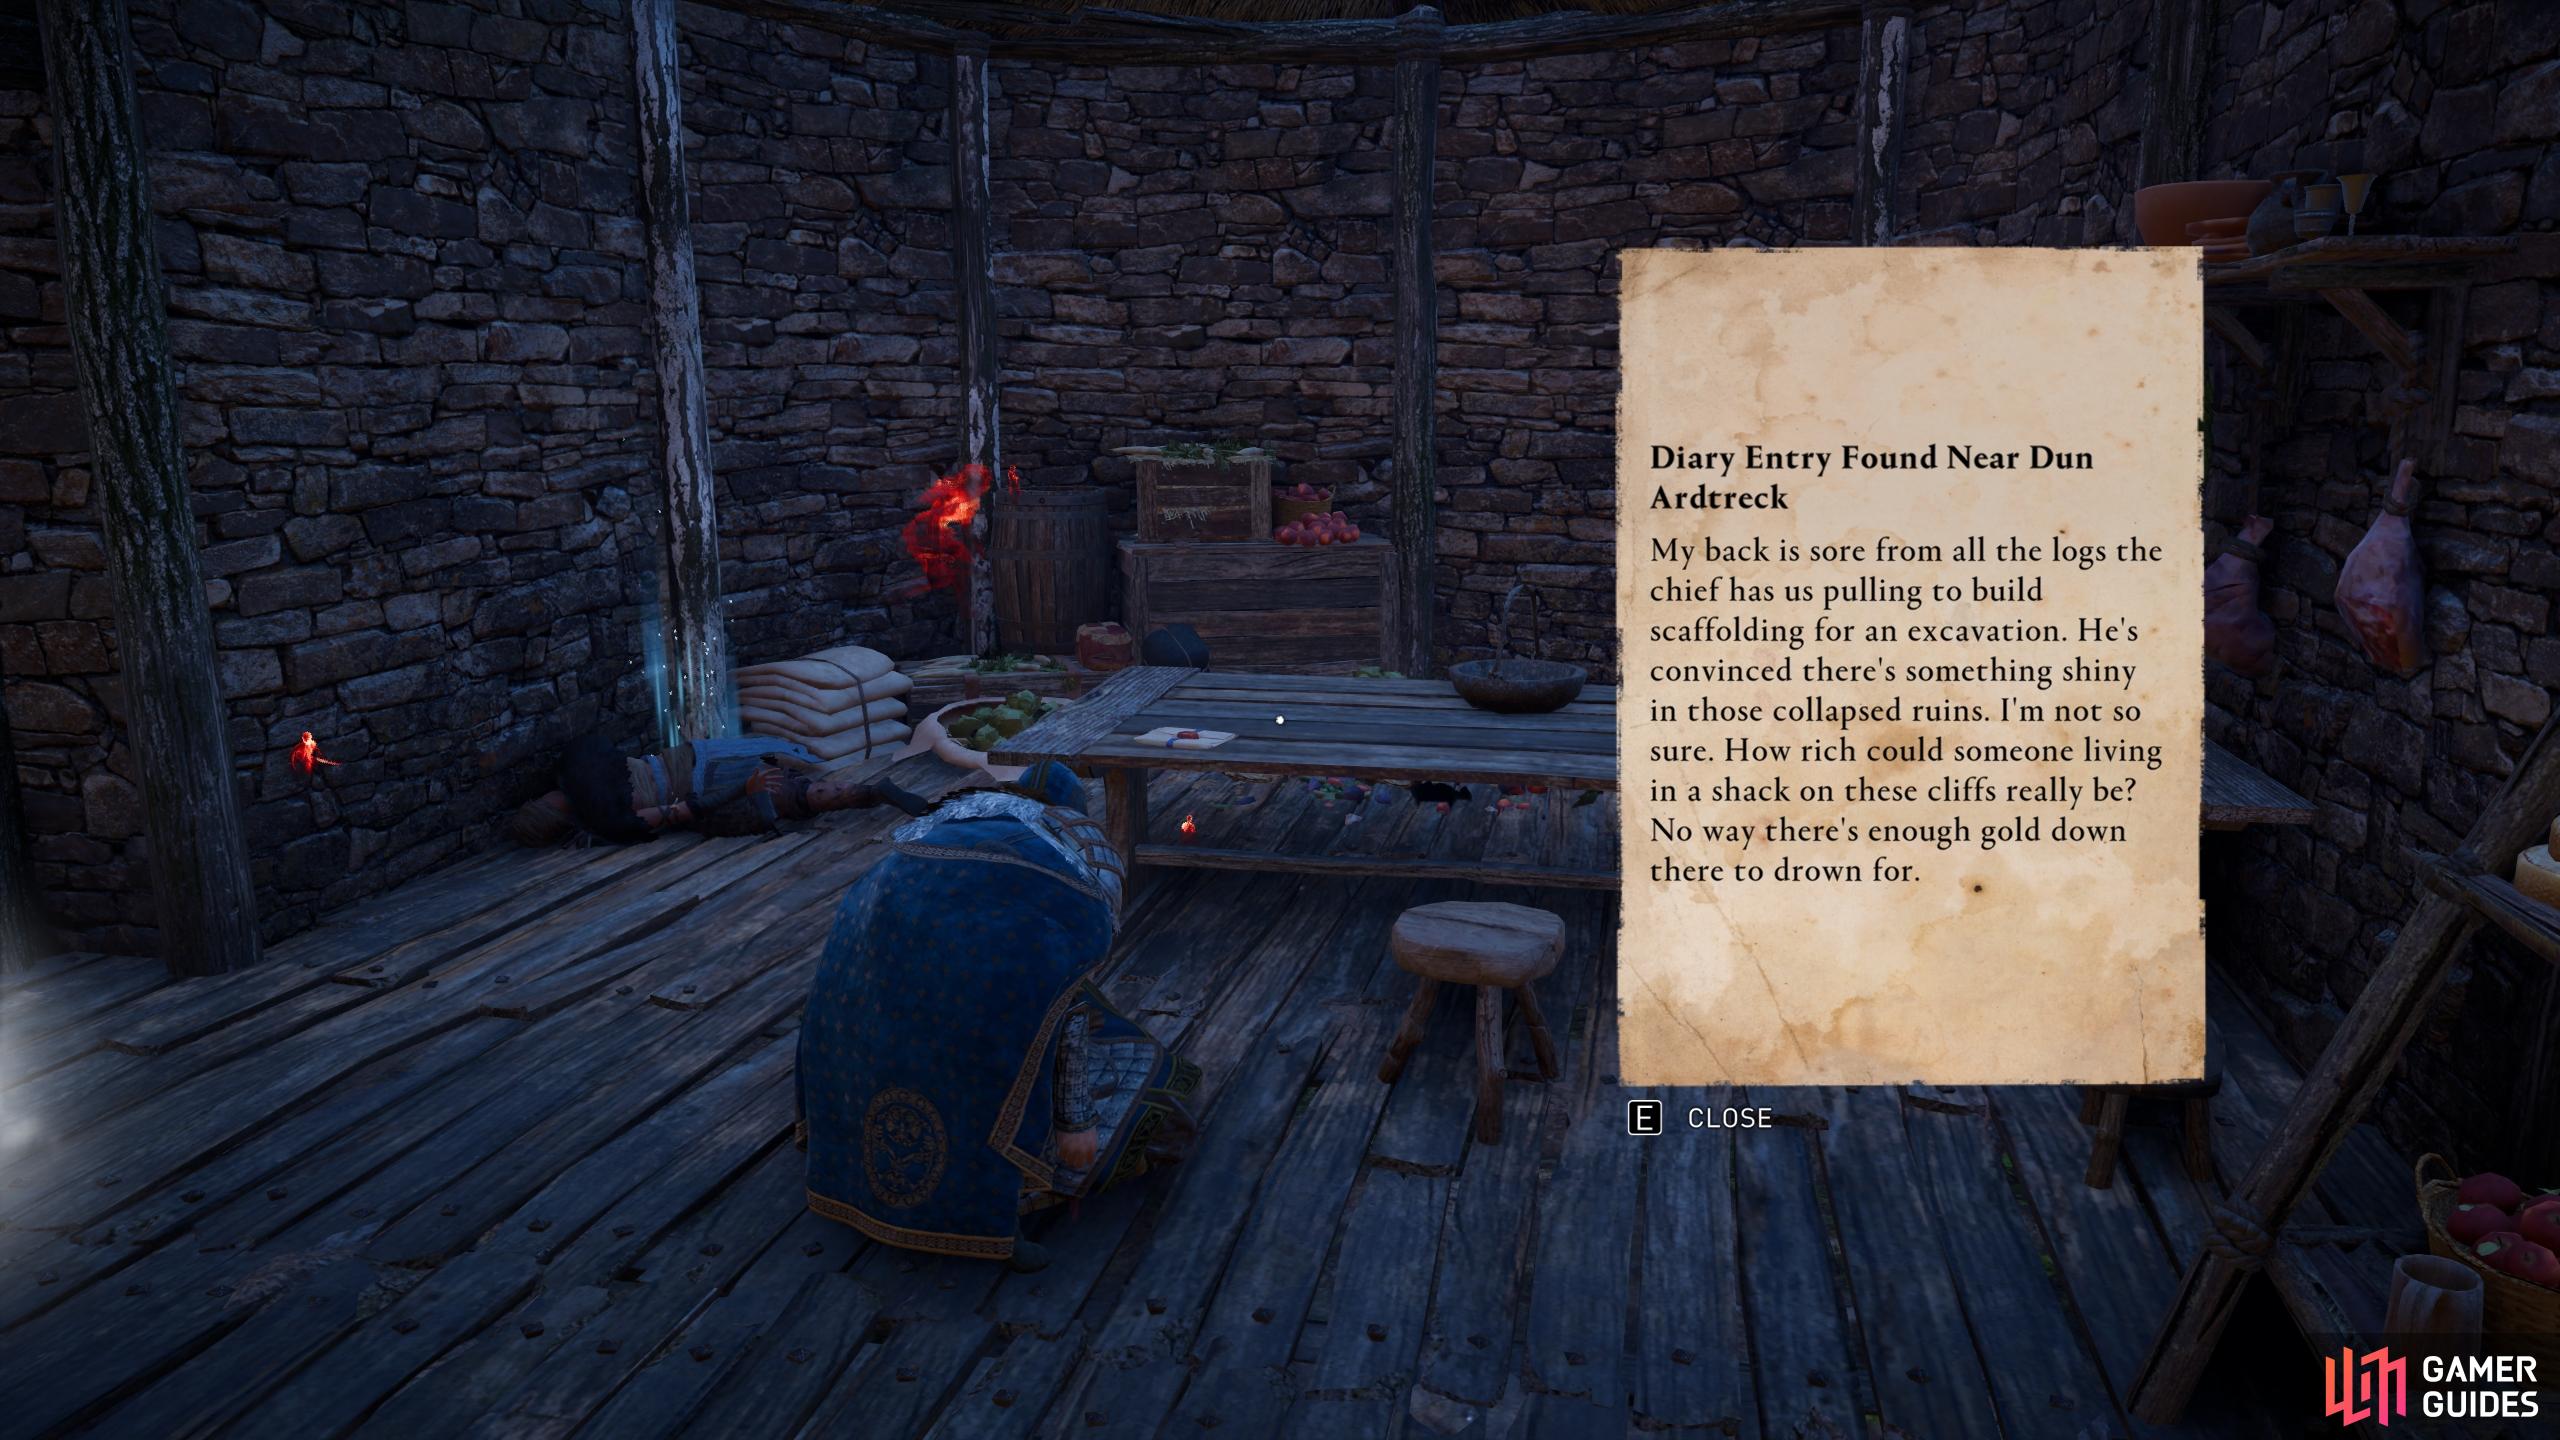
The third shard that we’ll collect is located in the southwest of the Isle of Skye, at a place called Dun Ardtreck directly south of Dunvegan Village. The shard is actually located in the ocean just off the coast of Dun Ardtreck, so you’ll need to dive in and swim to the bottom to find it within the ruins of a structure. Use the screenshots below for a reference, and keep using Odin’s Sight to highlight the location as you dive.
(1 of 3) You’ll find a note within Dun Ardtreck, hinting at the location of the shard.
Fairy Pools
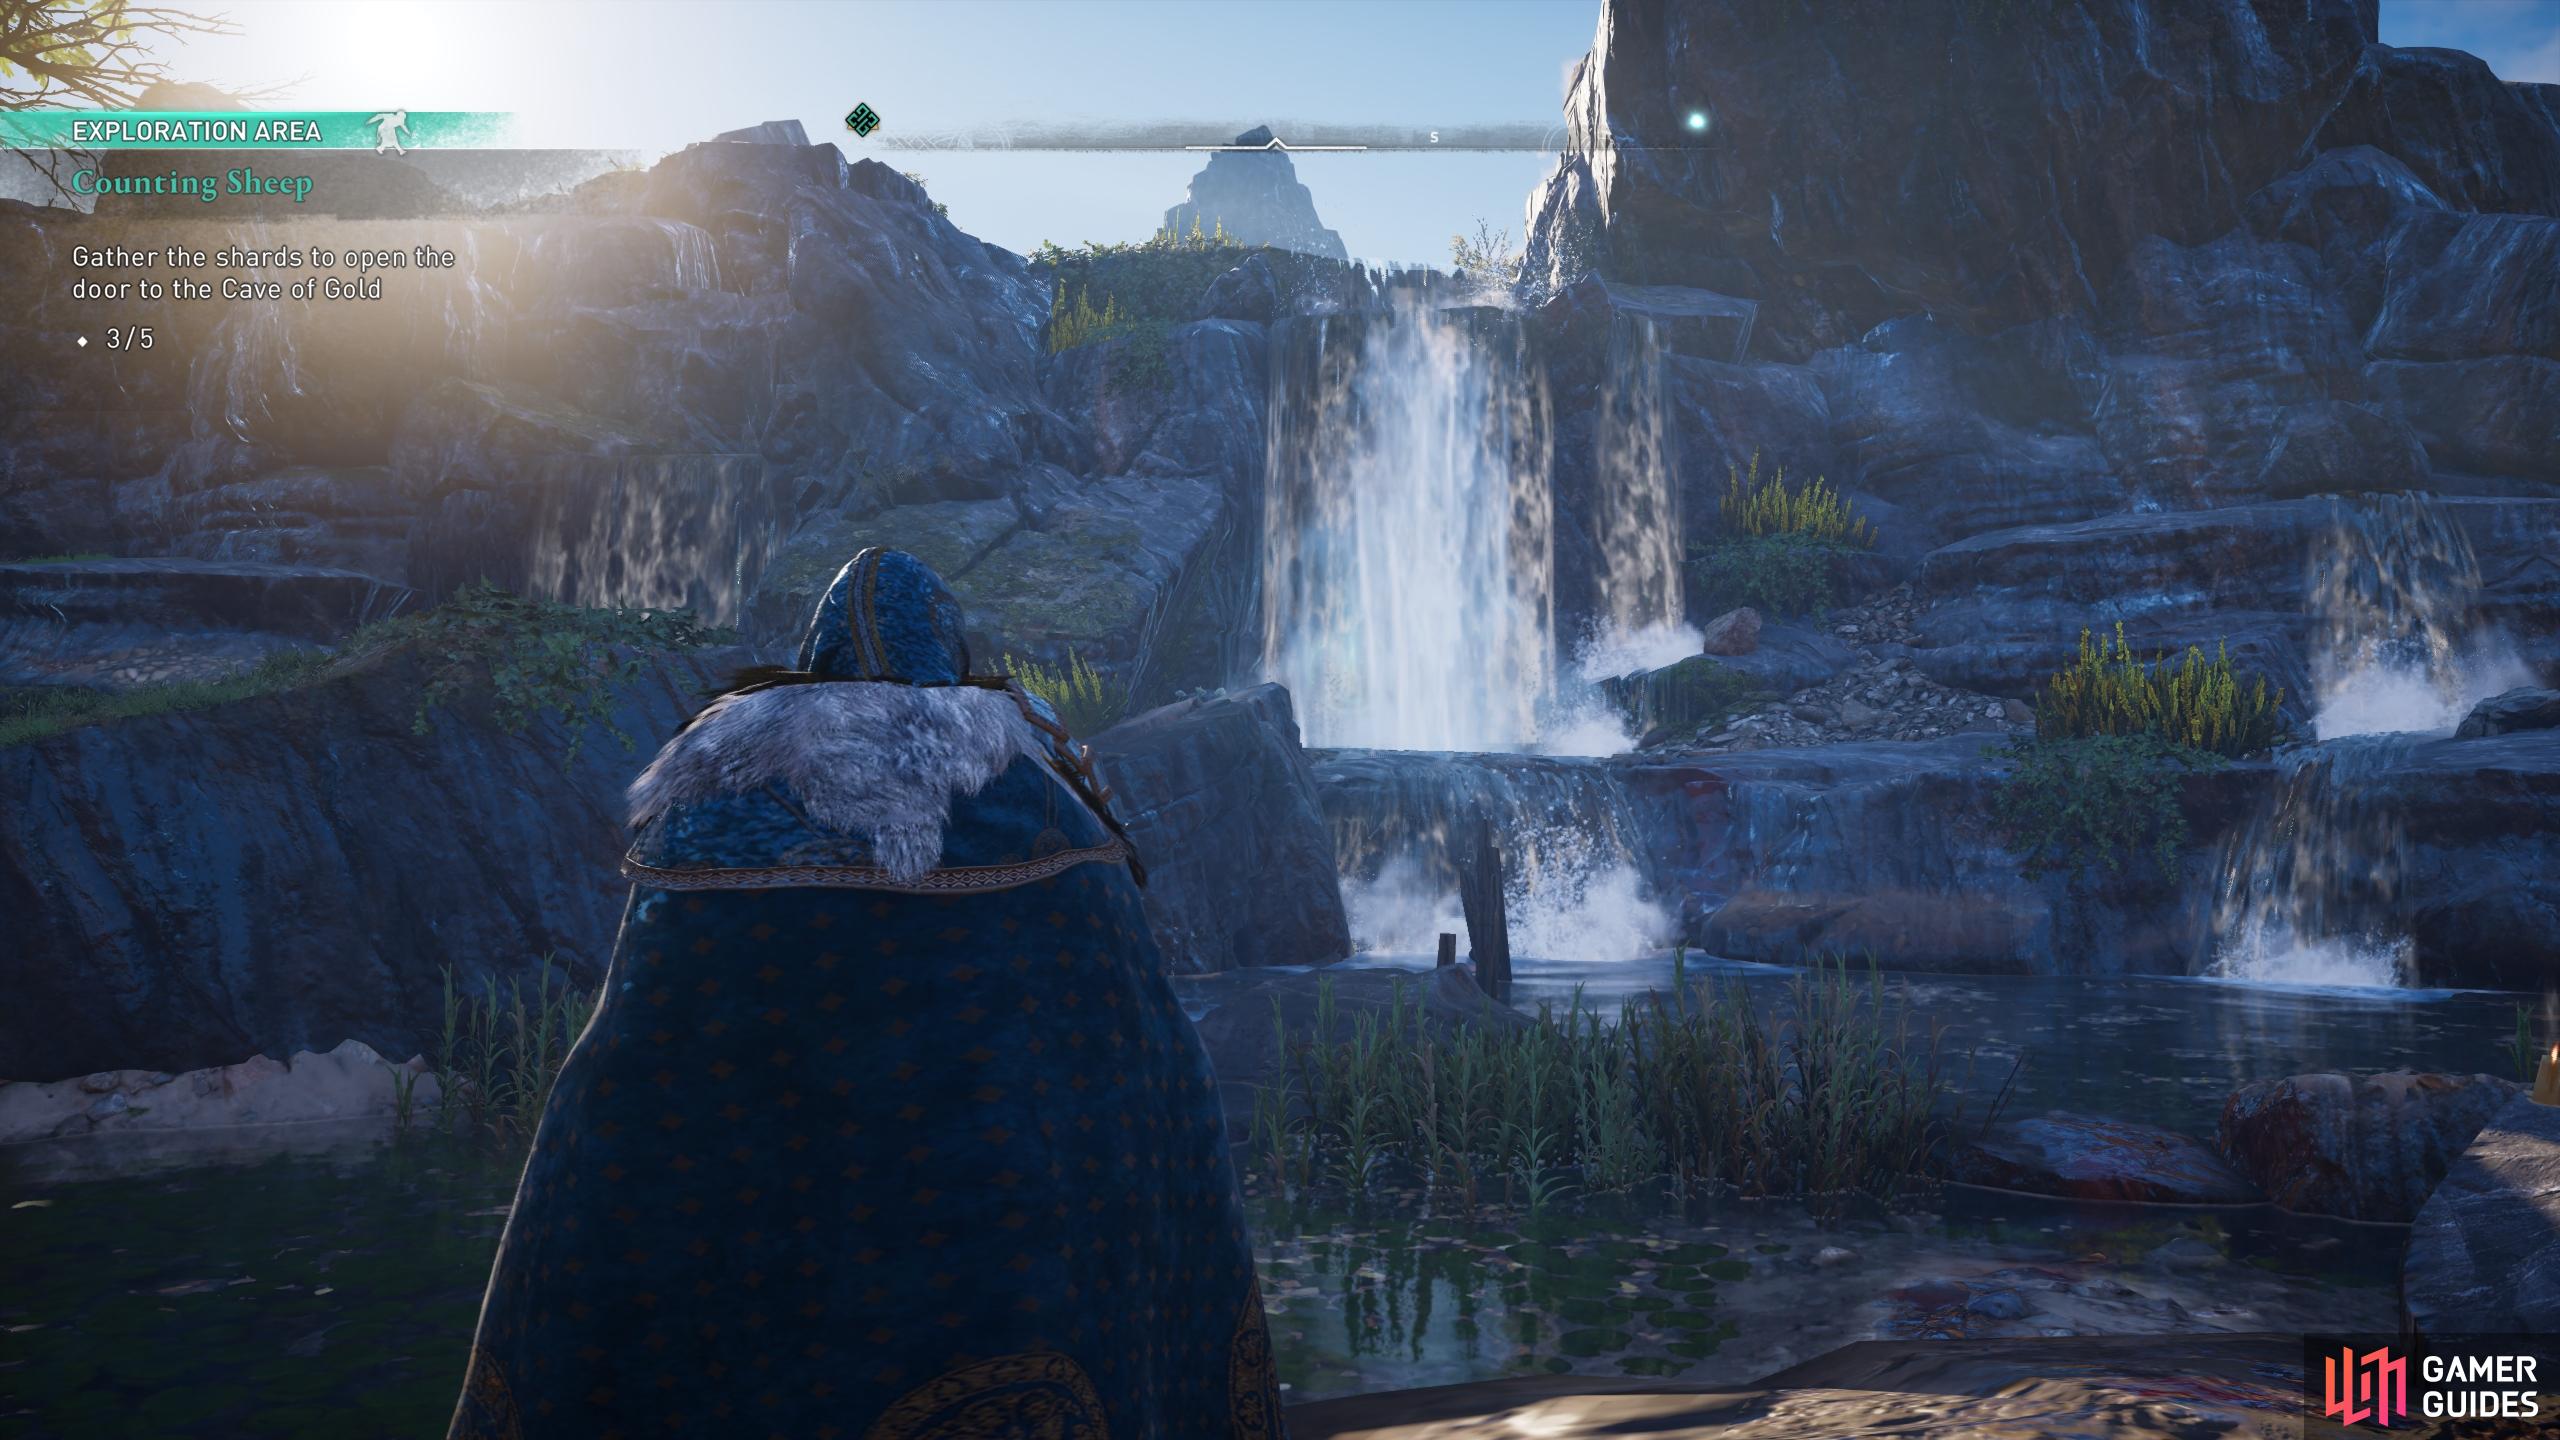
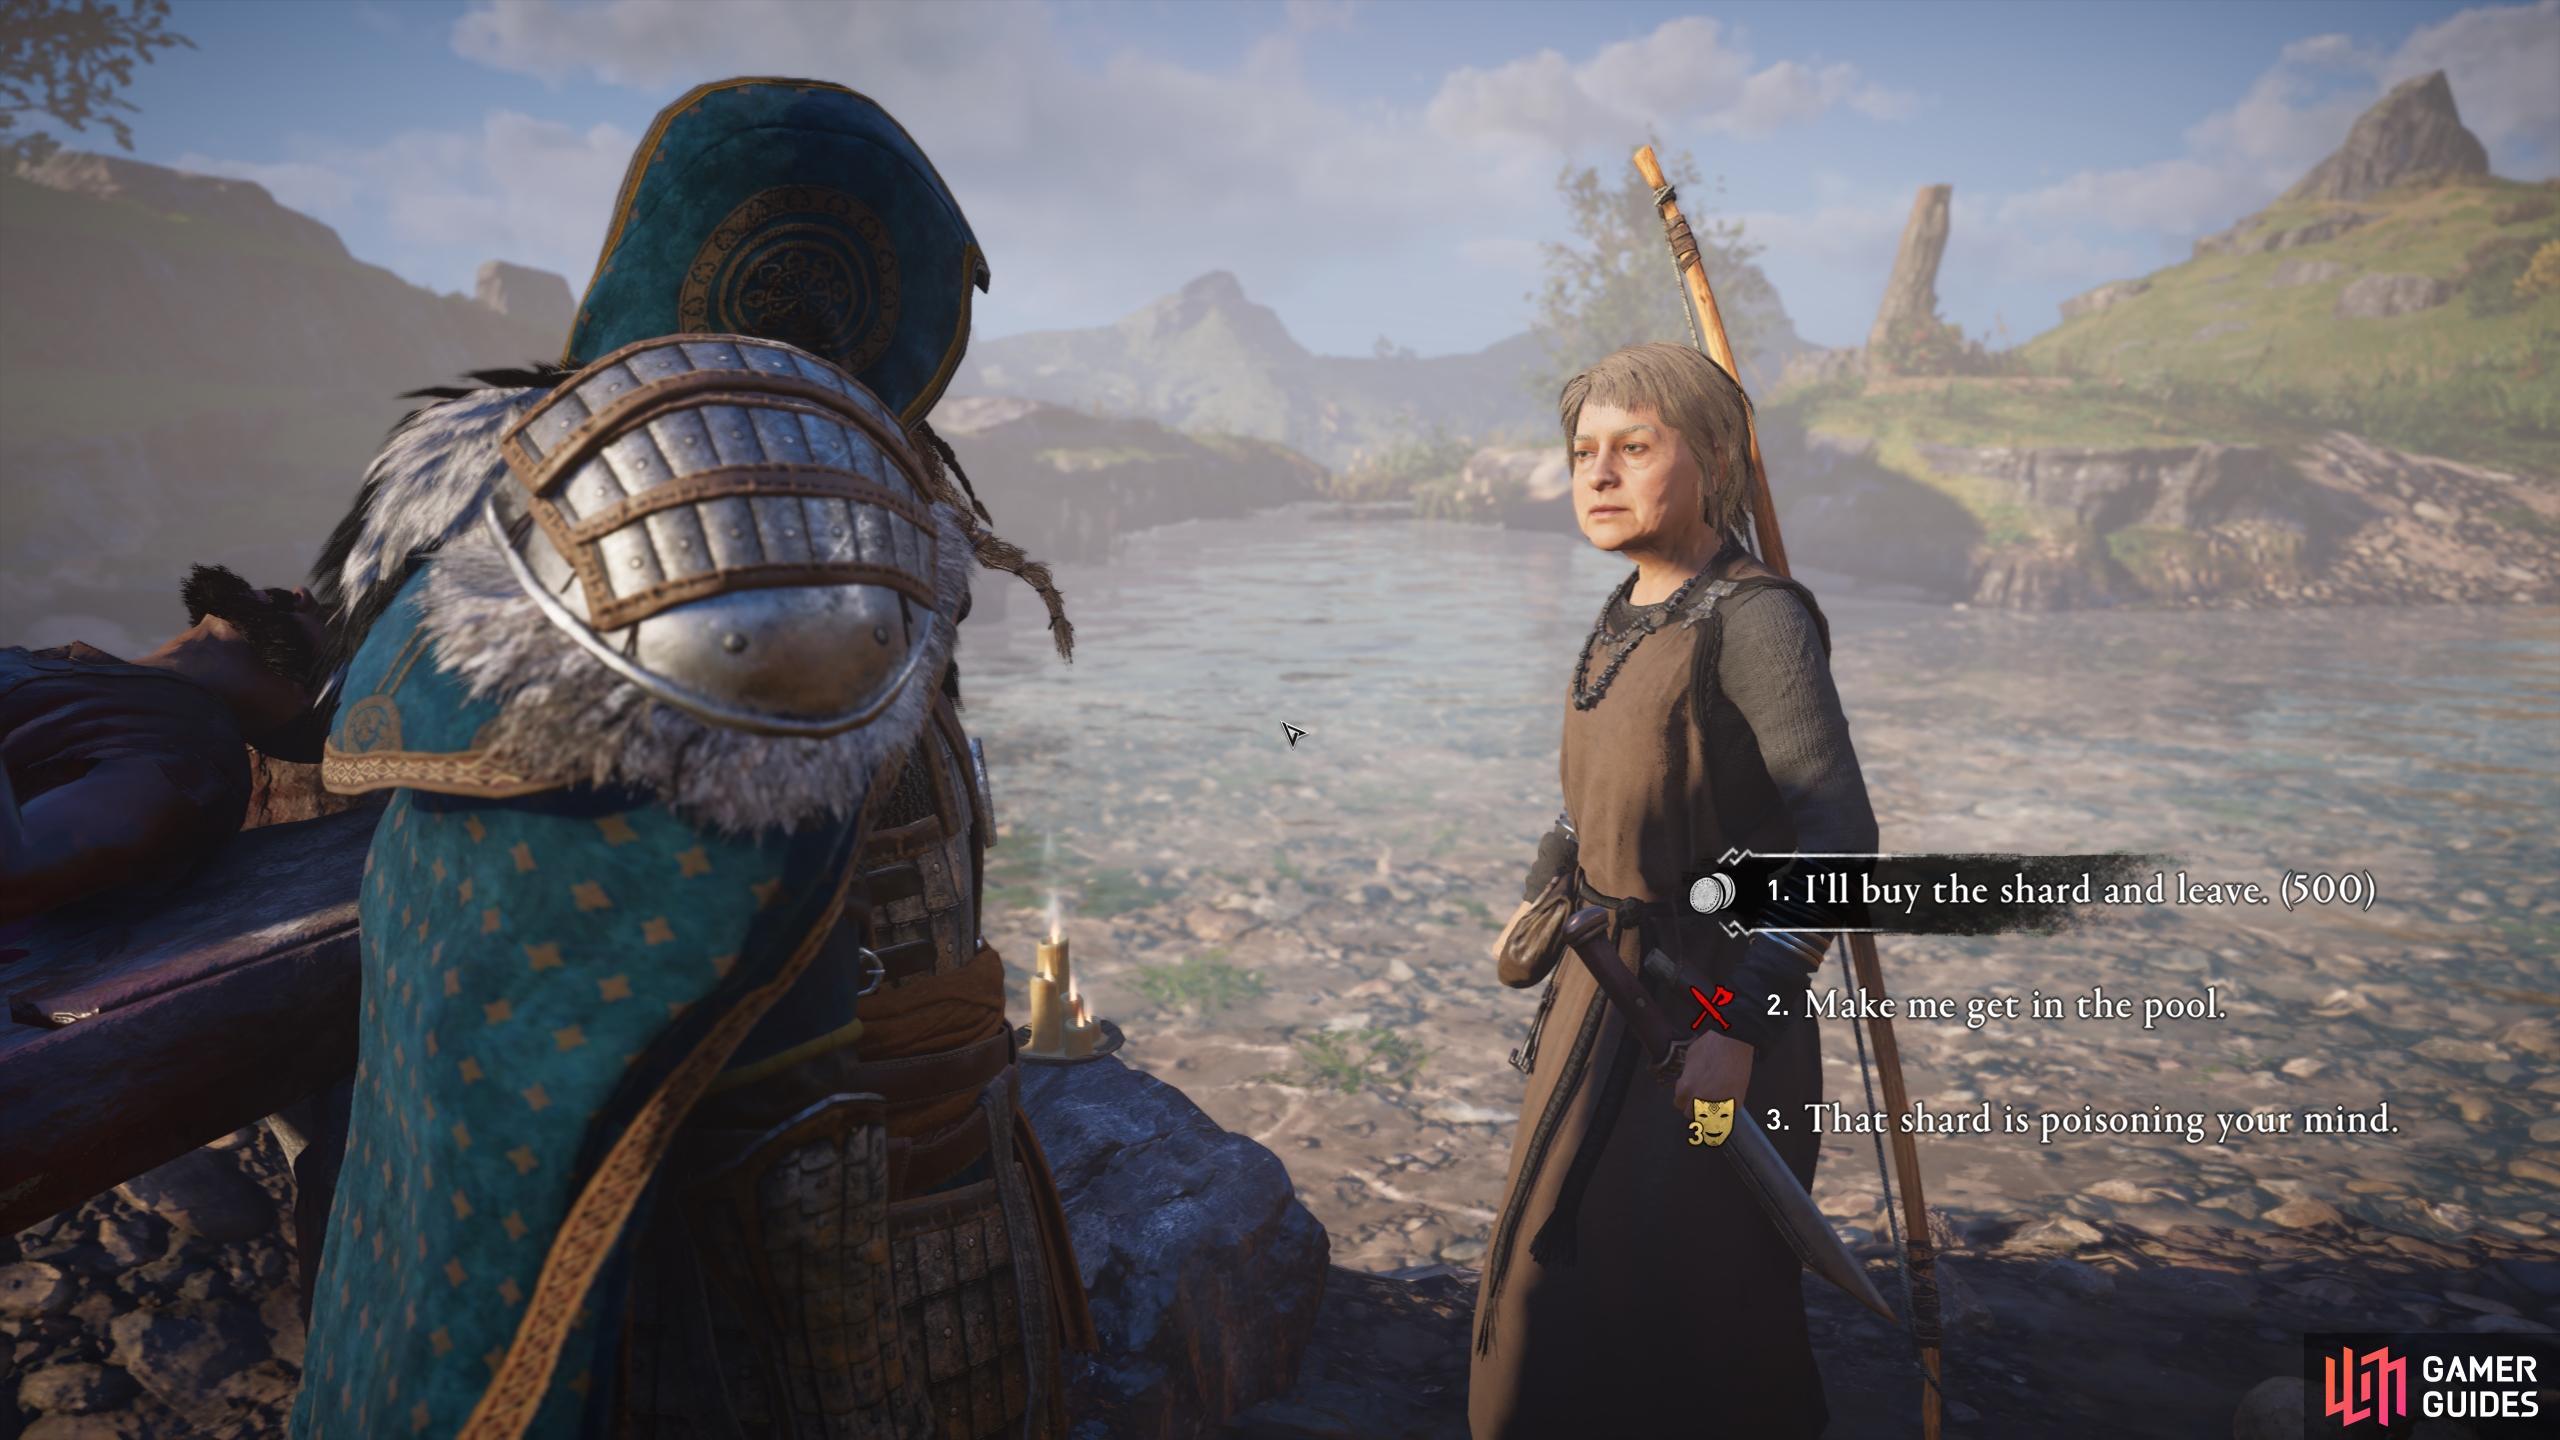
The fourth shard that we’ll collect is located at the Fairy Pools, to the south of Kiltaraglen. The shard should be located behind the waterfall here, but when you approach it from the island in the Fairy Pools, you’ll notice that it’s missing. When you turn around an old woman will appear with some animal companions. She’ll creepily suggest that you allow her to sacrifice you, and you’ll have three dialogue options to respond with. The first allows you to pay the old woman 500 silver to take the shard and leave, the second leads to a fight with the old woman and her animal companions, and the third allows you to persuade the old woman to hand over the shard, but this requires at least Charisma level 3. Whichever you choose, after the interact with the old woman you’ll have the fourth shard.
(1 of 3) Look behind the waterfall for the shard.
Brother’s Cave
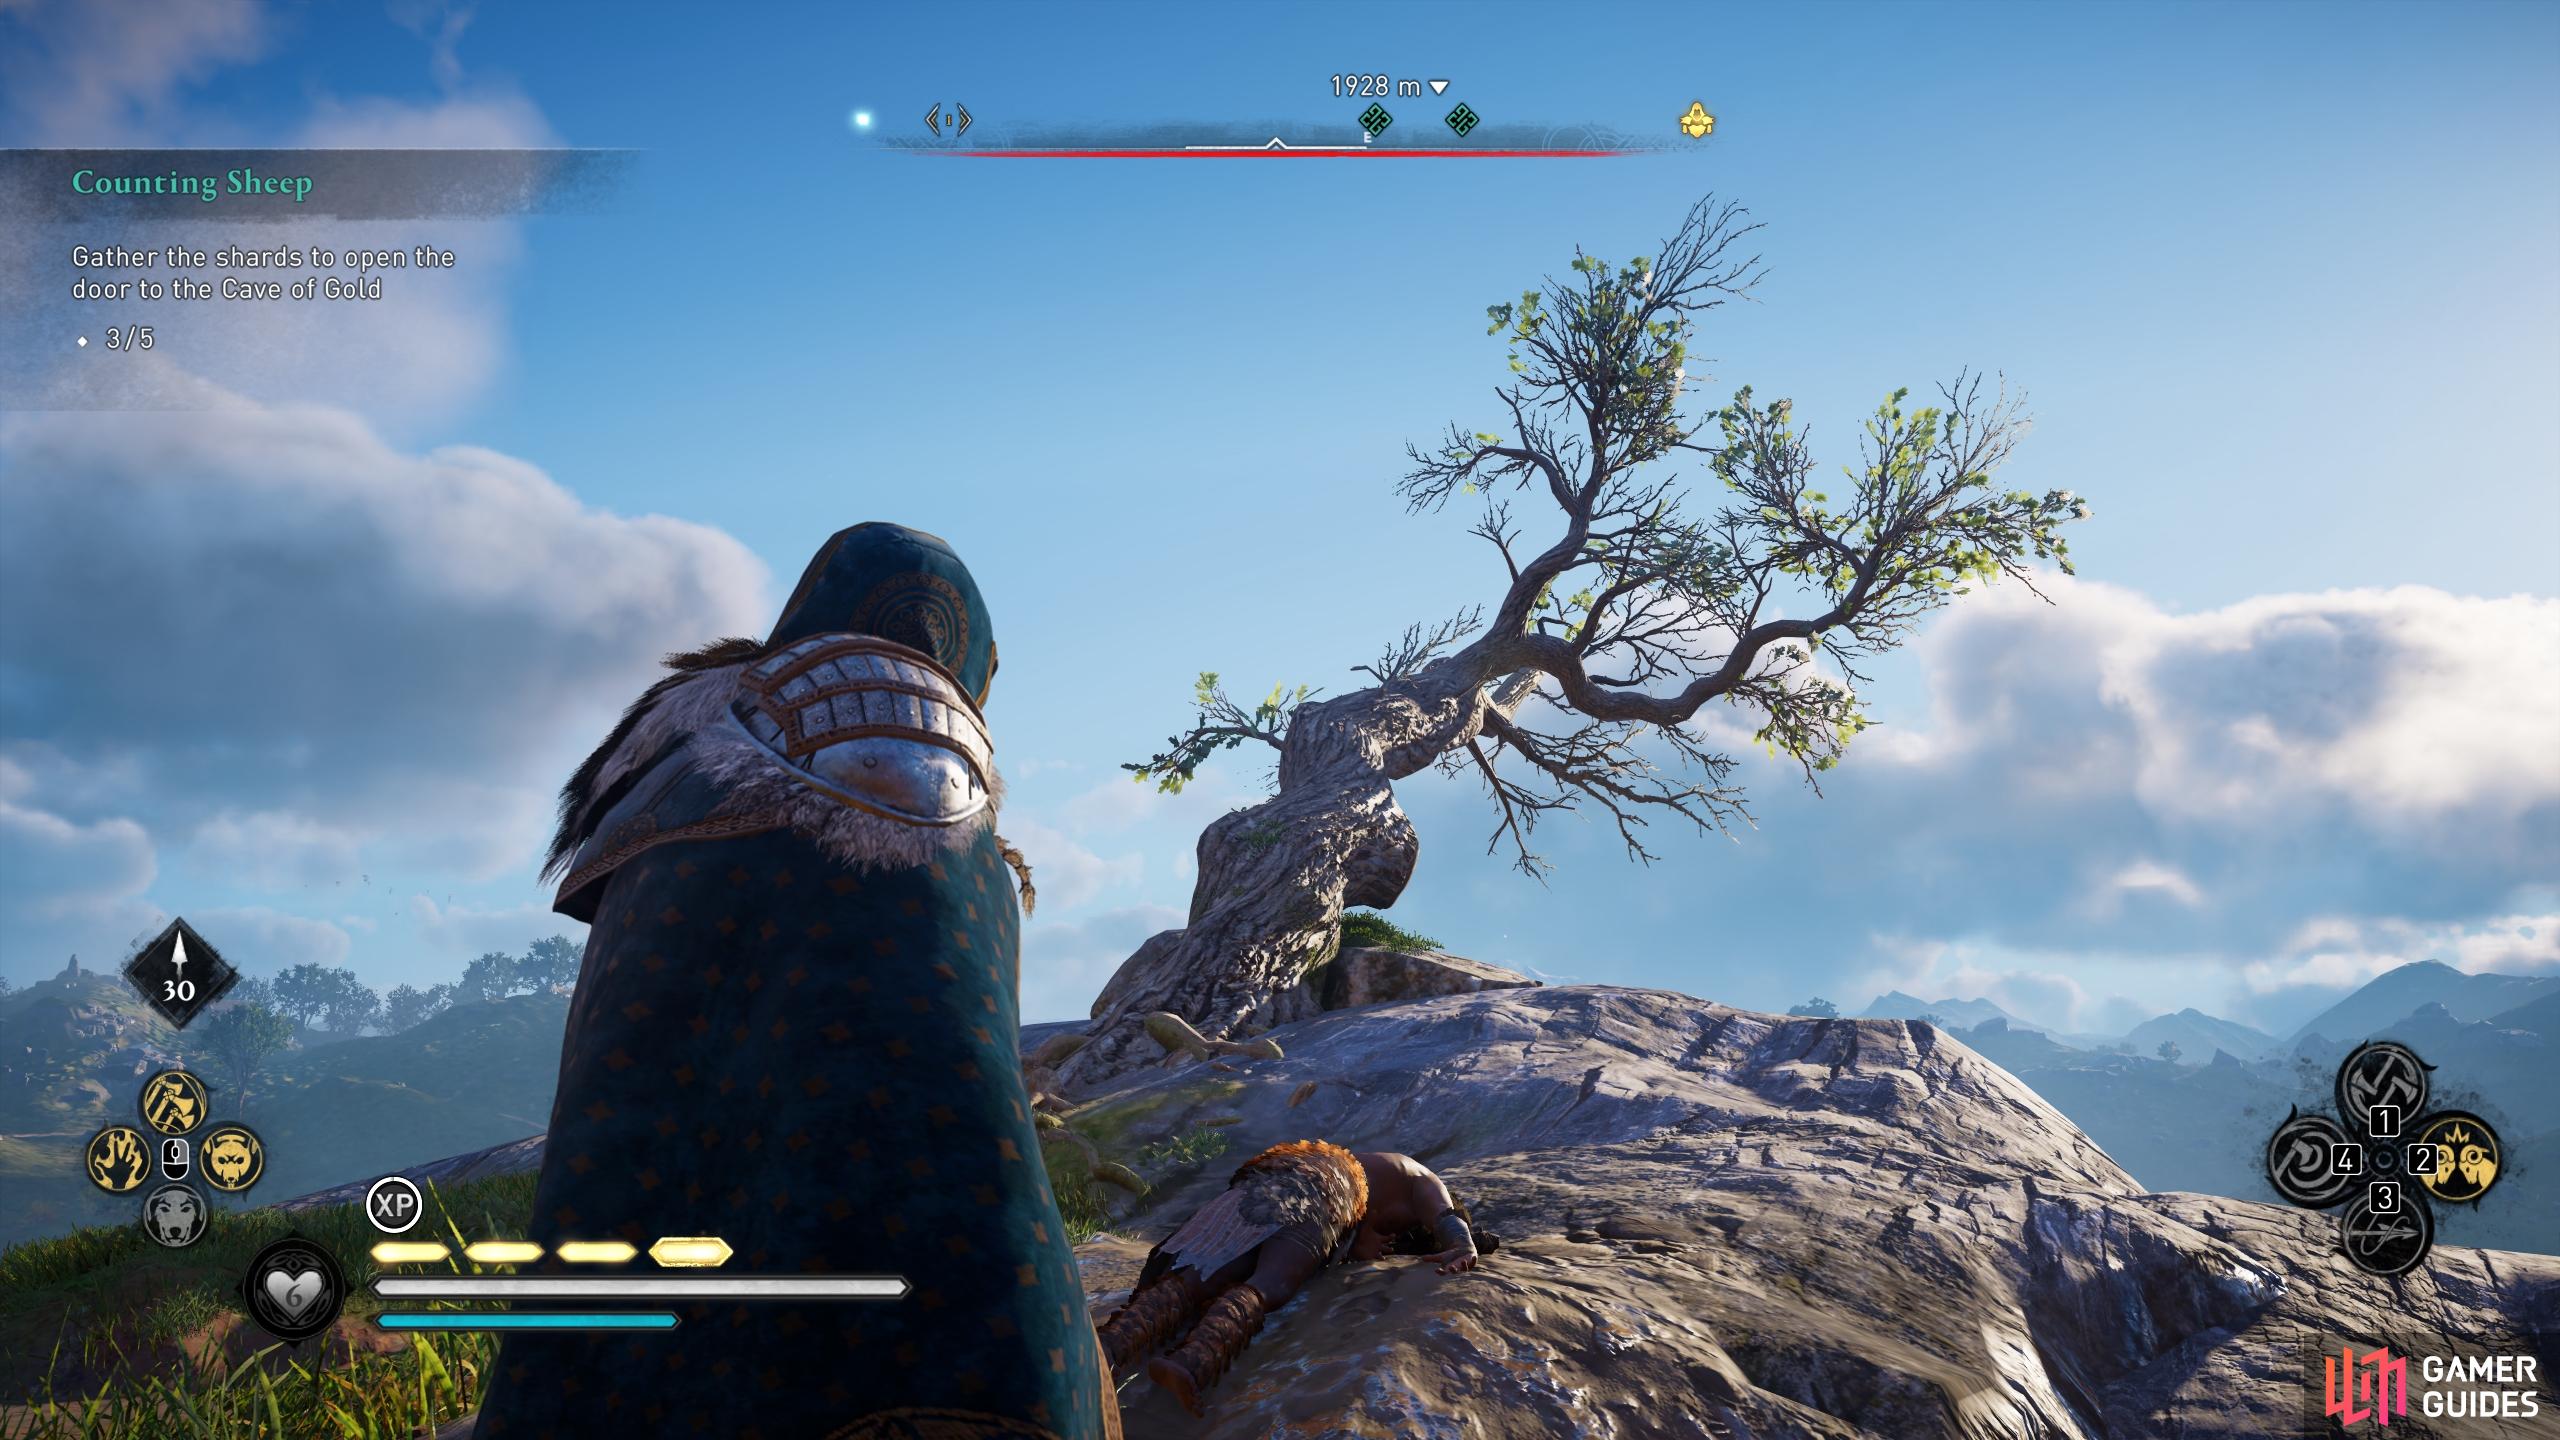
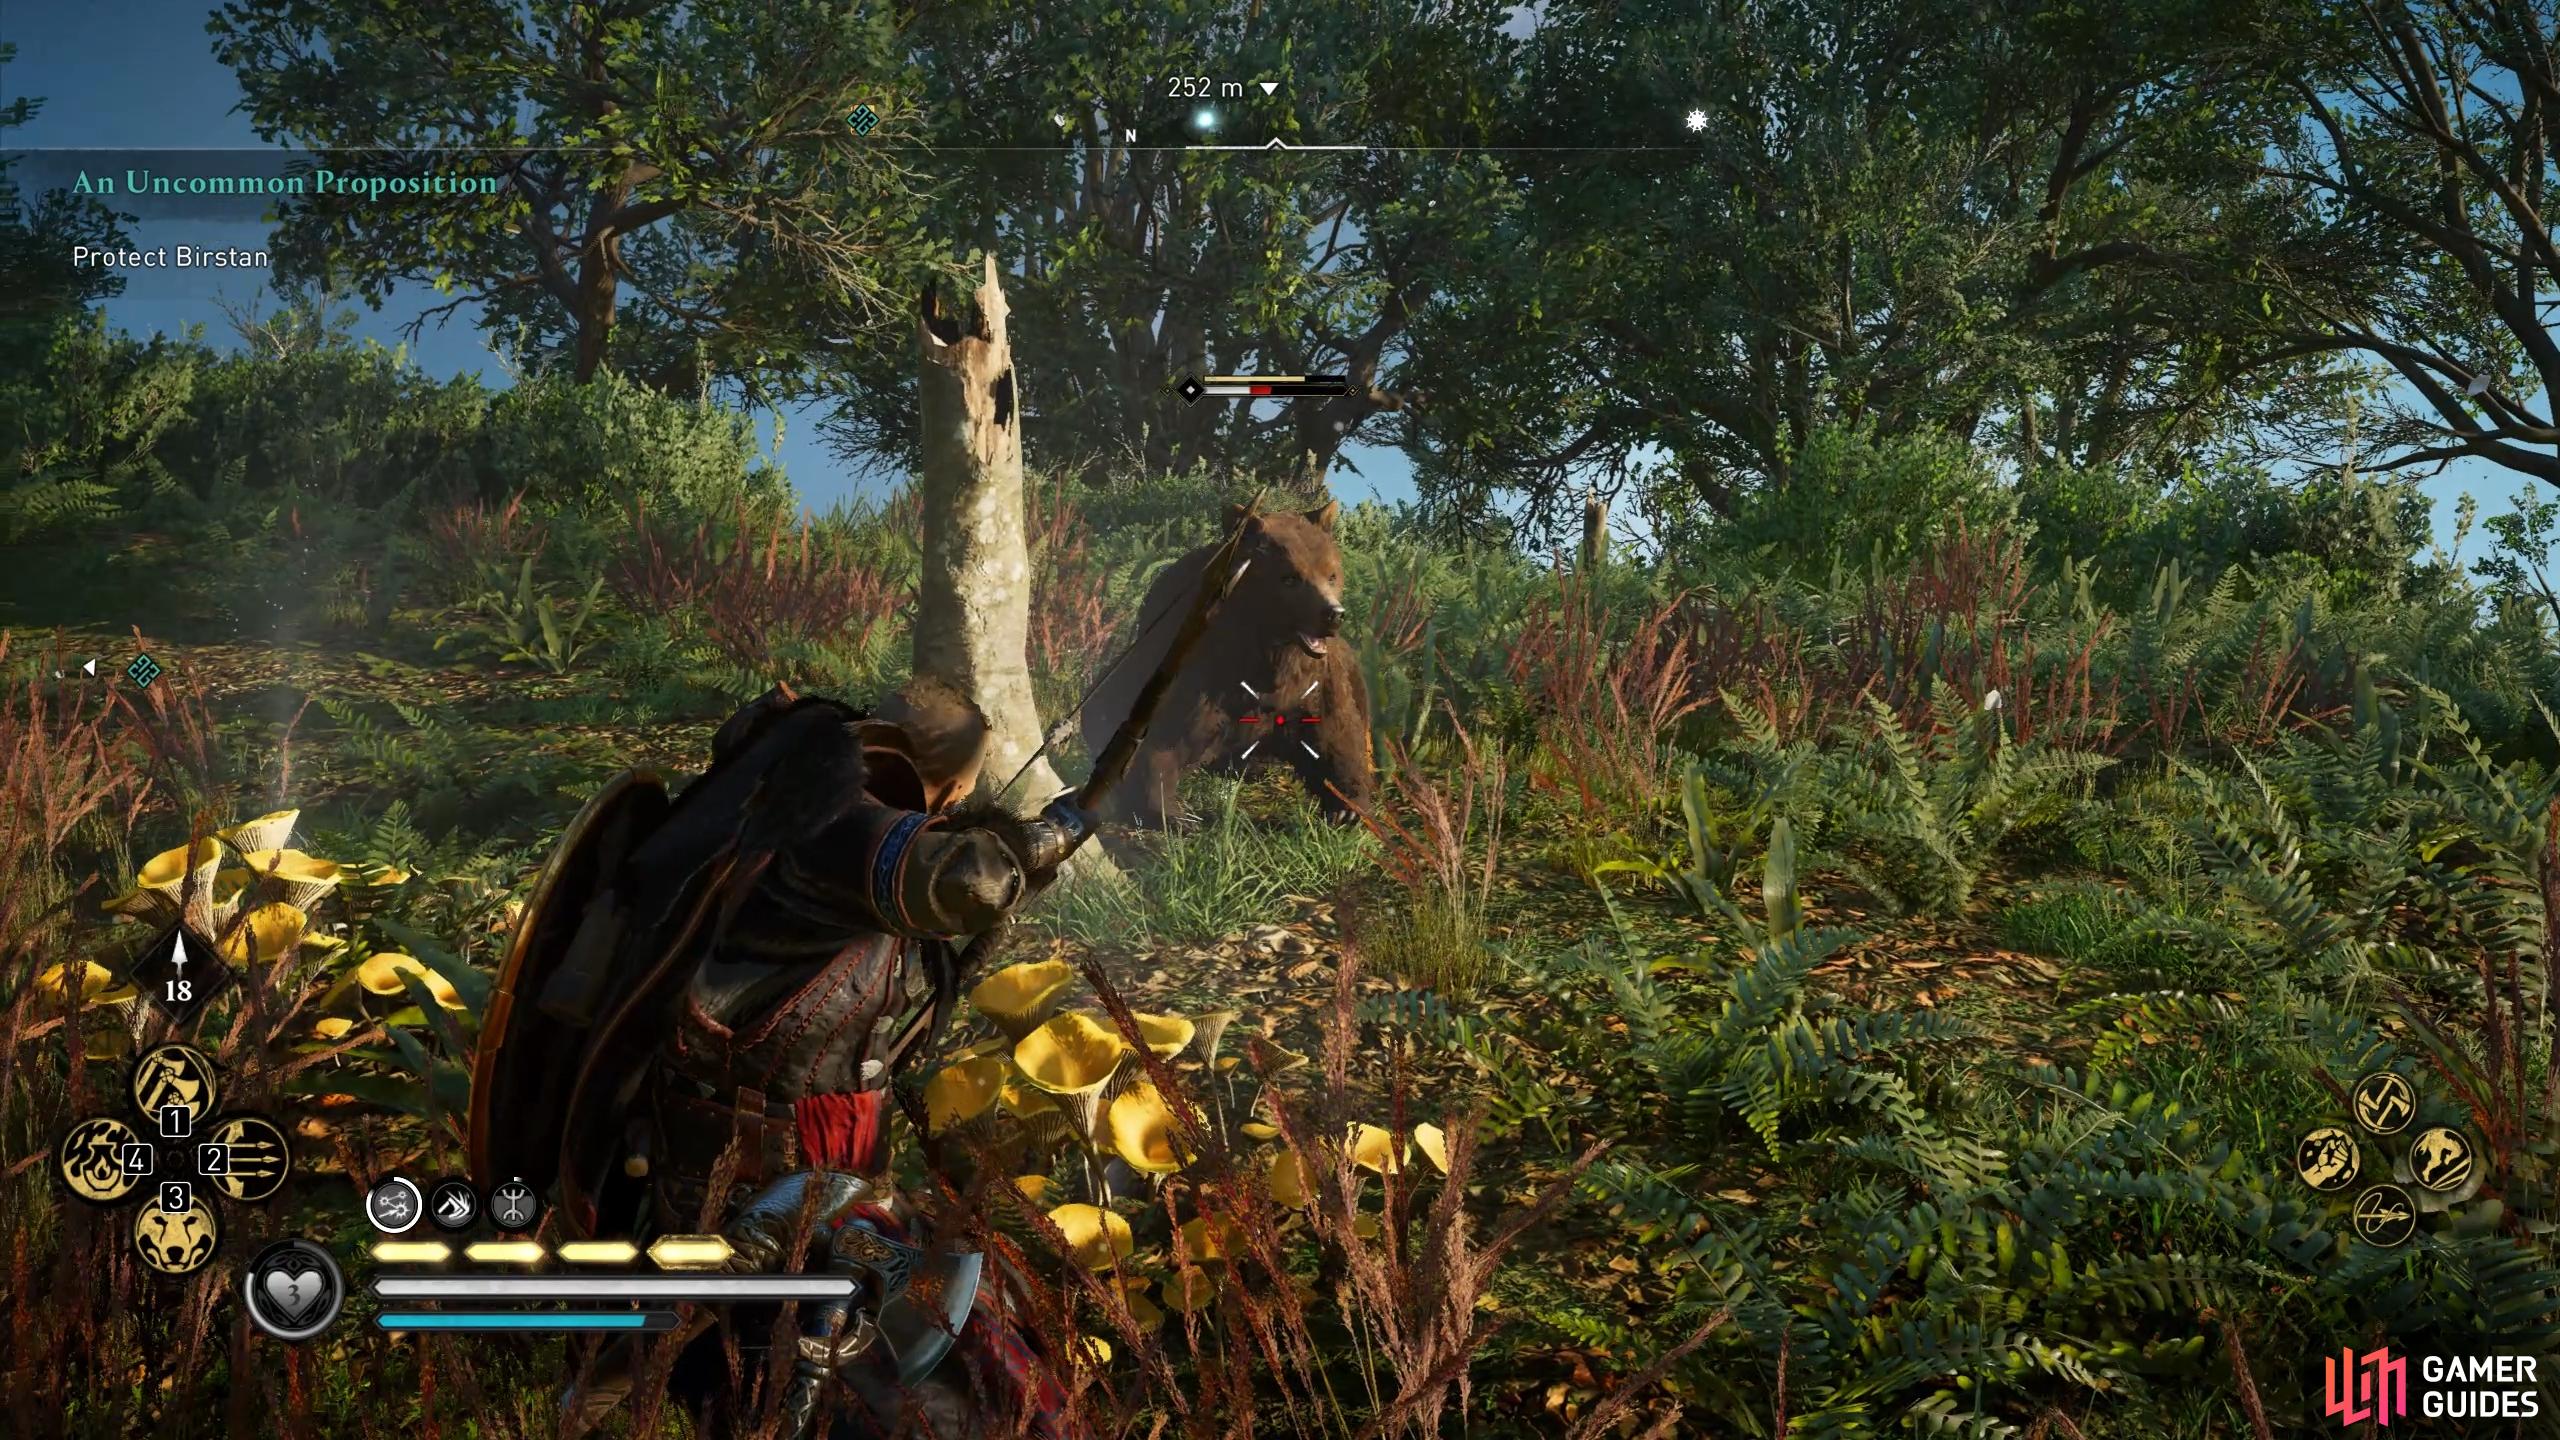
The final shard we’ll collect is located on a small island to the east of Kiltaraglen, in a place called Brother’s Cave, just north of Inverarish. Although the objective marker is in the cave, you’ll find that when you enter it there are three snakes you’ll need to kill, and the nearby note suggests that it has already been taken. You’ll need to enter the nearby settlement of Inverarish and go to the southeastern side of the house near the coast. Here you’ll find some crates and pots which you can destroy to move the barricade. After moving the barricade, stand on the nearby boat to shoot the lock on the inside of the door to the house. You can then enter and read another note, which directs you along the path to the northeast. At the end of the path you’ll encounter two bears, which you can kill or just run up the tree to the shard, as shown in the gif below.
(1 of 4) Enter the Brother’s Cave on the coast and kill the three snakes within.
Once you’ve collected all the shards, regardless of whether you followed our specific order, the quest will end.






 Sign up
No Comments