How to Get the Gold Medal
Trial of the Wolf Objectives
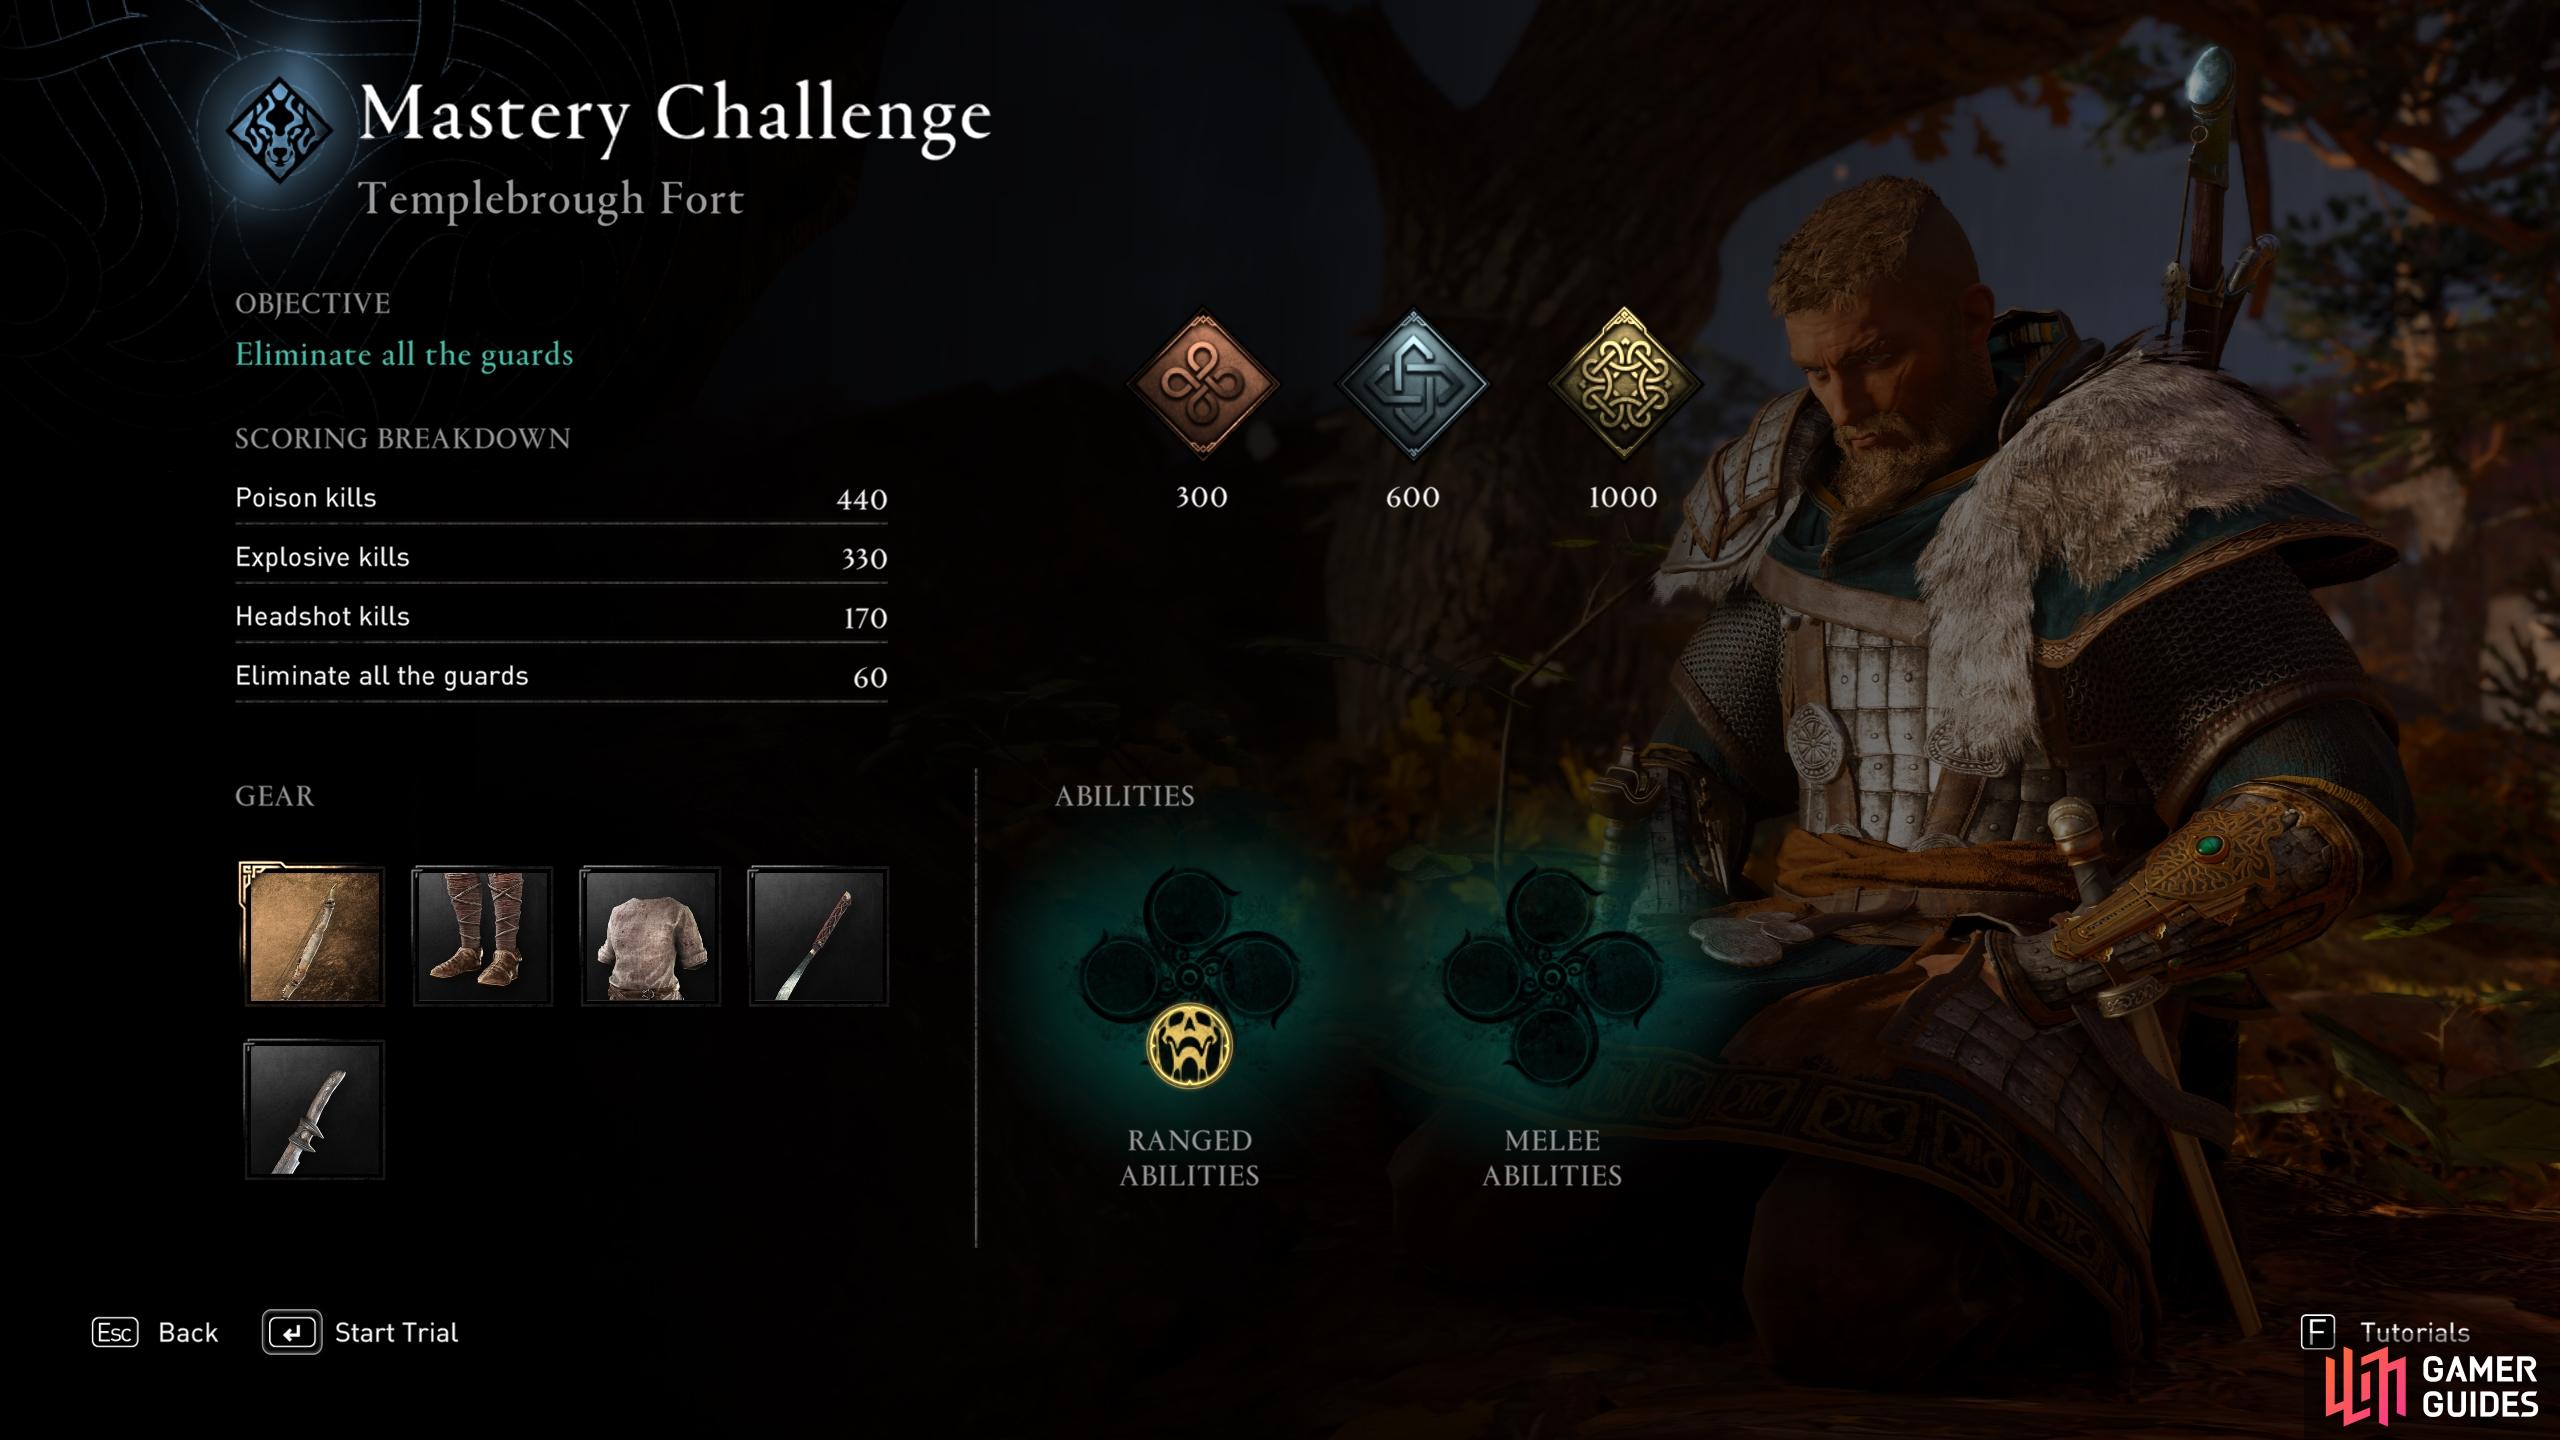
To earn the gold medal for the Trial of the Wolf at Templebrough Fort, you need to earn the following points for each objective, which amount to the perfect score of 1,000 points combined.
| Objective | Mastery Points |
|---|---|
| Poison kills | 440 |
| Explosive kills | 330 |
| Headshot kills 170 | 170 |
| Eliminate all the guards | 60 |
Take a moment to check the perks of your gear and special abilities before starting the challenge.
Prioritise Headshots
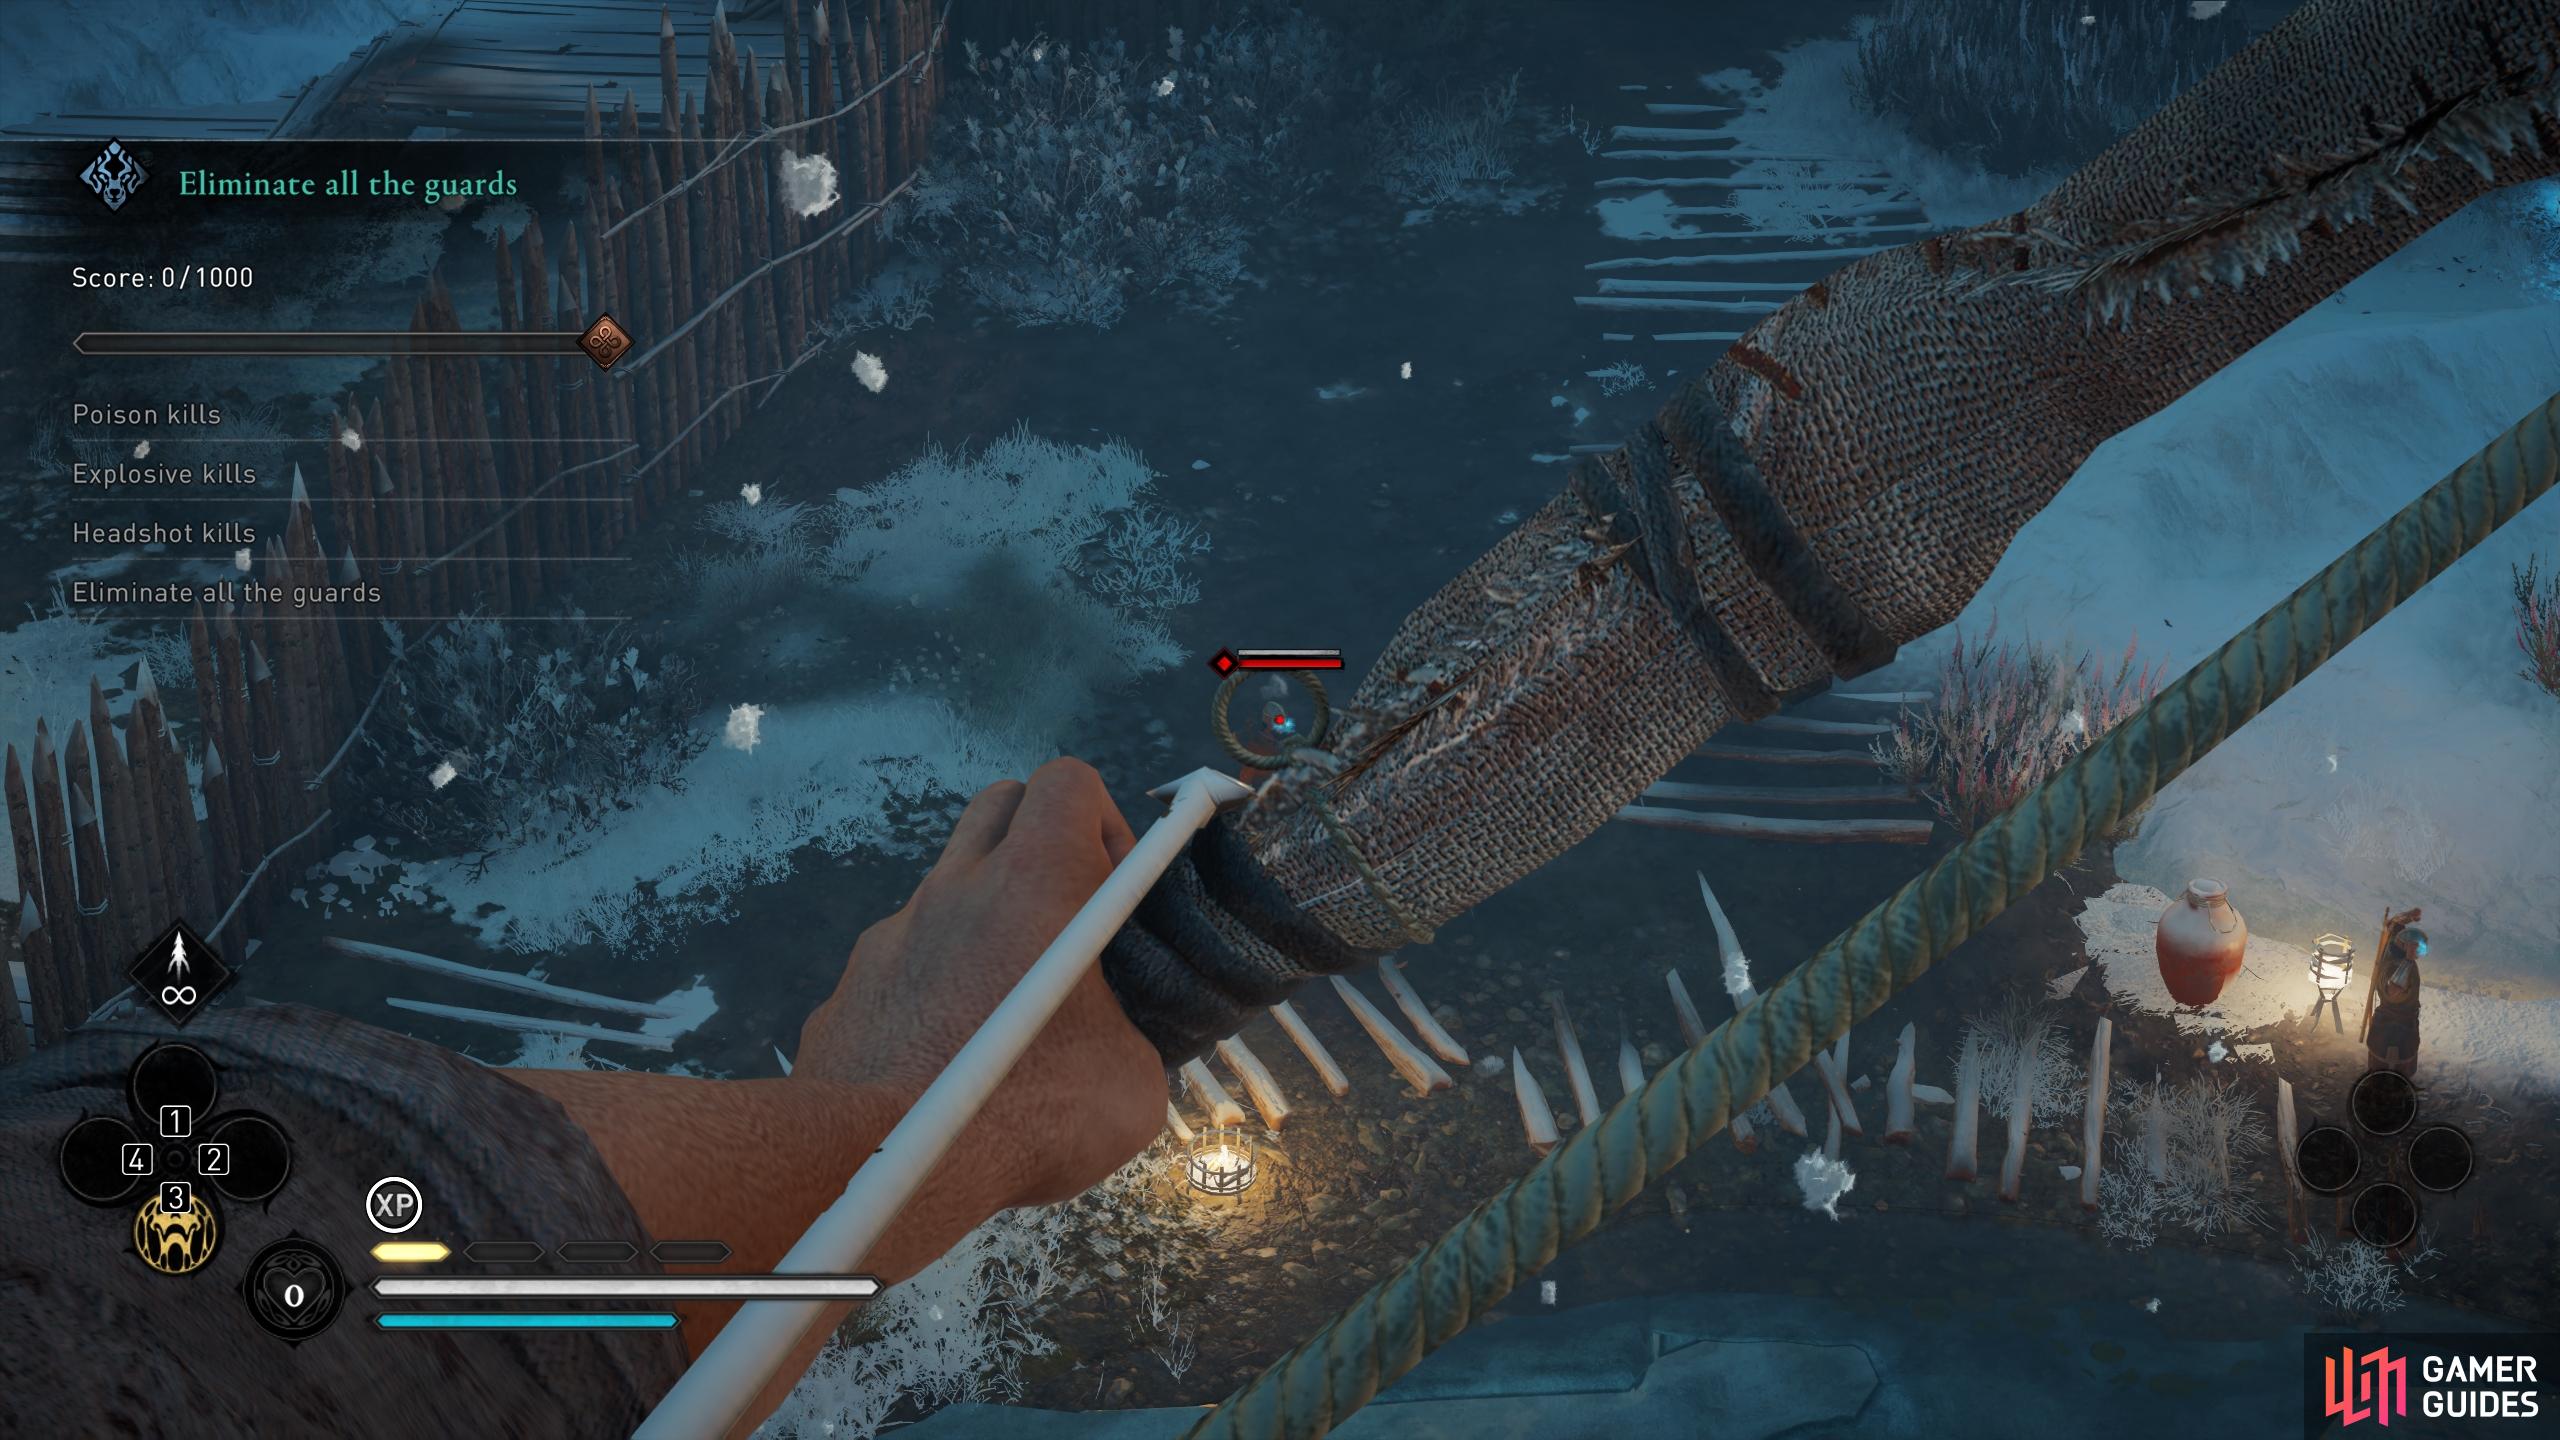
The challenge will begin with you being placed in a relatively safe position above all of the enemies on the ground. While you’re up on the rocks, the enemies won’t be able to see you until you attack one of them, so you have plenty of time to look around and plan things. The best way to use this time initially is to aim at the heads of different enemies, checking whether you can kill them in one shot with a headshot. You’ll find that some enemies are tougher than others, and you’ll need to hit them twice before a headshot kill becomes possible. Others you’ll be able to kill in one shot to the head. You should use this to your advantage by killing all the enemies that you can from up here with one shot to the head, thereby completing the “headshot kills” objective without needing to expose yourself on the ground.
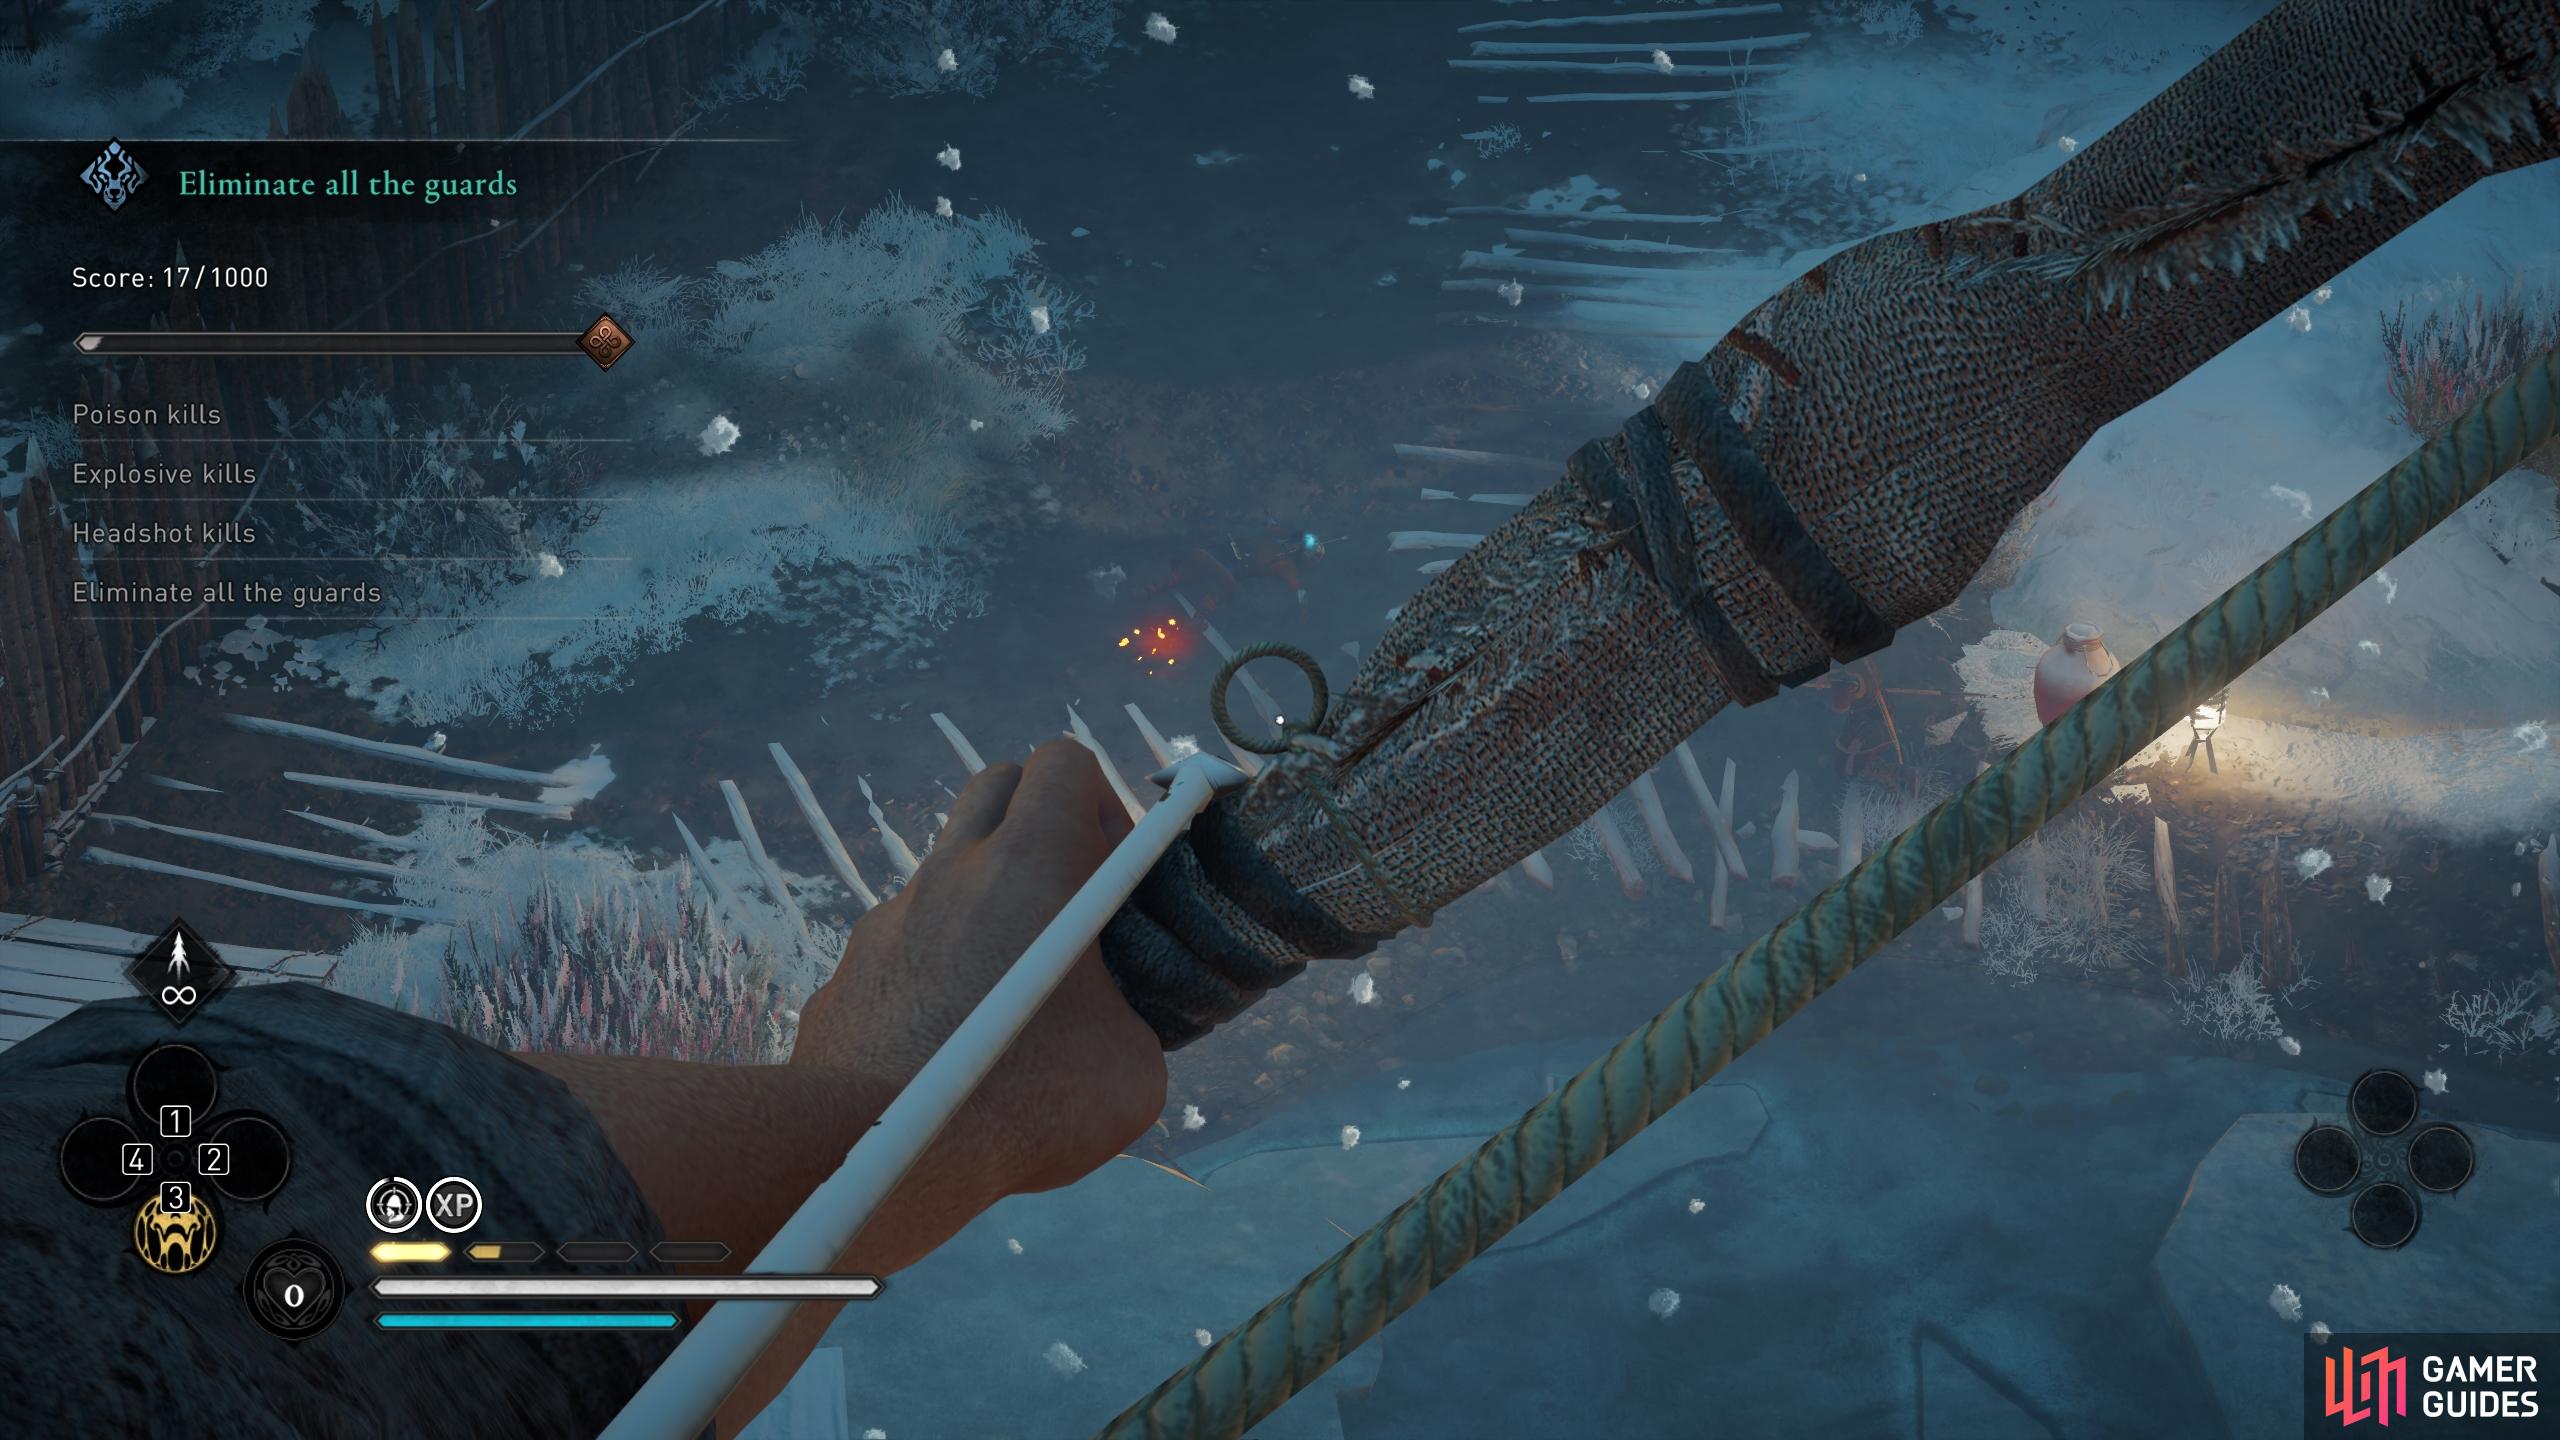
As you prioritise headshot kills, you should also be able to get a few explosive kills. This is because your bow gear bonus allows you to automatically spawn a trap whenever you kill someone with a headshot from stealth. For this reason you should try to headshot kill enemies who are surrounded by others, which will cause them to investigate the corpse and trigger the explosive trap in the process. You don’t need to worry if the explosion doesn’t kill them, since it should weaken the enemies enough to allow for a one shot headshot kill. As the headshot kills require the least mastery points (excluding eliminating all the enemies), once you’ve completed this objective you’ll know that you’ve killed exactly the amount that you needed to, while also not having to worry about accidentally killing too many on the ground with explosions or poison.
How to Get Poison Kills
After getting enough headshot kills from stealth to complete that objective, you can focus on getting poison kills next. We recommend that you do this from a position of stealth, since you’ll be able to concentrate specific groups of enemies on one side of the fort area without alerting the others to your presence. This is important because you don’t want too many enemies to investigate a corpse which has been poisoned, as it will often trigger another poison cloud, which will limit the number of enemies you can kill with explosions if the poison kills them first.
Once an enemy has been poisoned, they will almost certainly die from it in time. This is true even of the elite units with large amounts of health, although it will take significantly longer for the poison to eat away at their health. If the elite enemies begin to climb and reach you on top of the rock, you’ll need to kite them on the rock to avoid being hit and knocked off. The most reliable way to avoid being hit is to dodge the attacks up here. You could also finish them off with a headshot kill if you didn’t manage to complete that objective before triggering a poison cloud, but ideally you should have already completed that objective.
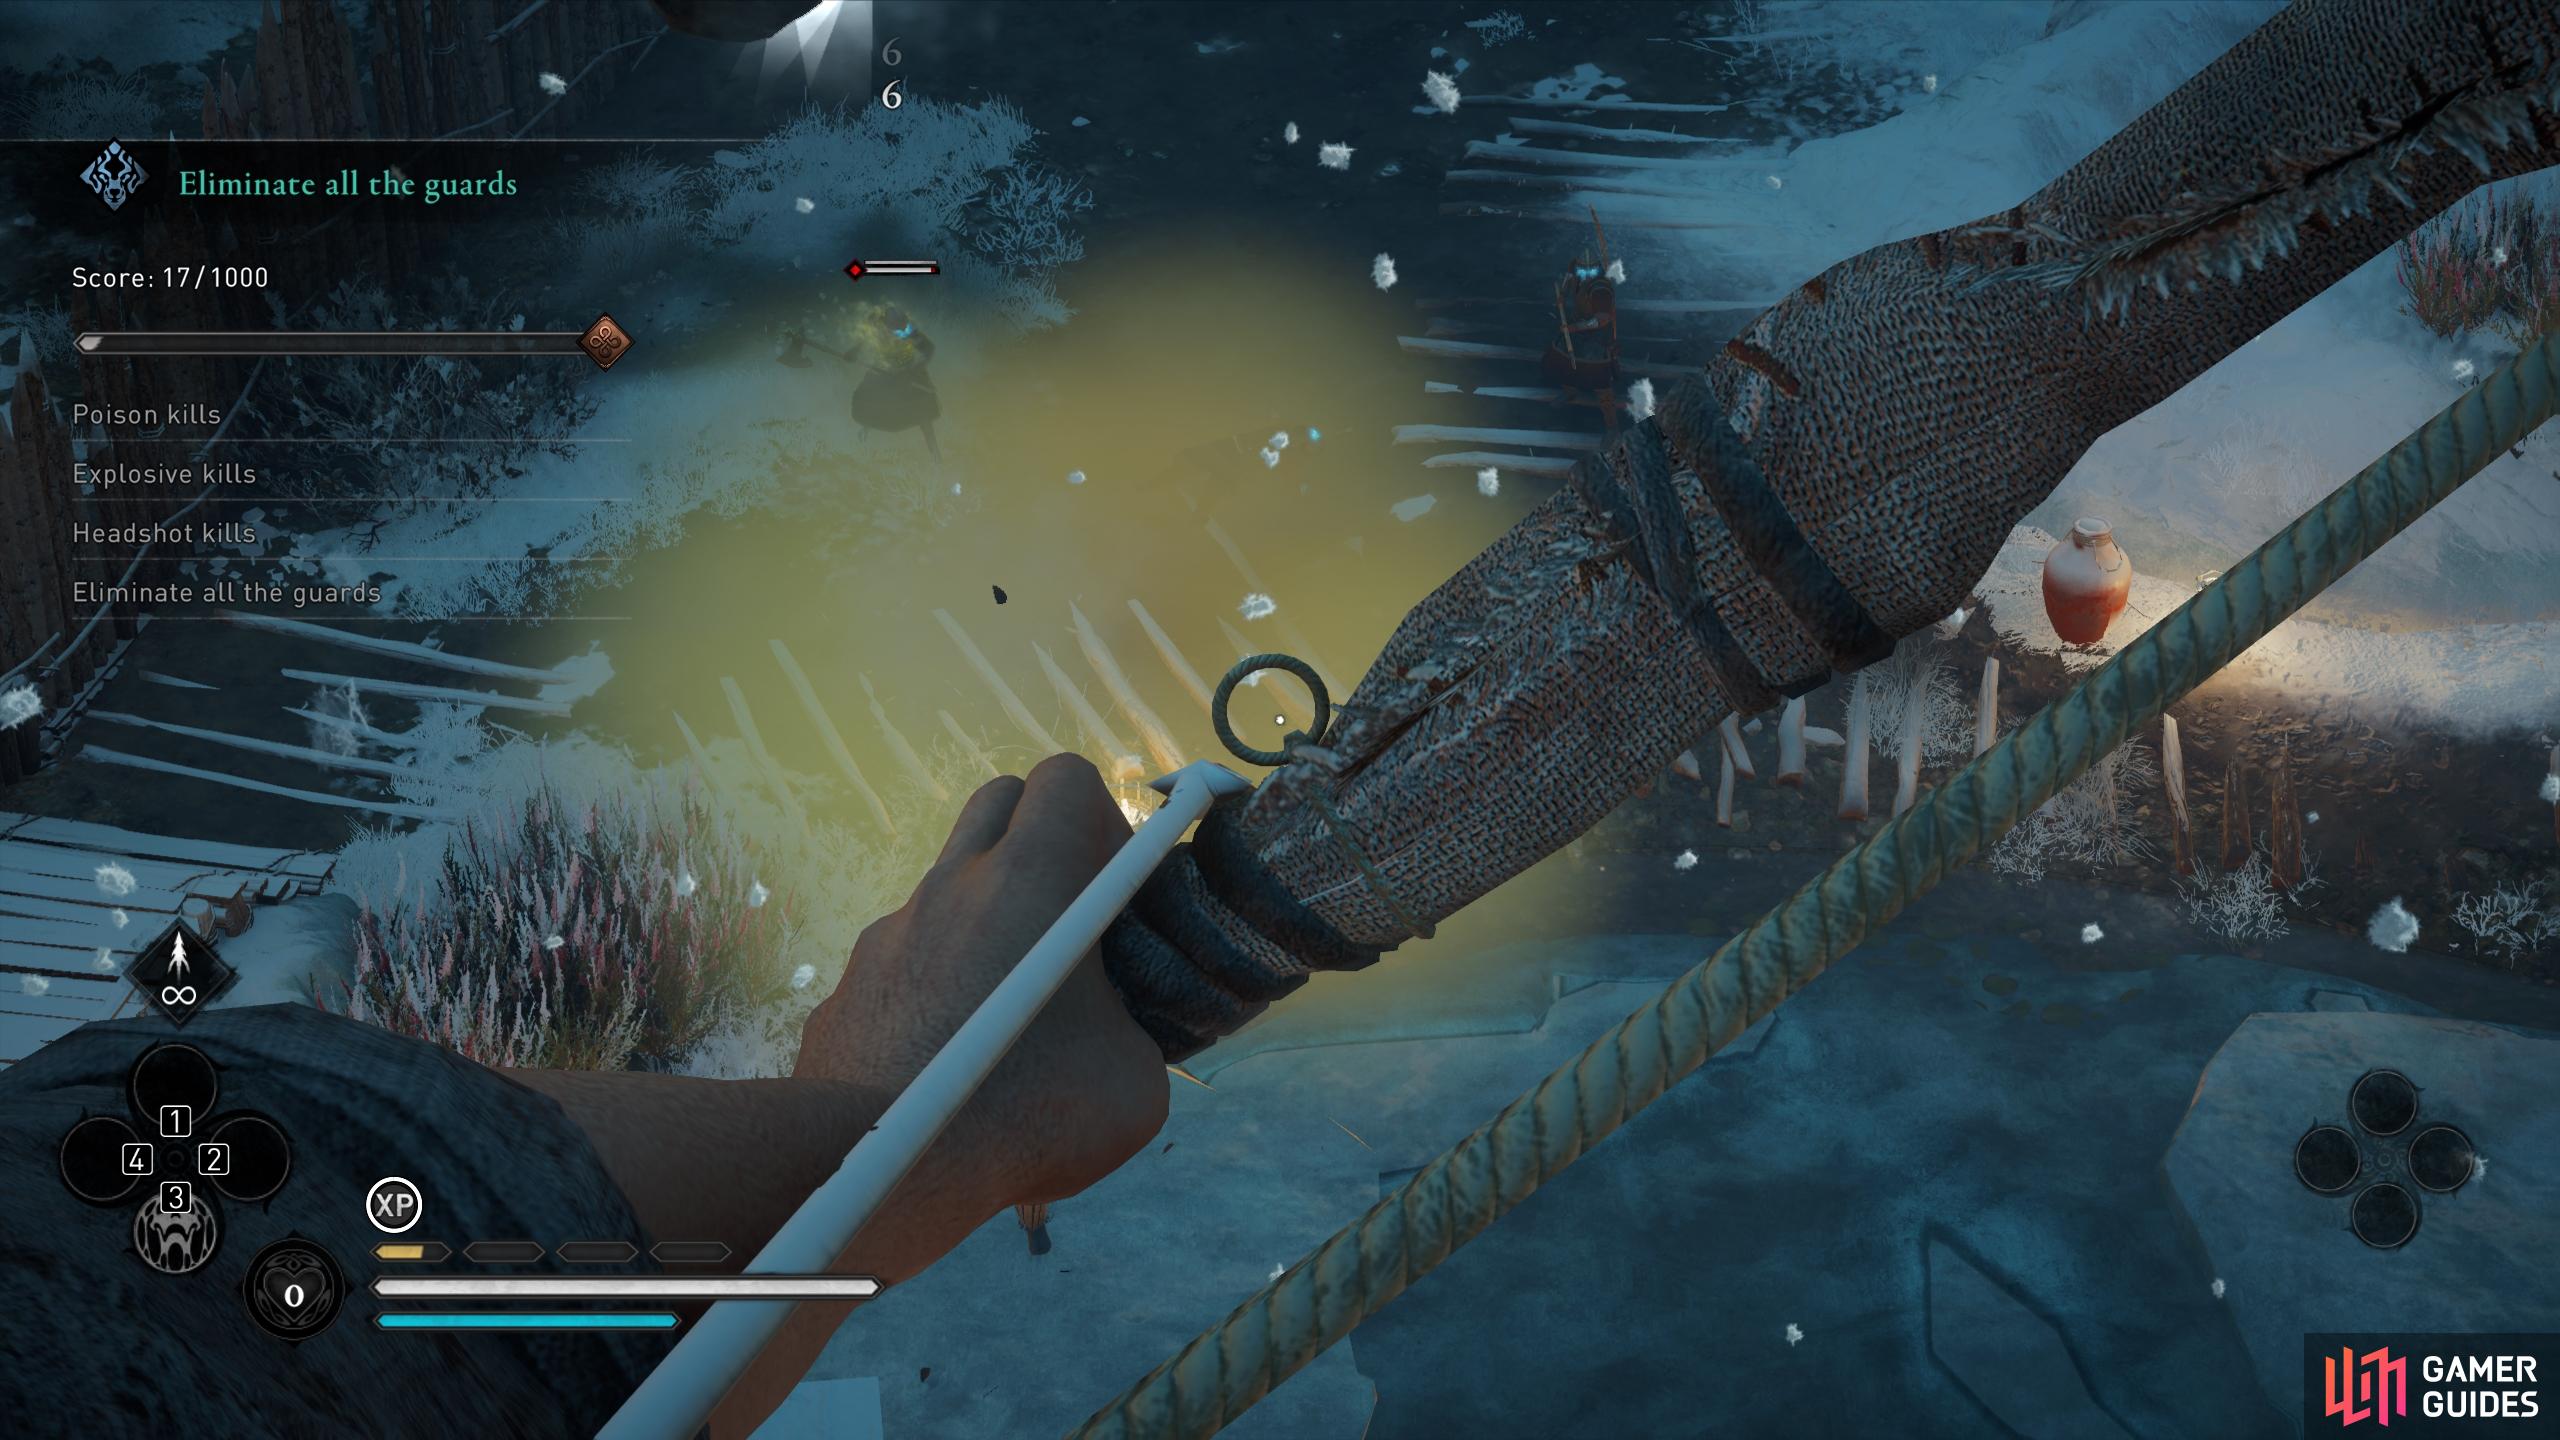
The easiest way to poison a group of enemies is to shoot the ground between them. This will trigger the poison cloud which will apply a damage over time poison debuff on the enemy. If at all possible, you should aim to trigger the poison cloud near to as many elite enemies as possible. This is because the elite units are much more difficult to kill with explosives, as they will often survive one, two, or even three to four explosions. However, you can always bring their health down with bow attacks if necessary in this scenario.
How to Get Explosive Kills
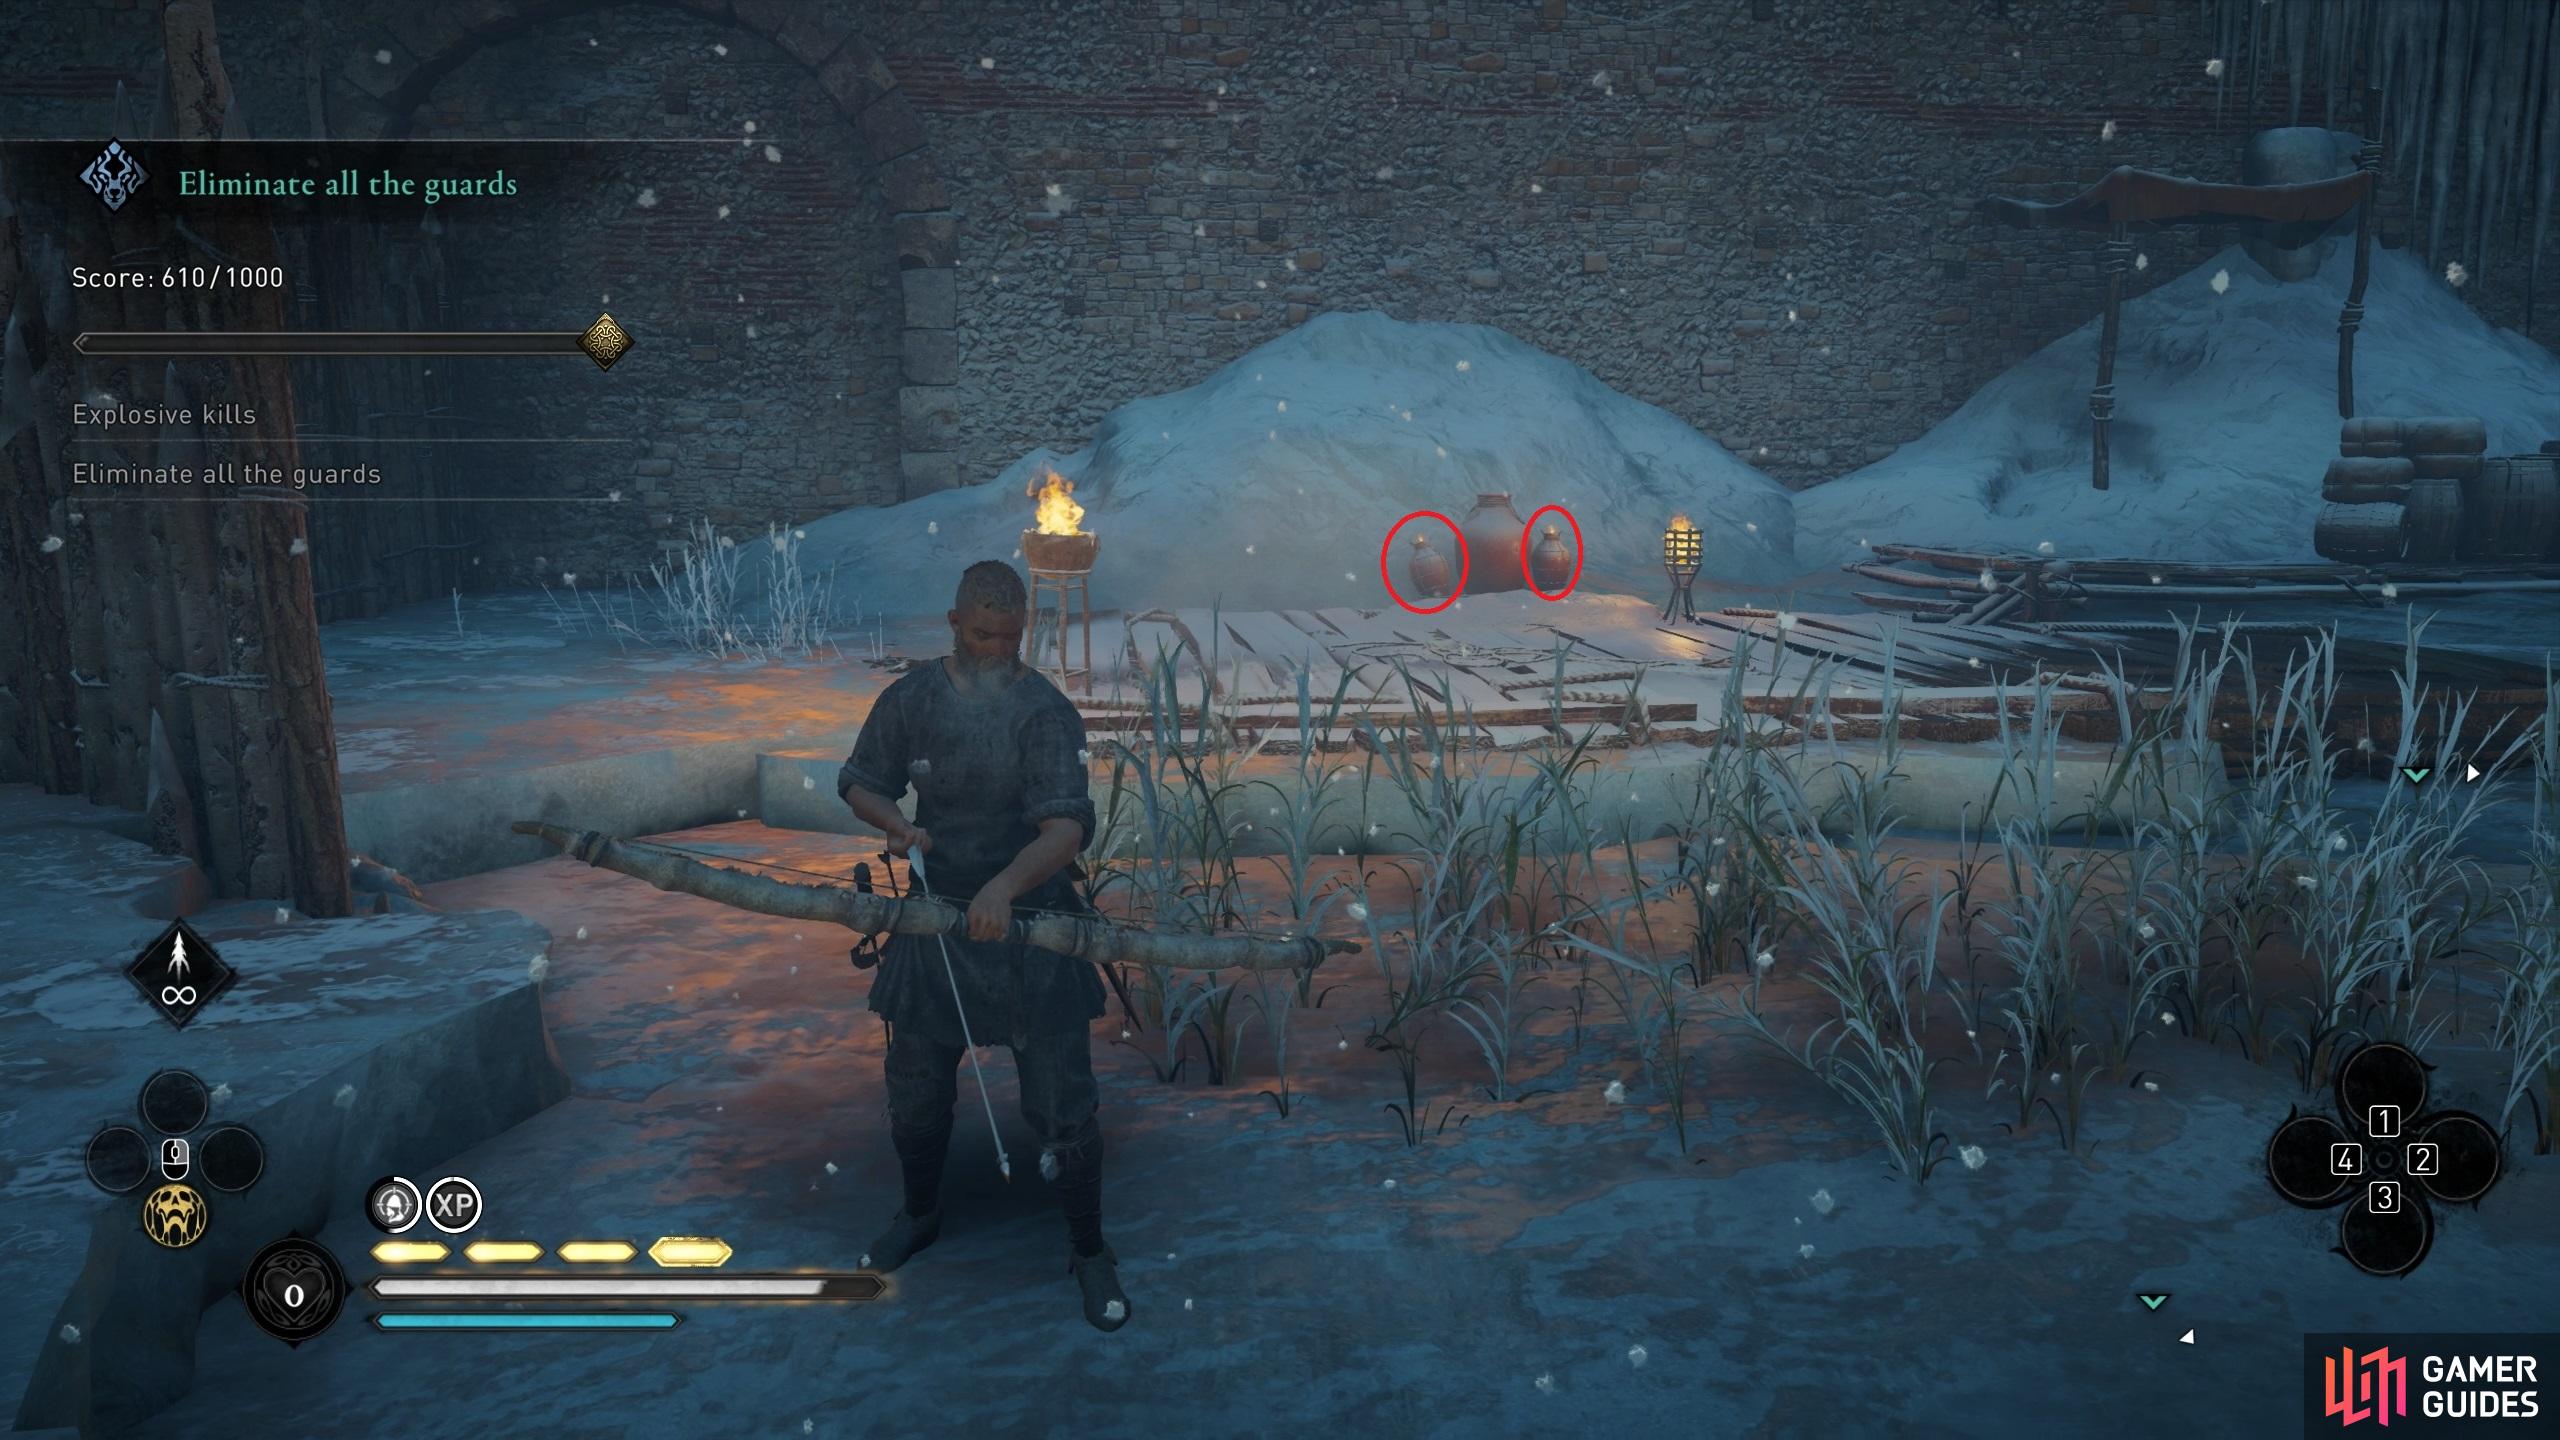
This last objective is perhaps the trickiest, because you’ll need to use the fire pots which are scattered around the area for the most reliable explosive kills. Most of these will be stationary, which forces you to kite enemies near to them and then shoot or hit the pots with melee attacks once the enemy is close enough to be damaged by them. Ideally you’ll shoot the pots, as hitting them in melee will inflict damage to yourself, but this won’t always be possible if you don’t have enough time to aim properly at the pots as the enemies are charging you. So long as you’re confident that you can survive the explosion, a melee attack can be used. Otherwise, be patient and wait for the right opportunity to shoot the pots.
Aside from the stationary pots, you’ll notice that there are some oil jars that you can pick up. It’s a good idea to try this in stealth and then position the jars away from the other fire pots. This essentially gives you another opportunity to kill enemies with explosions, without wasting fire pots unnecessarily with a chain explosion. Another reason to preserve the movable oil jars is that you may need one towards the end of the challenge, when all other fire pots have exploded. This is especially true of enemies who are located above ground, making them difficult to goad and kite near the fire pots on the ground. In this case you can throw the jars at them to cause an explosion and kill them.
The most important thing to consider when trying to get explosion kills is that an explosion won’t kill most enemies who have full health. You may be able to kill some of the weaker archers with an explosion when they have full health, but for the others you’ll need to bring their health down with a few bow attacks first. Ideally, aim to bring the health of enemies to below 25% before you attempt to kill them with an explosion. This will ensure that you don’t waste any fire pots by shooting them, only for the enemy to survive the blast. However, you’ll also need to be careful not to kill the enemies with a bow attack in the process.
(1 of 4) You’ll be able to kill some enemies with one hit to the head from stealth if you remain on the rocks above.

 Sign up
No Comments