This quest becomes available once you have completed the introductory quest to Asgard (In Dreams…) by drinking the potion prepared for Eivor by Valka at her hut in Ravensthorpe.
Reach the Well of Urdr
After meeting the strange builder who has promised to provide protection for Asgard in exchange for water from the Well of Urdr, it’s time to meet him at the well. You’ll find it southeast of Heimdall’s Tower, where you first met the builder. If you’re returning to Asgard after leaving the arc, you will spawn in the same place near Heimdall’s Tower.
To reach the well as quickly as possible, head down to Bifrost, the rainbow bridge, where you’ll find a mount in the form of a large reindeer. Use it to ride across the bridge and continue southeast. When you reach the shore you’ll find a small boat which you can use to row beyond Indre Holm to the larger island in the east. You’ll find the Well of Urdr through a cave entrance on this island.
When you enter the cave you’ll need to stick to the right and walk along the edge of the wall. You’ll find a beam of light similar to those used in the anomaly mysteries found throughout the game world. Direct the beam of light to the mechanism directly in front of you, then proceed through the cave. Follow the light source deeper into the cave southward, until you find a crack in the wall. When you pass beyond it a cutscene will begin with Tyr. You can respond in whatever way you see fit through the dialogue.
(1 of 4) Drink the potion in Valka’s hut to travel back to Asgard.
Unseal the Well of Urdr
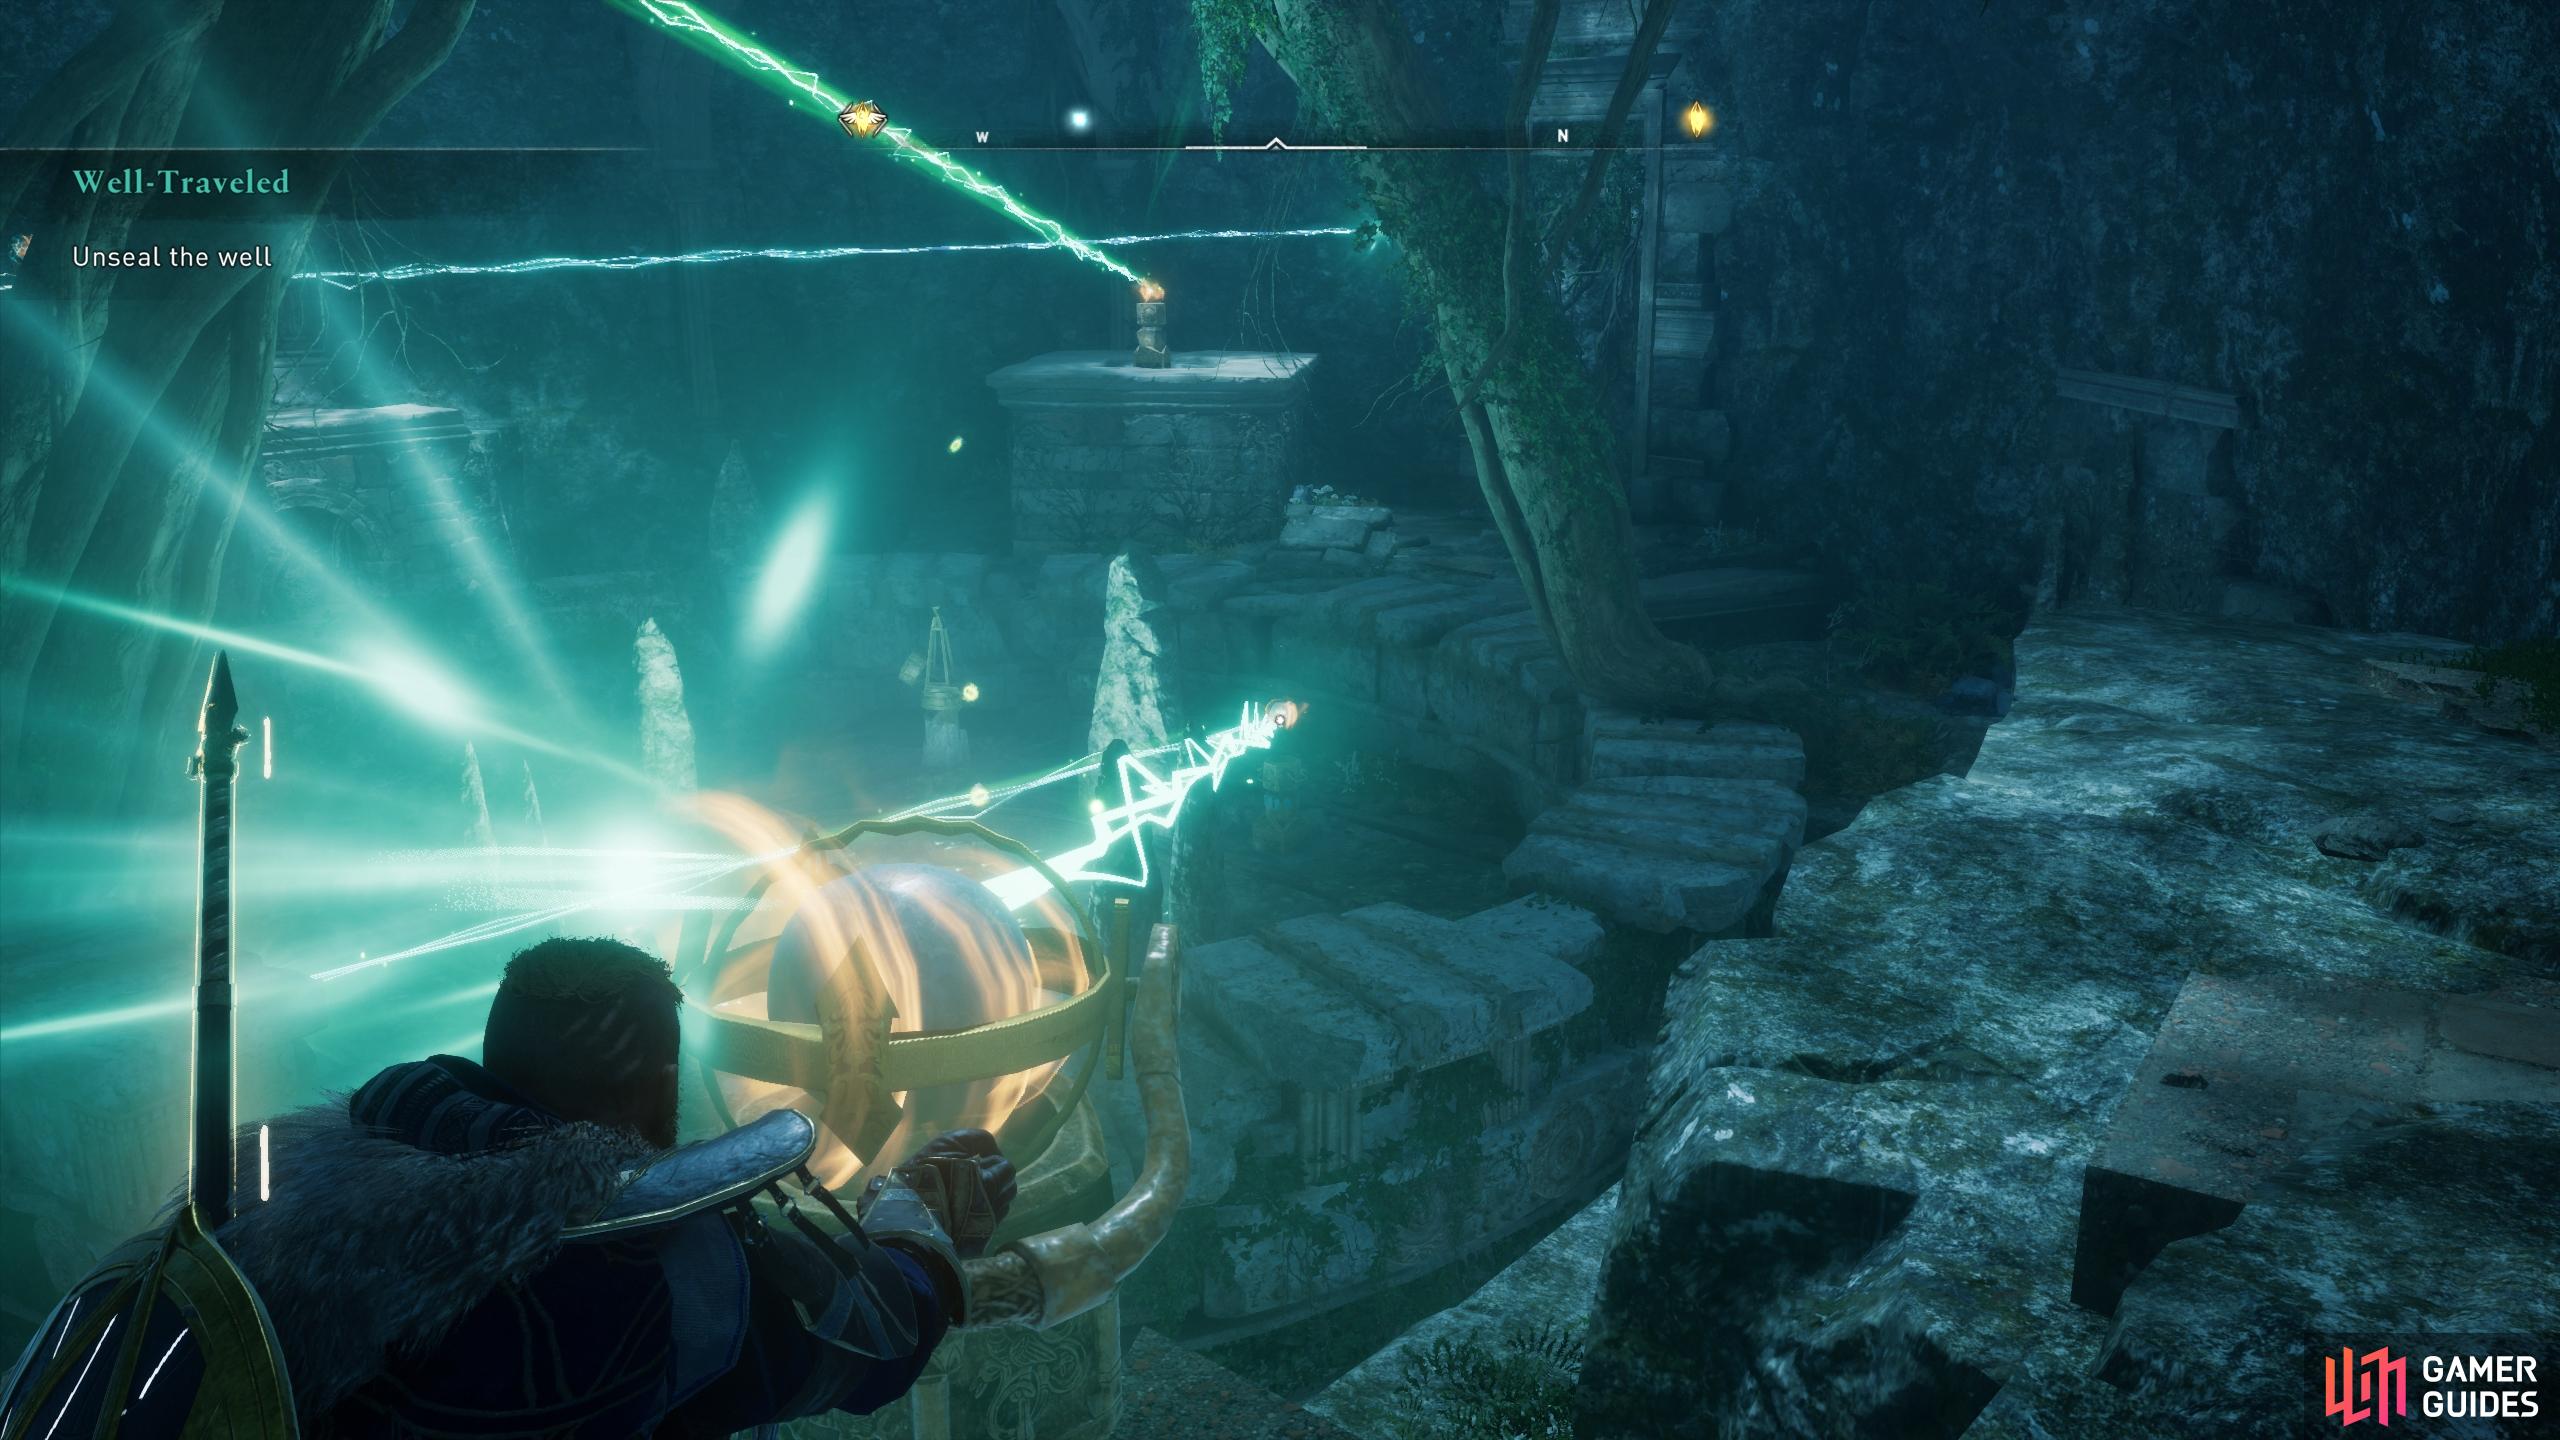
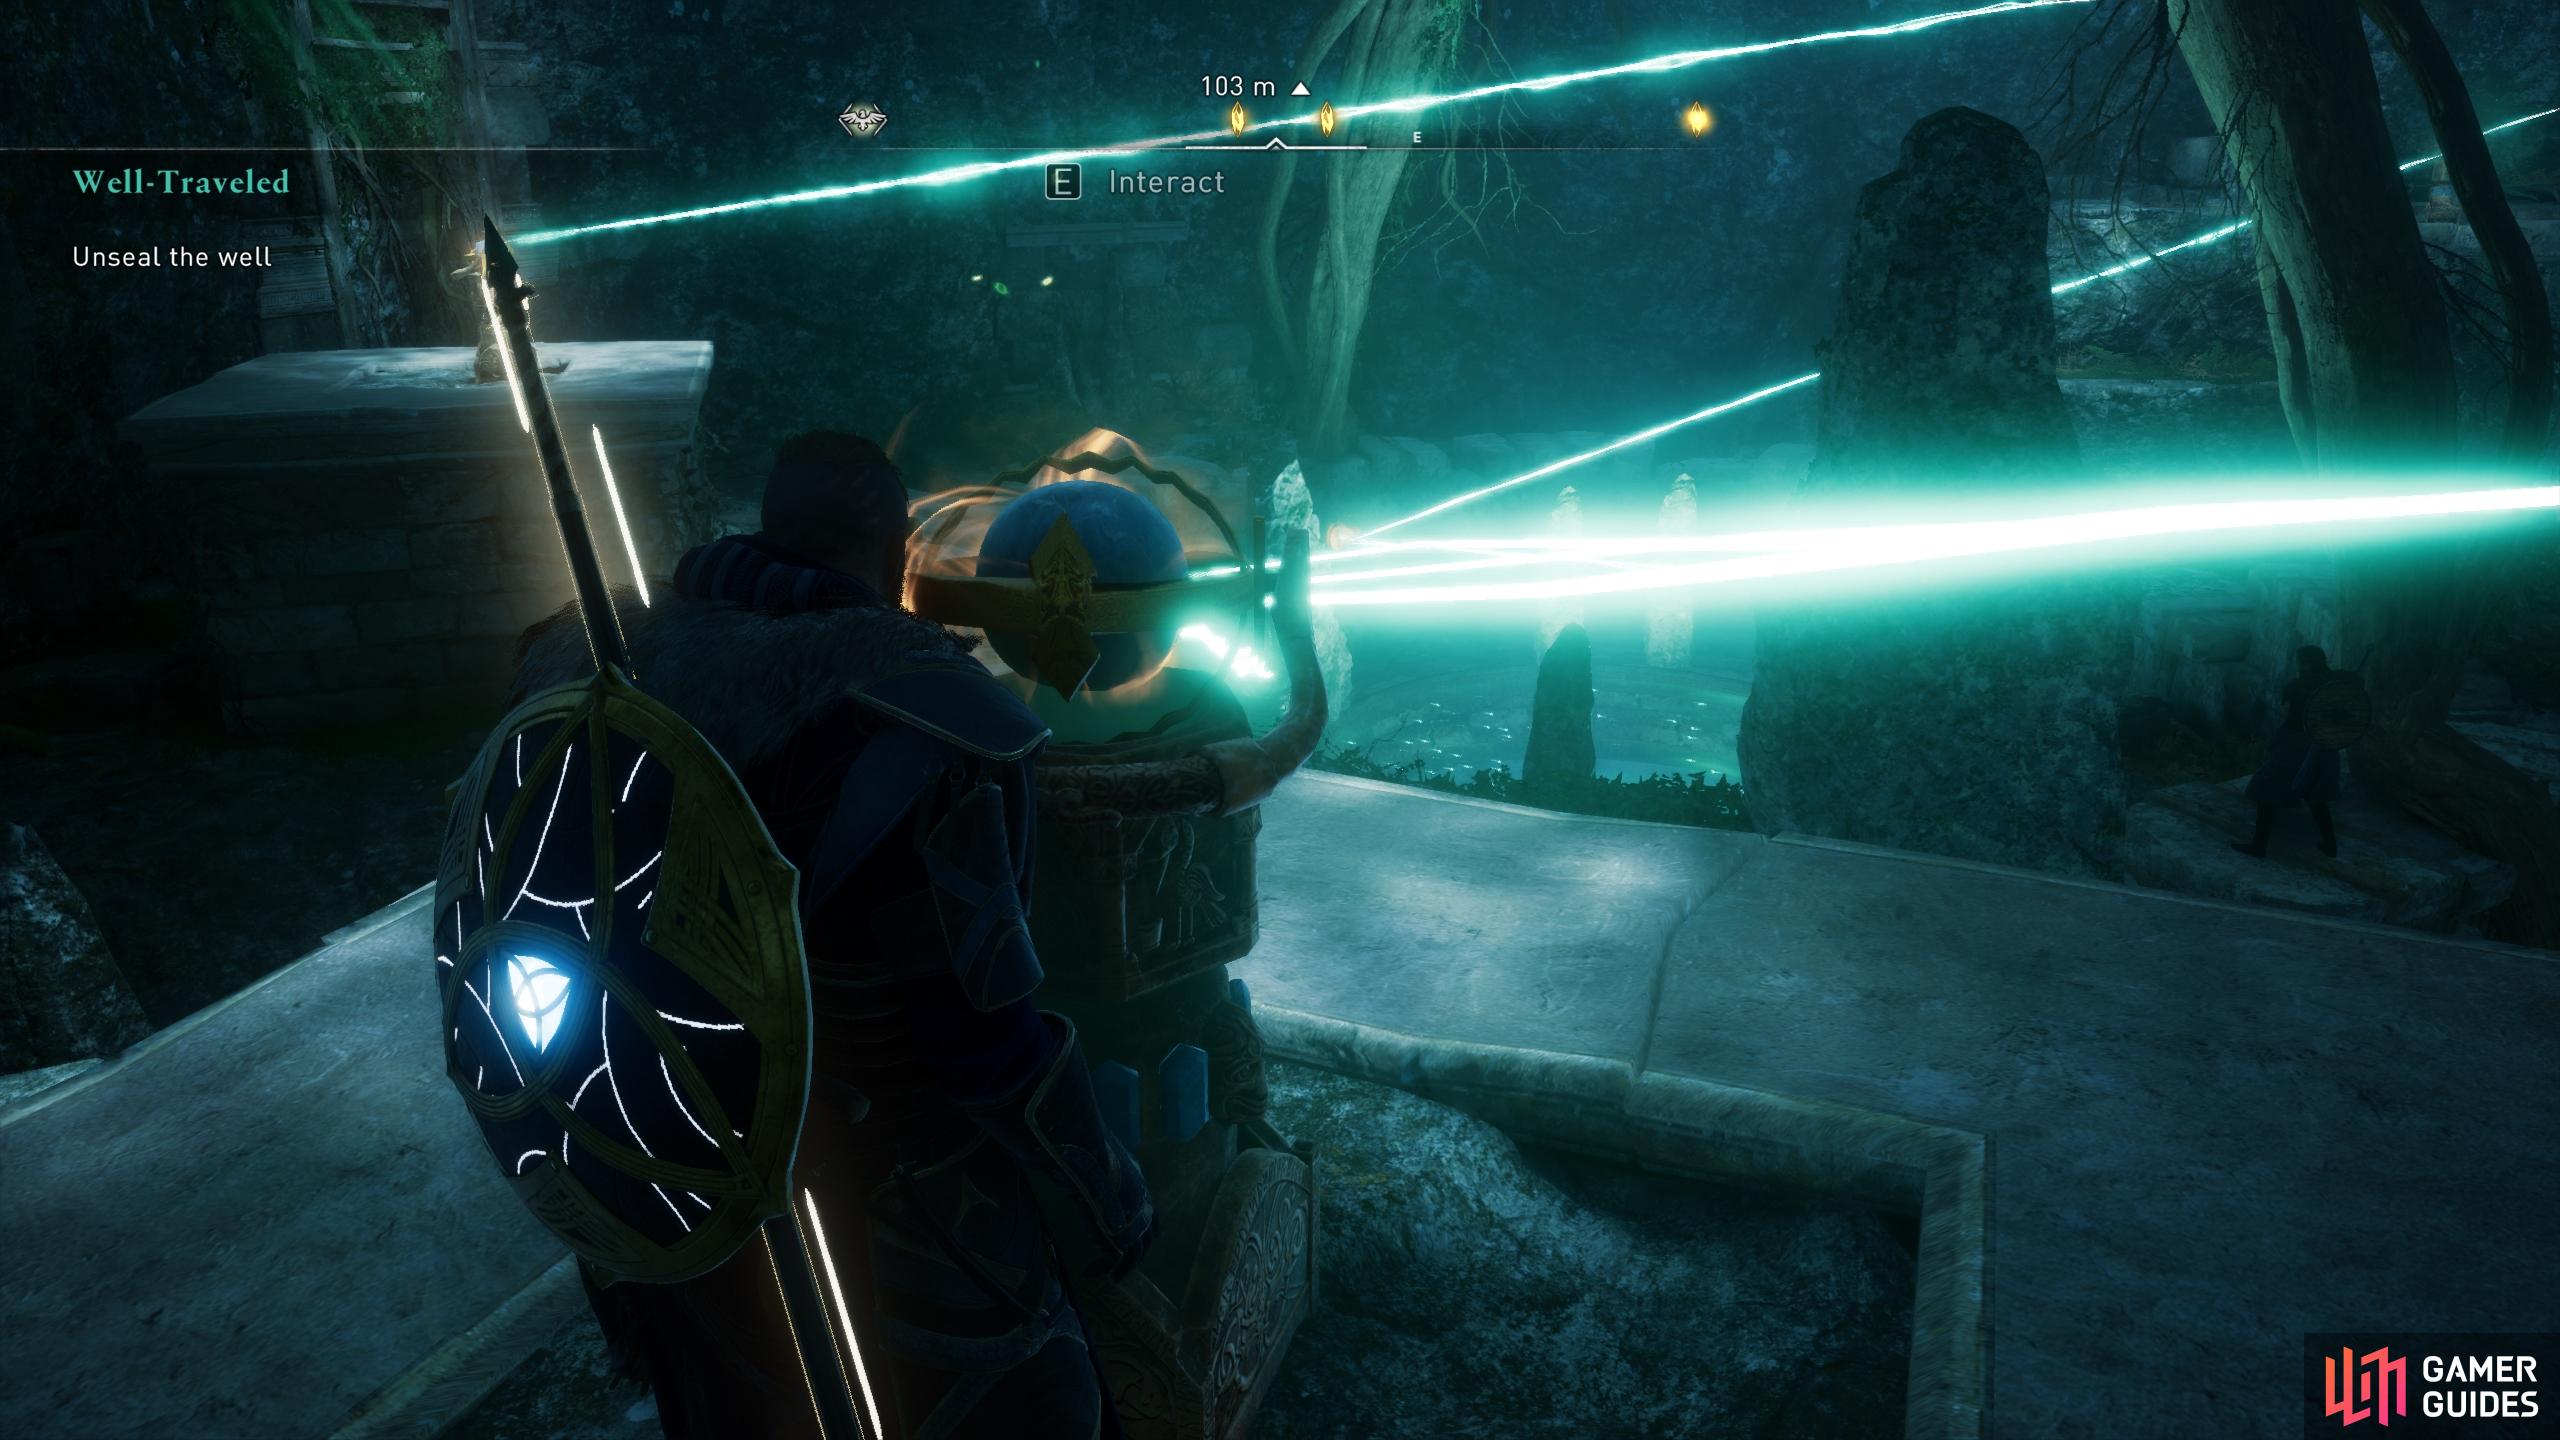
After the scene with Tyr, you’ll need to unseal the well by using the light beam mechanisms. To begin, you’ll need to reach the mechanism which is currently active (the one with a light beam already shining from it) at the northwestern end of the chamber. Use this to shine the beam of light at the large mechanism near the entrance of the chamber to the southeast, directly opposite the one you’re currently operating.
After this, go to the mechanism near the centre of the well and move it northward, and then west, so that it aligns with the mechanism to the south at the edge of the well. Next, go to the mechanism at the southeastern end of the chamber and shine the light beam on the mechanism that you just moved. Return to the mechanism you just moved at the edge of the well and make sure that it aligns with the mechanism directly to the south of it. You may need to adjust both the light beam and the movable mechanism a few times before the correct alignment is reached.
Now go to the mechanism on the pillar to the south and shine it at the mechanism on the pillar to the northwest. Finally, use the mechanism to the northwest and shine it at the mechanism to the east on the edge of the well, as shown below.
(1 of 6) You’ll need to shine the beam of light from the northwestern end of the chamber at the mechanism near the entrance of the chamber.
When the light beams are correctly aligned, a brief cutscene will play and you’ll be able to enter the well. Just dive down and interact with the water source to extract some of it. Another scene will play here, after which you’ll have a few dialogue options with Tyr. Choose as you wish, then dive into the water and swim through the hole beneath to reach the surface outside the cave. Speak with Loki on the shore to begin another cutscene and complete the quest.


 Sign up
No Comments