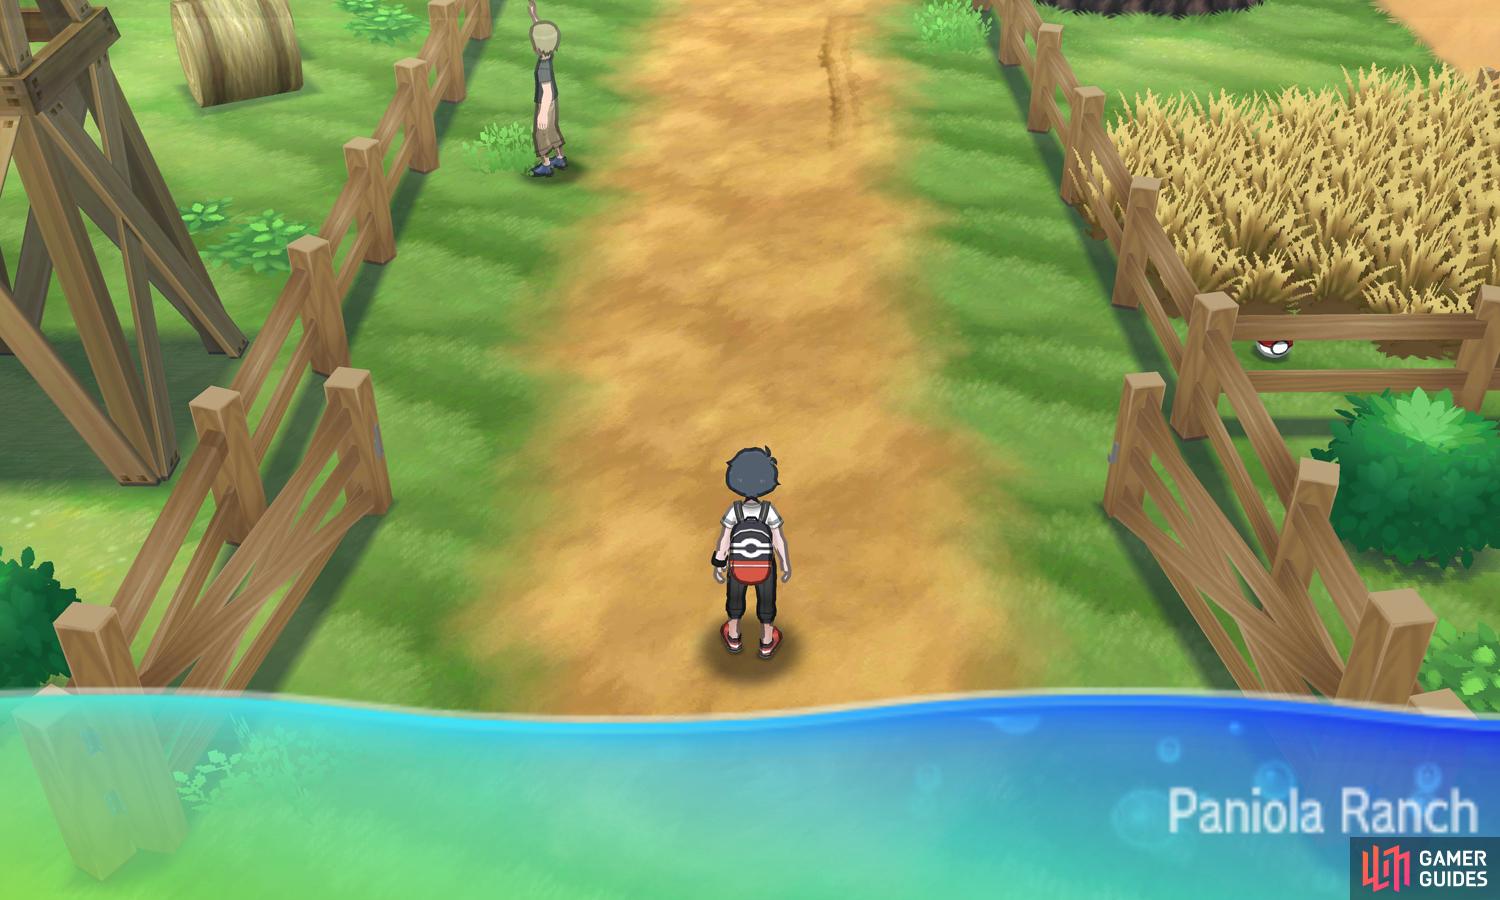
(1 of 2) Are you ready to befriend some farm animals?
Are you ready to befriend some farm animals? (left), (right)
Pokemon Encounters - Paniola Ranch
| Name | Type(s) | Location (Rate) |
|---|---|---|
 Mudbray Mudbray |
Ground | All grass patches (40%) |
 Mareep Mareep |
Electric | All grass patches (30%) |
 Lillipup Lillipup |
Normal | All grass patches (20%) |
 Miltank Miltank |
Normal | All grass patches (5%) |
 Tauros Tauros |
Normal | All grass patches (5%) |
After taking a brief pit stop at Paniola Town, the journey to the Akala Island’s first island trial continues. From the Paniola Town entrance, follow the dirt road north. You’ll pass by a fellow waving to someone or something across the fence. Past him is a Pokémon trainer standing by the corner.
Madame Elizabeth
| Pokémon | Level | Type |
|---|---|---|
 Carbink Carbink |
15 | Rock/Fairy |
This rich lady has a  Carbink, which is an uncommon find in Ten Carat Hill on Melemele Island. Steel-types will inflict exceptional damage, while Grass, Water and Ground-types will also fare very well. Failing that, strike it with Pokémon that aren’t Fire, Ice, Flying, Fighting, Dark or Dragon-types.
Next, head north-east, following the bending path. Soon, you’ll come across the entrance to the actual Paniola Ranch. Here, a farmer will kindly escort you inside. You’ll meet Captain Mallow again, but this is not a trial site, so don’t panic. Instead, you’ll receive a new number for your Ride Pager, for using  Stoutland Search.
Without further ado, it’s time to take Stoutland on a test drive! By the way, since Stoutland moves very slow when sniffing, a good trick is to move around at normal speed, then from time to time hold B and do a 360 to see if any items are nearby. First, head towards the right side of the trough above the pair of  Miltanks.
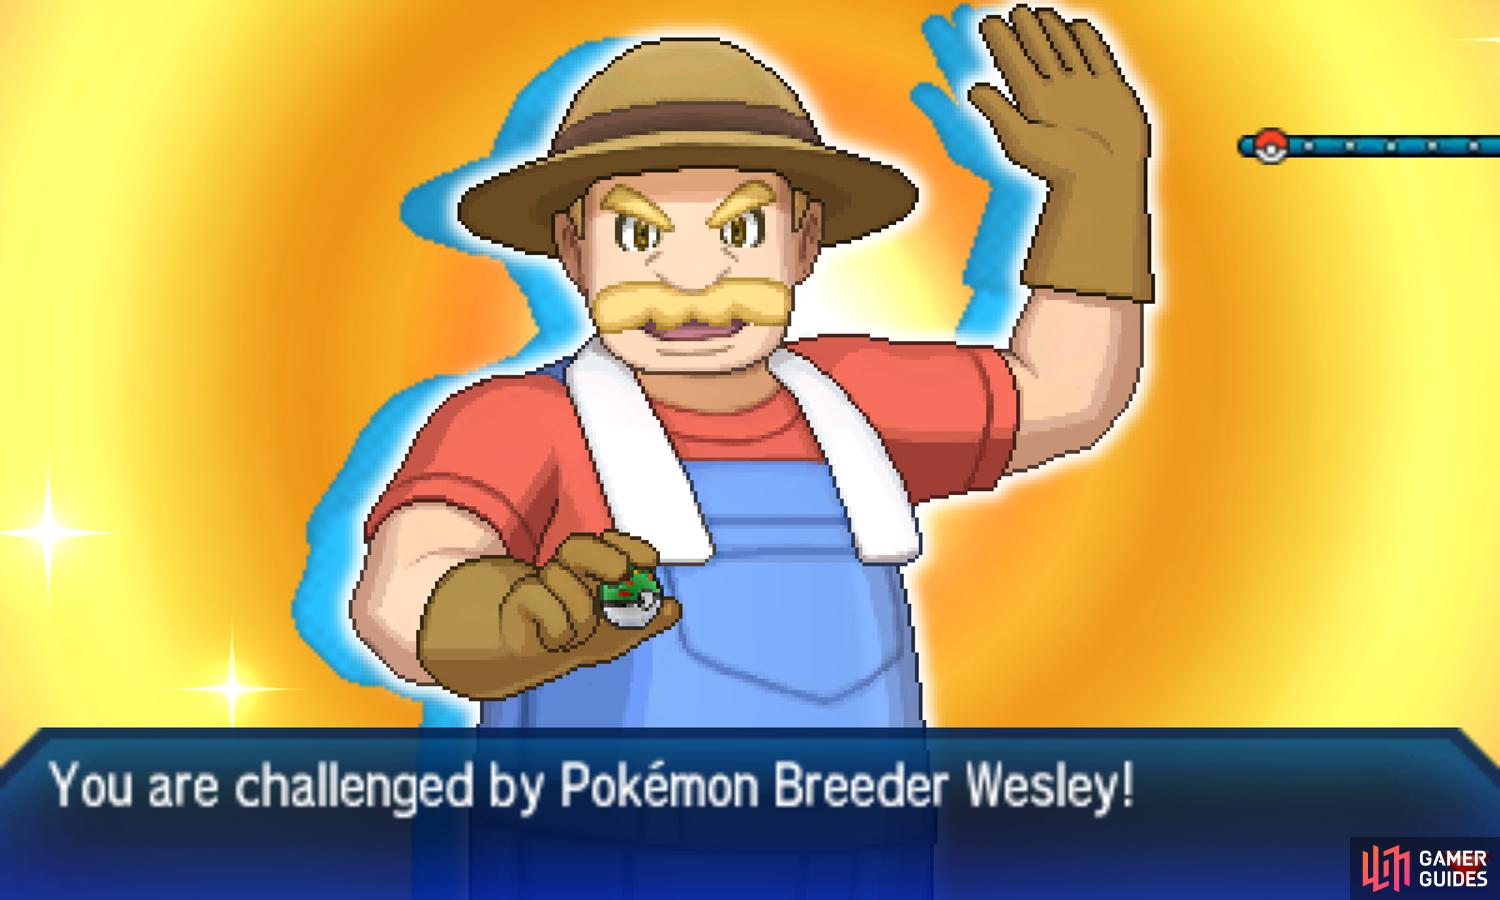
Search this corner for a secret bottle of Moomoo Milk. Next, direct Stoutland south-west, towards the pond surrounded by fence. Sniff around the area a couple of paces below the grazing  Tauros above to discover some Fresh Water. Afterwards, give the Tauros a poke to trigger an event where you can battle it.
Pokémon Breeder Wesley
(1 of 2)
| Pokémon | Level | Type |
|---|---|---|
 Tauros Tauros |
15 | Normal |
This raging bull has fairly solid stats and can be intimidating for your unevolved Pokémon. Fighting-types will pack a punch, or you can rely on your starter Pokémon, which should have hopefully evolved into its middle stage.
Upon successfully calming the Tauros, you’ll be given a Scope Lens that increases the critical hit ratio of moves when held. Moving on, begin heading east from the pond. Along the way, there’s a female breeder and a Miltank you can play with.
Continue east past the playful Miltank, towards the two cylindrical stacks of grass. Have Stoutland poke around to the right of the stacks to retrieve a hidden Repel. Finally, go all the way east towards the female breeder below the wagon and the Tauros. Speak to her to receive 5 Adrenaline Orbs for provoking S.O.S. Battles.
There are no more items here, invisible or not, so when you can, exit the ranch towards the south-east. Moving on, head south from the ranch entrance. You’ll bump into a ramp below and a patch of tall grass to the right. Step into the grass and travel directly east. Soon, there will be a corner where there’s no tall grass.
More importantly, you’ll find Totem Sticker #027 stuck on the fence. From this corner, head a few paces south, among the tall grass. Below, there’s a trainer tips sign; search the tall grass just above it to pick up a hidden Soda Pop. Who’s been dropping their fizzy drinks all over the place? Must be Team Skull…
Continue south-west through the remainder of the tall grass. You should emerge in a broad area, with more tall grass to the west and a second ramp to the east. Towards the north-west should be the first ramp, where a male Pokémon breeder is patrolling, looking for a battle.
Pokémon Breeder Glenn
| Pokémon | Level | Type |
|---|---|---|
 Mudbray Mudbray |
15 | Ground |
This innocent-looking donkey can be found on Route 4, but also more commonly around here. It’s a pure Ground-type, so Water, Grass and Ice should be all you need to send it into submission. Flying-types are OK because they’re immune to Ground.
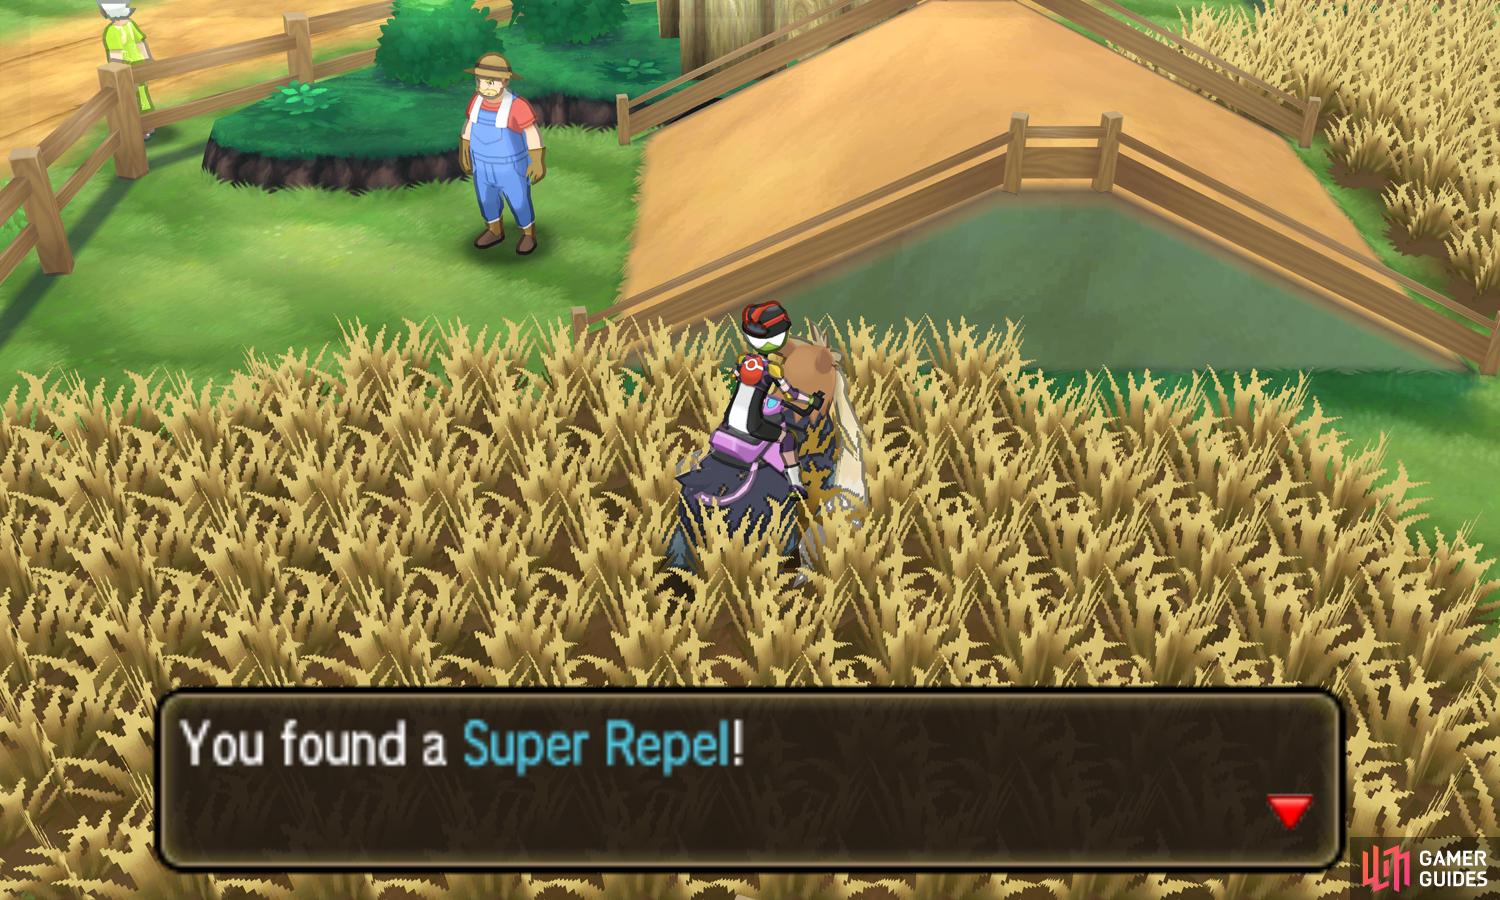
(1 of 2) Without Stoutland, it’s like searching for a needle in a haystack.
Without Stoutland, it’s like searching for a needle in a haystack. (left), (right)
South from the first ramp is a hidden item in the tall grass. If possible, spray yourself with some Repel, perhaps the one found in the ranch. Position yourself so that, vertically, you’re halfway along the tall grass and, horizontally, you’re one or two paces left from the center of the ramp above. The prize for your patience is a Super Repel.
Note that breeder Glenn can see directly below the ramp when he’s standing at the very center, which is important if you’re avoiding battles. After hoping finding the item, carry on west and pick up the visible Paralyze Heal in the corner, below the tall grass. Next, head east back towards the trainer tips sign.
Dash over the ramp to the right of the sign. On the other side is a thick patch of tall grass. Boldly step into the grass and travel north. You’ll emerge in front of a very important building for hardcore Pokémon trainers–the Pokémon Nursery. Before entering, head south from the breeder and the Miltank outside, into the small pen.
It’s too small to summon Stoutland, so you’ll need to rely on your instincts again. Search around towards the left side to find a X Sp. Def that’s out of sight. Inside the nursery, speak to the breeder towards the far left to receive TM10 Hidden Power. If you return to her, she’ll tell you your Pokémon’s Hidden Power Type.
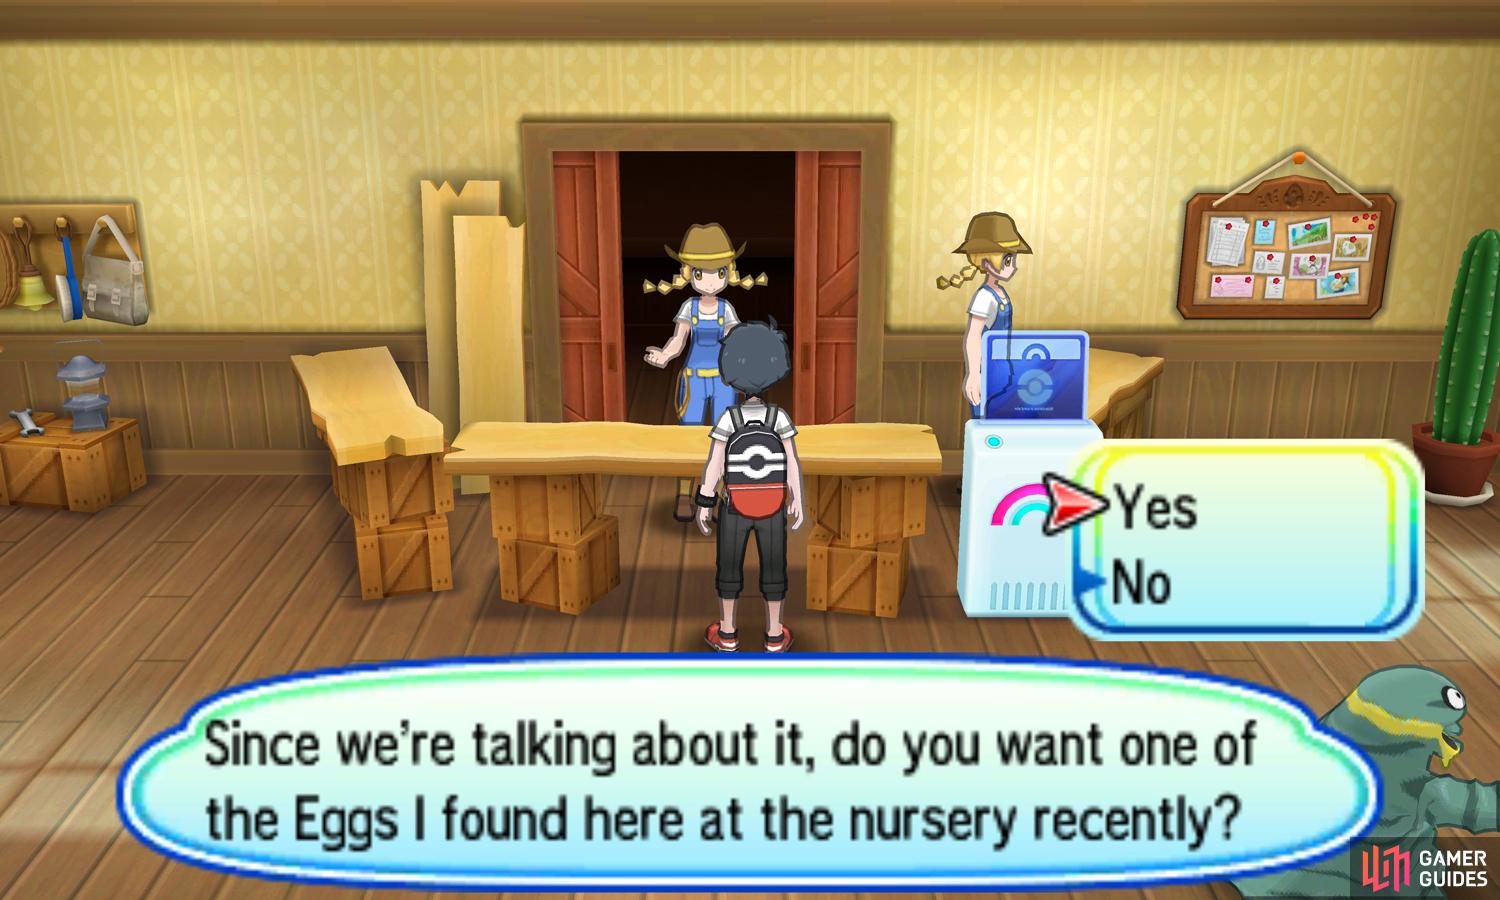
(1 of 2) Even with Rotom Dex’s help, it’ll take a while for the egg to hatch.
Even with Rotom Dex’s help, it’ll take a while for the egg to hatch. (left), (right)
Afterwards, speak to the breeder in the middle of the counter. She’ll introduce her Pokémon Nursery and give you a Pokémon Egg that she found. If you keep the egg in your party, it’ll eventually evolve into a Level 1  Eevee, which is great if you couldn’t catch one. To help you,
  Rotom will speed up egg hatching for a short while.
If you speak to the breeder again, you can make use of the Pokémon Nursery’s invaluable services yourself. Like she said earlier, Pokémon left in the nursery don’t gain experience like the Daycare Centers of the past. So its main–and only–purpose is to lead you down the almost never-ending rabbit hole of Pokémon breeding.
Anyway, for the majority of you, Pokémon breeding can wait. Exit the nursery and head due east. There will be a road leading up, with a directional signpost and a red truck nearby. Go east from the signpost, into the space above the truck. Hiding in this corner is an Amulet Coin that doubles prize money if the Pokémon holding it fights.
Needless to say, have a Pokémon hold onto it ASAP! Then hurry north towards the agitated-looking gentleman, who’s almost definitely carrying a lot of cash on him.
Gentleman Gerald
| Pokémon | Level | Type |
|---|---|---|
 Sableye Sableye |
15 | Dark/Ghost |
This bejeweled ghost is only found when accidentally(?) summoned by Carbink in Ten Carat Hill. Its unique Type combination grants it a single weakness, to Fairy. That said, in its current form, it’s not immensely threatening and easily dispatched by Pokémon it’s not strong against or immune to.
Continuing north along the road will take you to Route 5, which is your next destination. But it’s still a bit early for that. By the way, along the fence on the left side of the road, there’s a picturesque Photo Spot if you want to indulge in the Poké Finder. For the time being, head south back towards the red truck.
You may notice a young lad do squat ups below the truck. If you want, go over and interrupt his work out.
Rising Star Micah
(1 of 2)
A weak Normal-type like  Lillipup should hardly frighten you by this point.
  Magnemite is a bit tougher, literally, as it’s part Steel. Ground-types will deal insane damage, while Fire and Fighting-types will more than suffice. Failing that, Pokémon not weak to Electric should be able to put up a decent fight.
After dealing with Micah or otherwise, head south through the tall grass along the east side. After the grass ends, there’s a Heal Ball up for grabs. From here, heading south along the remaining path will take to a wall of  Sudowoodos that simply refuse to move. So instead, exit north past Gentleman Gerald.


 Sign up
No Comments