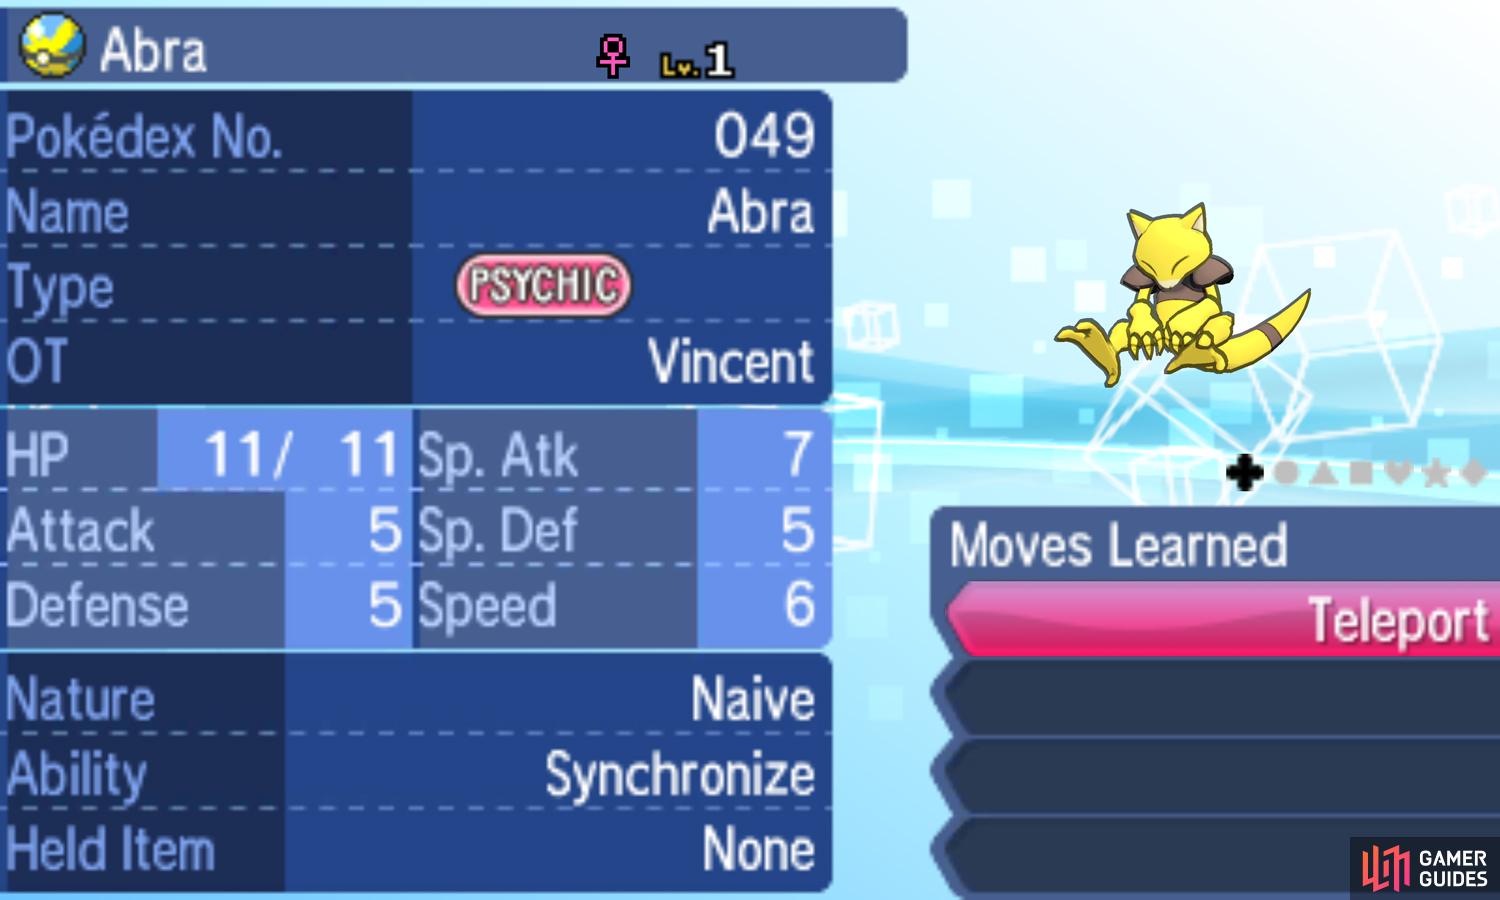
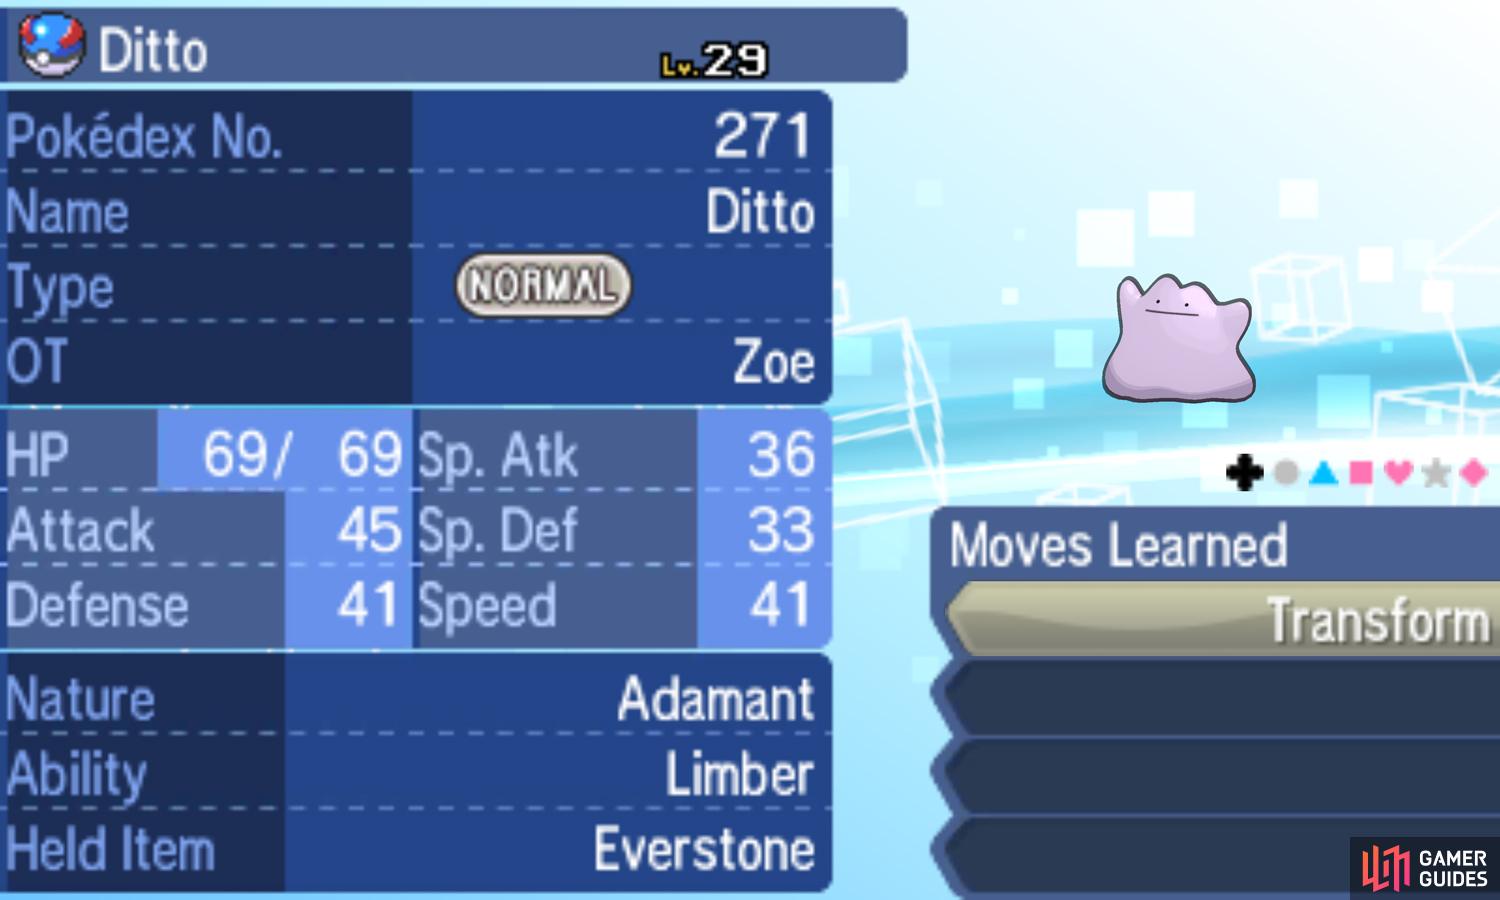
(1 of 2) Abra, check! Ditto, check! Dozens of both, check!
Abra, check! Ditto, check! Dozens of both, check! (left), (right)
Breeding the right way requires a pretty hefty investment, so make sure you’re up to the task. To make the job easier, you need to be prepared! It’s a lot up front but will make all of your breeding projects forever easier. These will all help you control the “luck” behind Pokémon breeding so that you can, with precision, aim for your goal and save a huge amount of time along the way.
Pokémon with Synchronize of every nature. Note that you can exclude the neutral natures, as well as Lax and Gentle, since they are basically useless competitively. This will make it easier to catch the base Pokémon (and the next necessary preparation, the  Dittos), without depending on RNG.
Our advice? Mass breed  Abra. This will also give the side effect of unlocking the IV Judge if you haven’t done so already. Be patient if your starting Abra has Inner Focus instead, and replace it with an Abra with Synchronize as soon as you are able.
Dittos of every every nature. If you want to make the job even easier, you can get Dittos of every nature that each have as many perfect IVs as possible. However this means you will need your Synchronizer to be out and alive in your SOS chain, and if that messes with your strategy then simply focus on catching a Ditto of every nature (again, except for neutral natures, Lax, and Gentle).
Enough Dittos that between them all, you have 6 perfect IVs. The nature of these Dittos won’t matter so much since the purpose of these Dittos is purely to lock down IVs, which is the last step in the breeding process. Eventually, these Dittos will lose relevance as if you breed a lot, you will eventually have a lot of viable fathers with perfect IVs in all the right places!
A Pokémon with Flame Body. Catch a  Fletchinder from Route 8 or evolve a
  Fletchling from Wela Volcano Park. Both have Flame Body as their normal ability. Flame Body will cut in half (a rough estimate) the time it takes to hatch an Egg and will save you a ton of time.
Roto Hatches. Lots of them! Every time  Rotom is sad you can save the game, and if the Roto Lotto doesn’t give you what you want, just soft reset. It can be tedious if RNG isn’t cooperating but you’ll absolutely want to stack up on Roto Hatch powers, especially for Pokémon like
  Beldum and
  Dratini who take forever to hatch.
Everstone and Destiny Knot. Hold items that are absolutely critical to breeding. Everstone are a common hold item on wild  Roggenrola. You also get one as a gift from Ilima if you rematch him in the postgame, and you get several as a common reward from Brilliant-Stone Hunting in Poké Pelago.
Destiny Knot can be found as a free gift for saving a swimmer in the Route 14 waters from being attacked by  Frillish. You can also buy one for 48 BP from the Battle Royal prize booth. You only need one Destiny Knot, though, so go save the poor guy/girl and save your BP!
Power Items. These are less necessary for breeding but useful if you’re trying to be selective about which IVs you are passing down. Regardless of whether or not you use them for breeding though, they make EV training painless and quic, so pick them up. You can buy them from the Battle Royal BP shop or get (most of) them for free during the postgame.
Oval Charm. This increases the chance at which Eggs will spawn in the Nursery. You can receive one by defeating the developers at the Game Freak offices when you’re the Champion. Having it saves a lot of time, so we strongly recommend nabbing it ASAP!
Shiny Charm. For those who are going to try to breed a perfect shiny Pokémon, you’ll need all the luck boosting you can get.
Time, patience, and a lot of box space. These should be fairly self-explanatory…
Fall in love with Wonder Trade. This is an easy way to get rid of “breedjects”, a community nickname for bred Pokémon that you aren’t going to use and really have zero purpose for other than clogging up box space.
Send them out to people and receive other things in return that you can either release, send back into the system (how rude!), or keep and use (breedjects other people were sending out).
The breedjects other people can potentially give you an easy jump start other breeding projects, since the heavy lifting was already done.
Max developed Isle Avue. This is a luxury rather than a necessity. Since you can pick up Eggs at the Nursery even if your party is full, it’s easy to achieve an Egg backlog where you are earning more Eggs than you can hatch.
Use Isle Avue to hatch the rest, especially if you finish the project with spare Eggs, or if you are a busy person without the time to manually run around to hatch them.
It can take a day or two and if left there for too long they’ll suddenly get farther and farther away from hatching “because of the heat”, but it’s a good way to let Eggs passively hatch without working for it.
Breeding Process Overview
(1 of 2) What came first? The Eevee or the egg?
What came first? The Eevee or the egg? (left), (right)
Here’s a general idea of how the breeding process will usually work. All of these steps will be covered in detail in the following sections but here is the general gist of how things go assuming you are starting from scratch with just your pile of Ditto and Abra.
1. Catch the Pokémon you want to breed
Obviously you need your Pokémon, right? Through use of S.O.S. Chaining and Synchronize, make sure you catch a Pokémon that fits your criteria. Ideally you lock in nature and Ability, but baseline you want to lock in the Ability, especially if it’s a Hidden Ability. You will also need to use this step as a chance to obtain any Pokémon needed for egg moves if egg moves are a problem.
2. Lock the nature
Either you’ve already Synchronized a Pokémon to start with, or you can use your mountain of Ditto with Everstone. In all subsequent steps you will want to make sure one parent is clutching onto the Everstone at all times.
3. Breed Egg Moves
Egg moves are extremely easy to lock and should be done after or alongside Nature and Ability locking. Once they’re there, as long as the Pokémon with the Egg Moves is being bred, the offspring will always, always have them. Convenient!
4. Perfect the IVs
Use Destiny Knot and begin improving IVs. You will be swapping out parents a lot here. If Pokémon-incest isn’t for you, you might want to…not think about it for a while! This is the last step done after everything else has been chosen and the nature and Egg moves are locked. Perfecting your IVs is mostly up to chance, so this is the time to break out your patience game.
5. EV train and level up and you’re finished!


 Sign up
No Comments