This page will reveal the location of every collectible in The Lost Treasury, a region of Midgard in God of War Ragnarok.
God of War Ragnarok - The Lost Treasury Collectibles Locations in Midgard
| Collectible | Quantity |
|---|---|
| Sigrun’s Curse | 1 |
| Lore | 2 |
| Nornir Chests | 1 |
| Legendary Chests | 1 |
The Lost Treasury holds Sigrun’s secrets… and some collectibles.
How to Find the The Lost Treasury
The Lost Treasury can be found southwest of the Lake of Nine, between The Derelict Outpost and the Raider Keep. You’ll be able to explore various areas in Midgard during and after the main quest The Word of Fate, including The Lost Treasury, but it’s worth noting that you cannot obtain the two Lore collectibles here until you progress the favor Sigrun’s Curse, which requires you to explore both the Shores of Nine and The Derelict Outpost.
(1 of 3) Pull the shield to the right,
How to Solve the Shield Puzzle at The Lost Treasury
Regardless of your progress on the favor Sigrun’s Curse, to get pretty much any of the collectibles in The Lost Treasury you’ll have to solve the shield puzzle, which grants you access to the ruins beyond.
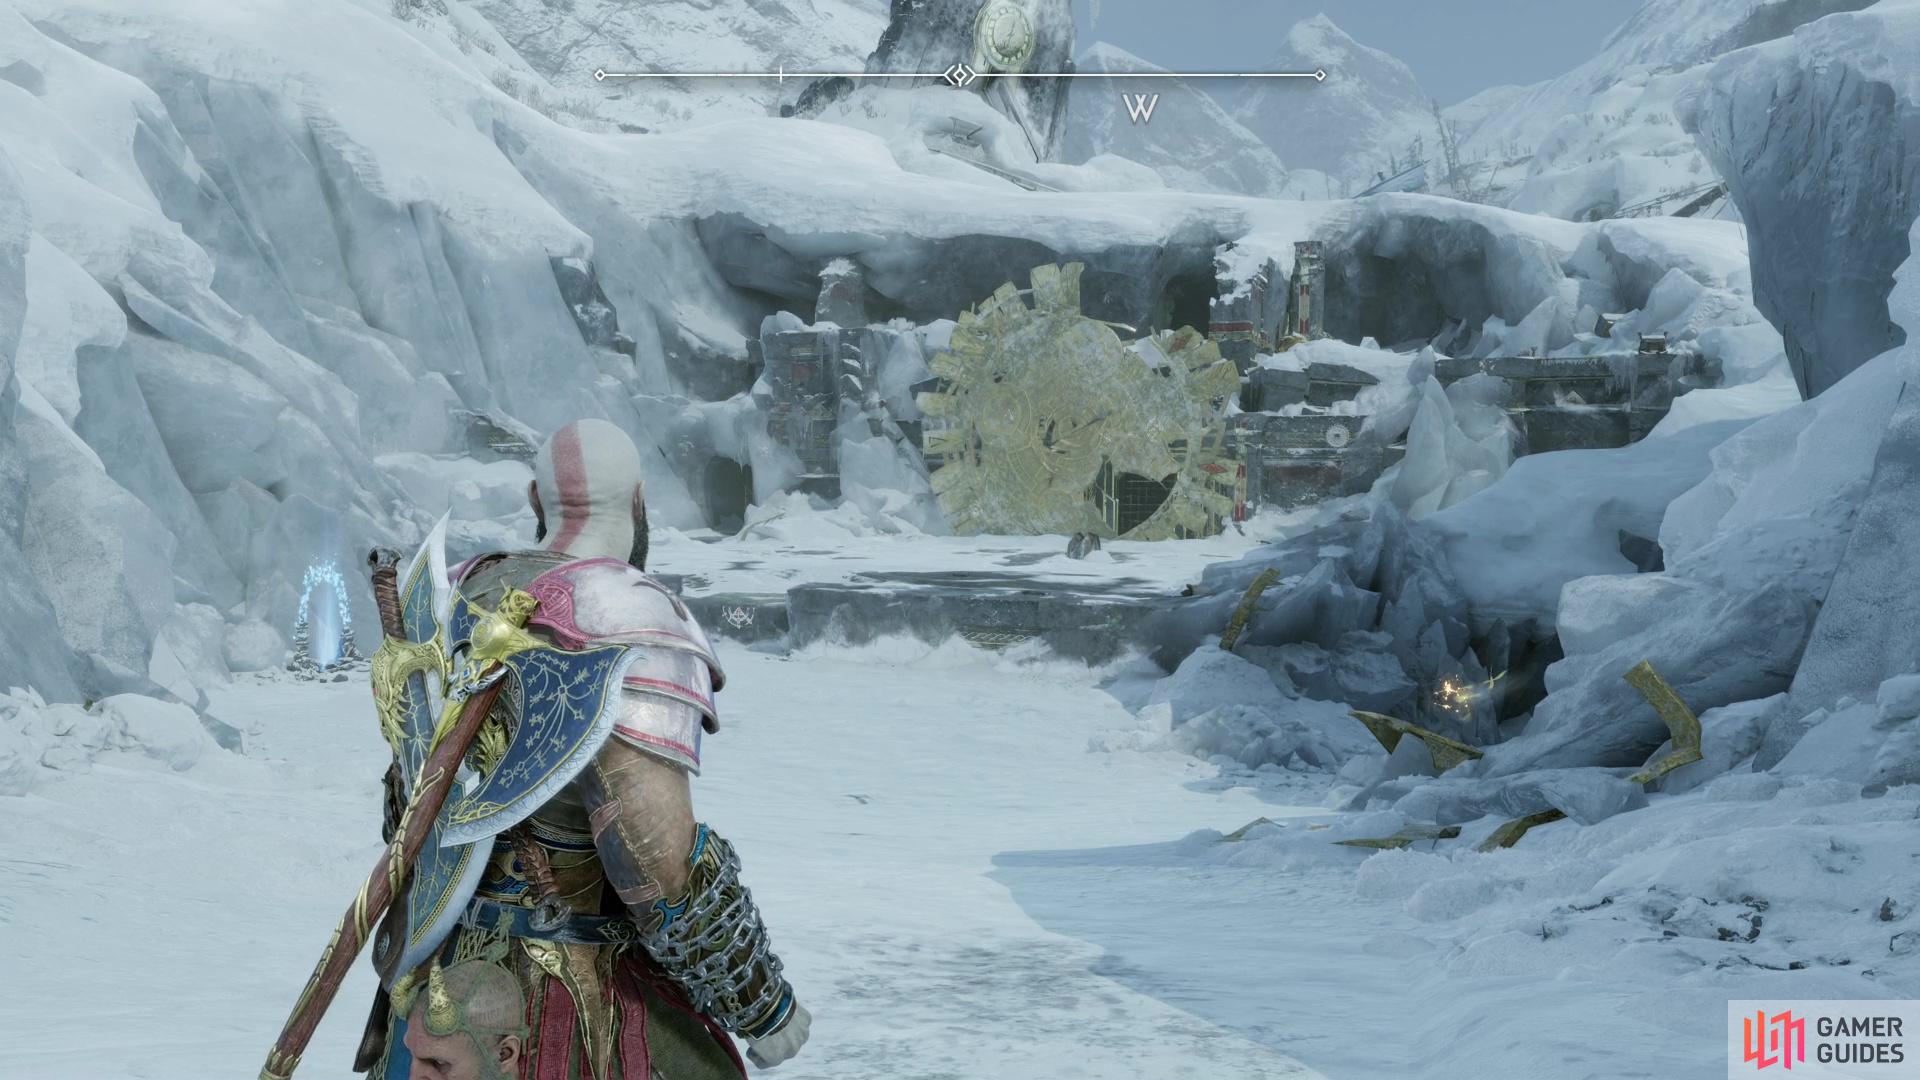
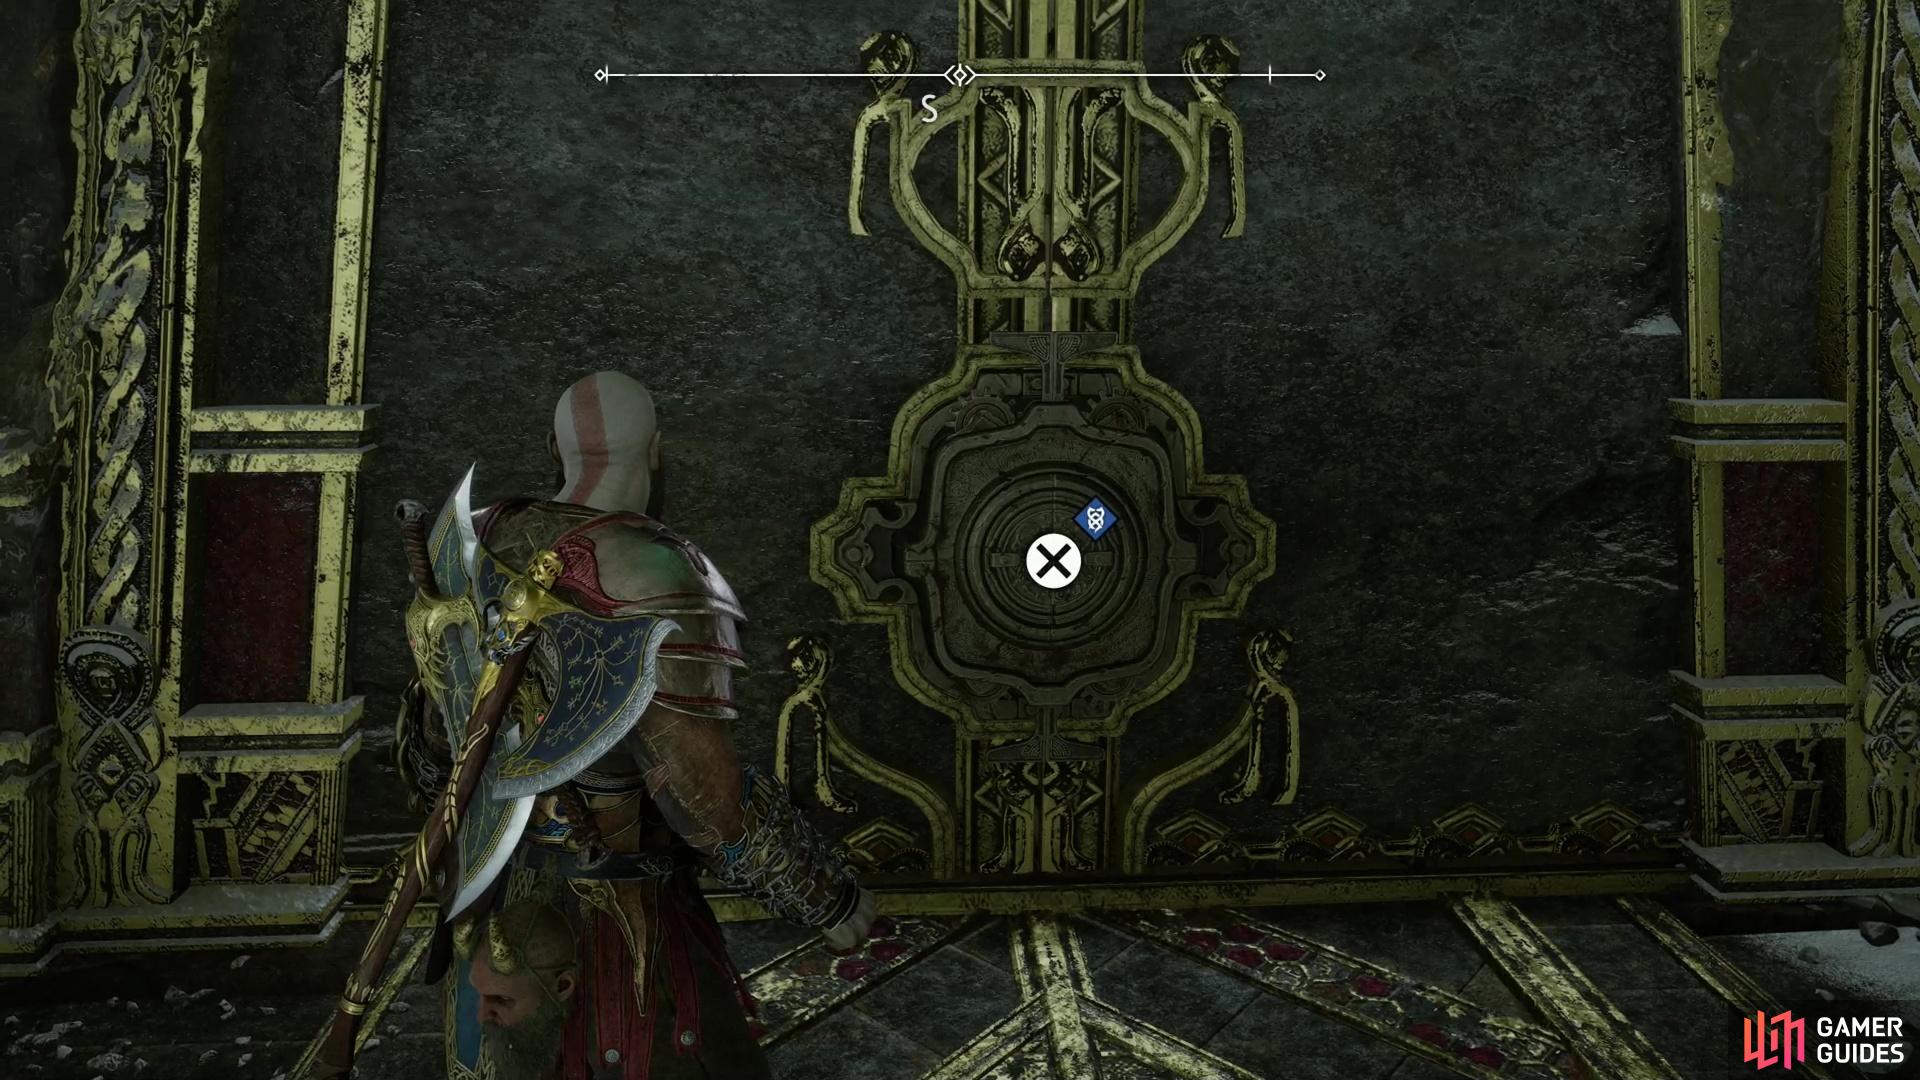
Climb the ledge leading up to the ruins and kill some Hel-Raiders, then turn your attention to the large golden shield now serving as the facade for these ruins. Ignore the wheel in front of it - there’s nothing you can do with it just yet - but do note the two gears on either side of the shield (both of which may not be visible at the same time, as of yet). You’ll need to move the shield left and right to expose these gears (and the gate behind the shield) then turn the wheel to open the gate and hit said gears with the Leviathan Axe (and Runic Arrows, to extend the duration) to keep the gate open long enough for you to get through. The shield is currently not properly aligned, however, so we’ll need to fix that, first.
Head up to the shield and pull it to the right using the Blades of Chaos, then climb the face of the shield to reach a ledge above. Destroy some rocks by smashing a fire pot, which will knock a stone pillar down.
Climb back down the ledge, then use the Blades of Chaos to move the shield to the left. Climb it again to reach another ledge, kill some Wisps, then make your way through a doorway (now free of the rocks that were blocking it, assuming you destroyed the fire pot on the other side of these ruins) and use the Blades of Chaos to pull the pillar you toppled earlier forward. Now that the shield has been moved aside, the pillar will prevent it from sliding all the way back when you drop down and pull the shield back to the right… speaking of which…
(1 of 3) Hit the gears beside the shield with runic arrows and the Leviathan Axe to free said gears,
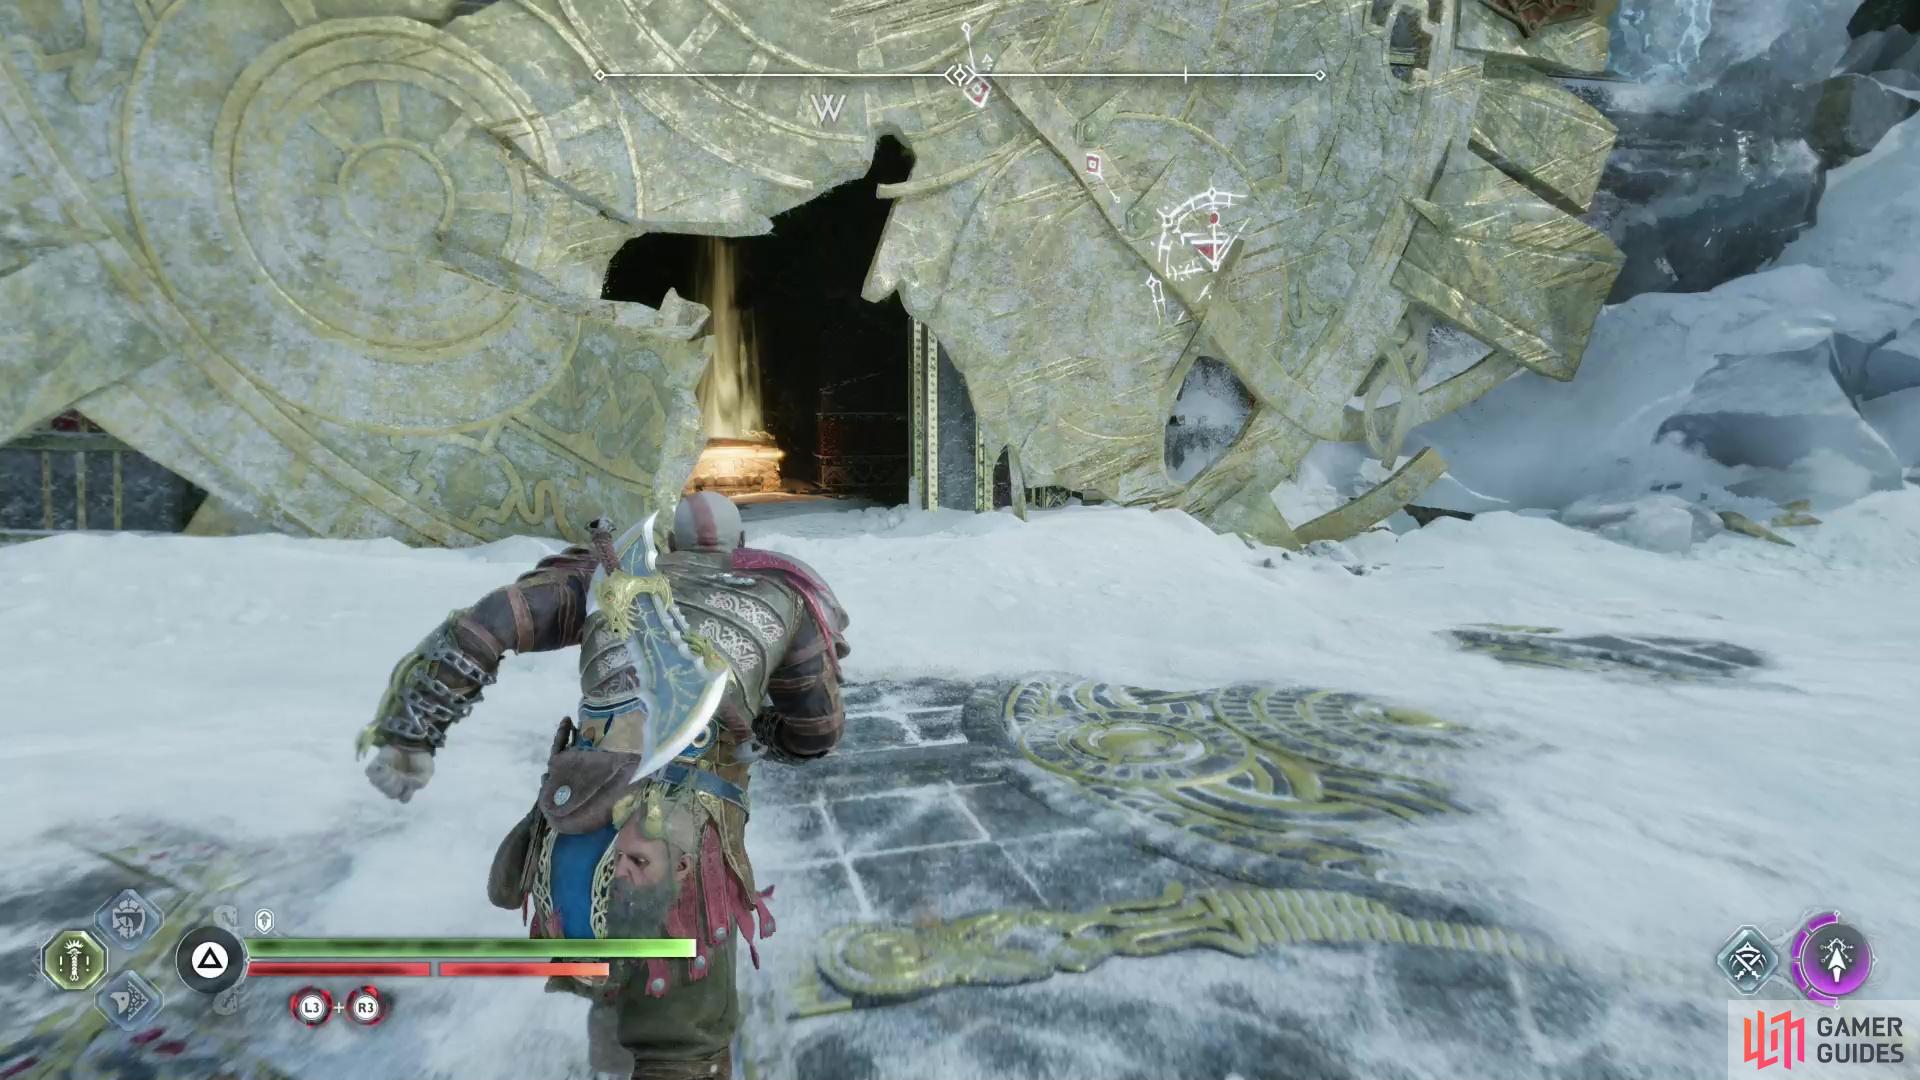
Drop down off the ruins and use the Blades of Chaos to pull the shield back right. With the pillar in the way, it won’t be able to roll as far as it did previously, allowing you to see both gears you need to freeze, and the gate you need to pass through. The solution is simple, turn the wheel in front of the shield until the gate is open, hit one of the gears with a Runice Arrow, then the Leviathan Axe to freeze it, then quickly recall the Leviathan Axe, hit the other gear, then run through the open gate before the rune-frozen gear can thaw. Once you’re through the gate, turn around (east, towards the gate) and recall the Leviathan Axe, which you can use to destroy a target on the wall to the right, causing the gate to open permanently.
With the shield puzzle solved, you can now get around to grabbing this region’s collectibles.
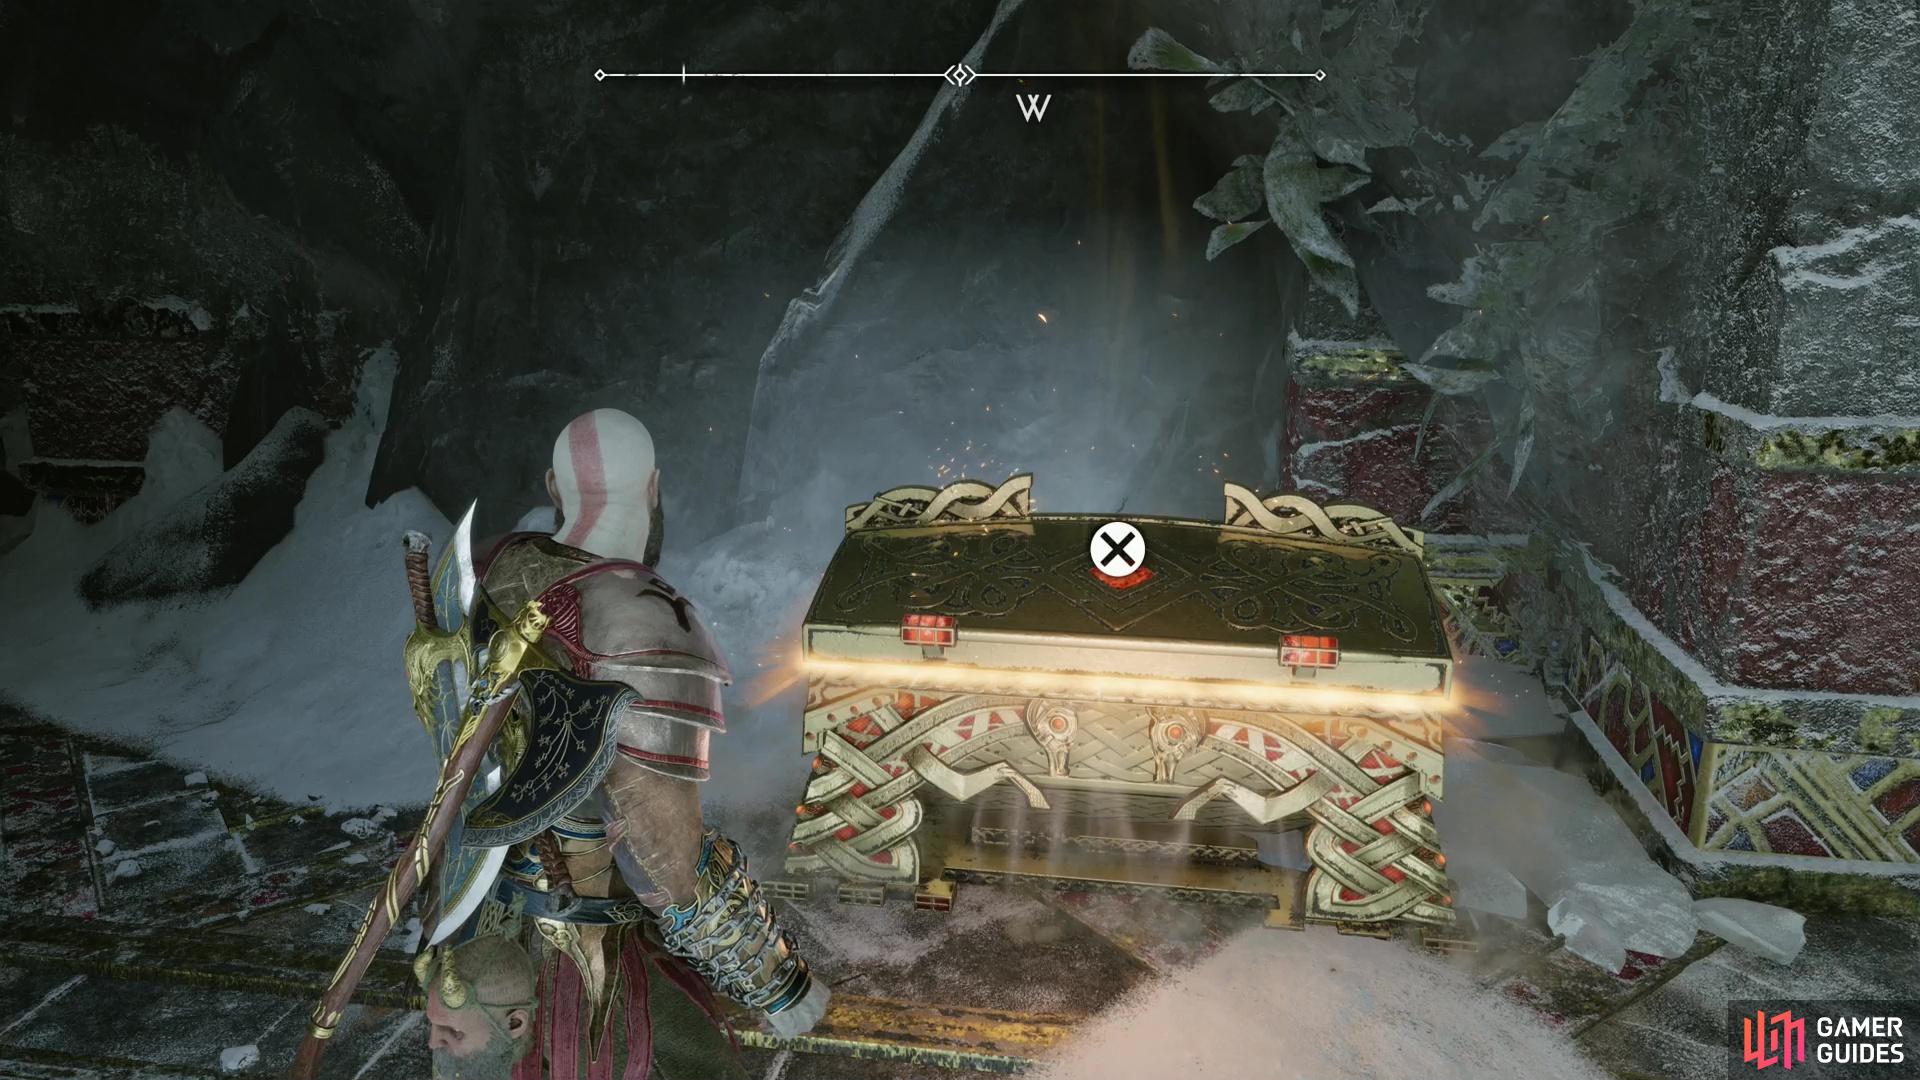
After opening (and running through) the gate behind the shield you’ll find a Legendary Chest, within which you’ll find the Sigil Punishment accesory.
Where to Find All Legendary Chests in The Lost Treasury
Solve the shield puzzle (see above) and after passing through the gate you’ll find a Legendary Chest inside the ruins, along the western wall. Loot the Legendary Chest to obtain the Sigil Punishment Accessory.
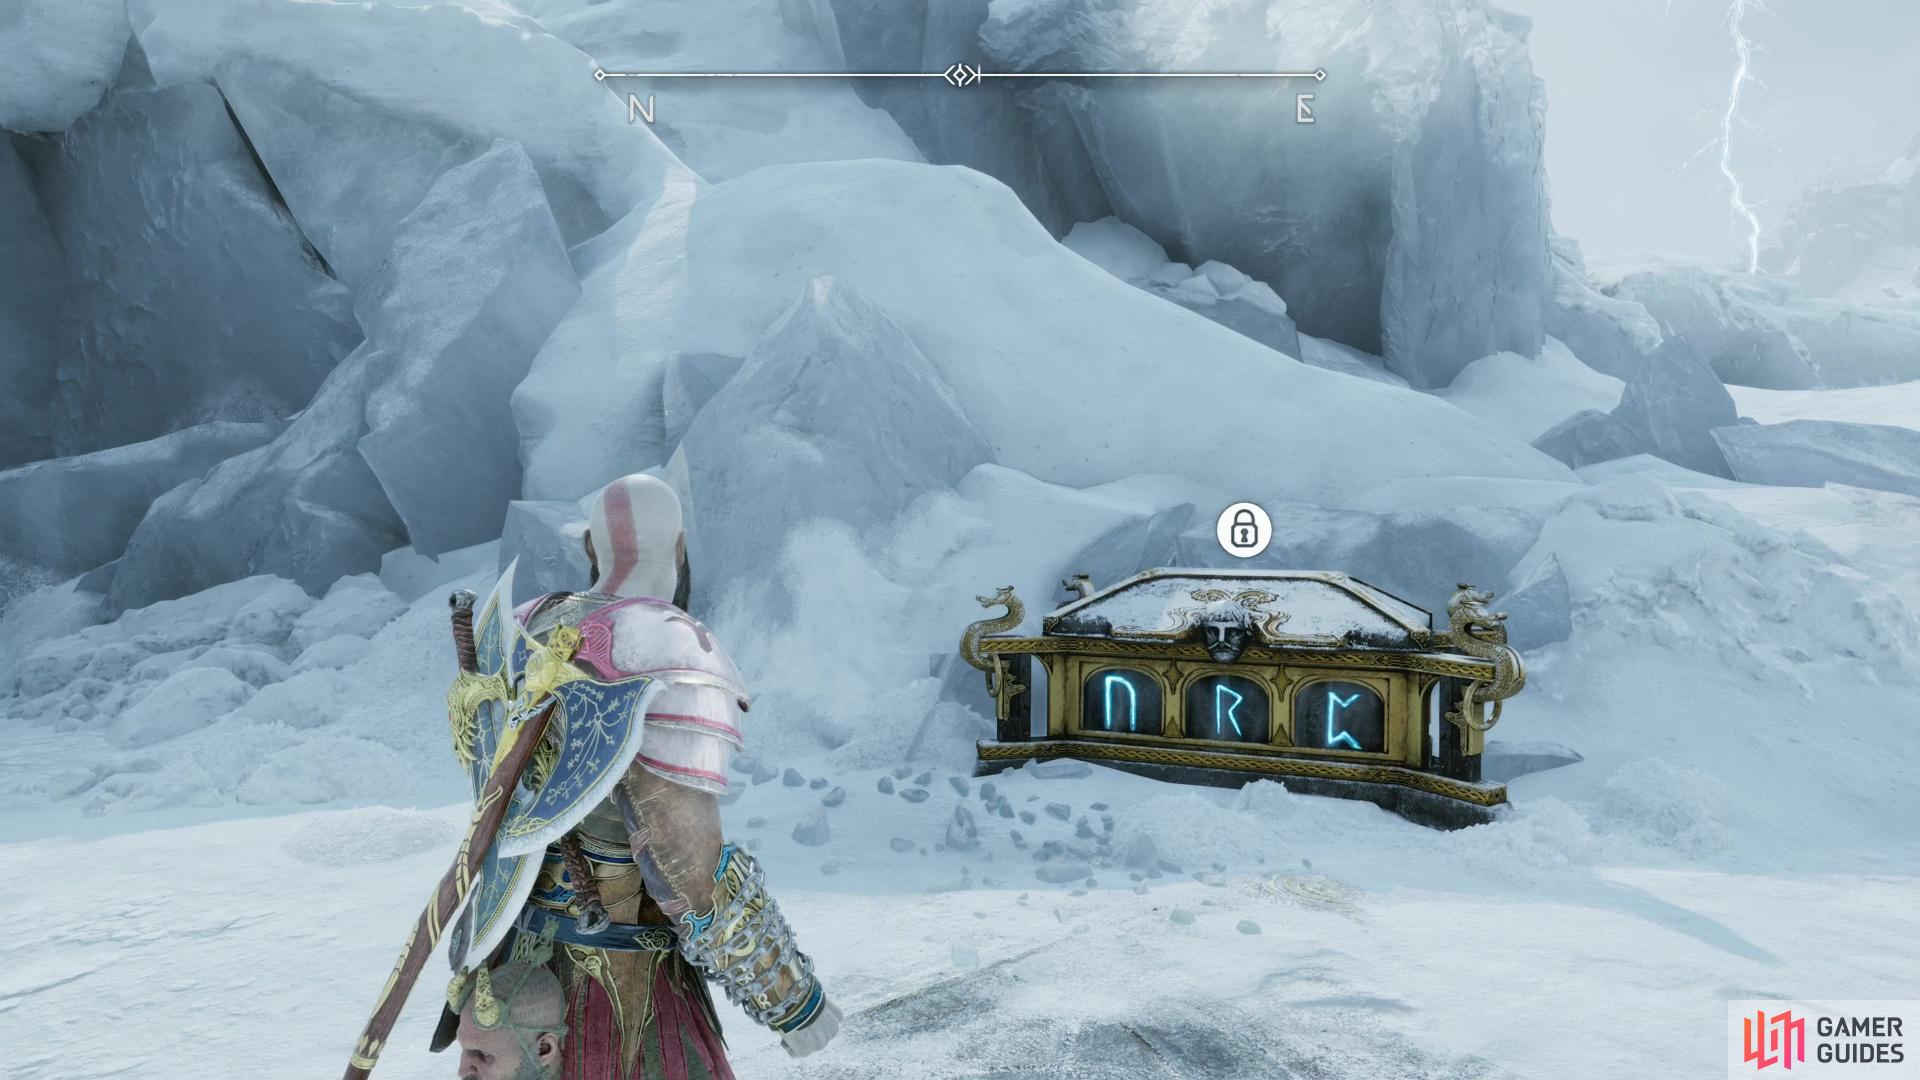
You’ll find a Nornir Chest outside of the treasury, northeast of the shield.
Where to Find All Nornir Chests in The Lost Treasury
The sole Nornir Chest in this area can be found northeast of the shield, on the stone platform just outside the ruins. While you don’t need to solve the shield puzzle to light all this Nornir Chest’s rune braziers, you do have to solve the shield puzzle for one of them. That being the case, we’ll assume you’ve solved the aforementioned shield puzzle before hunting down all the rune braziers:
(1 of 2) Roll the shield to the left to reveal the first Runic Brazier.
Roll the shield to the left to reveal the first Runic Brazier. (left), Use Runic Arrows to create rune spheres you can use to ignite the brazier. (right)
- Rune 1: Roll the shield to the left and look up on the right side of the shield’s range to spot the rune brazier on a stone ledge. Use Runic Arrows to create two overlapping runic spheres (one of which must be engulfing the rune brazier), then ignite the lower runic sphere with the Blades of Chaos. This should set the rune brazier aflame.
(1 of 2) When the shield is rolled to the left, climb up it and look over to the north to find the second rune brazier.
When the shield is rolled to the left, climb up it and look over to the north to find the second rune brazier. (left), Just like last time, daisy chain rune spheres, then ignite the lowest one to spread the fire to the rune brazier. (right)
- Rune 2: Roll the shield to the left, then climb it to reach the upper left side of the ruins. Make your way to a ledge near some stairs and look up and to the north to spot the second rune brazier atop a stone wall. Use Runic Arrows to chain two runes spheres together (one of which must be engulfing the rune brazier) then ignite the lower rune sphere with the Blades of Chaos to light the rune brazier.
(1 of 2) After opening the gate behind the shield, pass through said gate and turn right (north) to find the third rune brazier.
After opening the gate behind the shield, pass through said gate and turn right (north) to find the third rune brazier. (left), Once again, you need to overlap rune spheres to spread flames from the Blades of Chaos to the rune brazier. (right)
- Rune 3: Solve the shield puzzle and once you’re through the gate, turn right (north) to spot the third rune brazier. You know the drill - shoot Runic Arrows to create two overlapping rune spheres, one also engulfing the rune brazier, and one close enough to reach with the Blades of Chaos, then light the lot up.
When all three rune braziers are lit, return to the Nornir Chest to claim your prize.
(1 of 3) Open the treasury door with the key halves you found earlier,
Where to Find All Lore in The Lost Treasury
Lore Marker - Love’s End
Solve the shield puzzle, then head through the gateway and turn left (south) to find a sealed door. To open it, you must have obtained the Fjoturlund Vault Key Halves from The Oarsmen and The Derelict Outpost. Assuming you have those two key halves, open the door and defeat the Traveler (and his attendant Wisps) within. When all the threats are neutralized, search the northwestern corner of the room to find the Lore Marker - Love’s End. Reading this counts as both a Lore collectible and the Sigrun’s Curse collectible for this region, and completes the aforementioned favor.
(1 of 3) In the chamber where you fought the Traveler, climb a chain to the south,
Scroll - Hilt of Ridill
From the last Lore collectible (see above), climb a chain to the south, then turn around and look back down into the room you just climbed out of to find a breakable floor. Smash through it and you’ll find yourself in a pit, where this scroll can be found. Not only does it count as a Lore collectible, but it’ll allow you to craft the Hilt of Ridill when you visit one of the dwarven blacksmiths.








 Sign up
No Comments