This page will detail how to start and complete the Animal Instincts Favor in Midgard in God of War Ragnarok.
Where to Start the Animal Instincts Favor in God of War Ragnarok
You will be able to start this anytime you reach Midgard during the main story quest, The Word of Fate. There will be four Kol Raider camps located on the Lake of Nine, and you are able to do them in any order. Whenever you complete one of these camps, the favor will automatically be added to your log. All you have to do at each camp is clear out all of the enemies, which should be easy enough, even when you first come to the Lake of Nine.
Where to Find Raider Fort
(1 of 3) The location of the Raider Fort
The first camp you will likely is the Raider Fort, as it’s closest to where you enter the Lake of Nine area. If you’re looking at your map, it’s just left of the “Lake of Nine” marker. This is pretty open for an arena, and you can easily see the black smoke coming from the camp. Kol Raiders aren’t much different to the normal Raiders you faced in Midgard, earlier in the game. The basic Kol Raider does have their weapon on fire, but their attack is blockable. It’s the Kol Raider Scout you need to worry about, as they can throw fire bombs at you, so always keep a lookout for the danger indicator.
There is also a Chief here, who will be a little more hearty over the other two types. He does have a blue ringed attack, which he does frequently, so keep an eye out for that and do the shield bash to counter it. The Scouts will also stand on the outer walls of the camp, so you can either do ranged attacks or use the L2 + R1 attack with the Blades to bring them down. Just be careful when you defeat an enemy, as some will attempt to inflict some damage with a last ditch effort of setting themselves on fire.
Where to Find Raider Stronghold
(1 of 2) The location of the Raider Stronghold on the map
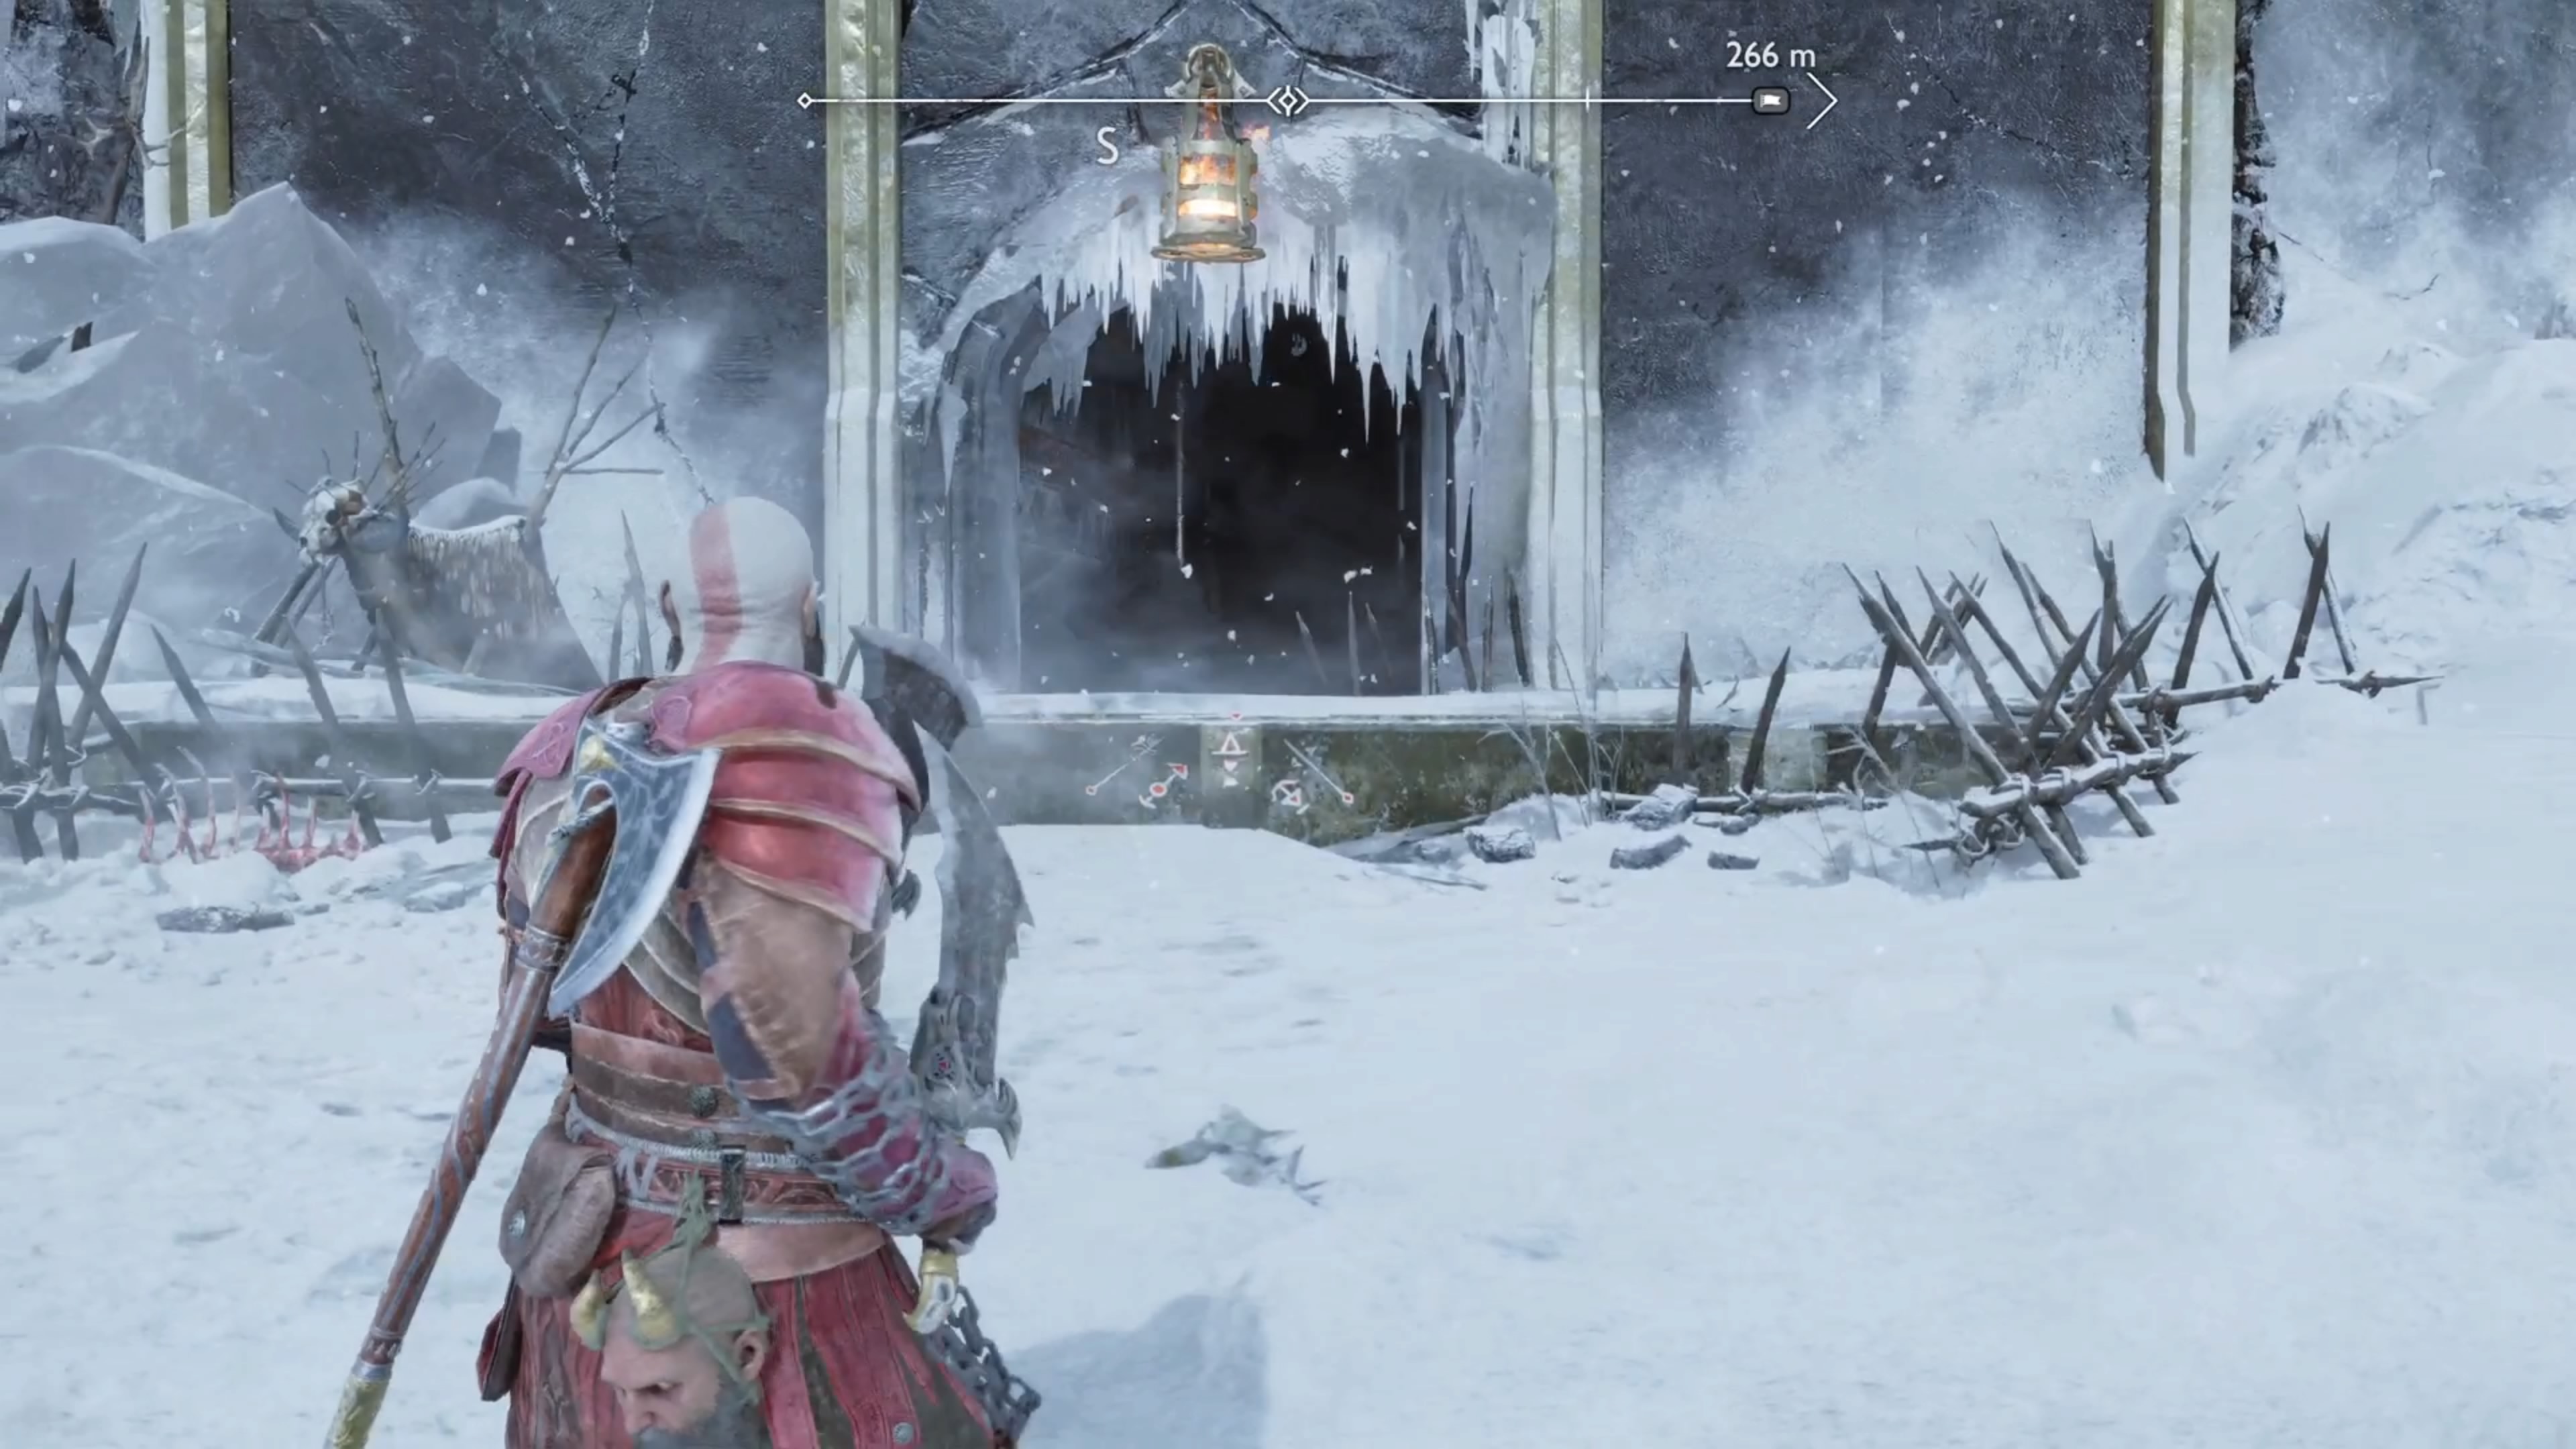
The location of the Raider Stronghold on the map (left), The entrance to the Stronghold (right)
The Raider Stronghold is located underneath Tyr’s Temple, with the entrance being on the northern side of it. This is probably the easiest of the four camps, due to there not being too many enemies. You will only find four regular Kol Raiders here, so there’s not much to actually trick you. Once you defeat all four enemies, you will be done with this camp.
Where to Find Raider Hideout
(1 of 2) The location of the Raider Hideout on the map
The location of the Raider Hideout on the map (left), The entrance to the Hideout (right)
This camp is not too far from the Raider Stronghold. A little east of it on the map, there is a split, where you can either go up a slight hill or take a lower path. If you go the lower path, you will come to the entrance for the Hideout. There will only be a small number of enemies here at first, but more will show up as you kill the first wave. There’s nothing out of the ordinary, though, as it’s just mainly the normal Kol Raiders, with a few Scouts mixed in. There is a pot that produces a fire bomb here, in case you want to use that to your advantage in battle.
Where to Find Raider Keep
(1 of 2) The location of the Raider Keep on the map
The location of the Raider Keep on the map (left), The entrance to the Keep (right)
On the southern side of Tyr’s Temple is where you will find the entrance to this camp. It’s not actually connected to Tyr’s Temple, but on the southern side of the ice wall there. You will have a good number of enemies here, mostly normal Kol Raiders and Scouts. Be mindful of the Scouts on the upper levels, as they will sit there and try to peg you with their fire projectiles.
Oluf Nautson (Raider Chief) Boss Fight
This guy will spawn whenever you clear out the fourth camp, so the challenge will depend on which camp you do last. The easiest, in terms of layout, is probably the Stronghold, as it’s a circular, flat room. Whatever the case, Oluf is basically like a Chief, but a little more challenging, and with some more moves in his arsenal. Let’s take a look at his moves first.
Three Hit Combo
Oluf will do a sweeping attack with his weapon (yellow ring), followed by a quick jab with the handle, then another sweeping attack (yellow ring). Of course, the yellow ring means it will break your guard, but these should be easy enough to dodge/parry.
Ground Smash
Oluf will do an overhead swing, complete with a red ring, and smash the ground with his weapon. There seems to be a bit of a fire shockwave from this, but it’s pretty small, so don’t worry about it too much. You should be able to dodge this, and the splash, without getting hit pretty easily. Note that as the battle goes on and his health gets lower, he will chain multiple of these in a row.
(1 of 2) Oluf has a little splash with his slam attack
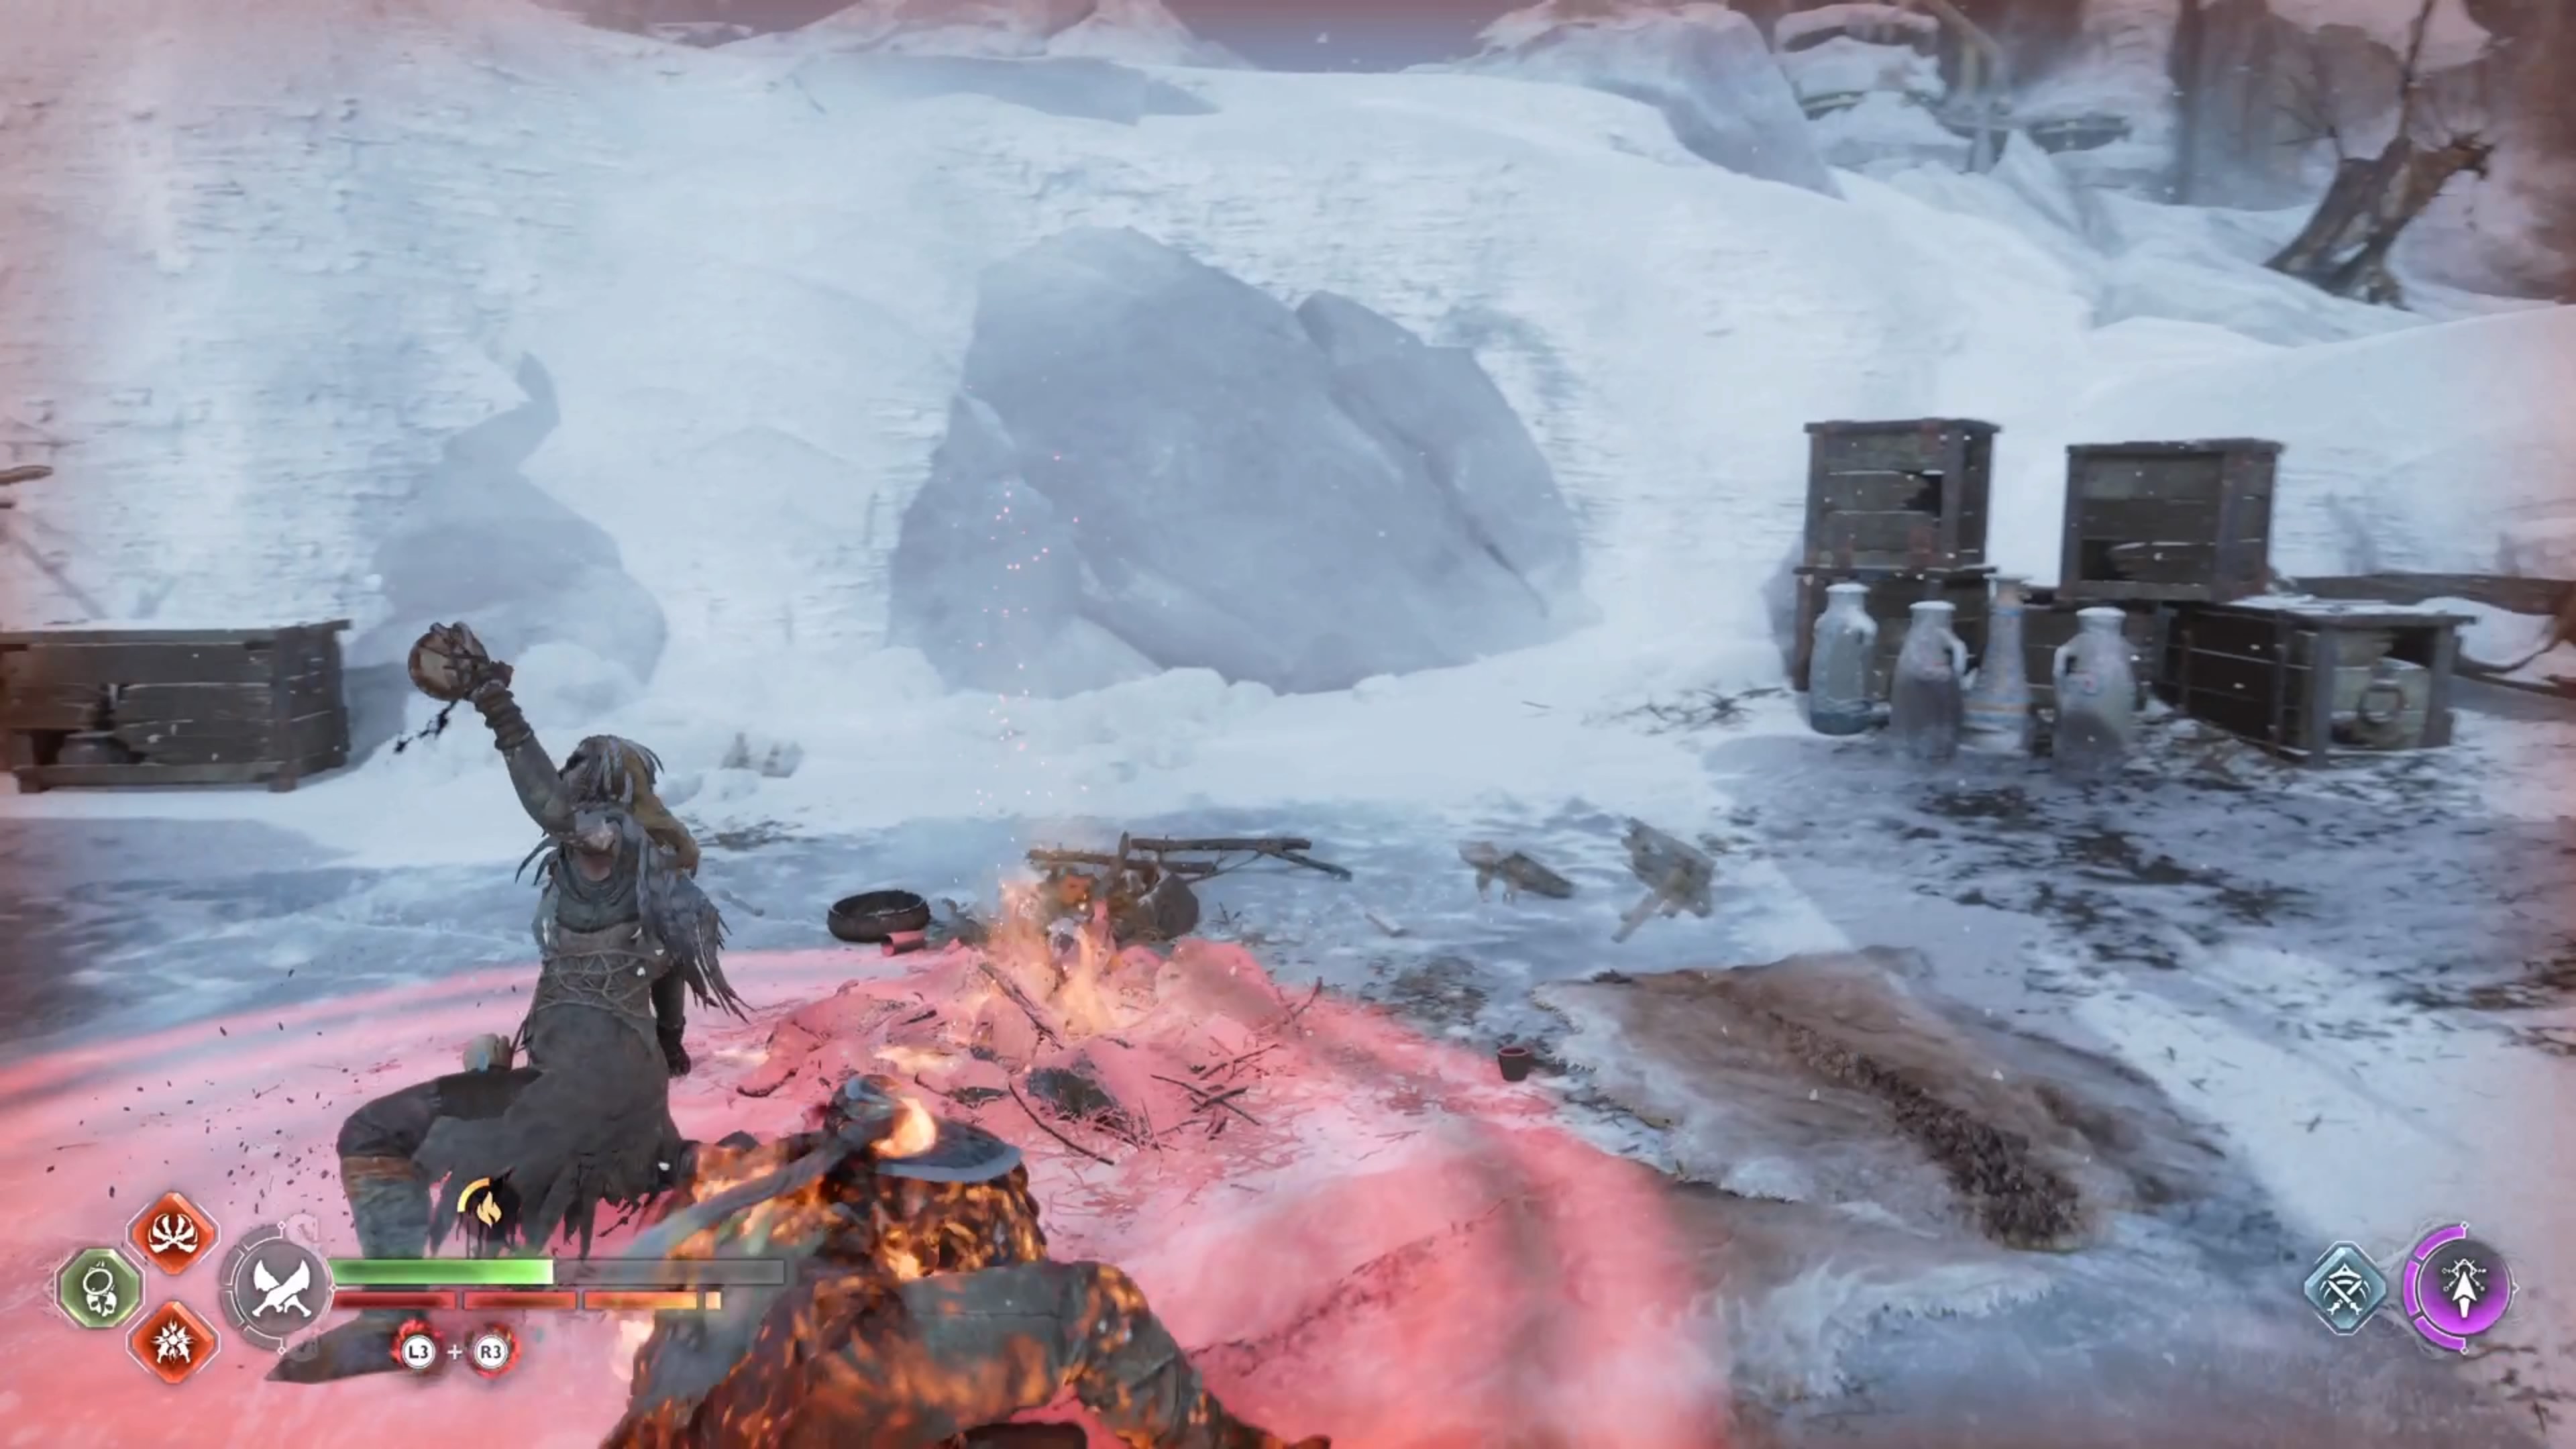
Oluf has a little splash with his slam attack (left), You will want to interrupt his drinking to avoid him regaining health (right)
Command Grab
Oluf will lunge forward, with his weapon, and attempt to grab you. This move is unblockable, so make sure to dodge out of the way when you see the red ring. If you do get snatched, Oluf will just lift you up and fling you away.
Bottoms Up
Oluf will lift up something and drink from it, causing him to regain some health. This will have the double blue rings, so you can stop it by double tapping the shield button. He can, and will, do this multiple times throughout the fight, so always be on the lookout for it.
As with the majority of boss fights, Oluf will eventually start chaining together attacks once his health gets lower. This is especially true of the Ground Smash attack, with there being a blue-ringed version at the end of the little combo. Keep an eye out for his guard breaking attacks, as well as his unblockable ones. You will also want to stay close enough to avoid having him recover too much health with his drinking. It’s not really a tough fight, as Oluf doesn’t seem to have too much health.
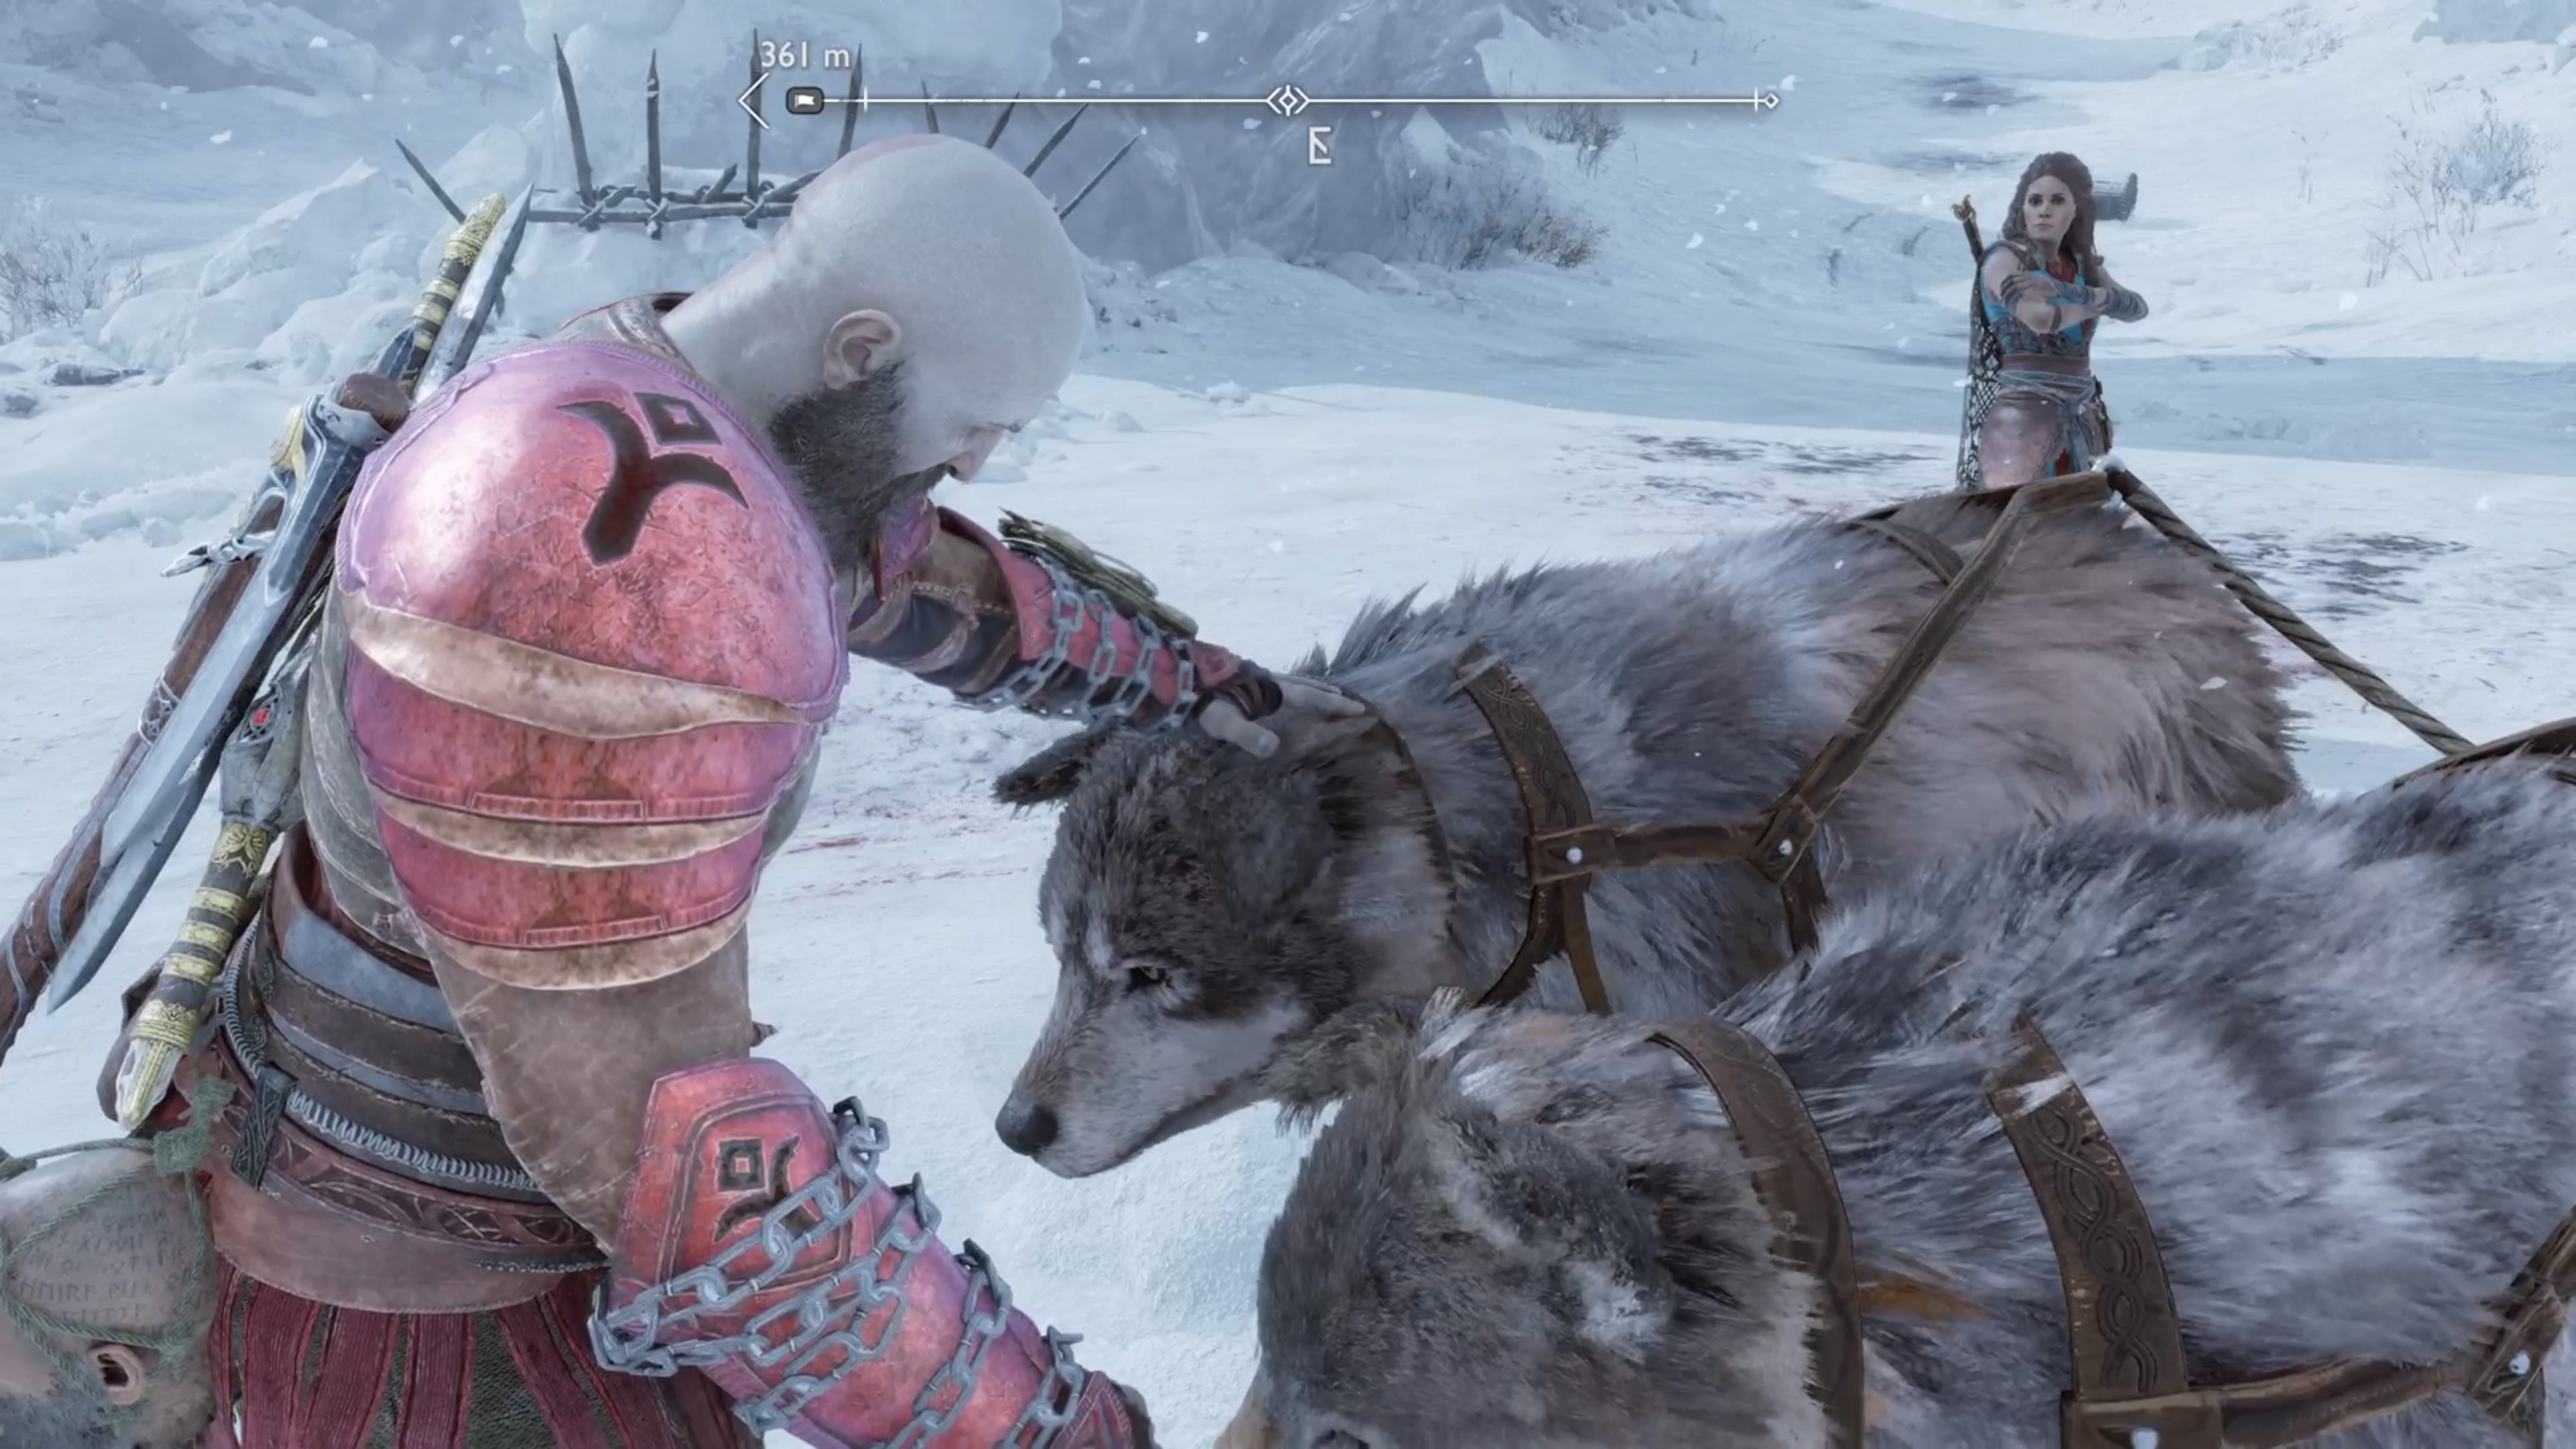
Return to the wolves after beating the boss for a touching moment
You will receive the Token of Elemental Evasion Amulet Enchantment, as well as the Crackle of Bilskirnir resource. This resource can be used to craft a Relic, but you need one of the Lost Pages to do that. After defeating Oluf, exit the camp and return to your wolves for a scene, and the end of the Favor. You’ll unlock the Besties achievement after completing this favor.


 Sign up
No Comments