This page will reveal the location of every collectible in the Lake of Nine, a region of Midgard in God of War Ragnarok.
God of War Ragnarok - Lake of Nine Collectibles Locations in Midgard
| Collectible | Quantity |
|---|---|
| Legendary Chests | 1 |
| Lore | 4 |
| Artifacts | 3 |
| Odin’s Ravens | 2 |
| Yggdrasil Rifts | 1 |
| Draugr Holes | 1 |
| Berserker Gravestones | 1 |
| Remnants of Asgard | 1 |
| Guiding Light | 3 |
| Buried Treasure | 2 |
How to Find the Lake of Nine
Just like in the last game, the Lake of Nine is the hub area of Midgard. While you’ll visit this area early on with Atreus, it won’t be explorable in any meaningful sense until you’re midway through the game. You’ll come here during the main quest The Word of Fate, where you’ll finally be able to properly explore the Lake of Nine - and its numerous side areas - more thoroughly.
Around a third of all the collectibles in Midgard can be found in the Lake of Nine, but even this is underselling how central this location is, as many subregions with their own collectibles are encompassed by or peripheral to the Lake of Nine. Tyr’s Temple, while not all that interesting on its own, serves as a fine landmark which will be used to help find collectibles and subregions in the Lake of Nine.
Note that the transitions between some of the subregions and the Lake of Nine can be - aside from the text that pops up when you cross between one region and another - somewhat subtle. Moving the cursor on the map over the text for various regions will list different collectibles, and that’s how they’ll be organized in this guide, even if some subregions only have one or two collectibles.
It’s also worth noting that three of the collectibles in the Lake of Nine are requirements for the favor Guiding Light, while the Remnants of Asgard collectible cannot be completed until you reach the main quest Beyond Ragnarok. Other collectibles may require progress in different main quests - anything that requires the Draupnir Spear can’t be obtained until after Forging Destiny, for example.
(1 of 3) Destroy some ice with the Draupnir Spear,
Where to Find All Loot Lizards in the Lake of Nine
Loot Lizard Near the Raider Fort
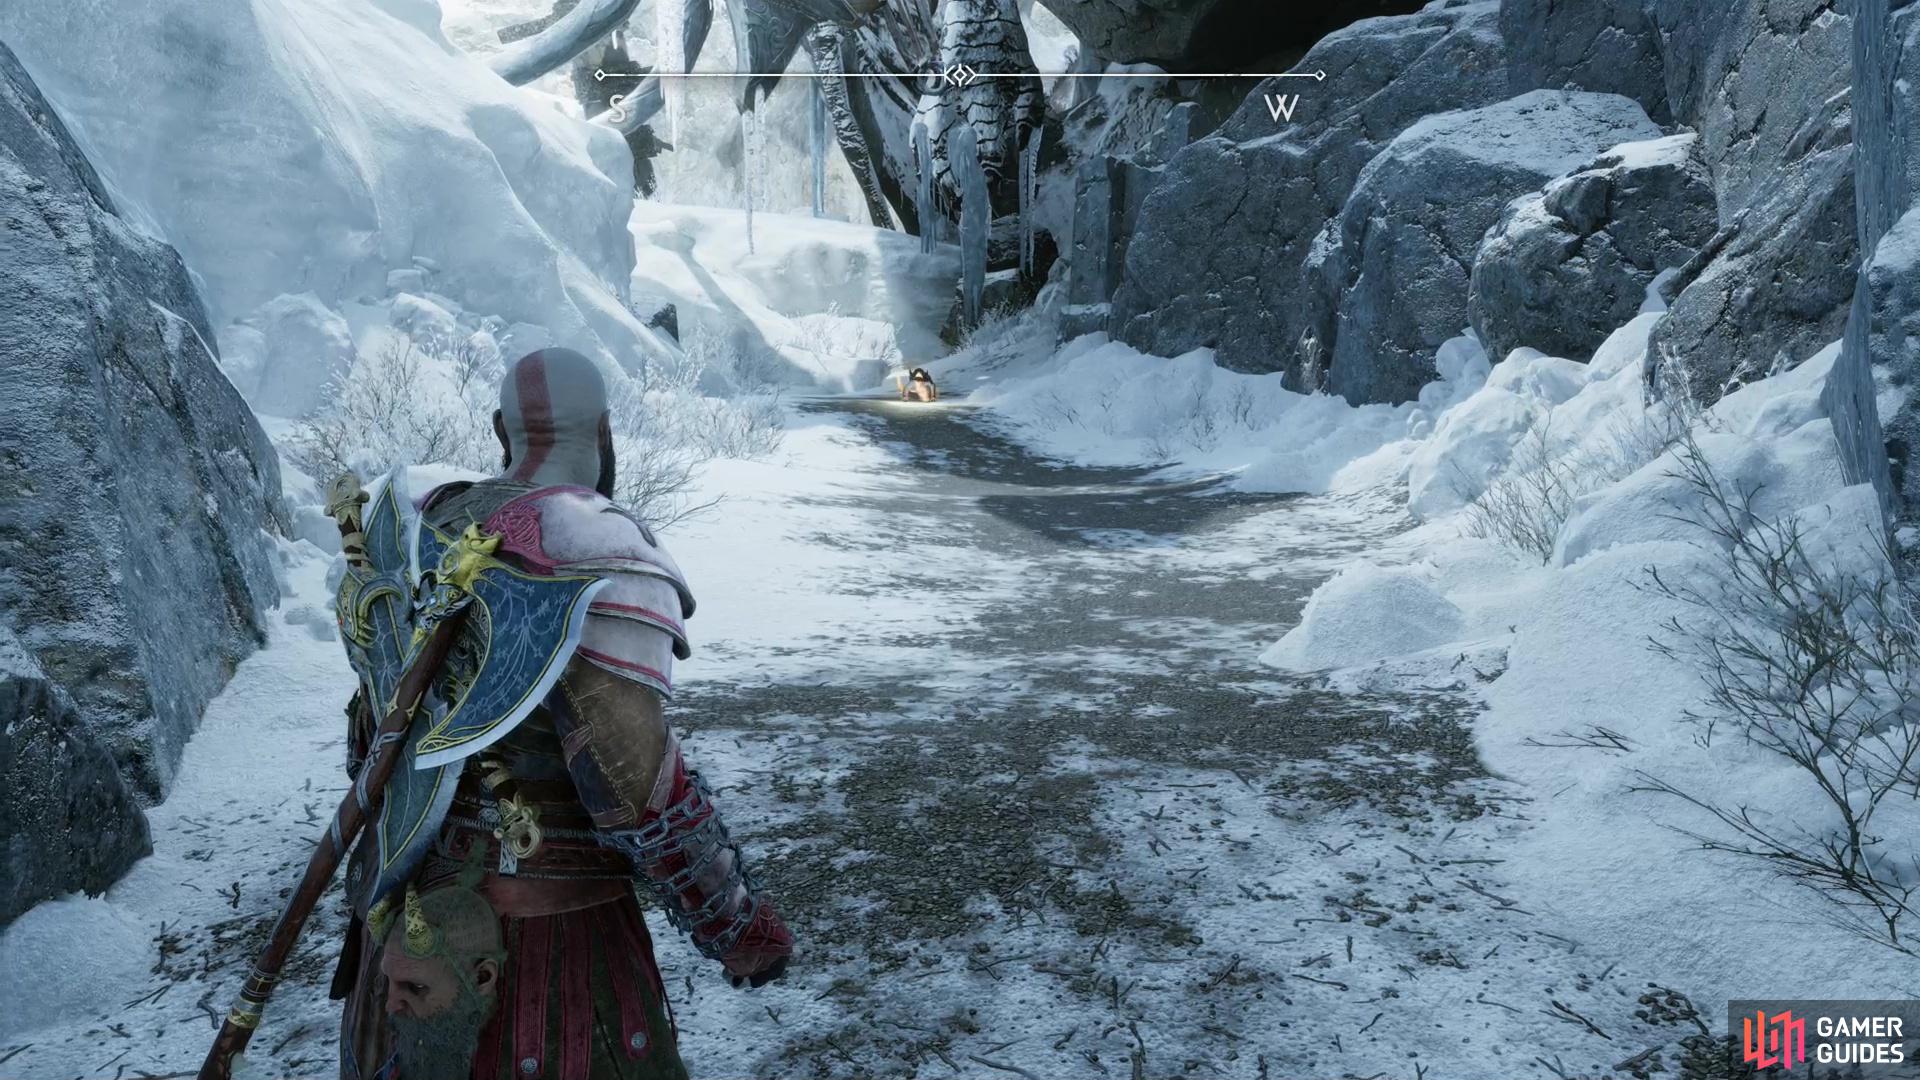
Northwest of the Raider Fort area you’ll find a chunk of ice that can be destroyed with the Draupnir Spear. If you don’t possess this, you’ll have to return after completing Forging Destiny.
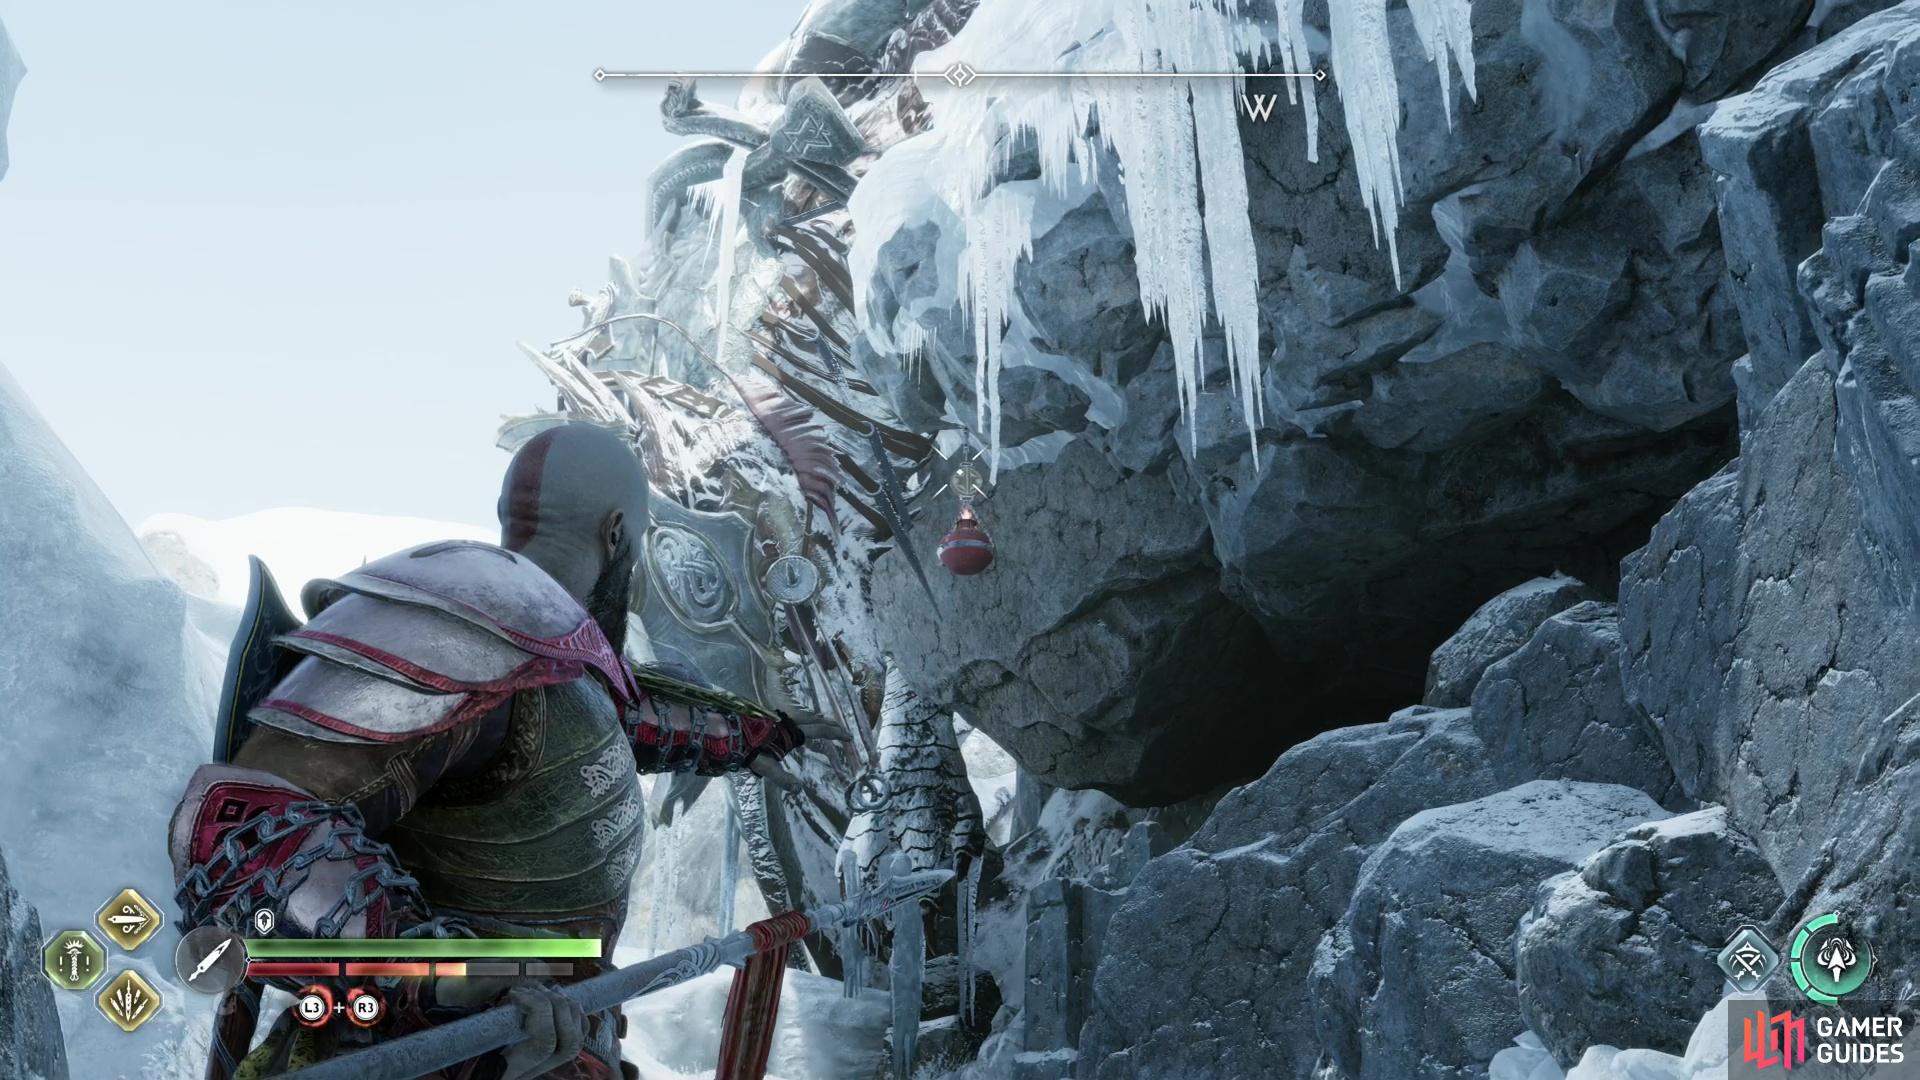
Destroy the ice chunk, climb up the ledge beyond it, then follow the linear path ahead to find the Loot Lizard standing right in front of you. You can’t flank this one, but if you look up you’ll find a fire pot hanging above it. Strike the target with the Draupnir Spear or Leviathan Axe to drop the fire pot on the hapless reptile, then loot it.
(1 of 3) You can find a Loot Lizard northeast of Tyr’s temple.
Loot Lizard Northeast of Tyr’s Temple
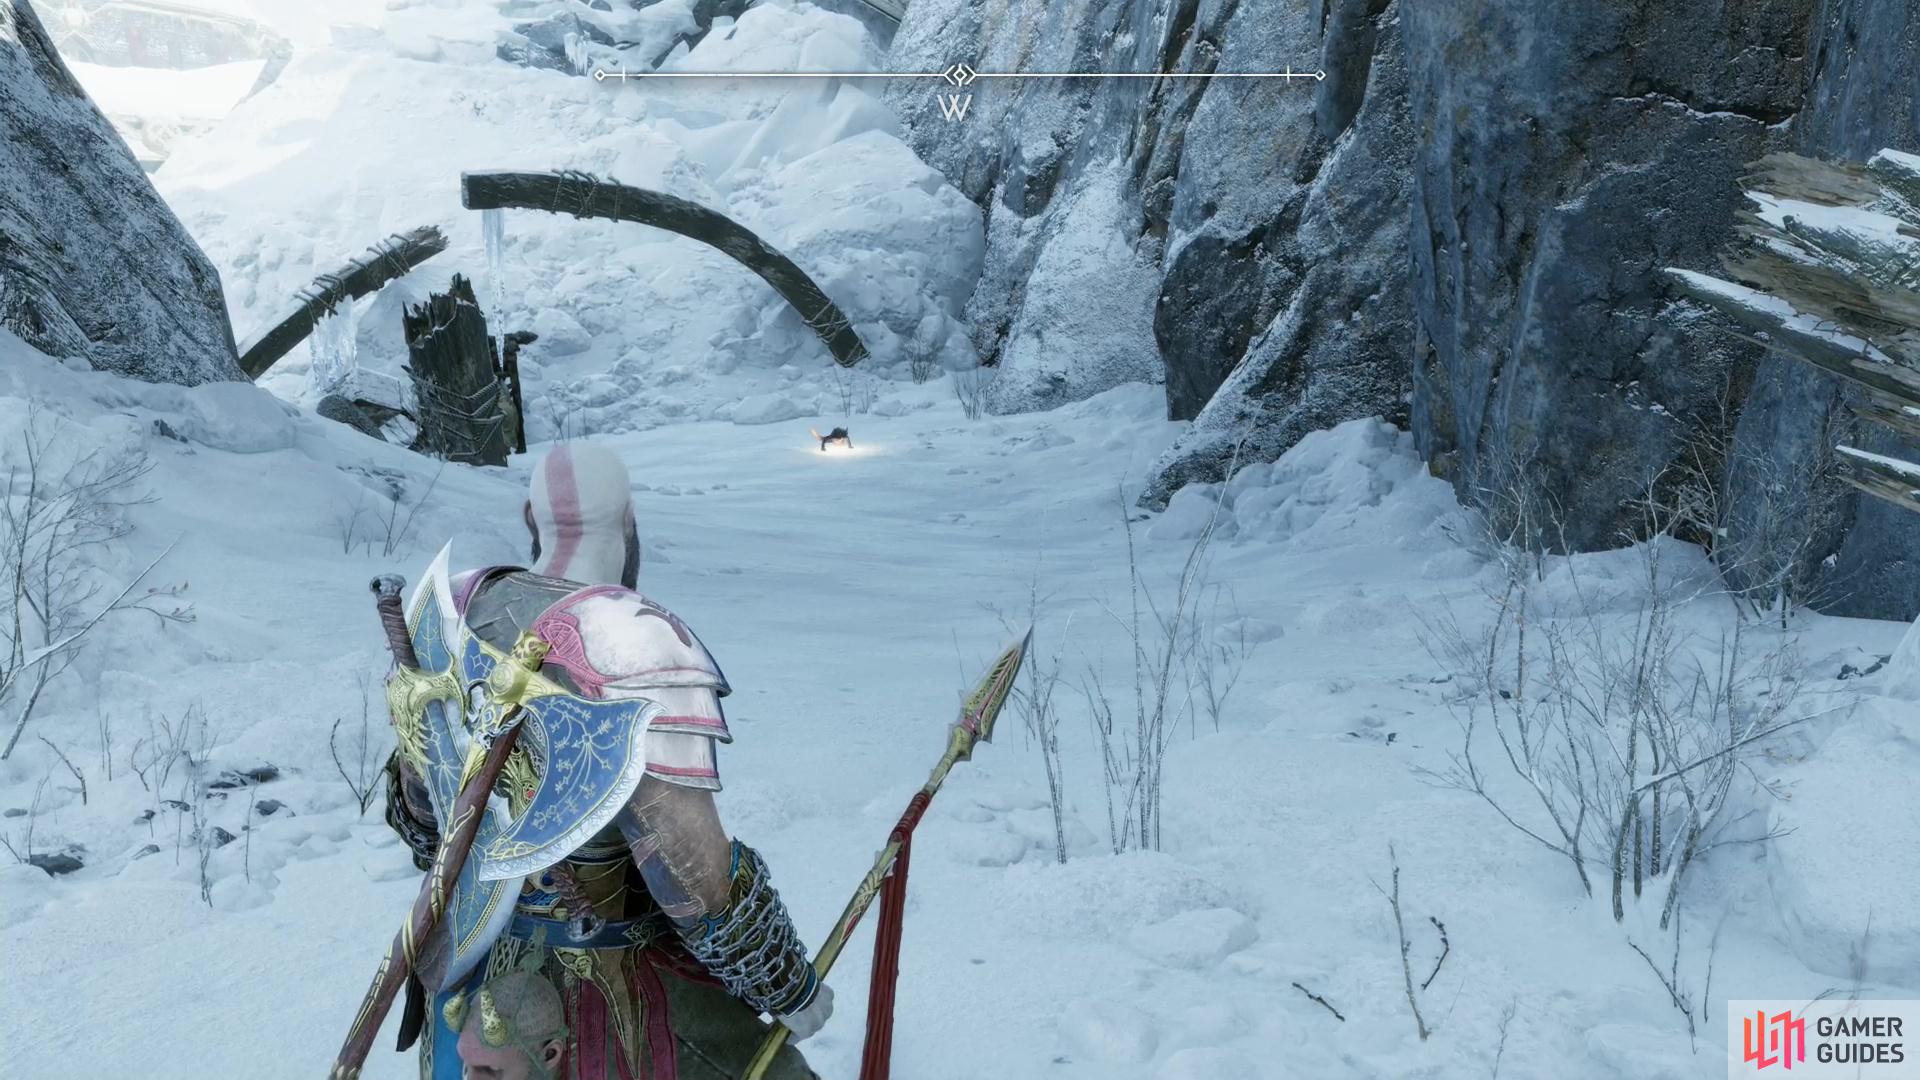
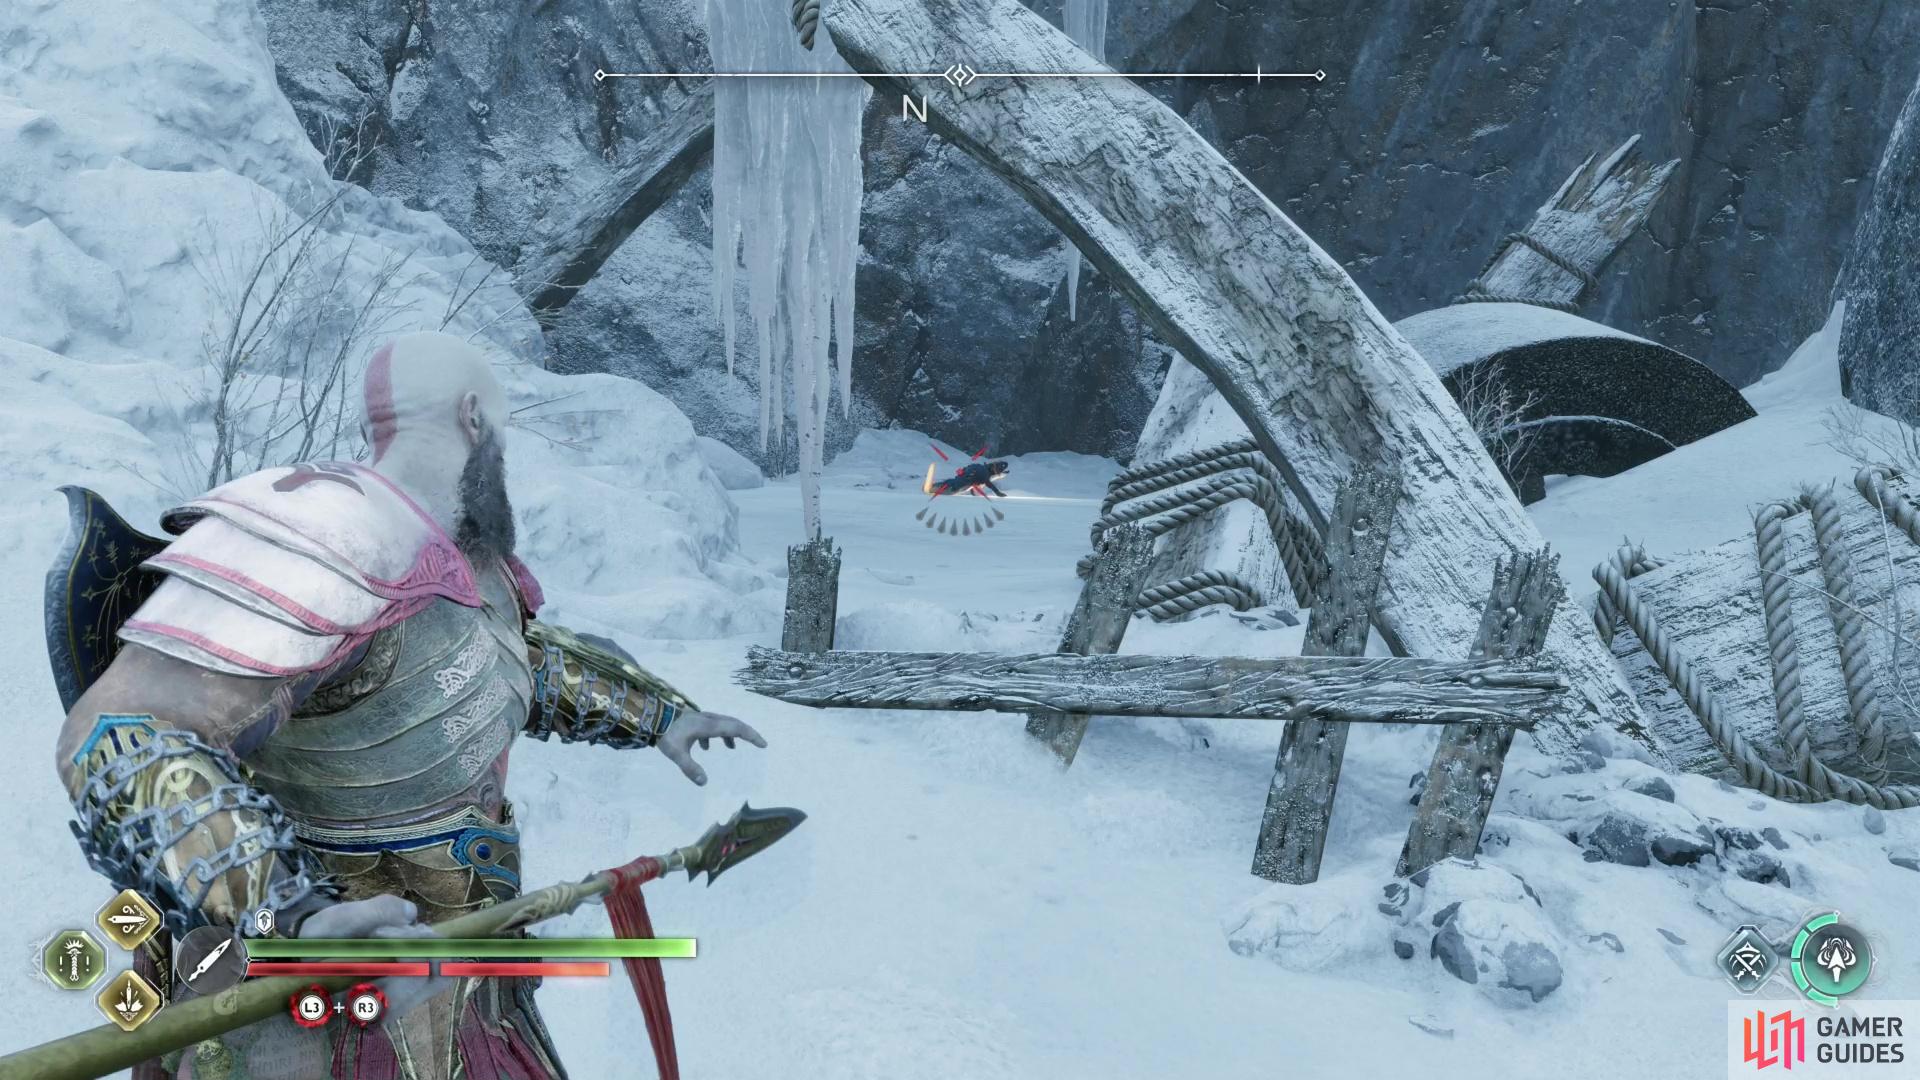
Northeast of the Tyr’s Temple - just north of the lift that’ll take you up to the bridge leading to Tyr’s Temple - you’ll find an island of rock on the edge of the Lake of Nine. From this island, make your way northeast until you find a ledge you can vault which will lead to this area’s Draugr Hole. From this ledge turn west, northwest and pass under an arch to find this Loot Lizard near some rubble. Walk up to the Loot Lizard and ignore it when it burrows. Instead, turn left (south) from the Loot Lizard to find a Soundstone. Hit it with a Sonic Arrow to destroy it, then work your way around to the southern side of where this Soundstone was. The Soundstone previously blocked a way to flank the Loot Lizard, but now that it has been destroyed you should be able to kill the Loot Lizard from the south.
(1 of 3) Use the Draunpir Spear to destroy some ice,
Where to Find All Legendary Chests in the Lake of Nine
Legendary Chest - Lion’s Roar Sauroter
Along the western edge of the Lake of Nine (opposite the side of Tyr’s Temple that doesn’t have the bridge) you’ll find a realm tower. This is southwest of the Raider Fort and just near the end of the “Hoddmimi’s Holt” text on the map. Along the southern end of the realm tower you’ll find a chunk of ice that can only be destroyed by the Draunpir Spear. Be careful before you break it, however, as you may find more than you bargained for…
Once the ice is broken, a Frost Phantom will spawn and attack. Attack its core to stagger it, and when it’s down, seek out several pillars and destroy them with ranged attacks. Each pillar will remove a segment of the Frost Phantom’s life bar - the only tricky pillar is to the south, as it’s obscured by a rock. Destroy all four pillars (perhaps requiring you to stun the Frost Phantom several times, depending on how quickly you can destroy its sustaining pillars) then finish it off. When the magical anomaly is defeated, loot the Legendary Chest it guarded to obtain the Lion’s Roar Sauroter.
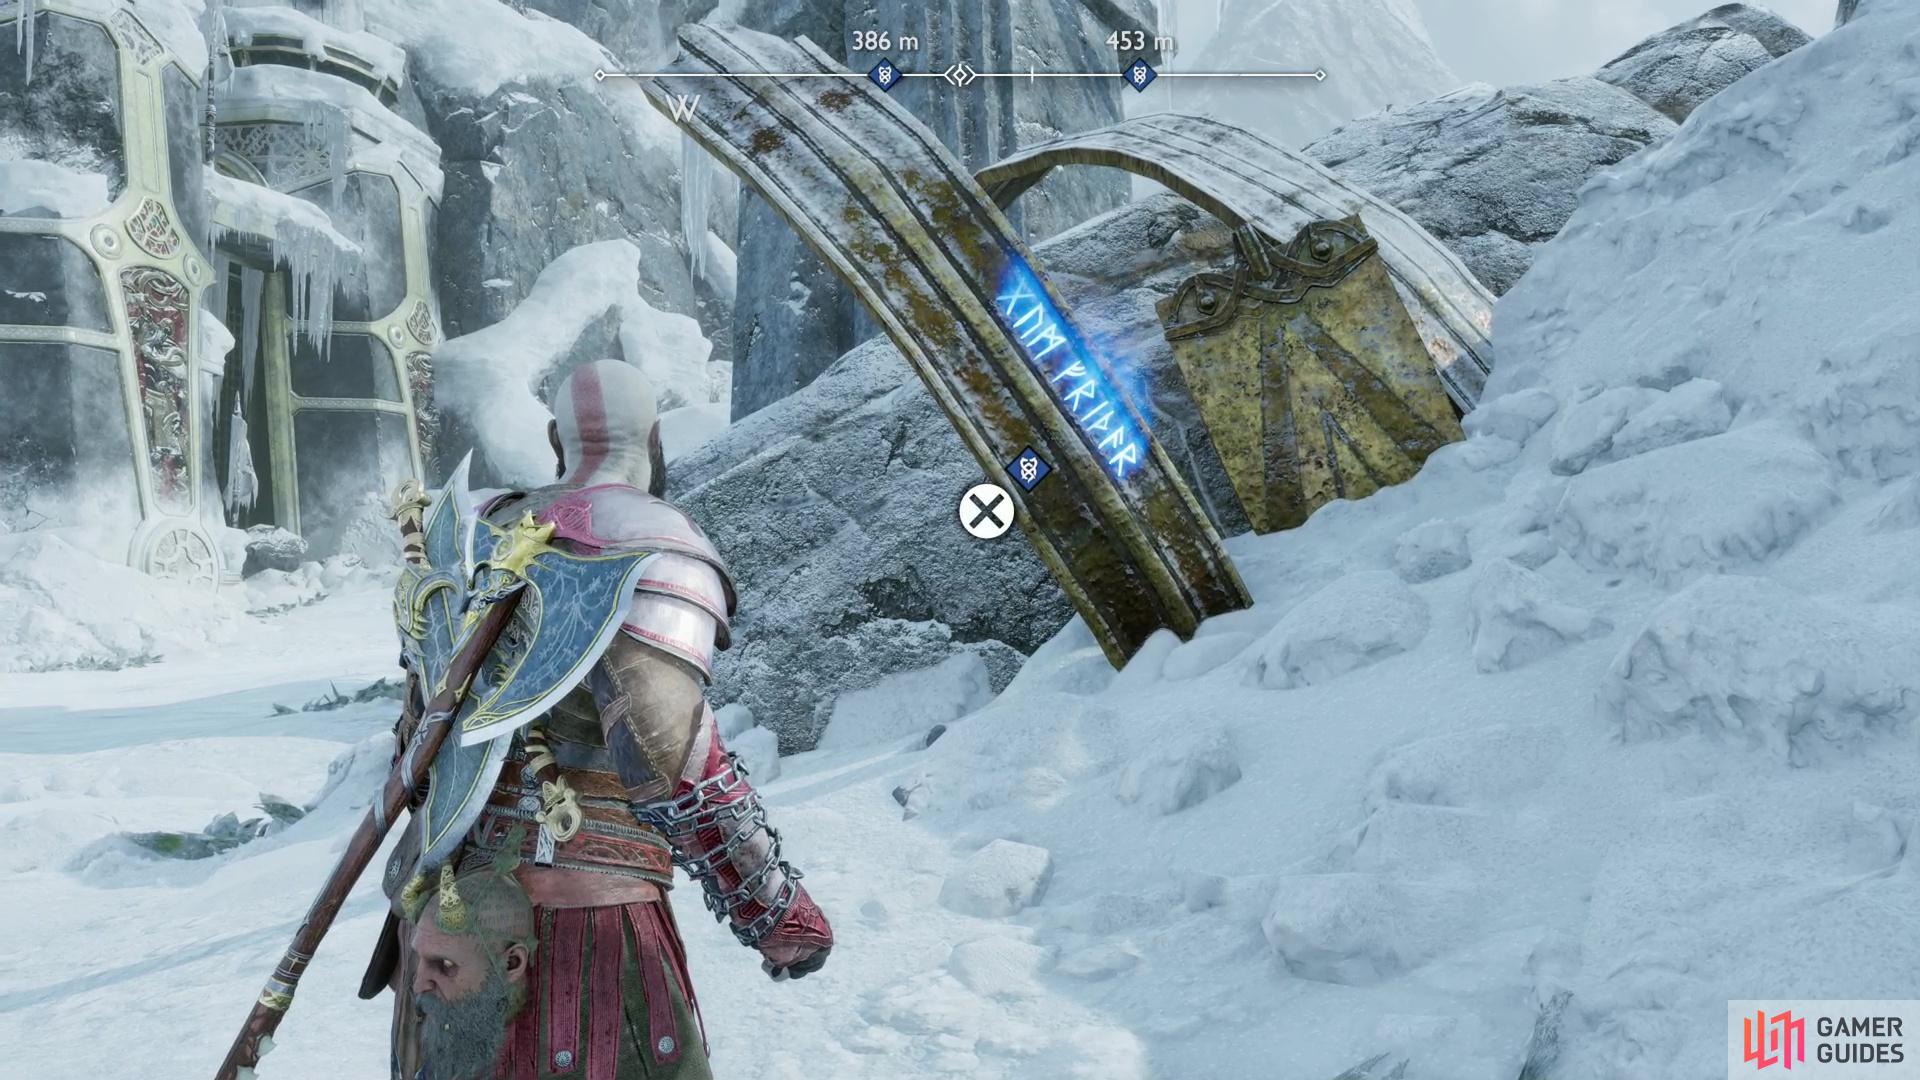
(1 of 2) Search along the rubble near the Lake of Nine Mystic Gateway to find a scrap of Tyr’s statue, upon which is scribe the Rune Read - Tyr’s Left Bracer.
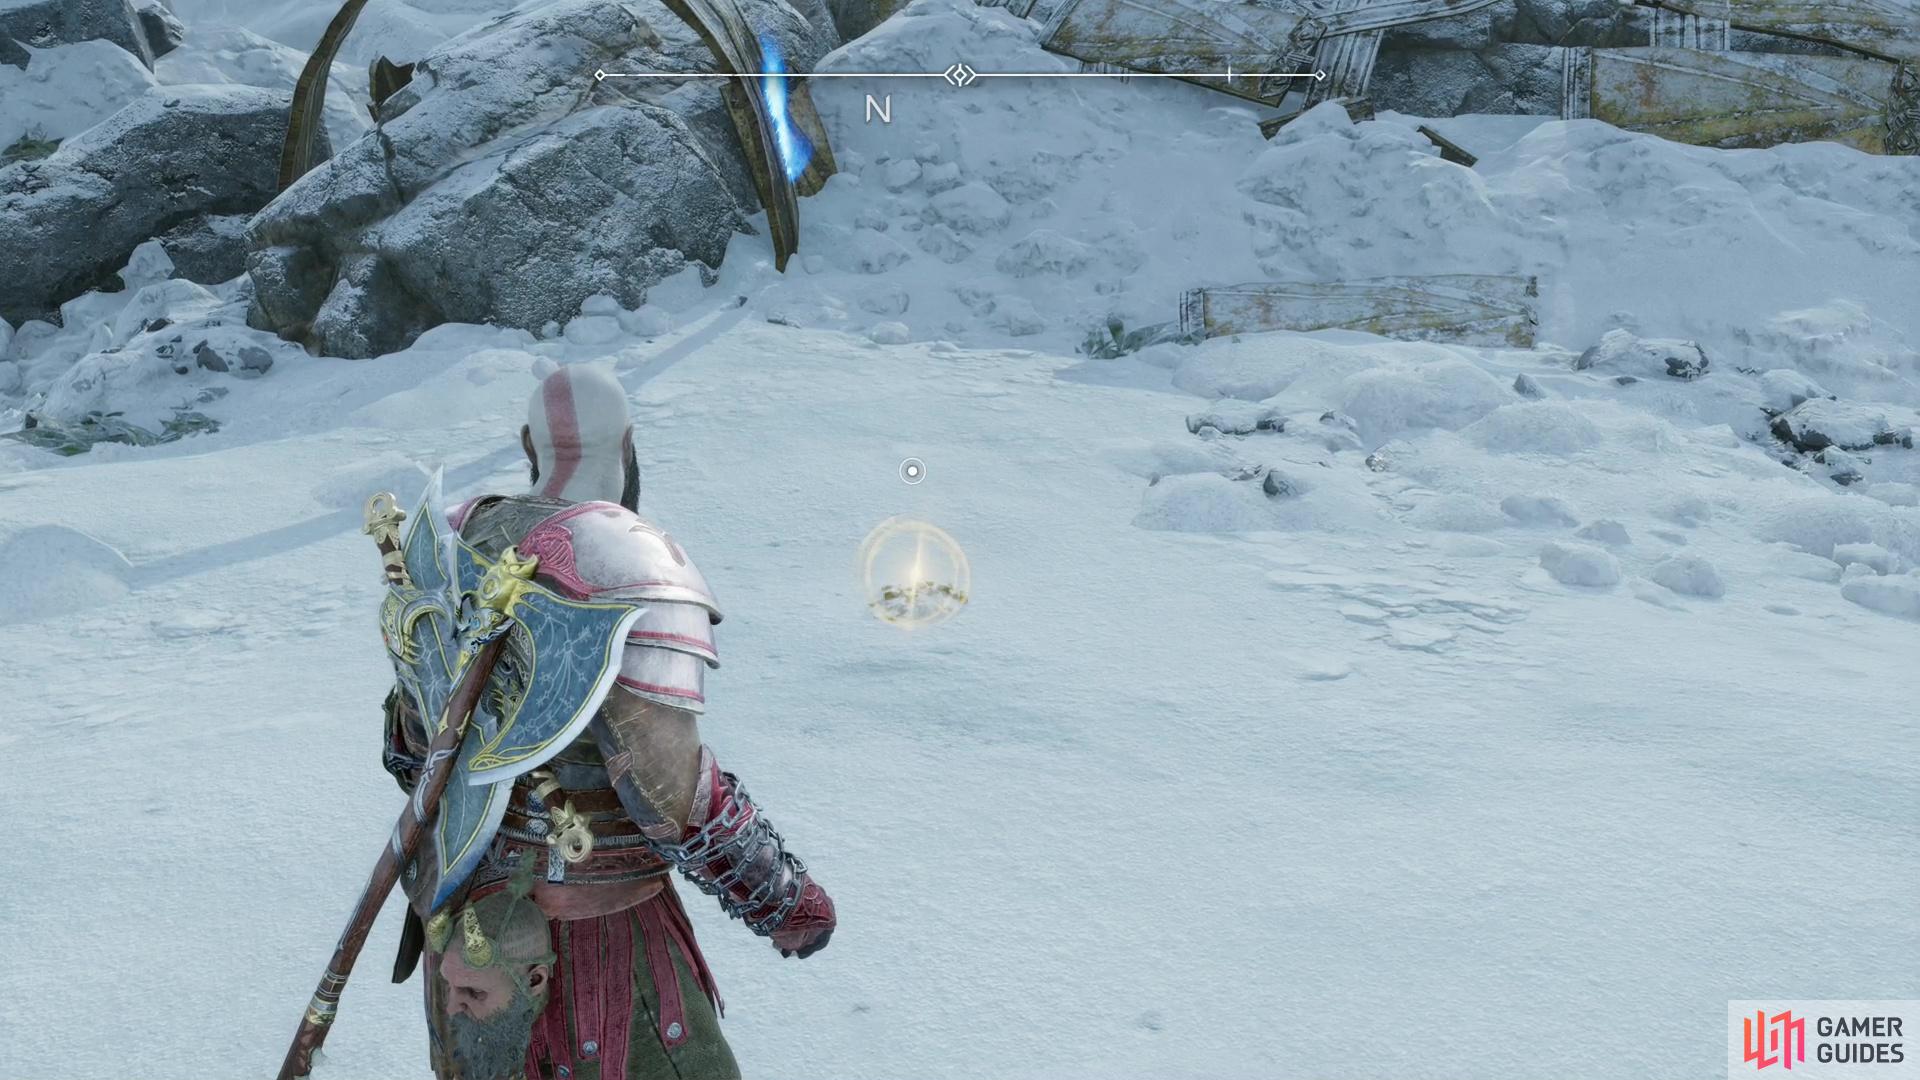
Search along the rubble near the Lake of Nine Mystic Gateway to find a scrap of Tyr’s statue, upon which is scribe the Rune Read - Tyr’s Left Bracer. (left), You can also find the Gauntlets of Guiding Light buried in the snow nearby. (right)
Where to Find All Lore in the Lake of Nine
Rune Read - Tyr’s Left Bracer
From the Lake of Nine Mystic Gateway, turn southeast and follow the edge of the rocks, ice and rubble until you see some golden wraps among the debris to the north. Search these bands to find the Rune Read - Tyr’s Left Bracer. Reading these runes should start the favor Guiding Light, which tasks you with finding bits of Tyr’s statue scattered throughout Midgard. All of these statue fragments have runes on them, and each one of these runes counts as a separate Lore collectible.
After reading the runes, search the ground south of the statue remnants to find a “buried treasure” spot you can scavenge to find the Gauntlets of Guiding Light. Despite appearing exactly like a Buried Treasure collectible, this doesn’t count as such. In fact, the Rune Read - Tyr’s Left Bracer counts as both a Lore collectible and a Guiding Light collectible.
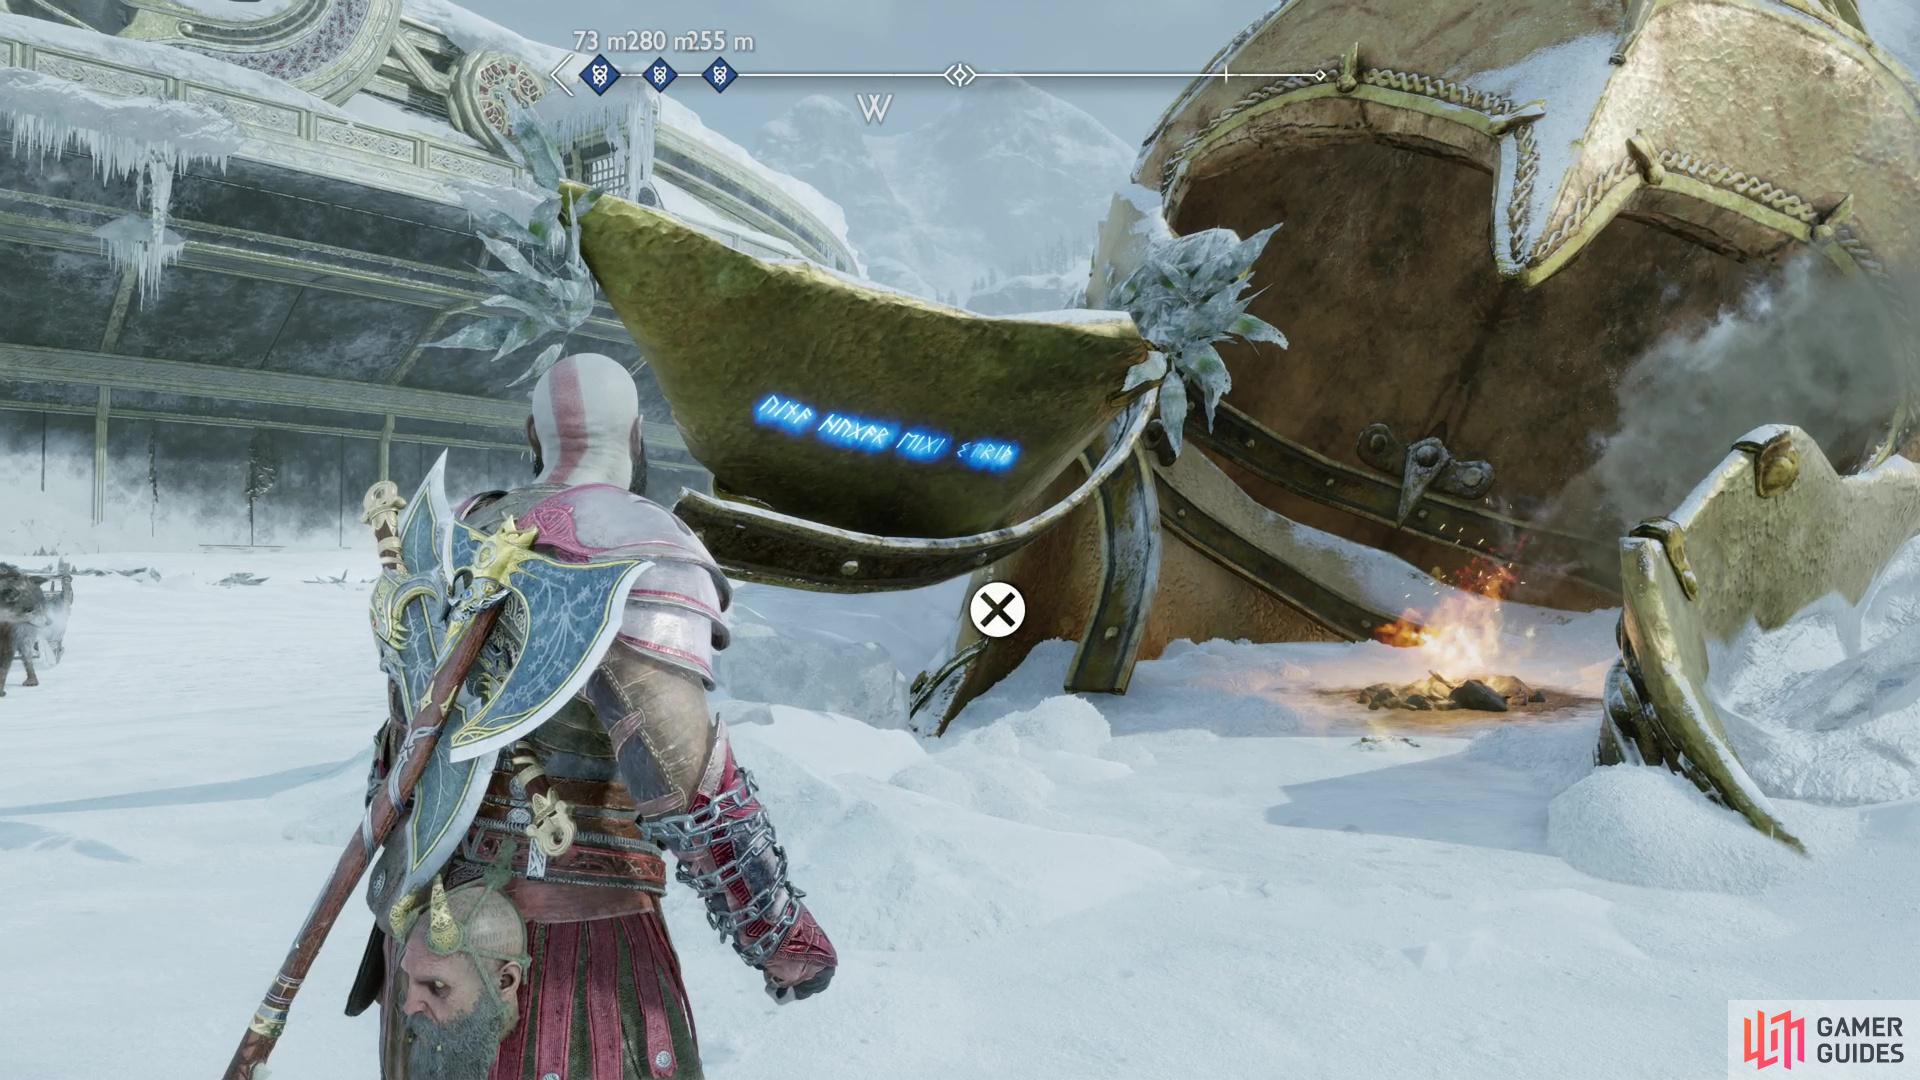
(1 of 2) Search the interior of the helmet to find the Rune Read - Tyr’s Helmet,
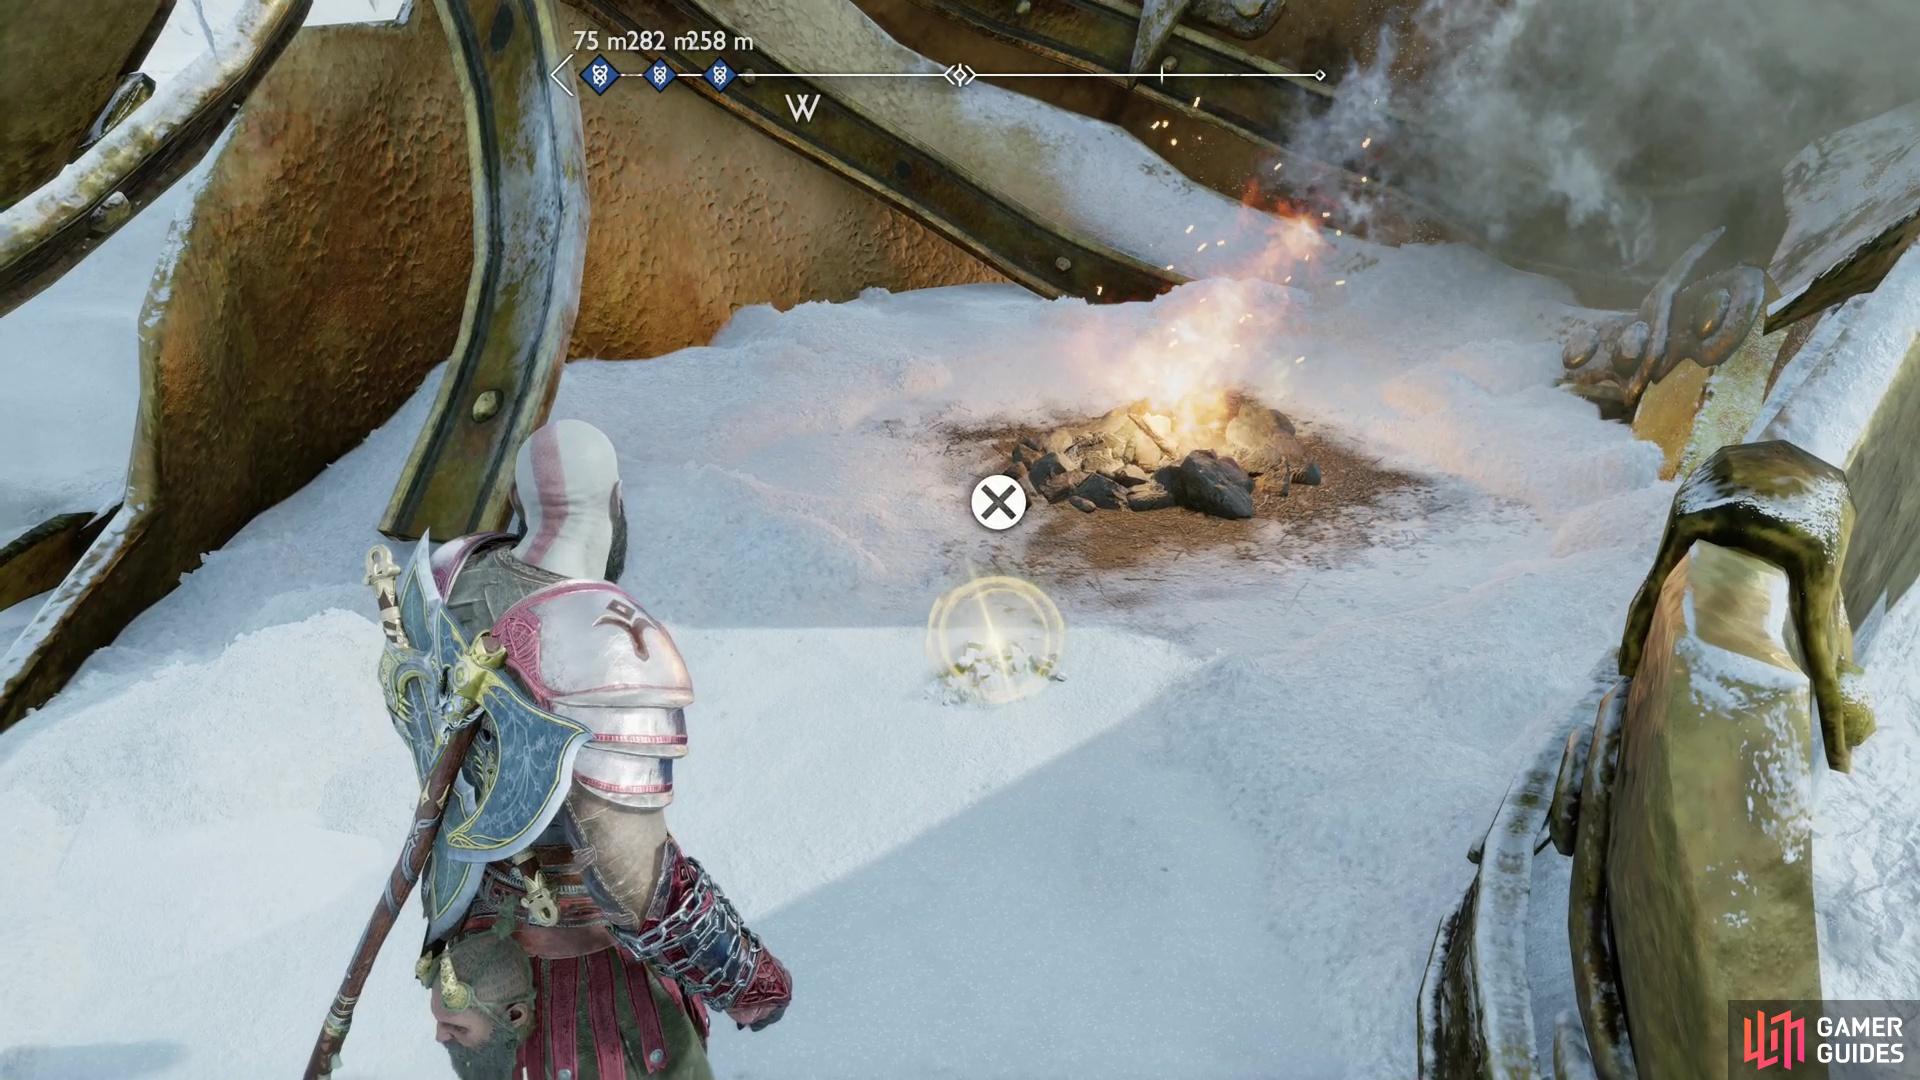
Search the interior of the helmet to find the Rune Read - Tyr’s Helmet, (left), then dig up the Breastplate of Guiding Light. (right)
Rune Read - Tyr’s Helmet
Northeast of the Tyr’s Temple, just north of the Raider Stronghold, you’ll find a massive gold helmet on the surface of the lake, inside of which a fire burns. Head into the helmet and search the interior of the cheek guard to find the Rune Read - Tyr’s Helmet. Reading these runes should start the favor Guiding Light, which tasks you with finding bits of Tyr’s statue scattered throughout Midgard. All of these statue fragments have runes on them, and each one of these runes counts as a separate Lore collectible.
After reading the runes, note that you can search the ground near the campfire to find the Breastplate of Guiding Light. Despite appearing exactly like a Buried Treasure collectible, this doesn’t count as such. In fact, the Rune Read - Tyr’s Helmet counts as both a Lore collectible and a Guiding Light collectible.
(1 of 2) Use the Draupnir Spear to clear another hunk of ice,
Use the Draupnir Spear to clear another hunk of ice, (left), beyond which you’ll find the Mystical Heirloom and the Scroll - Receipt of Purchase near a dead dwarf. (right)
Scroll - Receipt of Purchase
Search the ice southwest of Tyr’s Temple to find a section you can destroy with the Draupnir Spear. Do so, climb a ledge, then turn west to find the corpse of a dwarf, near which is the Scroll - Receipt of Purchase, which counts as a Lore collectible. You can also score the Mystical Heirloom, which is required to hunt down and kill several Stone Trolls. See the linked page for more details on this lucrative diversion.
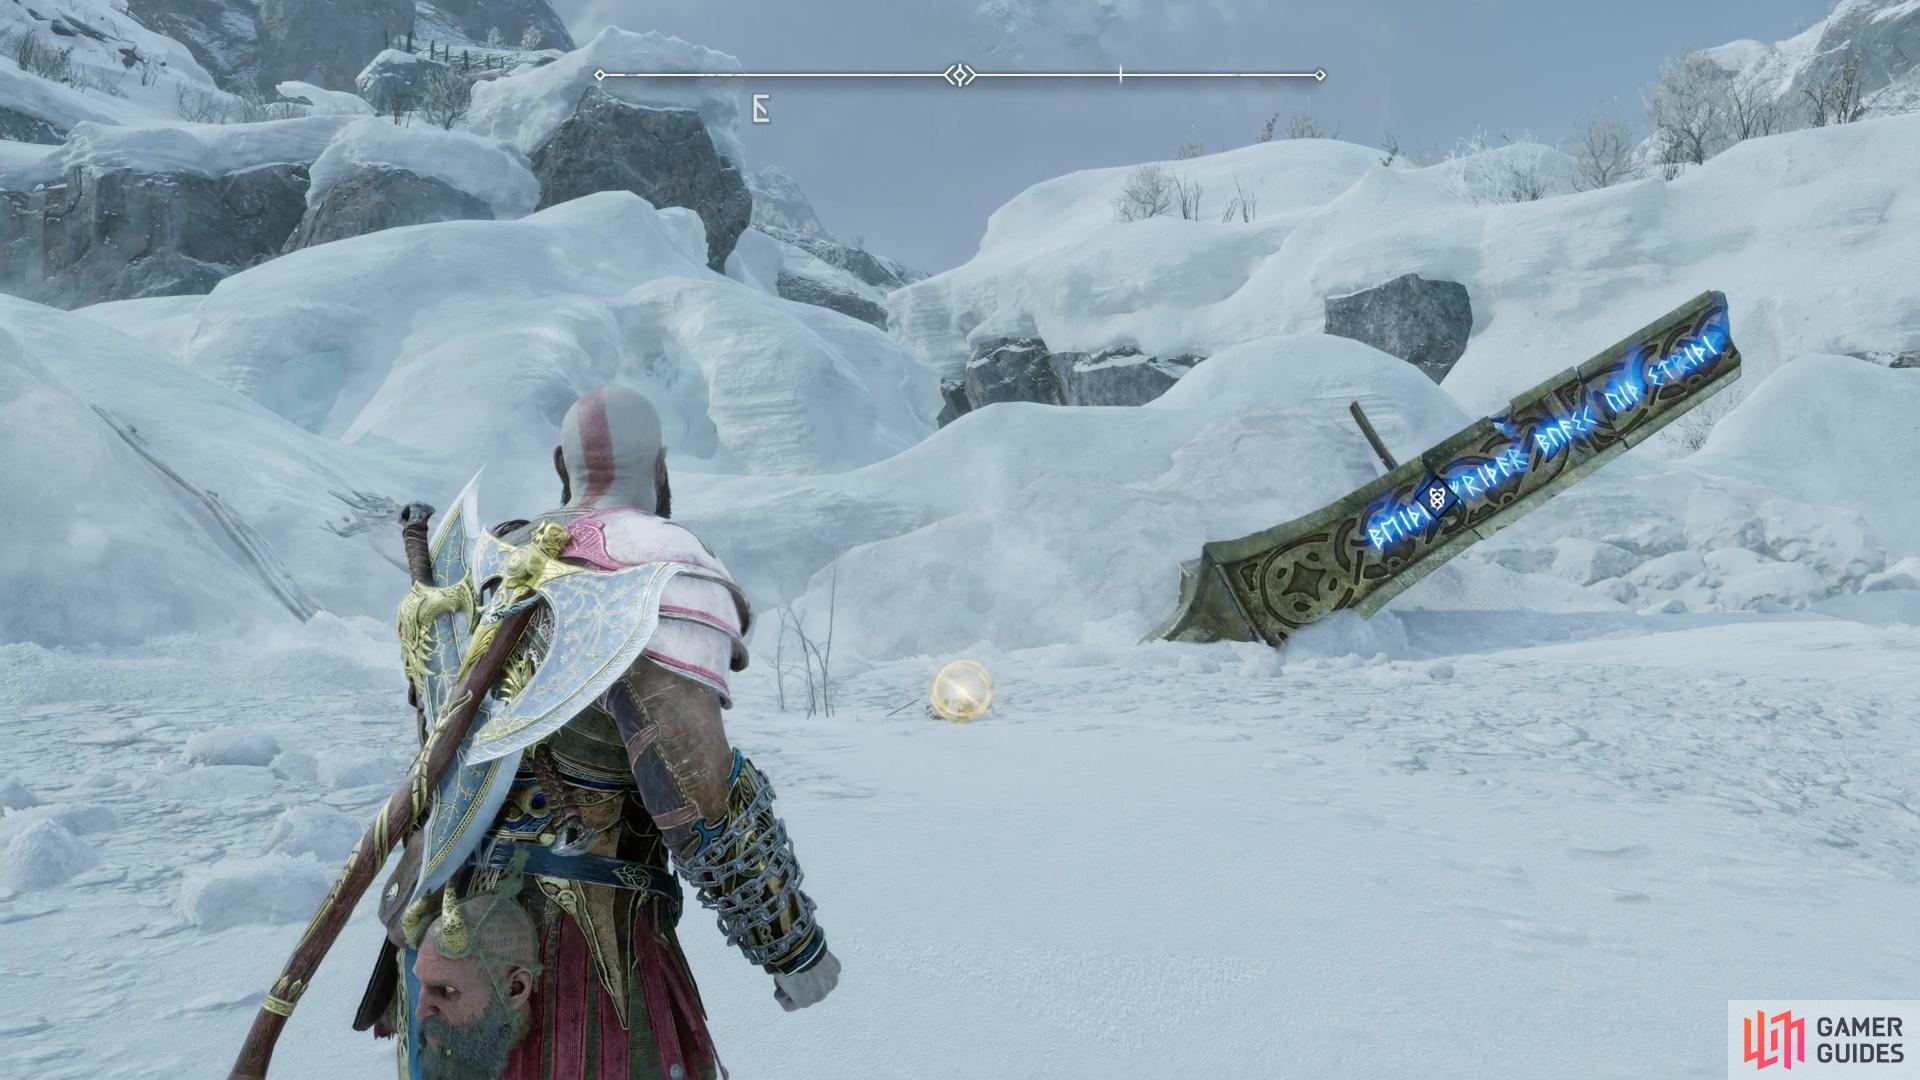
South of the bridge leading to the Tyr’s Temple you’ll find the Rune read - Tyr’s Spear and the “Jotunheim’s Essence” enchantment buried nearby.
Rune Read - Tyr’s Spear
Search south of the bridge that leads to Tyr’s Temple (found on the eastern edge of Tyr’s Temple), just east of where the frozen lightning bolt from Thor and Kratos’s clash can be found. You should fine some ruined remnant’s of Tyr’s statue; examine the glowing blue runes on the ruins to get the Rune Read - Tyr’s Spear. Reading these runes should start the favor Guiding Light, which tasks you with finding bits of Tyr’s statue scattered throughout Midgard. All of these statue fragments have runes on them, and each one of these runes counts as a separate Lore collectible.
After reading the runes, dig up a buried treasure nearby to obtain Jotunheim’s Essence, an amulet enchantment. Despite appearing exactly like a Buried Treasure collectible, this doesn’t count as such. In fact, the Rune Read - Tyr’s Spear counts as both a Lore collectible and a Guiding Light collectible.
(1 of 2) Search the northeastern end of Tyr’s Temple to find an icicle-draped doorway,
Search the northeastern end of Tyr’s Temple to find an icicle-draped doorway, (left), beyond which you can find the Stolen Treasure - Janbiya Artifact. (right)
Where to Find All Artifacts in the Lake of Nine
Stolen Treasures - Janbiya
In the center of the Lake of Nine is Tyr’s Temple, along the eastern edge of which is a bridge. Search the northern end of this bridge to find the Raider Stronghold subregion, which is a useful landmark for this collectible. Follow the edge of the bridge west to reach Tyr’s Temple, where you should find a doorway covered by icicles. Break them, then head inside to find the Stolen Treasure - Janbiya Artifact on the ground.
Search a ledge under the bridge leading to Tyr’s Tower to find the Stolen Treasure - Maya Artifact.
Stolen Treasures - Maya
In the center of the Lake of Nine is Tyr’s Temple, along the eastern edge of which is a bridge. Head under the bridge, then search the western edge of the area under the bridge to find a raised ledge you can climb up, upon which you’ll find the Stolen Treasure - Maya Artifact near a dwarven corpse.
(1 of 2) Find some island ruins along the northeastern edge of the Lake of Nine,
Find some island ruins along the northeastern edge of the Lake of Nine, (left), atop which you’ll find the Stolen Treasure - Kila Artifact. (right)
Stolen Treasures - Kila
Northeast of the Tyr’s Temple you’ll find an island of rock on the edge of the Lake of Nine. An island of rock with stairs leading up it. Ascend the stairs and you’ll find the Stolen Treasure - Kila Artifact on the snow near a corpse. This rock island is just north of the lift that’ll take you up to the bridge that leads to Tyr’s Temple.
South of the Raider Hideout you’ll find some massive gates. On the rightmost side of the right gate you’ll find one of Odin’s Ravens.
Where to Find All Odin’s Ravens in the Lake of Nine
Odin’s Raven #1
Along the northeastern edge of the Lake of Nine you’ll find a stone island (upon which the Stolen Treasures - Kila Artifact can be found). South of this island is the lift that’ll take you up to the bridge that leads to Tyr’s Temple. If you continue northwest between this island and this lift, however, you’ll find yourself at some massive gates, near which is the exit to the Raider Hideout subregion. From the entrance to the Raider Stronghold, look south, southwest to find one of Odin’s Ravens lurking on the rightmost edge of the right massive gate.
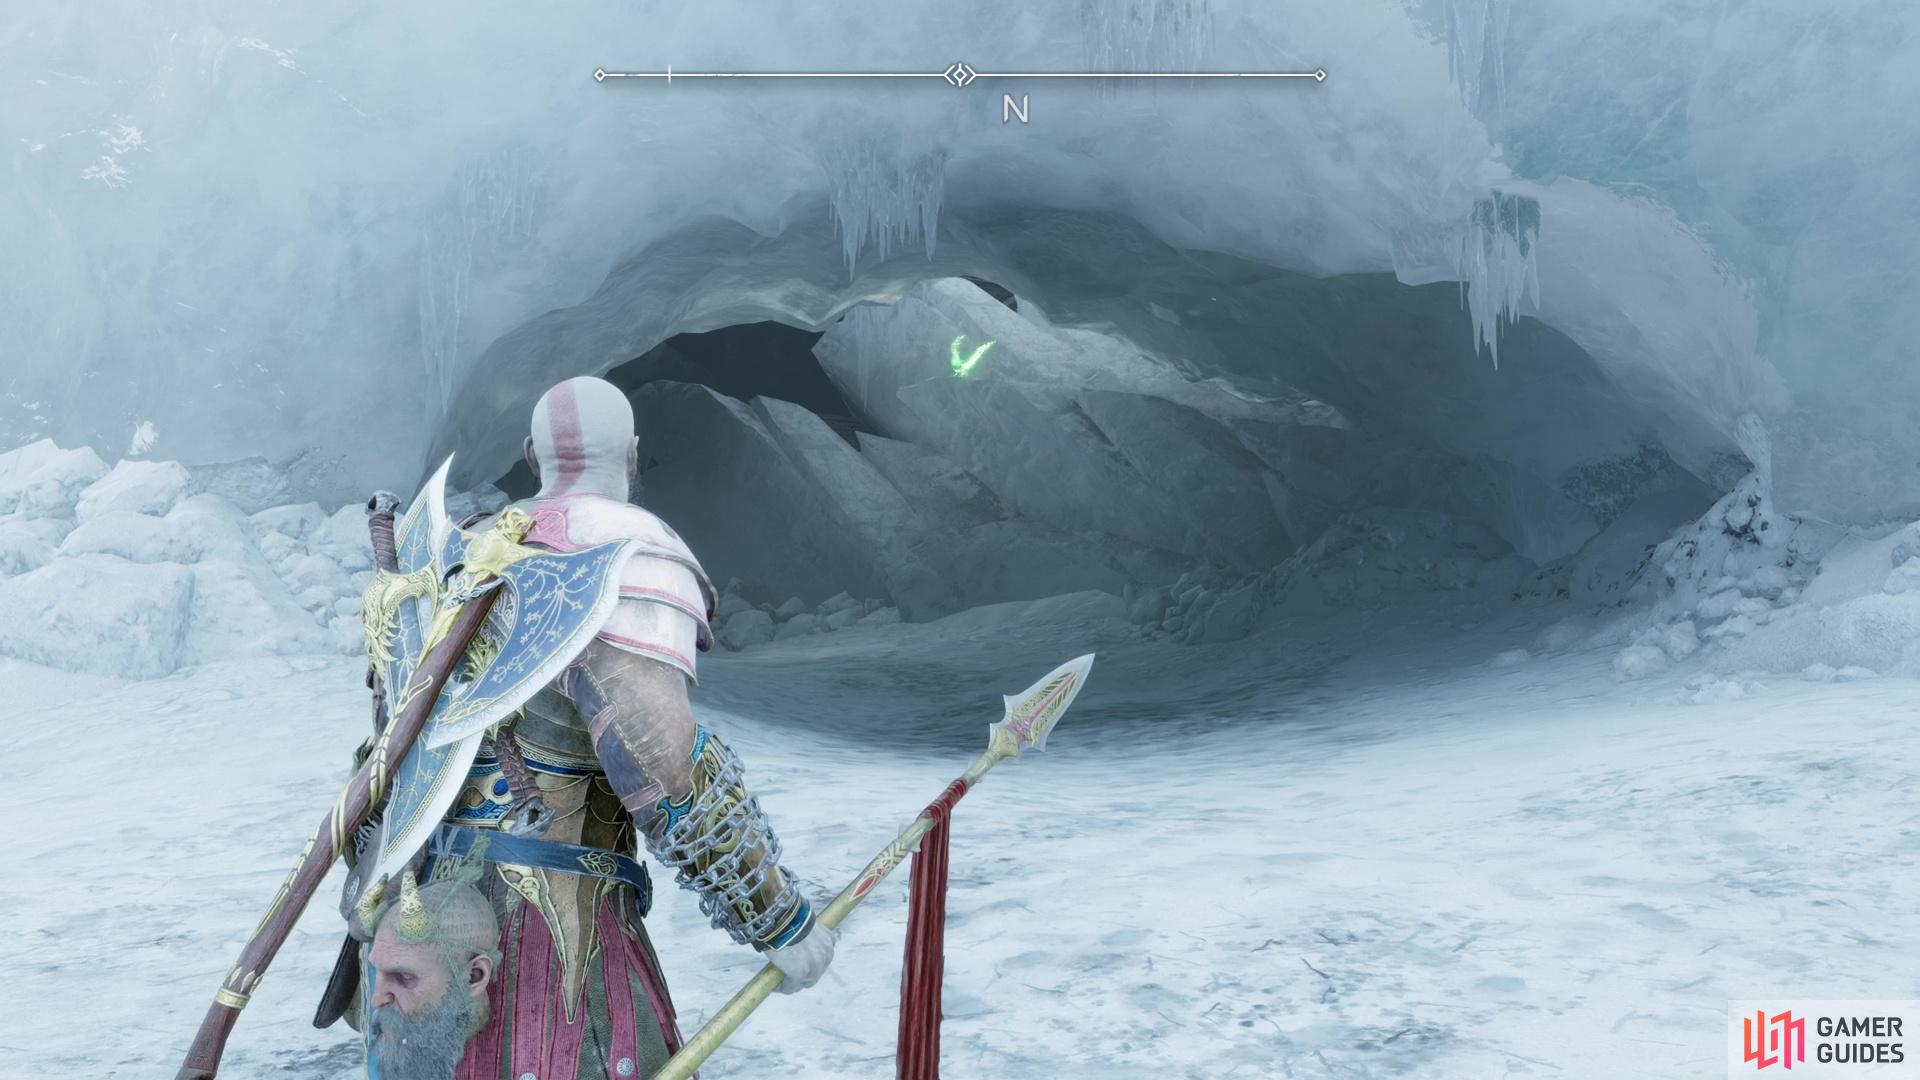
Search inside a cave along the southern edge of Tyr’s Temple to find one of Odin’s Ravens.
Odin’s Raven #2
Southeast of Tyr’s Temple, just east of the Raider Keep subregion, you’ll find a tunnel of ice alongside the temple. Search the eastern exit of this tunnel and you’ll find one of Odin’s Ravens hopping about on an icy ledge.
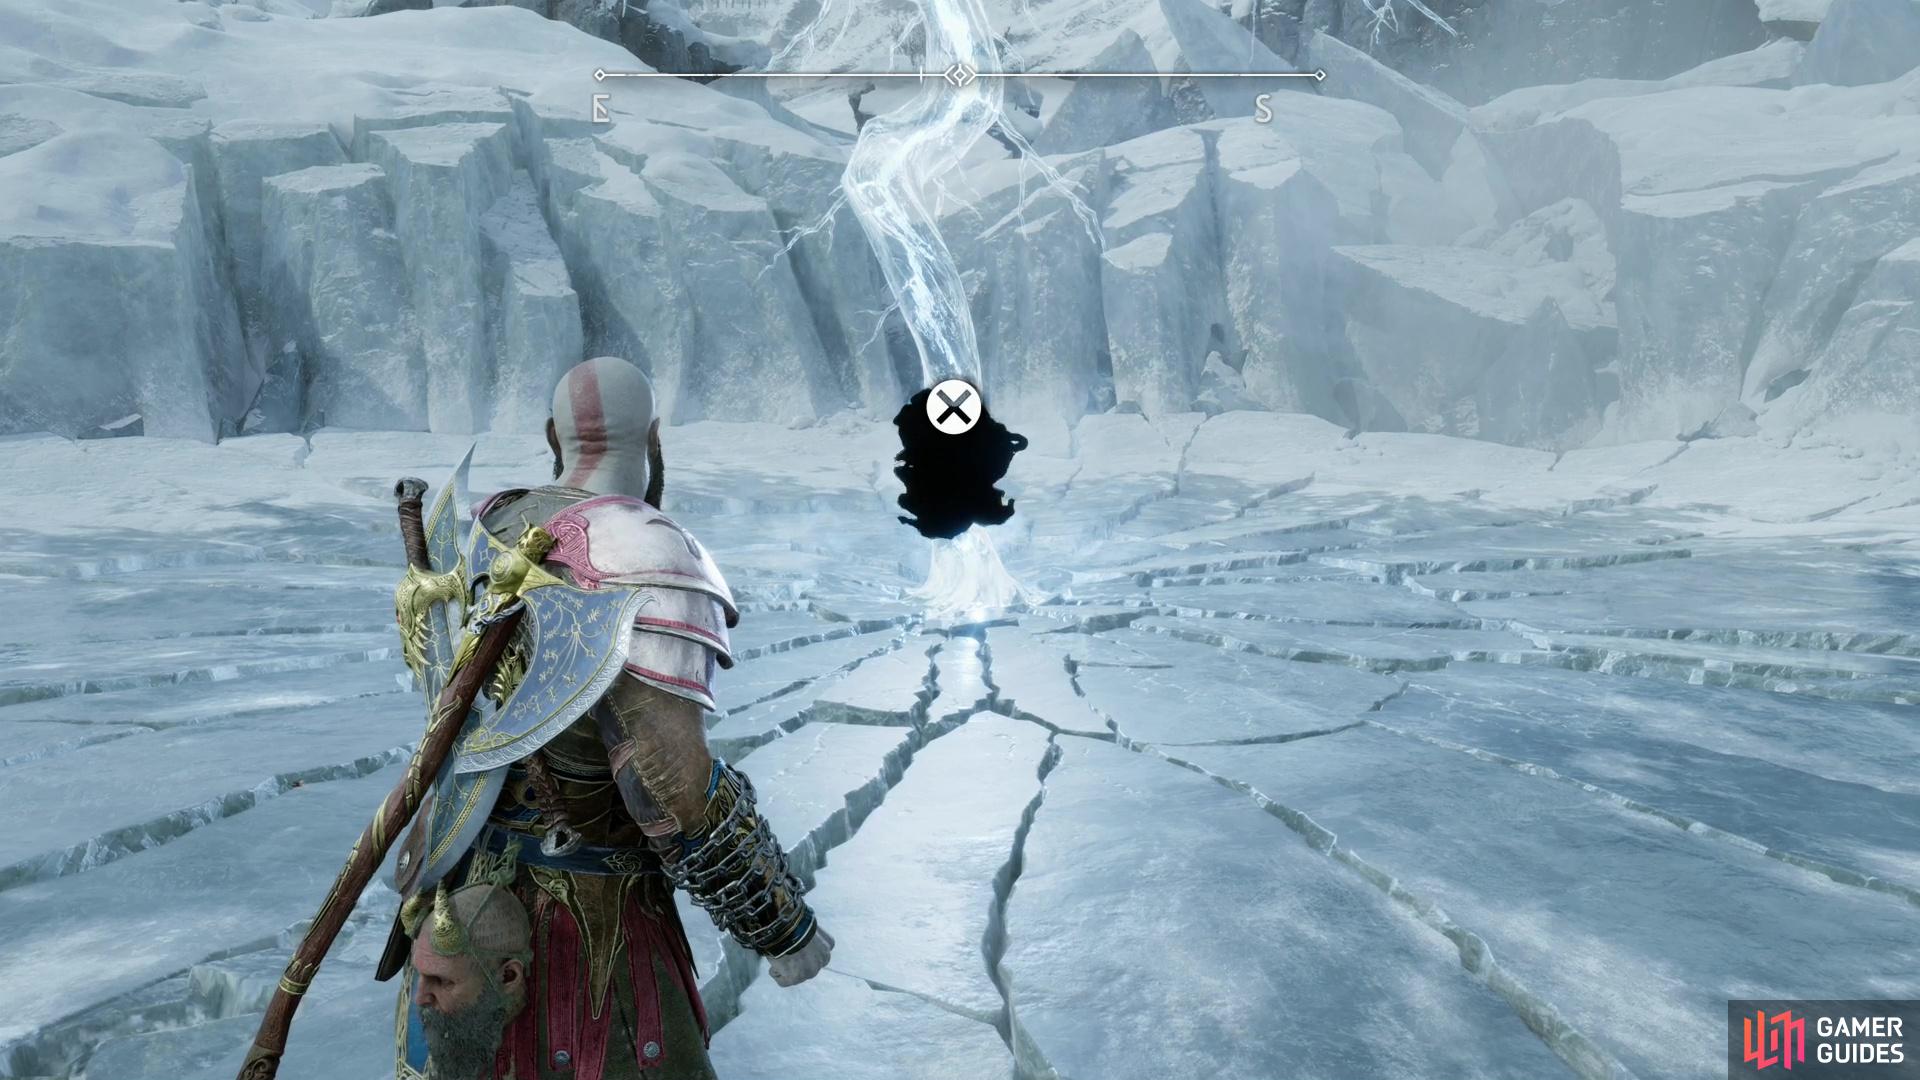
You’ll find this Yggdrasil Rift in front of the frozen lightning bolt created by the clash between Thor and Kratos.
Where to Find All Yggdrasil Rifts in the Lake of Nine
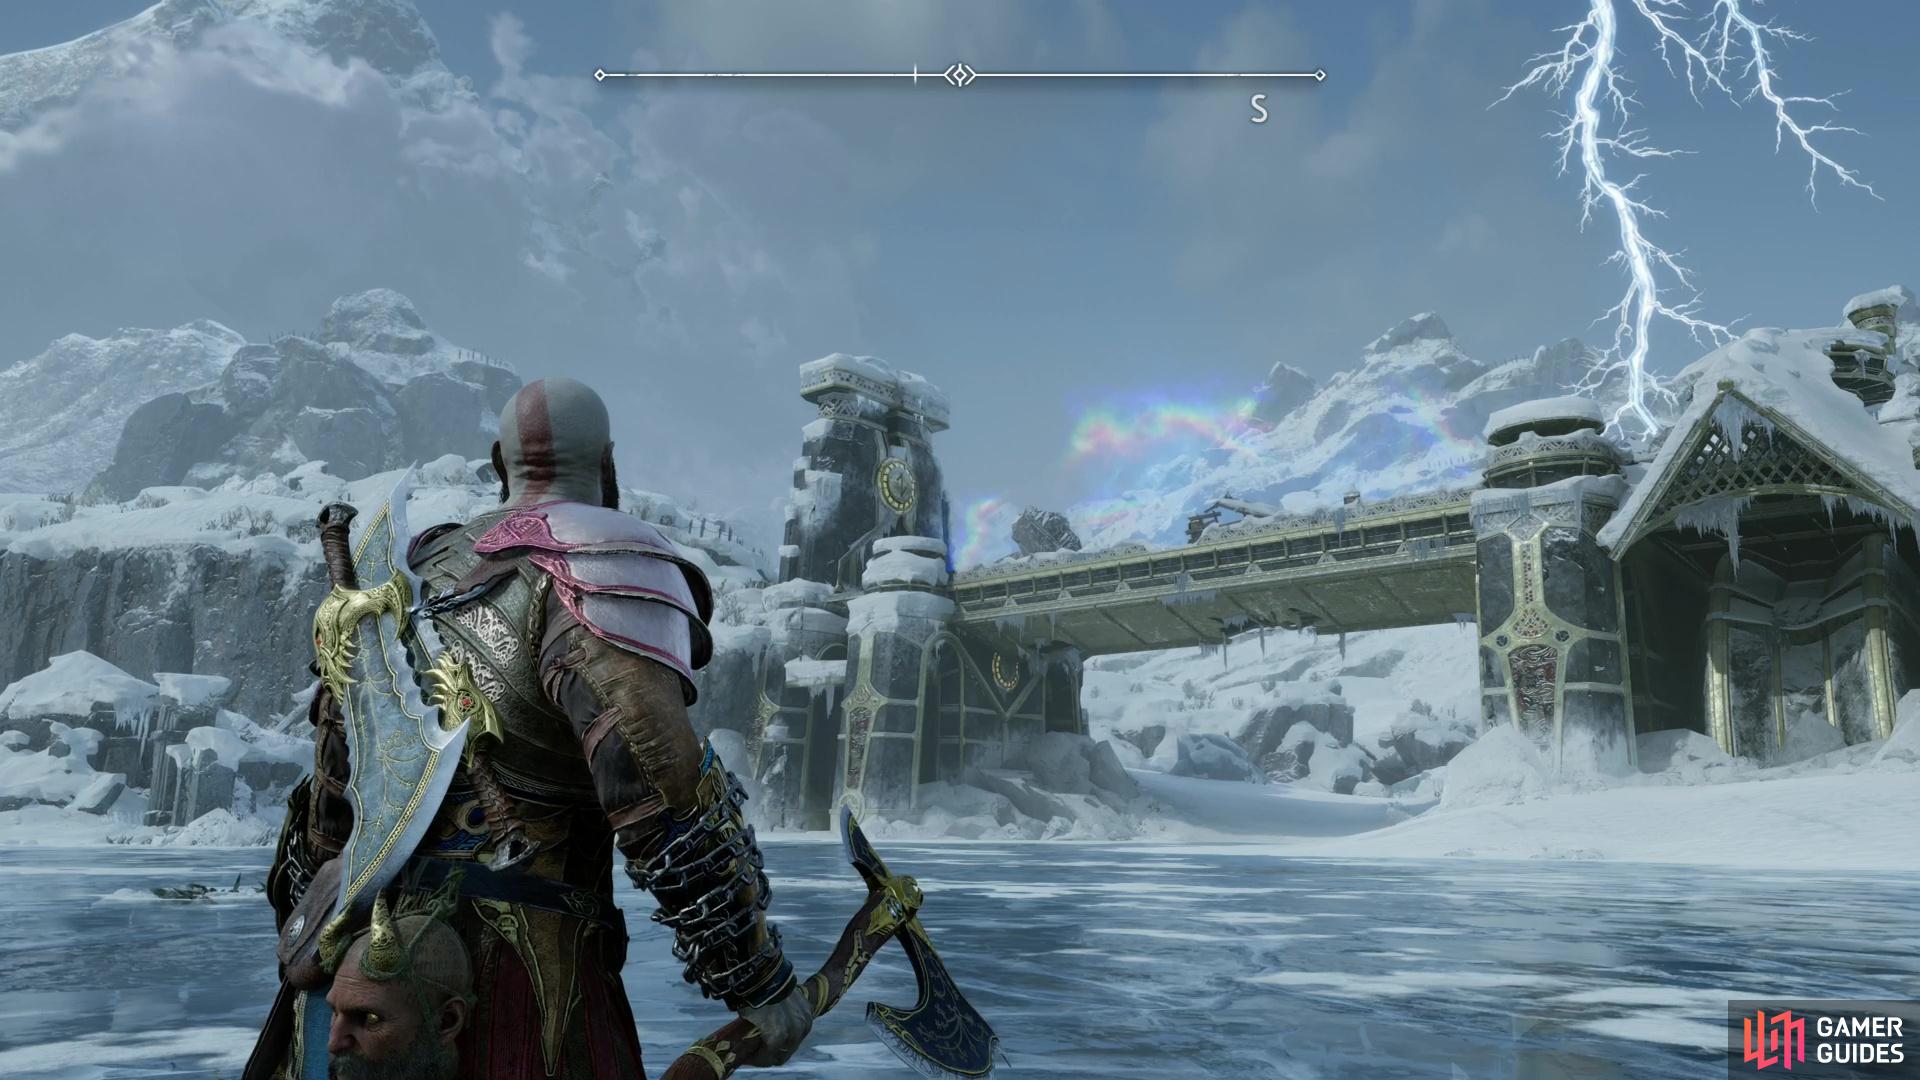
In the center of the Lake of Nine you’ll find Tyr’s Temple, east of which is a bridge. Head to the northeastern edge of the bridge to find a lift and ride it up, then cross the bridge to the west, clearing a Remnant of Asgard along the way (assuming the main quest Beyond Ragnarok is active). Near the entrance to Tyr’s Temple, turn left (south) to find some stairs going down. Descend them and follow the linear path beyond, dropping down some ledges to reach a crater made by Thor and Kratos’s fight earlier in the game - this Yggdrasil Rift is right in front of the frozen thunderbolt. No fights this time, just reach in and claim your prize to clear this collectible.
(1 of 2) Climb a ledge along the northeastern corner of the Lake of Nine to find a Draugr Hole.
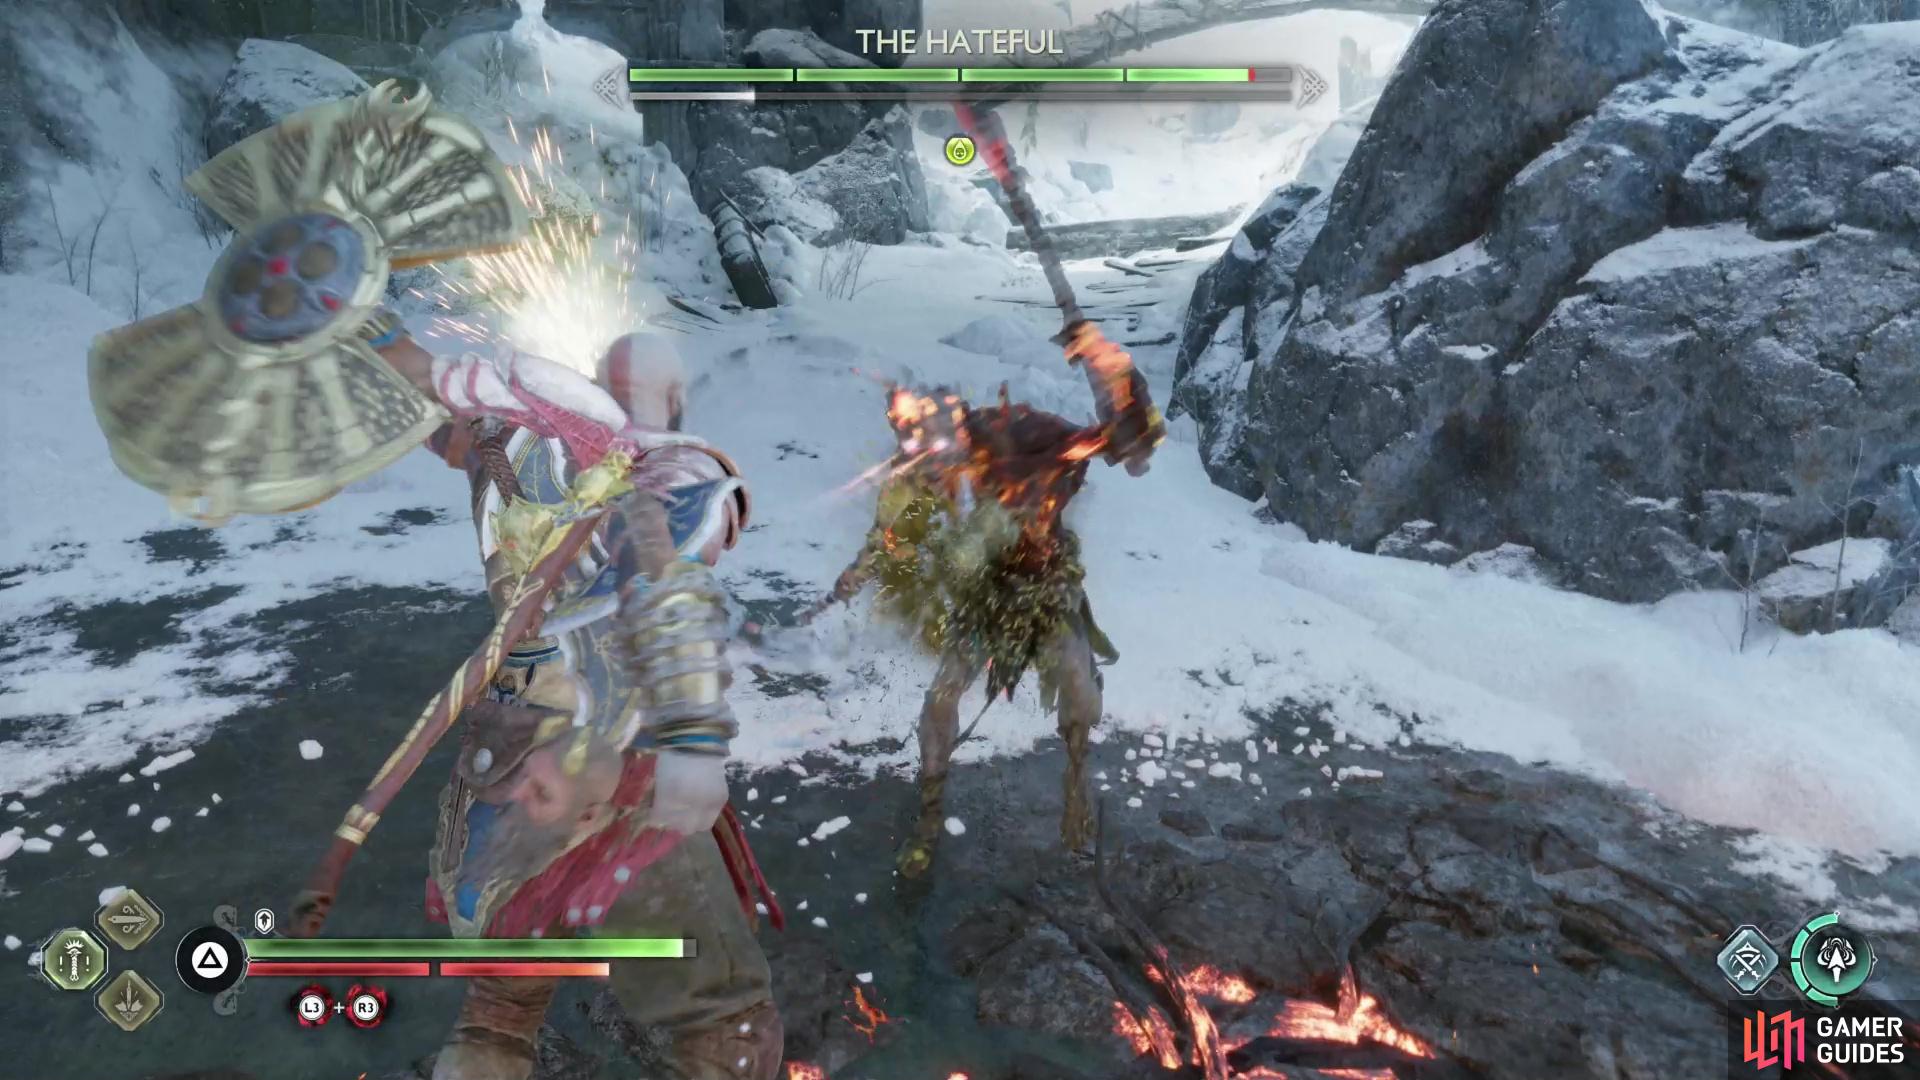
Climb a ledge along the northeastern corner of the Lake of Nine to find a Draugr Hole. (left), Defeat The Hated to close the Draugr Hole. (right)
Where to Find All Dragur Holes in the Lake of Nine
Along the northeastern edge of the Lake of Nine you’ll find a stone island (upon which the Stolen Treasures - Kila Artifact can be found). Make your way to the northern edge of this island and from here continue northeast to find a ledge you can climb, upon which you’ll find this region’s Draugr Hole ahead of you. Approach the hole and The Hated will spawn and attack - you know the drill, put this foe down to clear this objective.
(1 of 2) You can find a Berserker Gravestone on the ice north of Tyr’s Temple,
You can find a Berserker Gravestone on the ice north of Tyr’s Temple, (left), which will summon Fraekni the Zealous. (right)
Where to Find All Berserker Gravestones in the Lake of Nine
Berserker Gravestone - Fraekni the Zealous
Search the frozen lake north of Tyr’s Temple to find a Berserker Gravestone lying out in the open. Before you can activate Berserker Gravestones, you must find the Inert Hilt of Skofnung, which you’ll acquire automatically during the main quest The Word of Fate. You can use the hilt to activate Berserker Gravestones any time you’re free to explore afterwards, although waiting to improve your gear might be a wiser course of action.
The Berserker interred here Fraekni the Zealous, is definitely one of the weaker Berserkers in the game. He’s got an unblockable slam attack and an unblockable charge, as well as a heavy (yellow) aerial attack as well as some nondescript melee attacks, but everything he throws at you can either be dodged or parried, and you should have plenty of time to punish your foe following most of his attacks. Defeat him and he’ll drop the Berserker Waist Guard.
(1 of 2) You can spot the tell-tale rainbow shimmer of a Remnants of Asgard site on the bridge leading to Tyr’s Temple.
You can spot the tell-tale rainbow shimmer of a Remnants of Asgard site on the bridge leading to Tyr’s Temple. (left), Defeat the enemies there - including some Einherjar and Gradungr - to complete the collectible. (right)
Where to Find All Remnants of Asgard in the Lake of Nine
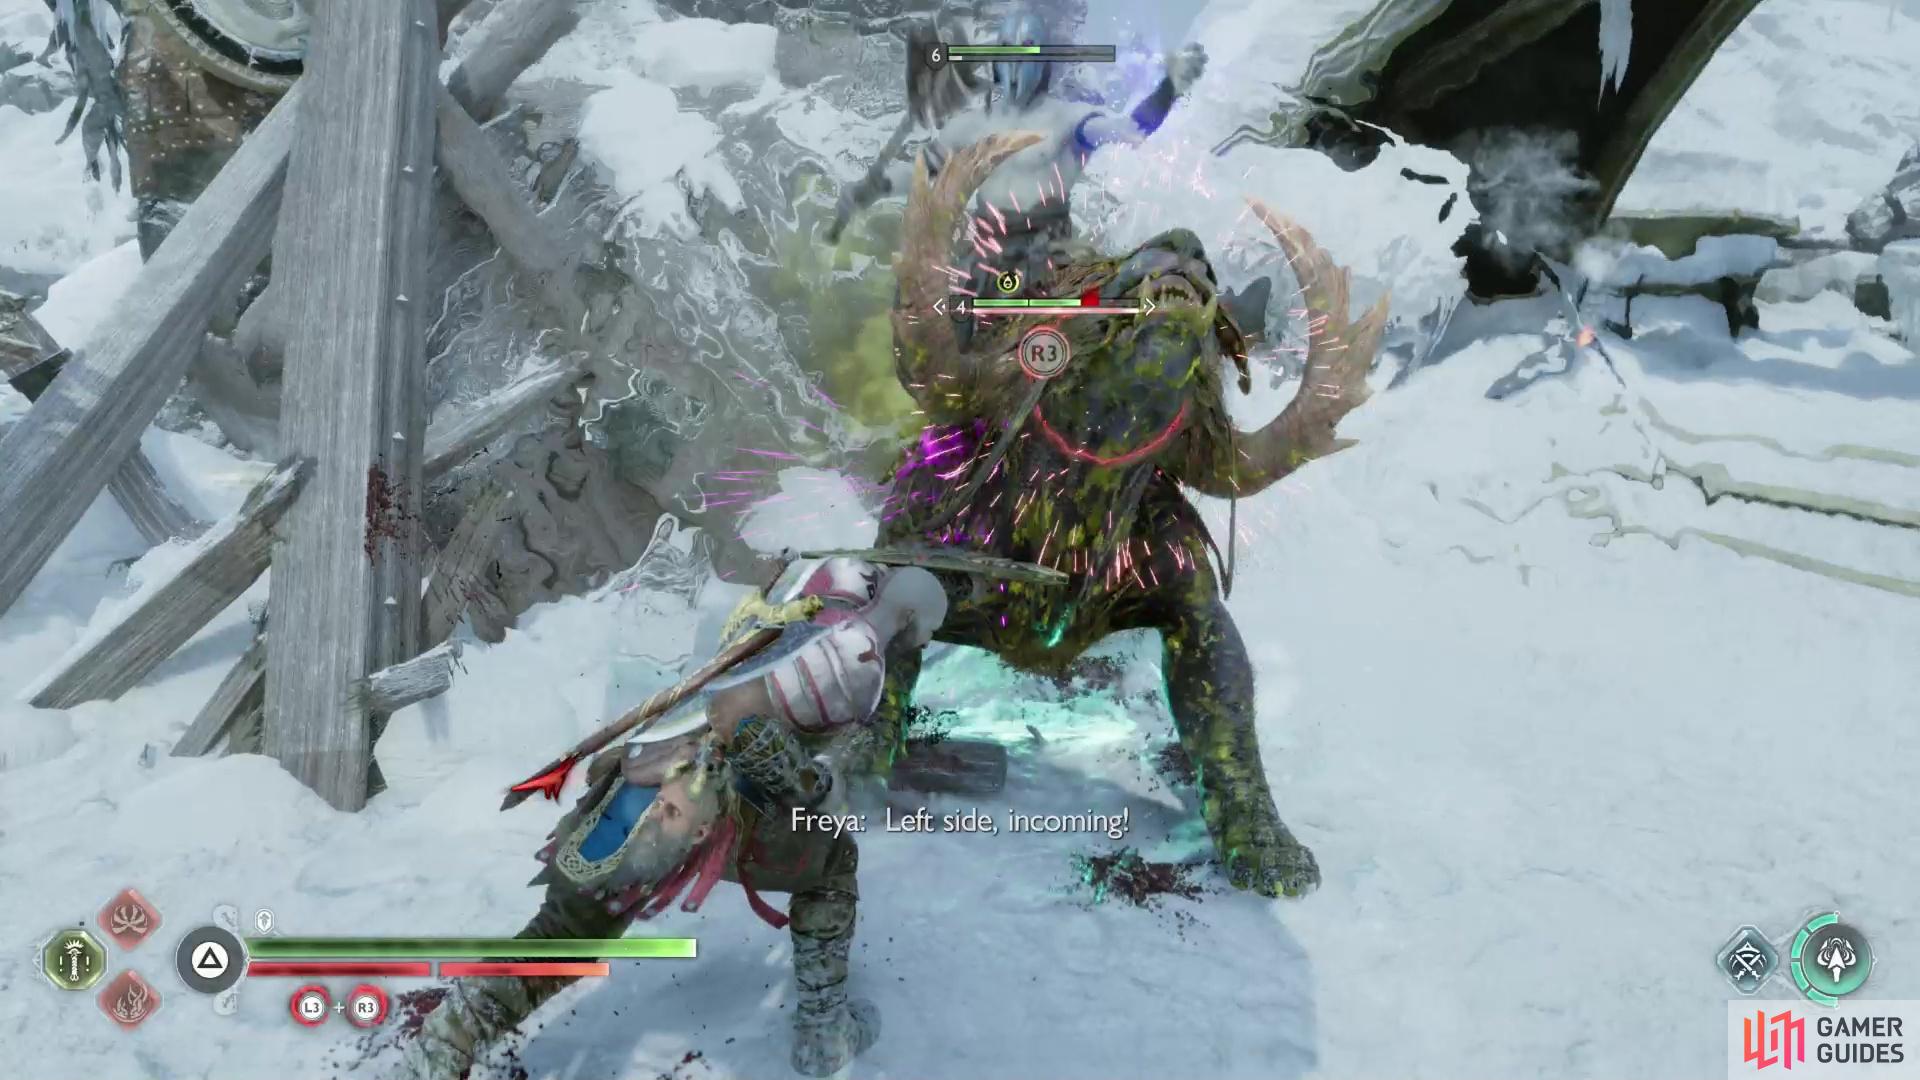
There’s only one Remnants of Asgard site in the Lake of Nine - on the bridge east of Tyr’s Temple. To get there, head to the northeastern end of the bridge extending east from Tyr’s Temple to find a lift. Ride up, then cross the bridge to the west, where you’ll find an Einherjar camp occupied by two Gradungr and their Einherjar Riders. If you can stun the Gradungr, you’ll be able to perform a grab-kill on them, which will make this fight much easier. Just be wary, however, as more Einherjar will arrive as the fight progresses. Kill all the Einherjar to complete this collectible.
(1 of 2) You can find the Treasure Map - Demise of Dagestr in The Applecore.
You can find the Treasure Map - Demise of Dagestr in The Applecore. (left), Once you have the Treasure Map, search near a Loot Lizard northwest of the Raider Fort to find this Buried Treasure. (right)
Where to Find All Buried Treasure in the Lake of Nine
Buried Treasure - Demise of Dagestr
Before you can hunt down this Buried Treasure, you must first find the Treasure Map - Demise of Dagestar, which is located in The Applecore, a region in Svartalfheim, of all places. After acquiring the Draupnir Spear and completing the main quest Forging Destiny, travel back to the Mystic Gateway at the Aurvangar Wetlands and take the raft back to the Sverd Sands, from which you can return to The Applecore.
Ride a lift down into the mines and from here turn southwest, then northwest, killing a mixed group of Grim and Nokken near a fork. At the fork, stick left and follow the linear path ahead to find a chamber occupied by a pair of Revenants. Kill them, then search the southern end of the Revenant chamber to find a ledge that’s just too high to climb. Throw the Draupnir Spear into wall and you can use the embedded spear to climb up, whereupon you’ll find the Treasure Map - Demise of Dagestr on the ground.
Once you have the treasure map, make your way northwest of the Raider Fort area, where you’ll find a chunk of ice that can be destroyed with the Draupnir Spear. If you don’t possess this, you’ll have to return after completing Forging Destiny… not that you would have the Treasure Map you need before this point in the game, anyways.
Destroy the ice chunk, climb up the ledge beyond it, then follow the linear path ahead to find the Loot Lizard standing right in front of you. To kill the Loot Lizard, see its entry, above, but the Loot Lizard also marks the location of this Buried Treasure - you should see it glowing away near where the Loot Lizard was.
(1 of 2) Search the western edge of the Raider Fort to find the Treasure Map - Viking’s Gift.
Search the western edge of the Raider Fort to find the Treasure Map - Viking’s Gift. (left), Once you have the aforementioned Treasure Map, search near some massive gates south of the Raider Hideout to find this Buried Treasure. (right)
Buried Treasure - Viking’s Gift
Find an island of stone northwest of Tyr’s Temple - the Raider Fort subregion - and kill the Kol Raiders occupying it. Once they’re dead, search the western end of their camp to find the Treasure Map - Viking’s Gift. Once you have this map, you can search for the buried treasure itself.
Along the northeastern edge of the Lake of Nine you’ll find a stone island (upon which the Stolen Treasures - Kila Artifact can be found). South of this island is the lift that’ll take you up to the bridge that leads to Tyr’s Temple. If you continue northwest between this island and this lift, however, you’ll find yourself at some massive gates, near which is the exit to the Raider Hideout subregion. Search the ice near these gates to find the golden-glowing buried treasure - pilfer it and this collectible will be complete.













 Sign up
No Comments