It was a trek and a half, but you’re finally here at the Temple of Fire! Treasure-hunting time, commence! You will find (visible) treasure chests in the bottom-left corner (Flametongue), bottom-right corner (Iceflame Shield), top-right corner (X-Potion) and the chamber left of the top-right corner (Turbo Ether).
As earlier, inspect the rooms to learn a bit about what happened to the temple… To the left of the bottom-right corner, the Anchorite of Fire awaits your presence; speak to him to get blasted by Promethean Fire (if you have the Summoner asterisk).
So you don’t get completely incinerated, equip your party with Flame Charms or Abate Fire (Black Mage ability). Having Angelic Ward (White Mage ability) may also help, as well as high Magic Defense. Oh and the Iceflame Shield you just found negates fire attacks, so equip that for a guaranteed survivor!
Directly north from the entrance, you will find the Adventurer and the entrance to the altar; you must be familiar with the ritual by this point. However, just to emphasize, don’t enter the altar until you’re fully healed and have the best (or good) equipment on all your characters.
To make your life easier, focus on having high defense equipment and abilities on your characters. Enter the altar and another dark fiend will emerge from the darkness of the crystal, intent on stopping your journey here.
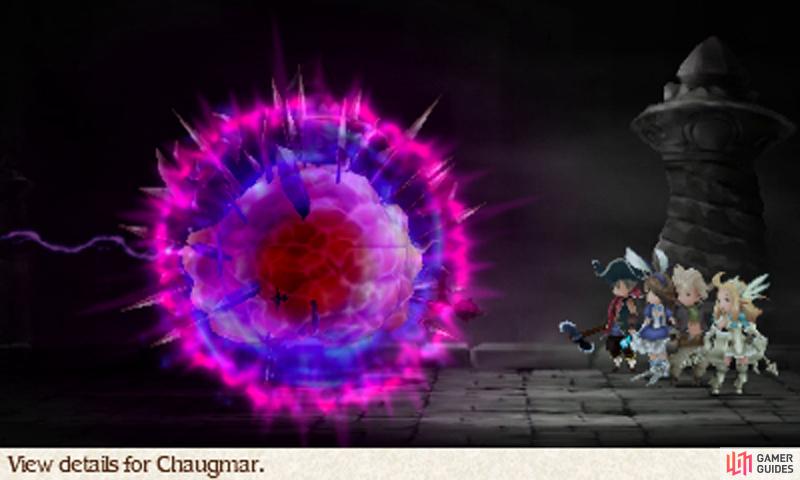
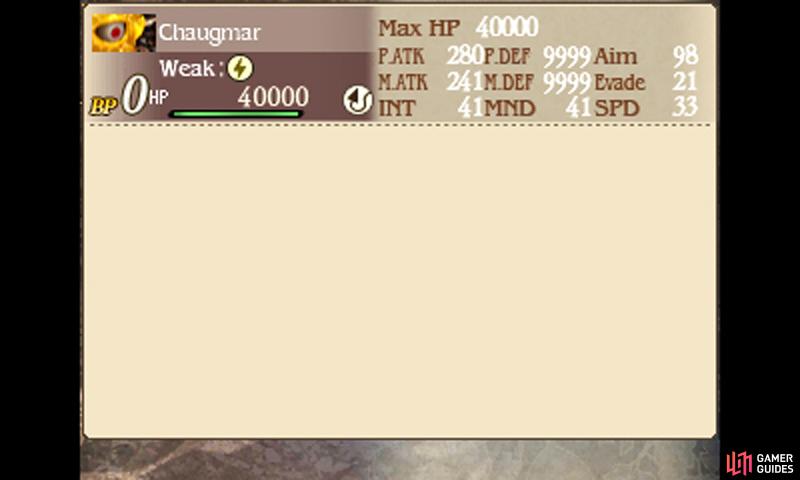
Boss: Chaugmar
(1 of 2)
| Level | HP | Weak to |
|---|---|---|
| 37 | 40,000 | Lightning, Demon |
The Mark of Doom is notoriously problematic for some players. Initially it will be protected by a barrier and immune to most attacks, except those that penetrate defense, magic defense or cause fixed damage. During this stage, Default to build up your BP and mitigate damage; keep healing too!
After three turns of immunity, the boss will use Transform and remove its barrier.
Group-cast Cura immediately–a Salve-maker wearing a Hermes Shoes is excellent for out-speeding and healing tons of HP. Provided Chaugmar didn’t critical any characters, you should also now be in a position to unleash all your fury at once.
The next turn, chuck a few more attacks at Chaugmar with characters with high Speed, but don’t enter negative BP; Chaugmar will use Transform again and put up its barrier. Now the cycle will repeat. When Chaugmar reaches low HP, you can choose to go into negative BP and unleash another series of attacks the turn after your first onslaught.
If you’re having a tough time, the White Mage ability Angelic Ward has a 50% chance of halving damage, which can save characters from an unexpected K.O. Performers with Got Your Back–cast twice for 150% defense–are also good for mitigating the damage from Energy Burst.
Should a character meet an untimely death, use the Salve-maker’s Compounding command to mix a Phoenix Down with a Potion to resurrect them with 9999 HP–way more HP than any of your characters should have!
Vanquish the Mark of Doom and the way will be open to perform the Rite of Awakening. Check out Egil’s reaction as he sees Agnes in her vestal garb for the first time… and Ringabel’s incredible teasing of Tiz. As Agnes, press the X button repeatedly to channel her prayers into the crystal and restore its once glorious light.
After much effort and tears, the Fire Crystal will shine bright and your quest will be three quarters through completion.
Once you exit the Underflow, Egil will scurry ahead in alarm–for some reason, the ore veins in the mine have all but disappeared, perhaps as a result of the Fire Crystal’s return. Either way, now would be a good time to return to Eisen Bridge and report the fruits of your mission to Commander Goodman.


 Sign up
No Comments