(1 of 2) This sub-scenario can be somewhat confusing to progress. Be sure to carefully follow our instructions and seek out the blue exclamation marks when in doubt.
This sub-scenario can be somewhat confusing to progress. Be sure to carefully follow our instructions and seek out the blue exclamation marks when in doubt. (left), (right)
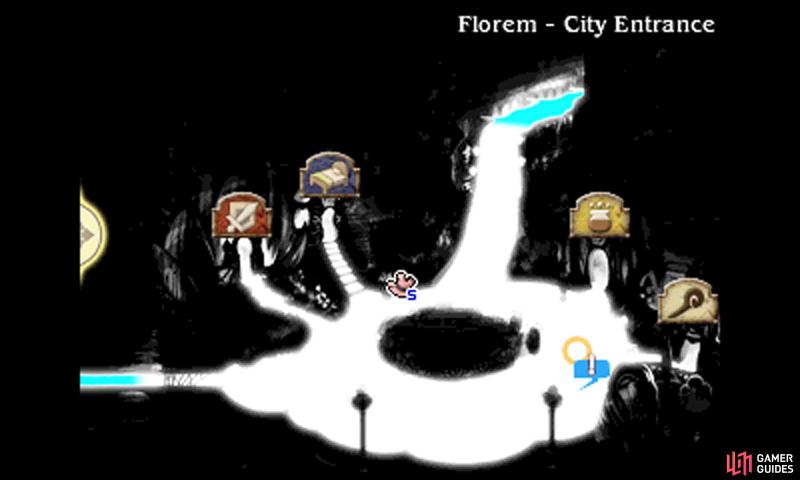
Like the previous sub-scenario, this one can be done once the Sacred Flower Festival is over, although the first scene can occur right before the festival. First, head for the bottom-right corner of Florem‘s city entrance, where you’ll encounter a middle-aged womanizer suited in red.
After that dodgy encounter, rest your weary soul in the inn in the top-left corner of the city. Poor Ringabel has been pondering about DeRosa’s words all night, but still hasn’t a clue about their meaning. Thus he decides to thoroughly question DeRosa the next time they meet.
The Curious Cat
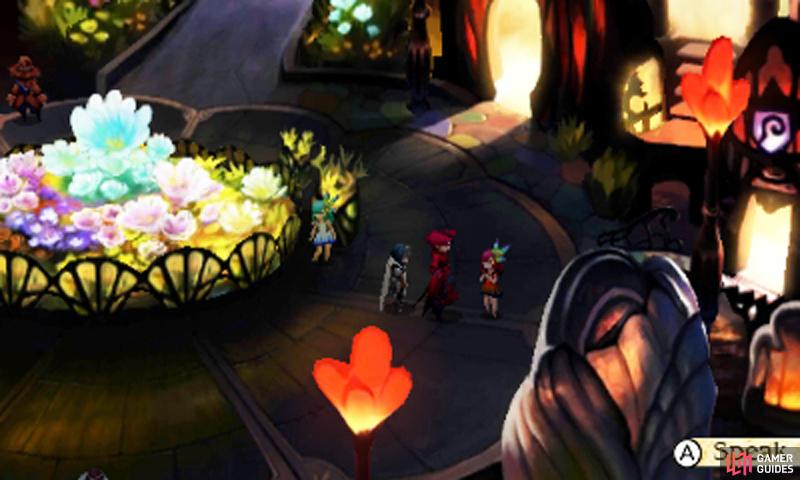
Return to Florem when it’s night (wait outside the city if necessary) and head for the plaza (past the Matriarch’s) to find a red-haired woman to the left and DeRosa with another woman further ahead. Speak to the lone woman first and then approach DeRosa–Ringabel will tail him, but eventually lose sight of him (and his good night’s sleep too).
Once again, head to Florem when it’s night and save your game. Then hurry back to the exact same spot as last time, where you’ll find DeRosa with another woman. Ringabel will tail DeRosa and lose him again–don’t worry, this is normal. The next day, Edea will pity Ringabel and decide to take action herself. However, on the night, things don’t quite go to plan…
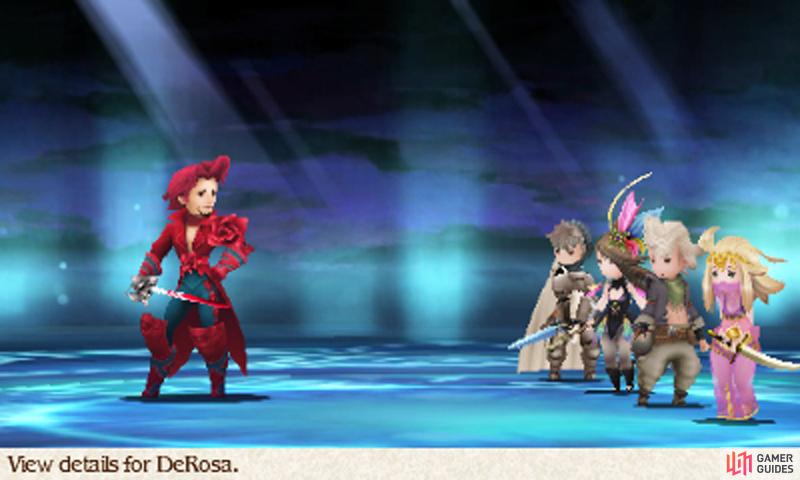
Boss: Fiore DeRosa
(1 of 2)
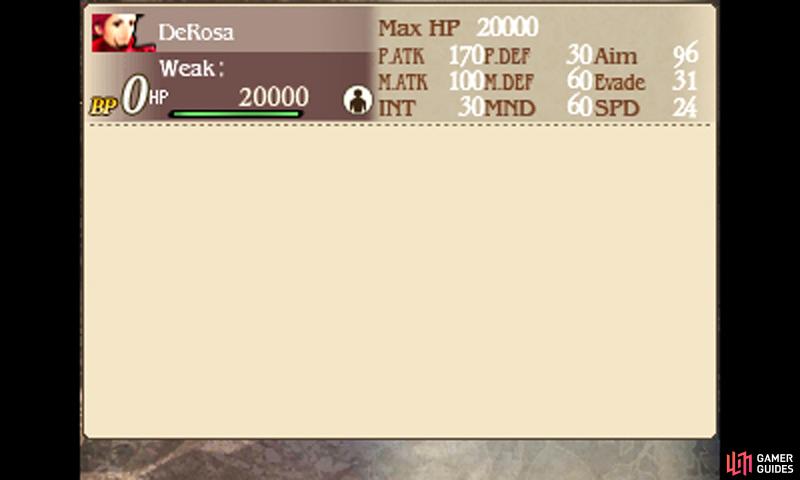
| Level | HP | Weak to |
|---|---|---|
| 27 | 20,000 | Nothing |
This dandy deserves a beating, but don’t take him lightly as he’s a tough nut to crack. At the beginning, Edea will be under the influence of Charm, so cast Esuna (White Magic) or use a Remedy to bring her back to her senses.
DeRosa can cast Thundara to shock your party and Cura to restore around 1800 HP. He also uses Captivating Cologne to Charm a single target. What makes DeRosa hard is that each time you damage him, there’s a chance his BP will rise by one.
When he’s gathered BP, he will unleash a flurry of moves–first a normal attack, then Thundara and Cura. The end result is that he’ll do heavy damage to your party and heal himself in the process.
You might consider limiting the number of attacks you do, by not using Brave, but you’ll still boost his BP every now and then, triggering his onslaught. We recommend stockpiling BP, then unleashing multiple attacks, while using Cura to restore your health to maximum on one turn.
The next turn, DeRosa will almost definitely have 3 BP and unload his attacks, but you can Default to survive. After DeRosa’s HP drops, he will stop using Cura, so it’s no longer a battle of attrition, but he’ll cast Thundara twice for major damage. Don’t hesitate to group-cast Cura twice when it’s safe (or unsafe).
Before exiting the lab, make sure you check out the right-side in the middle of the room. Walk into the top-right (so your character is off-screen) and you can inspect here for a free Bomb Arm item.


 Sign up
No Comments