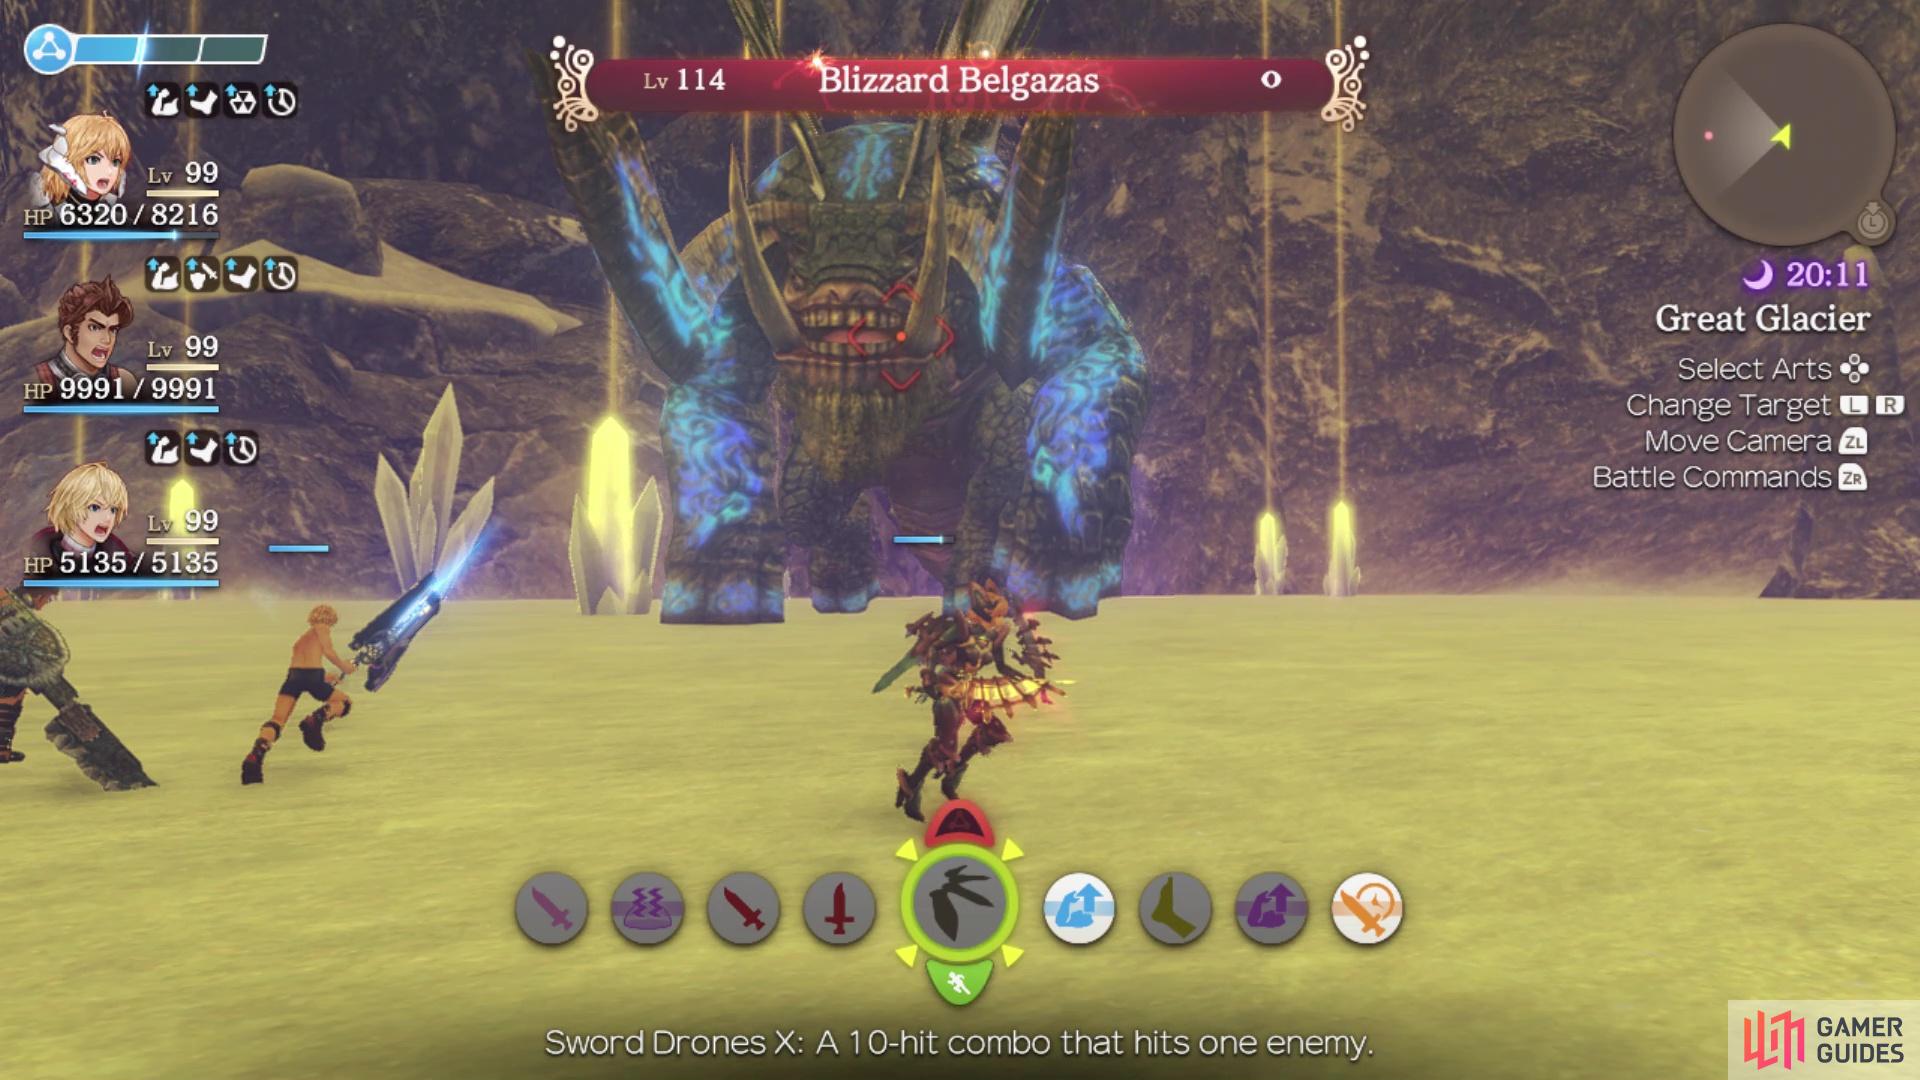
As probably the second hardest enemy in Xenoblade Chronicles, Blizzard Belgazas is definitely a true test to see how prepared you are for the superbosses. You will be able to find Belgazas on Valak Mountain, on the Great Glacier section in the lower level. It is a whopping level 114 enemy and has no other spawning conditions, but you do not want to fight this thing during a blizzard. The reason for this is that some of its Arts will gain additional properties during a blizzard, one of which is Instant Death (but you should be equipped with Debuff Resist gems anyway).
-
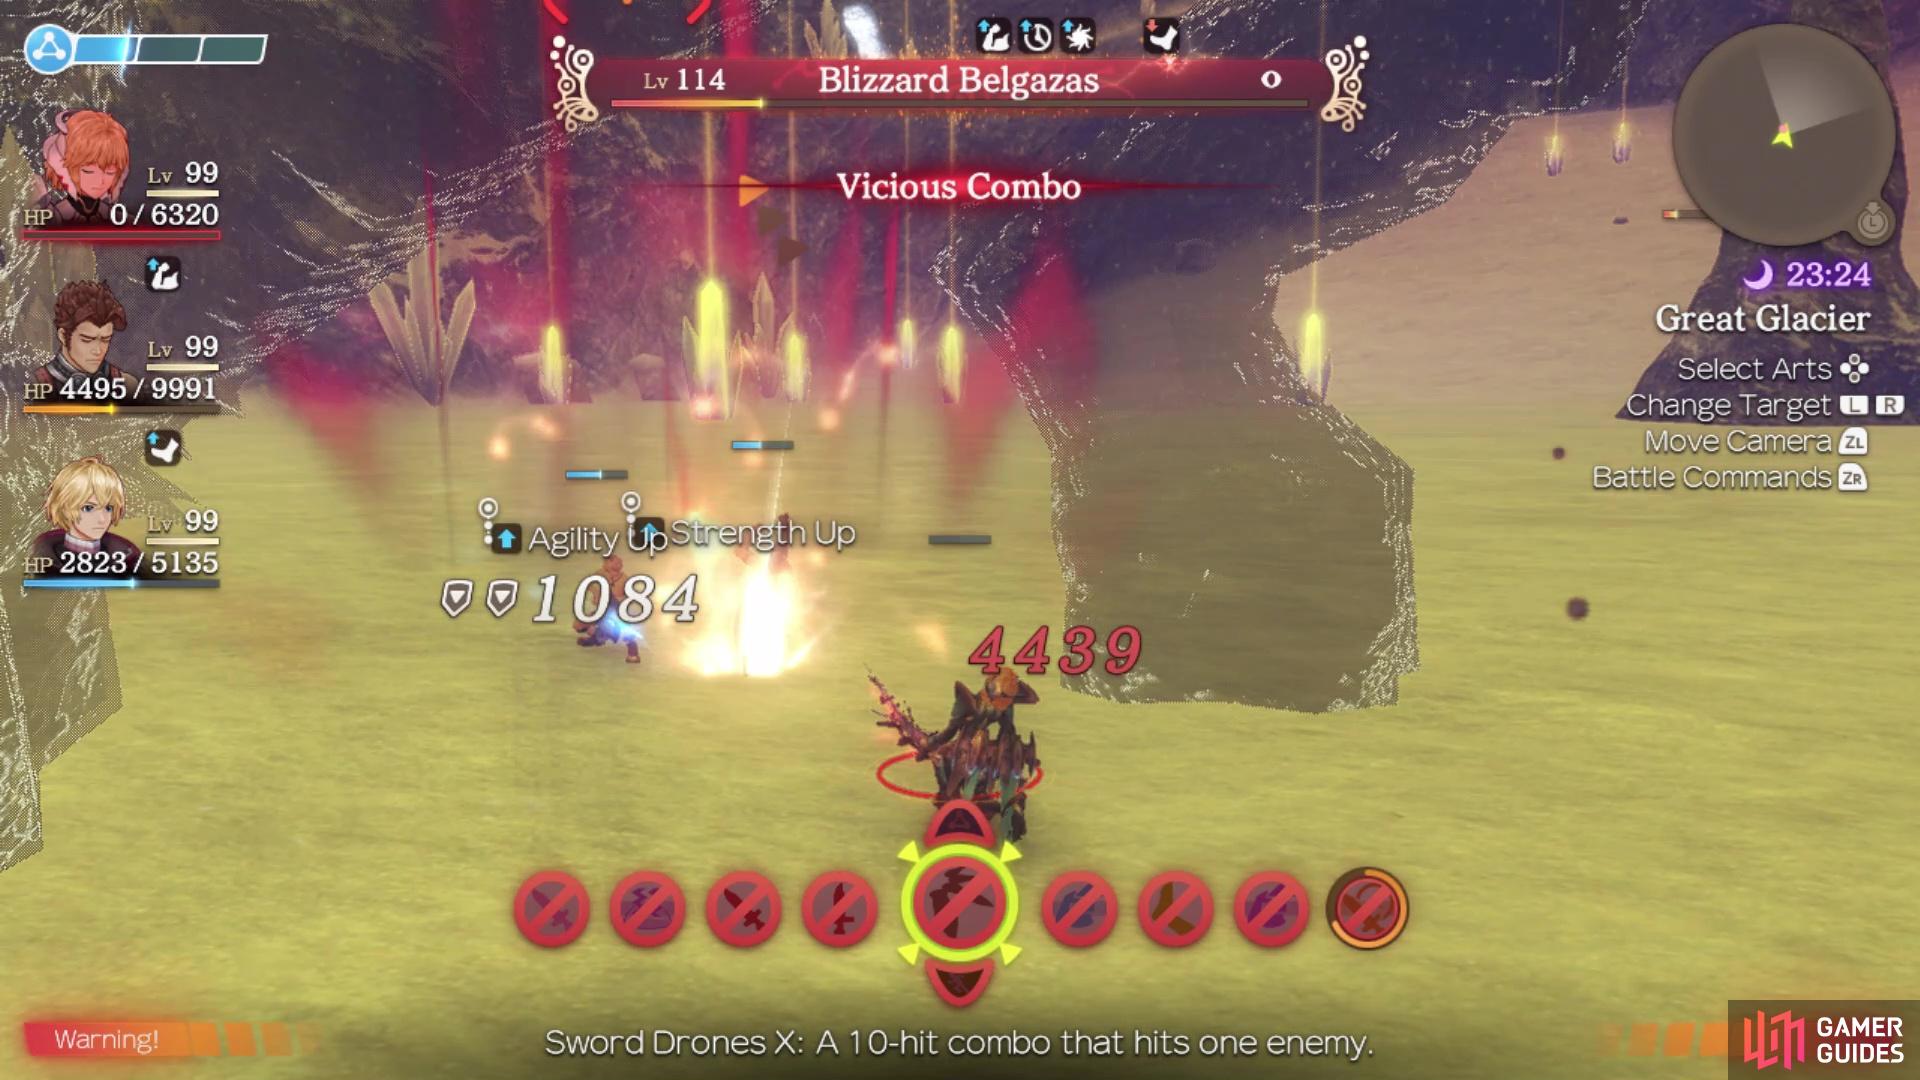
Vicious Combo - Two-hit Physical-based Art that targets a single character for major damage overall, and causes Knockback.
-
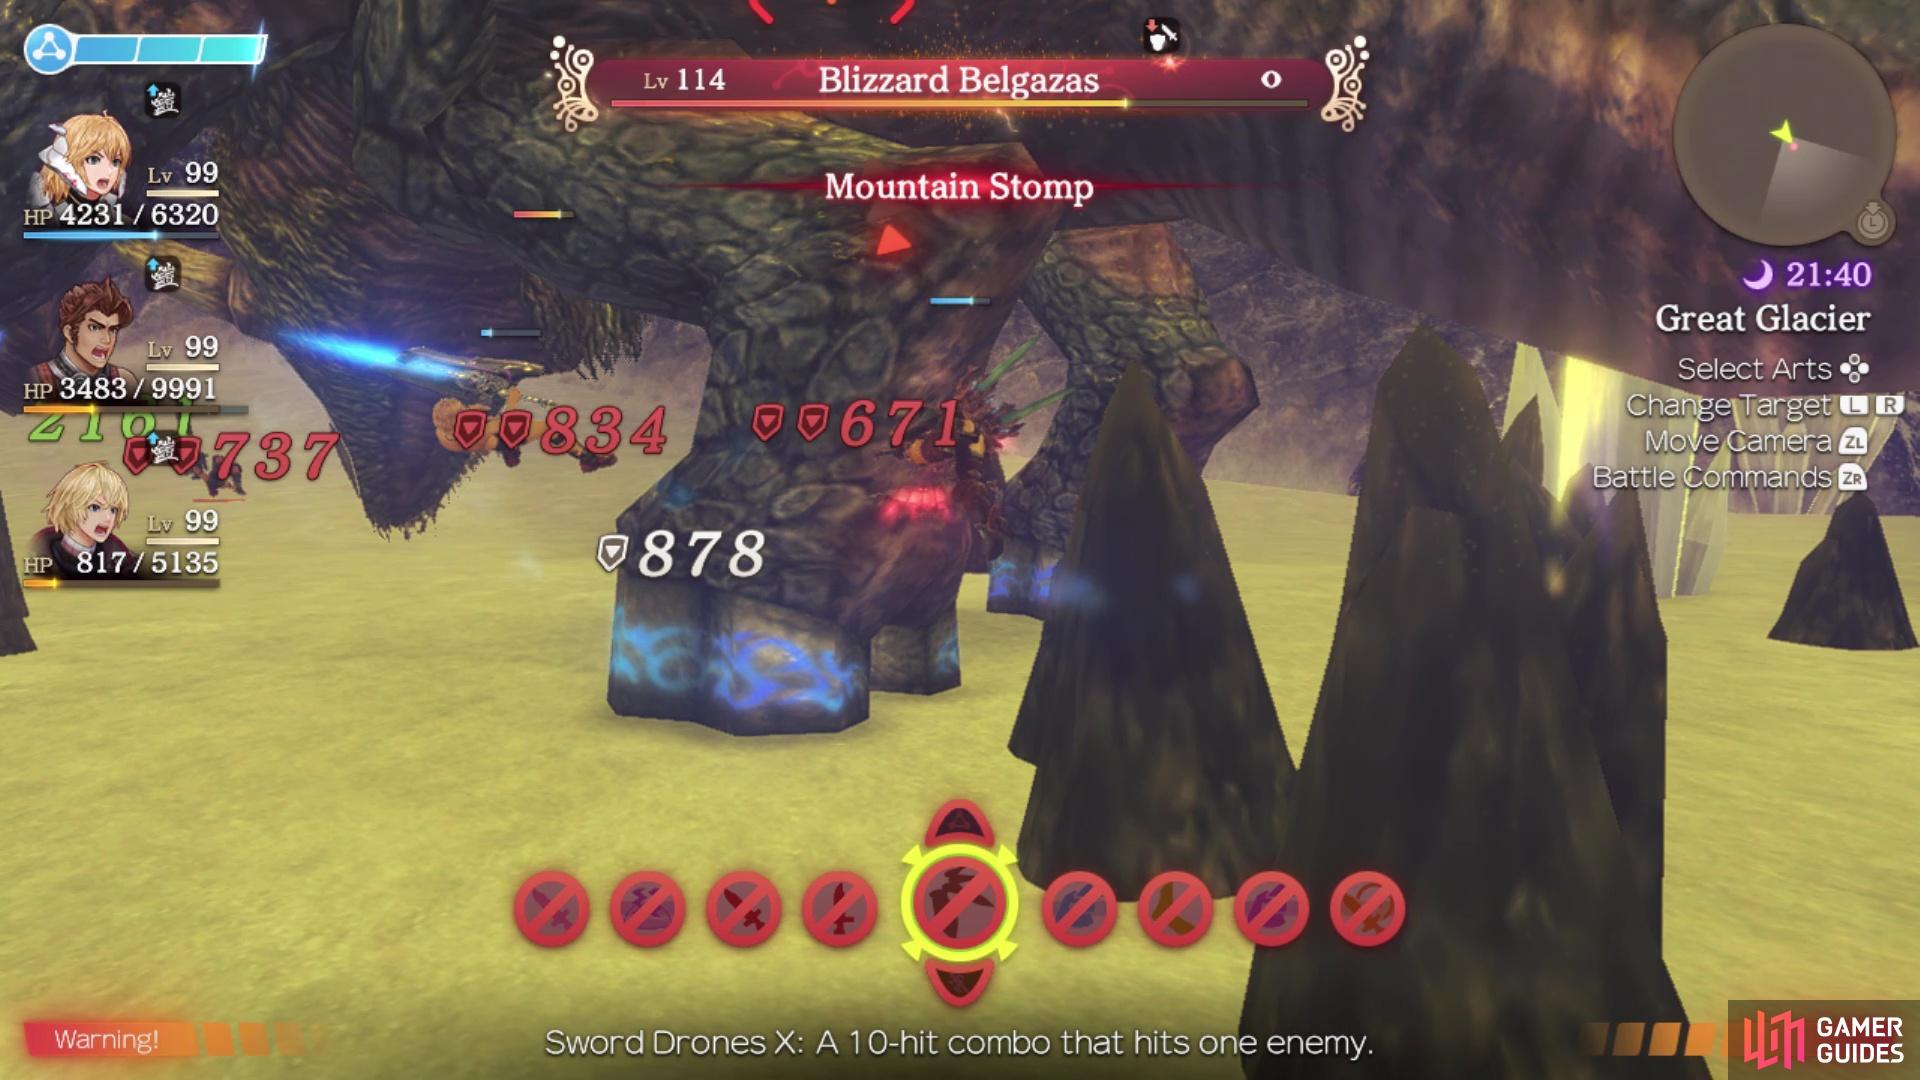
Mountain Stomp - Three-hit Physical-based Art that hits around Belzagas for high damage overall. Can cause both Blowdown and Daze.
-
Rex Poison - Ether-based Art that hits in a frontal arc for medium-high damage and inflicts Poison and Knockback. This Art does double damage during a blizzard.
-
Rex Gore - Two-hit Physical-based Art that hits a single target for medium or so damage, and causes both Blowdown and Daze. During a blizzard, this Art can deal Instant Death on the second hit.
-
Rex Roar - Debuff Art that hits in a frontal arc and inflicts Bind. During a blizzard, it will also inflict Pierce.
-
Frozen Graveyard X - Belgazas’ Talent Art. Ether-based and hits in a front arc for massive damage, causing Knockback.
-
Tyrannus Roar - Buff Art that Belgazas uses at 30% or less HP, causing the Crazed status (Strength Up, Haste).
First and foremost, you want to try attacking Blizzard Belzagas from the sides, as it will take less damage from the front and back. This boss is very strong, especially with its Physical-based Arts, so you will likely be seeing a lot of visions during the battle, depending on who has aggro. Shulk is a very good character to have here, as Monado Armour’s (at level 10) 75% damage reduction will help a lot. As Shulk’s AI tends to be on the bad side for using Monado Arts, it would be better if you can control him yourself.
(1 of 2) Use Monado Armour, if you can, to lessen the damage from Mountain Stomp
Use Monado Armour, if you can, to lessen the damage from Mountain Stomp (left), Vicious Combo is another powerful Art in Belgazas’ arsenal (right)
Despite the warning about fighting this superboss during a blizzard, the only thing that should really matter is the double damage from Rex Poison, as Debuff Resist should take care of anything else. If you can survive the double damage from that Art, then there’s no need to worry about the blizzard. One good thing about Blizzard Belgazas is that his base Agility is pretty low, but the extra boost it receives from the level difference will be a extra boon to the boss. Belgazas also does have a bit more health than the previous superbosses fought thus far, so the battle may seem a little longer.
With Shulk in the party, assuming you use him, you can also negate his Talent Art with a level 10 Monado Shield. Other than that, its biggest move will be Mountain Stomp, as there is really no way to avoid it. That means characters that have low HP values, like Melia, Shulk and possibly Dunban and Sharla, will be in danger of going down. As with a lot of the superbosses, Belgazas has a Crazed aura that it activates when it reaches 30% HP or less. This will grant it the Strength Up and Haste buffs, plus also make it immune to Topple. Both Shulk and Melia can dispel this, with Monado Purge and Mind Blast (respectively), but the boss has a 70% resistance to these.
While a Topple Locking strategy is useful against Blizzard Belgazas, you will need to be extremely careful. This superboss has a Spike shield that deals really high damage whenever it is Toppled (2,540 per hit). Note that you cannot die from Spike damage shields during Chain Attacks, but you will still need to be extra careful if utilizing Topple in your strategies.


 Sign up
No Comments