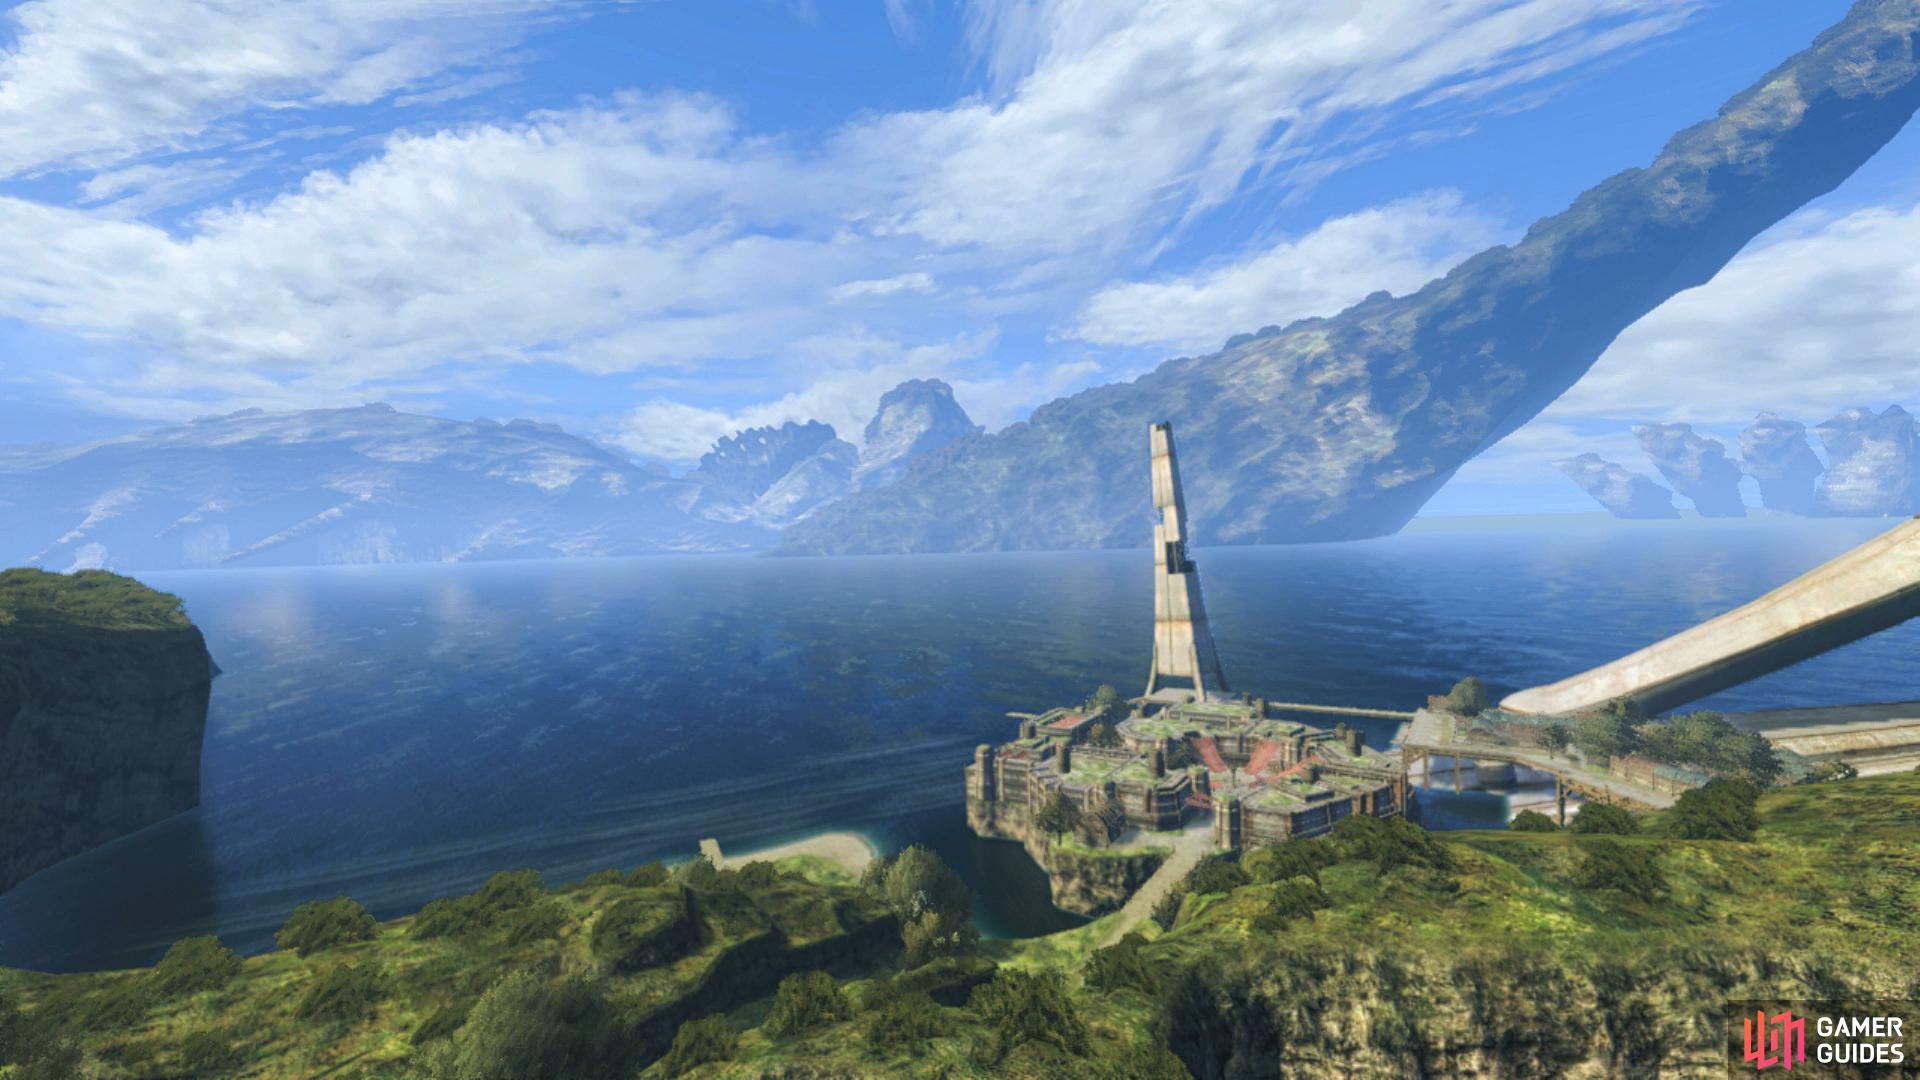
Return to Prison Island
Whether you took the Superbosses on or not, all that remains to you now is to return to Prison Island to take the fight to Dickson and Zanza. Be sure you’re ready and consider lowerling your levels should you want a challenge in these final battles.
Make your way back to Prison Island’s Gondorl Cathedral and head to the transporter you previously raised to trigger a scene as Dunban reminds you one last time on what taking the transporter means. Make sure you’re fully ready when one last time and then take the transporter to reach the Prison Terrace.
Make your way along the linear path once you regain control and soon enough, you’ll spot your target, Dickson, in the distance.
Boss: Disciple Dickson
| Enemy | Level | Detection |
|---|---|---|
| Disciple Dickson | 80 | Sight |
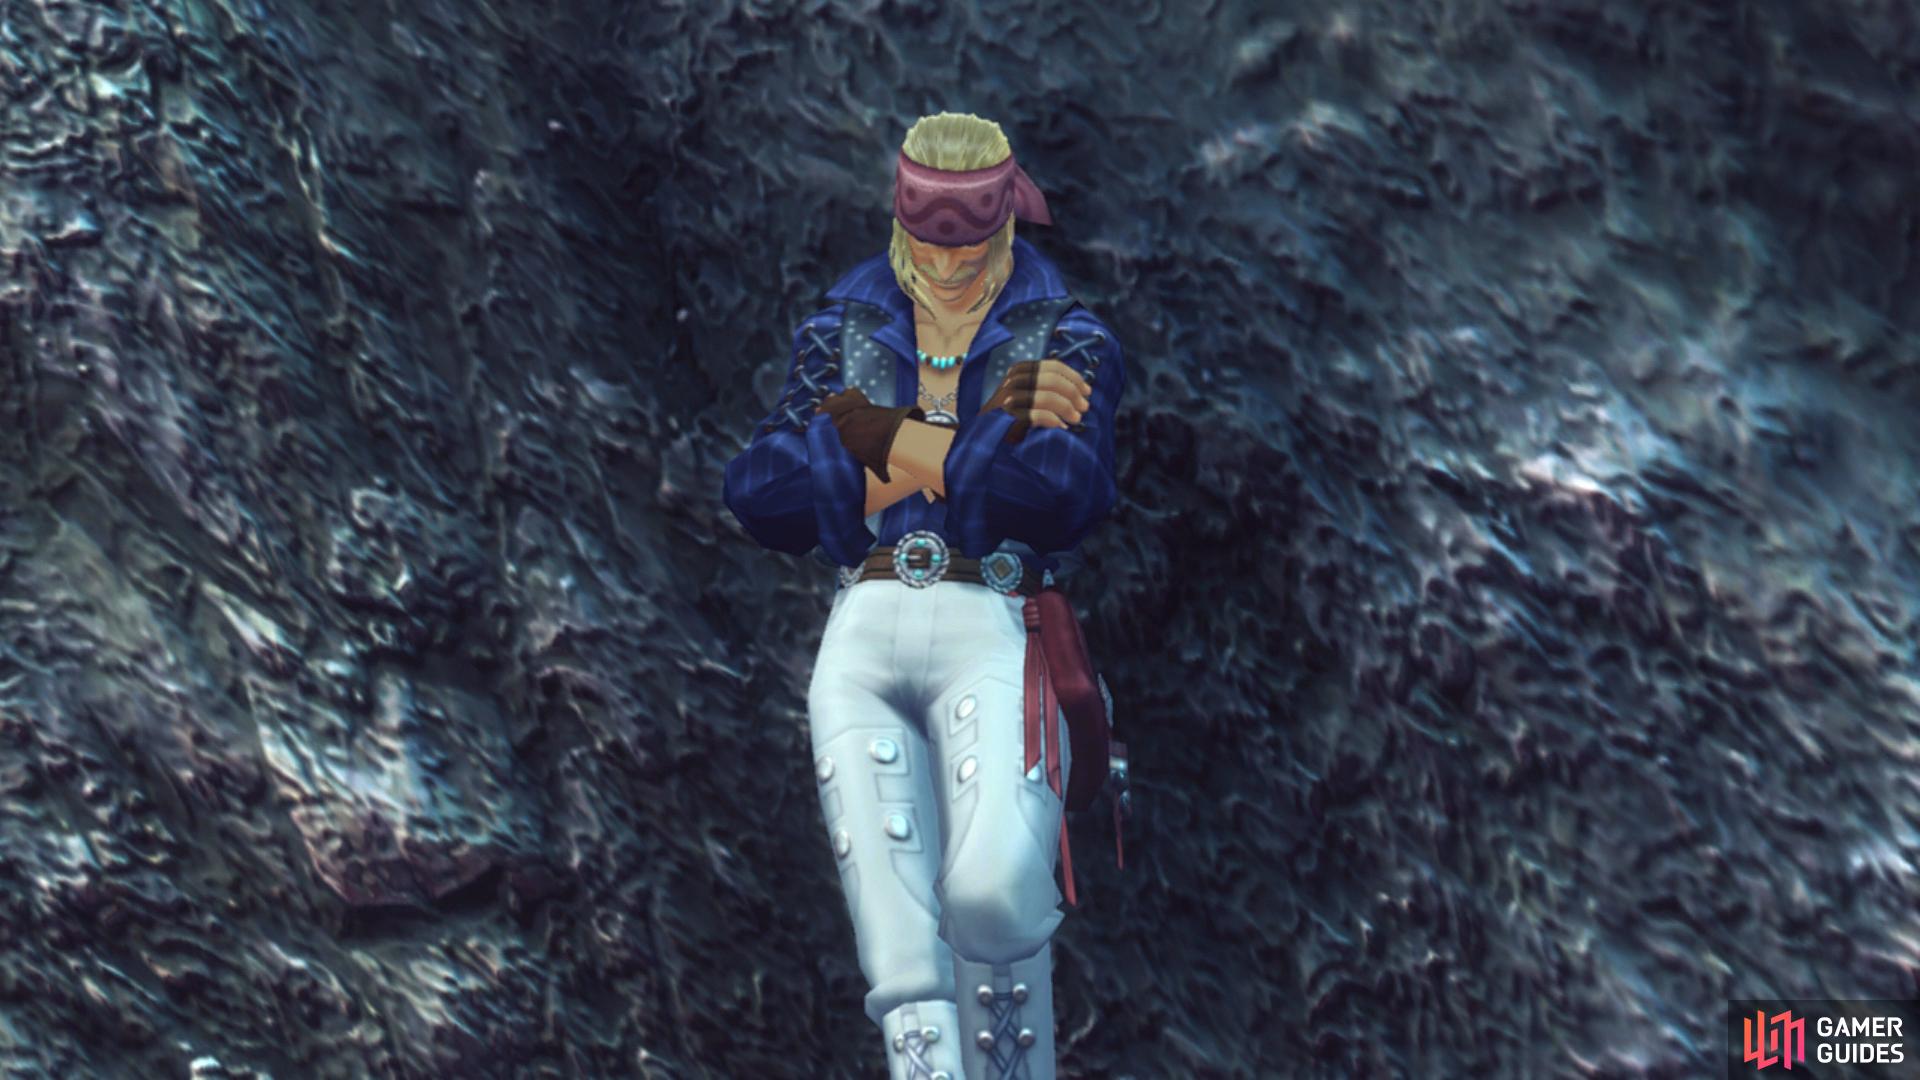
You finally have your chance for a showdown with Dickson after everything he’s put into motion throughout the event’s of the game. You’ll notice right from the start that Dickson has a tricky Spike Aura which will trigger Paralysis upon being struck, he’ll also have a vast amount of damaging Arts at his disposal so attempting this battle at around his Level is a tricky one. To begin with, you’re going to have to bring his HP down to 50% before you can truly battle him to the death so try and save your Chain Attacks for the second phase of this battle.
-
Chaos Bullet VI - Dickson’s Ether based Talent Art that deals major damage to targets in a line while also inflicting Pierce on them, lowering all Defences to zero for the duration of the Debuff.
-
Chaos Combo - A Physical based Art that deals light damage to a single target while inflicting Knockback. The damage of this Art is tripled when the target is Toppled.
-
Chaos Dash - A Physical based Art that deals major damage to targets in a line while inflicting Topple.
-
Chaos Punish - A Physical based Art that deals massive damage to tarets in a circle around Dickson while also inflicting Blowback and Daze. The first phase will end when he uses this at 50% HP.
-
Dark Power - Restores 5000 HP, removes Debuffs and grants Immunity to further Debuffs.
-
Righteous Anger - Dickson will only use this in the second phase at 50% HP, granting him the Craze Aura that constantly regenerates his HP.
-
Silent Chaos - An Ether based Art that deals moderate damage to a single target while also inflicting Arts Seal, Blowback, Daze and absorbing the target’s Talent Gauge.
-
Treacherous Anger - Grants the Haste Buff to Dickson.
Disciple Dickson has many Arts that are truly deadly with his Talent Art causing the deadly Pierce Debuff, if you have Shulk in the Party, make sure to use the Monado to negate the effects of it. For the first battle, take it slow while you learn his attacks and whittle him down to 50% HP. Once the second battle begins, it’s the same situation, get him down to 50% HP and he’ll start using Righteous Anger, increasing his stats.
This is however, an all-out scrap to the death and he will use Chaos Punish at will which will deal massive damage. Try to keep your party spread out to avoid them all taking damage from Chaos Dash and his Talent Art and make use of your Chain Attacks that you should have been saving up. If you’re using Shulk and have taken the time to level up the Monado Armour Art, be sure to use it, at max level, 75% protection will help a lot against his high damage Arts.
Memory Space
Following your victory against Dickson, the party finds themselves stranded in a strange area and you’ll unlock the Landmark, Saturn, perhaps hinting at your possible location. Take another look at your party setup before you press on, for one, if you’ve not been using Shulk in your main party, consider taking the time to equip him, address his Skill Links and slot Gems on him, you will want him at some point during these final moments.
Once you’re ready, follow the linear path through the stars and you’ll pass a Lv 79 Spirit - Mumkhar before finding a portal that will take you on to Jupiter. Another enemy awaits you here, a Lv 78 Spirit - Xord, defeat it and then press on to the next portal that takes you to Mars. This time around, you’ll find yourself up against a Lv 80 Spirit - Telethia en route to the next portal. The next Landmark you unlock is the Moon and there’s one final Spirit up ahead, a Lv 78 Spirit - Gadolt. Before you take the next portal, take one final look at your party and equipment and then head through to trigger some scenes and the final battle.
Boss: Zanza
Phase One
| Enemy | Level | Detection |
|---|---|---|
| Zanza - Phase One | 81 | Sight |
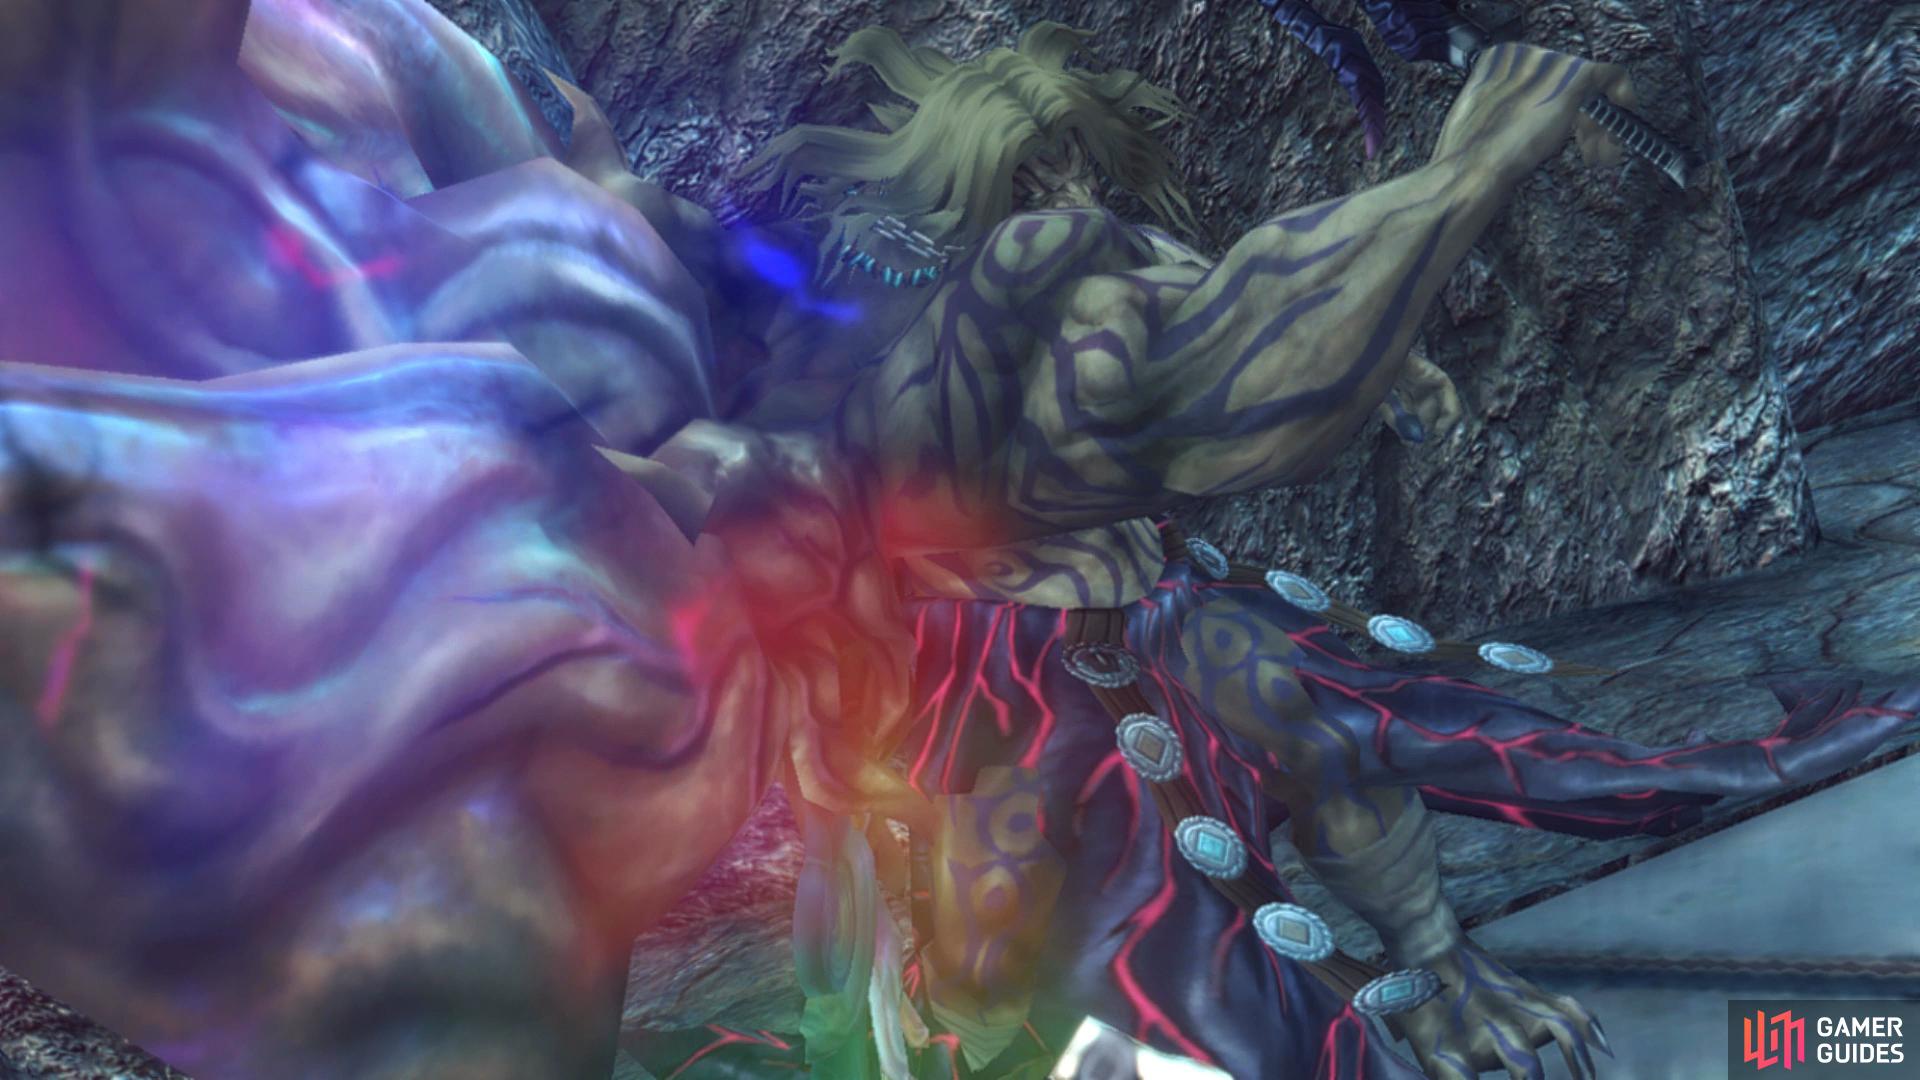
The final battle against Zanza will take place over the course of three phases, each one more difficult than the last with new Arts on top of that. From the start, Zanza will use Summon Guardians to summon two Zanza Guardians, copies of his previous form that have full Monado power. They don’t have much HP but they will cause unwanted damage should they be left alone, make use of these Guardians to build your Party Gauge and unleash Chain Attacks on Zanza. Melia is useful for her area based Arts that inflict DoTs such as Blaze and Ice while Fiora’s Final Cross is a powerful Art should she reach High Tension.
-
Monado Brave - Grants the Strength and Ether Up Buffs to targets in a circle around himself.
-
Monado Cross VIII - Zanza’s Physical based Talent Art that deals major damage to targets in an arc in front of him while also dealing Knockback.
-
Monado Fear - Inflicts the Strength and Ether Down Debuffs to targets in a circle around him.
-
Monado Left - An Ether based Art that deals moderate damage to a single target while inflicting Topple.
-
Monado Right - A Physical based Art that deals moderate damage to a single target while inflicting Daze.
-
Monado Recover - Massive HP Recovery to targets in a circle around himself.
-
Summon Guardians - Zanza will start the battle with this Art, summoning two Zanza Guardians to his side.
(1 of 4) Zanza will always start the battle by using Summon Guardian
Zanza’s main threat in this first phase is all from his Talent Art, if you have Shulk, be sure to negate it and the rest of the battle shouldn’t cause too much trouble. The Zanza guardians should be focused on and used to build your Party Gauge and try to keep DoTs up on all of your targets as much as possible so that you’re still damaging Zanza while focusing on his Guardians. You’ll have to deplete all of his HP to end the battle and force him into his second form.
Phase Two
| Enemy | Level | Detection |
|---|---|---|
| Zanza - Phase Two | 83 | Sight |
Zanza transforms into his second and arguably most dangerous form and challenges you once again. His second form has more HP than any of the others (over double the first phase) so although you’ll only need to lower his HP below 20% to end the phase, it’s still a significant more HP than you had to deal with in the first phase. Like his first form, he’ll summon Zanza Guardians via the use of the World Construct (left) Art and you’ll want to pay attention to them like you did the first. He’ll also gain a whole new set of Arts but more importantly, his Auto-attacks become Ether based, this means you won’t be able to outright dodge them so your Ether Defence is going to come in handy here.
-
Bionis Buster - A Physical based Art that deals major damage to a single target while also inflicting Daze.
-
Black Hole - An Ether based Art that deals moderate damage to targets in a circle around him while also inflicting Pierce and absorbing the Talent Gauge.
-
Mechonis Buster - A Physical based Art that deals major damage to targets in an arc in front of him while also inflicting Topple.
-
Monado Combo - A Physical based Art that deals major damage to targets in an arc in front of him while also inflicting Knockback.
-
Monado Shooter IX - Zanza’s Ether based Talent Art that deals light damage around himself six times and inflicting Bind.
-
Titan Bazooka VIII - Zanza’s Physical based Talent Art that deals massive damage to targets in a line while also inflicting Knockback.
-
World Reconstruct (left) - Grants Zanza Physical Protect while also summoning two Zanza Guardians.
-
World Reconstruct (right) - Grants Zanza Physical Protect and the Craze Aura granting him Strength Up and Haste while making him immune to the Topple Combo.
As you can see, Zanza is a lot more deadly in this second form and you can consider this the main phase of the entire battle. While Monado Shooter IX may seem relatively tame, if you get caught in the circle of the Art and take every hit, it can all add up. More importantly, Titan Bazooka VIII is one of the hardest hitting Arts in the game so use Shulk to negate it if he’s in your party otherwise try to inflict Daze if he isn’t Crazed already.
Once again, the Zanza Guardians will attempt to get in your way and they will use Monado Eater to attempt to strip you off any Buffs, focus them down and use it to build the Party Gauge that you can use on Zanza. Unless you’re vastly overleveled, you’ll notice you take a lot more damage in this phase purely due to his Ether based Auto-attacks, if you’re struggling with this phase, it’s no shame to bring Sharla into the battle for the extra healing, just note that you’ll have more trouble taking down the Zanza Guardians in a timely fashion. Keep the pressure on Zanza and make use of Chain Attacks especially when he uses either of his World Reconstruction Arts and you’ll eventually bring him to 20% HP, forcing the final phase of the battle.
Phase Three
| Enemy | Level | Detection |
|---|---|---|
| Zanza - Phase Three | 83 | Sight |
Zanza will enter his third and final form following the cutscene and as you saw, Shulk now has access to the Monado III, the best Monado in the game, one that boosts a 75% Critical Hit Rate, needless to say, this is an incredibly powerful weapon. For that reason, if you weren’t using Shulk, be sure to switch him in as party lead at this point, perhaps at Melia’s expense if you’ve been using her as your previous leader, a party of Shulk, Dunban and Fiora is one of the most powerful around.
(1 of 2) Zanza has no new Arts in phase three and the True Monado is incredibly powerful
Zanza has no new Arts in phase three and the True Monado is incredibly powerful (left), this makes the final phase more of a simple victory lap. (right)
You’ll be please to know that Zanza’s Arts won’t change from his second form for this final battle and although you’ll need to fully deplete his HP this time around, he does have a lot less HP than the second form. He’ll still summon his Zanza Guardians that you can use to build the Party Gauge but other than that, he’s virtually unchanged from his Second Form so if you have no trouble dealing with that, you’ll find this third and final form a breeze.
Following the battle, watch the scenes that unfold as Shulk’s journey comes to an end. You’ll get the opportunity to create a Clear Save where if you load it, you’ll be returned to Prison Island. Alternatively, you can start a New Game+ should you wish which will allow you to carry over the Monado III. To see the conclusion of the story, play through the Future Connected storyline, exclusive to Definitive Edition.


 Sign up
No Comments