Before you begin this mission, ensure that you have two fully customized Sidearms and that they’re clean and stocked with improved ammunition. Once you’re ready, return to Shady Belle and speak with Sadie near the house to begin the mission.
Following the cutscene, you’ll have to deal with a whole host of O’Driscoll’s so be sure to stay in cover at all times. If you’re going for the Gold Medal, you’ll need to stick to using Sidearms only which means it’s going to be a lot tougher to pull off those 15 headshots. Make use of Dead Eye in the initial encounter and try to rack up as many as you can, popping a Snake Oil when needed to restore your gauge. This initial wave of enemies are the easiest and safest to get your headshots on.
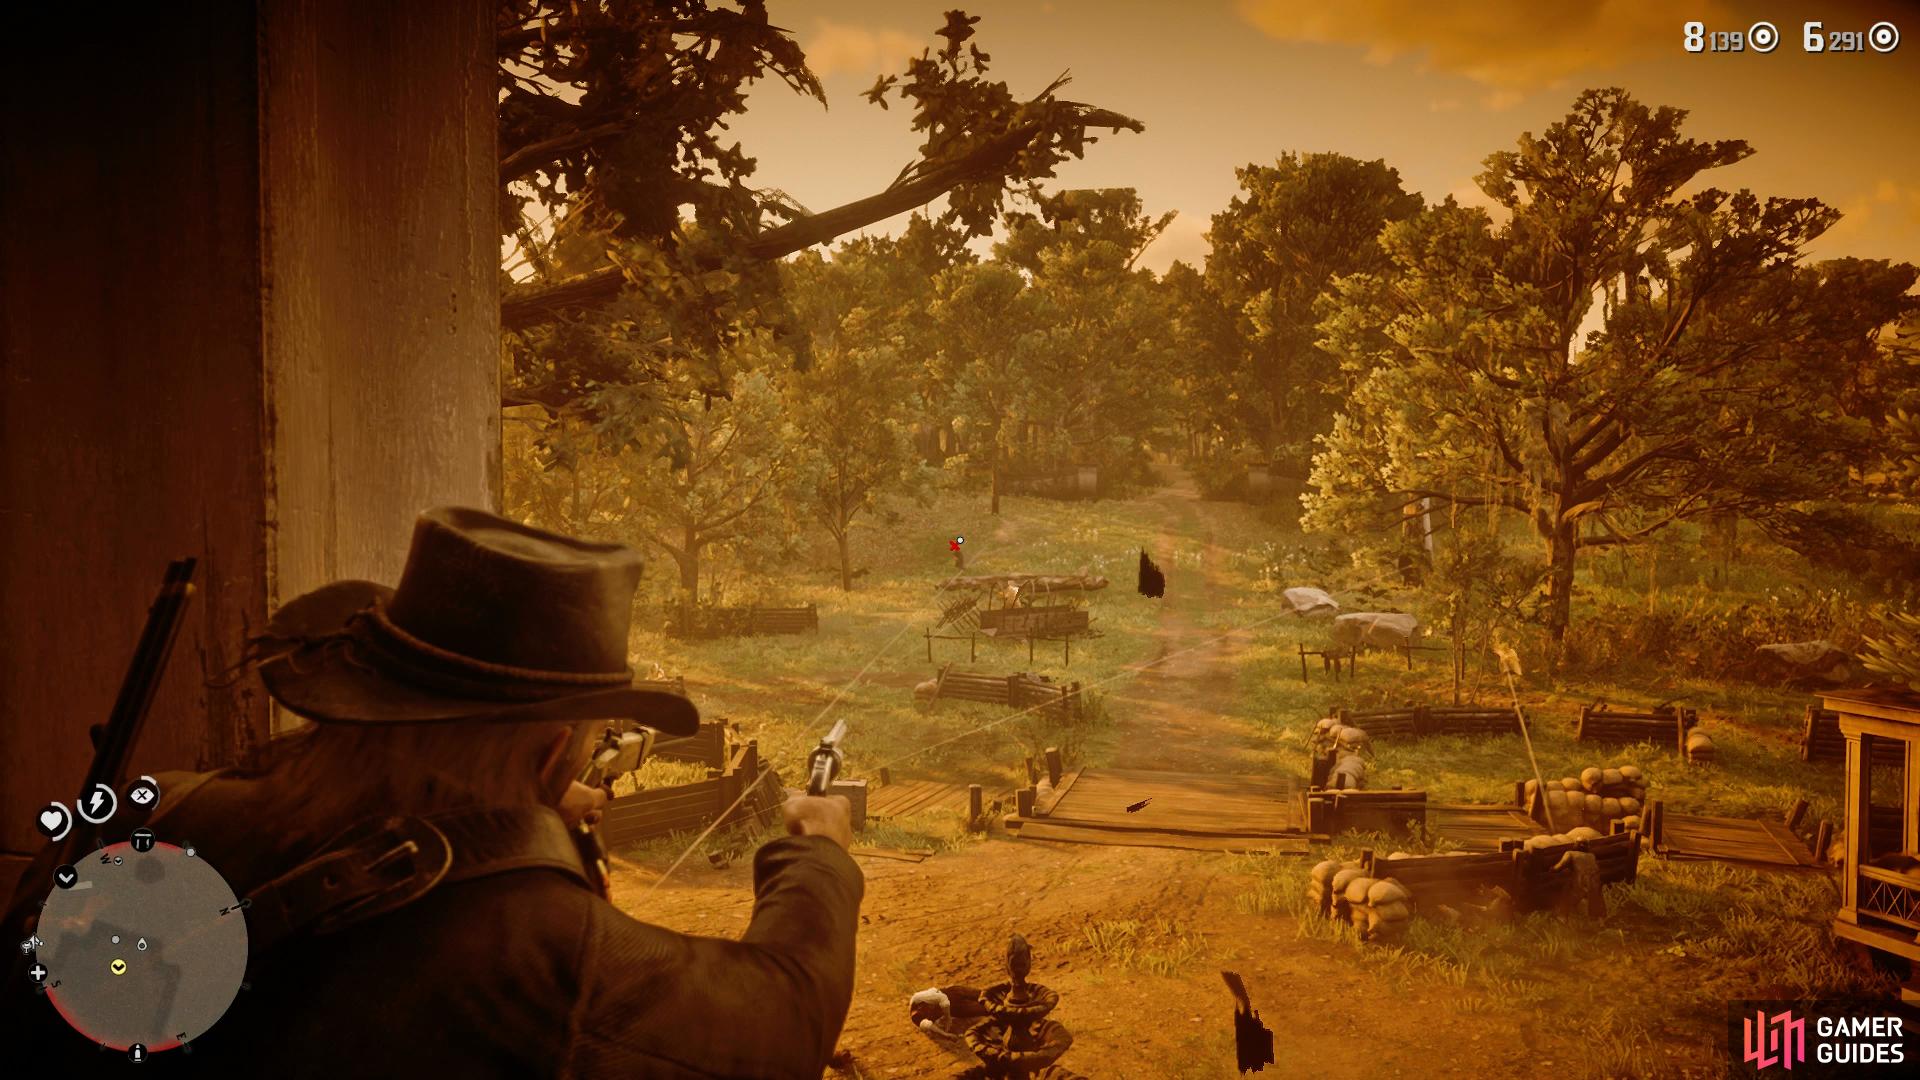
(1 of 2) Use Dead Eye on the balcony, it’s hard to nail headshots from this distance with Sidearms
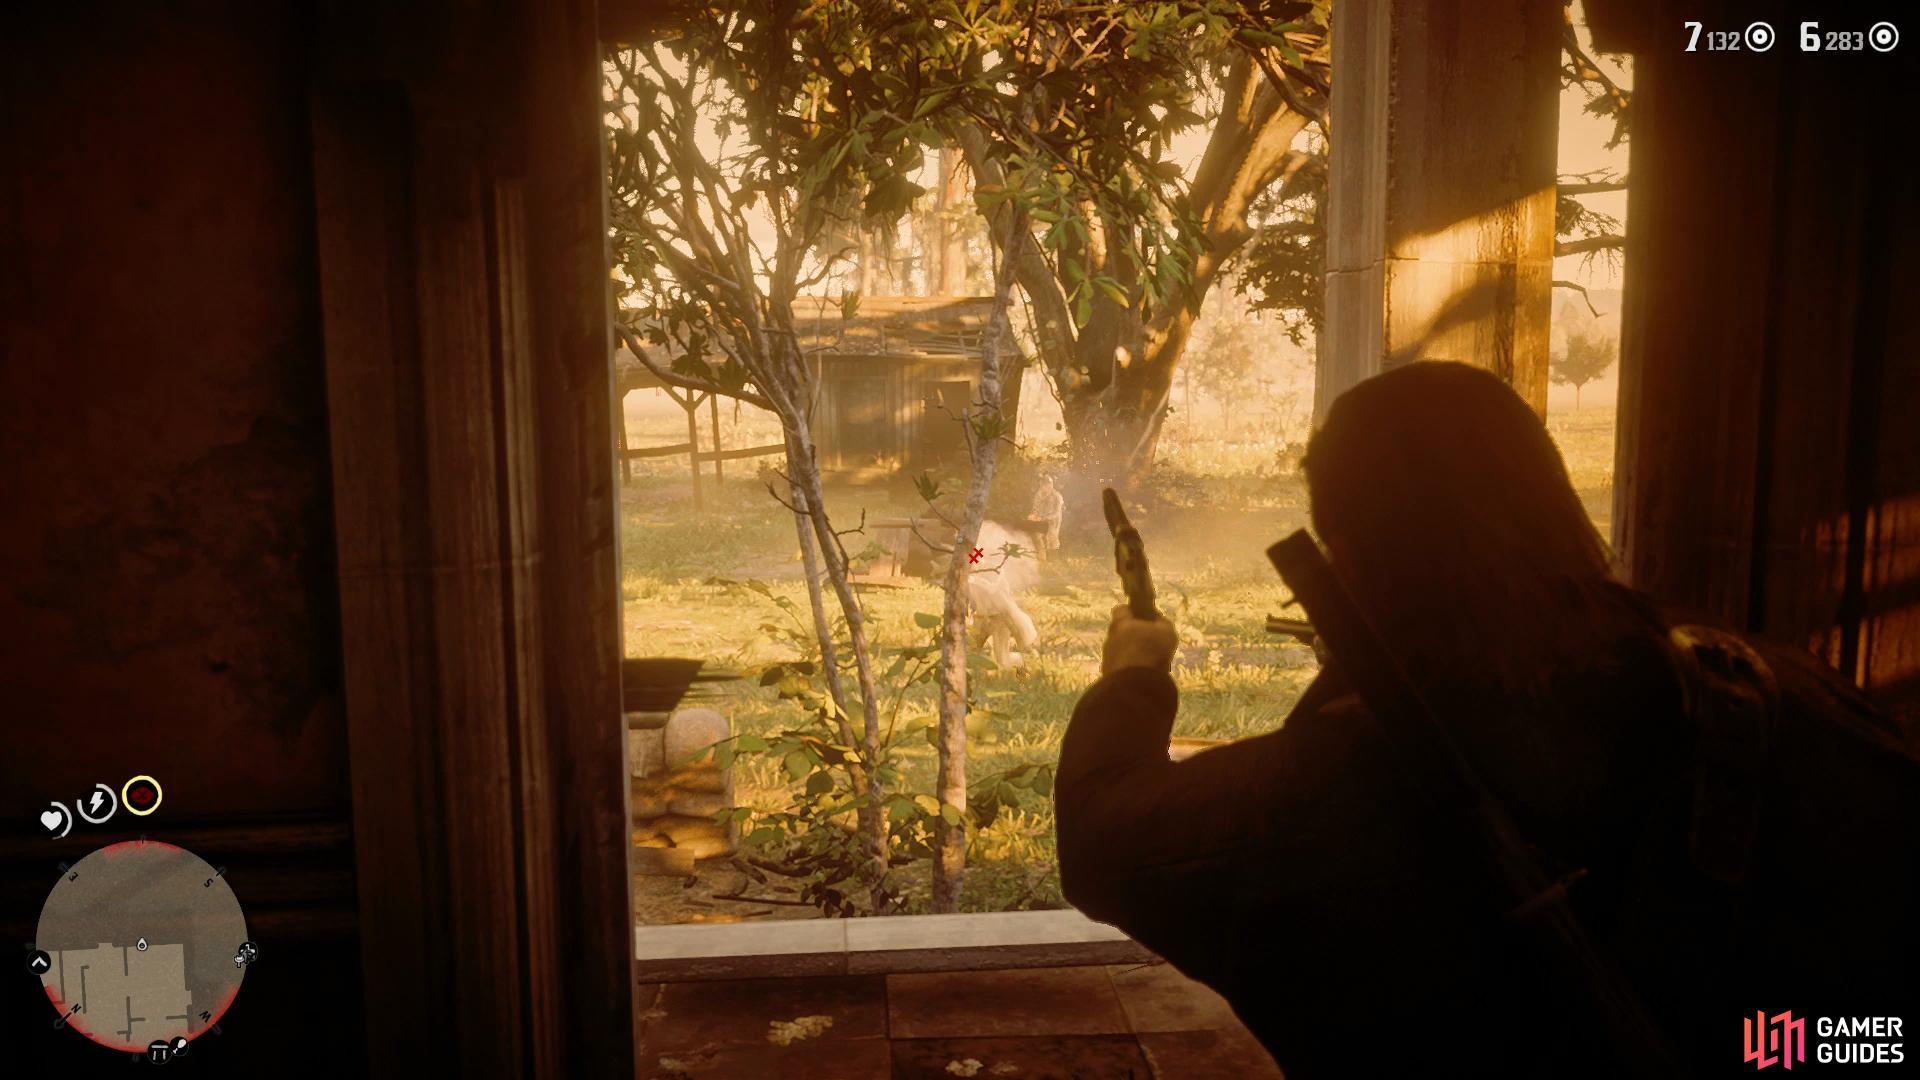
Use Dead Eye on the balcony, it’s hard to nail headshots from this distance with Sidearms (left), the O’Driscolls that approach the window are easy pickings. (right)
Once the action moves downstairs, head out into the courtyard to help the others. Stay in cover here as it’s easy to get riddled with bullets and you can’t recover your health for the Gold Medal. Only stay as long as you need to, as soon as you see the marker for the house, dash inside to push the cabinet. From the window, you’ll see some more O’Driscolls come up close, these are also prime targets for some headshots if you don’t yet have the 15 needed although don’t sacrifice your accuracy as you’ll need to maintain above 70% for the Gold.
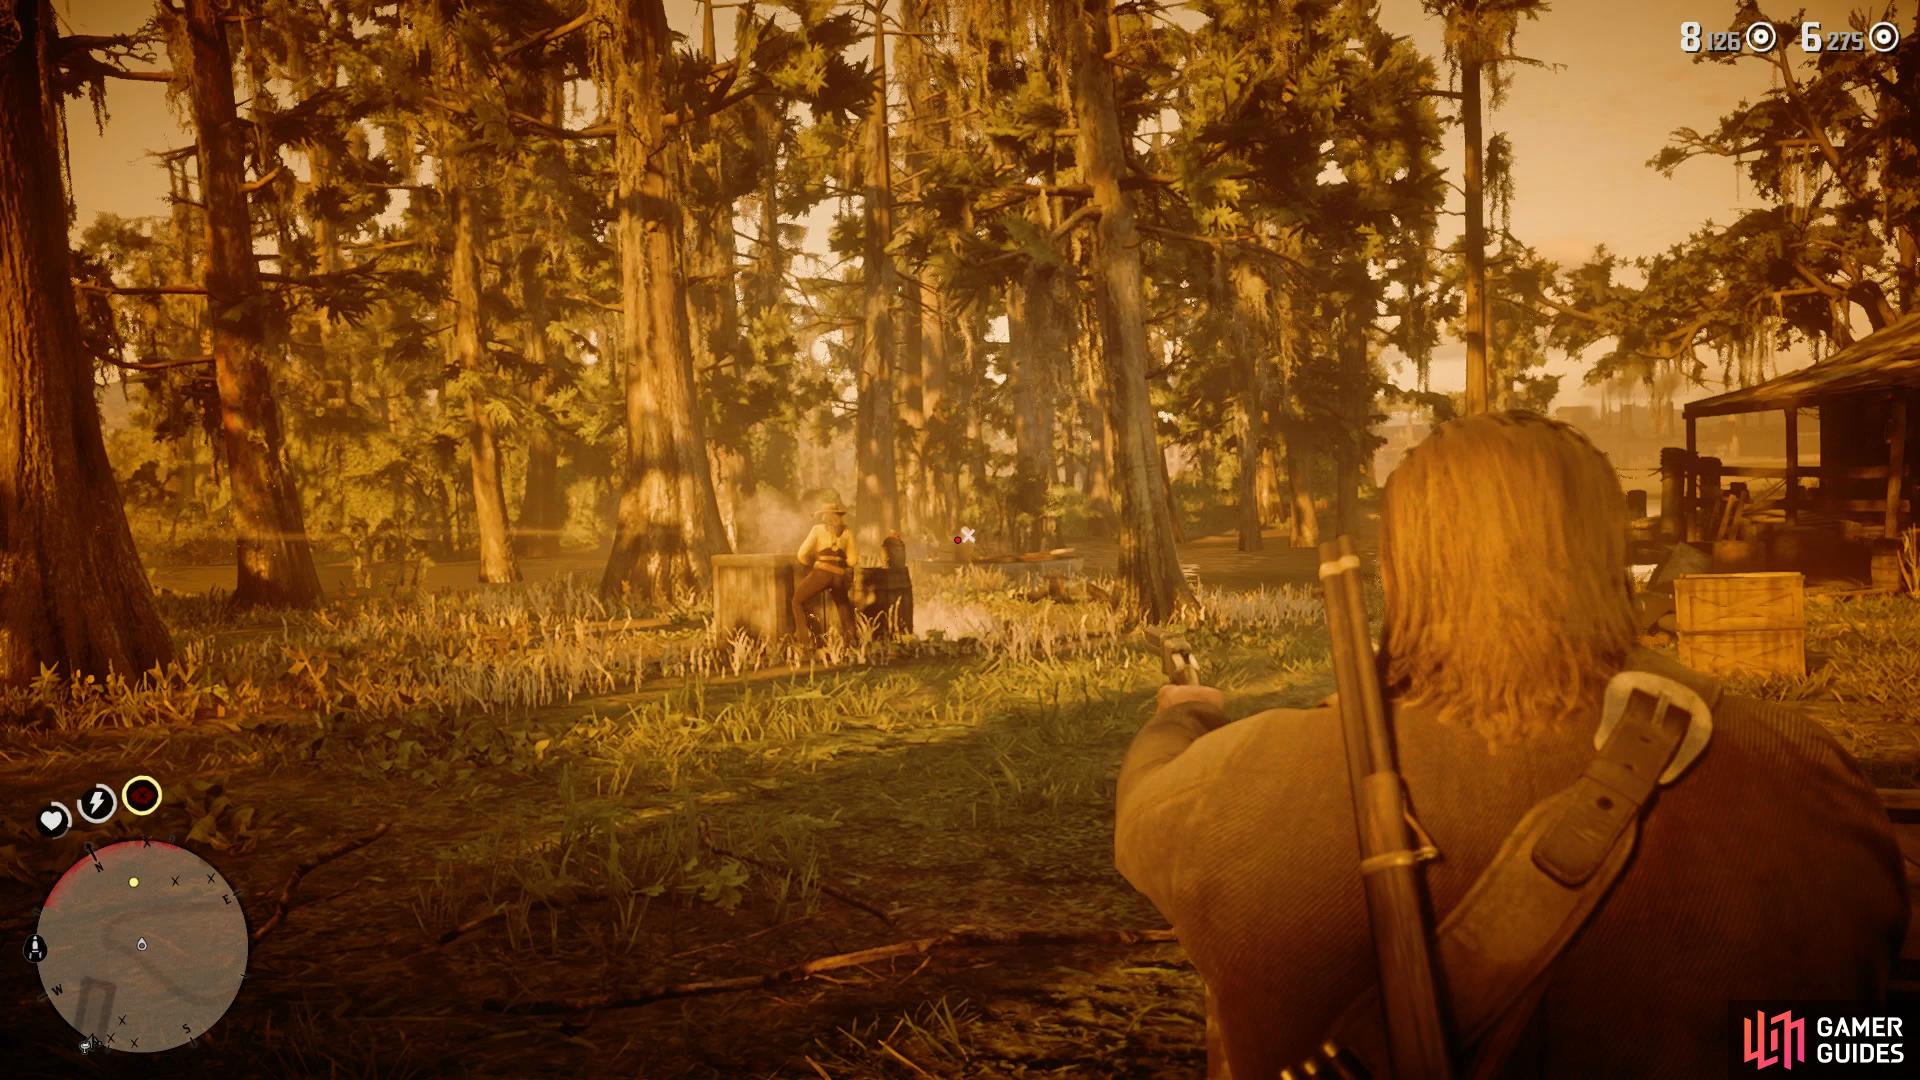
Once you hear Sadie scream, jump out the window and rush over to her, ignoring the other enemies for now. Sadie can more than handle herself however and the action will continue to the left as more O’Driscolls begin arriving by boat. Quickly take cover at the nearby crates and then enter Dead Eye to dispatch them before they disembark, you only have a short window to do this so be sure you have sufficient Dead Eye before you rush to Sadie.
Focus all your attention on the boats when they arrive.
Finally, you’ll begin heading back around the side of the house, take out the enemies in the immediate vicinity before heading to the courtyard with the other gang members. Let them take the lead to avoid taking any unnecessary damage and then pick off the retreating O’Driscolls to boost your headshot count with ease.


 Sign up
No Comments