Finding the Map
The Poisonous Trail treasure map is one of Red Dead Redemption 2’s many secrets. There is no indication of where to find this map unless you’re diligent about searching everywhere, it’s unlikley you’ll stumble upon this map. Fortunately for you, this guide has you covered there, read on to find out more about this special treasure map.
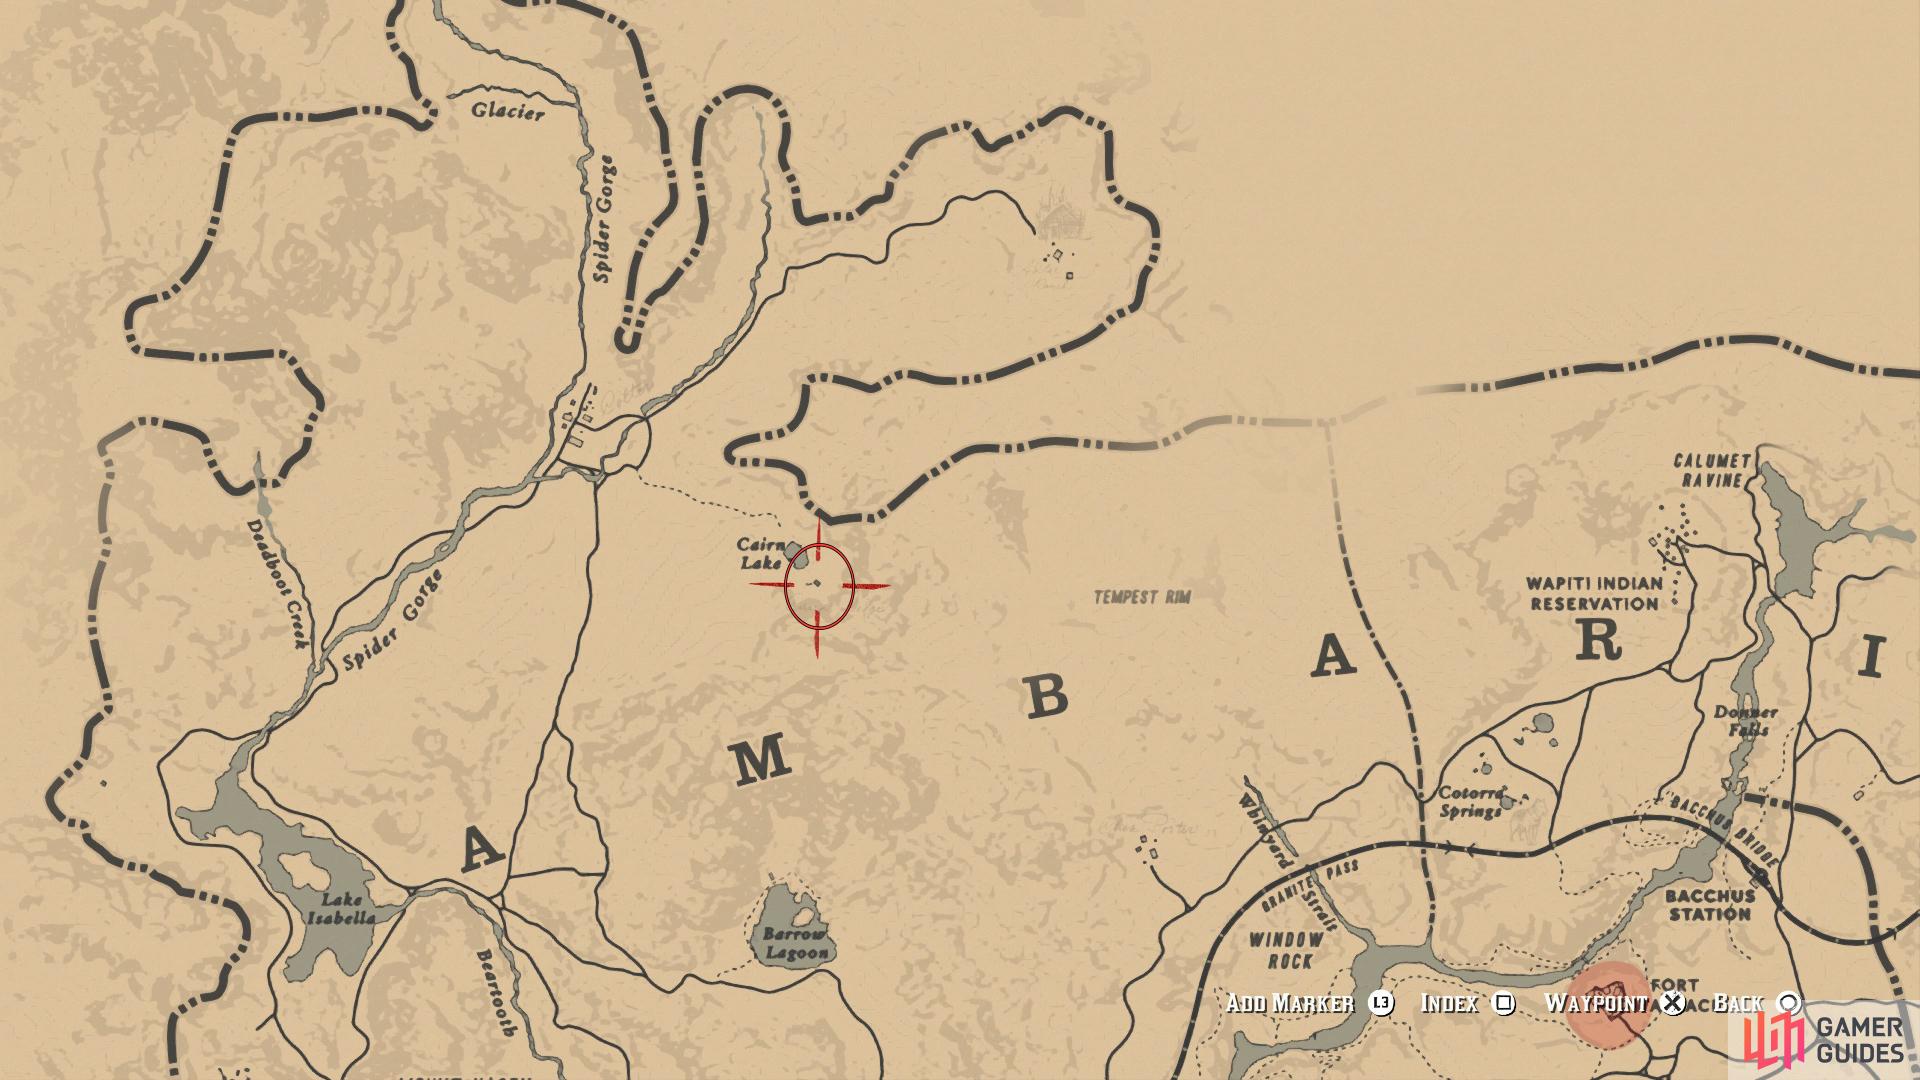
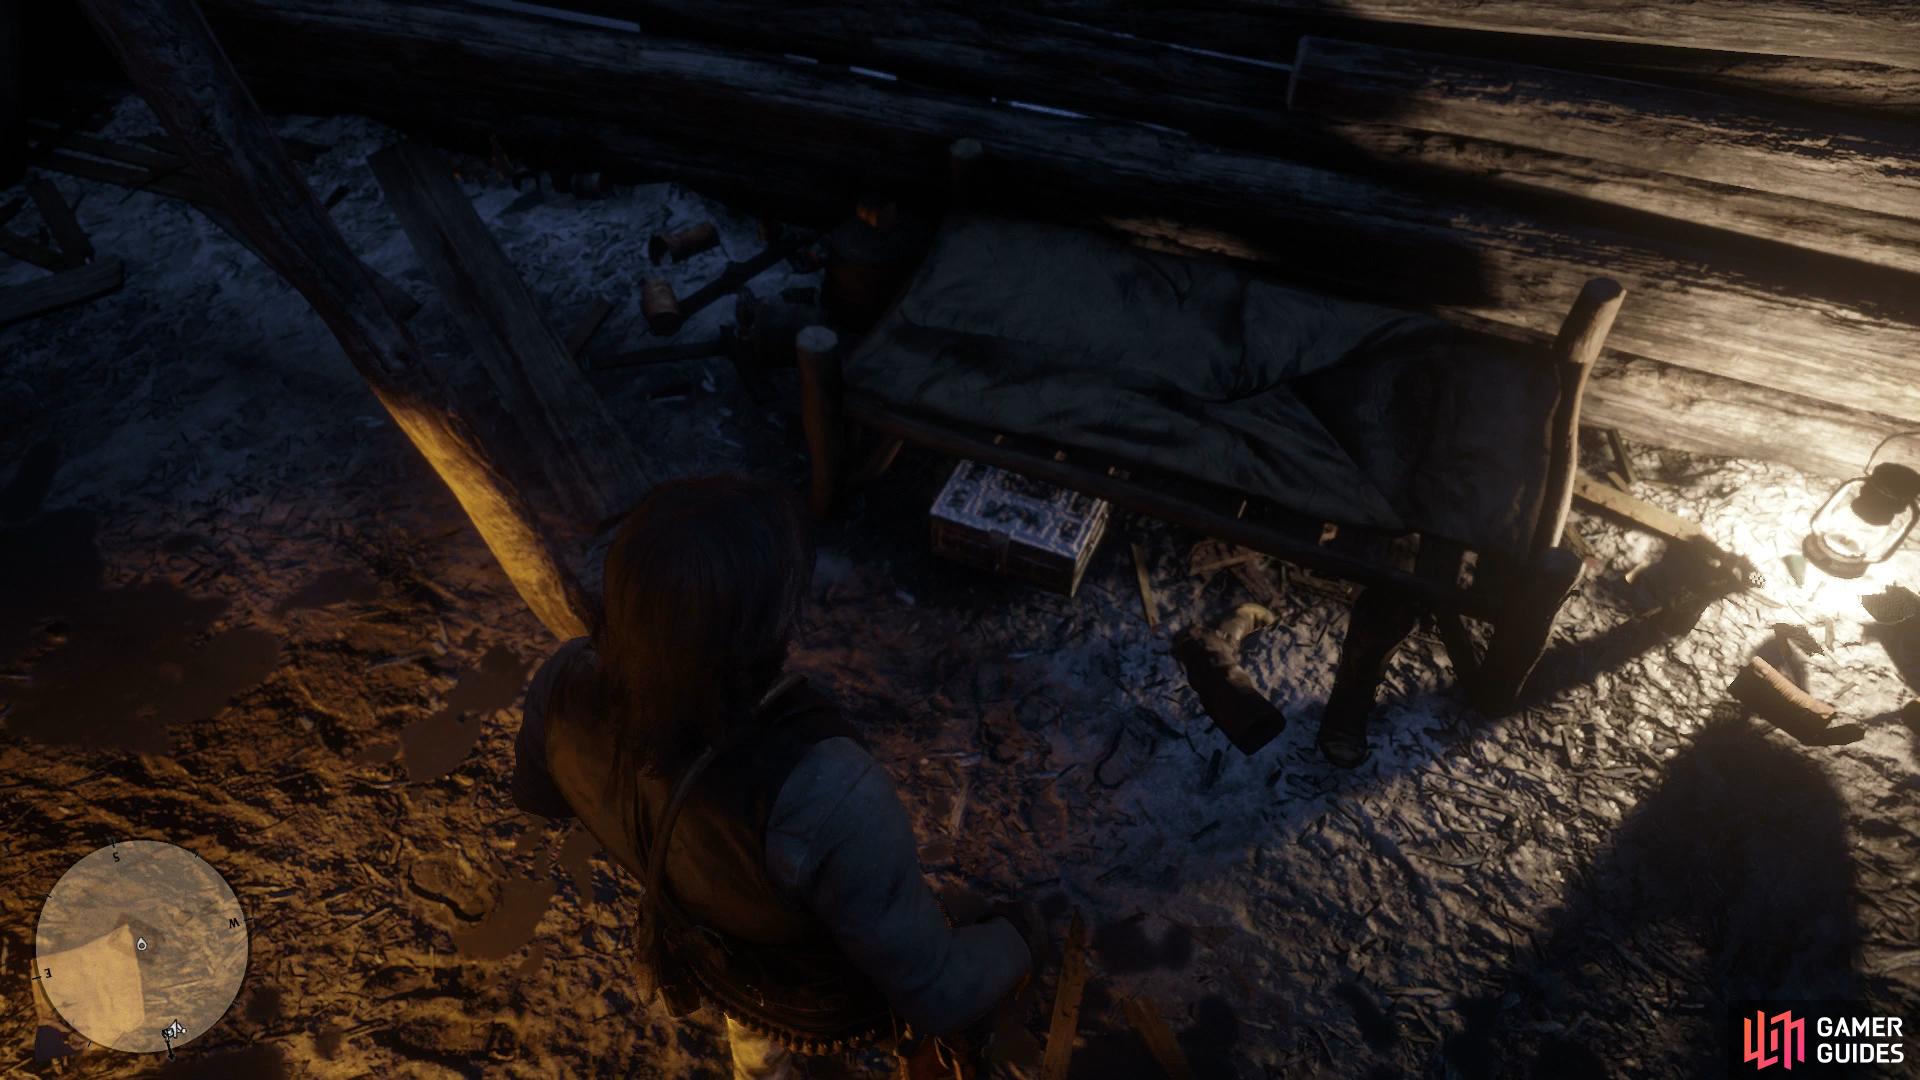
To get the ball rolling, you’ll need to find the map itself and for that, you’ll need to take a trip to Cairn Lake, northwest of Ambarino. Once there, head to the southwest of the lake to find a small hut and inside, search under the bed to find a lockbox with the map inside.
Search under the bed to find the first map.
Map #2
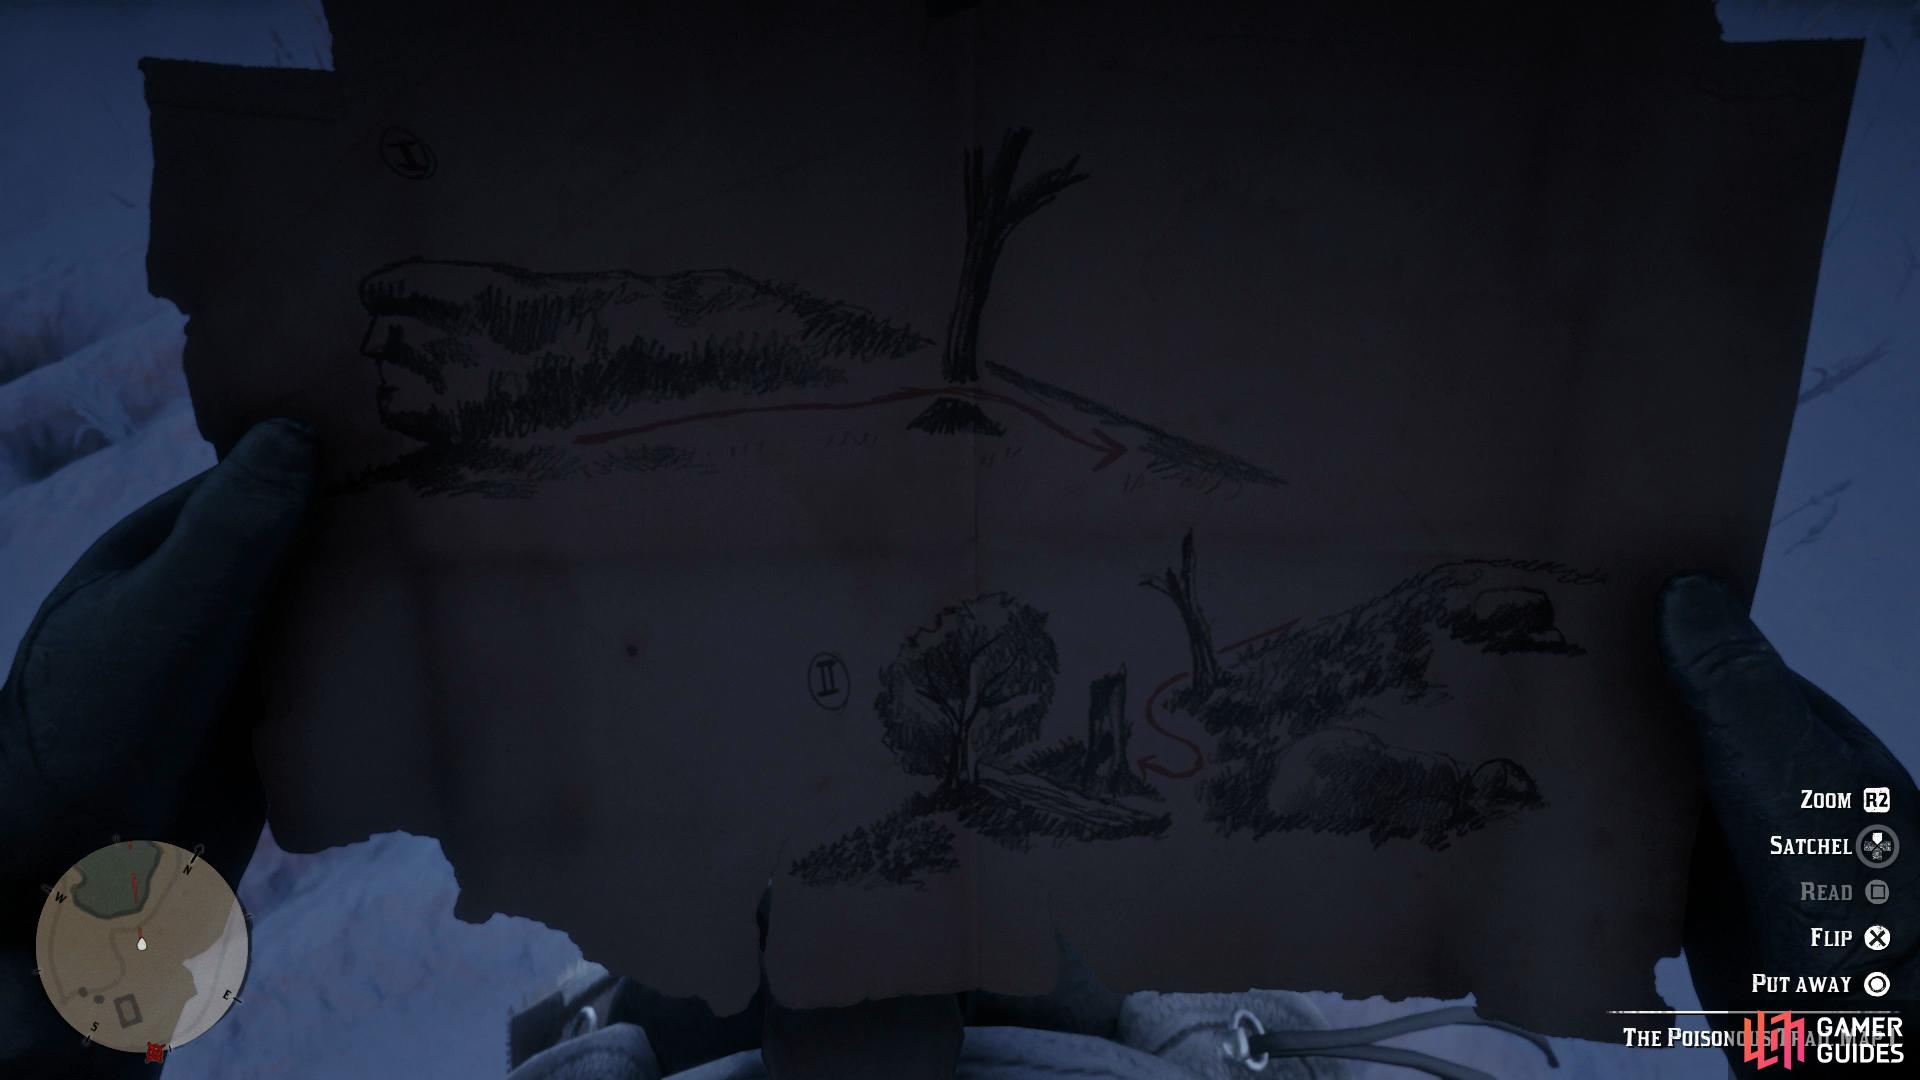
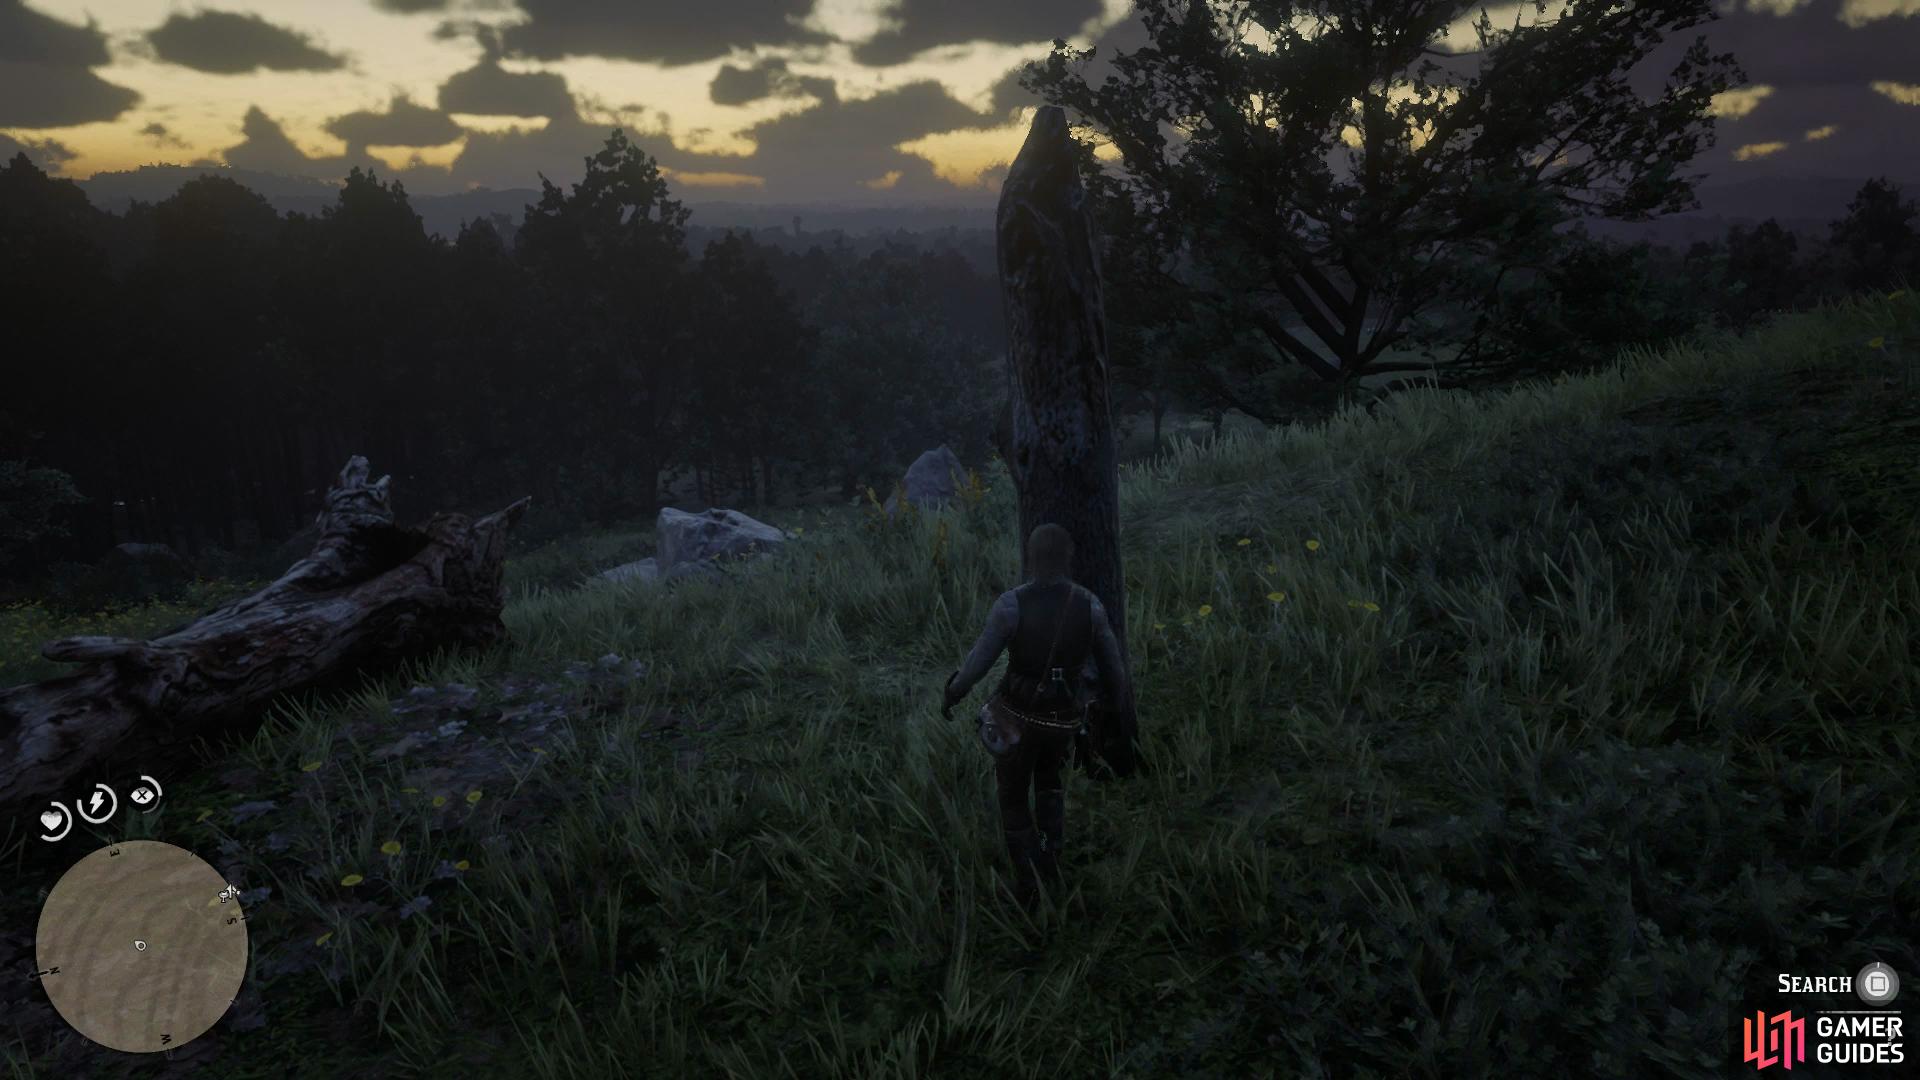
(1 of 2) Take note of the first tree
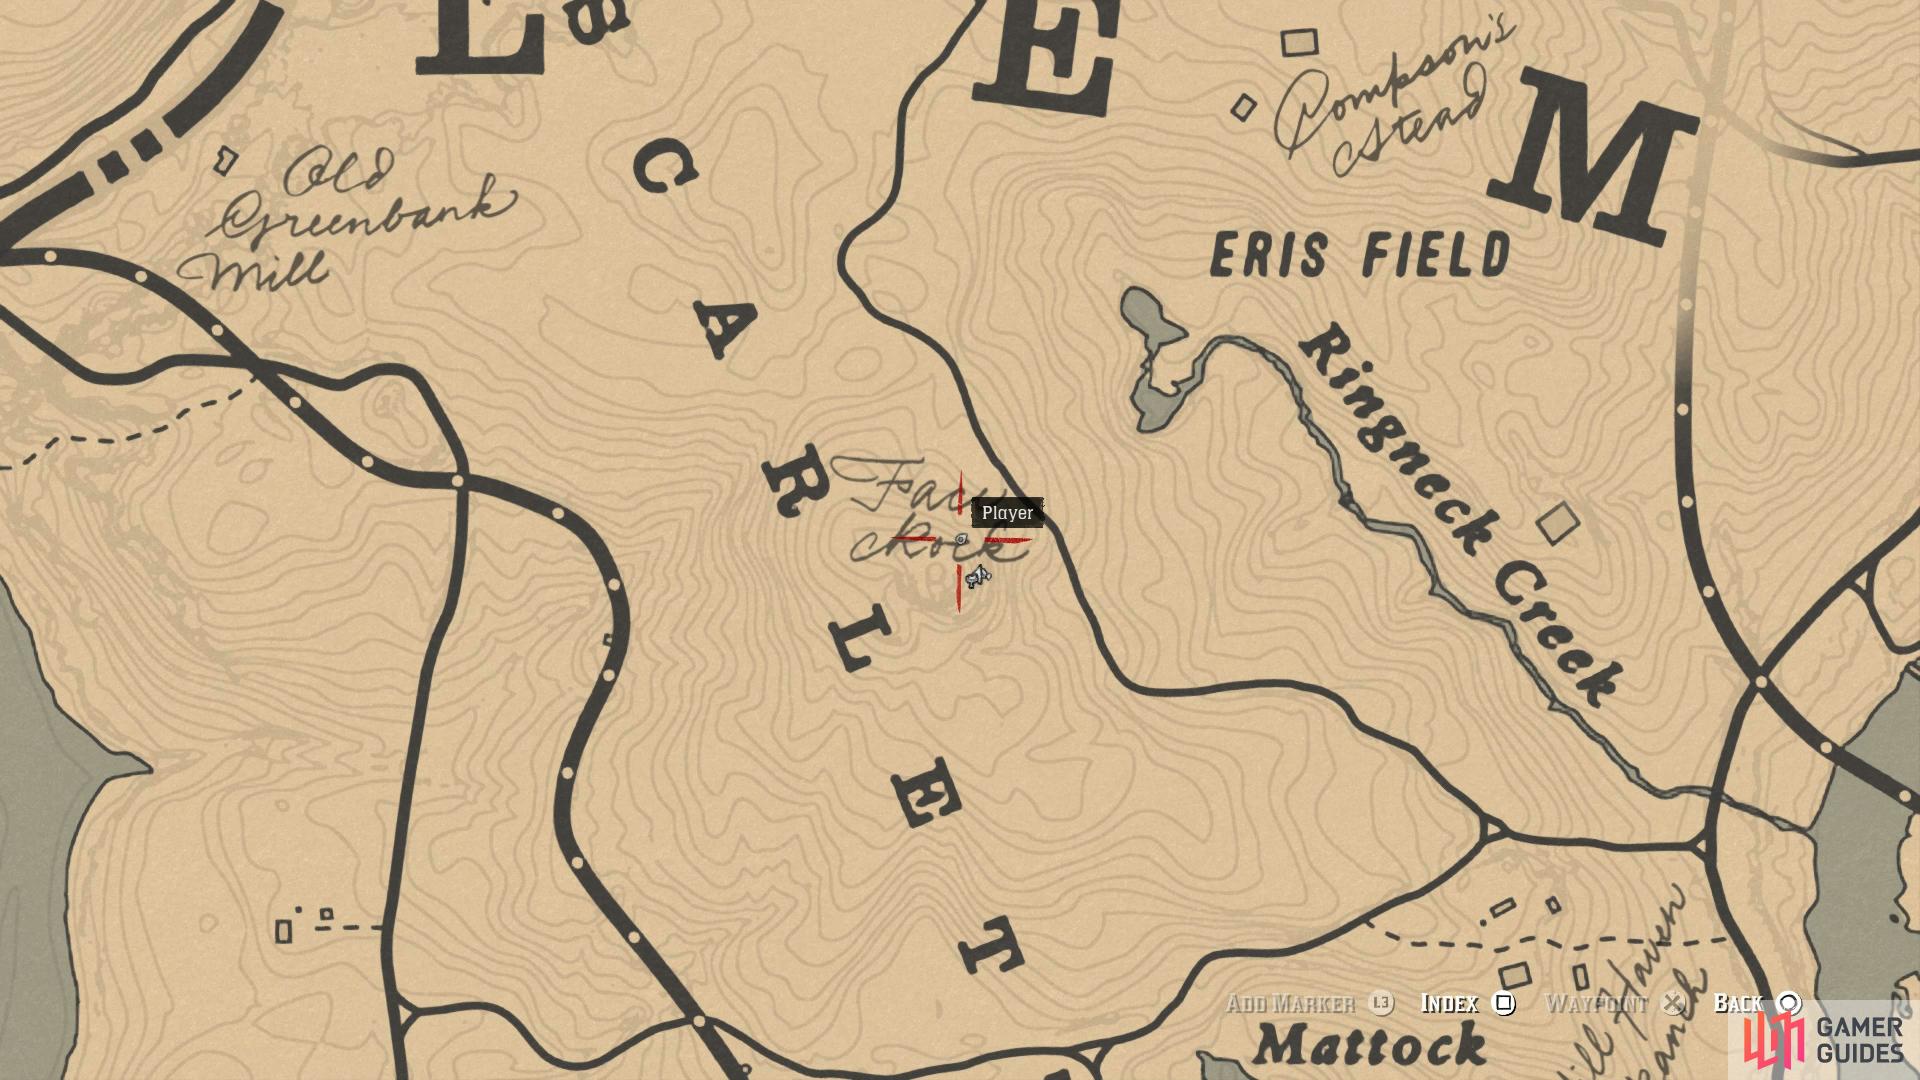
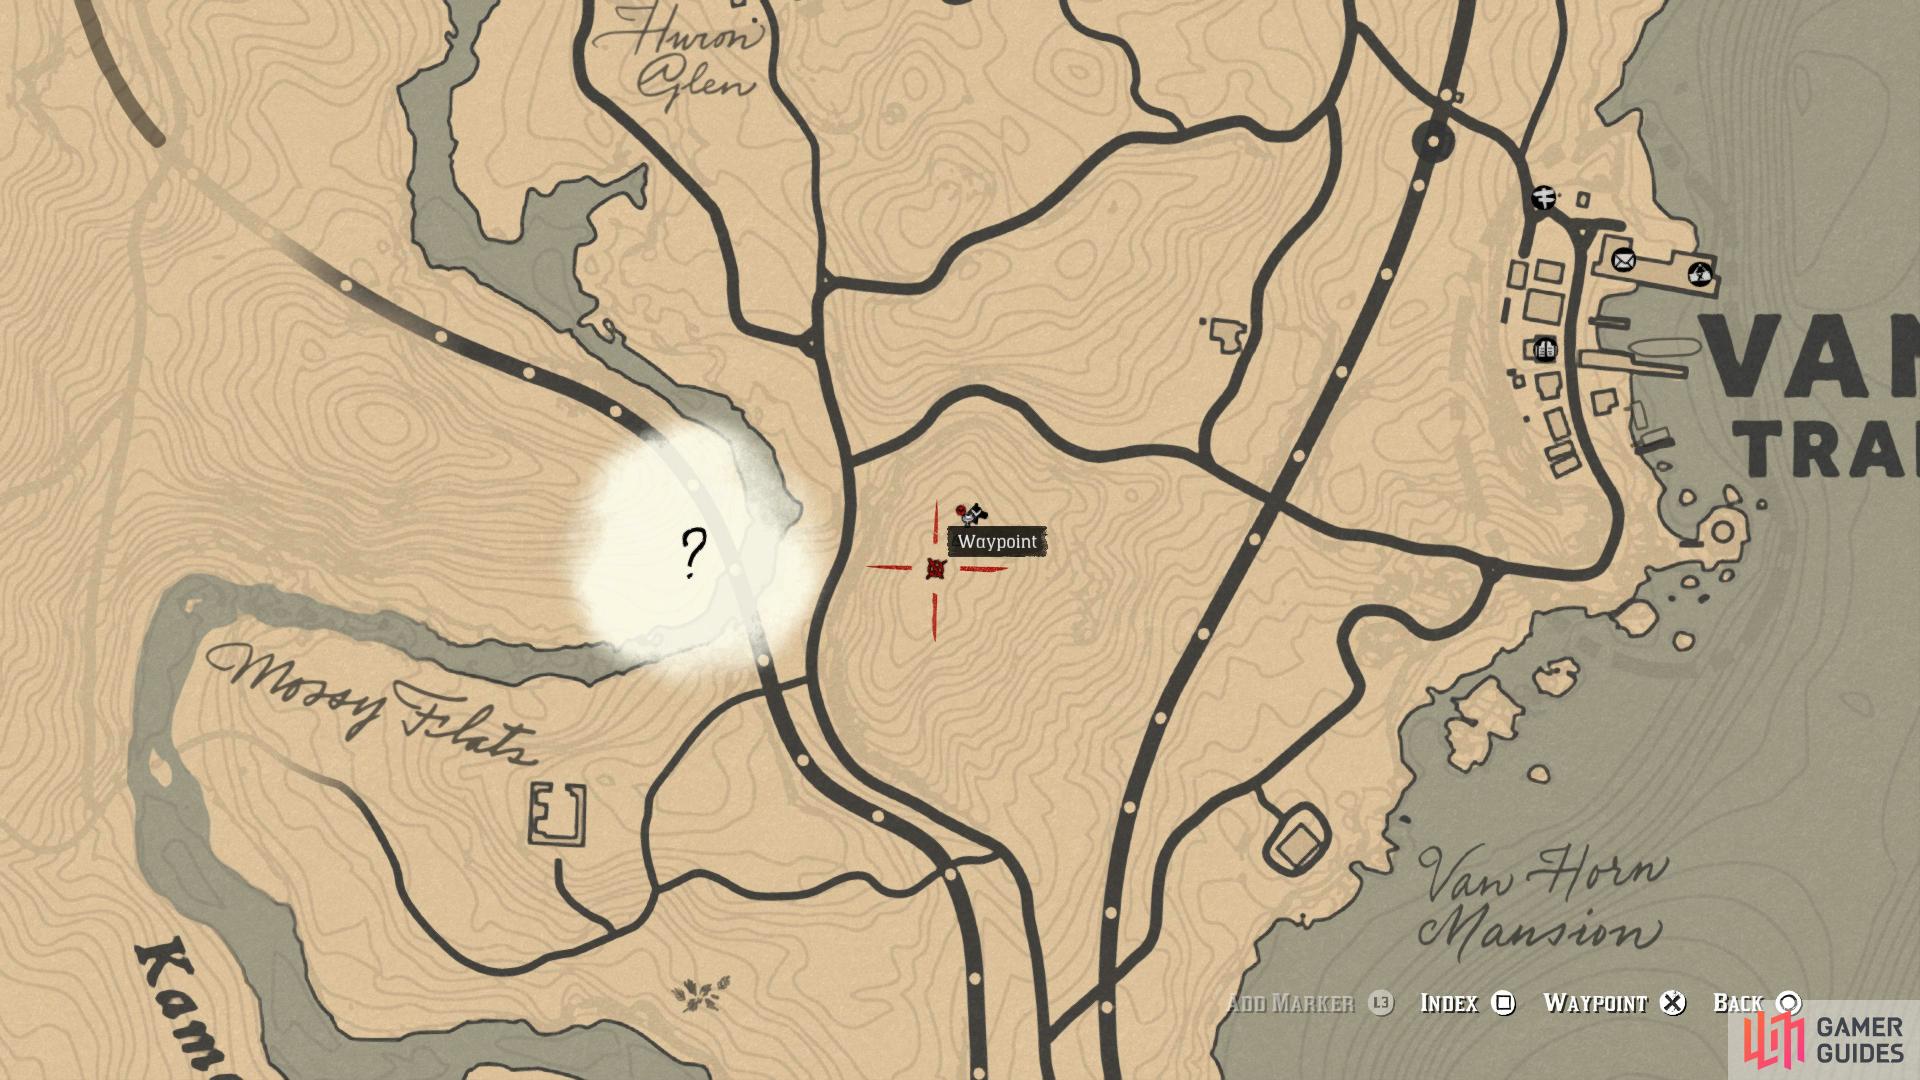
Take note of the first tree (left), you’ll find the location to the southwest of Eris Field. (right)
Taking a look at the piece of map that you now possess you’ll notice three different trees, with a path leading to a smaller one. Open your map and look to the southwest of Eris Field, to the right of the “R” of Scarlett Meadows and make your way there. Locate the first tree once you reach the location and head down to the next tree close to the fallen trees. Search around the base of it to find your next piece of the Poisonous Trail.
This tree sits near two fallen trees.
Map #3
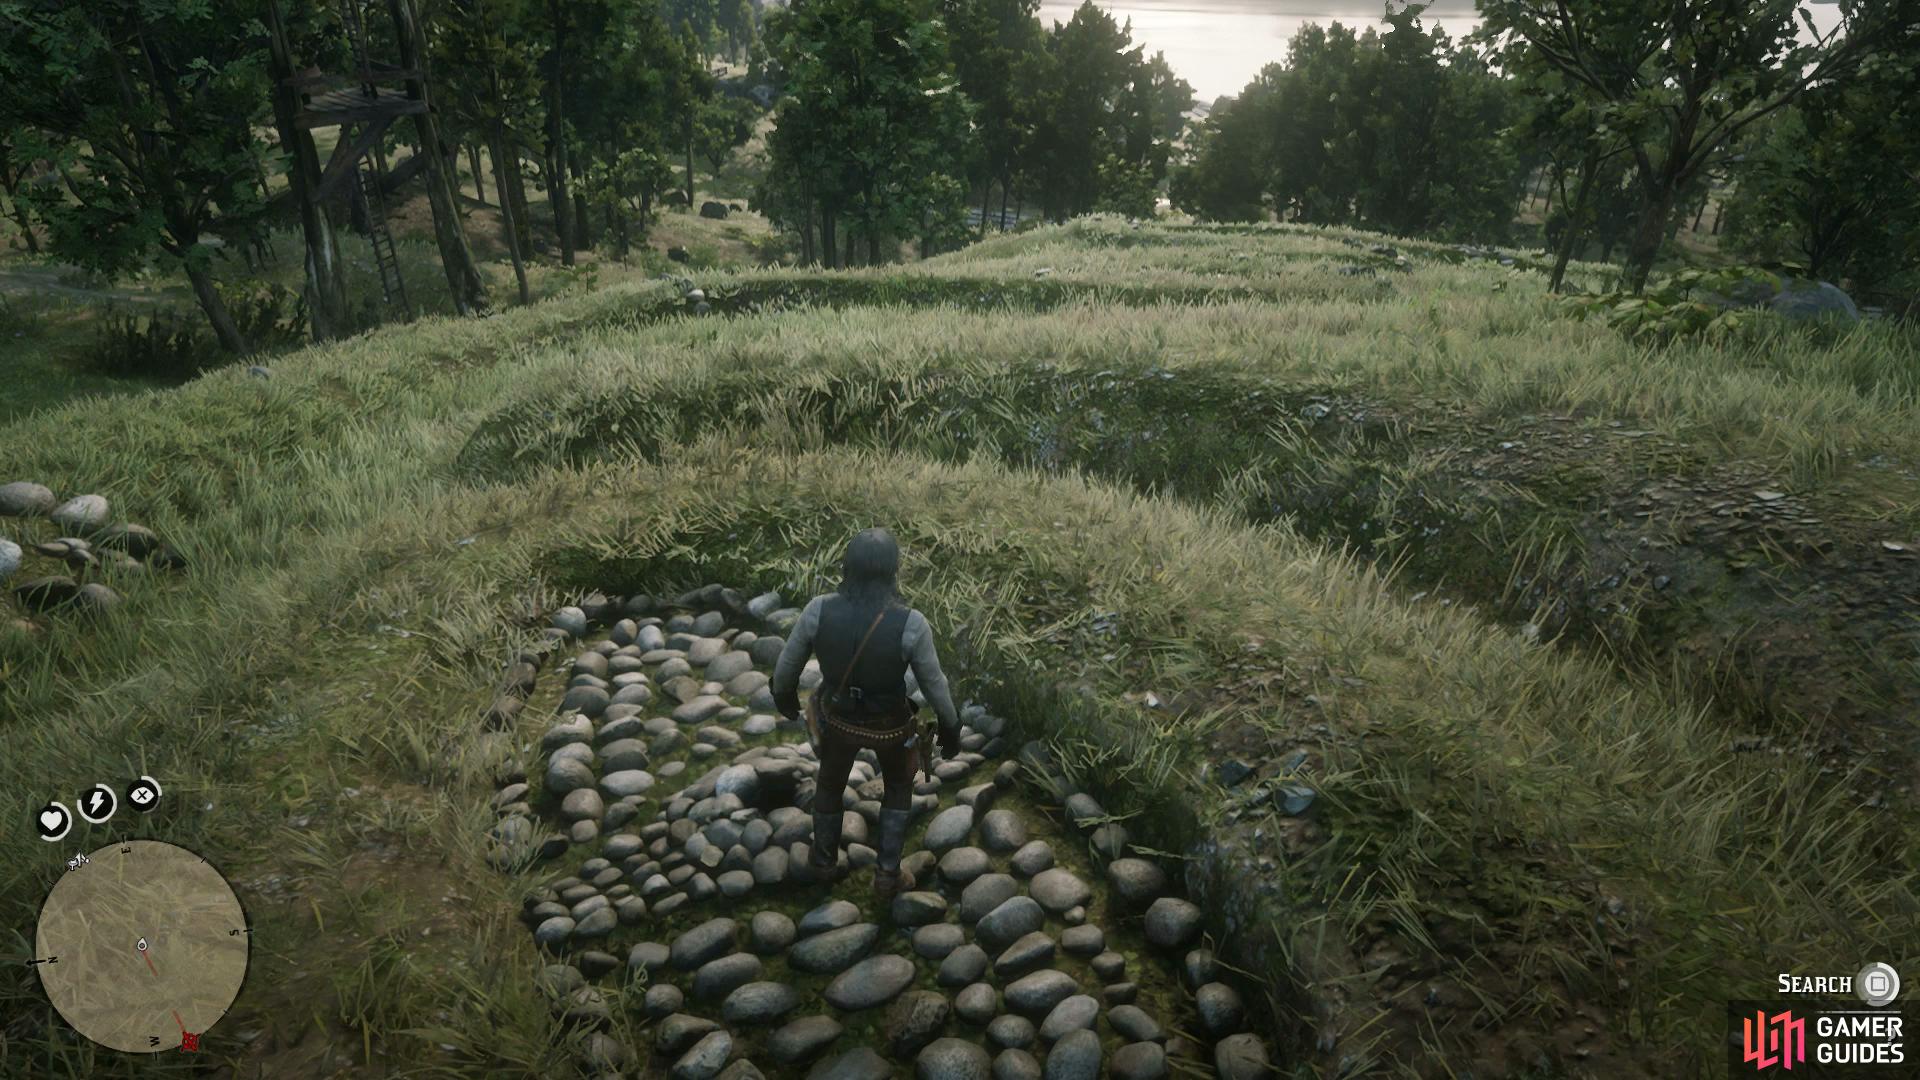
(1 of 2) The pattern in the field is the key for the next map
The pattern in the field is the key for the next map (left), you’ll find this field to the southwest of Van Horn. (right)
Upon looking at the next map, you’ll notice right away the strange pattern in the field. To reach the location, make your way to Van Horn and then travel southwest. Once you reach the location in question, head into the center of the pattern to find a formation of rocks which upon inspection, holds the final map leading to the treasure.
The map awaits in the center of the pattern.
The Treasure
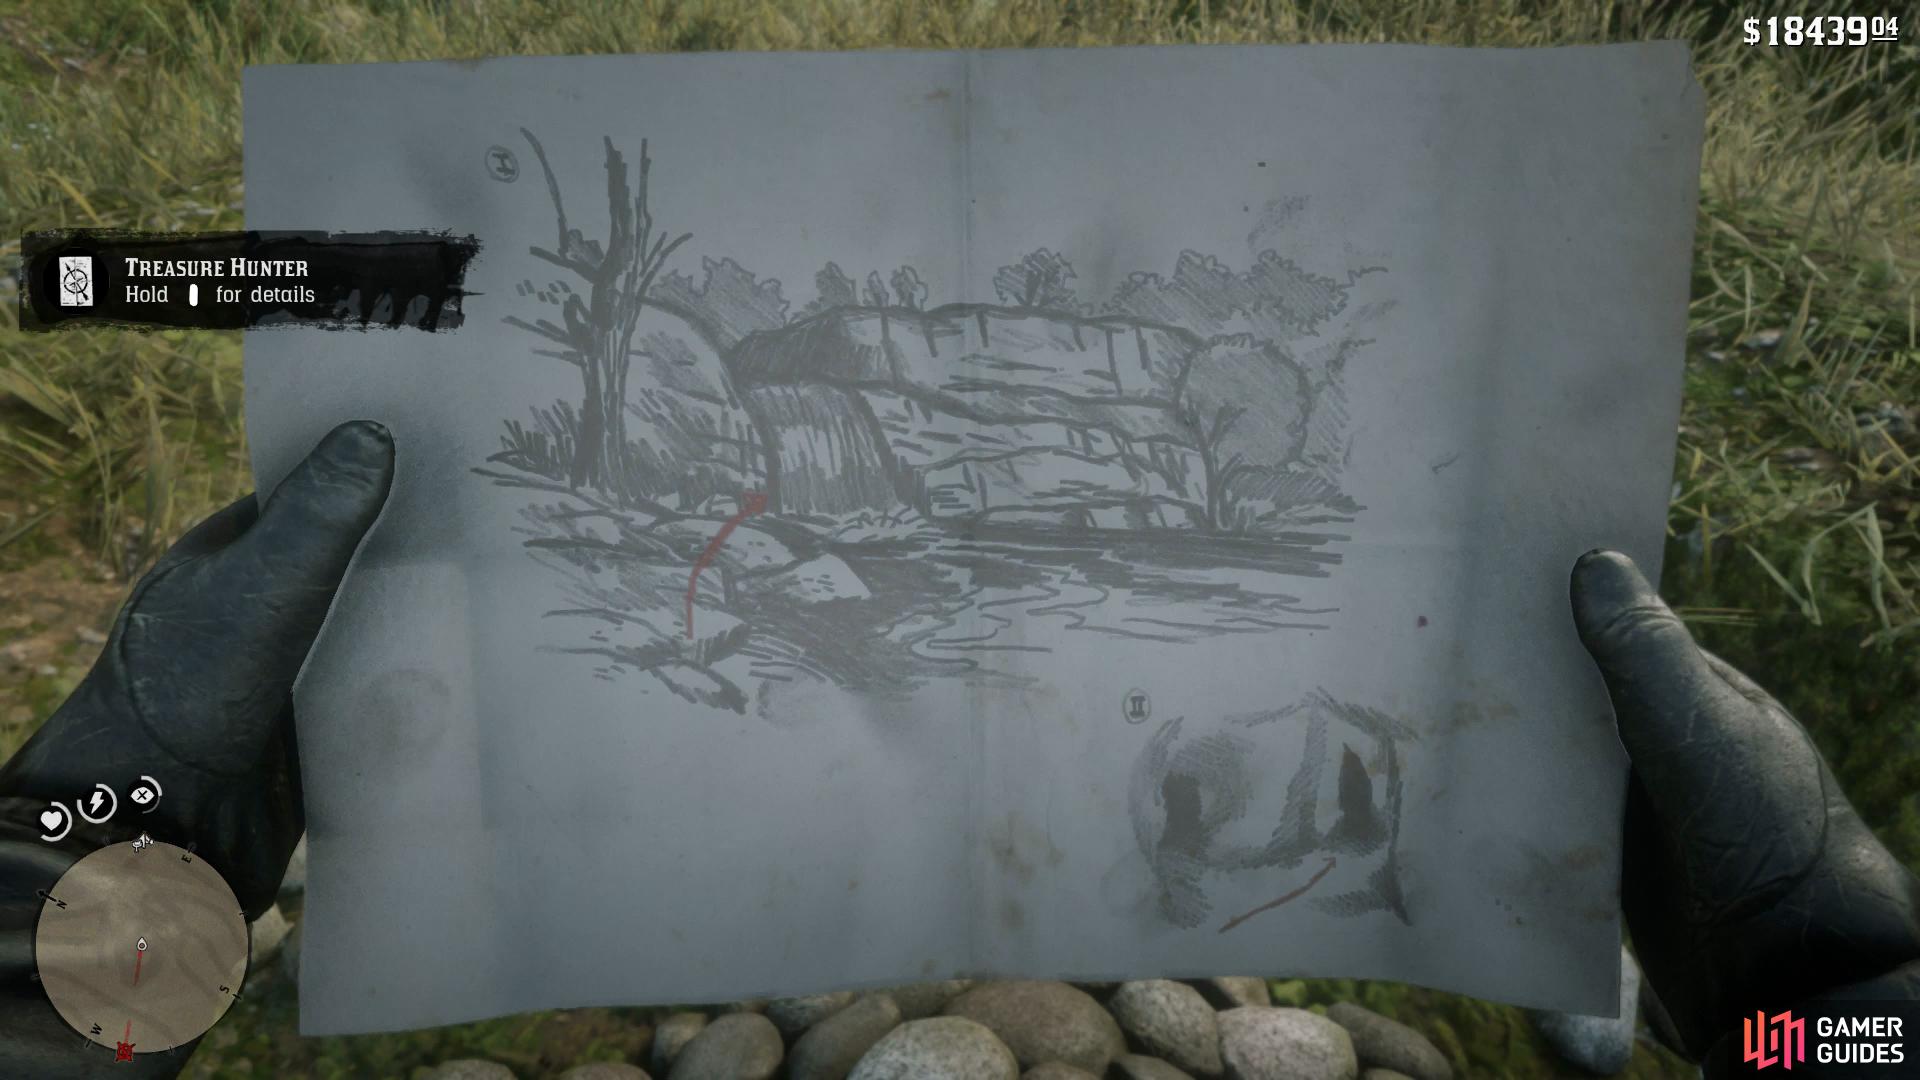
(1 of 2) Take note of the waterfall in the map
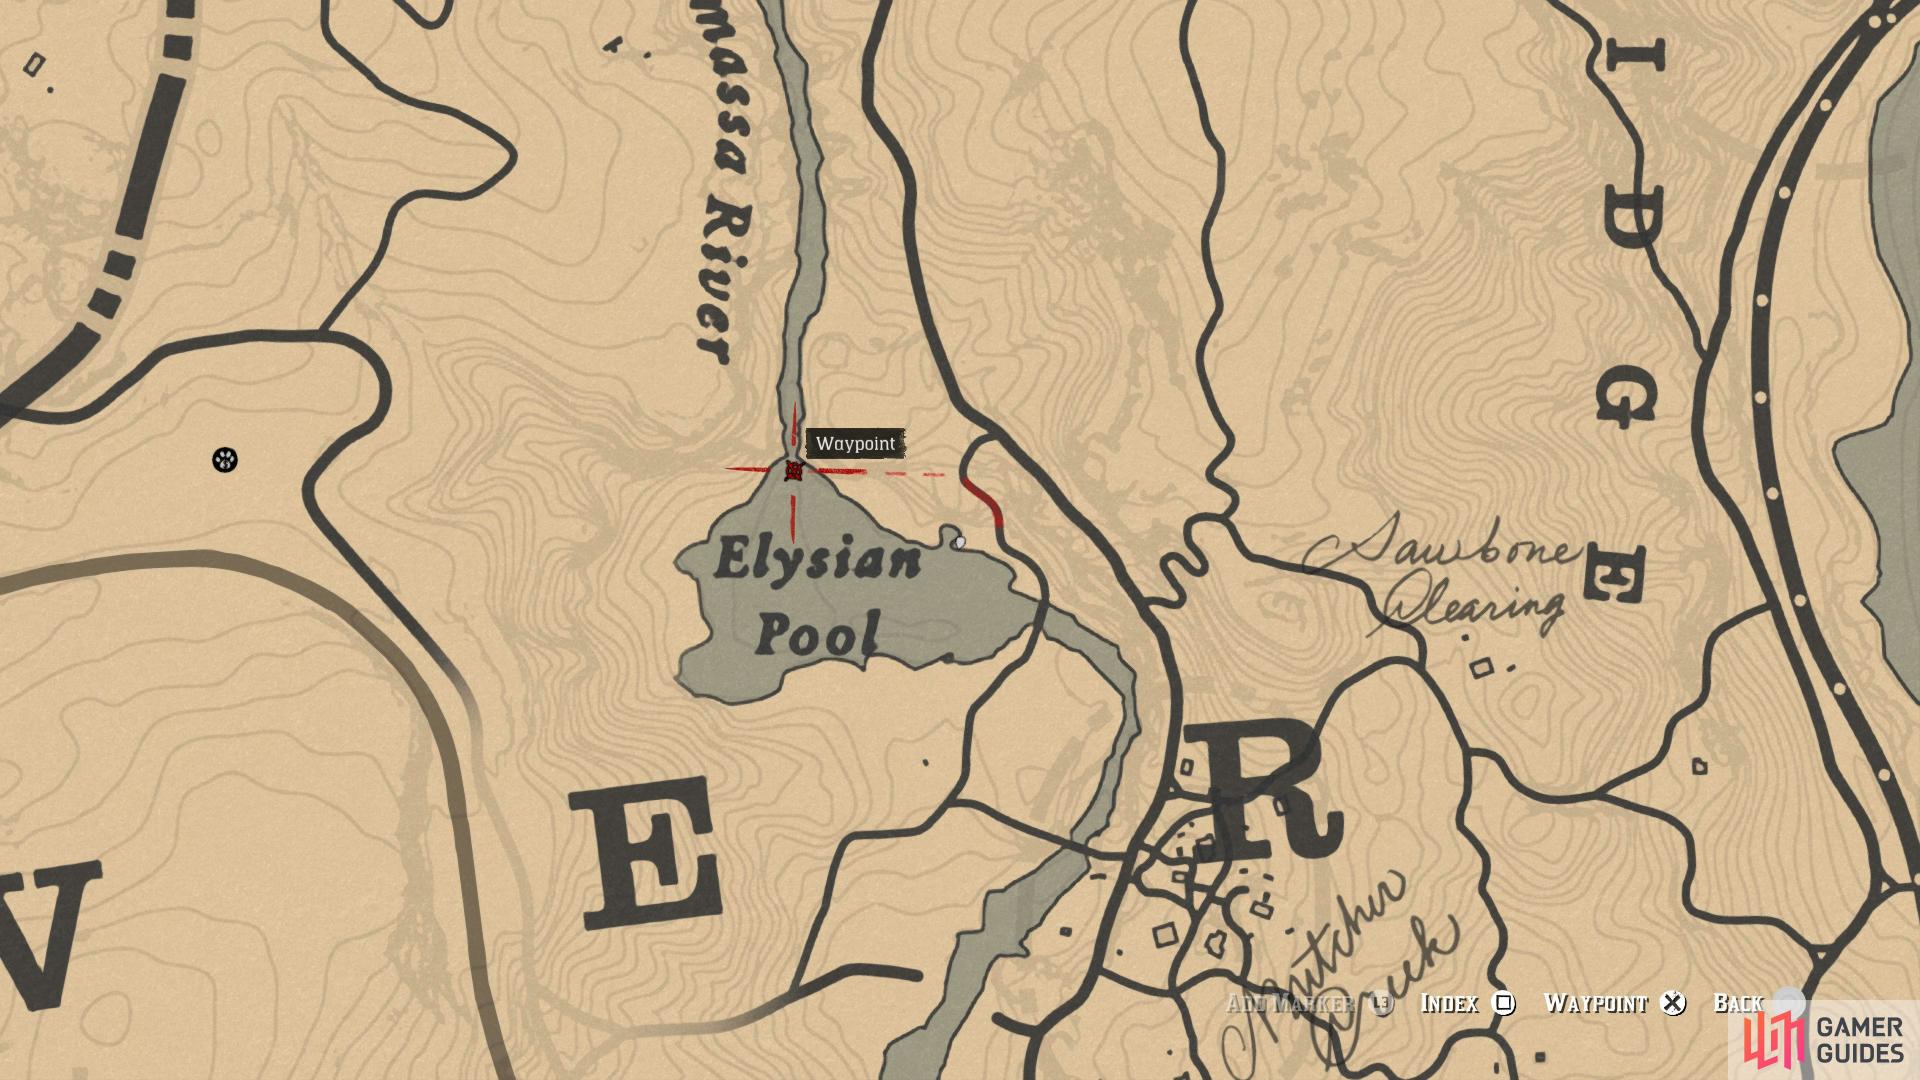
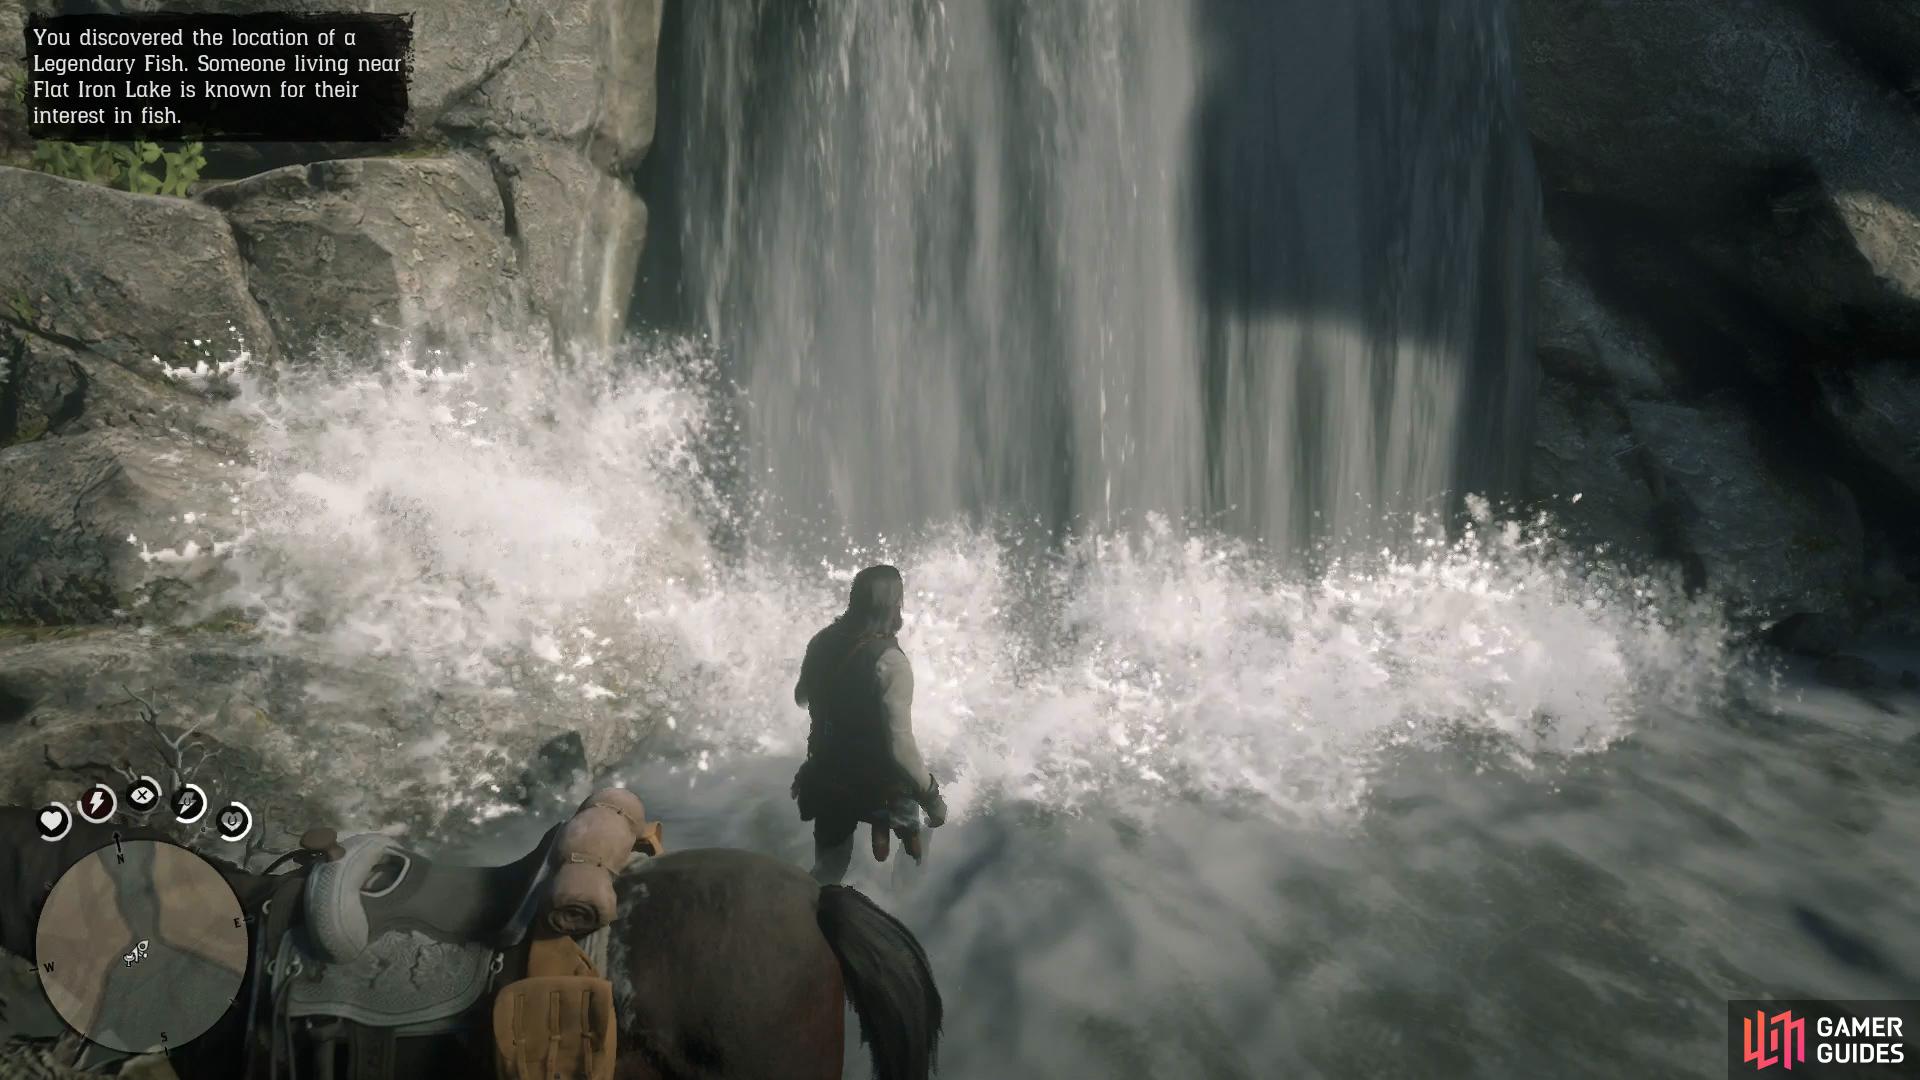
Take note of the waterfall in the map (left), you’ll find it at the Elysian Pool to the northwest of Van Horn. (right)
You now have the location of the treasure itself, make your way to the Elysian Pool found to the northwest of Van Horn or north from your current location. Upon reaching the lake, look for the waterfall and head behind it to find a hidden cave.
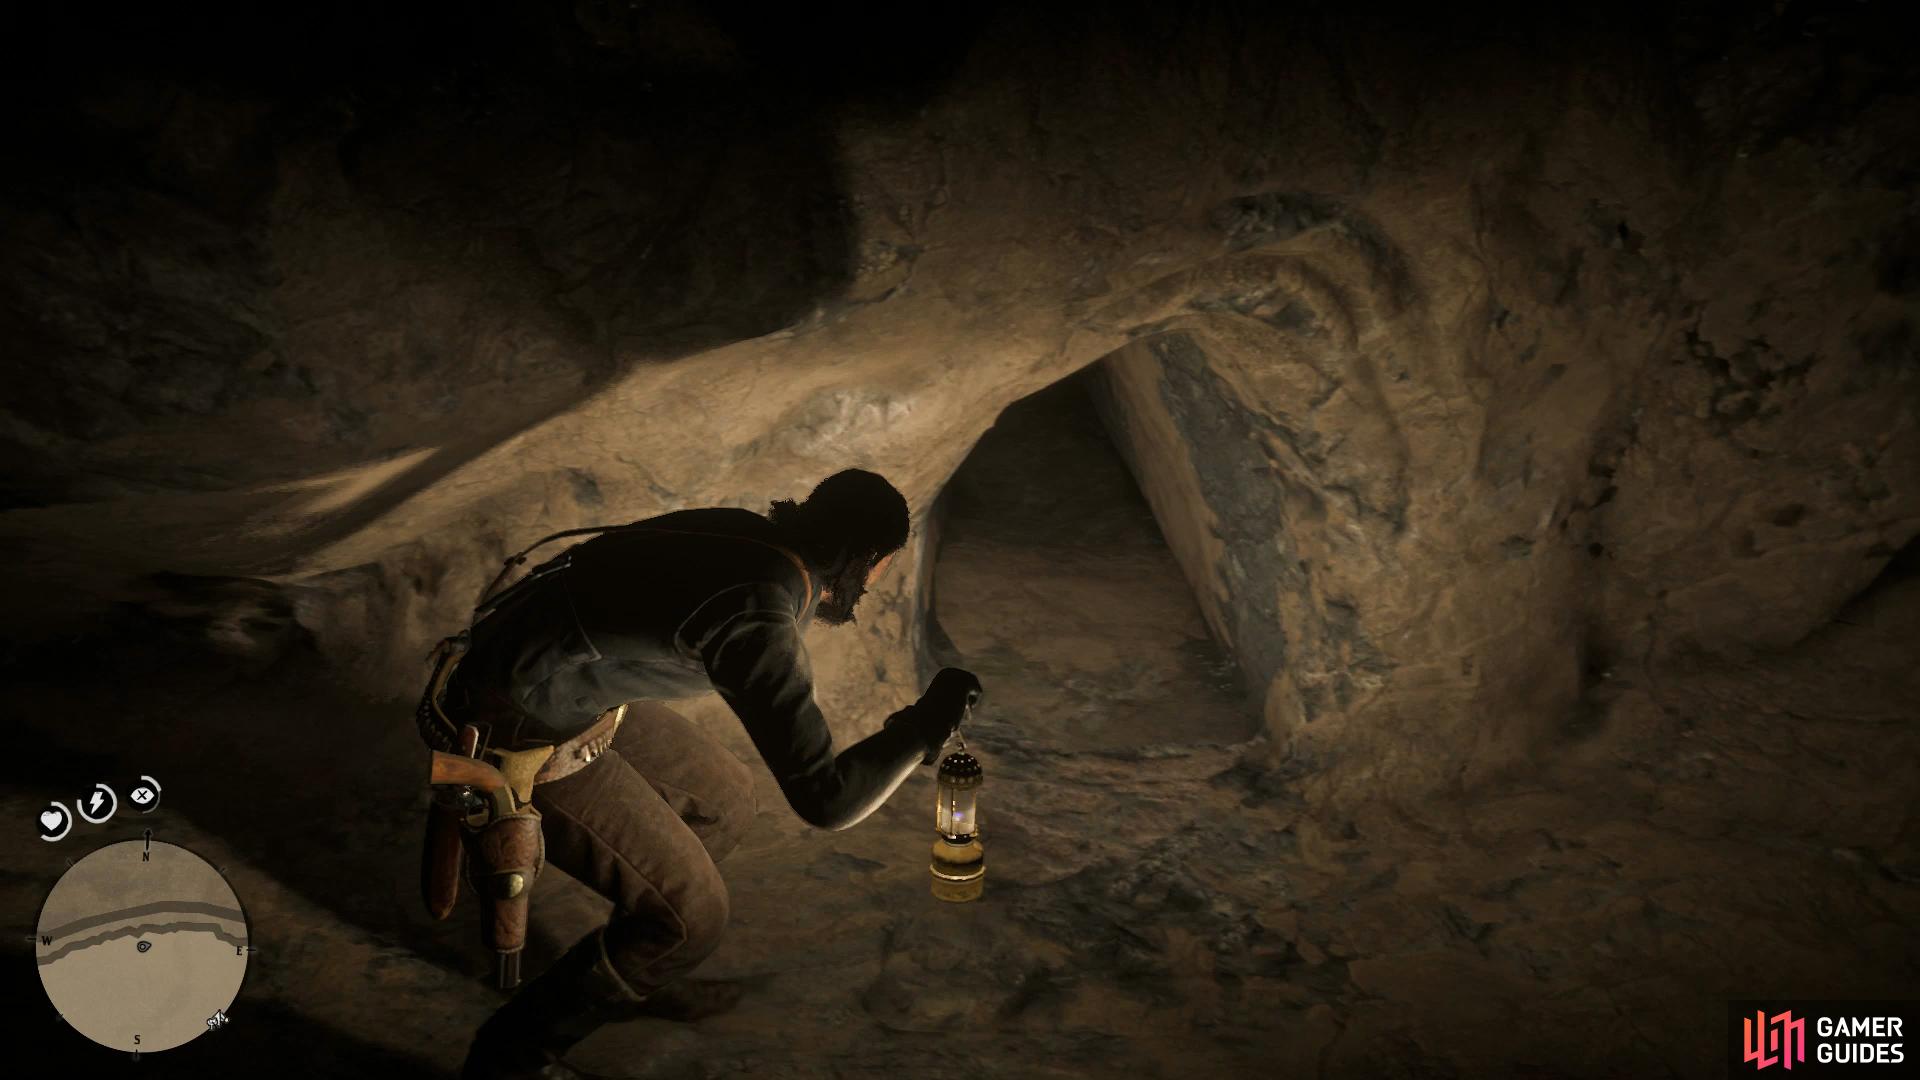
Once inside, equip your Lantern and climb the first ledge leading deeper into the cave. Once you reach the edge, drop down and crouch to discover a small hole that you can crawl through. On the other side, you’ll find a passageway leading to the right or straight forward. You can check out the right to find a small camp with a loxbox containing some loot but then continue down the passageway until you reach a more open area.
If you take a look to your left here, you’ll see a ledge you can jump to. Take a run up and then leap over the side to reach the platform. Slide down the slope in front of you and when you reach the bottom, look to the left to find a ledge to climb and the location of the treasure containing a hefty four Gold Bars. To leave the cave, grab the ledge to your right once you head back up and then follow the passageway back out of the cave.




 Sign up
No Comments