After completing the main quest Percival Rackham’s Trial you’ll unlock numerous new quests around Hogwarts. One of these quests involves Gladwin Moon, the caretaker of Hogwarts whom you briefly encountered earlier, who needs your help with a bit of… interior decoration that he can’t handle himself. If you need another scavenger hunt - and a very lucrative one, at that - you should strongly consider lending him a hand. This page will cover the quest The Caretaker’s Lunar Lament, including strategies for sneaking through the Faculty Tower in Hogwarts Legacy.
(1 of 2) Meet up with Gladwin Moon and he’ll introduce you to the object of his torment - Demiguise Statues.
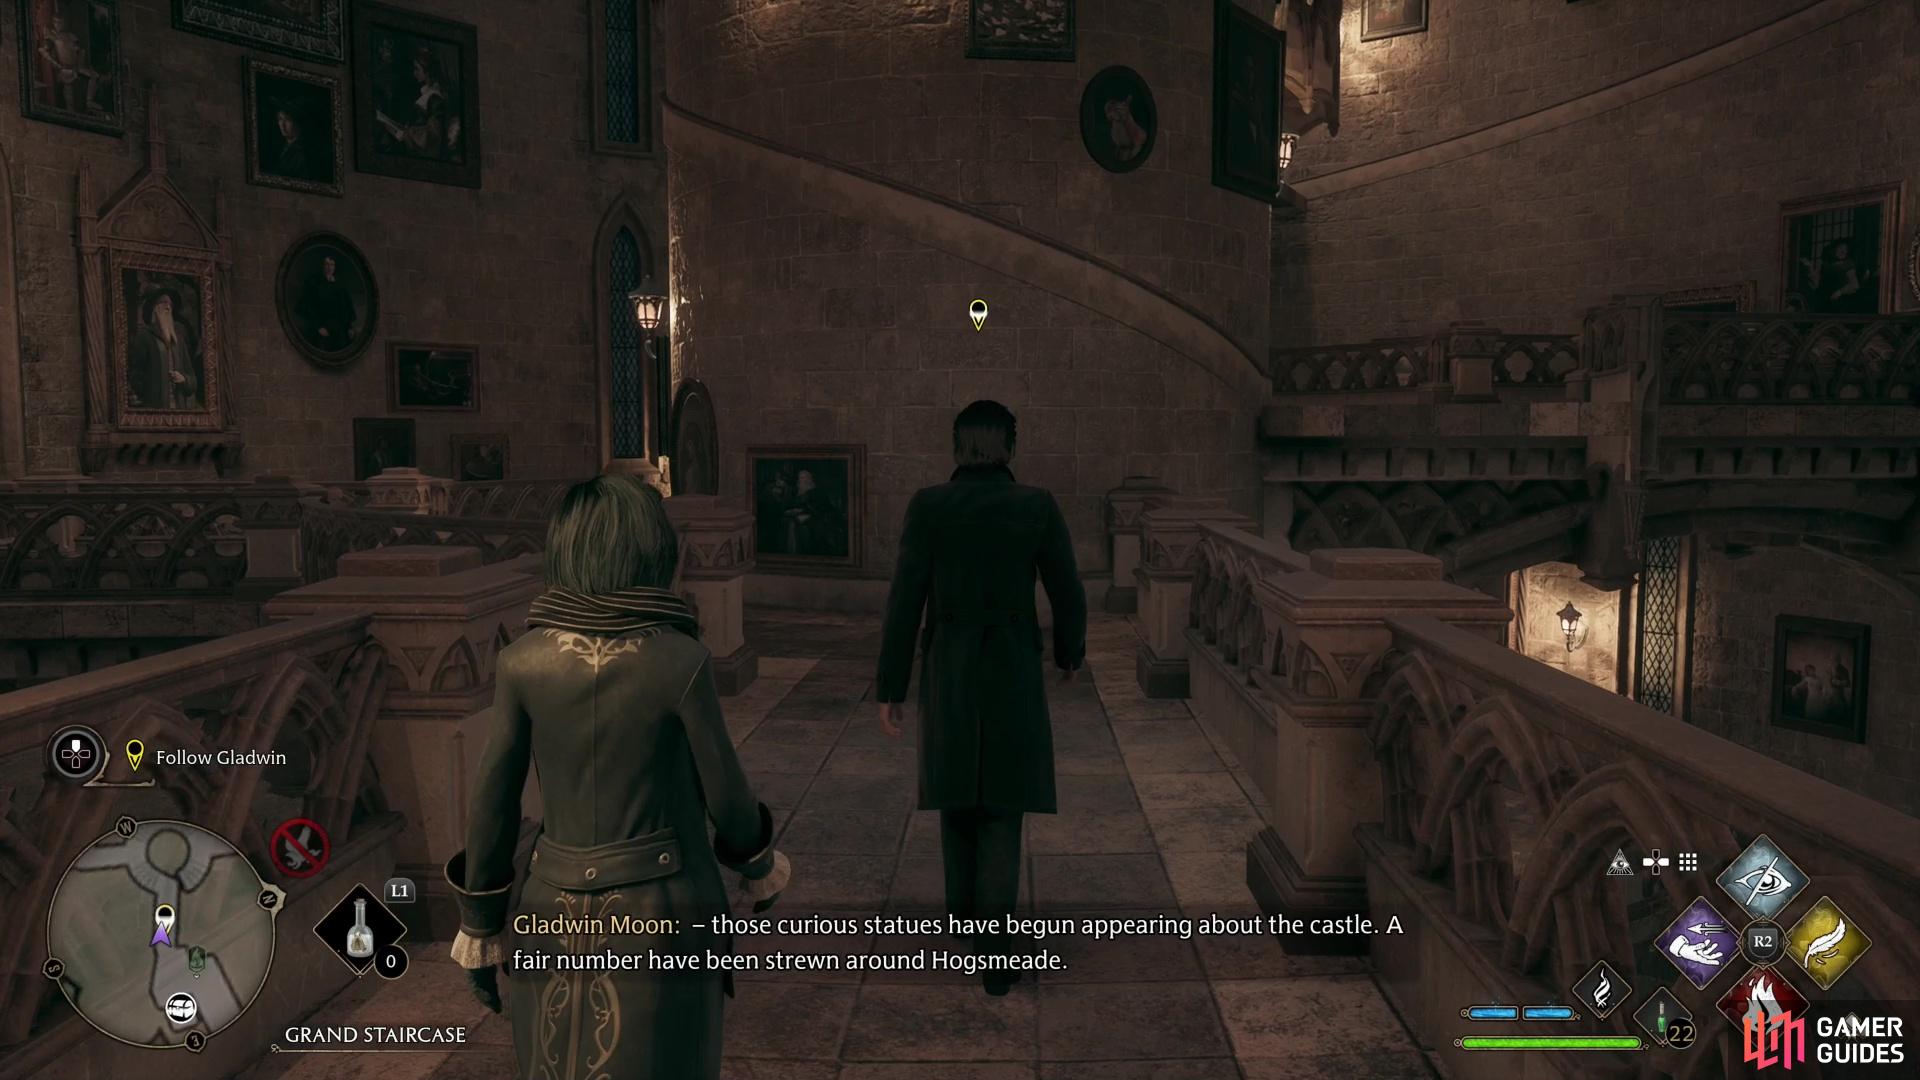
Meet up with Gladwin Moon and he’ll introduce you to the object of his torment - Demiguise Statues. (left), Grab the offending statue and follow Gladwin Moon, who will tell you about how these lunar statues appeared. (right)
How to Start The Caretaker’s Lunar Lament in Hogwarts Legacy
Following the main quest Percival Rackham’s Trial you’ll get an Owl Post from Gladwin Moon, who seeks your help with a “pressing and highly confidential matter”. Travel to Faculty Tower Floo Flame in The South Wing in Hogwarts, where you’ll find Gladwin Moon standing near an Animal Door puzzle.
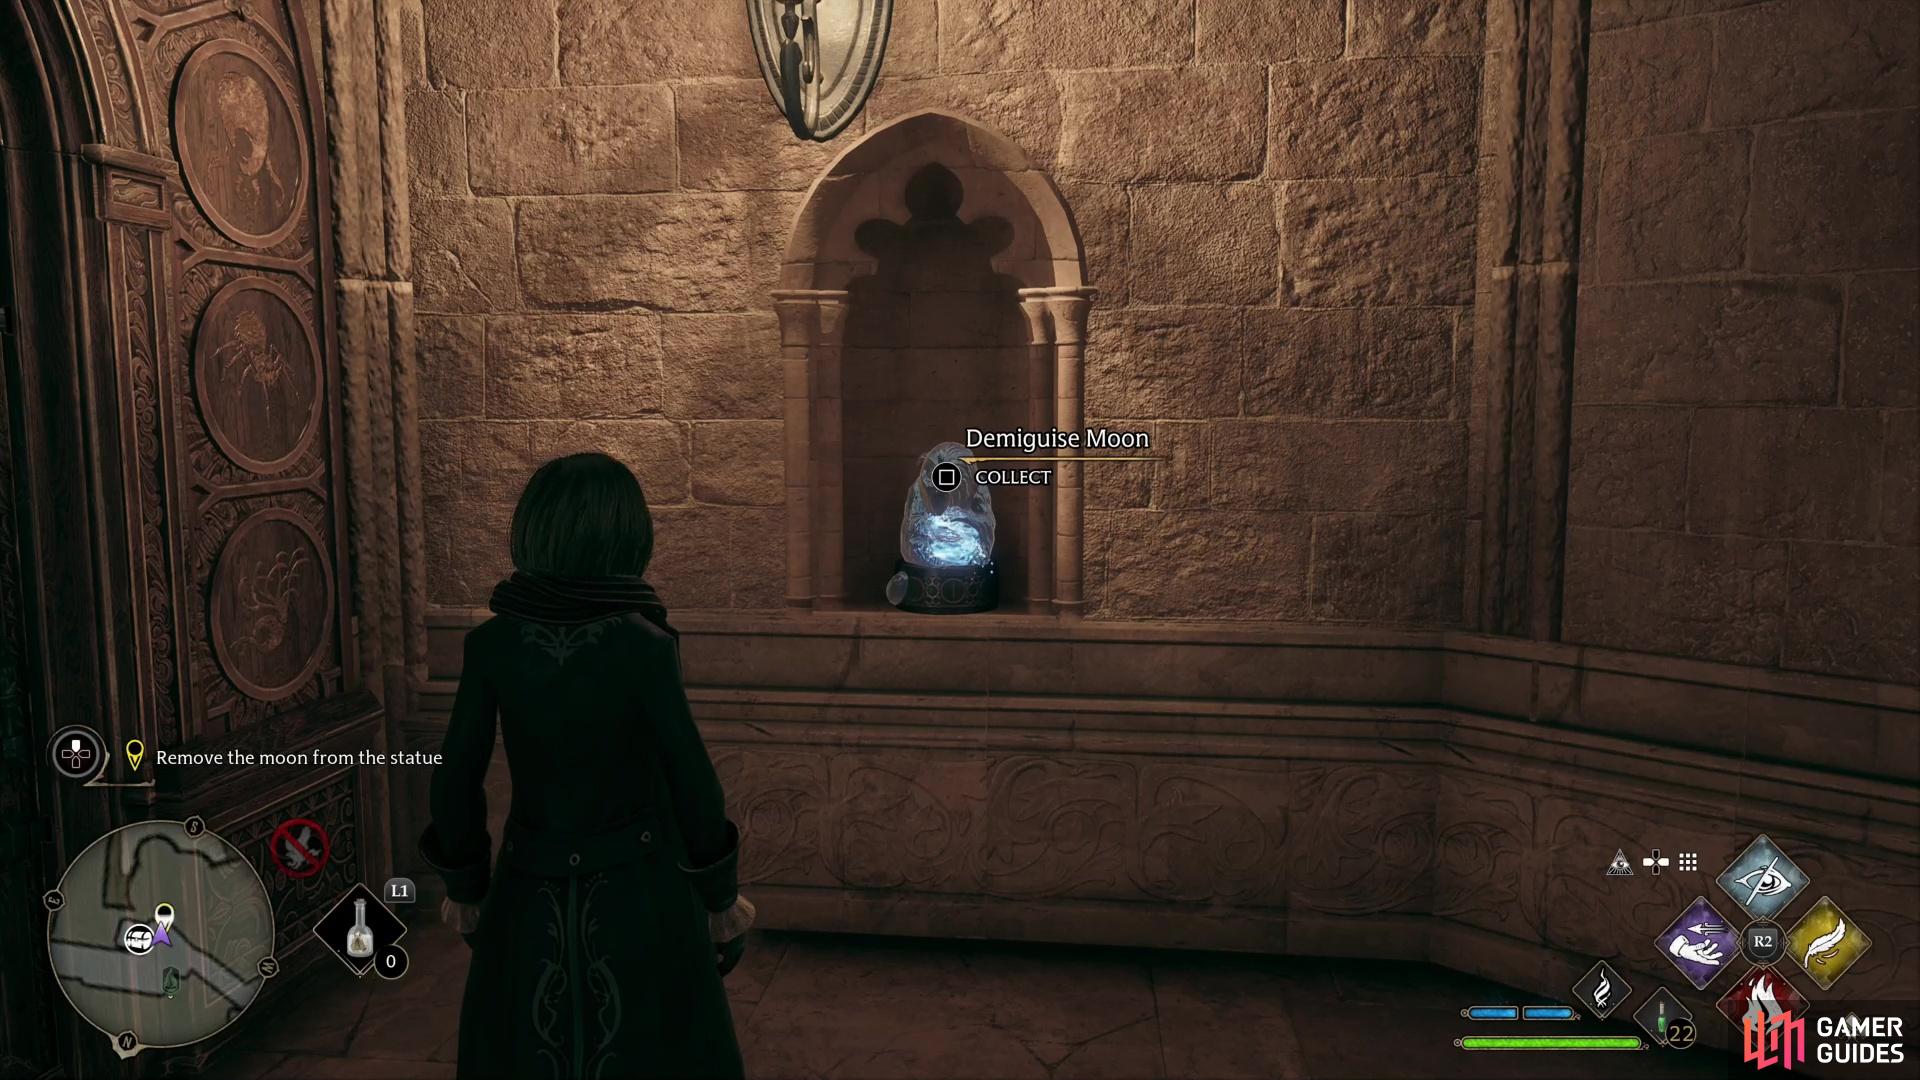
Talk to him and it turns out another inanimate beast is tormenting Gladwin Moon. After some small talk, he’ll draw your attention to a nearby alcove, in which resides a Demiguise Moon. Grab it when prompted and walk with Gladwin Moon as he airs his grievances. Long story short, he needs you to hunt down and remove these ![]() Demiguise Statues, which have popped up throughout the world - mostly in Hogwarts and
Demiguise Statues, which have popped up throughout the world - mostly in Hogwarts and ![]() Hogsmeade. In exchange for getting rid of these tormenting statues he’ll teach you the
Hogsmeade. In exchange for getting rid of these tormenting statues he’ll teach you the ![]() Alohomora spell, which you can use to pick locks. The first level of this is free - you need it to access the Faculty Tower, after all - and he’ll teach you higher levels of this essential spell as you collect more Demiguise Statues.
Alohomora spell, which you can use to pick locks. The first level of this is free - you need it to access the Faculty Tower, after all - and he’ll teach you higher levels of this essential spell as you collect more Demiguise Statues.
Considering how useful Alohomora is, this is a no-brainer, but before you can get to the collectathon phase of this questline you must first remove two vital Demiguise Statues from the Faculty Tower, which have impeded Gladwin Moon the most, which means you’ll need to clear another stealth section.
(1 of 2) Complete the spell-learning minigame to learn !Alohomora,
Complete the spell-learning minigame to learn !Alohomora, (left), which will allow you to pick locks. (right)
How to Sneak Through the Faculty Tower and Collect the Demiguise Statues
Before you can really get started you’ll have a learn the Alohomora spell, which just involves you succeeding at the standard new spell minigame. Once done you’ll have learned Alohomora, allowing you to attempt to unlock any Level 1 Locks you may find. You’ll have to test out your lockpicking prowess on the nearby doors leading to the Faculty Tower - check out the aptly named How to Lock Pick Using Alohomora page for details on how this minigame works.
When the door is open, head upstairs and power through the tutorial, and cast ![]() Disillusionment at the landing. As the tutorial said, you should regularly cast
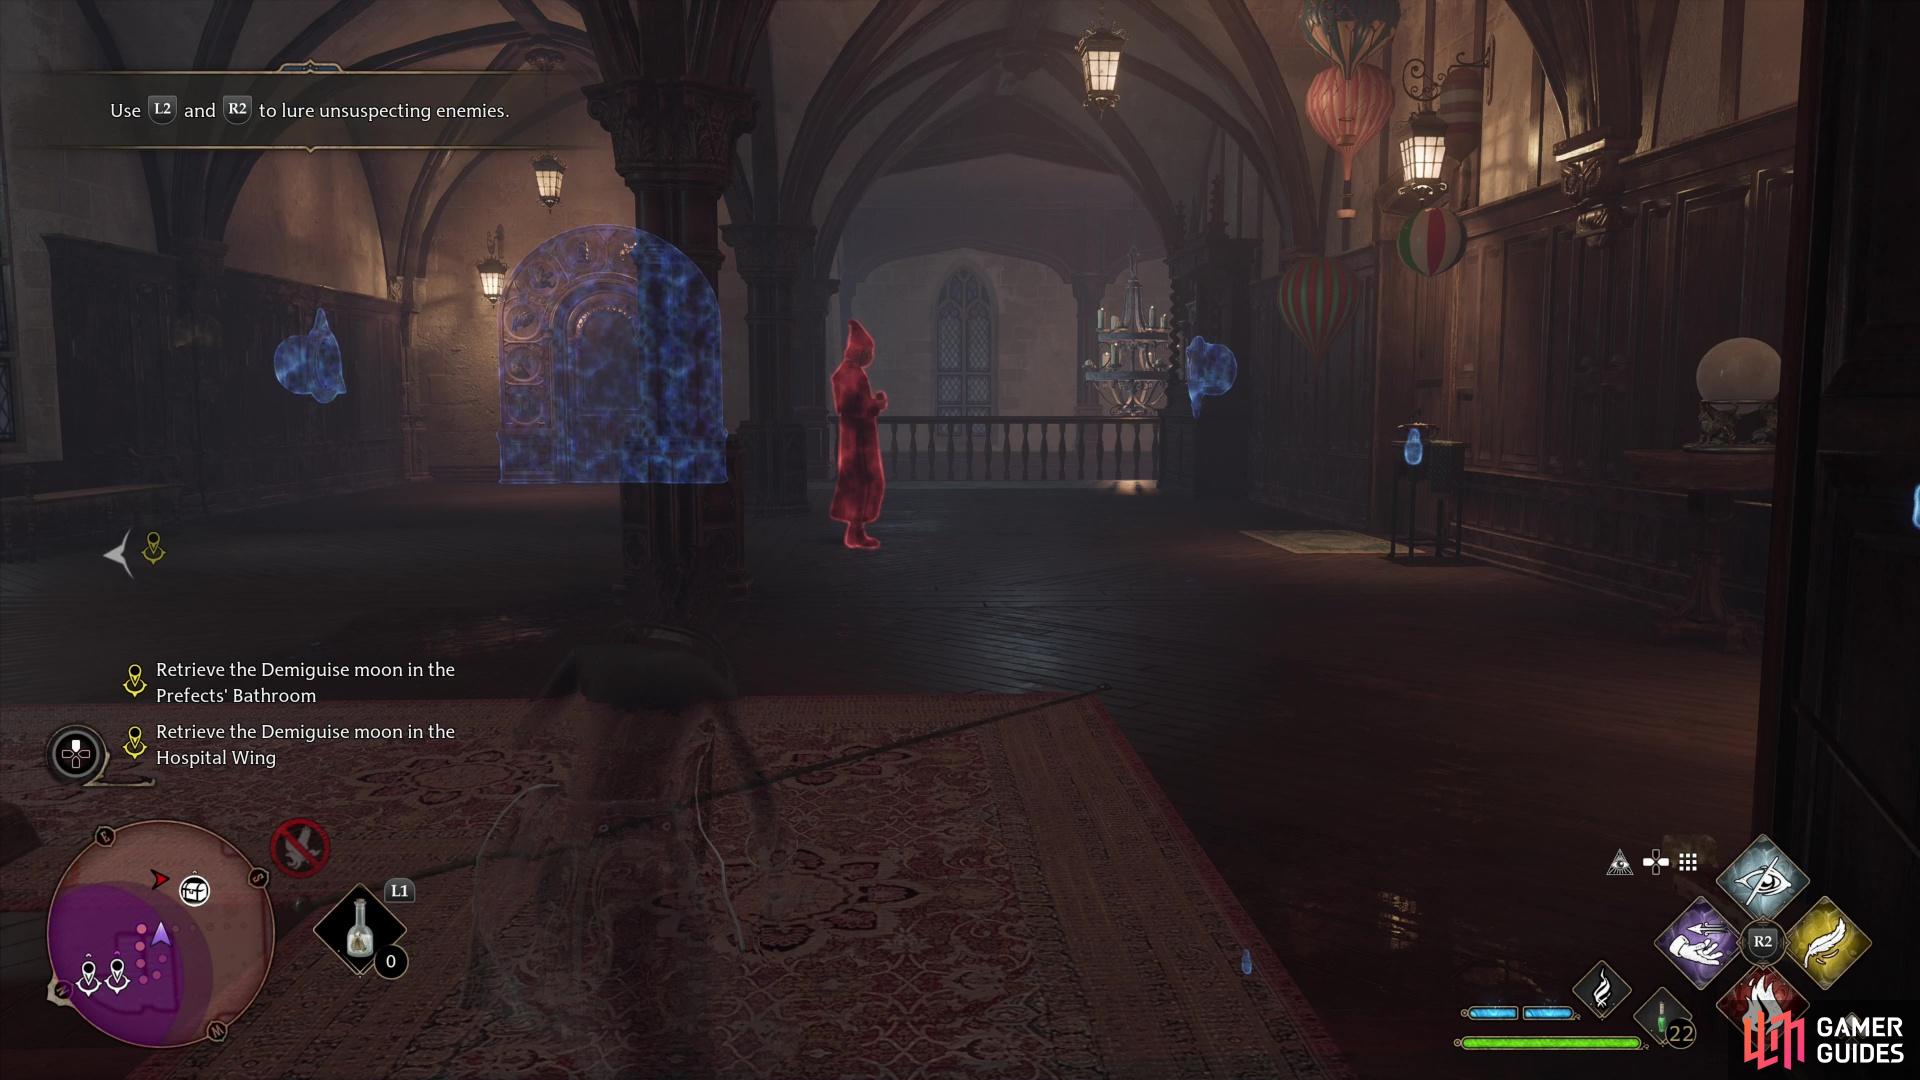
Disillusionment at the landing. As the tutorial said, you should regularly cast ![]() Revelio to highlight enemies (in this case faculty and prefects who will not look kindly on your intrusion) so you can either sneak around them or find a means of distracting them… before sneaking around them. Just remember, line of sight is king, if an enemy’s not facing you, they’re not likely to detect you, and in the relatively cramped interior of Hogwarts, it’s really your only means of avoiding detection.
Revelio to highlight enemies (in this case faculty and prefects who will not look kindly on your intrusion) so you can either sneak around them or find a means of distracting them… before sneaking around them. Just remember, line of sight is king, if an enemy’s not facing you, they’re not likely to detect you, and in the relatively cramped interior of Hogwarts, it’s really your only means of avoiding detection.
(1 of 3) You can use !Revelio to mark the locations of enemies.
Where to Find the Demiguise Statue in the Faculty Tower
The first floor is easy, there’s one prefect standing in the middle of the level, facing right. Just sneak up the stairs to the left. Up on the next floor you’ll find Professor Sharp and Professor Weasley talking to your left. Ignore them and sneak upstairs to the right, then ascend a spiraling staircase. When you reach the next floor, wait for a prefect to walk down a hallway to the left, then go through a doorway to the right (Level 1 Lock) to reach the prefect’s bathroom. There are three prefects to the right - immediately head down the left side of the room to find the first Demiguise Statue at the far end of the bathroom. The prefects to the right won’t move, so just grab the statue and leave.
(1 of 2) Sneak past some teachers in the hospital wing,
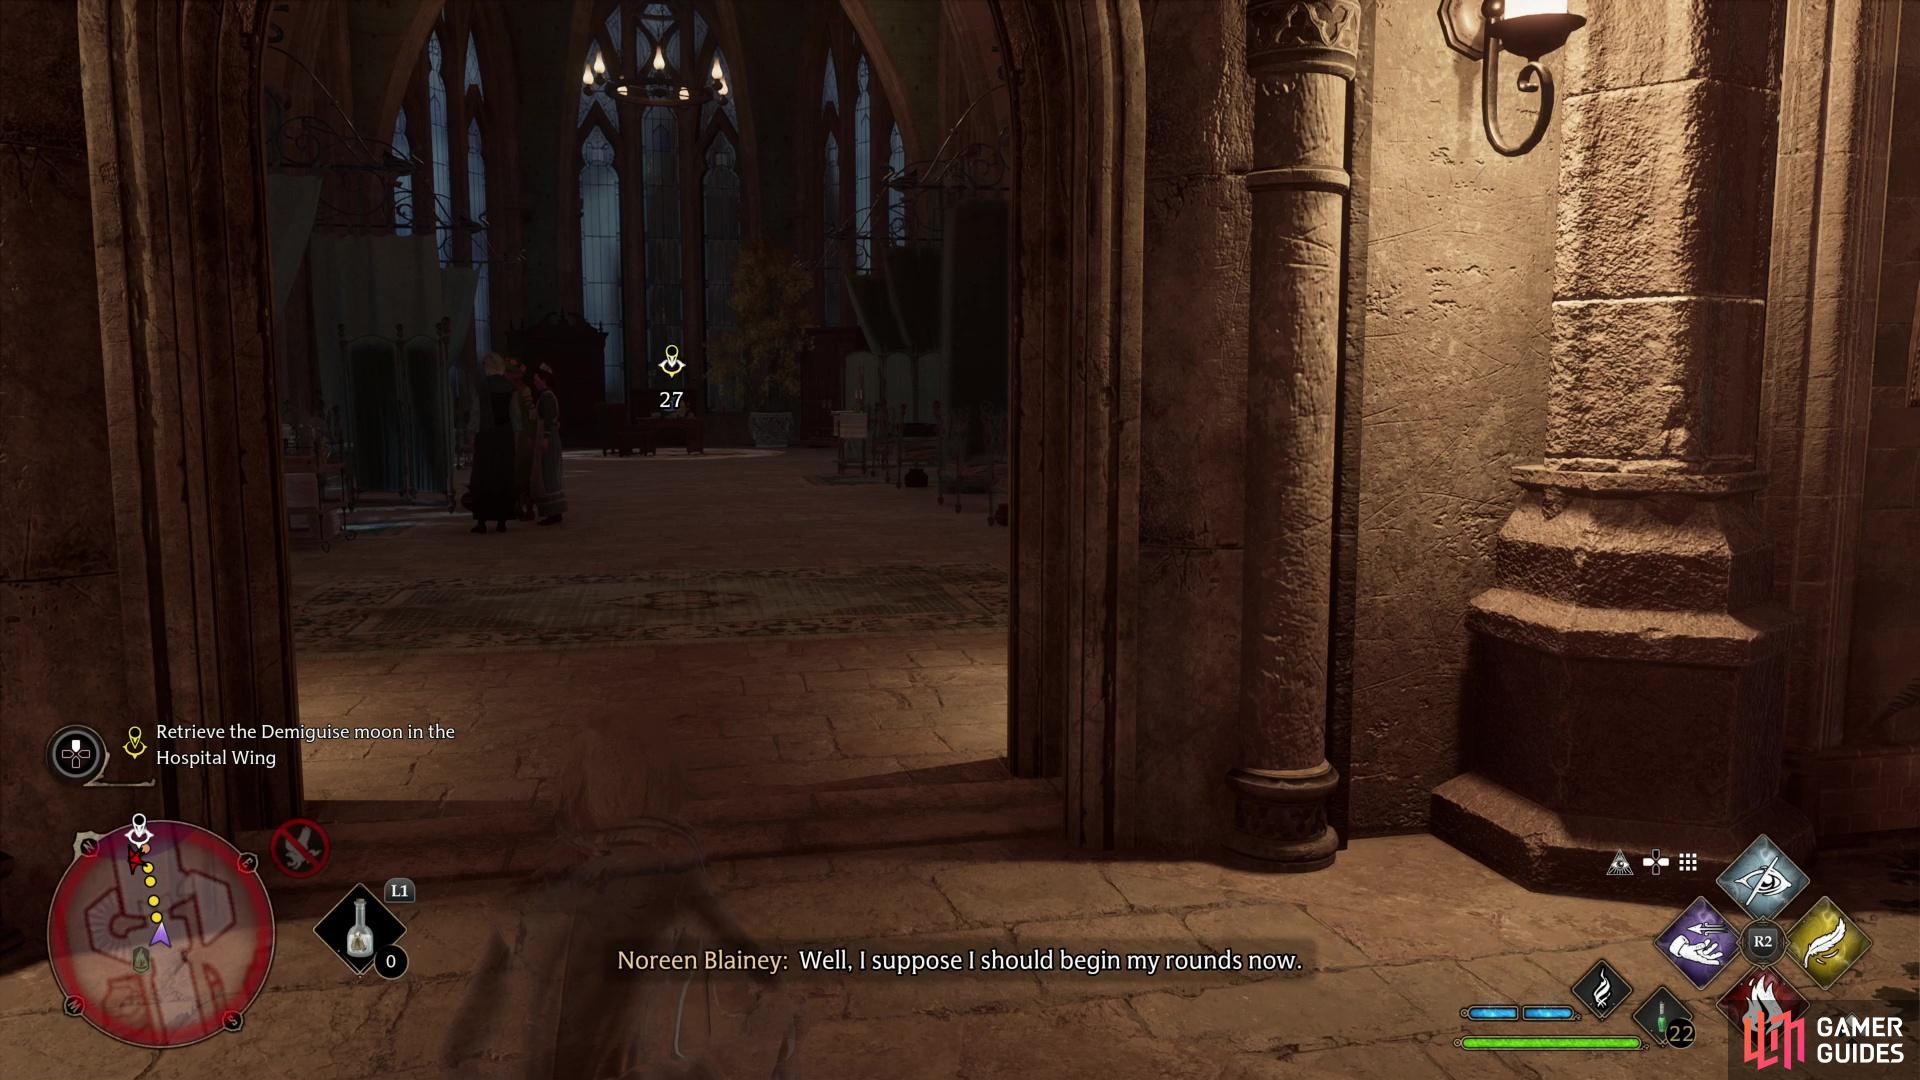
Sneak past some teachers in the hospital wing, (left), to find the Demiguise Statue behind them. (right)
Where to Find the Demiguise Statue in the Hospital Wing
Once outside the bathroom, turn right and head up another spiral staircase to reach the Hospital Wing. At the top of the stairs, go near a doorway to the left and wait for a woman named Noreen Blainey to start her rounds, which will cause her to move towards you before going through a door to the right. Once she’s cone you just have two teachers along the left side of the room. If you dawdle longer, they’ll leave via the door you’re near, forcing you to head downstairs to seek shelter in the prefect’s bathroom to avoid detection. Either head on down the right side of the room before Noreen Blainey leaves, or immediately afterwards, or after all three have left. The Demiguise Statue is on a table along the far end of the room.
(1 of 3) On your way back to Gladwin Moon, distract a prefect by targeting a cabinet to the left,
How to Escape the Faculty Tower
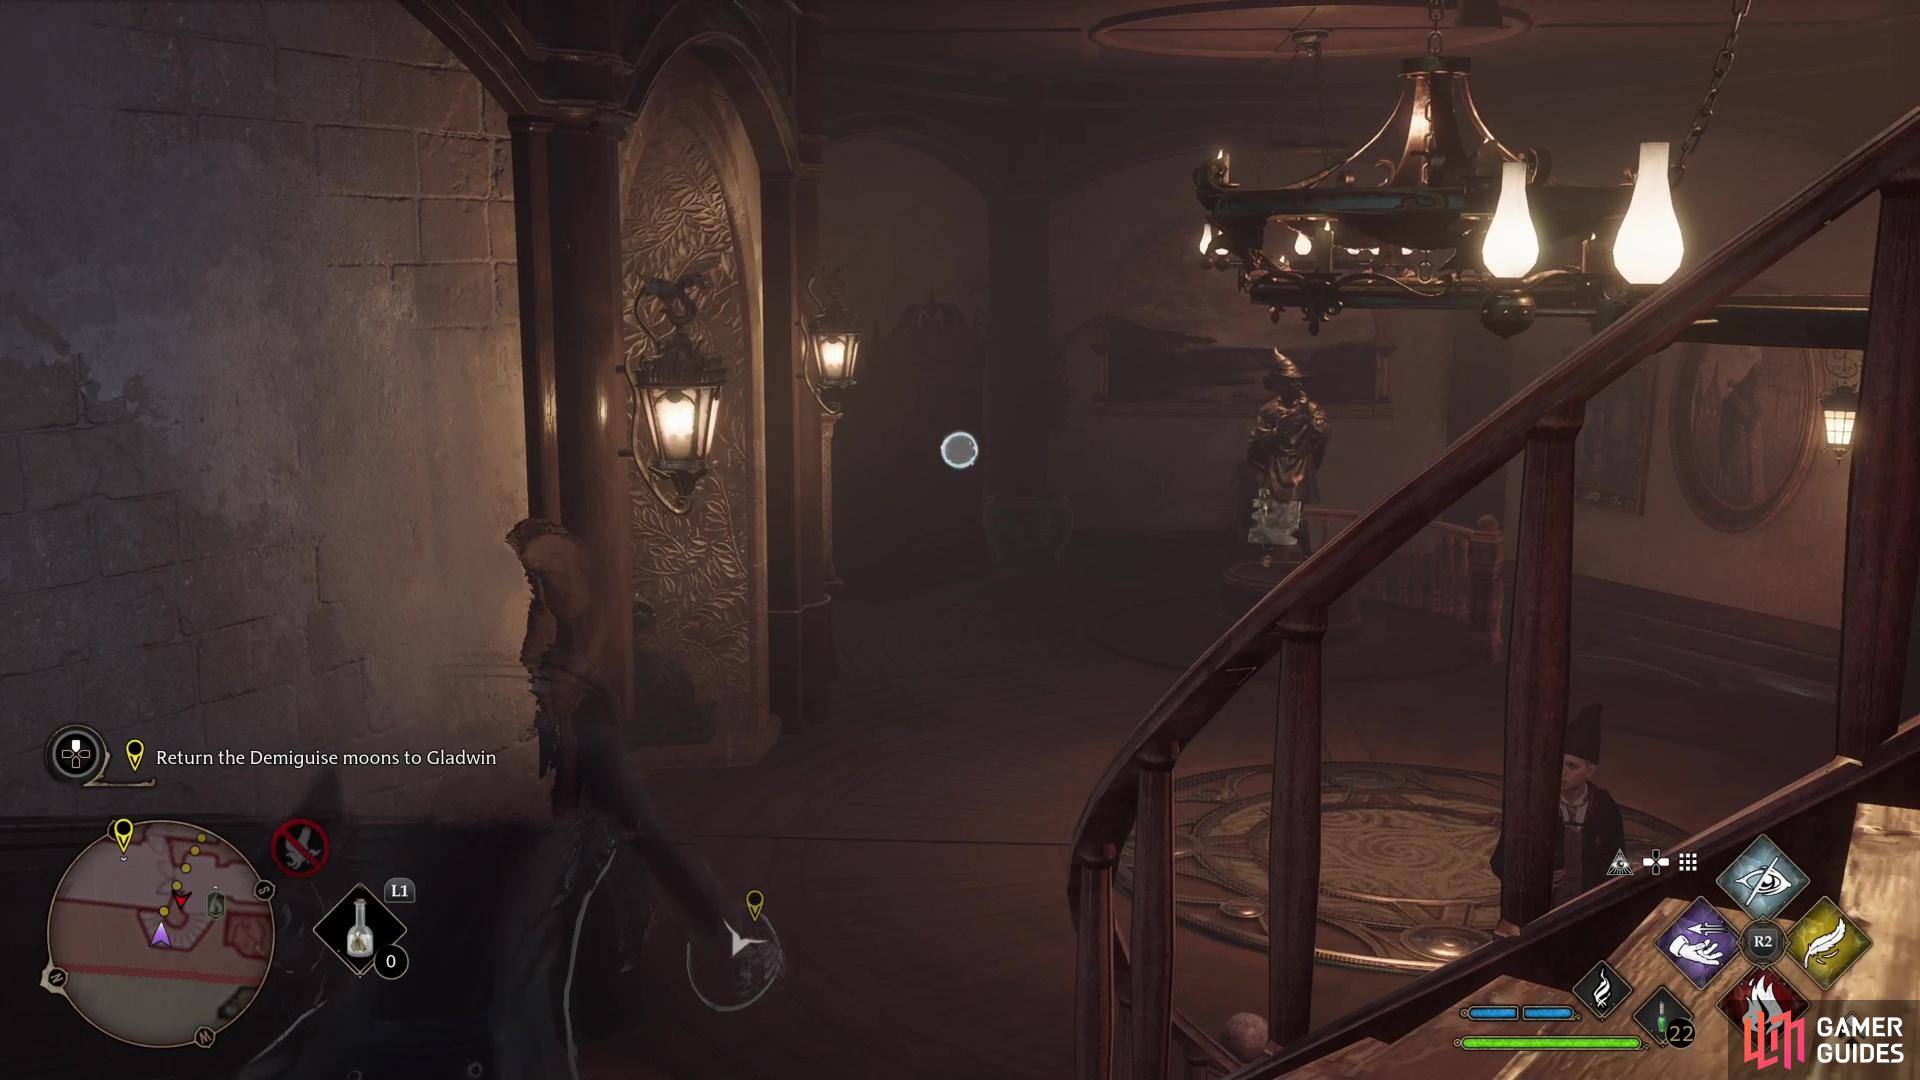
After you’ve snagged both statues, exit the Hospital Wing and head downstairs, where a prefect is now standing near the base of the stairs. Aim your wand 


Continue down the circular stairs and then descend another, straighter flight of stairs before turning left. There’s another prefect standing on the landing just downstairs, and you’ll have to distract them with a regular wand attack to sneak past. Target the window behind them and sneak past when they turn around and you should be in the clear.
When you return to Gladwin Moon, just talk to him to complete this quest. There are still more Demiguise Statues out there - quite a few, in fact, and if you want to pick Level 2 and Level 3 locks you’ll need to bring Gladwin Moon another nine, then a further thirteen Demiguise Moons, respectively. These scavenger hunts are covered in-game under the side quest The Man Behind the Moons, and if you want to seek these out to level up your Alohomora spell, check out the following pages:
Once you’ve collected enough Demiguise Moons to unlock both Alohomora II and Alohomora III, the quest The Man Behind the Moons will advance further.







 Sign up
No Comments