There’s a total of 7 Collection Chests to be found in The Grand Staircase section of Hogwarts Castle, in Hogwarts Legacy. We’ll show you how and where to find each of them on this page.
All Collection Chest Locations in The Grand Staircase of Hogwarts Castle
Note that the first phrase for each location noted below relates to the Floo Flame that you will need to travel to for the most convenient access to the Collection Chest. It doesn’t denote a precise location, but this will be detailed for each chest in the text / screenshots below.
| Location | Reward | Requirements |
|---|---|---|
| Grand Staircase Tower - Animal Door Puzzle | Conjuration | N/A |
| Grand Staircase - Animal Door Puzzle | Conjuration | N/A |
| Faculty Tower - Animal Door Puzzle | Conjuration | N/A |
| Ravenclaw Tower - Animal Door Puzzle | Conjuration | N/A |
| Trophy Room - The Headmaster’s Office | Wand Handle | |
| Trophy Room - The Key of Admittance Tower (Two Collection Chests) | Conjuration, Wand Handle |
Grand Staircase Tower - Animal Door Puzzle
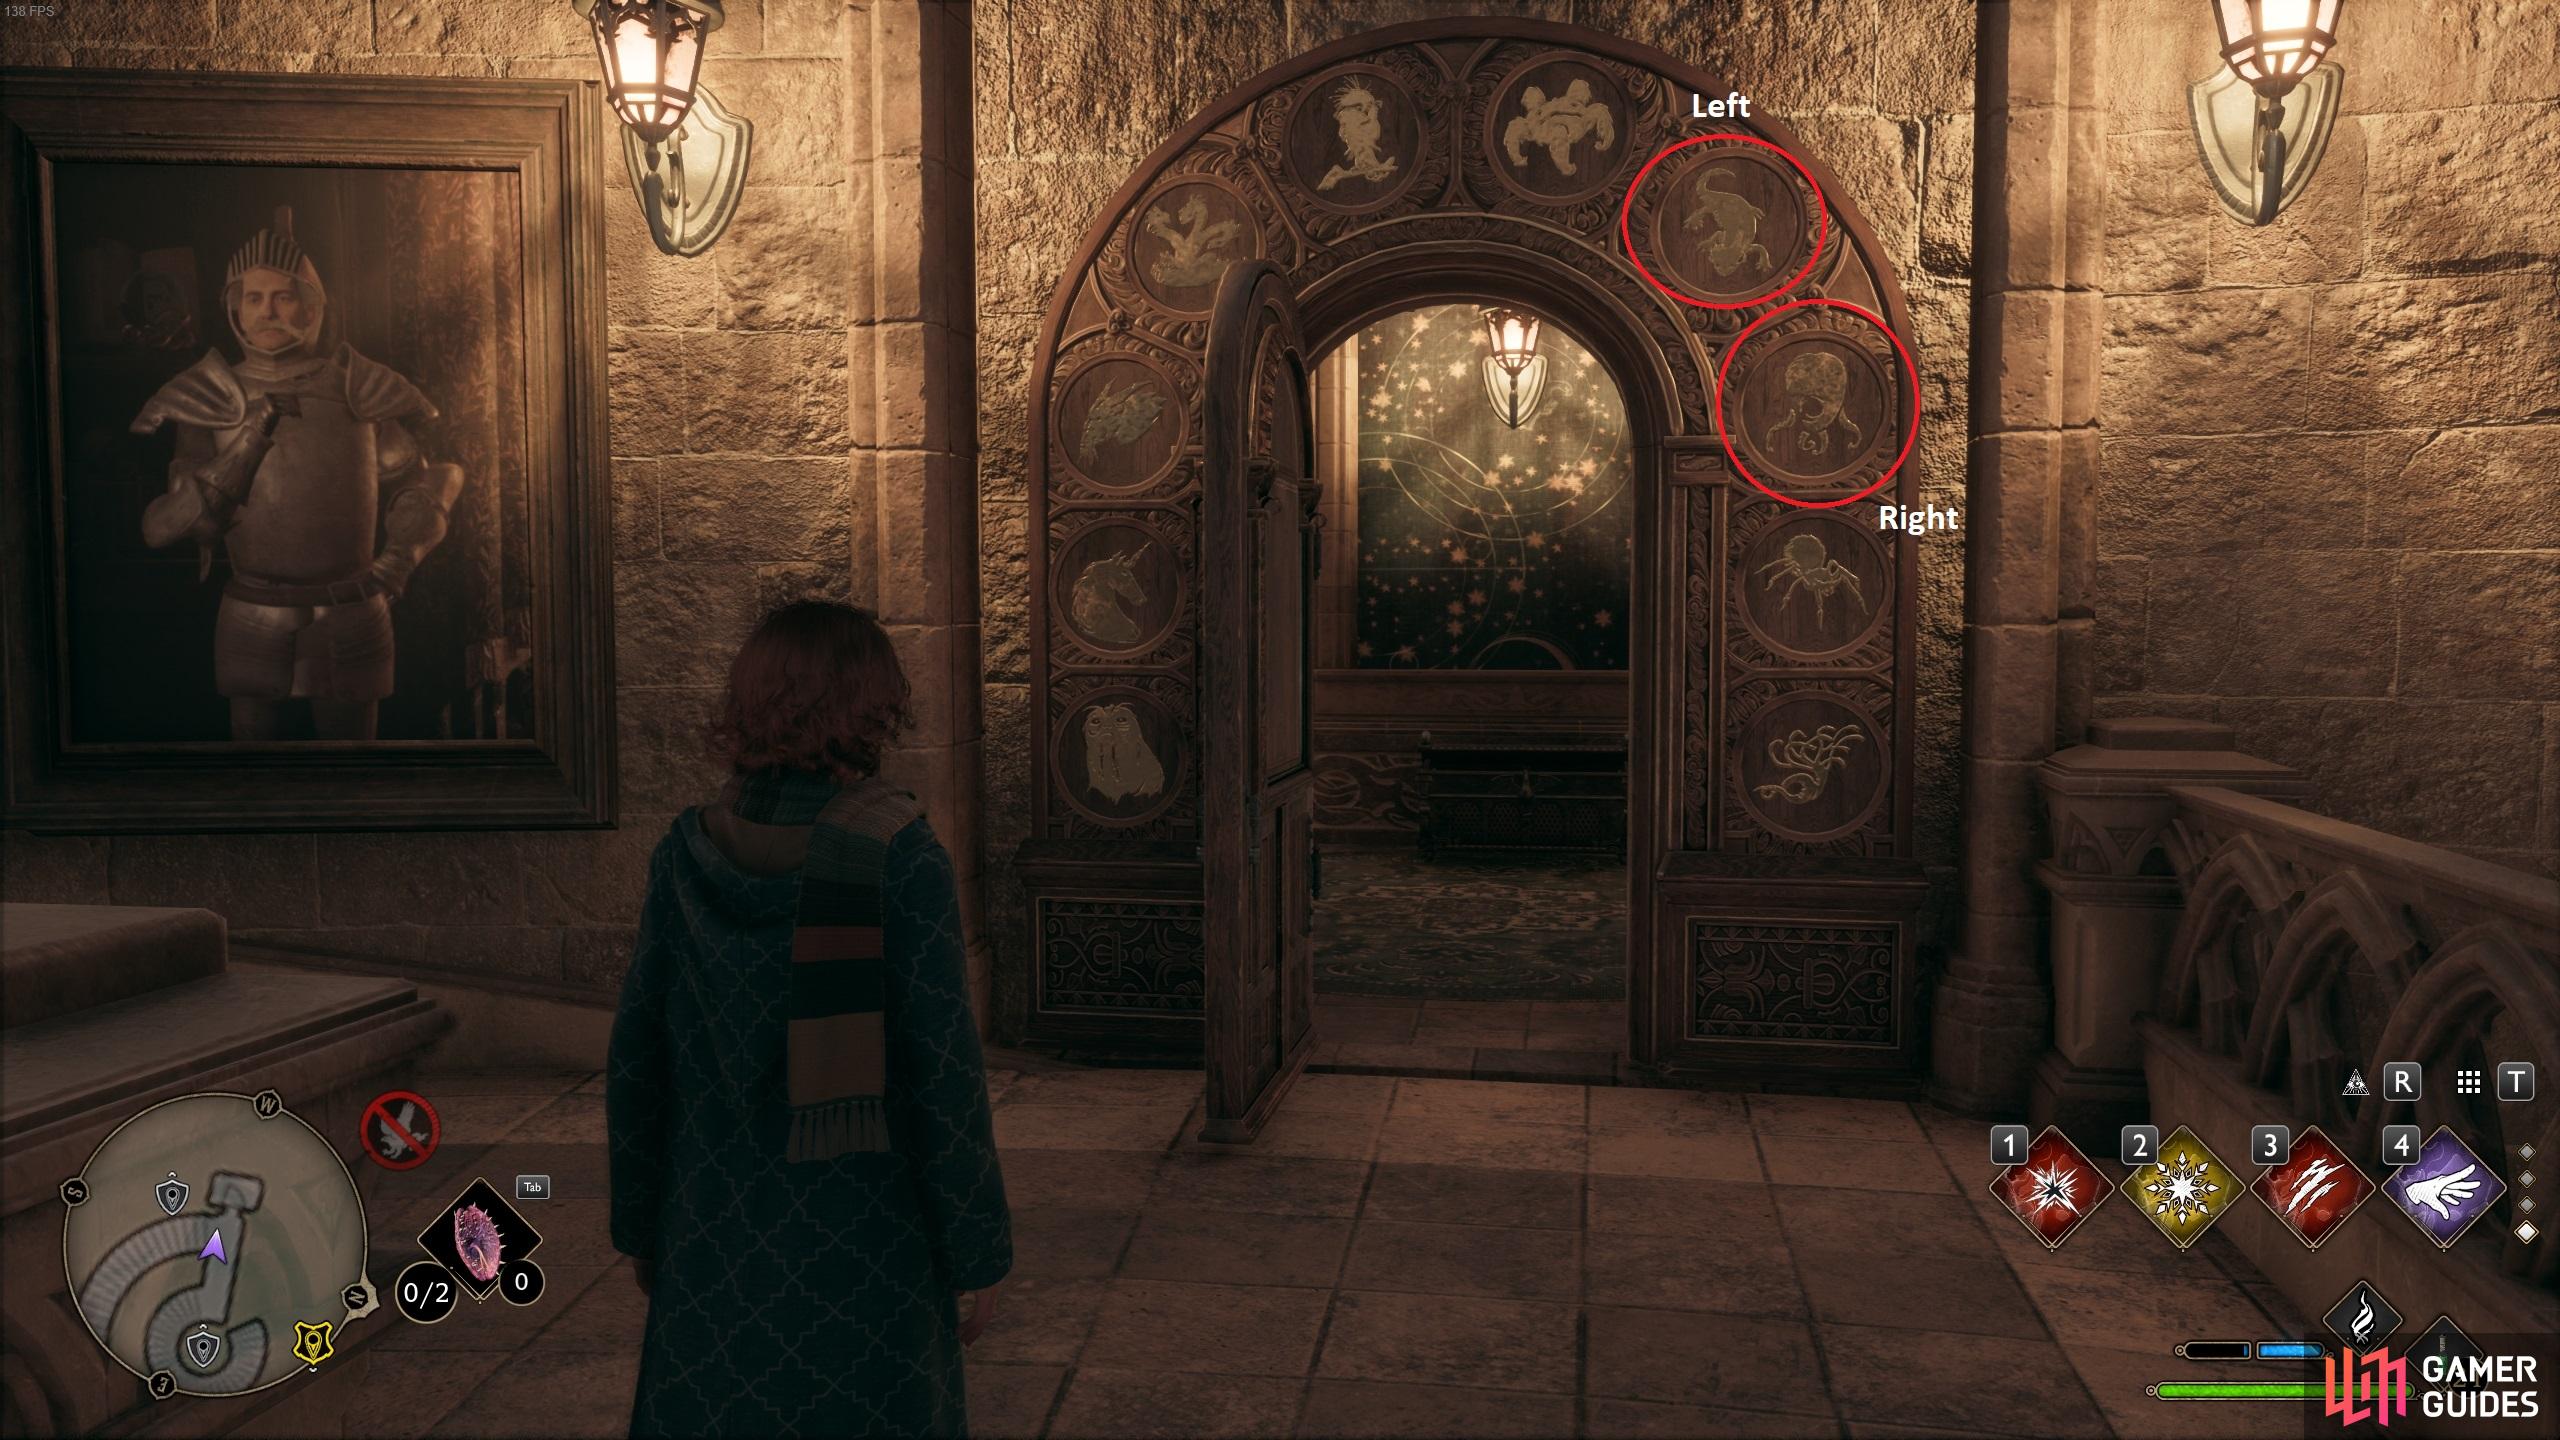
You’ll find this Collection Chest behind an animal door puzzle which can be accessed by fast travelling to the Grand Staircase Tower Floo Flame. Once there, head down the stairs until you reach the puzzle door. You can see the answer to the puzzle in the screenshot below, with the left symbol requiring “6” and the right “7”.
(1 of 2) The answer to the door puzzle. The “Right” symbol in this instance is located directly opposite the door.
The answer to the door puzzle. The “Right” symbol in this instance is located directly opposite the door. (left), You’ll find the Collection Chest in the room behind the door. (right)
Grand Staircase - Animal Door Puzzle
For this one, you’ll need to fast travel to the Grand Staircase Floo Flame. From here, go up the stairs to the east and turn right to go up another set of stairs. You’ll find the animal puzzle door just to your left up here. The first symbol block can be found right next to the door, while the other is located near the Floo Flame that you just ran from. The first symbol should be “0”, and the second “5”, as shown in the screenshot below. As with the other door puzzle, you’ll find the Collection Chest in the small room behind it.
(1 of 2) Enter the first symbol in the block to the left of the puzzle door, and the second on the one downstairs.
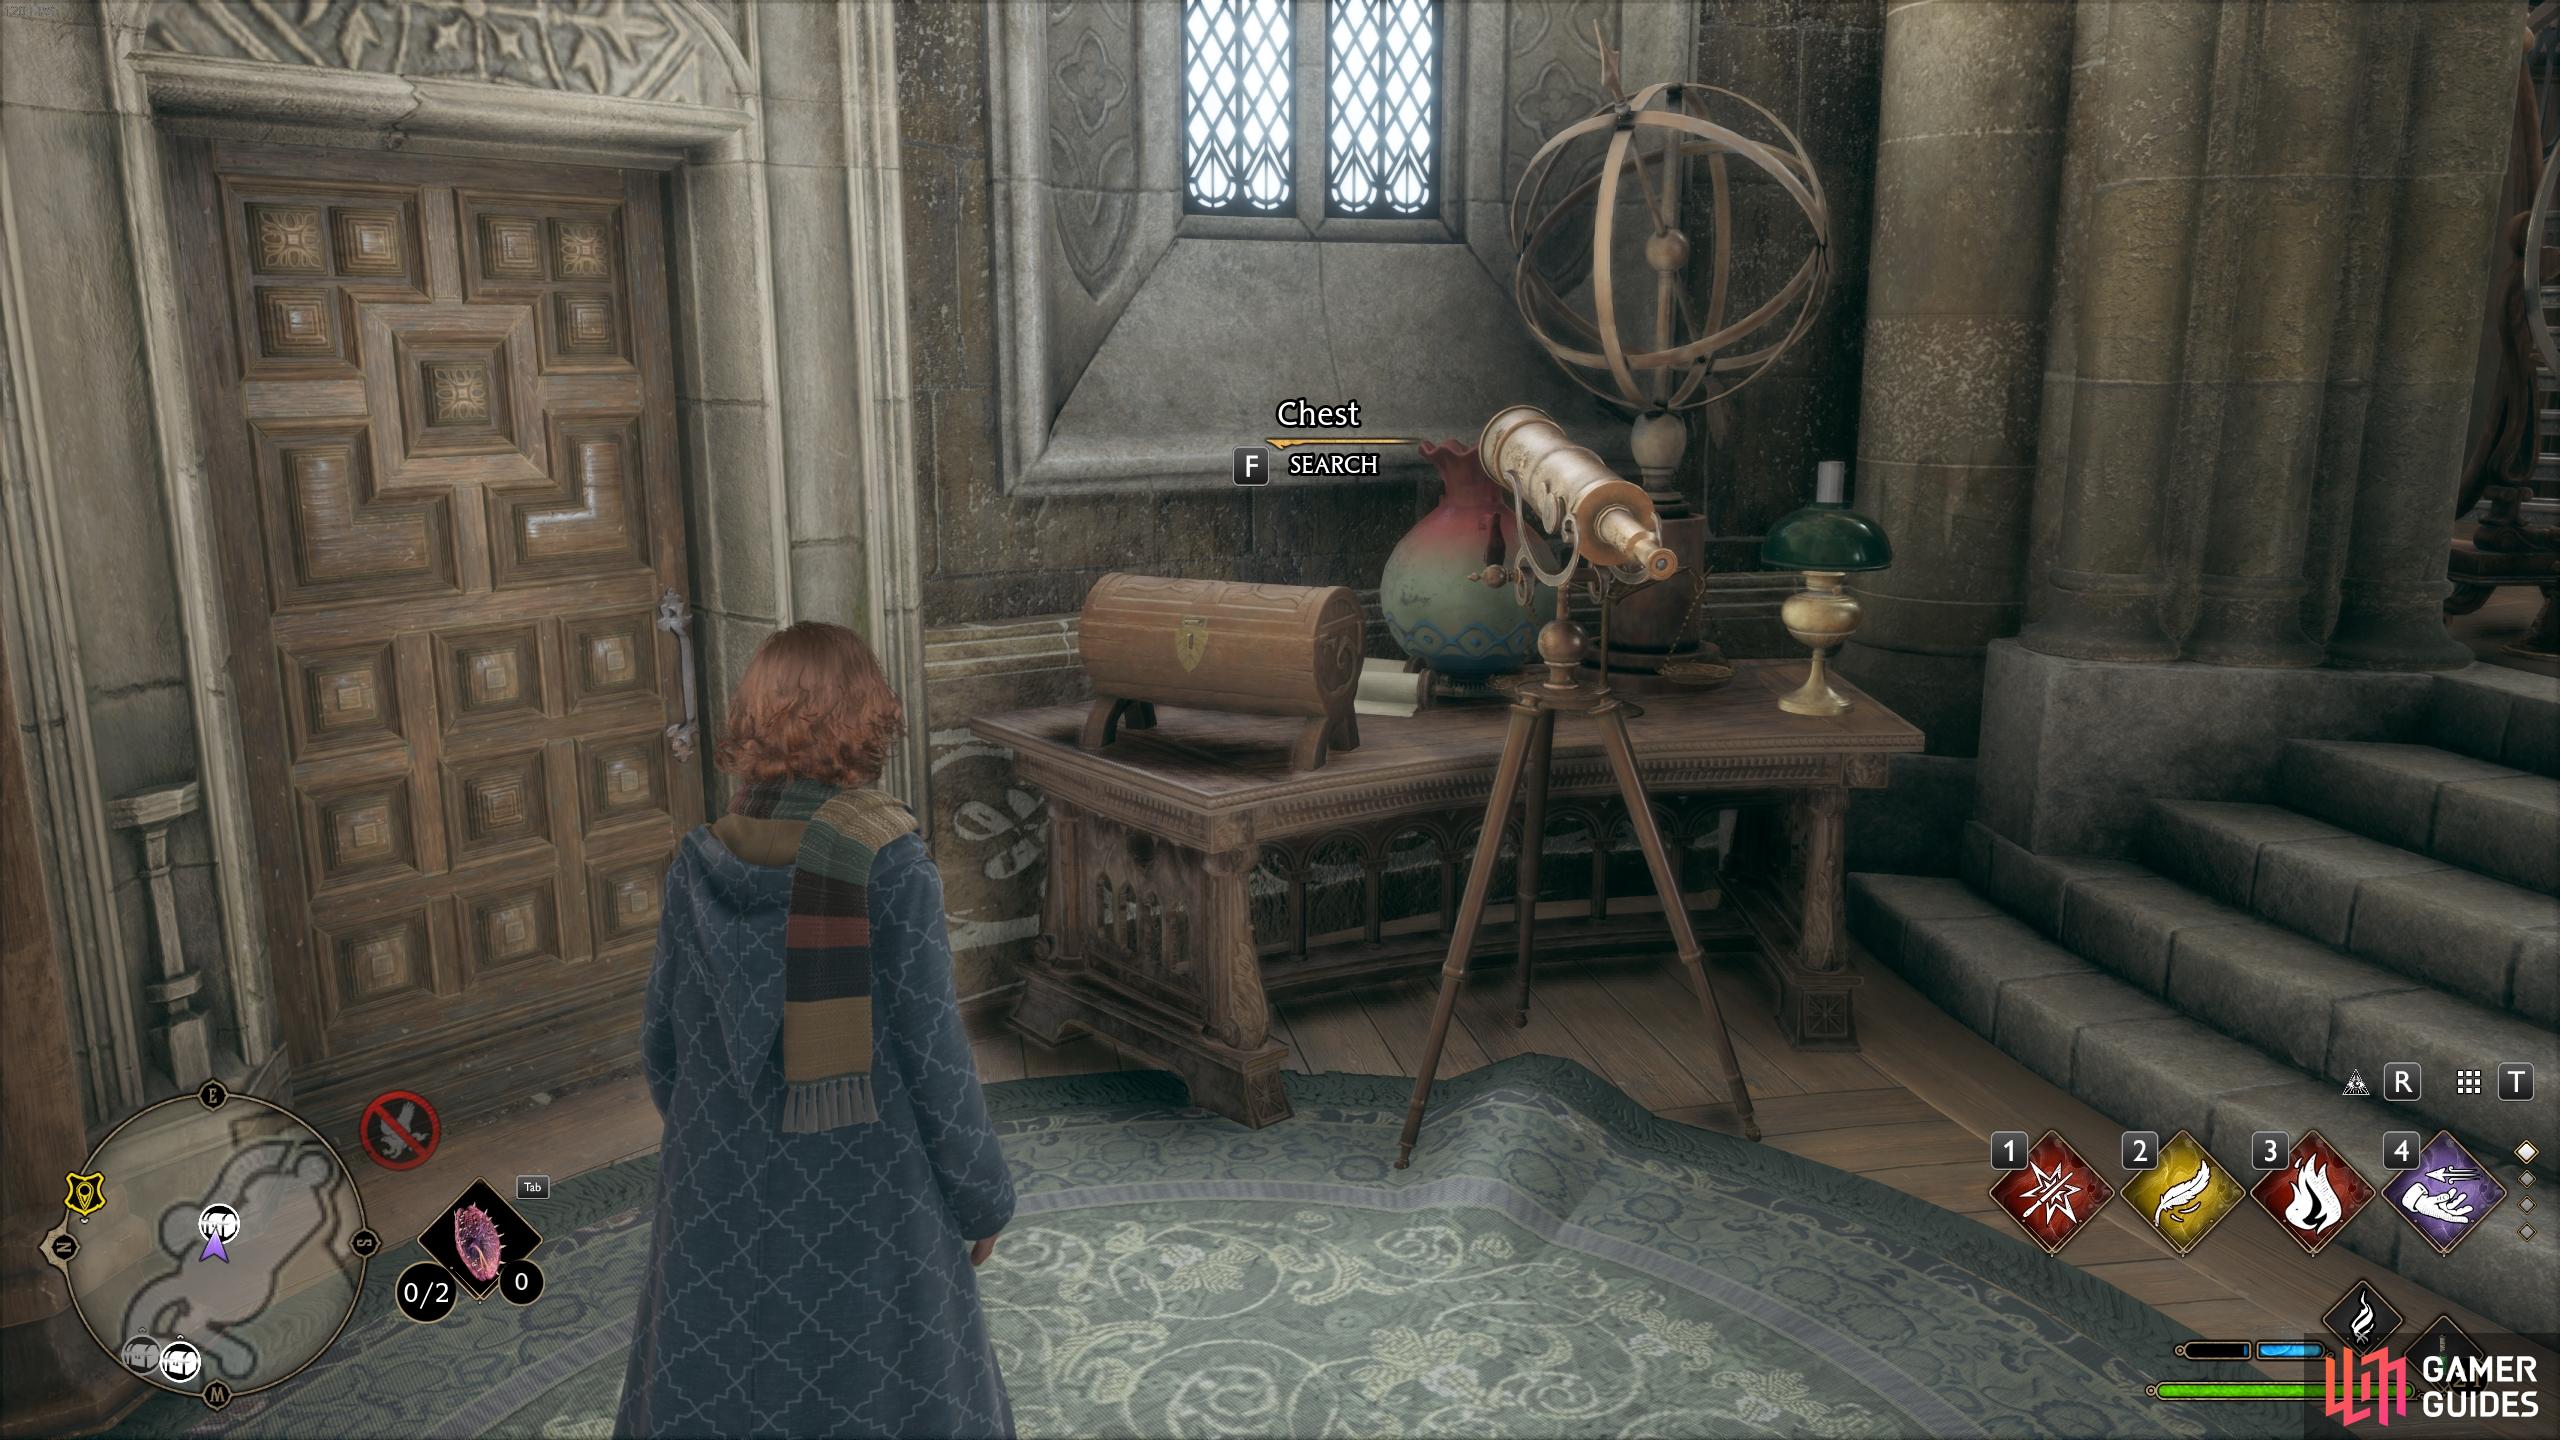
Enter the first symbol in the block to the left of the puzzle door, and the second on the one downstairs. (left), You’ll find the Collection Chest just beyond this door. (right)
Faculty Tower - Animal Door Puzzle
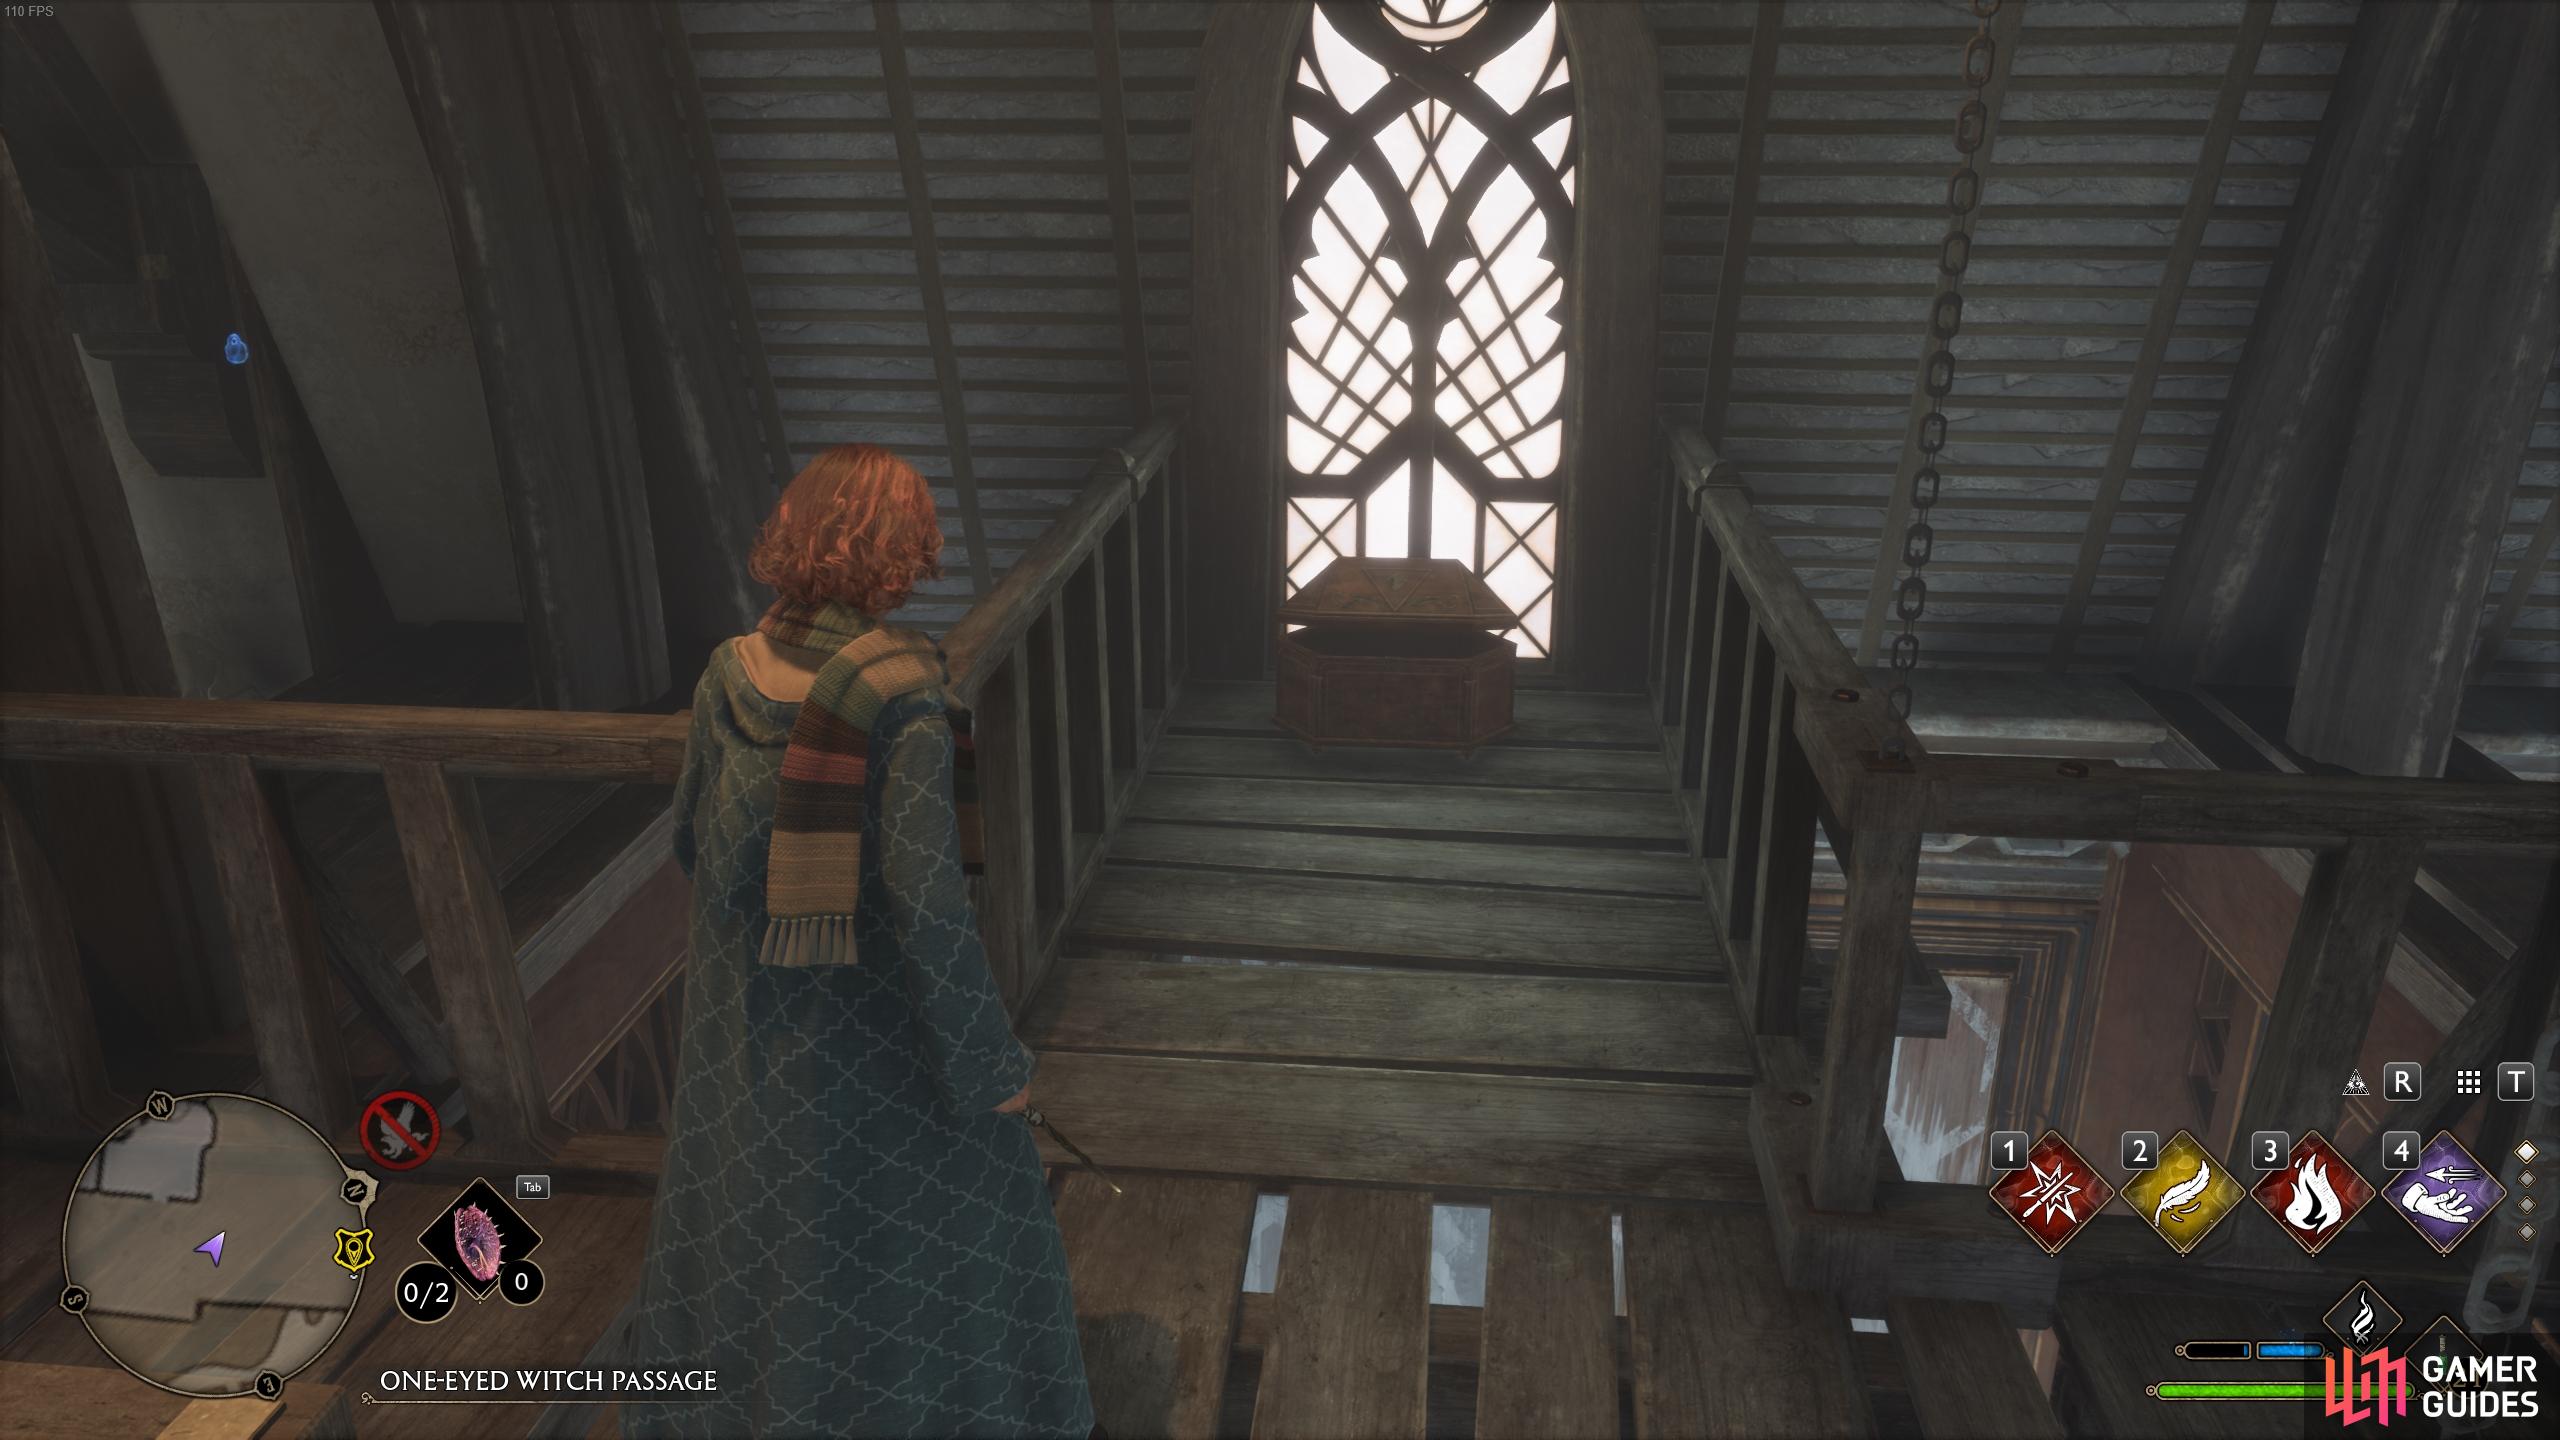
To reach this Collection Chest for The Grand Staircase section, you should travel to the Faculty Tower Floo Flame, which is listed under The South Wing on the castle map. From here, head southwest down the corridor and turn right to go through a door. Head up two flights of stairs to find another animal door puzzle in the left corner of the room here. The solution to this one can be seen in the screenshot below, with the left symbol requiring “0” and the right “9”. You’ll find the chest on the wooden scaffold just up the stairs.
(1 of 2) The symbols required to complete this door puzzle.
The symbols required to complete this door puzzle. (left), You’ll find the chest up the stairs just beyond the door. (right)
Ravenclaw Tower - Animal Door Puzzle
Another animal door puzzle, but this time you’ll need to fast travel to the Ravenclaw Tower, from The Grand Staircase menu on the castle map. From here, go through the short corridor to the northwest to find an animal puzzle door just to your right. To solve this one, you’ll need the symbol for “4” on the left block, and the symbol for “5” on the right. You can see these in the screenshot below.
(1 of 2) The symbols required for each block.
The symbols required for each block. (left), You’ll find the chest just inside the small room here. (right)
Trophy Room - The Headmaster’s Office
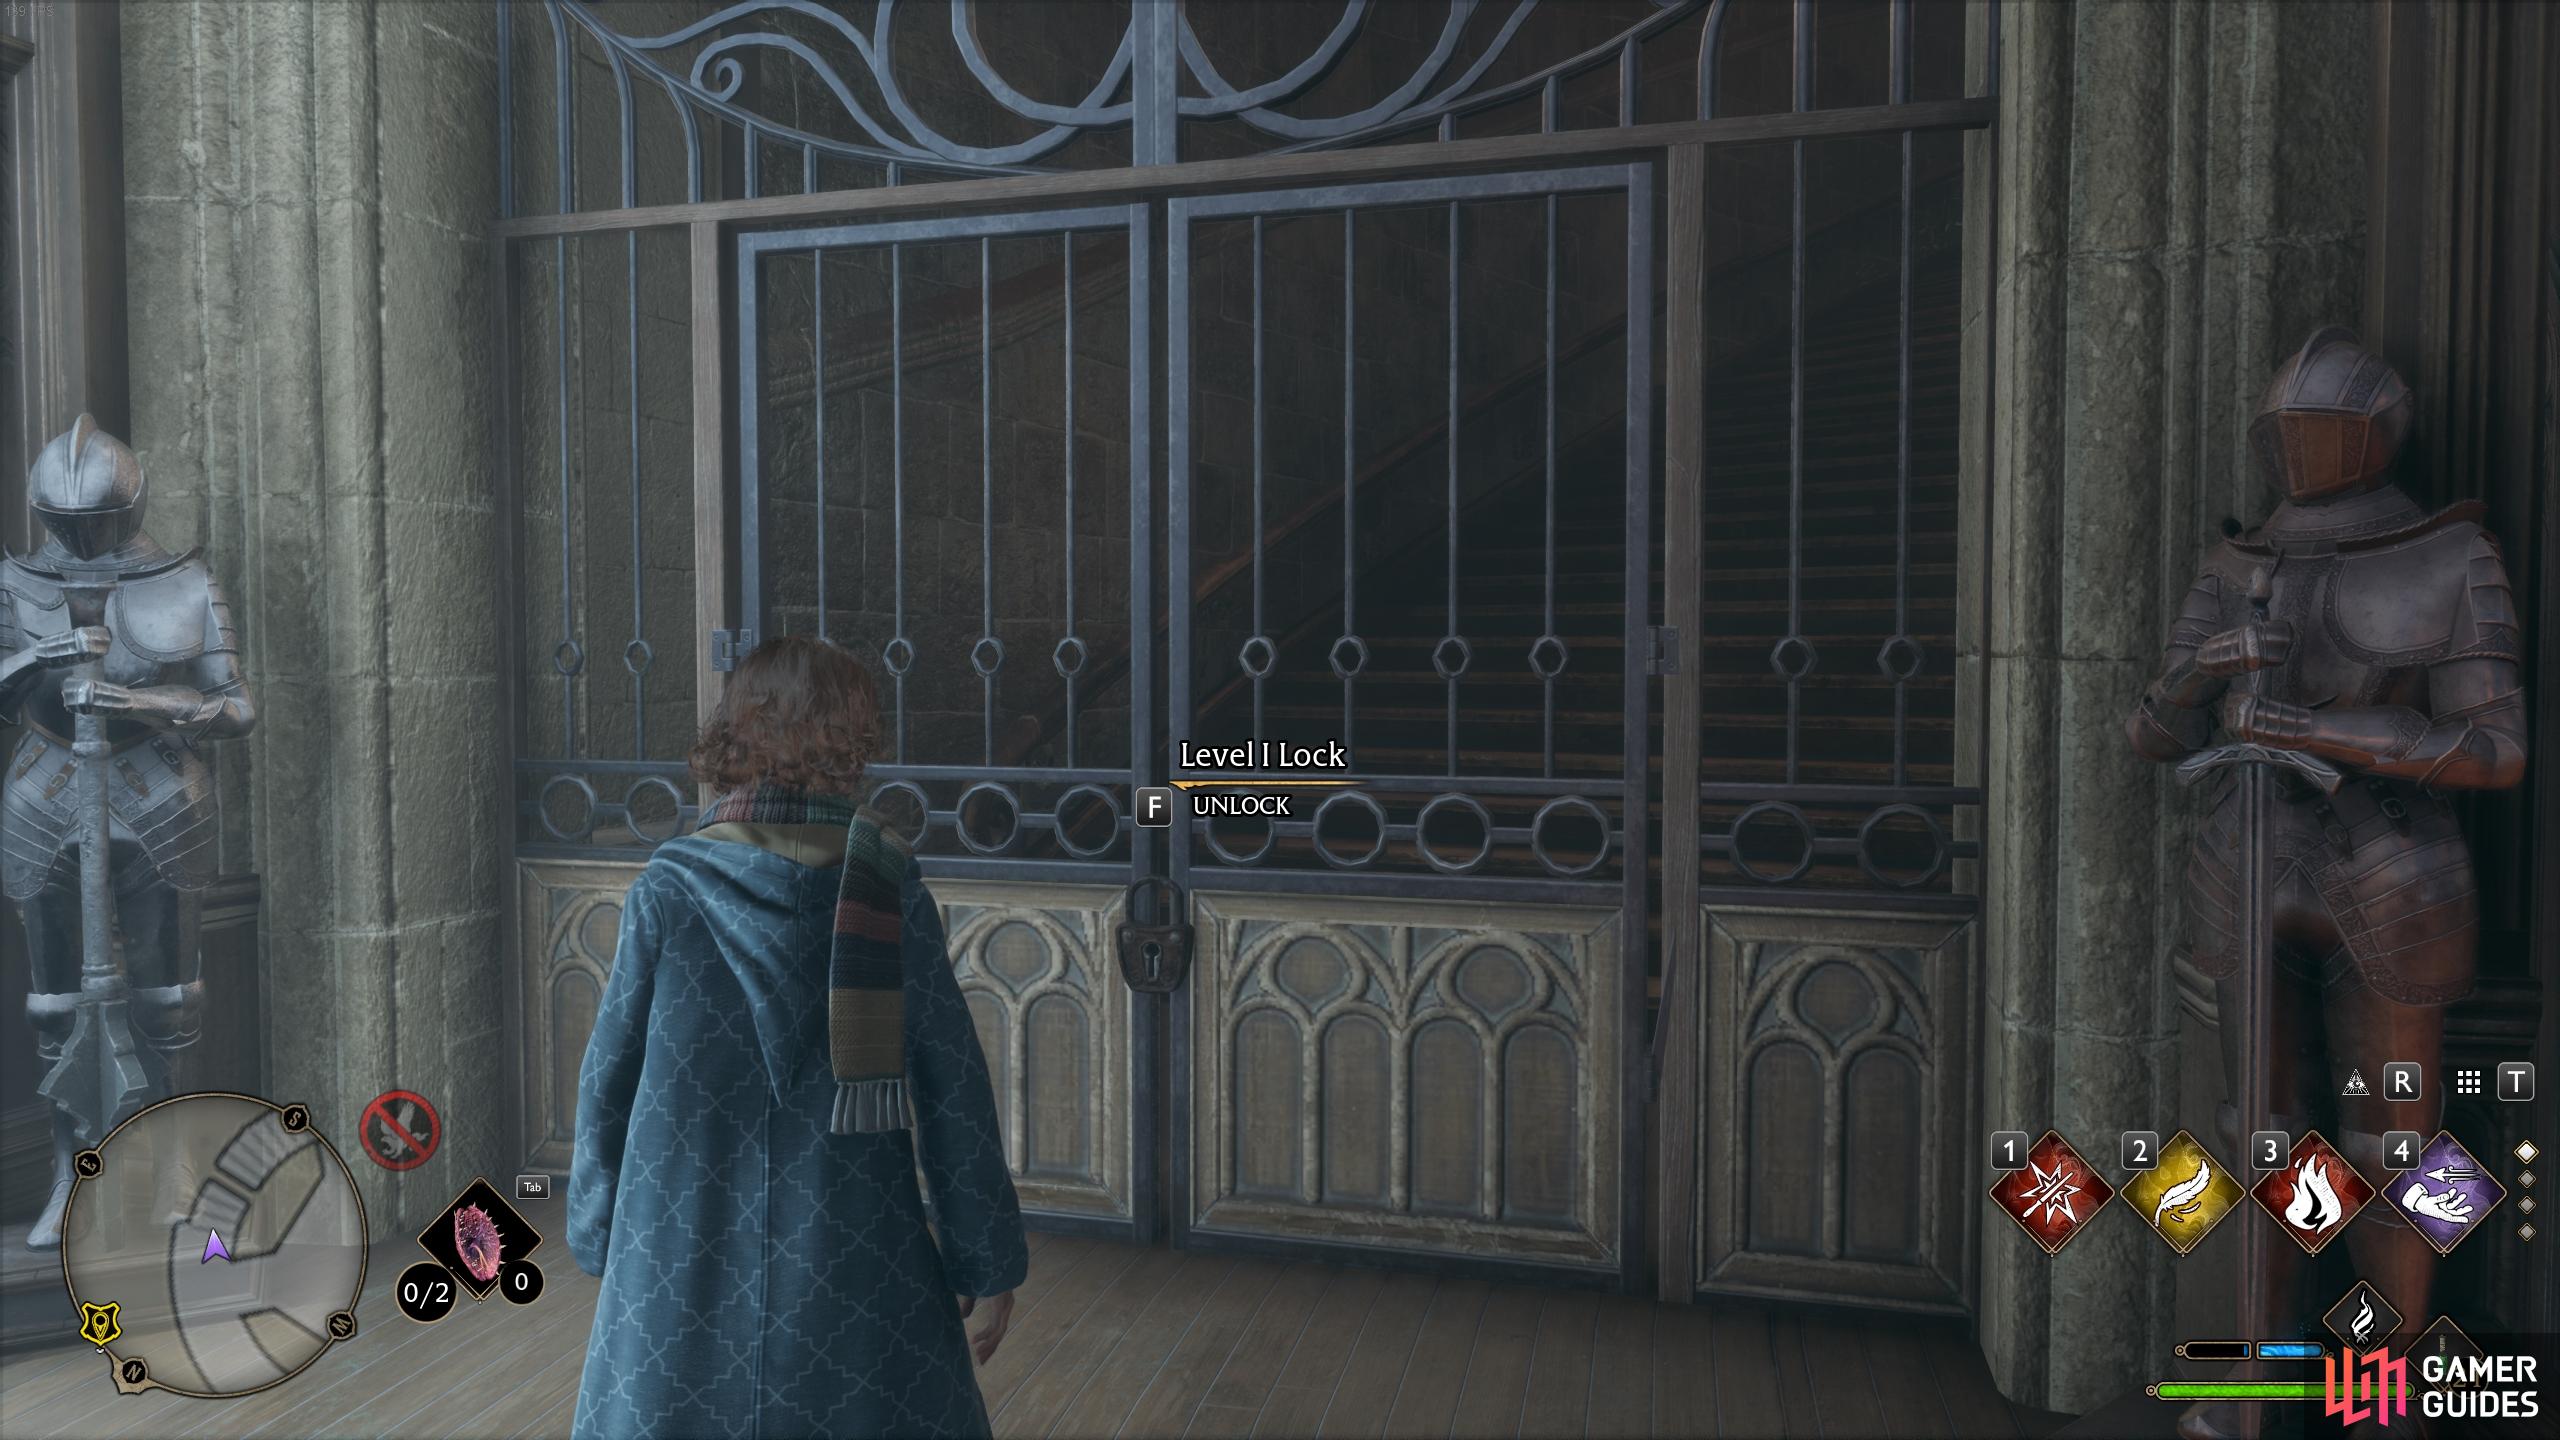
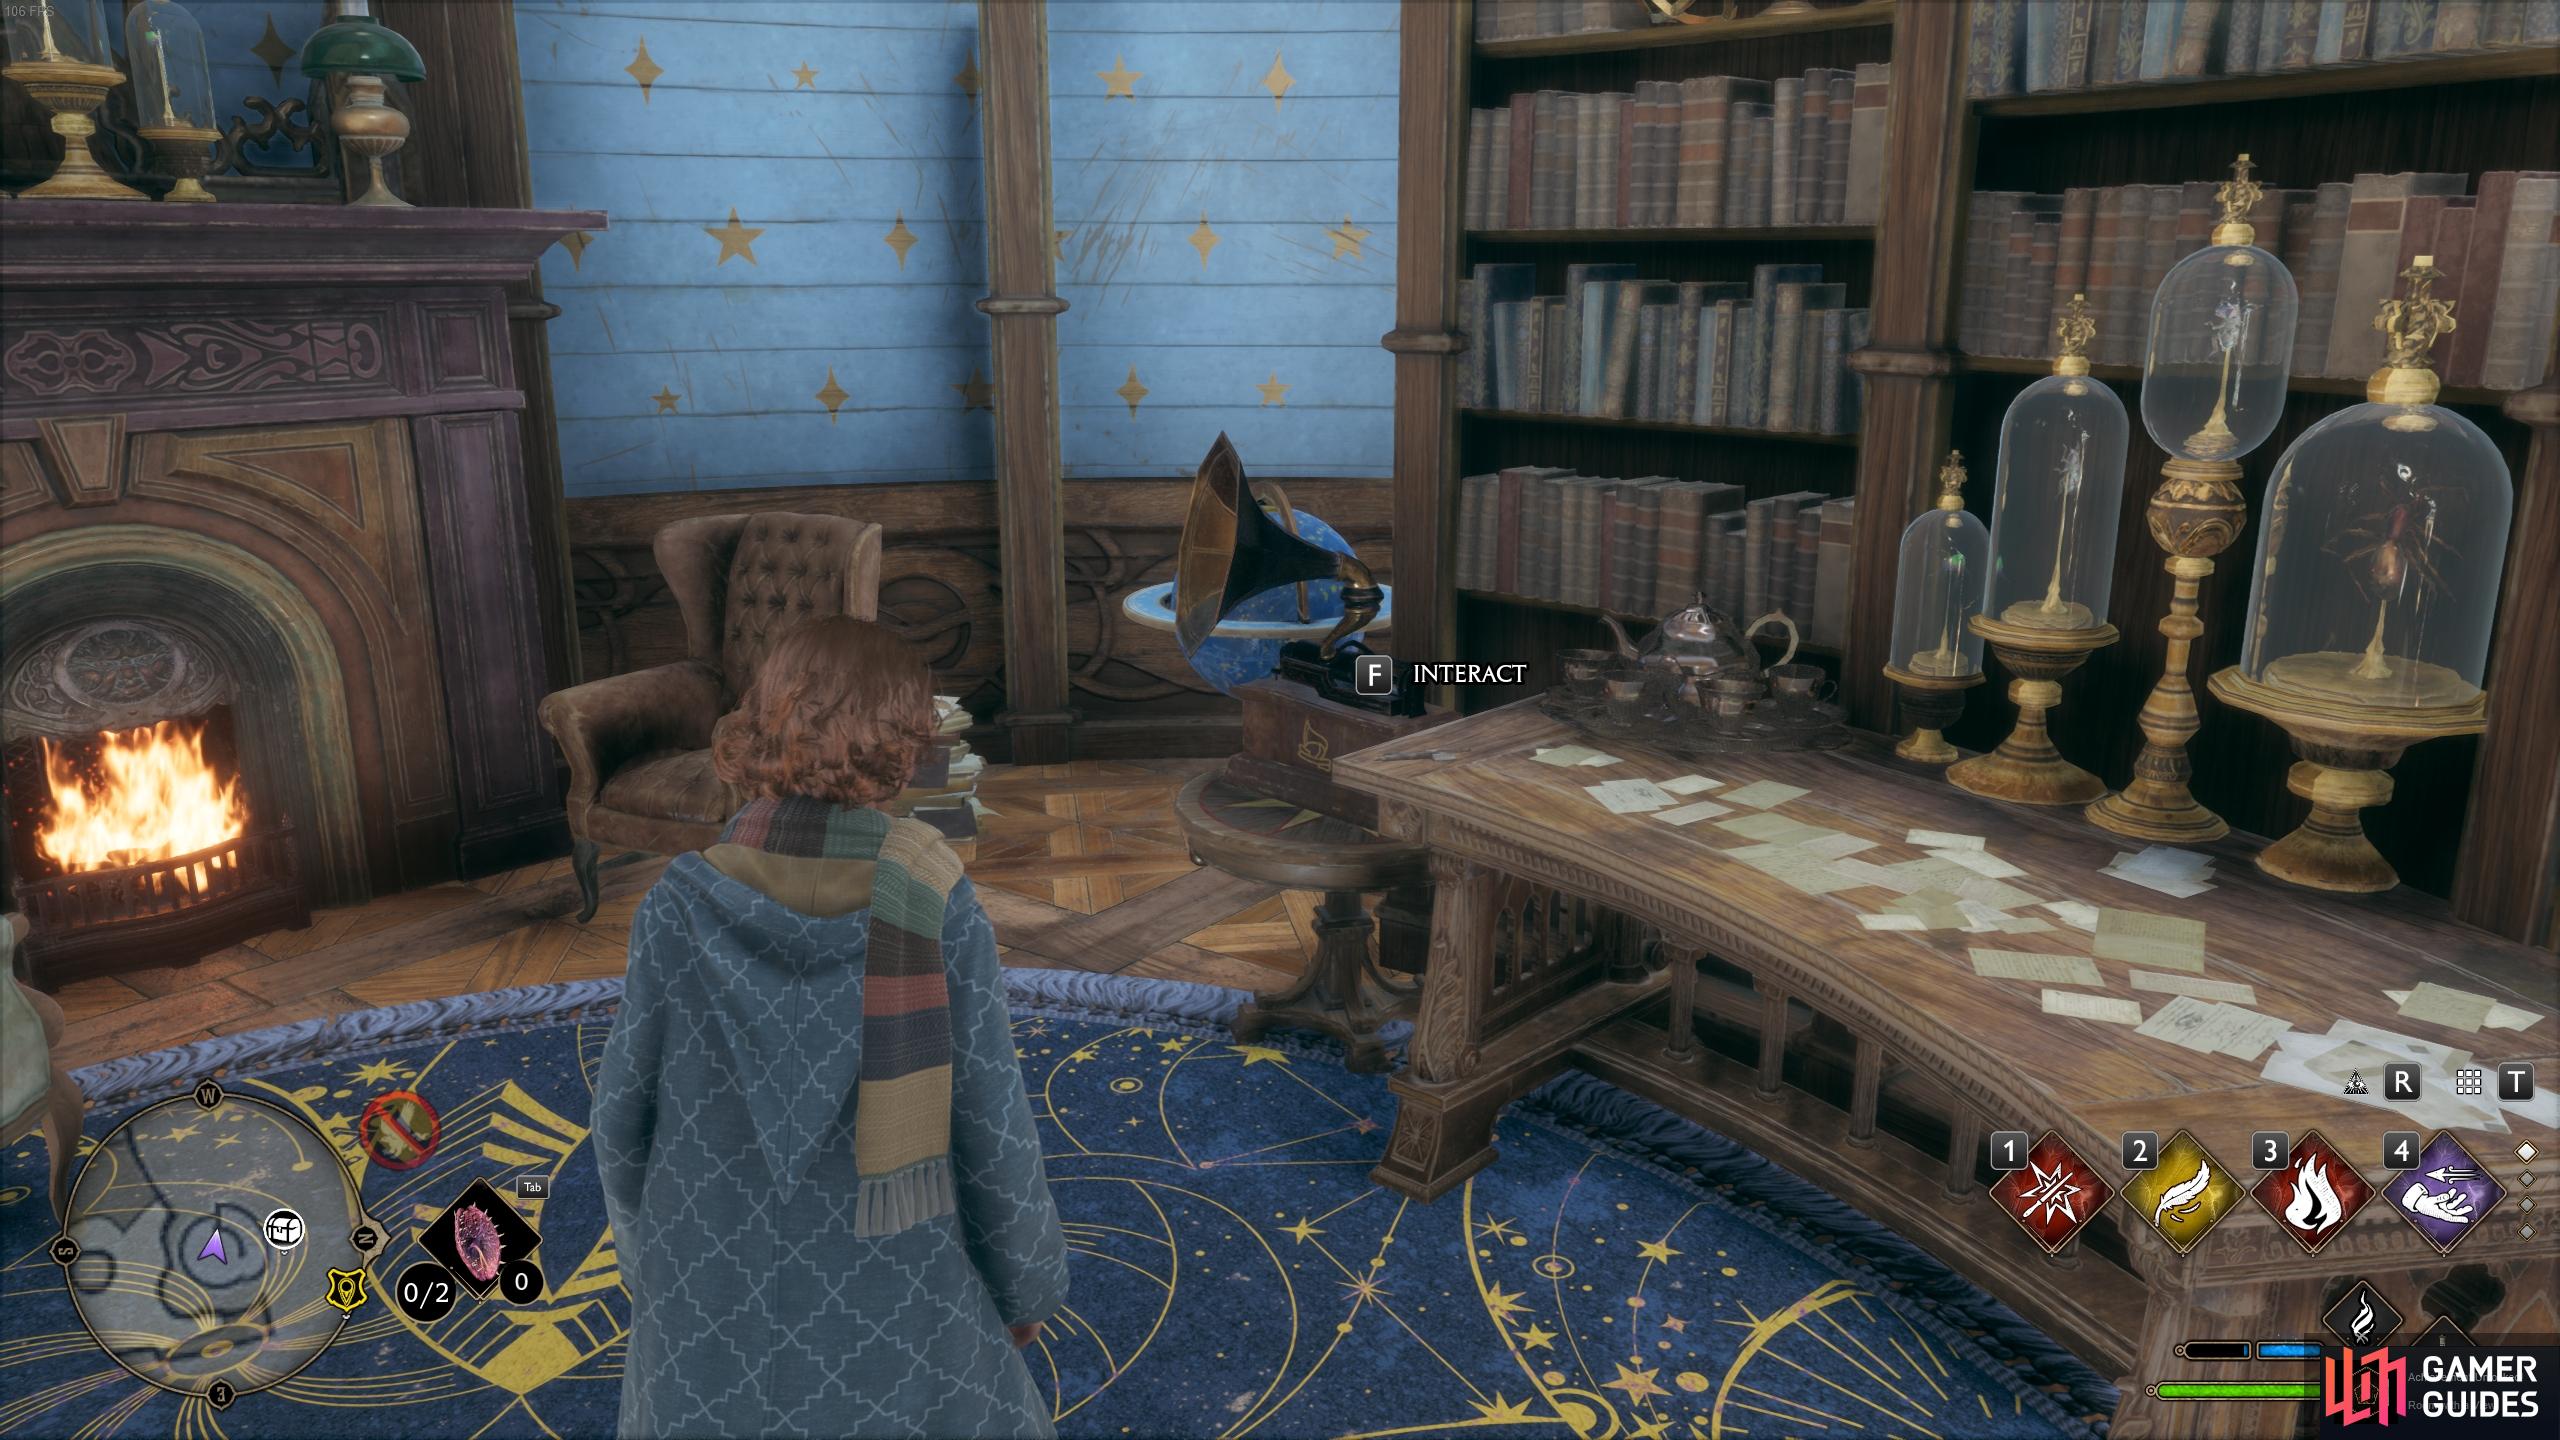
To find this Collection Chest you’ll need to reach the Headmaster’s Office, which can be accessed by fast travelling to the ![]() Trophy Room Floo Flame, then heading to the locked doors on the southeast side. You’ll need Level I in
Trophy Room Floo Flame, then heading to the locked doors on the southeast side. You’ll need Level I in ![]() Alohomora to open these, which you can obtain by completing The Man Behind the Moons quest. Once you’re in, head all the way up the stairs until you reach the Headmaster’s Office. You may need to complete The Polyjuice Plot to gain access to the office, so be sure to do this first.
Alohomora to open these, which you can obtain by completing The Man Behind the Moons quest. Once you’re in, head all the way up the stairs until you reach the Headmaster’s Office. You may need to complete The Polyjuice Plot to gain access to the office, so be sure to do this first.
(1 of 4) You can unlock the gate for the stairs leading to the Headmaster’s Office using the Alohomora spell.
Trophy Room - The Key of Admittance Tower (Two Collection Chests)
Once you’ve looted the Collection Chest in the Headmaster’s Office, use Alohomora again to open the door on its northeast side. This will lead to a tower above the office where you’ll find the Key of Admittance. You need this to open the locked door at the other end of the corridor where you find the entrance to the Headmaster’s Office Gargoyle. Beyond this door you’ll find a hidden room at the top of the stairs which contains the two remaining Collection Chests.
(1 of 4) You can fly to the tower containing the Key of Admittance and open it from the outside with Alohomora Level III.









 Sign up
No Comments