Escape from Helheim, God of War.
Find a way out of Helheim
The aftermath of the battle with Baldur has left father and son stranded deep in Helheim, they’ll need to find a way out if they’re to finish their journey.
Climb onto the wall where you start and use it to climb around and up to another platform. Defeat the Hel-Reaver Guard that spawns and then burn away the brambles to reach a Hacksilver chest. Lift the gate and head across the bridge in front, leaping the gap in the process and defeat the Hel-Reavers that spawn on either side of the gap.
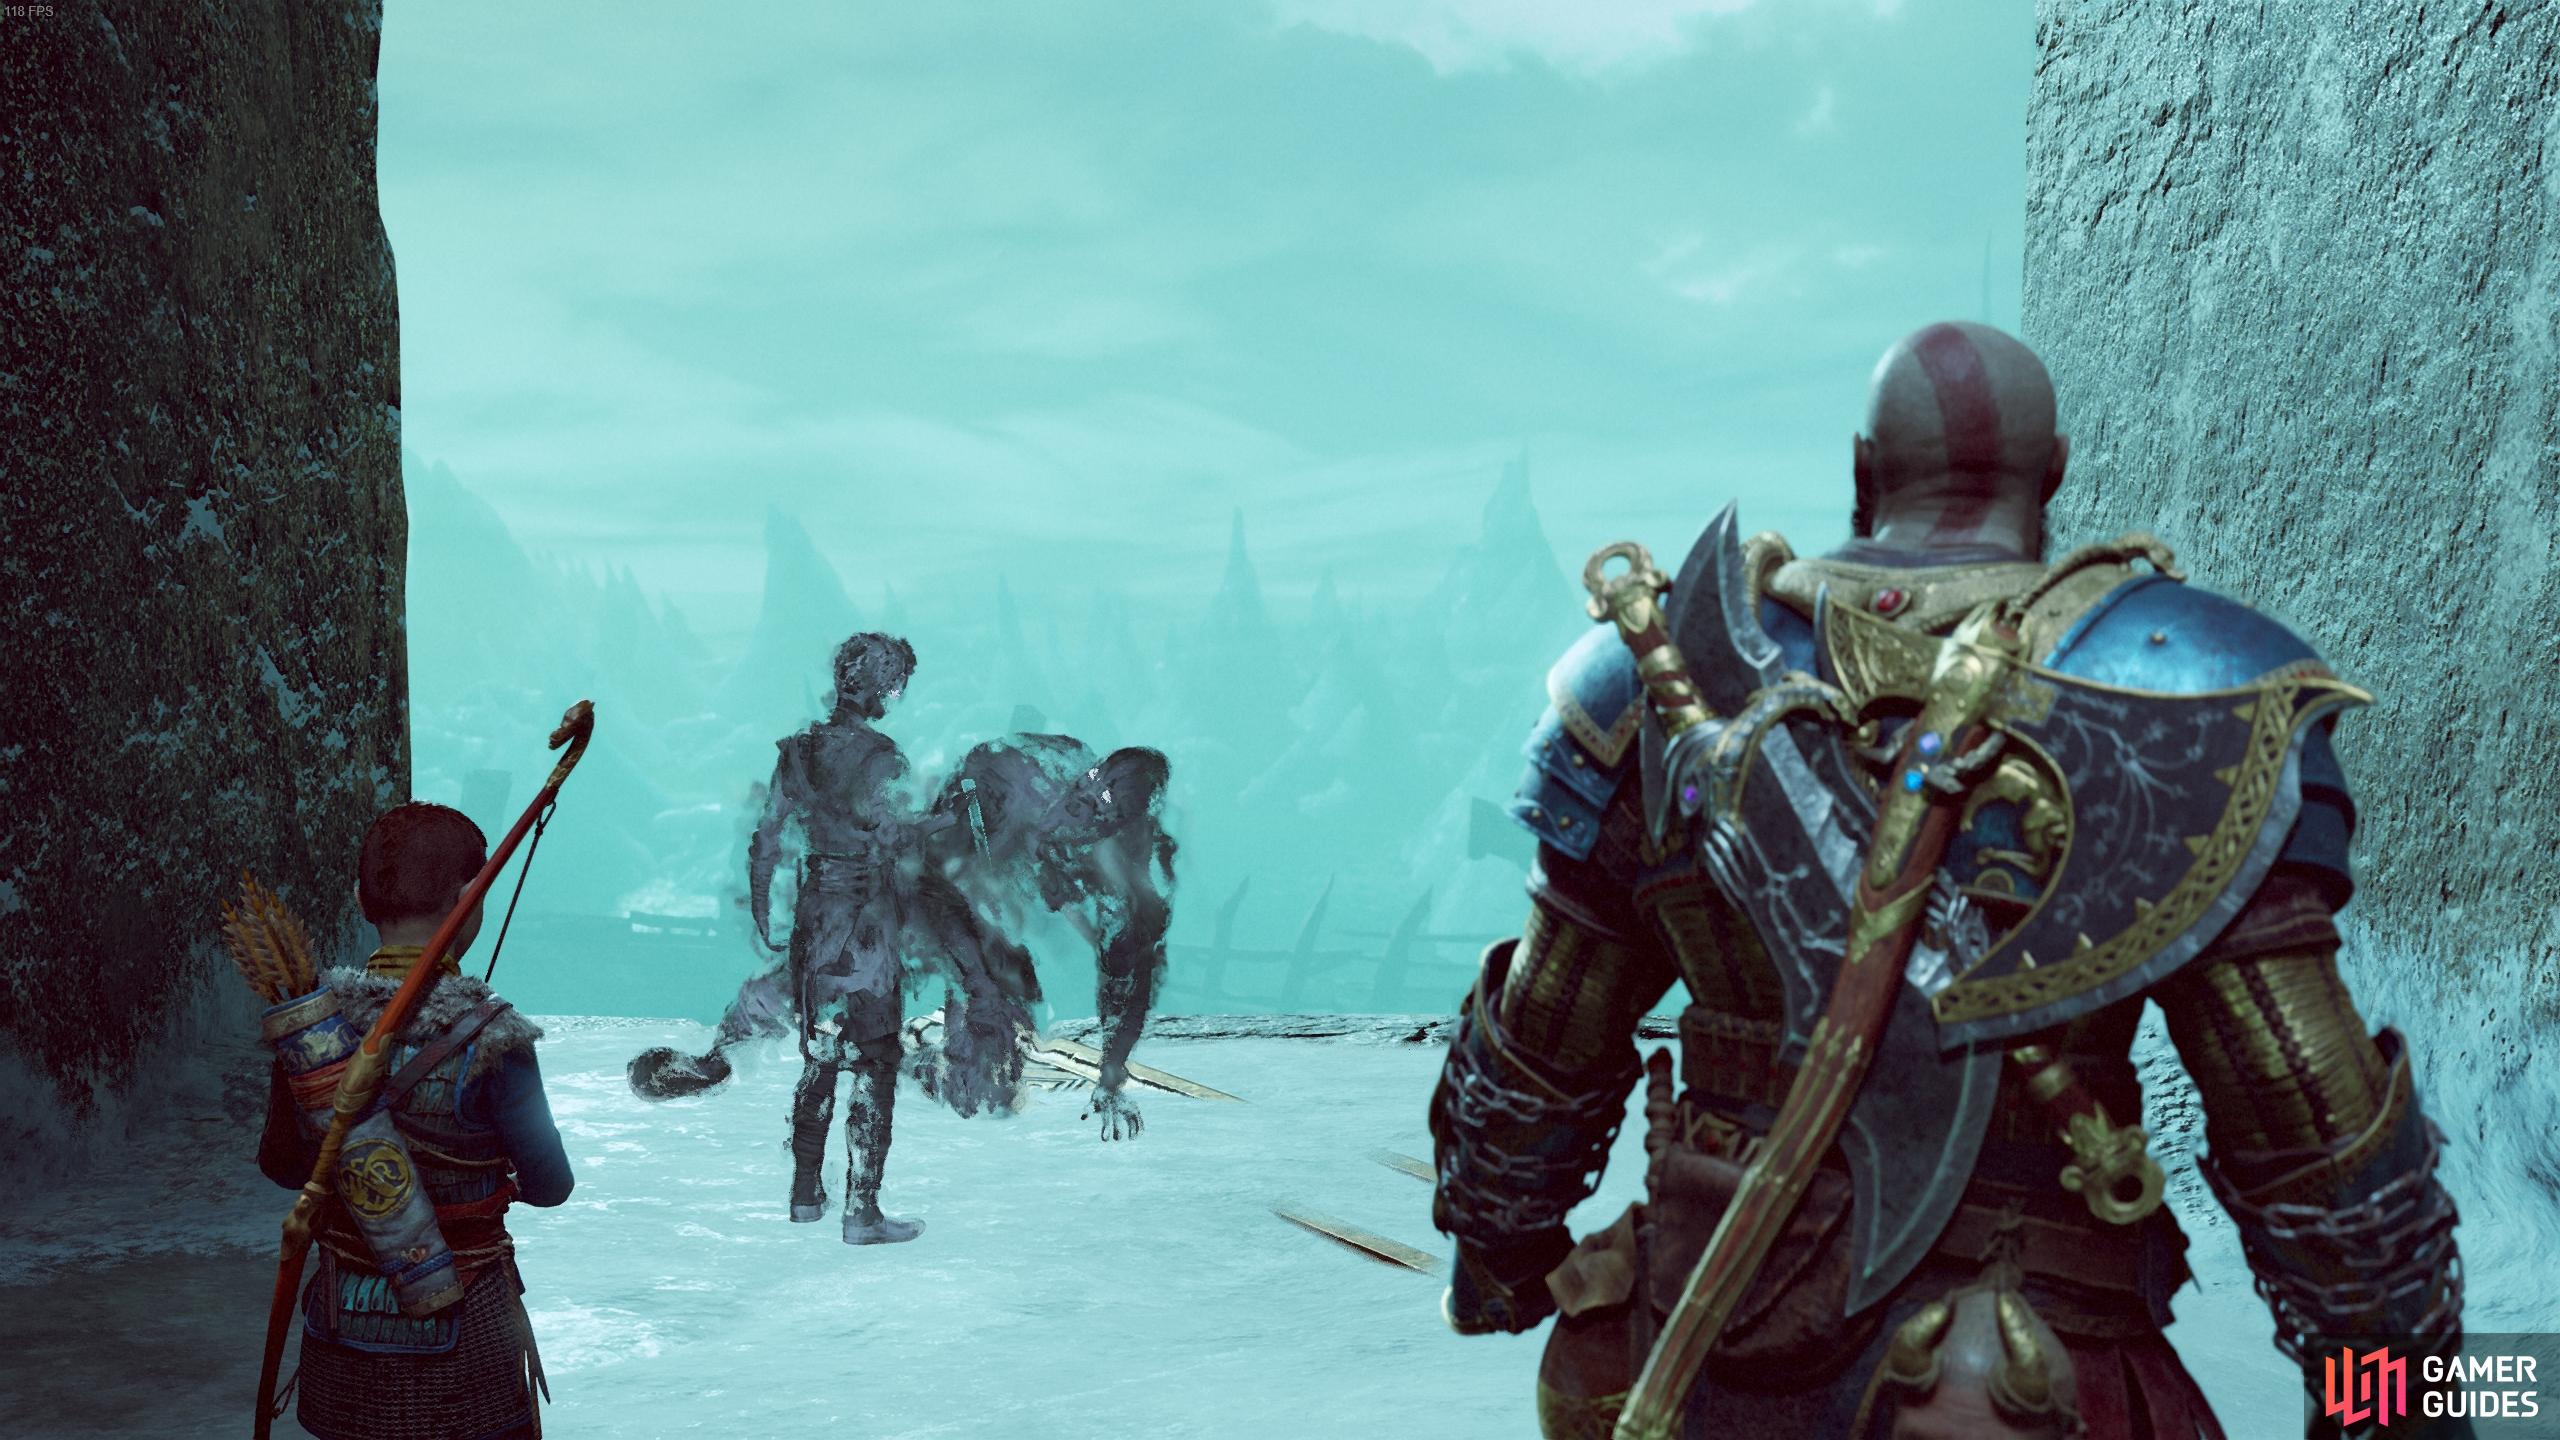
Pass through the gate and a vision of the recent past haunts Atreus. Head over to the east wall and use it to climb down to the bottom to find some brambles blocking a wind trap. If you check near the edge, you can climb down and follow the path to a coffin hidden underneath. Head back up and grab the Winds of Hel and deposit it in the left of the two wind traps on the door behind you. Use the Leviathan Axe to freeze the left lock in place and then grab and deposit the energy in the right trap to open the door.
(1 of 2) Freeze the left lock and use the energy in the right lock to open the door.
Freeze the left lock and use the energy in the right lock to open the door. (left), Remember to run away if you see the Hel-Traveller take this stance. (right)
A Hel-Traveller lurks inside, lure him outside of this room to give yourself some more space to manoeuvre and make use of Atreus’ arrows to distract him. The Traveller is a tough adversary but nothing you haven’t already dealt with, utilize your Blades of Chaos Runics and the brute should fall. Pick up the loot on the ground after the battle to obtain another Chaos Flame along with all the Traveller resources.
Head back into the previous room and burn away the brambles on the right then open the gate. Look to the right to find more brambles to burn and drop down and push the block all the way to the end. Return to the first brambles you burnt and leap onto the block and over to the coffin. Defeat the Hel-Shadow Archer and jump back over to follow the path west.
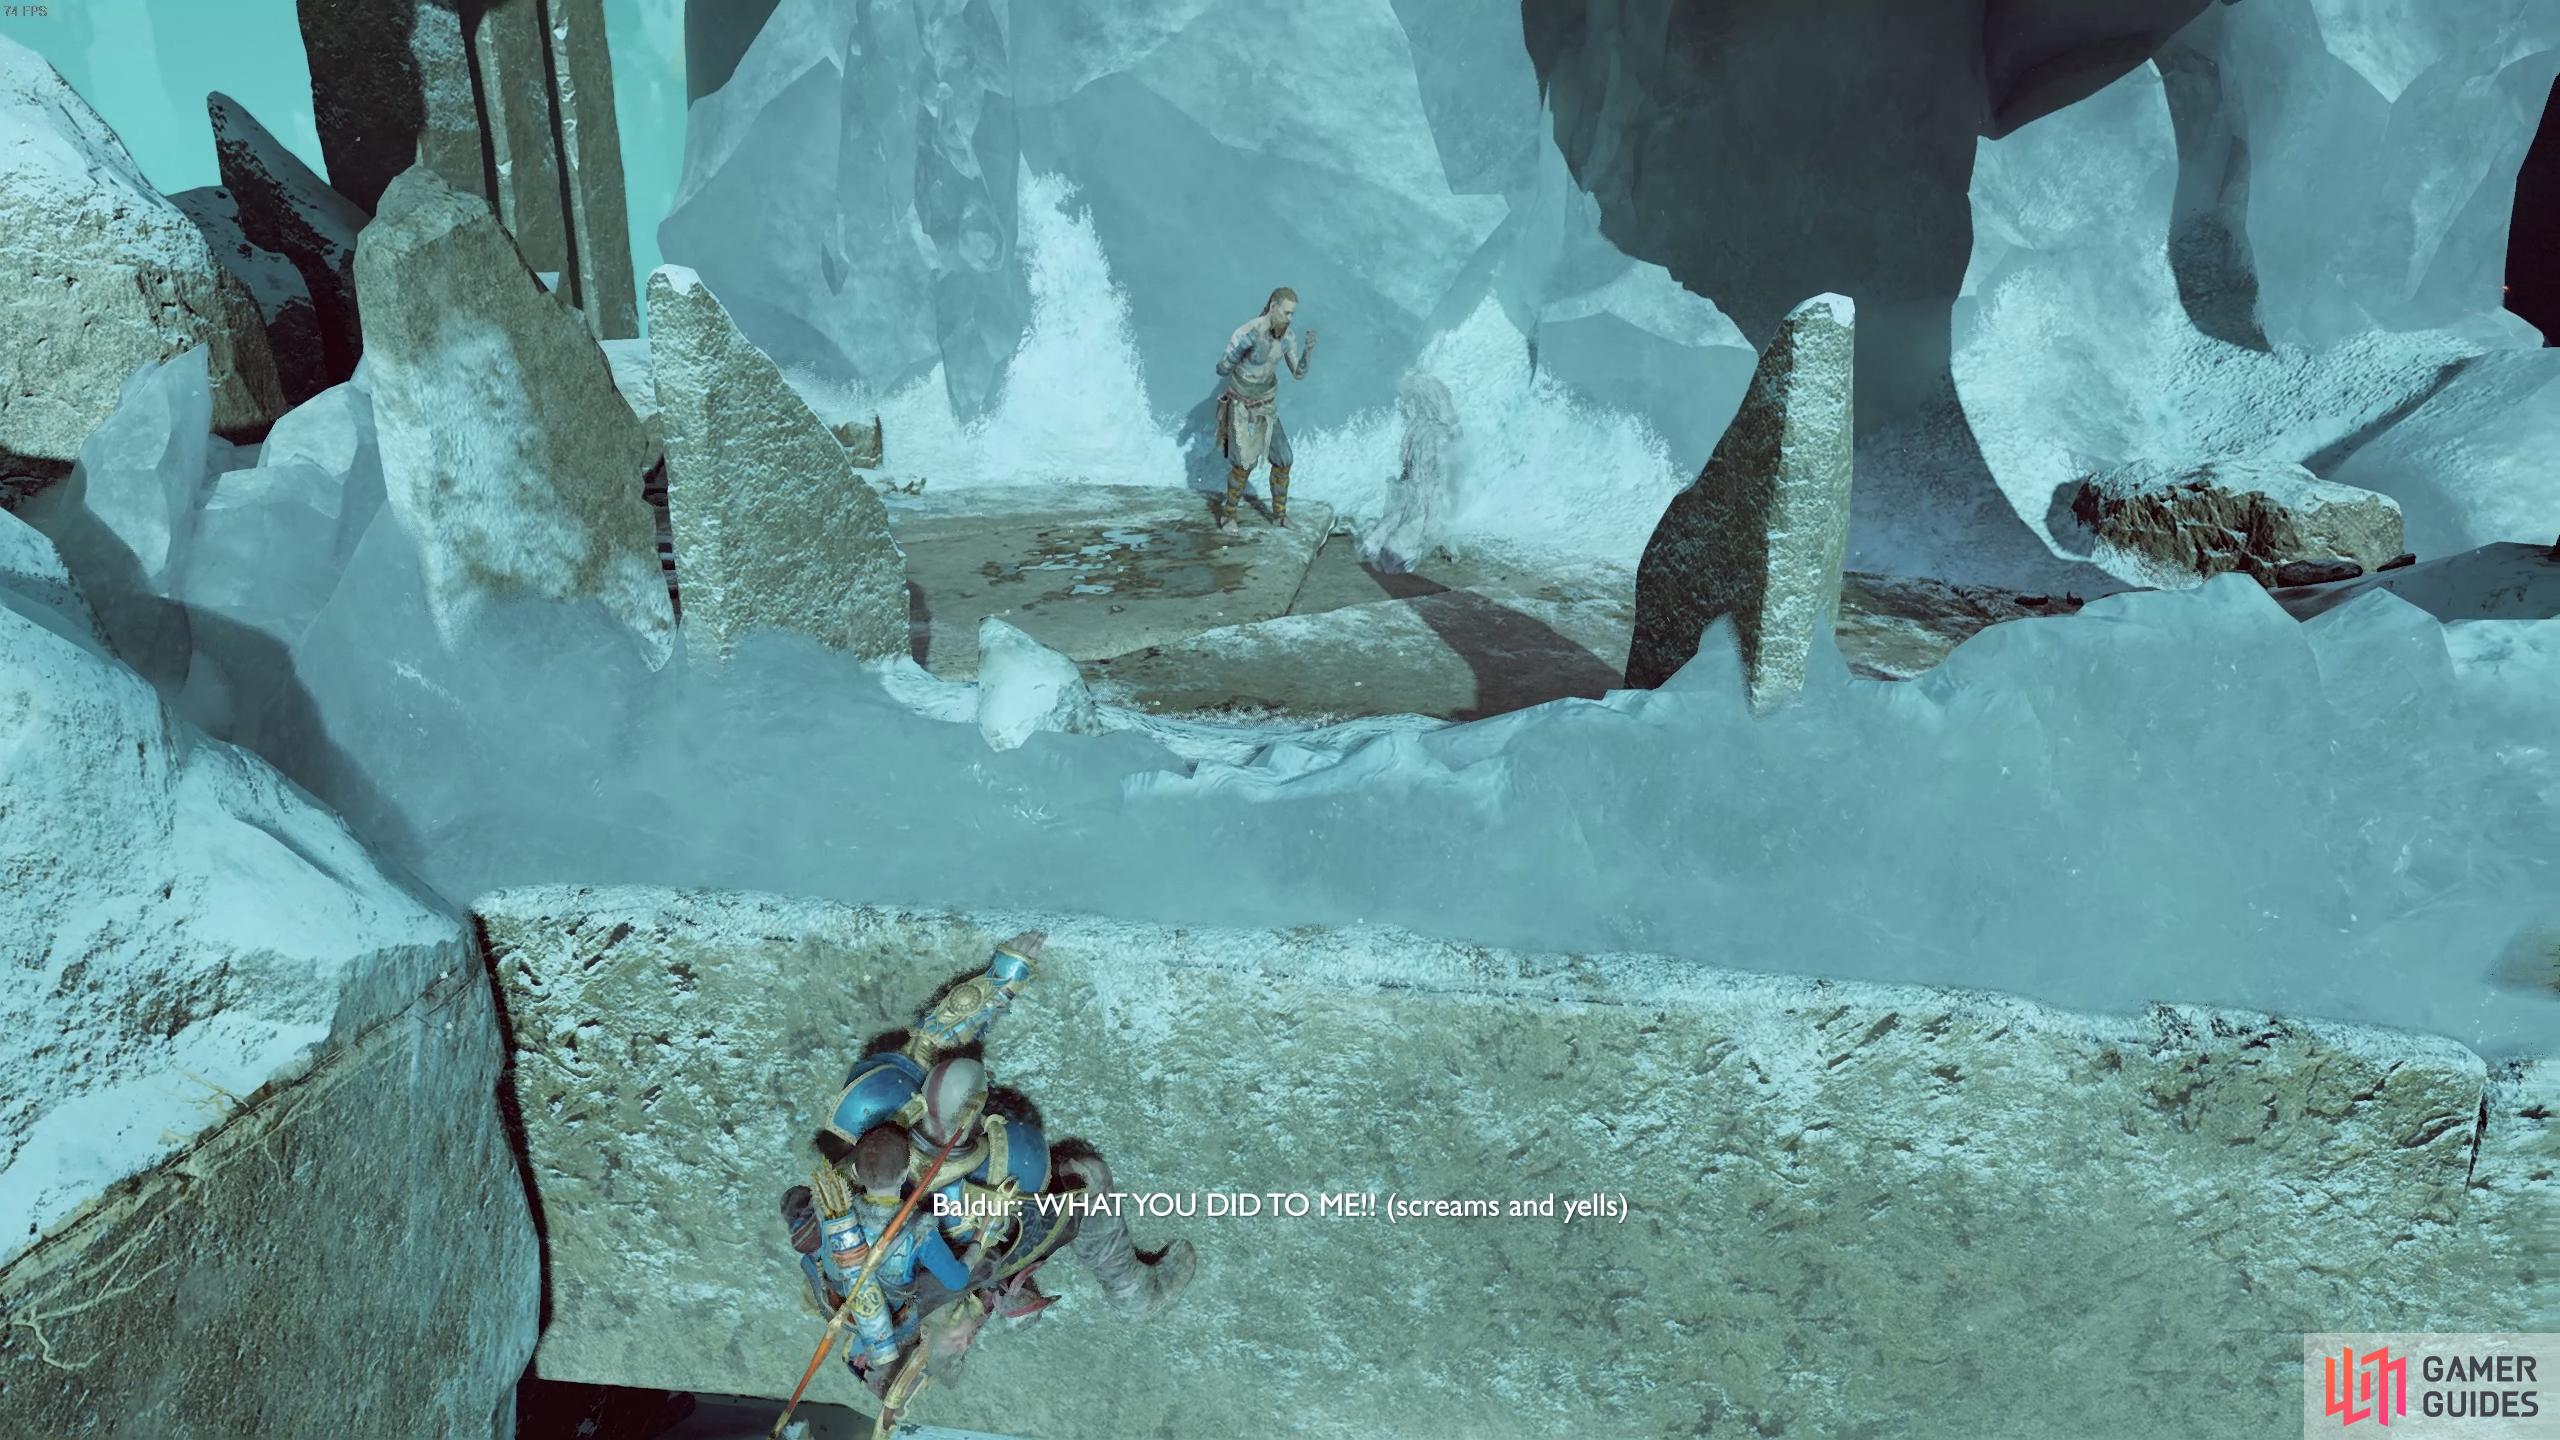
Leap over to the wall and witness Baldur watching a vision of his past, revealing some shocking secrets. Watch the events unfold as you make your way around the wall. Head around once the boat is in sight and climb down the ledge, breaking the weapons rack on the north wall and passing through the tunnel to find another coffin.
An aspect of Baldur’s history is revealed in this sequence.
Continue along the path and another group of Hel-Walkers attack, this time including the fearsome Hel-Vikens. Like always, make use of your Runics and focus on the lesser enemies before taking on the Vikens. Head to the east and push the large block into the gap to create a bridge and leap over to find a Nornir Chest.
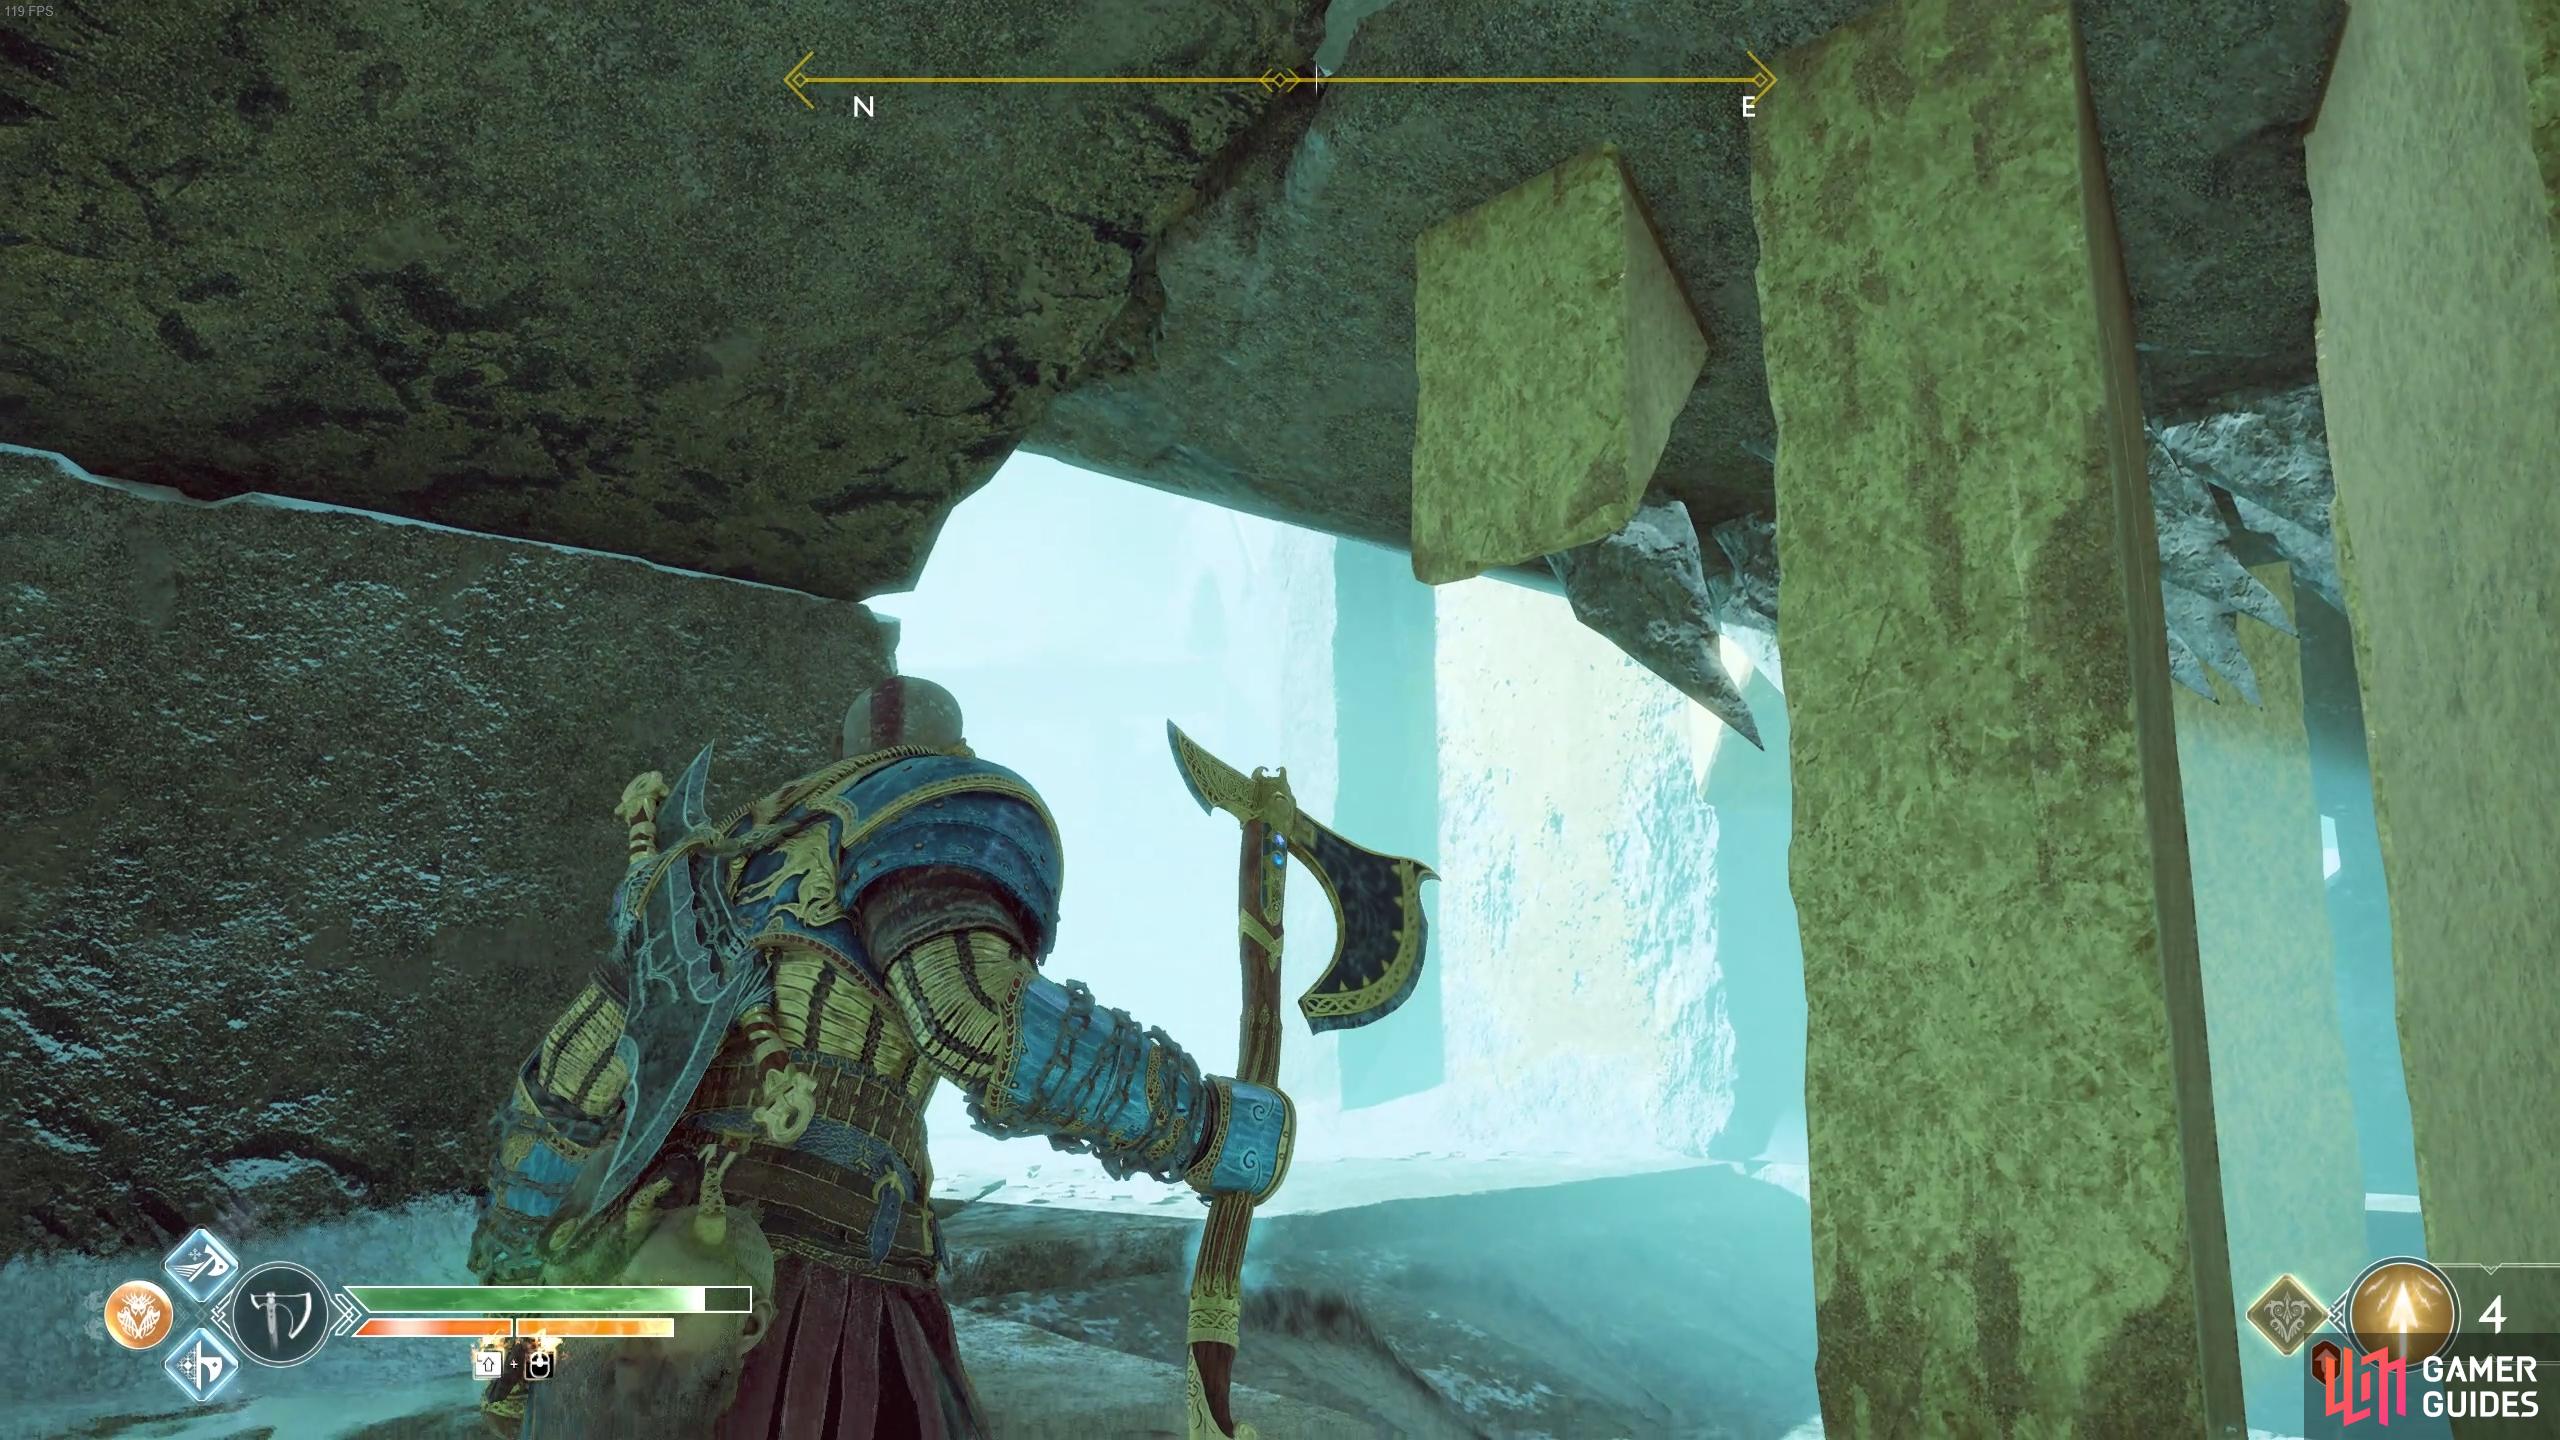
Head into the room to the side of it and burn away the brambles to gain access to another block. Head around to the left of this however and look on the left wall to find the first Rune. Pull the block out and you’ll spot the second rune holed up inside, go around the back of the block to be able to strike it. Pull the block all the way back now and climb it to find a Hacksilver chest. Look out to the pillar in the southeast to find the final Rune nestled there. Return to the Nornir Chest and open it to finally obtain your last Horn of Blood Mead, maxing out your Spartan Rage gauge unlocking the Quick Tempered achievement in the process.
If you’re struggling with the runic chest, see the gif below:
Go back to the west and defeat the enemies that spawn, passing under the block on your way to the ship.
How to Move the Ship
As you look around the ship, you’ll see brambles all over the place. Go about burning them all and then head to the north end of the ship to find a wheel. Turn it all the way back to raise the sail and the ship begins moving. Unfortunately, the ship gets stuck a little way up the stream on an iceberg.
Head over to where Atreus is looking and interact with the mount, swinging the axe to break it and let the sails loose. Head back to the wheel and turn it all the way back, this causes the ship to float in the air with the heat generated from the burning brambles.
Unfortunately, for the second time, the ship gets stuck again.
Climb onto the platform to the west and head forward to turn the nearby wheel causing the ship to float a little higher before getting stuck again. Two nasty Hel-Revenants attack, these creatures will shoot a barrage of Ice at you so be on the constant move while you take them down to avoid being frozen. You’ll find a coffin to the south of this platform containing the Stone of Fire Supremacy Legendary Enchantment, this raises your Burn damage by 25% and is extremely helpful here in Helheim.
(1 of 3) Watch out for the Icy fissure from the Hel-Revenants.
Head into the north room now to find a Spinning board, from the outside, fling the axe at it to send it up and then quickly head under to the northwest to find a Legendary Chest containing the Icarus Storm Light Runic Attack for the Blades.
Stand on the platform now and use the Spinning board to take you to the top, throwing the axe at the runic gear to freeze it in place. Climb off the platform and recall the axe to lower the platform to the bottom, giving you access to the Hacksilver chest to the northwest. Finally, jump over to the ship and with Atreus, lift and push the block away.
Escape Helheim
With nothing left to stop the ship, you can begin your escape out of Helheim. The Hel-Walkers however have other plans and begin to assault the deck of the ship. They’ll continuously target the two bramble fires in an attempt to put them out, if they’re successful the ship will tumble down. Prowl the entire deck taking the enemies out, making use of your Runics and Summons to meet the threat.
An anchor comes crashing down on the ship as your escape continues and a Hel-Viken joins the party along with many Hel-Broods. Focus on getting the Hel-Viken down early and then use area of effect attacks to combat the Hel-Brood swarm. Once the last enemy falls, run over to the anchor and wrestle it free from the ship to continue the escape.
(1 of 2) Reignite the brambles with your Blades of Chaos attacks if the fire goes out.
Reignite the brambles with your Blades of Chaos attacks if the fire goes out. (left), Once the enemies are dead, wrestle off the anchors. (right)
Hel-Shadow Archers are your next combatants as they attempt to hurl spears of ice at you. At this point it becomes a bit more challenging to keep the fires ablaze, make runs across the deck while you reignite any fires that go out thanks to Atreus’ information. This assault will persist for quite some time so make sure you use your Runics and Summons on cooldown and pick up any healthstones should you need them.
With the bridge in site, more anchors come crashing down onto the deck. Rush over and dislodge one from the ship. After the first anchor is removed, two Hel-Revenants along with Ice Nightmares attack, unleash everything you have, using Spartan Rage if you need to and then dislodge the other anchor once they’re dead.
(1 of 2) You can mount the ogre to quickly deal with the other enemies.
You can mount the ogre to quickly deal with the other enemies. (left), Use runic attacks to push enemies down the crack in the ship. (right)
As the ship continues to float across the skies of Helheim, an unending wave of Hel-Walkers continue to attack. Continue the same strategies and eventually more harpoons will bind the ship as an Ogre is your last threat to deal with. Stun the brute and use him to attack the other enemies as you take down the last of the Hel-Walker assault. Once the deck is clear of all hostiles, head over to the bow and wrestle it free. Atreus’ quick thinking brings the duo crashing down into a hidden part of Týr’s Temple.
Once you’re out of Helheim, you’ll unlock the Past Haunts achievement.
Turn away from the door you’re facing and head through the ones behind you to find a Lore Marker and then open the coffin to obtain the incredible Eye of the Outer Realm Epic Enchantment, equip this right away. Turn back the other way and use the Magic Chisel on the seal and head through the next two rooms where a revelation about Týr will provide the way forward.


 Sign up
No Comments