Deus Ex Malachite
| Favor Giver | Rewards |
|---|---|
| Brok, Upon completion of Second Hand Soul | Andvari’s Soul, 3290 XP |
Once the water level in the Lake of Nine has dropped for a second time and you’ve finished the Second Hand Soul Favor, return to Brok to receive this follow up. Head to the Landsuther Canyon found to the west of Muspelheim Tower and dock at the beach at the end.
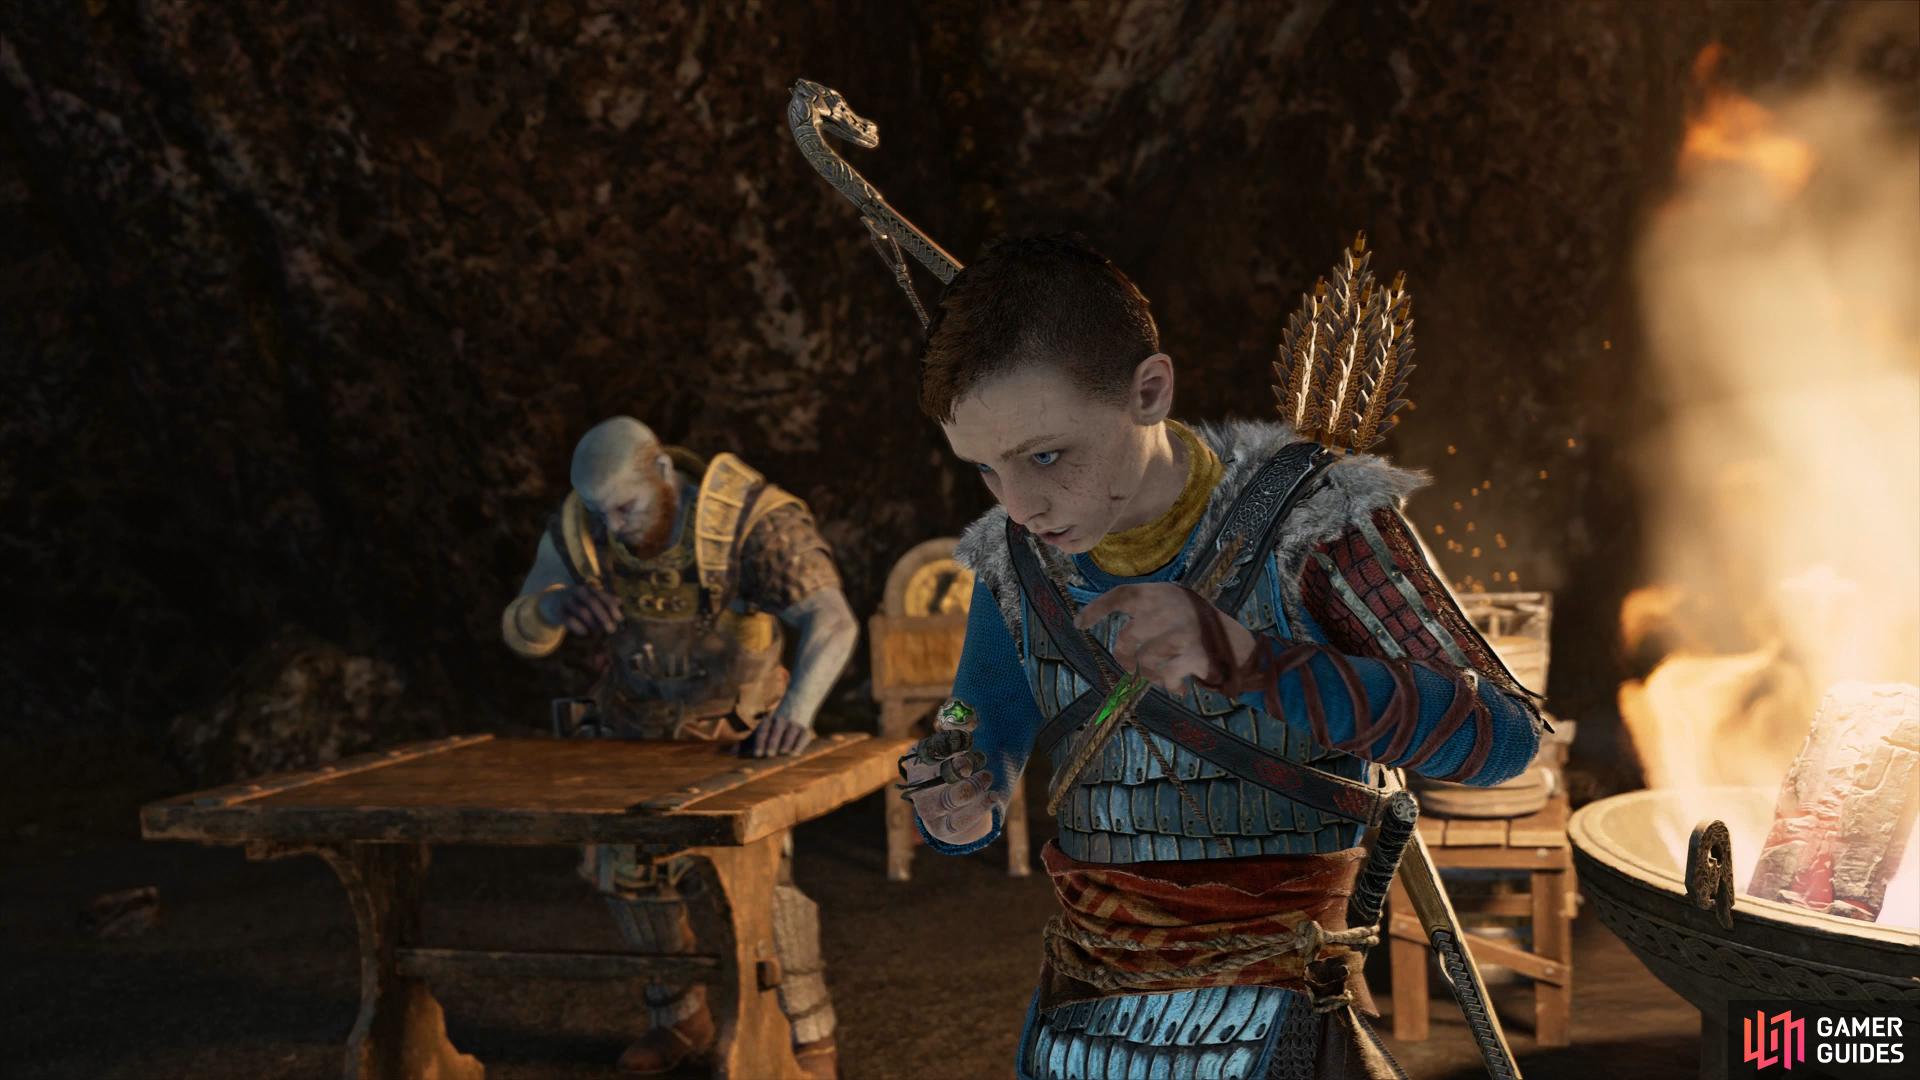
Follow the linear path through the tight paths and eventually you’ll stumble upon Brok who’s set up shop at the entrance to the mines. Speak to him to receive a ring with Andvari’s soul inside, thankfully Atreus can hear the Andvari’s voice from within. Brok hands you the Landsuther Entry Stone and sends you on your way.
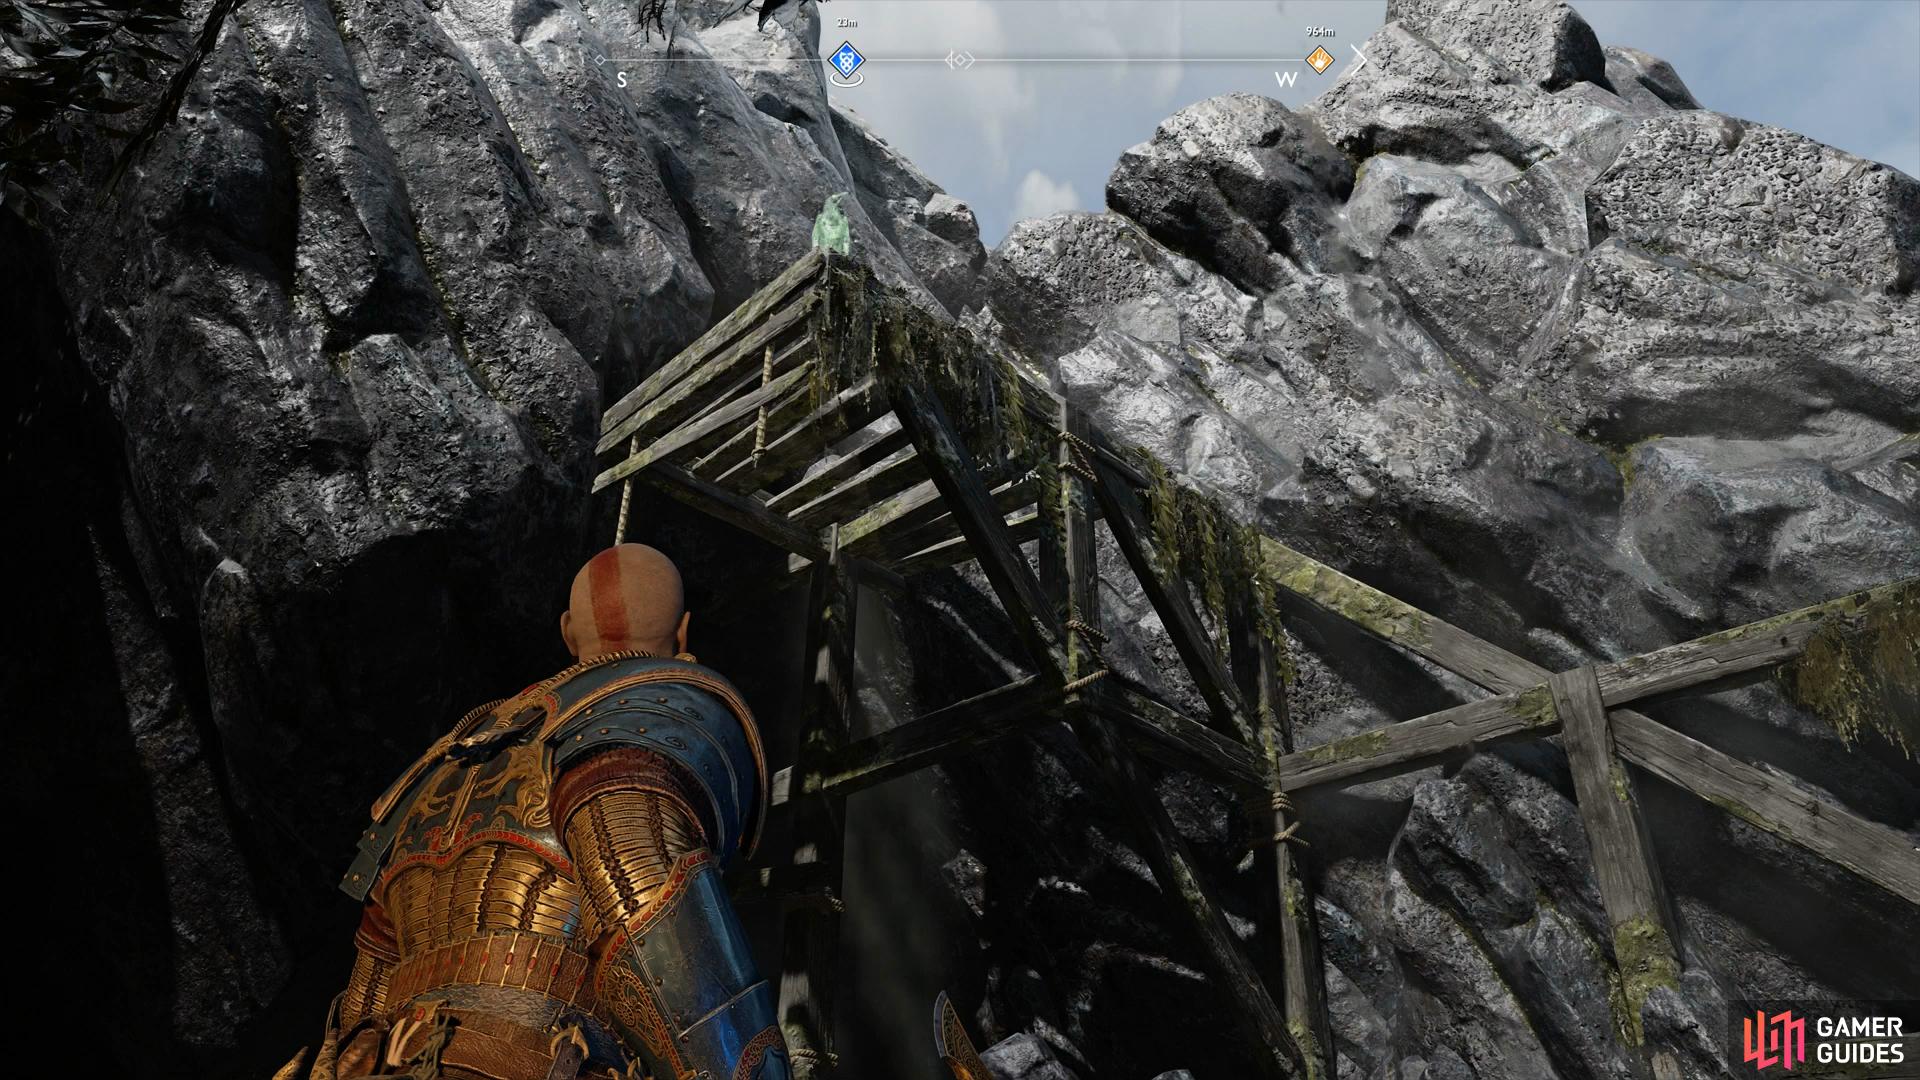
Be sure you have a Resurrection Stone from Brok and then face away from the shop and look into the air to spot a Raven perched there. Head to the gate now and insert the keystone to gain access to the mines. As you proceed and crawl through a tunnel, you’ll come to a large opening with a group of Tatzelwurms. Make use of area of effect Runic Attacks and Summons to defeat them.
(1 of 2) Turn away from Brok’s Shop and look into the air to find this Raven
Turn away from Brok’s Shop and look into the air to find this Raven (left), stand on the block you dropped to find the Shatter Crystal. (right)
Climb the small platform to the east and use the switch to drop a large block on the ground. Climb the rock to spot a Shatter Crystal on the other suspended rock in front of you and shoot it to drop it down, creating an opening for you below. A group of Dark Elves fly out from below as you drop down to the ground, the Murder of Crows Summon works wonders here as does Shock Arrows in general.
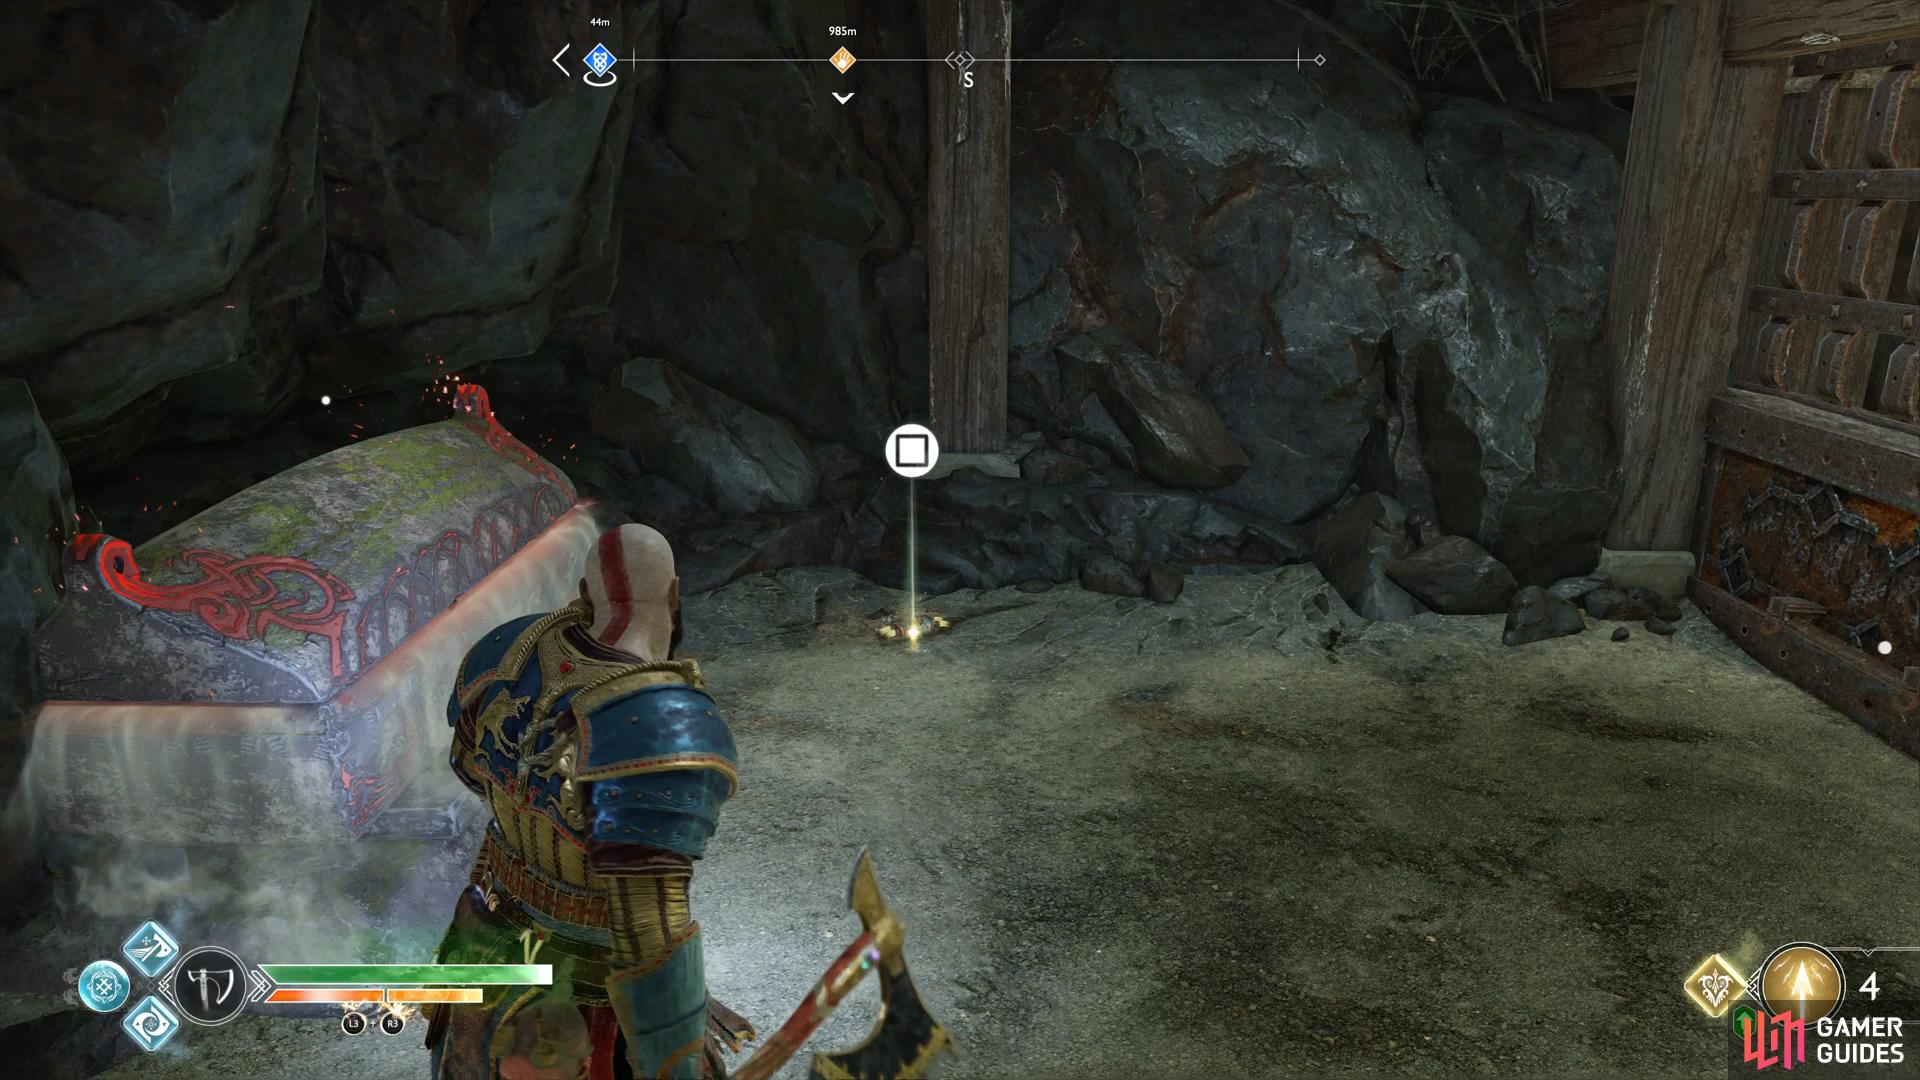
With the enemies defeated, begin climbing down to the area below. As you climb down a few struts, climb to the side and get off. There’s a coffin you can open over the other side, do so and resume climbing to the bottom. As you drop into the cavern below, two Nightmares will spawn, take them out easily with arrows.
Turn to the left of where you dropped down to find some knots you can line up, flinging the axe through them to destroy them. Defeat another Nightmare as you head through this passage and open the coffin at the end. Retrace your steps and head into the water to find a sack of Hacksilver along with a Hacksilver chest. Before climbing up the ladder in front of you, take the lift to the side and ride it to the top where you can find a Treasure Map and a coffin along with a gate you can raise.
(1 of 2) Destroy the knots behind you to reach a coffin
Destroy the knots behind you to reach a coffin (left), another Treasure Map awaits you at the top of the lift. (right)
Take the lift back down to the previous area and climb the ladder. Pick up the Rage stone, a sack of Hacksilver and turn to the right to spot some boards you can break, another Hacksilver chest hides inside. Destroy the knots in front of you and squeeze through the gap to come across a Soul Eater and a Traveller lurking ahead.
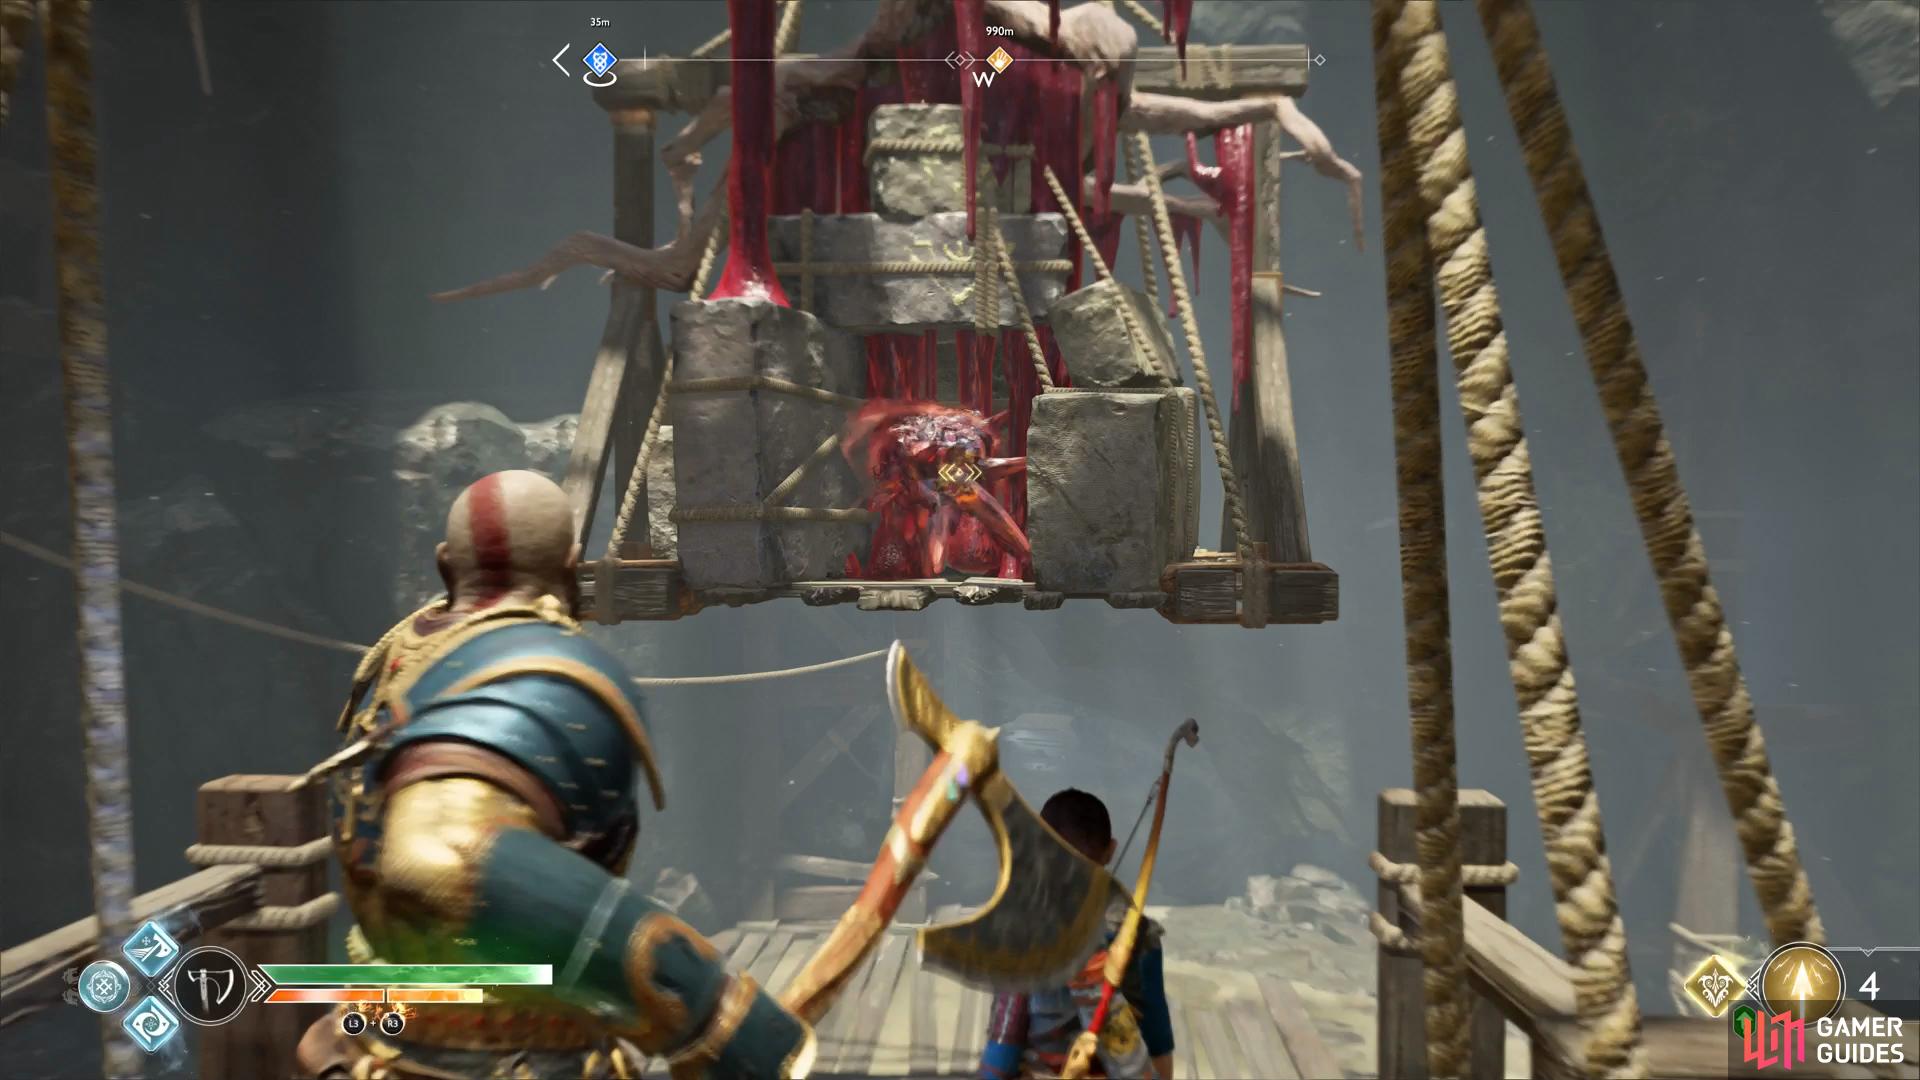
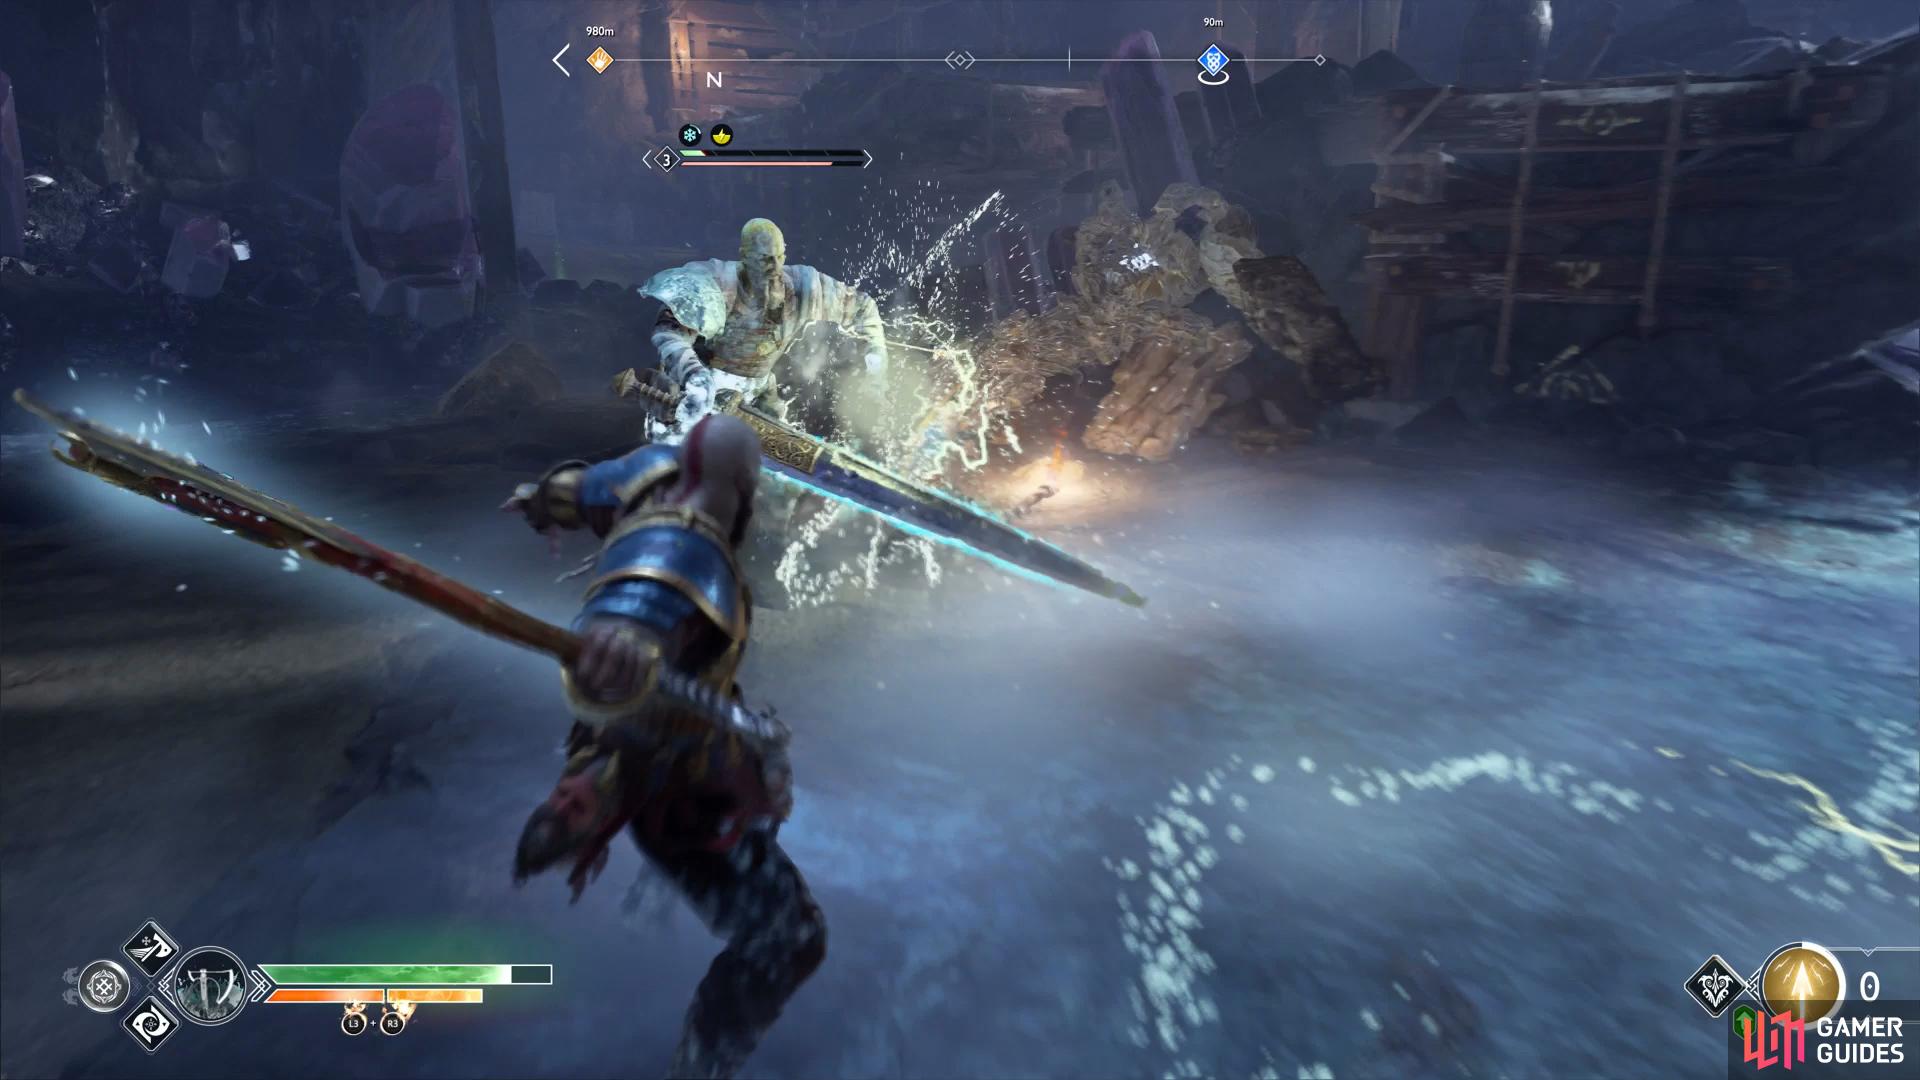
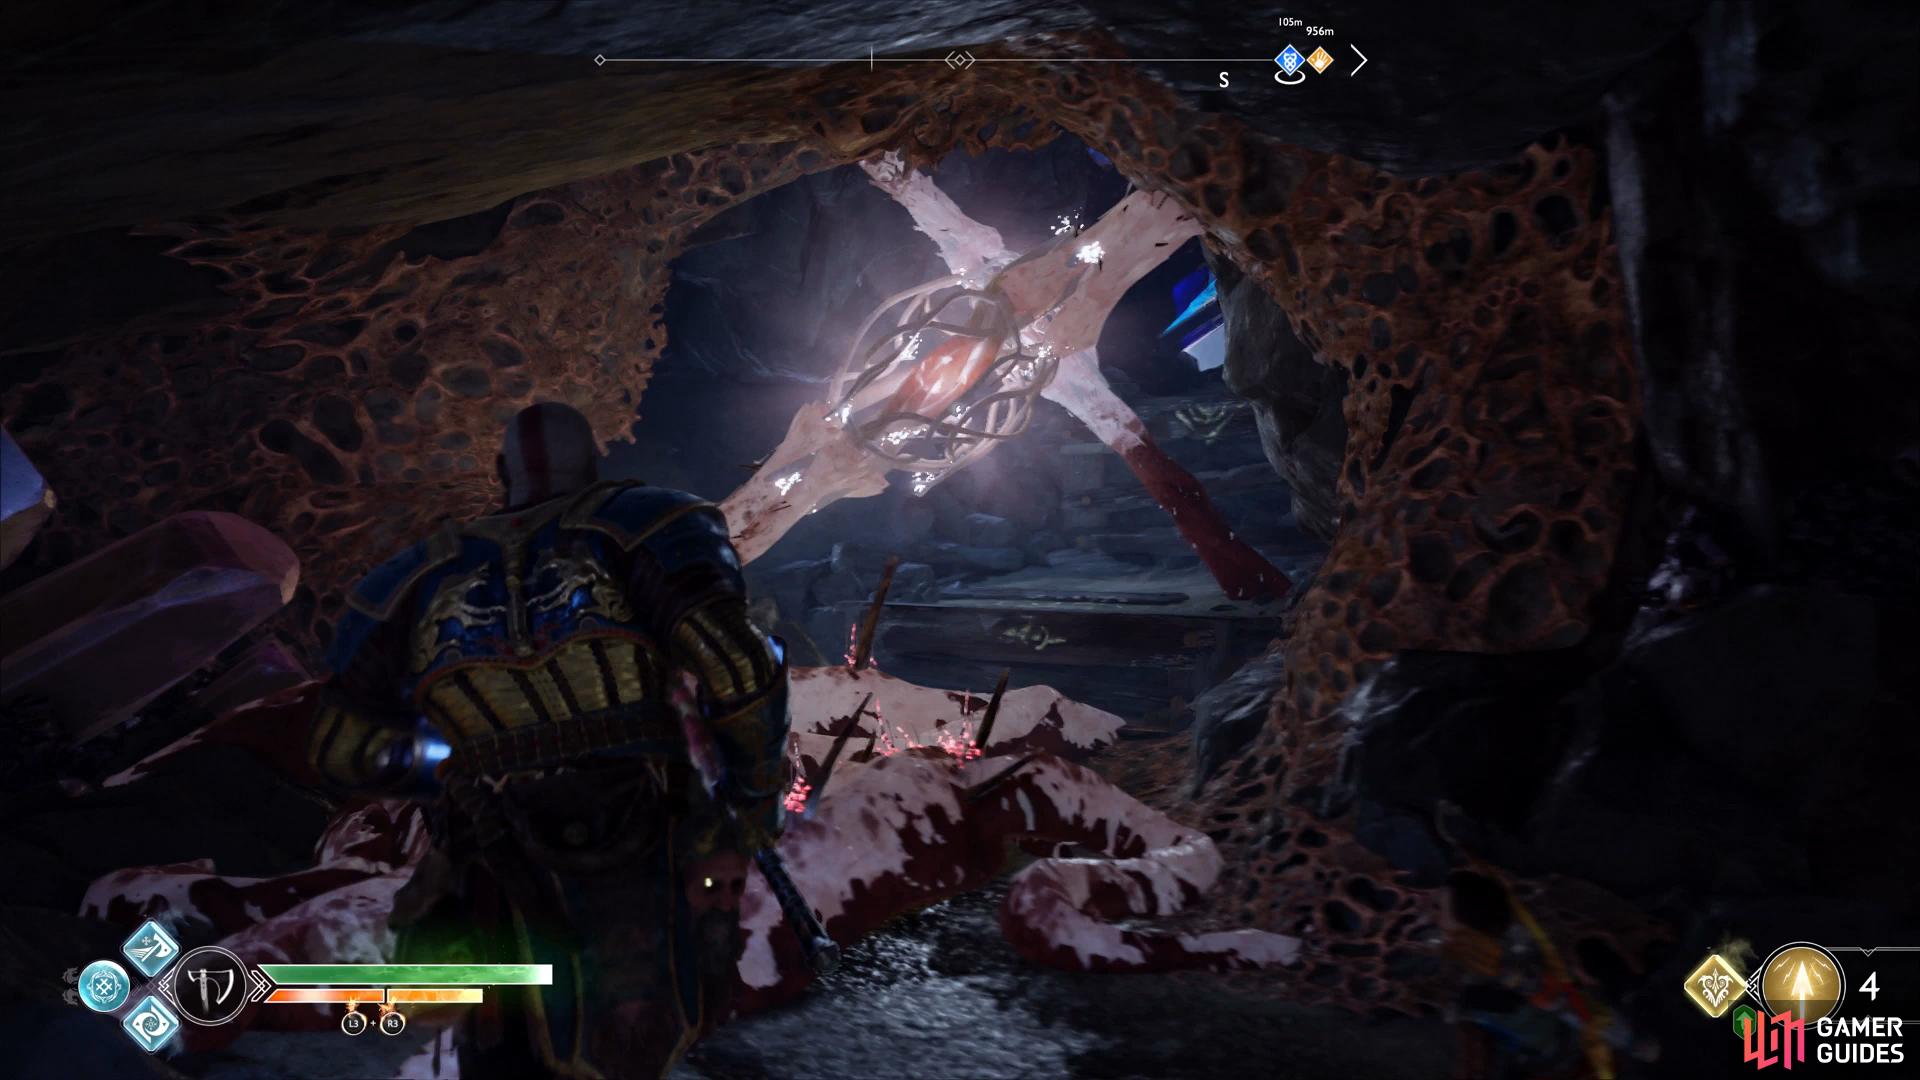
By now you should be getting used to fighting Travellers however make sure you take care of the Nightmares and Tatzelwurm that spawns during the battle. If you have the Talisman of Unbound Potential equipped then you can even begin the battle with four Runic Attacks at the start, all but defeating him in one go. Back up and hit him with Shock Arrows as you wait for the opportunity to finish him off. Pick up the spoils on the ground and climb the ledge near the deceased Soul Eater.
(1 of 2) Wait for the Traveller to expose himself before attacking him
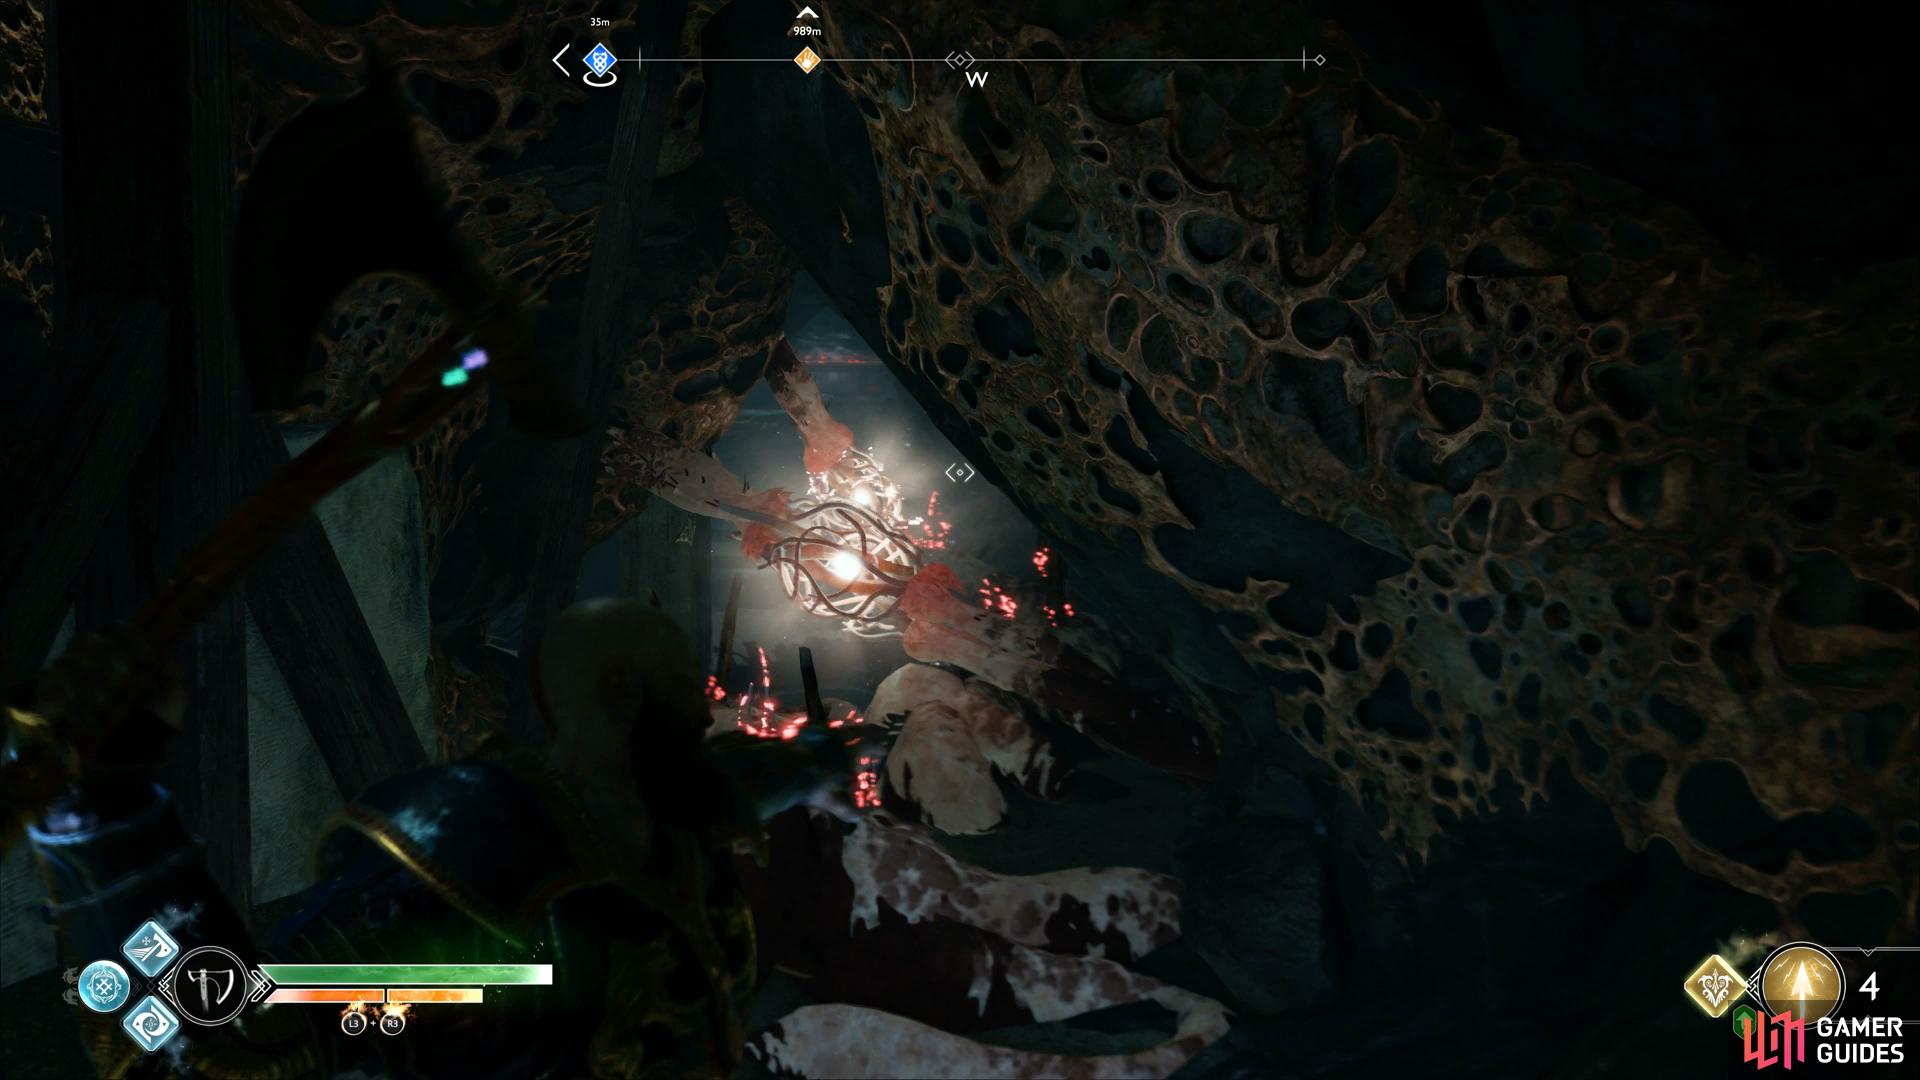
Wait for the Traveller to expose himself before attacking him (left), search the area under the walkway to find some knots you can destroy leading to a coffin. (right)
Leap across the gap and break open the boards ahead for a Hacksilver chest before dropping down to the ground below. Head back south and under the platform you just passed to find a sack of Hacksilver and then throw the axe through the knots to destroy them. Climb the ledges and leap the gap to find a coffin at the end to receive the Shard of the Elements Legendary Enchantment which will boost your resistance to all status effects.
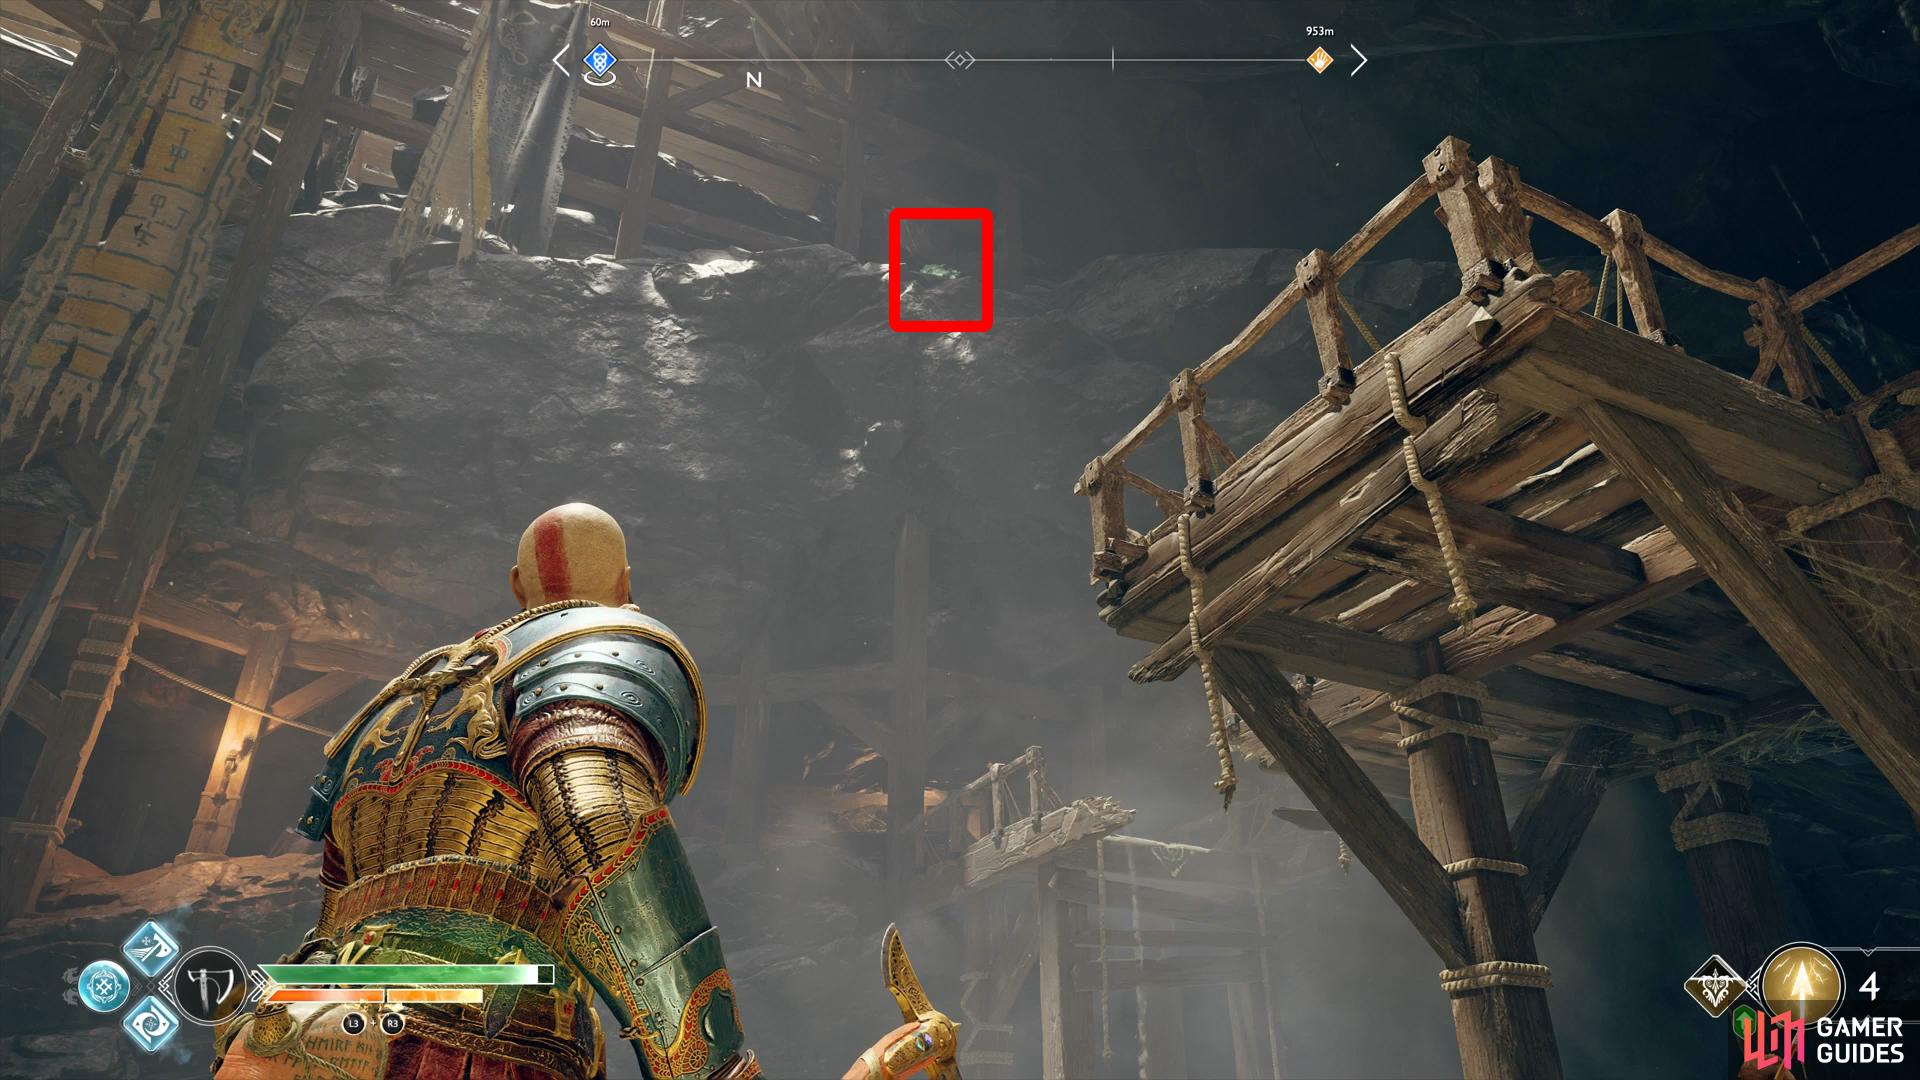
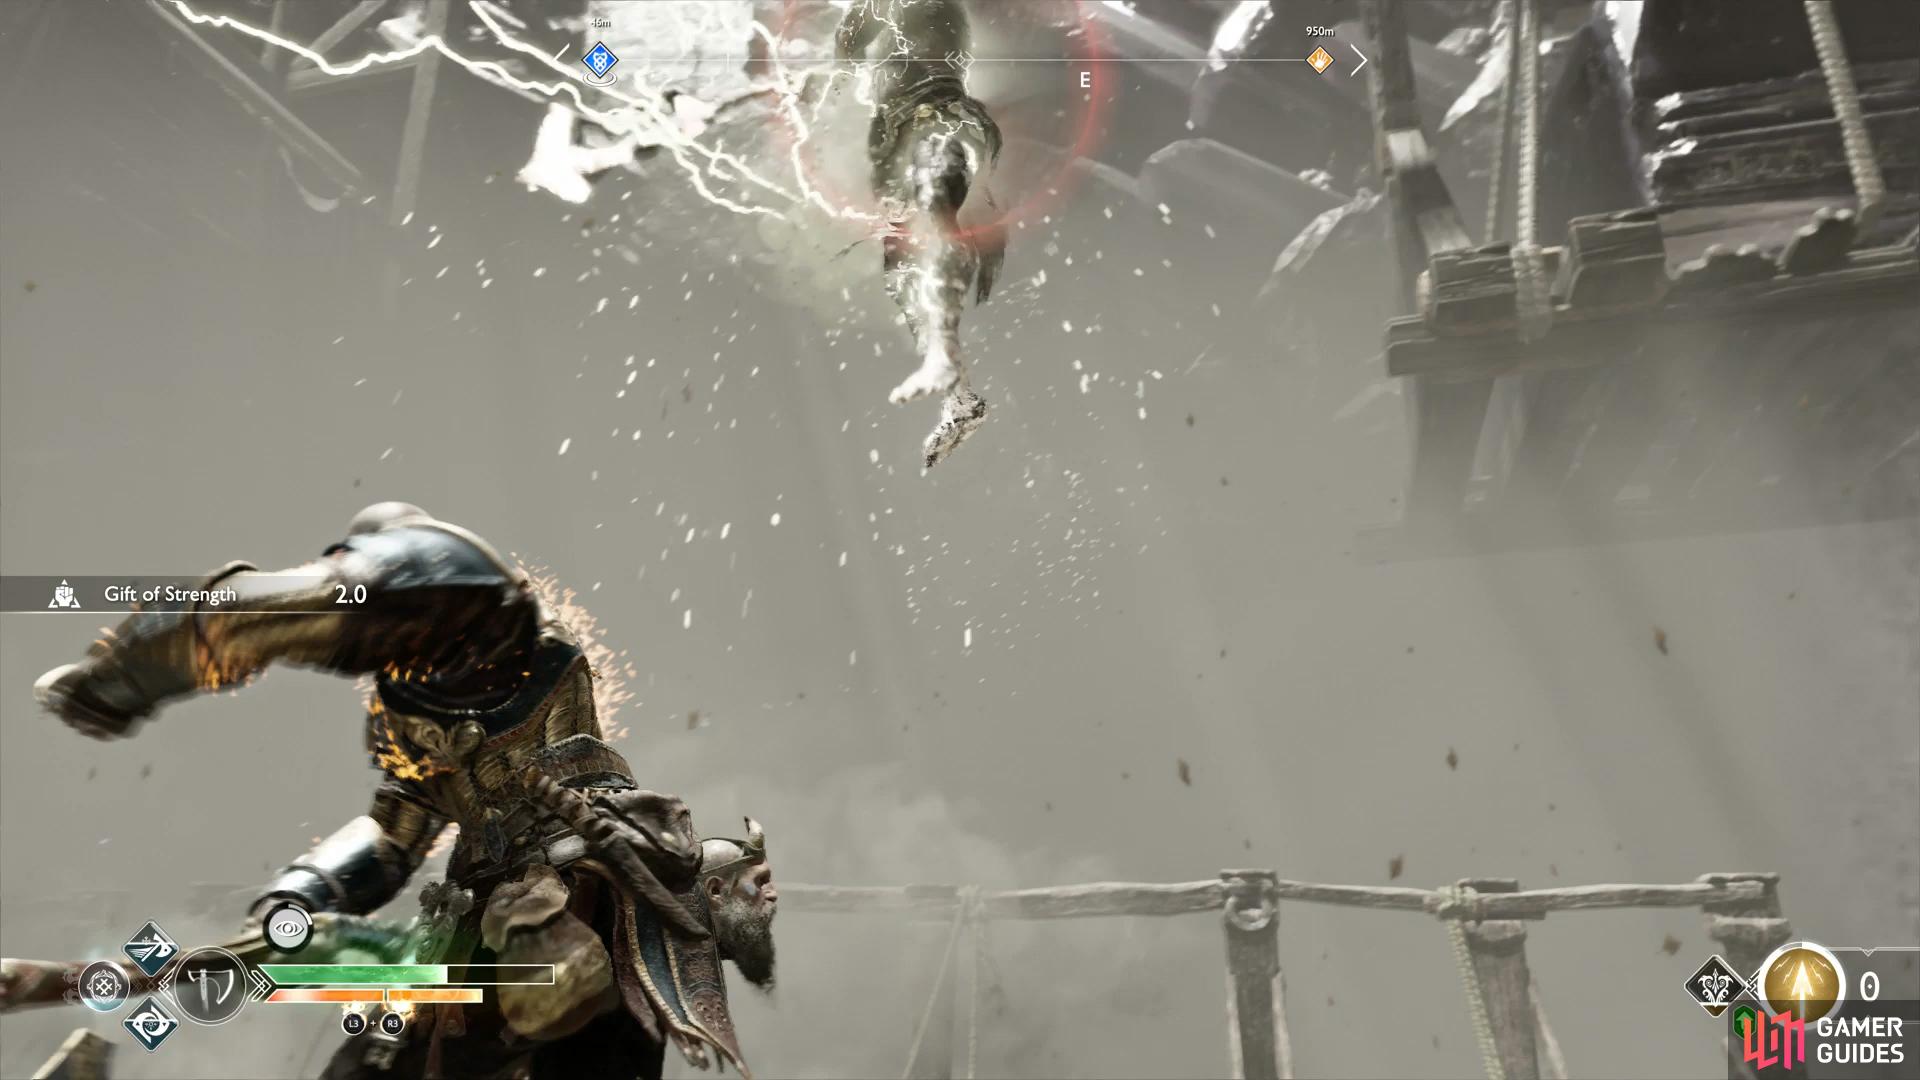
Head back across the gap and climb the ledge to the west to continue your expedition through the mines. As you step into the open area in front of you, a trio of Dark Elves will land in front of you. Thankfully they line themselves up, perfect for an Ivaldi’s Anvil or other like minded Runic Attack. Once defeated, stand close to the water’s edge and look up to the northeast to spot the second Raven on the rocks.
You’ll need to throw the axe higher to bring it down on the Raven from this position.
Head to the ladder in front of you and climb it to reach a walkway to the right. Leap the gap to your left and climb up the ladder in the corner to reach a Hacksilver chest, open it and take the zipline back down. Follow this path through the wooden boards and operate the switch at the end, this will raise the platform obstructing the ladder. Take the zipline back down to the bottom and climb this ladder to the top.
You’ve getting closer to your target however a Dark Elf Lord drops down to prevent you from claiming it. Like all Dark Elf Lords, don’t be too aggressive and instead focus on dodging the mines he drops and wait for the opportunity to strike him after dodging his attacks. Once the other Dark Elfs enter the fray, ignore the Lord and take them out first, keeping an eye on your surroundings for any mines.
(1 of 2) Keep an eye on your surroundings especially when blinded
Keep an eye on your surroundings especially when blinded (left), focus on the regular Dark Elves before resuming your attack on the Lord. (right)
Once the enemies are defeated, pick up the spoils including the Aegir’s Protection Epic Talisman from the Dark Elf Lord. This is a handy defensive Talisman which creates a small zone where you can stand in to reduce enemy damage and recover health at higher levels. This Talisman is more helpful on the harder difficulties where you have to be more tactical with your approach to combat.
Boost Atreus up the wall in front of you to have him go around the other side and open the gate for you. Proceed forward and to the right you’ll finally find the Legendary Chest you were looking for, open it to obtain Andvari’s Hammer. Before you leave, look in the south corner to find a Lore Marker giving you more information on the Soul Eaters origins. Follow the mine cart tracks to the north and give the cart a shove to have it tumble through the rocks. Defeat the Tatzelwurm and kick the chain down to return to the first open area.
Head back to Brok’s Shop and give him the hammer to complete the Favor and obtain Andvari’s Soul, a very useful Epic Enchantment.


 Sign up
No Comments