| Quest Giver | Location | Prerequisites |
|---|---|---|
| Iris | Dragonspine Adventurer Camp, Mondstadt | Unknown |
Rewards
| Adventure EXP | Mora | Primogem | Other Rewards |
|---|---|---|---|
 500 500 |
 3 3  3 3 |
Steps
- Investigate the strange ice
- Continue upwards to investigate
- Head for Dragonspine’s summit
- Investigate the area below
- Report back to Iris
Description
At the adventurer camp, Iris informs you that there seems to be some bizarrely hard ice blocking the paths into the mountains…
Following the mountain path, you discover a Statue of the Seven. Beside it, the path up the mountain extends ever on…
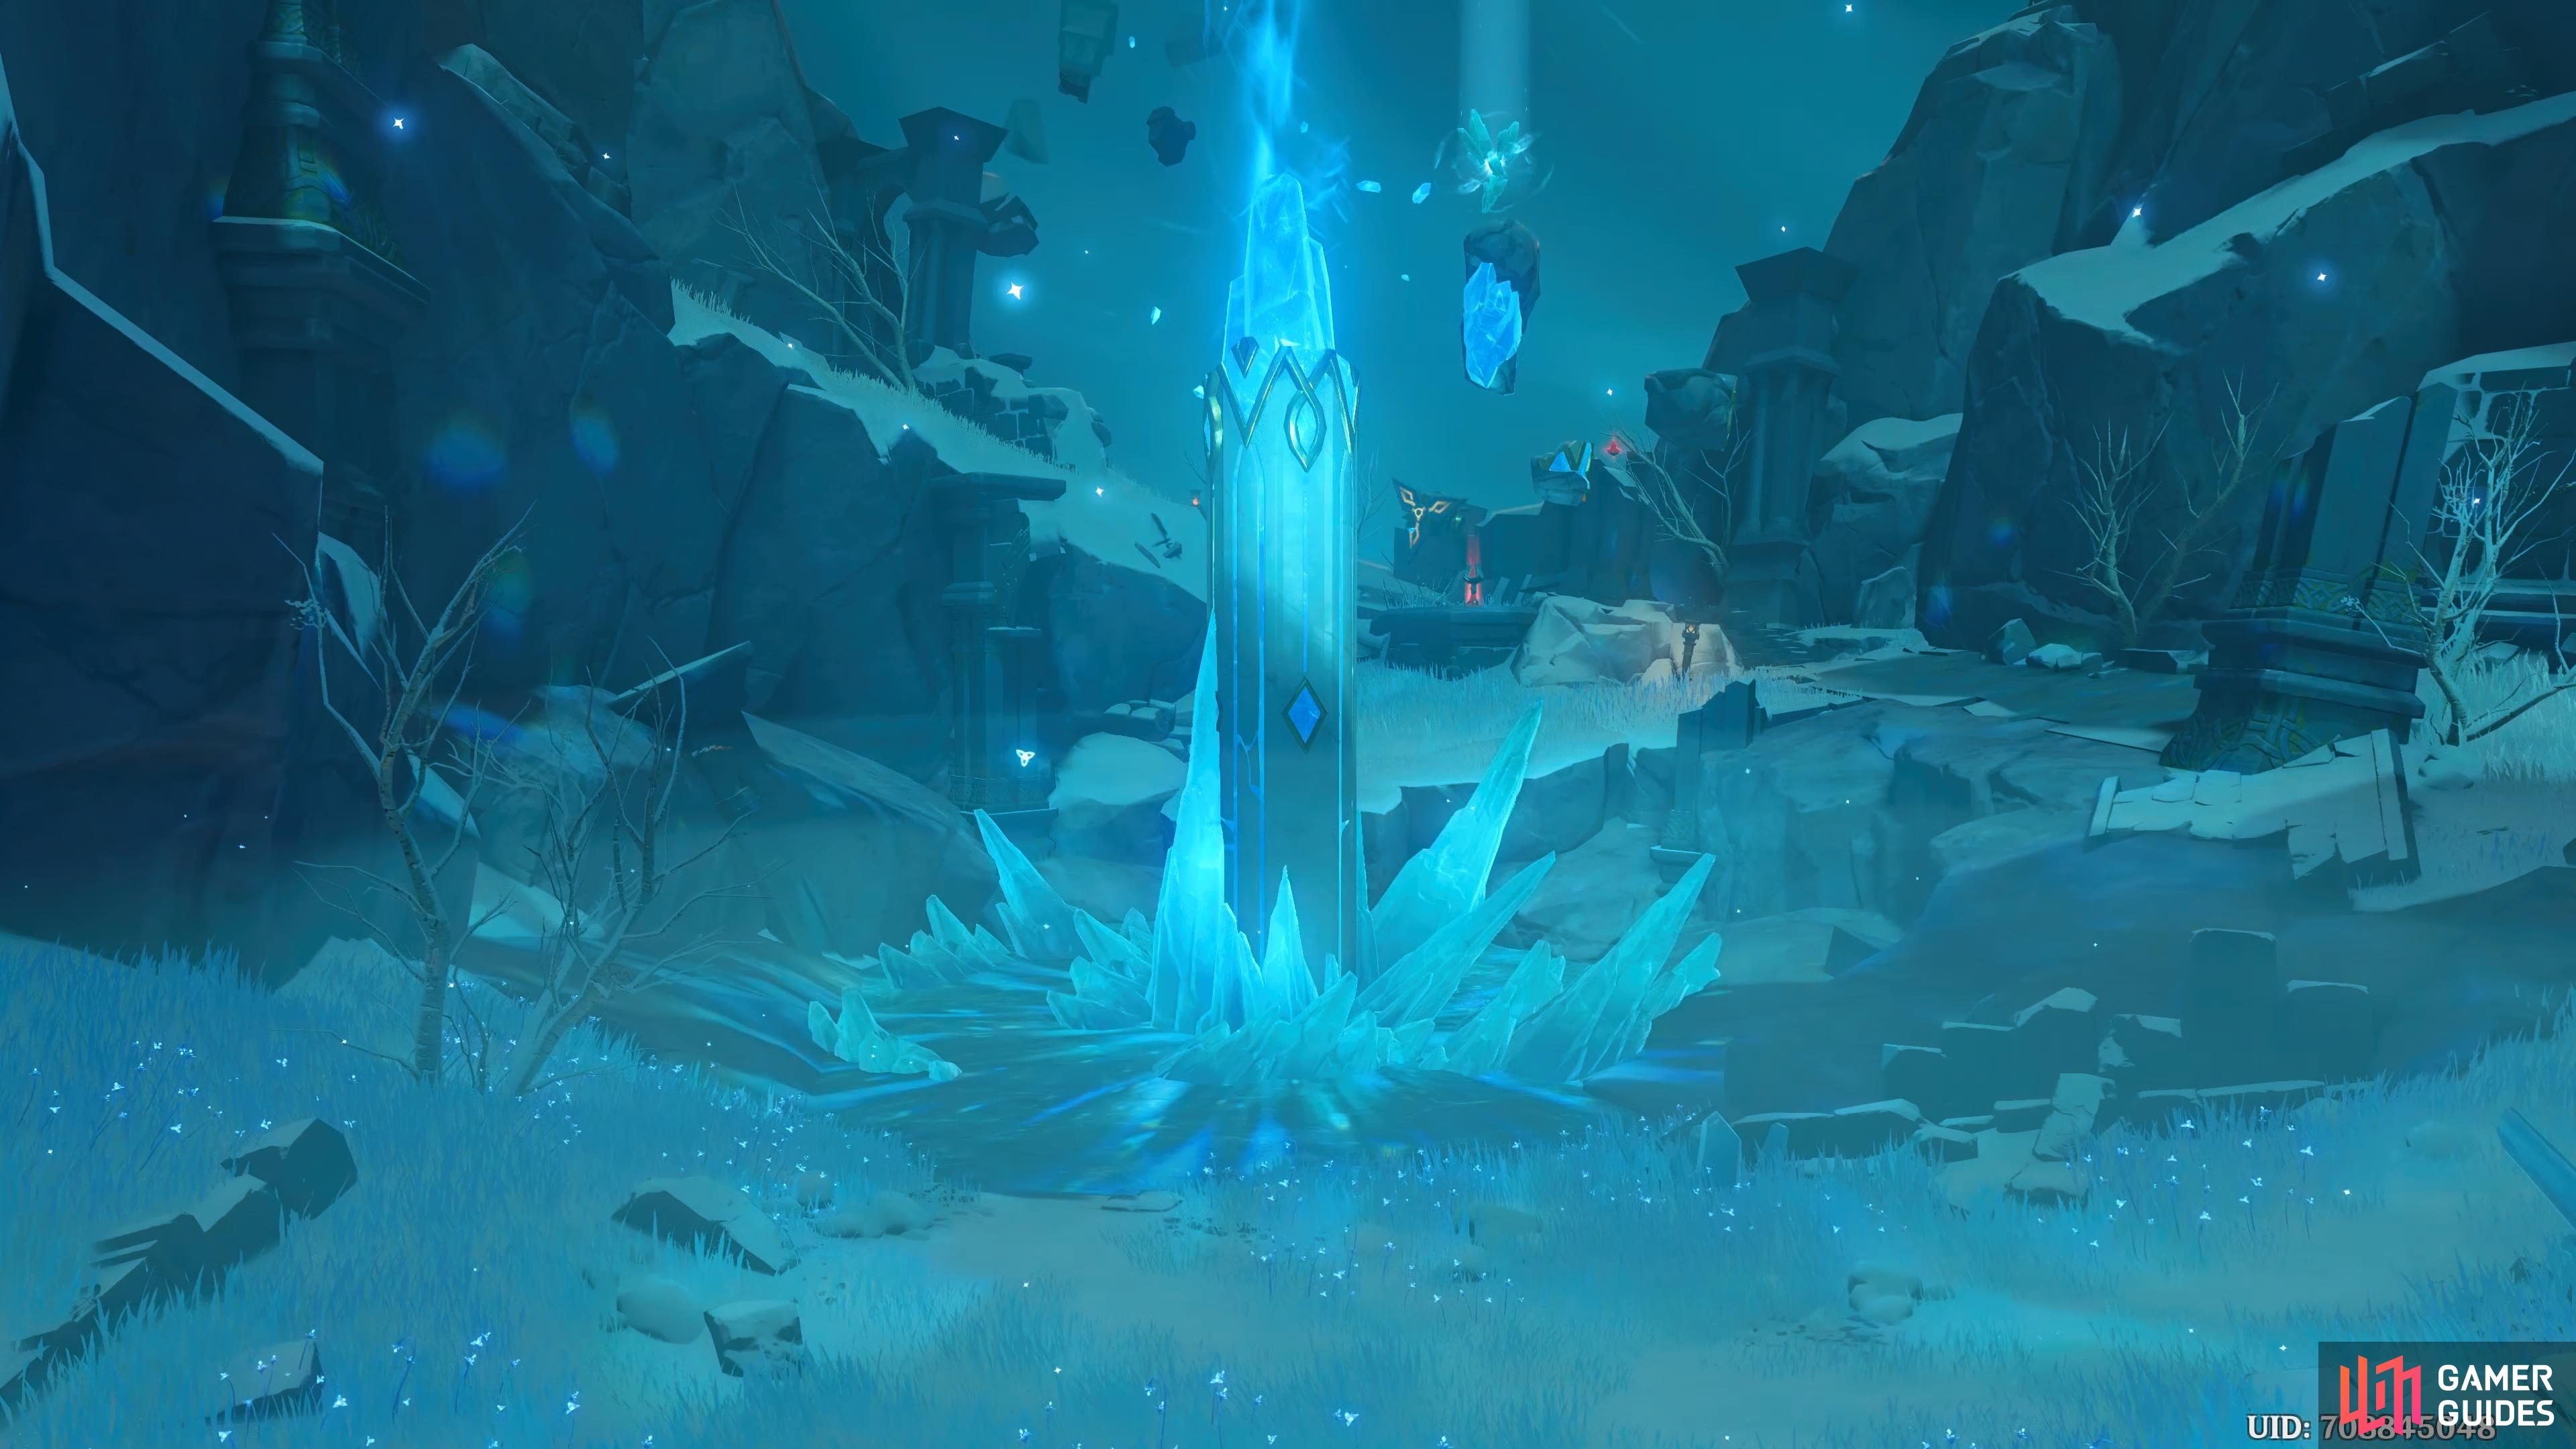
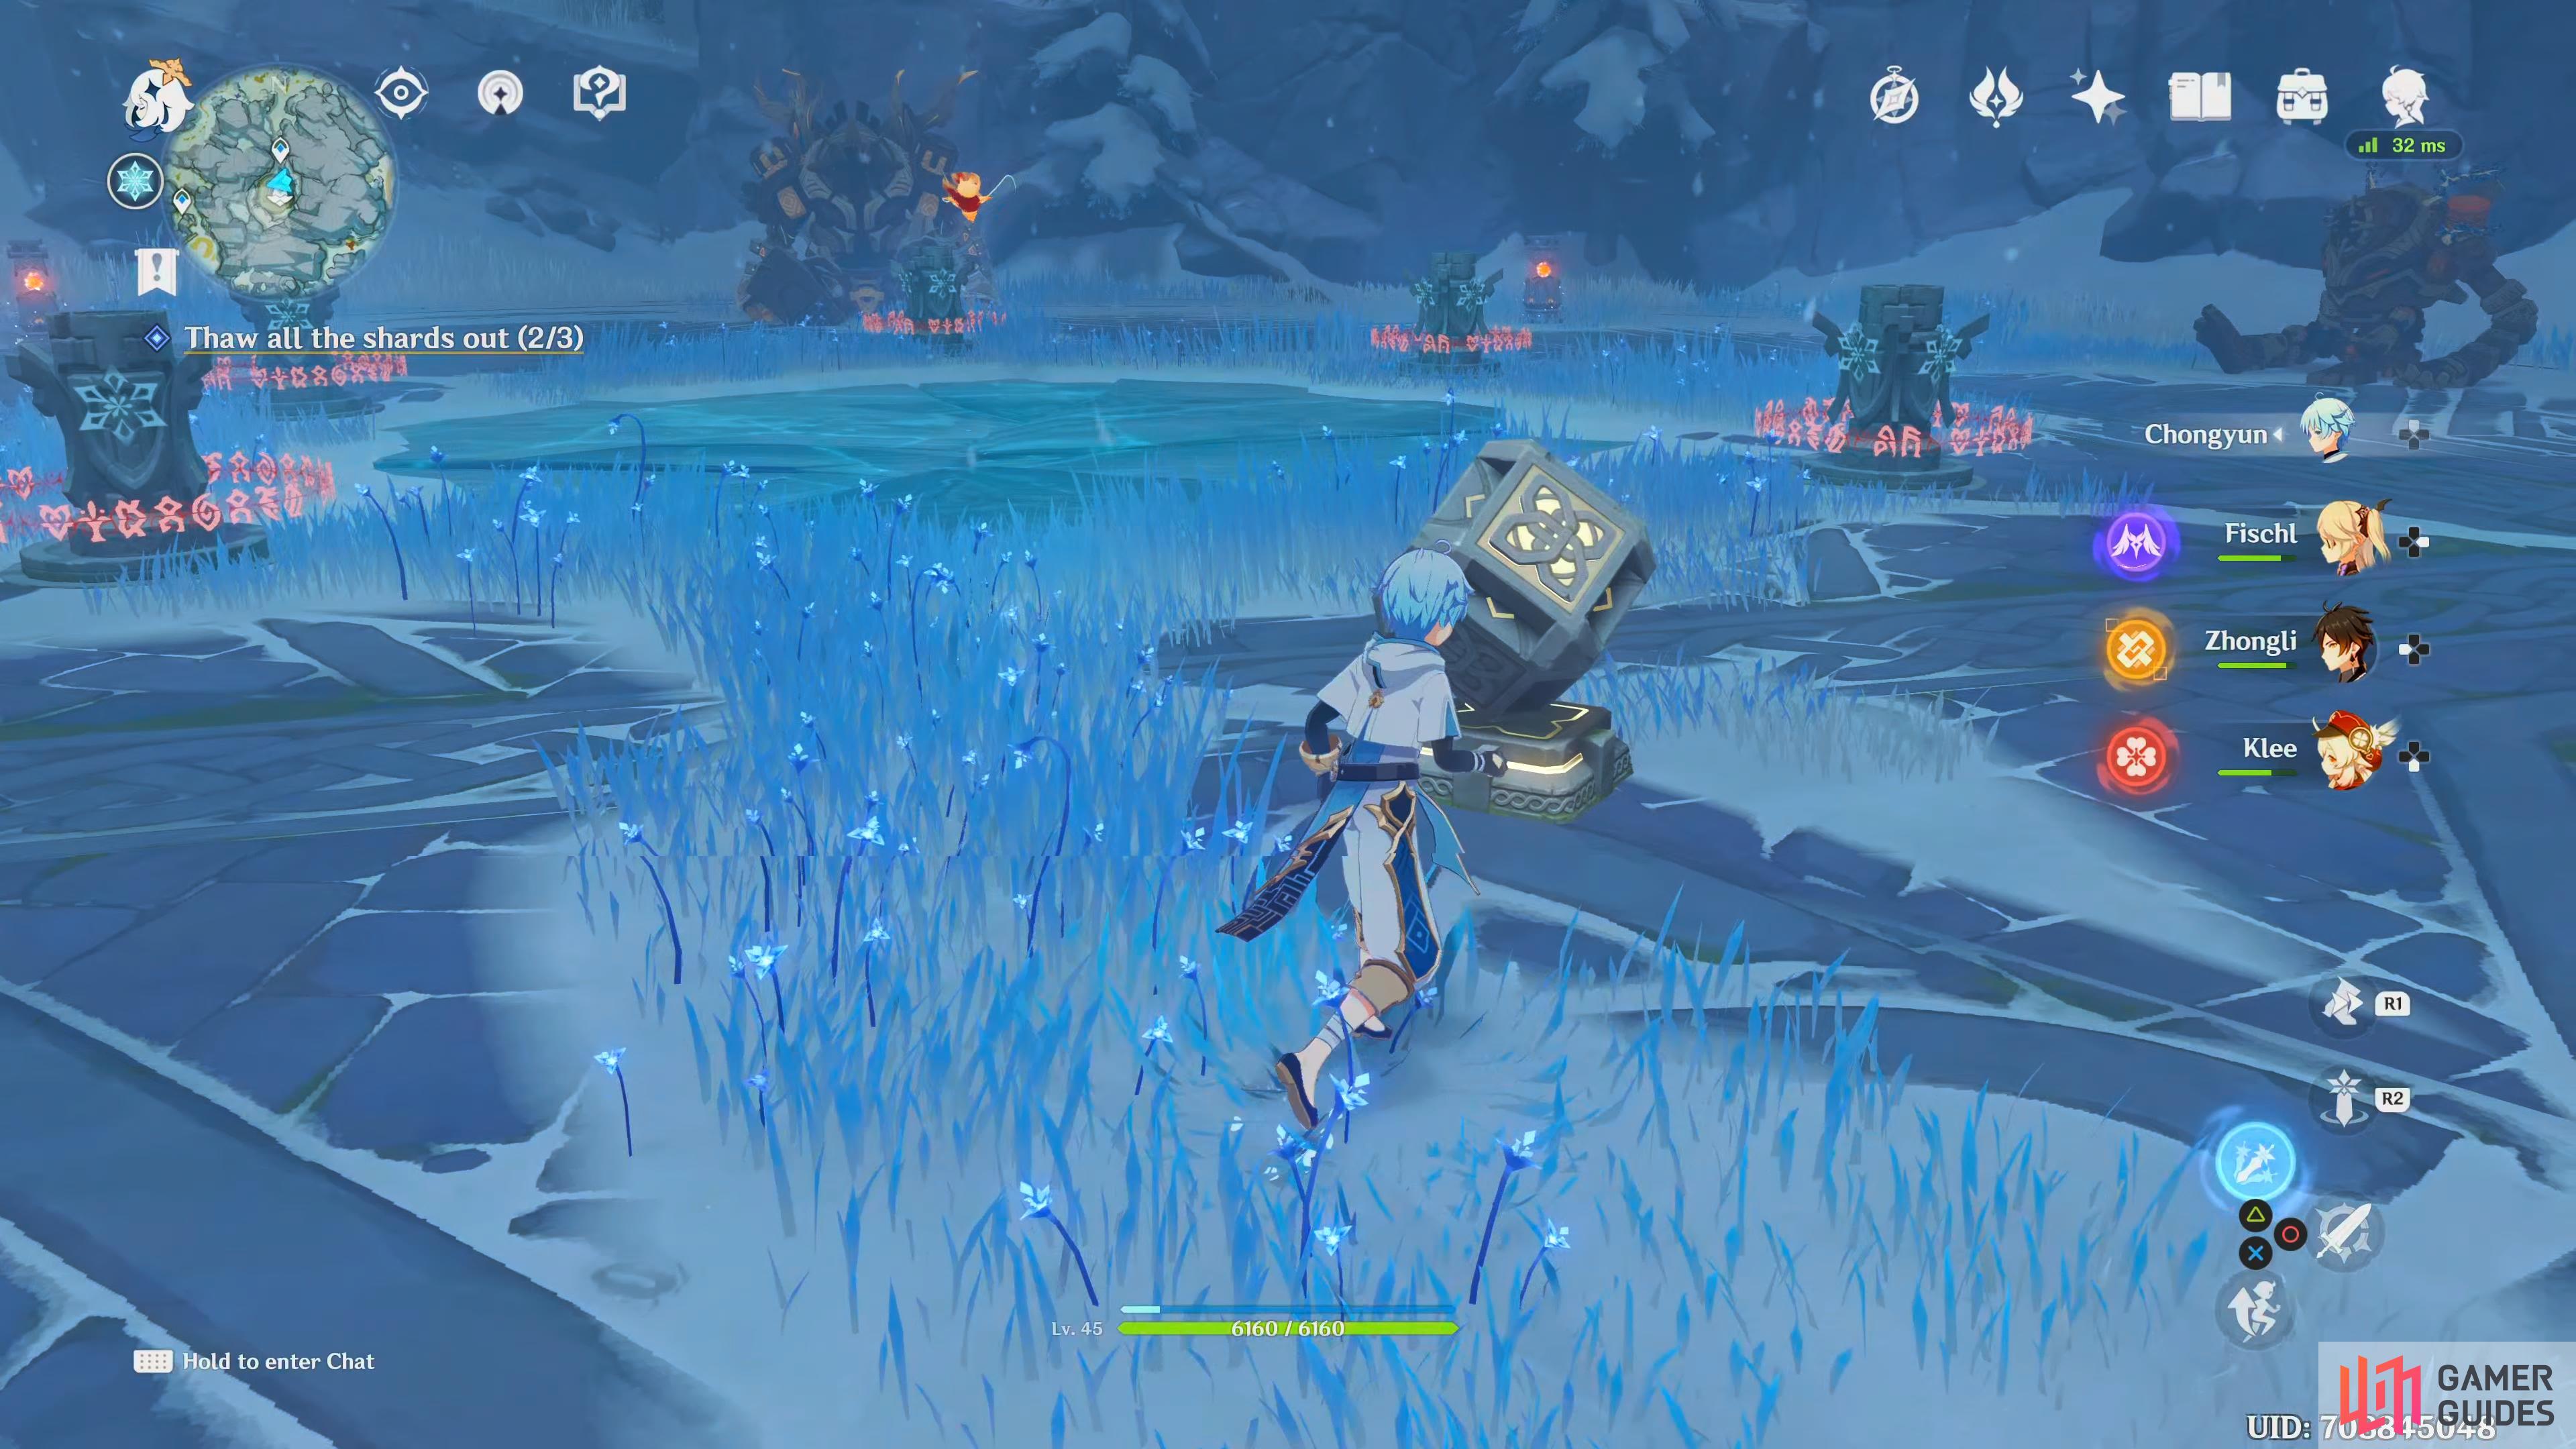
You successfully reach Dragonspine’s summit from the cavern. However, you see a strange pillar from which those frozen shards seem to have fallen. Those shards also seem to have become frozen once more, requiring you to thaw them out again.
After unfreezing the three shards and letting them return to that mysterious pillar, the ice surface beneath the pillar broke, revealing a large space underneath… Perhaps you can return to the adventurers at the camp and report what you’ve seen here on the summit…
Investigate the strange ice
Talk to Iris at the Dragonspine Adventurer Camp to start the quest, head to the nearest waypoint from the camp and go towards the Frostarm Lawachurl nearby.
You’ll see an odd Ice formation, and to break the seal of it, you’ll need to obtain a Scarlet Quartz, these look like a red ore deposit and can be found all around Dragonspine, when you find one, destroy it and collect the Quartz, this will power up your next physical attack but it is also used for some mechanics around Dragonspine. Once the Quartz has been obtained, attack the Ice formation and a blue gauge will partly deplete, do this two more times and then activate the orb.
This will unlock the Frostbearing Tree, this isn’t part of the quest but a seperate thing altogether but destroying the Ice is.
Continue upwards to investigate
First head to the Entombed City Outskirts which is at the far west of Dragonspine and activate the device. Pay attention to the Warming Seelie as it traverses around the totems, switch to a Cryo character and attack the totems in the same order that the Seelie went around, open the chest which contains a Crimson Agate (You need multiples of these for the Frostbearing Tree) and you’ll need to fight two Ruin Guards.
Pay close attention to the Seelie for the correct way to do the puzzle.
After you defeat the Ruin Guards, a Ruin Grader will rise, these are very similar to the Ruin Guards with a few different skills, the different skills are:
Charge Attack:
As the name implies, the Ruin Grader will charge at you doing some major damage if it connects, dodge to the side to avoid.
Laser Attack: This will shoot a laser beam at you for several seconds and can deal major damage if it connects with you, keep dodging towards and then to the side of it can make this easier to avoid, the core in its face will also be exposed whilst it does this which you can deal some nice damage with as an Archer.
(1 of 2) Dodge towards and then to the side to avoid the laser
Dodge towards and then to the side to avoid the laser (left), the orbs will do damage over time in a small radius, stay away from it. (right)
Orb Attack: The Ruin Grader will launch three orbs at you which form a small triangular formation, this will stay on the field for approximately 10 seconds and deal damage over time in a small radius from them, stay away from this to avoid taking damage.
These can be taken down quite quickly with a combination of Electro and Pyro, once this has been defeated, some ice will break in the middle of the arena, this is where the second lot of strange ice is. Before jumping straight down, glide towards the Seelie down there and then guide it to the stele near the gate.
You’ll need to thaw the ice again but this will take four hits with the Scarlet Quartz, these are laying around in the area with a couple behind the strange ice in both corners. After interacting with the orb, two Ruin Graders will come to life, don’t worry as these both have low health, finish them off and go through the passage for some loot including Starsilve Ore.
Next head to Starglow Cavern, which can be found south of the domain Peak of Vindagnr with a waypoint to the southwest of it. Glide down from the waypoint and keep heading east until you reach the cavern.
Attack the strange ice whilst you have the power from the Scarlet Quartz.
Activate the device and begin the challenge, here you will have to battle three waves of various Hilichurls whilst dodging a barrage of icicles, the last group will be three Cryo Abyss Mages, using a combination of Electro and Pyro, defeat the enemies and the barrier will dissipate, once again, attack the strange ice four times with the help of Scarlet Quartz and then activate the orb and thaw the ice.
Head for Dragonspine’s summit
First Shard
Now you’ll have to thaw all the shards again, starting from the Skyfrost Nail waypoint, break the Scarlet Quartz near the second inactive Ruin Guard, head further up the slope and use an Archer to shoot the first glowing shard floating in the sky.
Second Shard
Head up the slope until you find a Warming beacon in the frost chilled grass, head north and defeat the Frostarm Lawachurl with a combination of Pyro and Electro and then break the Scarlet Quartz near the chest, go back to the Warming beacon and head to the cliff by it, then shoot the second glowing crystal which is floating.
These are the shards that you need to destroy, they can be found on the raised platforms.
Third Shard
Follow the Warming Seelie Lawachurl’s chest and activate the Anemo totem with an Anemo character, use the wind current which is conjured up from the totem to glide whilst navigating the acceleration rings which will lead up to a camp of Hilichurls, destroy the Scarlet Quartz in there and then glide down onto the floating platforms and shoot the third glowing shard, these will reveal orbs that need to be activated, activate all three and you’ll get a scene.
Investigate the area below
Drop down and collect all the loot which contains three Precious Chests, one Exquisite Chest and one Luxurious Chest which is cloaked in a red aura. Down there is also access to the domain Peak of Vindagnr.
Report back to Iris
Once you are done with looting, head back to Iris at the Adventure Camp and speak to Iris to complete the quest.


 Sign up
No Comments