(1 of 2)
Boss
(Does not move)
| Name | Class | Level | Items |
|---|---|---|---|
| Sigurd | Paladin | 4 | Sigurd’s Lance, Spear |
New Units
| Name | Class | Level | Recruit |
|---|---|---|---|
| Leif | Trickster | 1 | End of mission |
Strategies for all difficulties
This mission contains a mixture of basic class and advanced class enemies. Ideally you should have a team of advanced class units yourself or you may struggle.
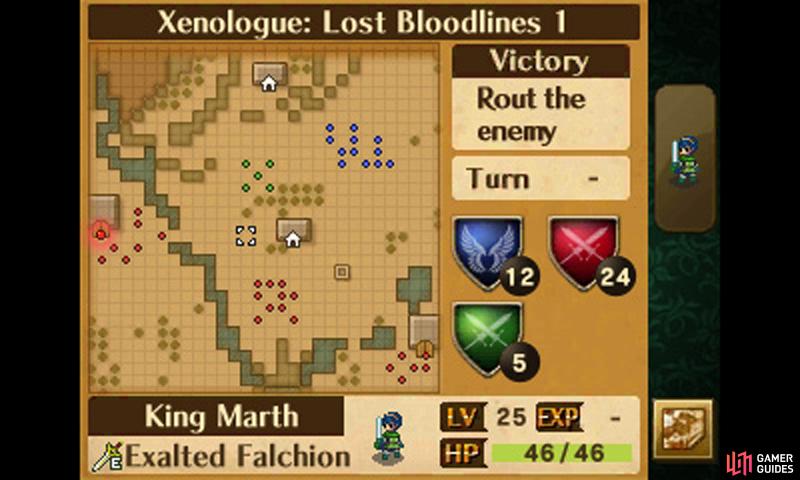
As soon as the mission begins, 6 additional enemies will appear on the map, making for a total of 30 enemies to deal with. No more reinforcements will appear, so don’t worry about any further surprises.
The majority of the map consists of large, wide open spaces, meaning you won’t have a tricky time manoeuvring to defeat enemies. However this also means it’s difficult to protect your weaker units from the enemy or attempt to make an escape.
You can take advantage of the numerous bridges as choke points, but you have to reach there first and they are heavily guarded by foes. Until then, the central woods and village can provide some protection at least, by diverting the flow of enemies.
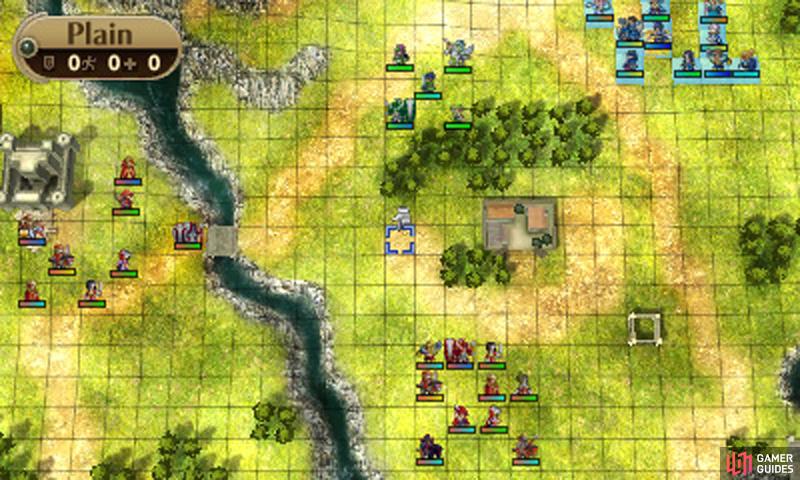
First things first, send your army down south towards the fort.
There will be some green allies to help you, but don’t bother going their direction to help them. In particular, the green allies furthest from you will likely all suicide against Leif and will be of no help at all. The ones closer to you can at least help you distract the central enemies for a while.
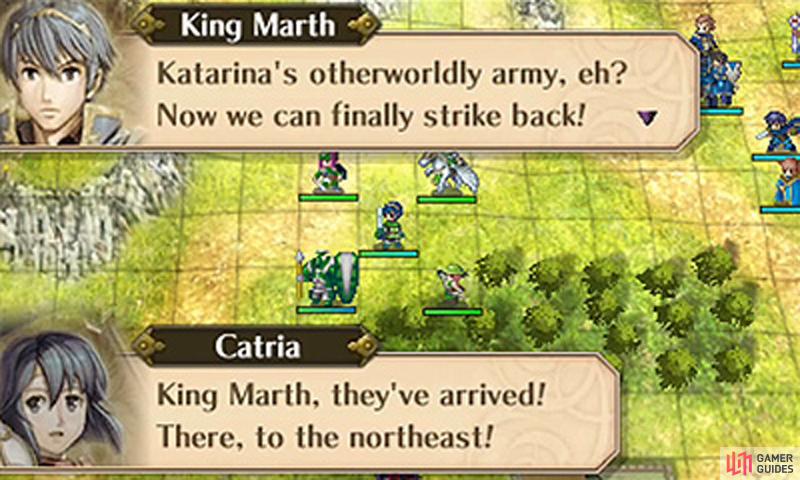
(1 of 2) The mission for today is to aid the Archaneans in their battle against the Jugdrali.
The mission for today is to aid the Archaneans in their battle against the Jugdrali. (left), (right)
On the first turn, only the central and south-eastern enemies will move. If your units aren’t up to scratch, you might be in danger of an enemy pincer attack. So it’s important you have a good team with strong units.
Should your team be too weak, you can still win if you’ve trained Chrom and your Avatar, but it will be risky. Simply load up your convoy with the best healing items you can get and only deploy Chrom and your Avatar.
When the mission begins, pair up the duo and send them to the fort and be prepared to brace for multiple attacks. Make sure the strongest of the duo is the main unit and have them loaded with ranged weapons (eg. Javelins if Chrom can wield them).
You can either weather the storm of enemies on this fort or, when an opportunity arises, make a break for the south-eastern castle and hold your ground there. Either way, you’ll end up facing dozens of enemies, hence the risk. However, Chrom and your Avatar are fairly sturdy units if well-trained and should be able to deal with it.
Otherwise, if you have a good team, you should be able to defeat the central enemies before the south-eastern ones catch up. Head west to clear out the central enemies; maybe place a sturdy unit on the fort to bait some of the south-eastern foes.
The only enemy to watch out for at this moment is Eyvel because of her high speed. Don’t worry about Leif just yet, because he’ll run straight towards the south-west of the map.
(1 of 2) The central group of enemies should be your first priority.
The central group of enemies should be your first priority. (left), (right)
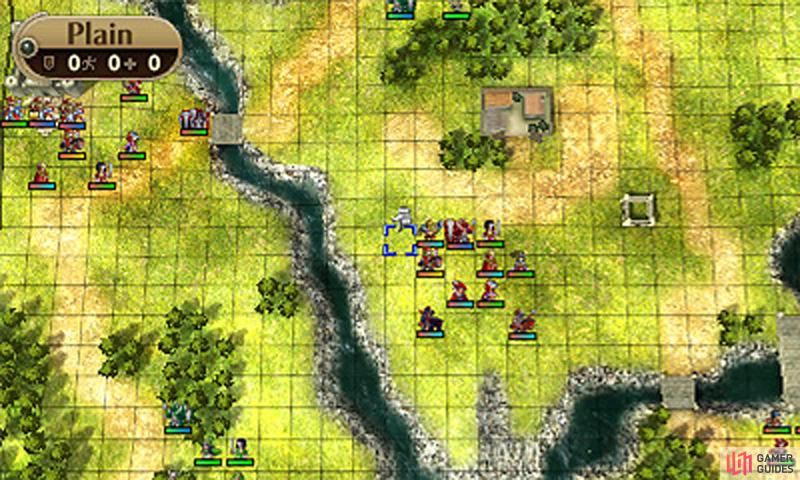
By Turn 2, you should be in range of most of the central foes and the south-eastern foes will have almost caught up. Strike hard at the central foes, while keeping your distance from the others.
If you’re confident, you can leave a sturdy unit on the fort to take care of some of the south-eastern enemies. Be wary of Ares (strong Dark Knight with Vengeance), Julius (powerful Sorcerer with Vengeance) and Seliph (speedy Swordmaster with strong attack).
Turn 3, you should have cleared the central enemies or most of them at least. You can either face the south-eastern foes now or pull back and lure a few of them into range. Either way, take caution as there are some tough units, as mentioned above.
Turn 4, finish off the south-eastern regiment and prepare to march towards the castle to the west. If any green units survived, they’ve probably already lured some enemies stationed there by now. Be careful or Arvis (has Vengeance), Quan (mobile heavy hitter) and Leif (speedy Trickster who can walk through the river).
As you march towards the western castle, you can use the bridge as a chokepoint if necessary. By this stage, most of the tough enemies should be gone, but don’t relax yet, as you don’t want to restart the mission now because you underestimated the enemy.
When the coast is clear, feel free to visit the two villages–like the other Outrealm villages, they net you a random item (could be anything from a common Iron Sword to a powerful Thoron tome).
The map’s boss, Sigurd, doesn’t move, so he’s an easy sitting duck for your units. Just be cautious that he does hit hard and has a ranged weapon as well.



 Sign up
No Comments