(1 of 2)
Strategies for all difficulties
Welcome to the secret route of Apotheosis! Here, only Fire Emblem gods who know the game inside out hope to stand a chance.
Before attempting the secret route, we recommend beating the normal route first. Not only will you get a better feel for dealing with super-hard enemies, but you can recruit Katarina, who comes with 4 very useful Rally skills–to round her off, reclass her to Bride and have her learn Rally Heart.
Besides utilising the key concepts from the normal route (covered in the previous page), be sure to adhere to the following concepts as well.
Bring everyone:
You’re allowed to deploy 20 units and, at this stage, you should aim to fill in every slot. After pairing up, you’ll have at most 10 pairs to work with; any less and you’ll likely struggle, as the enemies here are tough in more ways than one.
Obviously, as with the normal route, make sure everybody has max stats and Limit Breaker equipped. Prioritise units with Galeforce, because units that can move twice in a turn are better than those who can’t. Also don’t underestimate the power of good support partners.
Forge everything:
To make life easier, load up everyone with forged Brave weapons and Celica’s Gales. The enemies here are extra resilient and the additional damage will really help.
Of course, forging so many weapons is going to cost you, so make sure you’ve bought The Golden Gaffe to quickly amass funds. Prioritise forging Brave Bows and Celica’s Gales, because ranged combat will prevent a lot of units from taking damage.
(1 of 2) Apotheosis means “ascension to godhood”. You ready to become a Fire Emblem god?
Apotheosis means “ascension to godhood”. You ready to become a Fire Emblem god? (left), (right)
Rally-bots:
Some of the enemies here are insanely tough and will easily end your units, even when paired up, thanks to their awesome stats and skill sets. To alleviate your stress, bring a Rally-bot or two–basically a character whose primary function is to use Rally skills.
Where possible, slap as many Rally skills on your bots as possible (prioritise Spectrum, Heart, Strength, Magic and Speed); female units from the Bonus Box are best because they can learn everything besides Rally Strength (Katarina and Palla come with Rally Strength).
Vengeance counter:
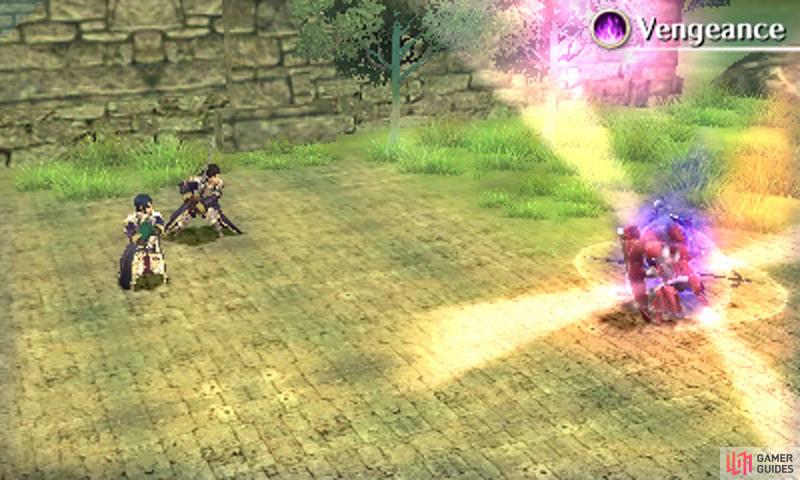
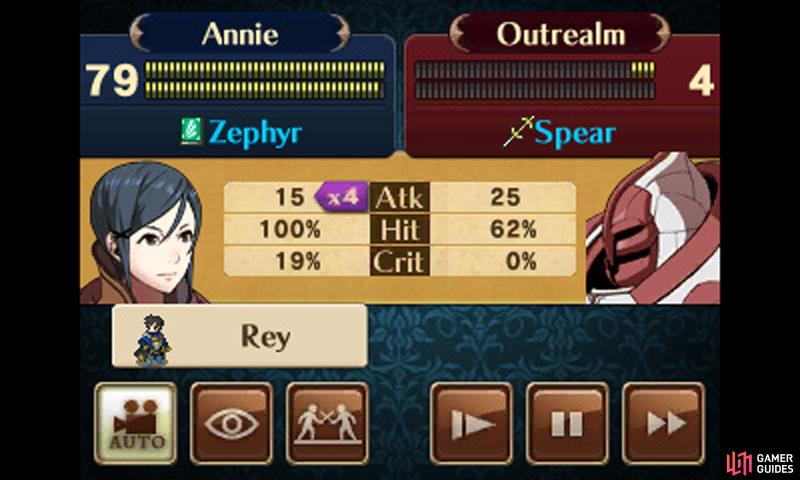
A sturdy unit with the Vengeance skill (learned by Sorcerers at Level 5) can topple a single tough enemy on the enemy’s turn by taking massive damage and then dealing extra damage with Vengeance.
Normally you want to avoid getting hit, but in some situations, it may be easier to fight enemies on their turn–for instance to avoid taking extra damage from the enemy’s Vengeance. If you’re going to get hit anyway, why not give the enemy a taste of their own medicine?
Double Bow:
This Sniper-only bow (obtained from Infinite Regalia or one from the Bonus Box) is an enhanced version of the Longbow, allowing you to attack from up to 3 squares.
Obviously, it won’t do massive damage compared to Brave weapons, but it’s useful in certain circumstances–particularly against ranged enemies that do a lot of damage. If you Rally a Double Bow user, he or she can do decent damage to these dangerous foes, without fearing death.
Round 1
| Name | Class | Level | Items |
|---|---|---|---|
| Outrealm | Warrior | 20 | Silver Axe, Silver Bow |
The first secret round begins the turn after you’ve cleared the first normal round. From the beginning, six groups of three enemies will appear everywhere around the map, except for the west side.
Split up your forces in all directions to disperse the flow of enemies. The enemies don’t move unless you get into range, so take your time to get into formation. Once you’ve lured one enemy, all of the enemies will move.
Shoot down the Griffon Riders with bows or magic, spam magic or ranged attacks on the Berserkers and Warriors (only one of them has a ranged weapon equipped).
You may find that, compared to other missions, the enemies can sustain a lot of attacks. However, if you have forged Braves on the lead and support units, you can still achieve some one-round KOs.
Overall, other than the enemy numbers, this round should be pretty straightforward combat-wise. Whittle down the enemy with Galeforce hit and run tactics or Rescue staves; then crush the remaining enemies in one go.
Round 2
| Name | Class | Level | Items |
|---|---|---|---|
| Outrealm | Sniper | 20 | Brave Bow |
This round begins with 5 Great Knights, 5 Snipers and 5 Tricksters towards the south-west corner. Split up your forces into two–one going south along the west side and a slightly larger group going south from the central area.
Smash the Tricksters with bows or magic and then pull out of the Snipers’ attack range. The Great Knights are slightly tricky because they have good defence and Aegis–use units with magic support partners against them and have an extra sturdy one face the Spear-wielder.
Also be cautious of the terrain; the woods will slow down the Great Knights, but can make it hard to escape or navigate.
When it’s time to face the Snipers, you can either attack them from range with high defence units or attack them at melee range with max HP units. Beware the boss Sniper because he has Pavise and Aegis, plus high Speed and Defence, so you may need a few units to kill him.
Here’s a good trick: don’t forget that Snipers can only attack from range, so box up the boss with four units before ending your turn and he’ll be a sitting duck! But whatever you do, don’t let him hit you. Brave Bow + Luna = death to most units.
Round 3
| Name | Class | Level | Items |
|---|---|---|---|
| Outrealm | Sorcerer | 20 | Nosferatu, Nosferatu |
Almost halfway through… In Round 3 you will be met by 5 Paladins to the north, 5 Falcon Knights to the east and 3 Sorcerers in the centre.
Hopefully your units will be near the south of the map. Bait two of the Sorcerers and aim to kill them on the enemy’s turn (making use of Rally skills and/or Vengeance); this way, the Sorcerers won’t do massive damage with Vengeance, restoring their health in the process.
If you fail to kill a Sorcerer, use a magic + magic/melee pair to finish them off. Have your other units prepare to meet the Falcon Knights.
Next turn, begin dealing with the incoming flying units coming from the mountains; have units with bows and Celica’s Gale take them out (preferably bow/magic + bow pair). Watch out for the Falcon Knight with Aether–you will need a unit with high defence to survive her attack.
When the coast is clear, place a magic/bow + melee pair in the boss’s range, aiming for an enemy turn kill. Having Tomebreaker or Vengeance may help.
Be aware that the boss has a 99% chance of activating Miracle, so you’ll need a Dual Strike or additional hit to finish him. Should the boss survive, finish him off with a Double Bow/Longbow + melee pair.
Finally, it’s time to stop the Paladins; for the lackeys, melee + magic/melee pairs are good, while a high defence melee + magic/melee pair should handle the Paladin with Ragnell and Aether.
Round 4
(Does not move)
| Name | Class | Level | Items |
|---|---|---|---|
| Outrealm | Berserker | 20 | Helswath |
If you’ve survived until this round, the map will reset and your units will be placed near the south and several new enemies will appear on the map. Furthermore, the game lets you know you have 10 turns to beat this round.
Before you panic, 10 turns is plenty of time, so don’t rush at this late stage. However, you will need to fight aggressively and move fast. If you haven’t already, you should rely on the Rescue staff more to move units from the back to the front-lines or pull out units from the front after they’re done fighting.
On your first turn, move north and get into formation, ready to take out the Soldiers, Snipers and Tricksters.
Next turn, rush forward and engage the Soldiers with magic or bows (note that the Soldiers to the right have Aegis, weakening your damage), Snipers with magic or melee + magic pairs and the Tricksters with magic + melee pairs.
Normally, not all of your units will be able to reach, so count your Rescue staff users and only send out enough units that you can Rescue to safety. Then mop up the remaining enemies on your next turn. However, if you’re aggressive, you can kill all 10 enemies in one turn.
Turn 3-4, head north and bait the two Berserkers; you will need units with extremely high Defence to survive. Rally both of your baits and you should have little trouble. Also begin marching north-west to tackle the Dark Fliers; you will want highly mobile units with good Resistance, e.g. Valkyries or Falcon Knights.
(1 of 2) Enemies with Vengeance can be fatal; hit them from range or let them attack you.
Enemies with Vengeance can be fatal; hit them from range or let them attack you. (left), (right)
Turn 4-5, move two or three units into the Dark Fliers’ Mire range; with good Resistance, your units will take minor damage from Mire. Leave the boss for last, as he doesn’t budge from the throne, and send your other forces north-east to meet the Sages.
Turn 5-6, Rescue two or three bow units into the north-west corner, so they can massacre the Dark Fliers. Your biggest issue will be figuring out how to dispose of the Sages–four of them have Celica’s Gale and Luna and will kill a lot of units in one round.
Place a staff user one square north of the Sages’ attack range and have them Rescue a unit with extremely high Resistance (more than 70). Then have that unit kill a Sage (or more if you have a Galeforce pair/take no damage), before pulling them out with another Rescue staff.
From Turn 6-7, kill the remaining Sages and prepare to face the boss. Note that the boss has high Speed and does a lot of damage, so be careful of who you send out (somebody with extremely high Defence and good Speed).
You will likely need a few melee + magic pairs to take him out. Use your Rally skills before going on the offensive and you should nail the boss eventually.
Round 5
| Name | Class | Level | Items |
|---|---|---|---|
| Anna | Merchant | 20 | Spear, Brave Lance |
The final round has come and it’s a tough one. Like in the previous round, you have a time limit: 7 turns. You will be facing a good number of foes–all of them the toughest enemies you’ve already faced–and you will probably get very close to Turn 7 before you kill all of them.
Here, more than anywhere else, you will need to make good use of the Rescue staff to move around the map and get into the right positions to face the enemies.
On your first turn, Rally and heal everyone with Fortify. Then, have two units go north and bait the two Berserkers; use the same strategy as facing the previous Berserker boss.
Next, send your free units down south to meet the Snipers; have two sturdy units bait two of them. Finally send two Rescue staff wielders left and right, in the direction of the Sorcerers.
Turn 2, finish off the Berserkers and the Snipers. If you’re lucky, the Brave Bow Sniper will move right below the partition, so you can kill his lackeys and box him in at the same time.
If you have time, carefully bait the Sorcerers. Position your units somewhere where only one Sorcerer can attack, as getting hit by two is fatal. According to the attack range, there’s no such place, but don’t forget that the first Sorcerer will move to block the second.
Furthermore, unequip your bait (if ranged) so they can’t counter and kill a Sorcerer, leaving a space for a second Sorcerer.
Turn 3, bait one Sorcerer on each side, with the aim of killing both; magic/bow + melee pairs and the Vengeance skill are good for this.
From Turn 4, finish off the remaining Sorcerers. They’re tough opponents for sure, but units with high Resistance and strong attack should be able to handle them. Units with the Double Bow can also finish the task safely. Use Rally skills to improve your odds.
When you have free hands, engage the boss and pull out with Rescue. You will need high Defence units and/or units with Lancebreaker to survive a hit (plus several Rally skills). Once you’re done, leave a capable unit at the edge of her range, to make her move off the throne on her turn.
On the following turn, continue plugging away at the boss; make sure to Rally before going in. Her defences are pretty poor, so if you can just survive her attacks, you should be able to fell her.
If things aren’t looking good, pull out units with Rescue staves; don’t leave any units in melee range at the end of your turn, lest you want to eat a Brave Lance full of Aether.
By this stage, victory shouldn’t be far from your grasp. Don’t give up and good luck!


 Sign up
No Comments