| Mission Acquisition | Rewards |
|---|---|
| Rye & Sons Aviation, Nick Rye | 900 RP, Nick Rye Specialist |
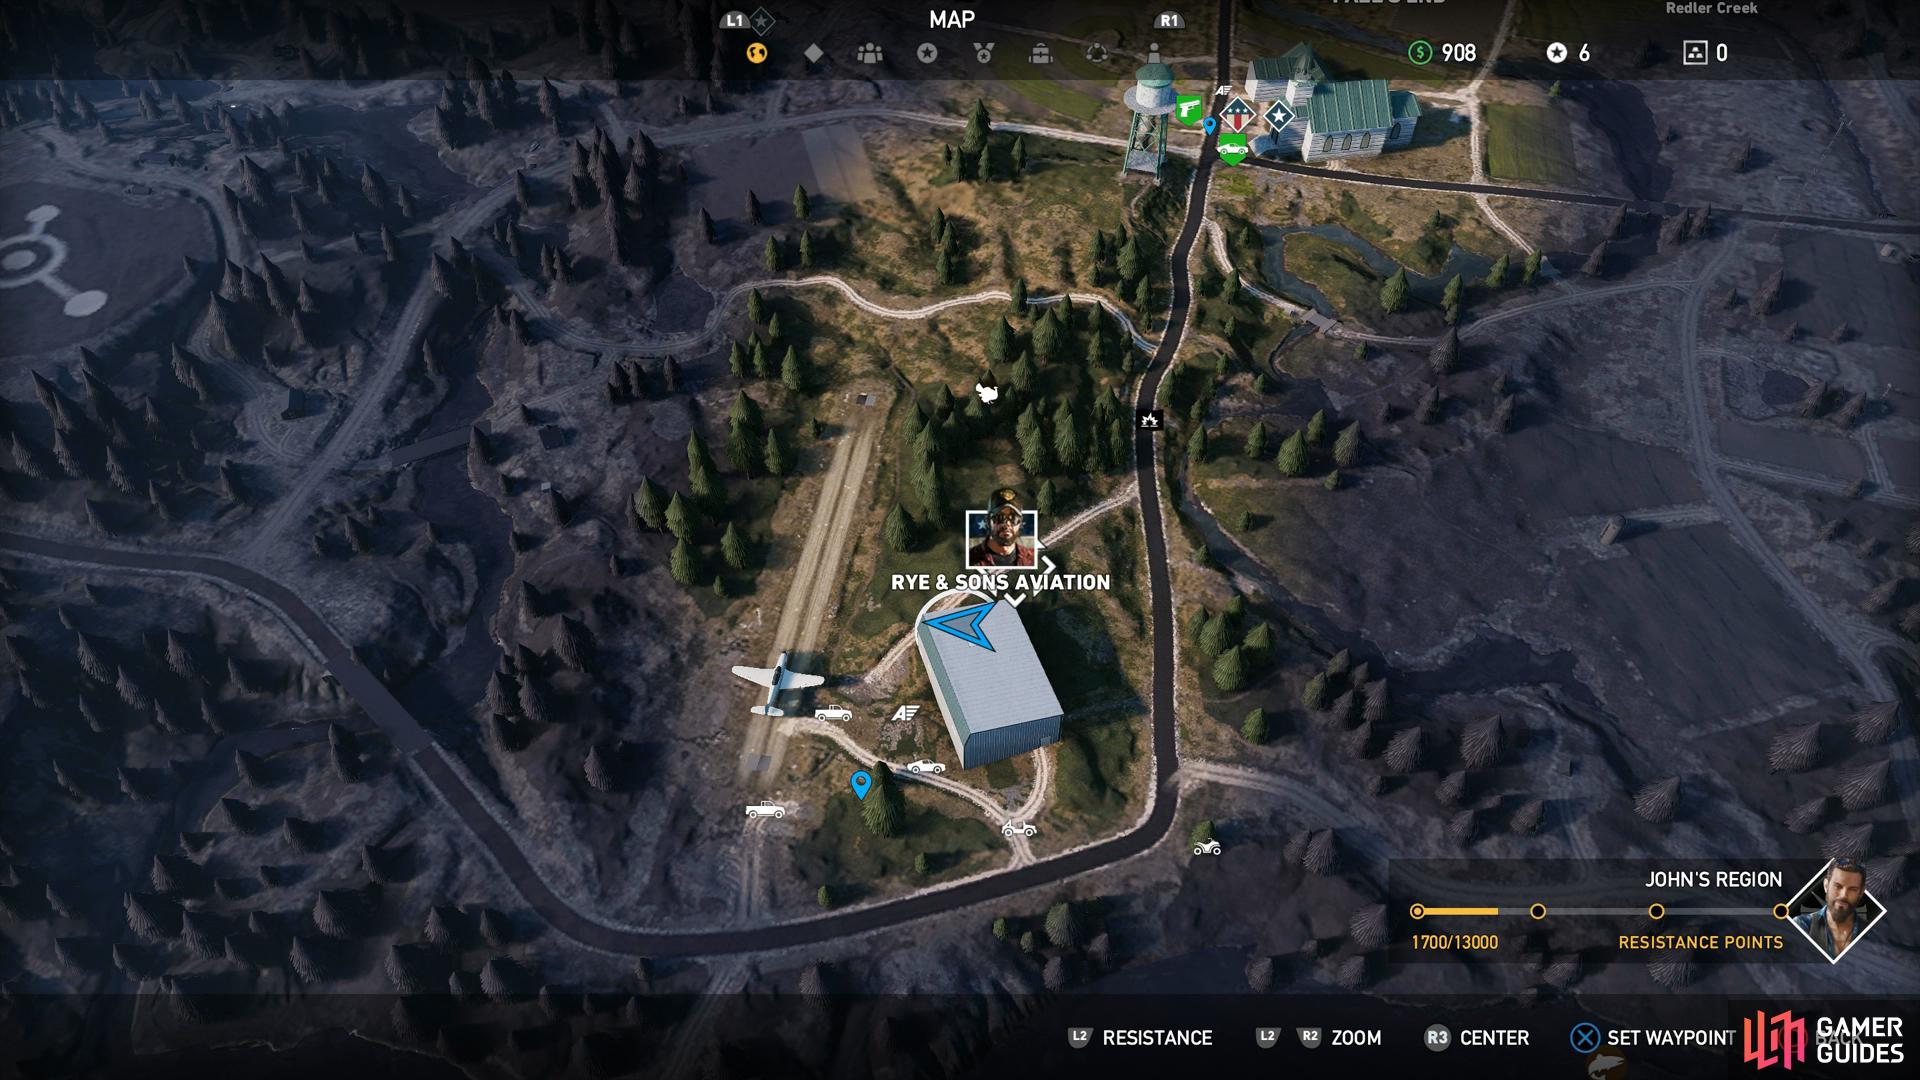
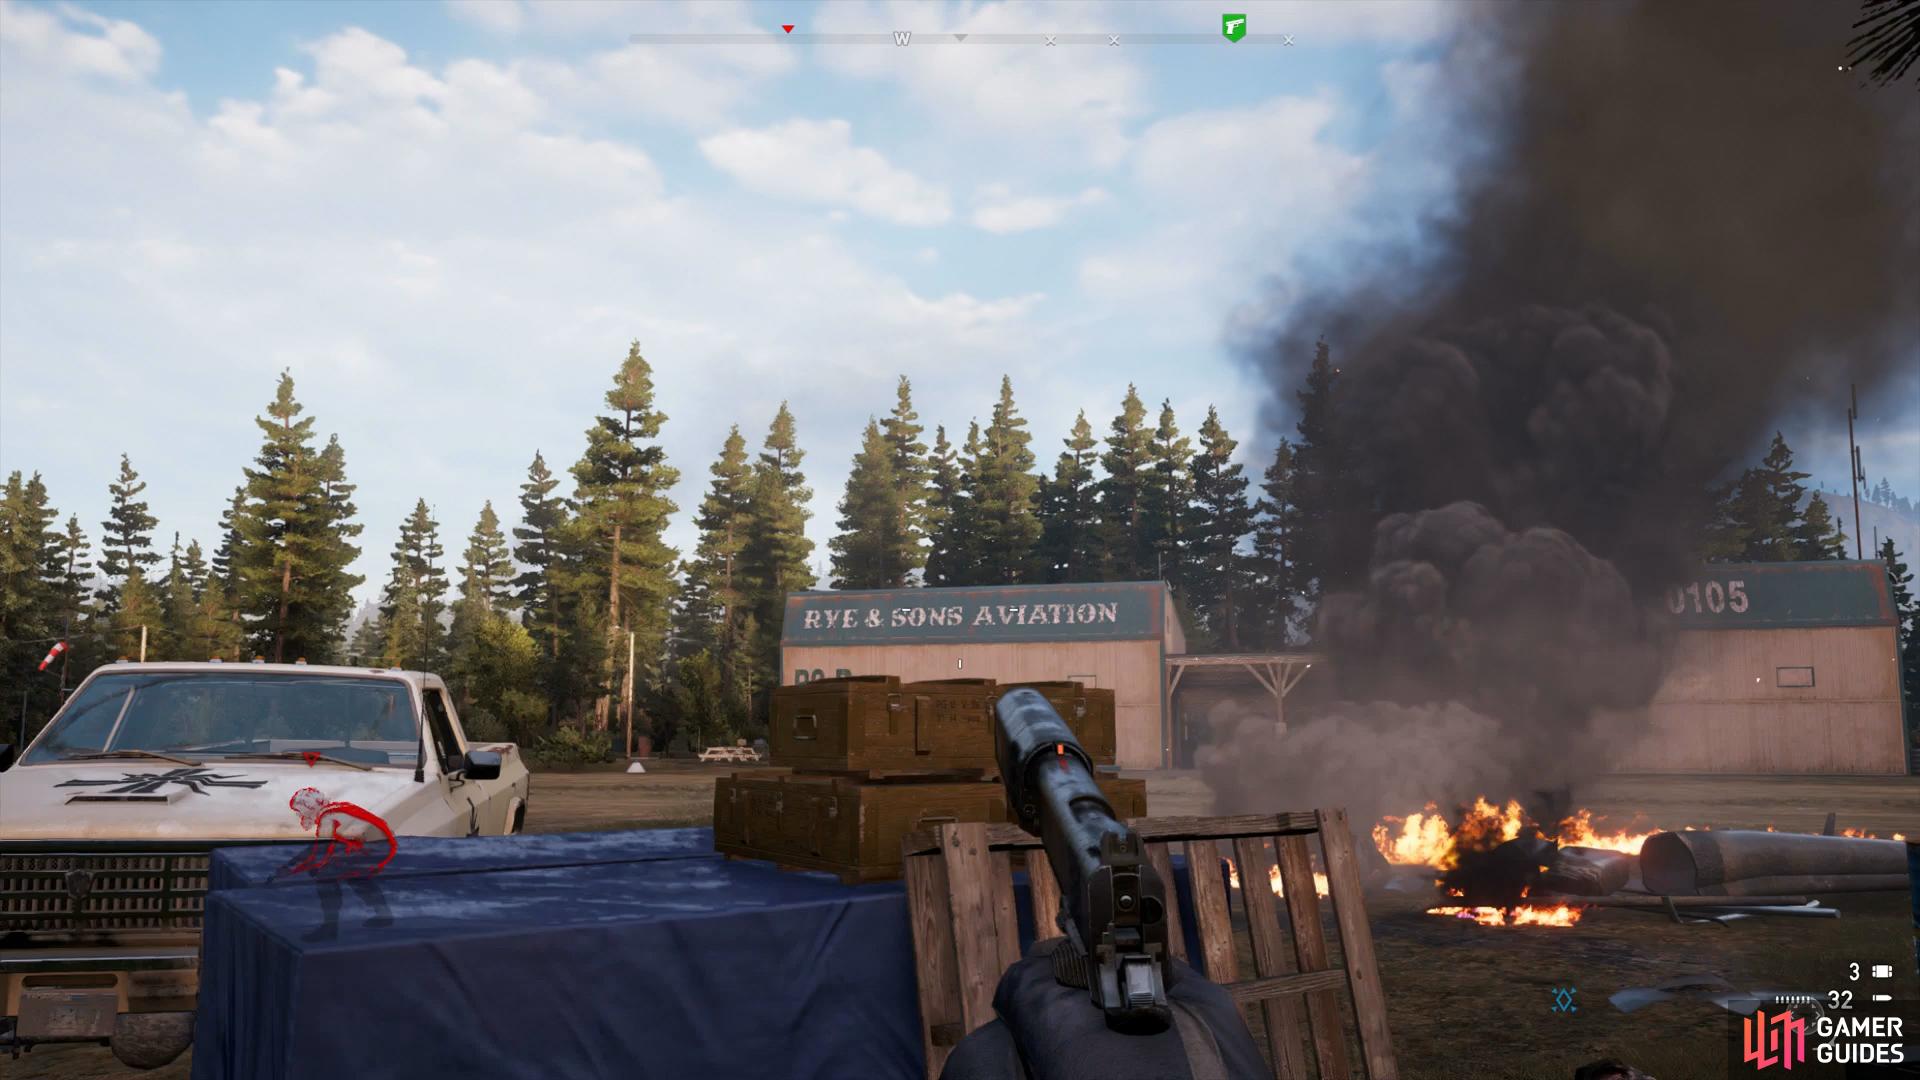
(1 of 2) You’ll find Nick southwest of Fall’s End
You’ll find Nick southwest of Fall’s End (left), under heavy fire from cultists. (right)
Journey to Rye & Sons Aviation
You’ll find Rye & Sons Aviation located to the southwest of Fall’s End on your map and as you approach from this direction you’ll see the entire place underfire from the Cult.
Use your binoculars to survey the area and tag all the hostiles here, another truck will arrive dropping four more off during your scouting. Being quiet here won’t do you much good and will make it a lot more tougher but it can be beneficially to sneak around the sides and take the cultists out with a sileneced handgun or from range with the Compound Bow. Once you’ve cleared the area of all cultists, you’ll find Nick Rye himself, speak to him to offically begin the mission.
Reach John Seed’s Ranch
Nick will inform you of the situation, his plane has been stolen and he needs you to help him get it back from John Seed’s ranch however before you do anything, loot the area.
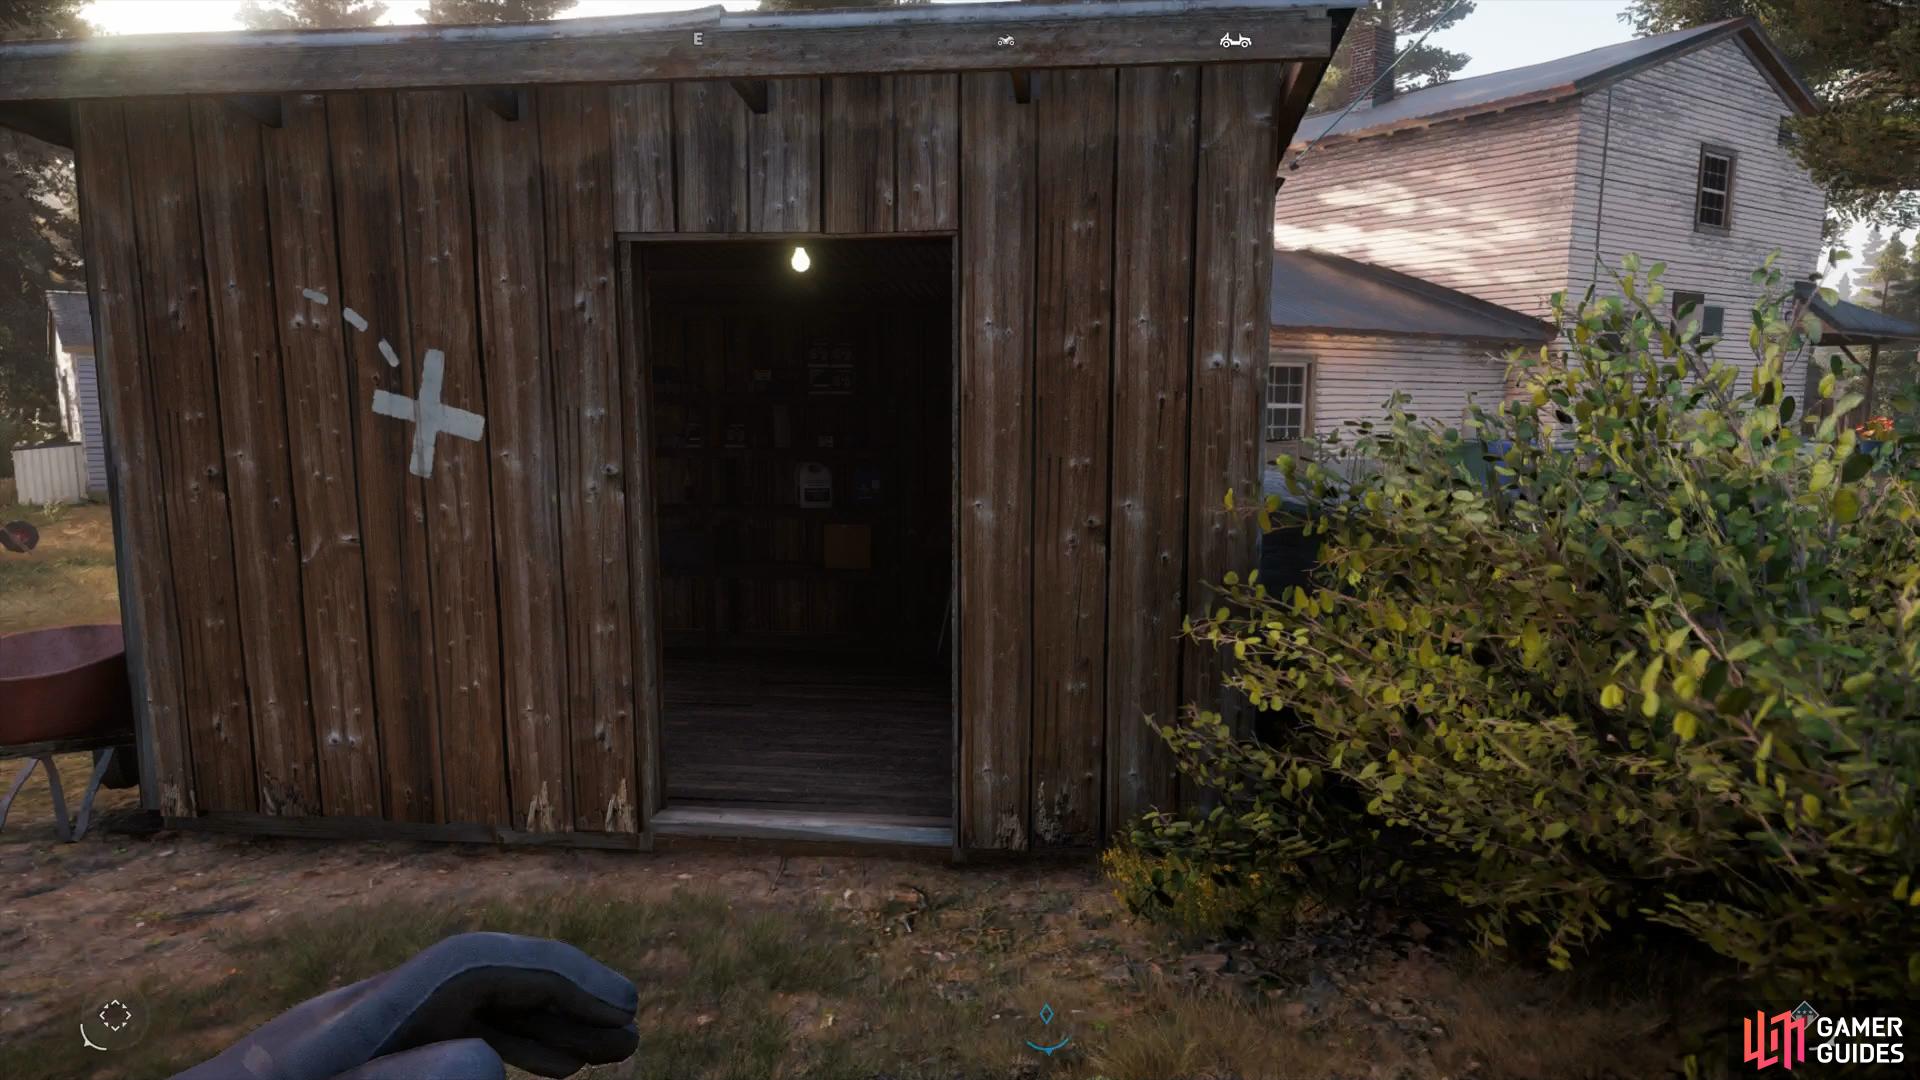
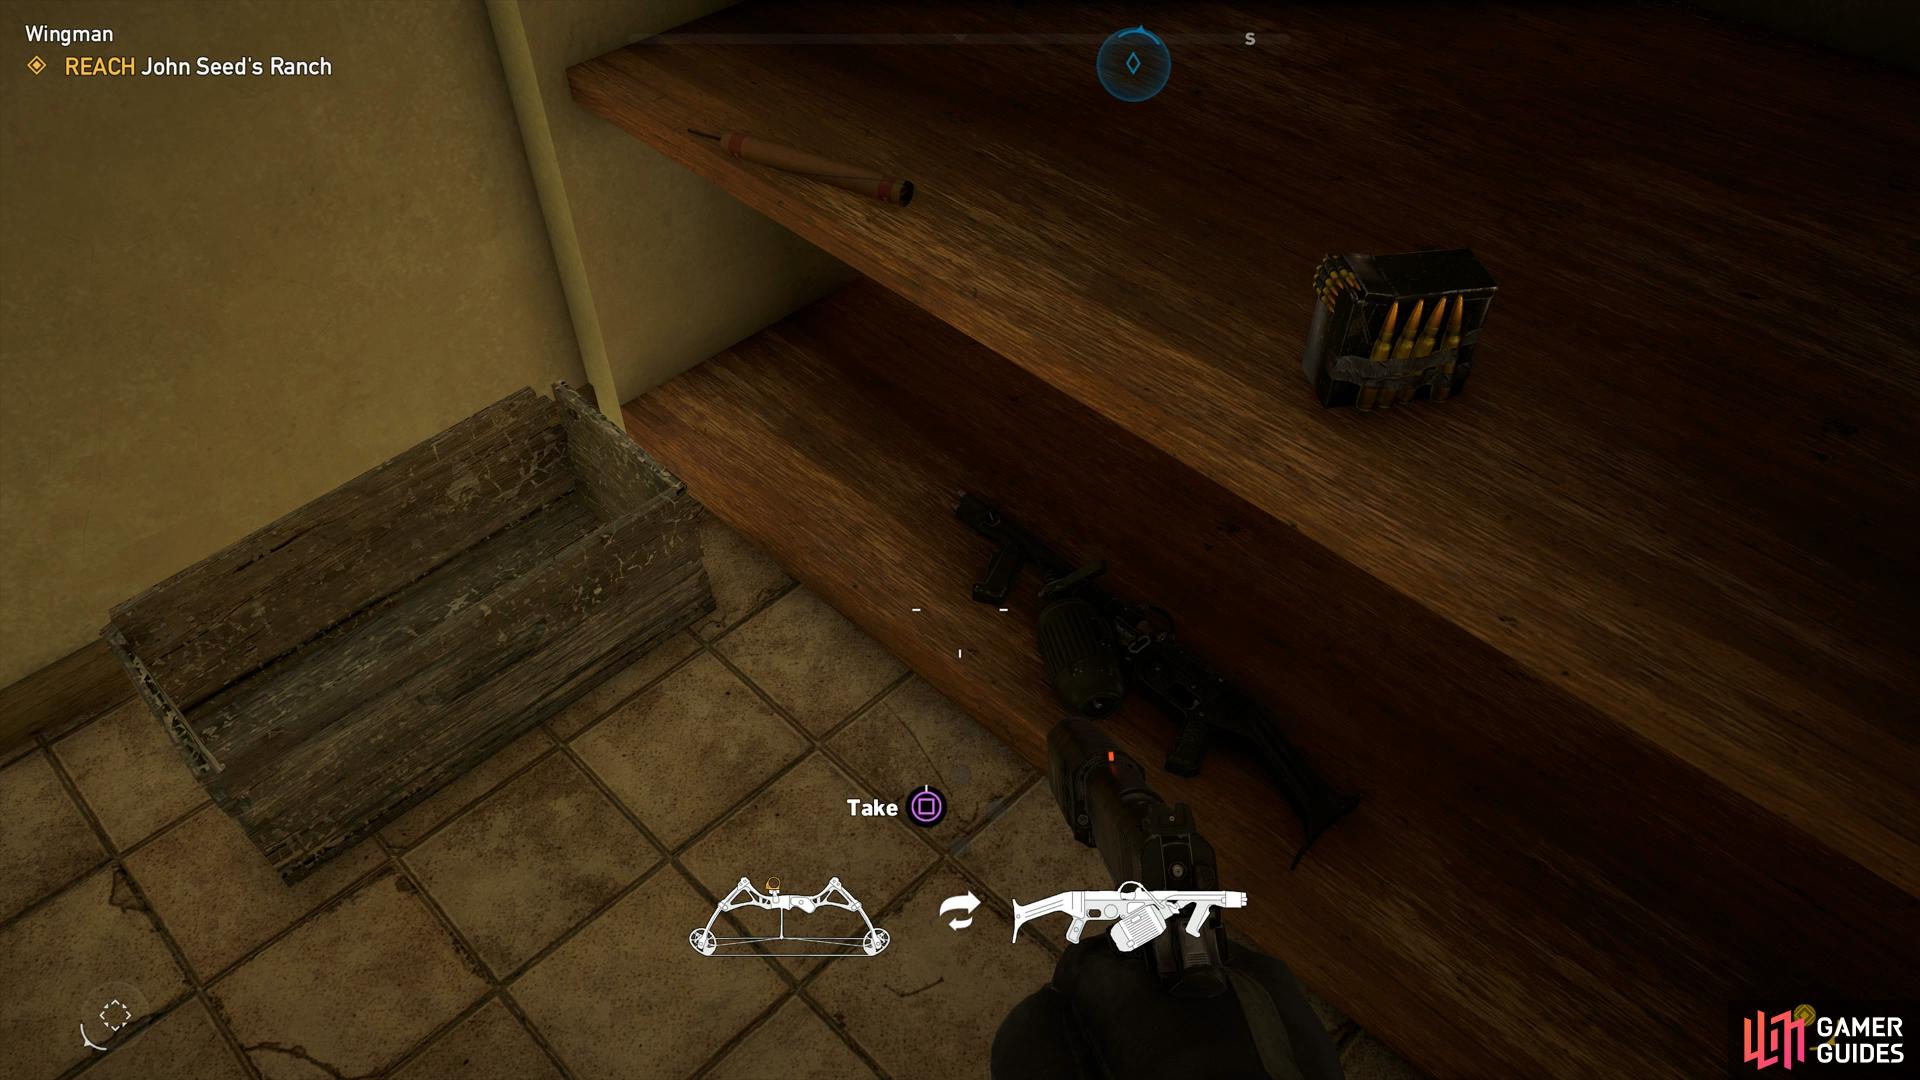
Amongst all the usual ammo and general loot you’ll find in the area you’ll discover a safe in the hangar where you met Nick and a locked door in his house. If you don’t have the Locksmith Perk yet, you’ll find Rye’s Key in the shed with the “X” marked on it, out back. Head inside the house and open the locked door to find another safe, some Dynamite and a Flamethrower. Once you’re done looting it’s time to head for the ranch. You’ll find the ranch in question to the southwest of your location.
(1 of 2) The key for the locked door is in this marked shed
The key for the locked door is in this marked shed (left), the Flamethrower that waits inside. (right)
Find Nick’s plane
You only need to located Nick’s plane however the ranch is also a Cultist Outpost and you may as well liberate this in the process, undetected if possible.
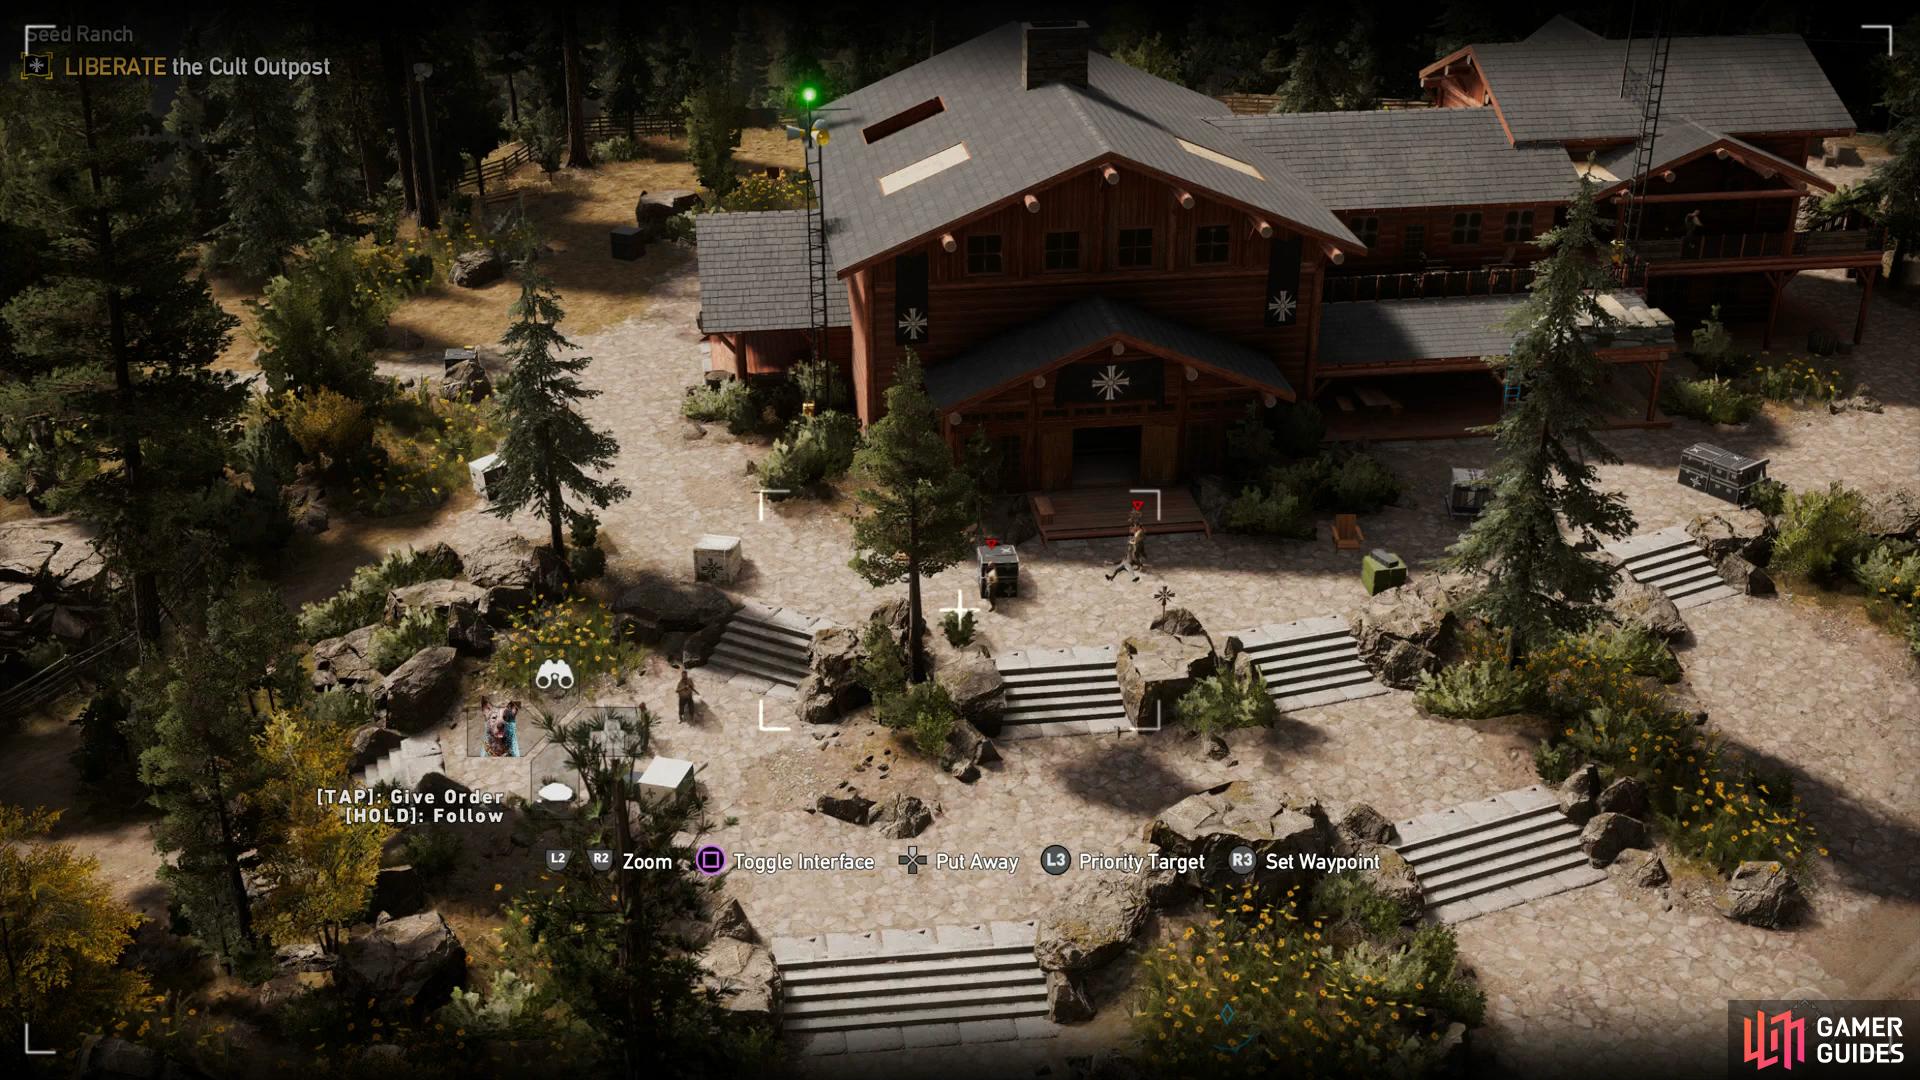
You’ll want to begin by scouting the area out, there’s a lot of cultists here and the last thing you want to do is go in unprepared. Take the time to go to a tower just north of the ranch and grapple up, this is an excellent location for a stakeout!
Once you’ve tagged all 12 of the cultists here (three of which are snipers) and the three alarms, take the southeast zipline back down and arrive behind the estate, this is the best place to begin clearing out the outpost.
(1 of 2) Scan all the enemies from atop the watchtower to the north
Scan all the enemies from atop the watchtower to the north (left), approach the outpost from here. (right)
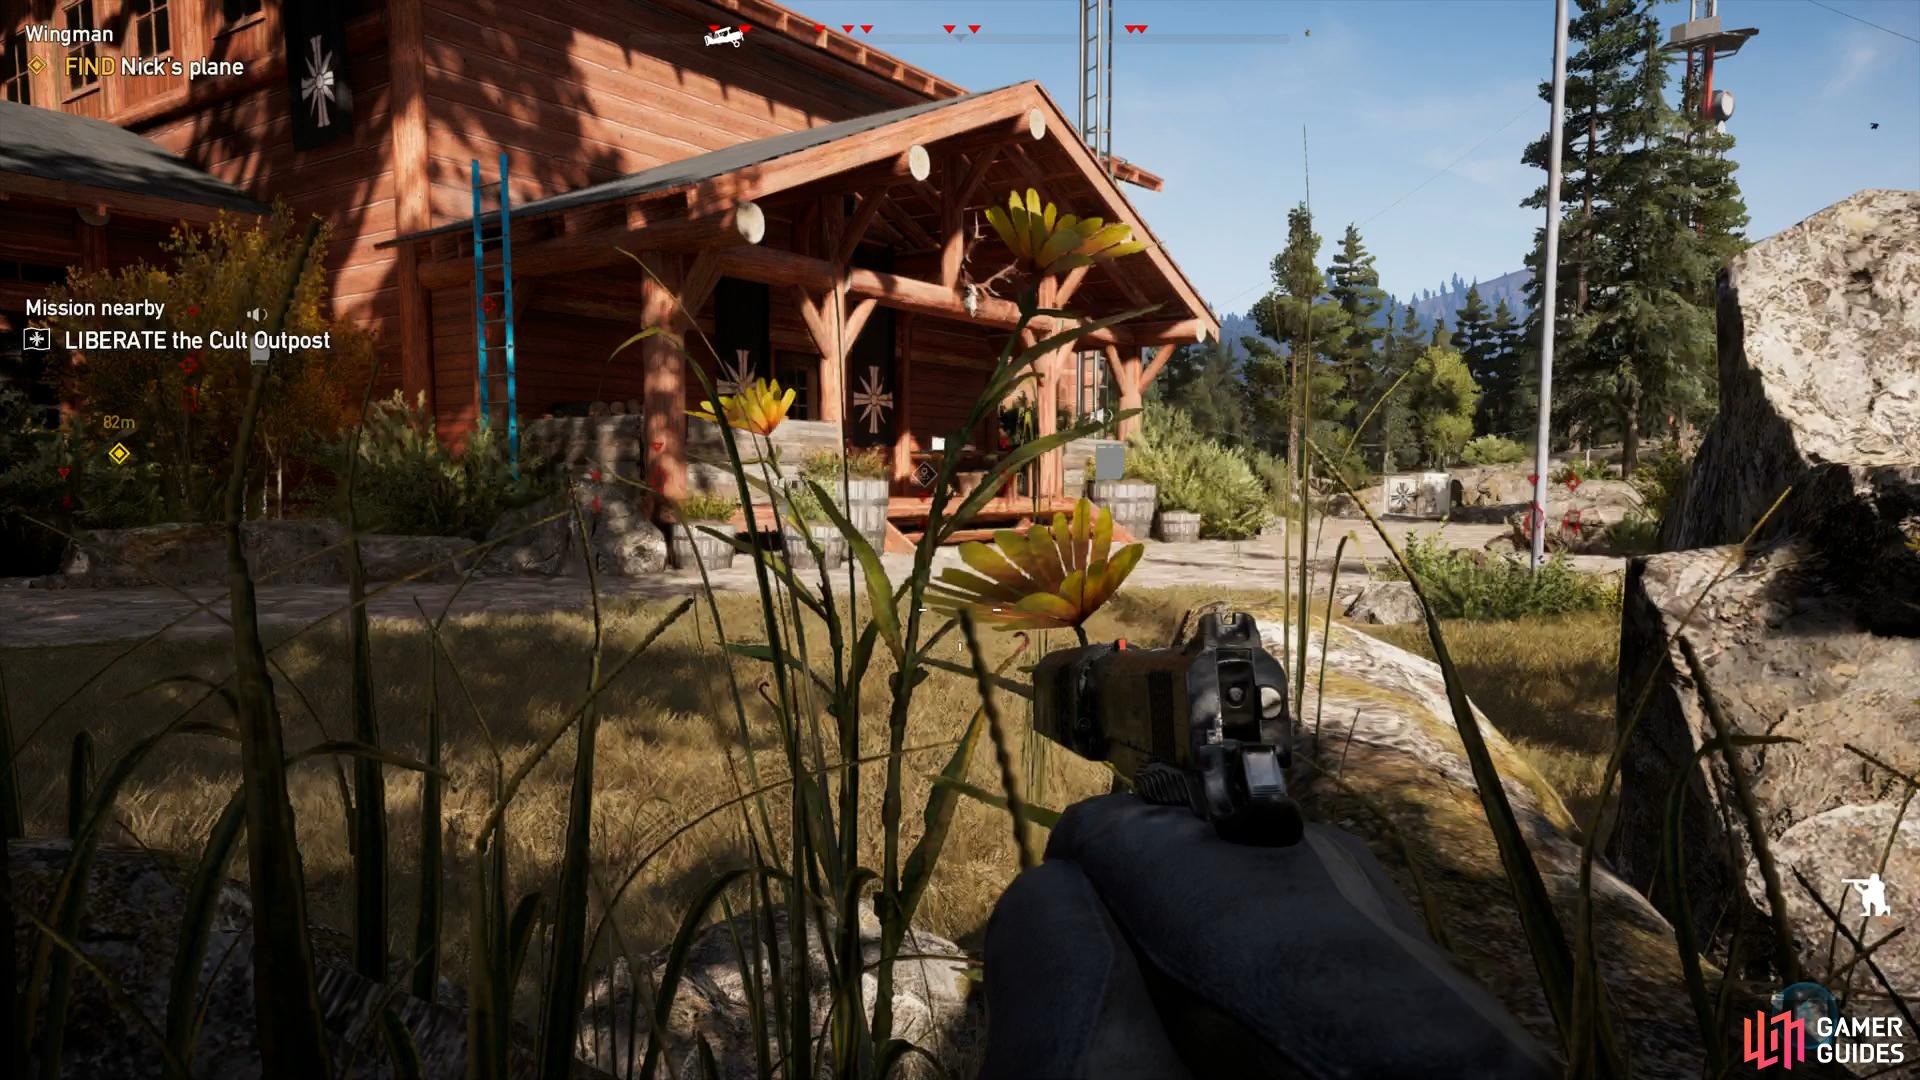
From the southeast of the ranch, a little way south of the two cultists standing together, you should see the first alarm. Wait for the close to be clear and move to the porch just behind it. While staying hidden behind the fence here, pop up and put a bullet into it with the silenced handgun.
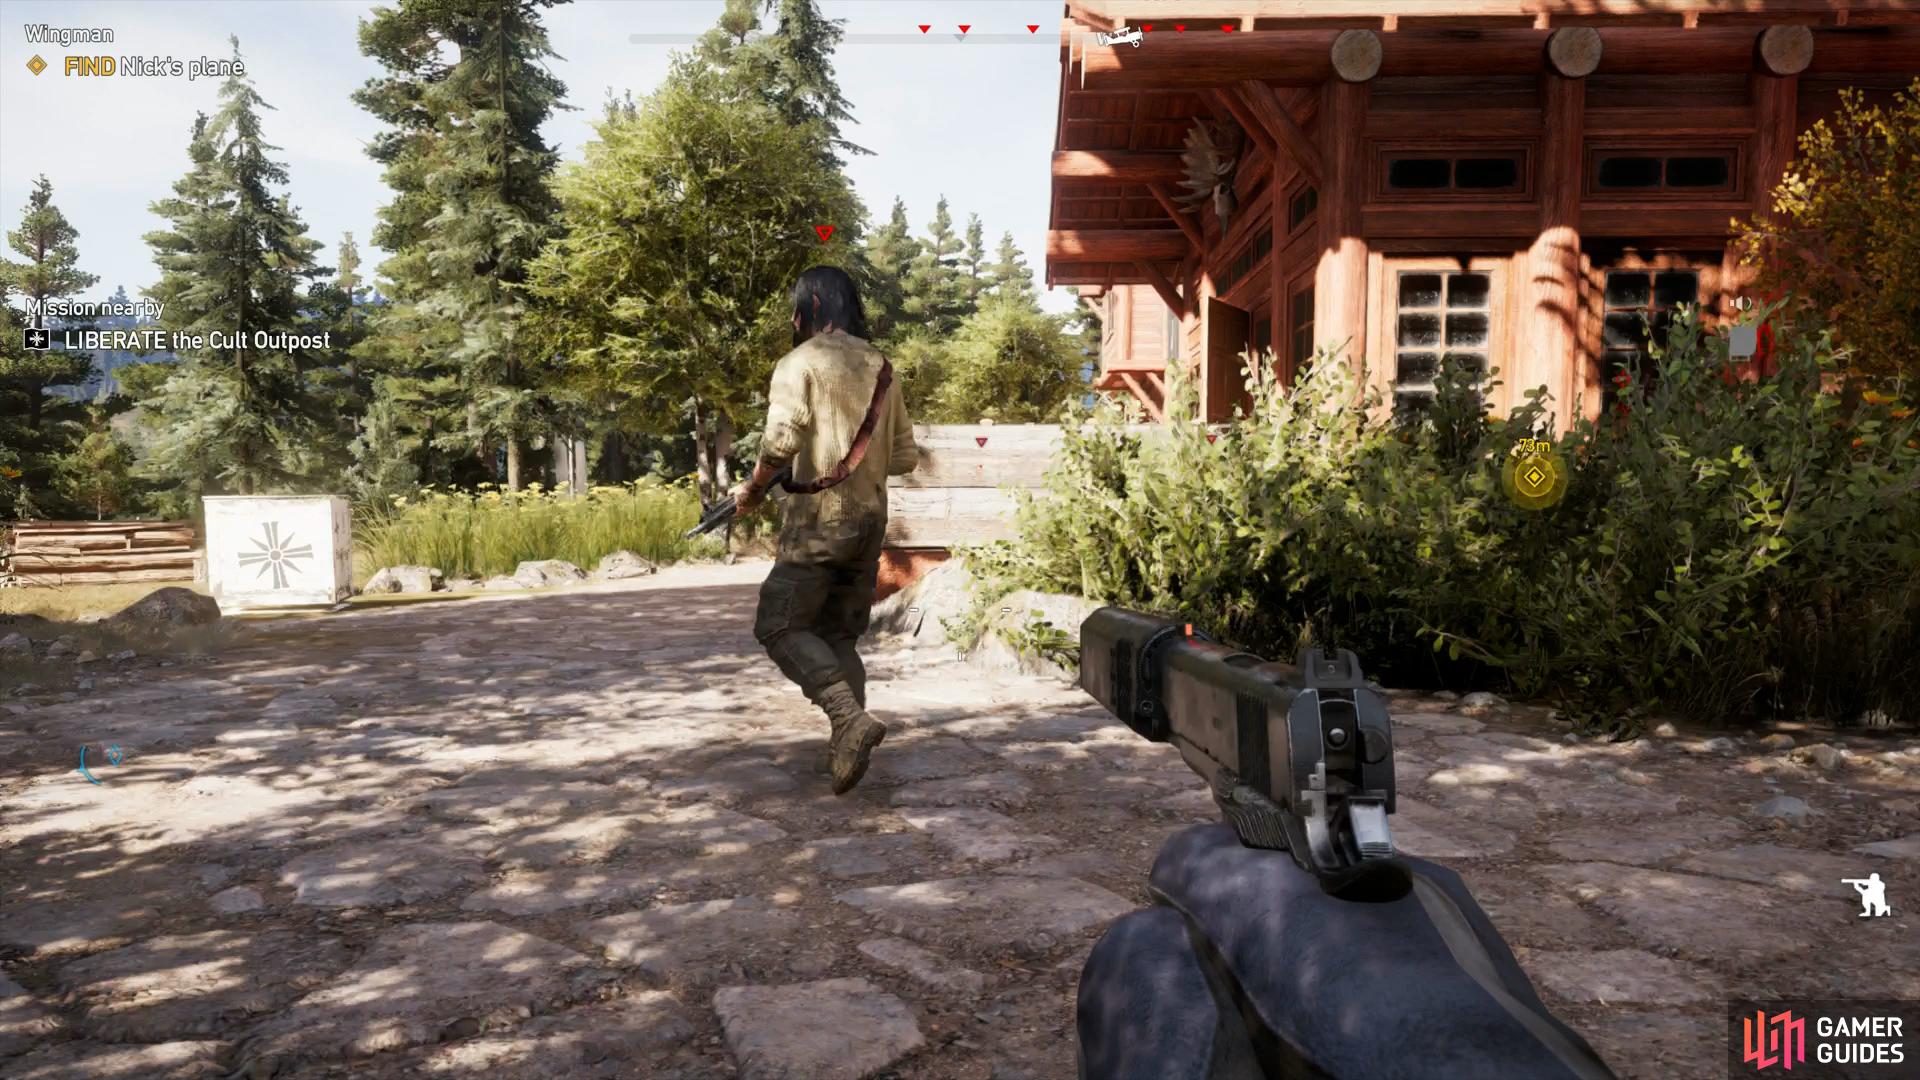
Turn back around from here and start circling around back, your first target is patrolling here, wait for him to approach and dispatch him (be paitent while you wait for him, he does have large patrol area). Continue along until you reach a cultist sitting on an elevated platform, sneak up on him from behind the rocks and take him down before moving the body when another patrol approaches.
Sneak towards the back of the house and wait for the next patrol to work its way around back before eliminating him, taking care not to be spotted by the cultist on the balcony.
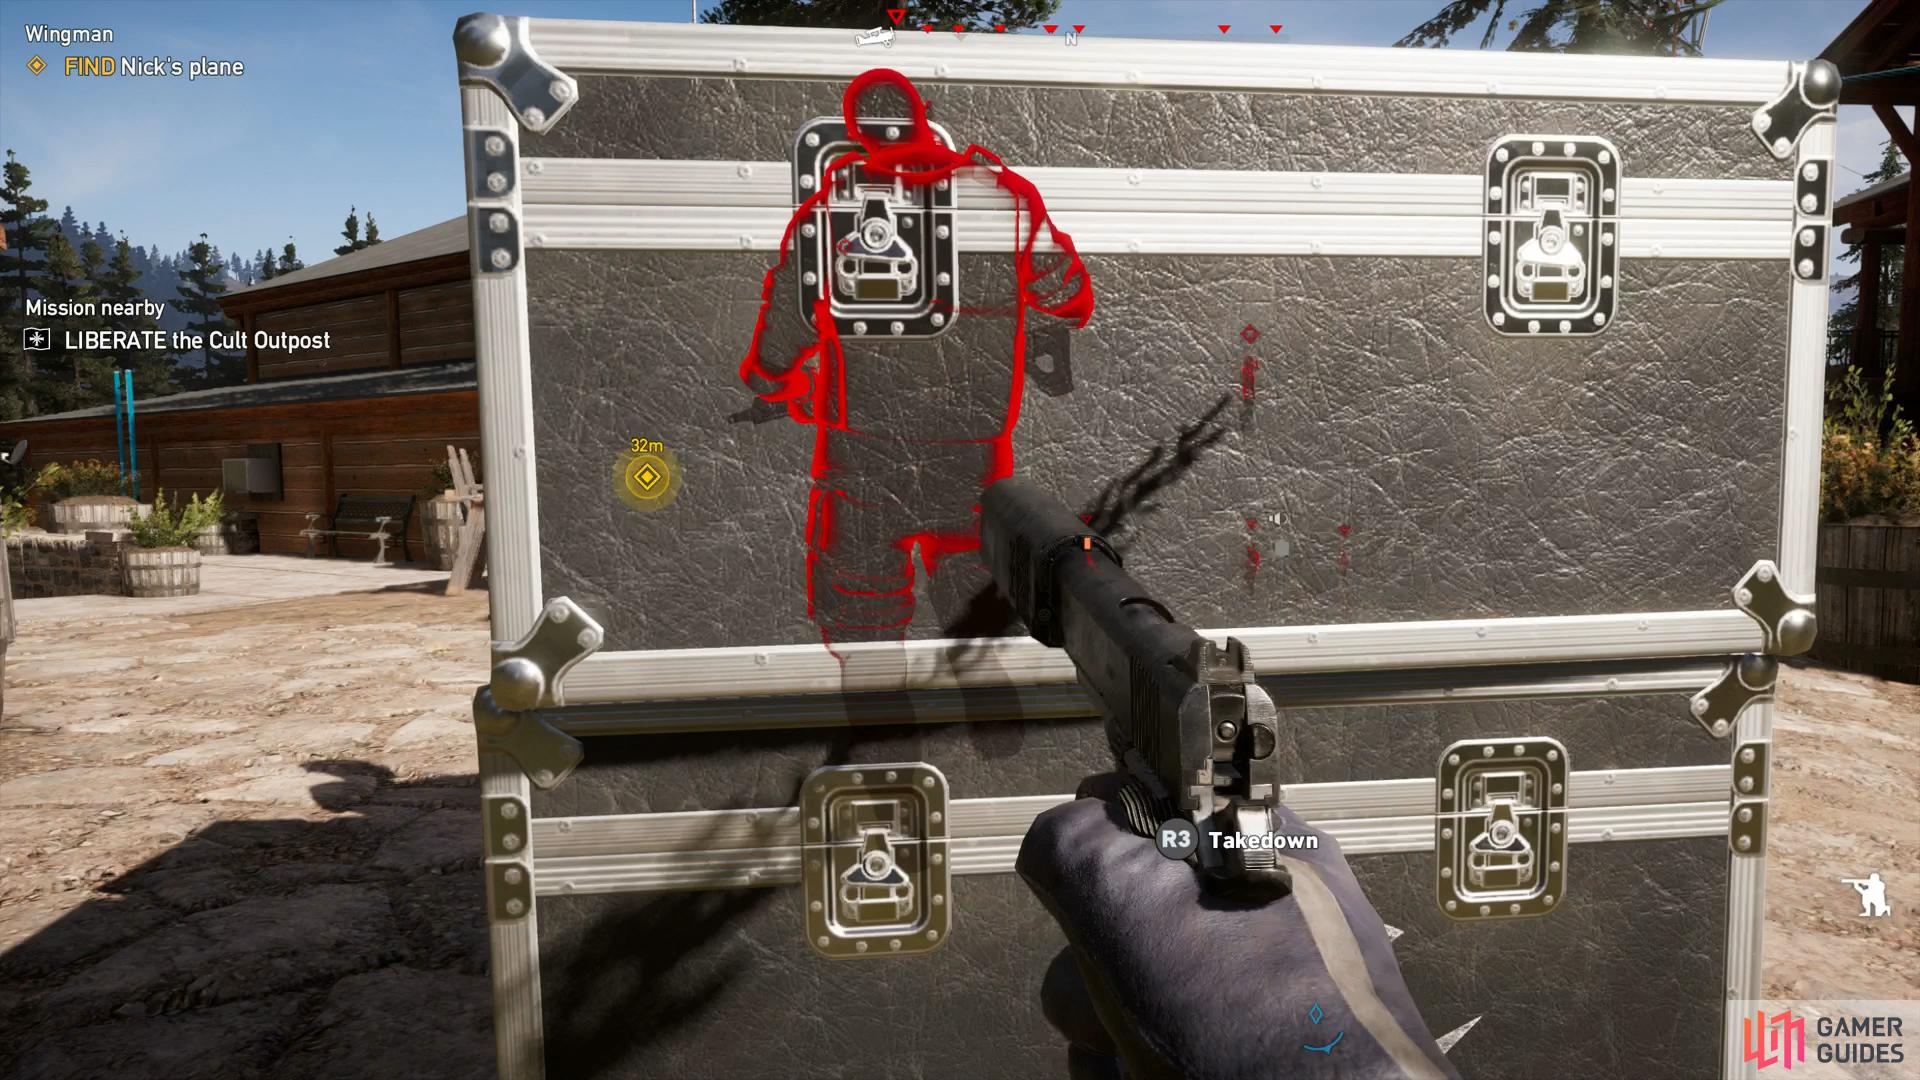
(1 of 2) Your first target around back
Your first target around back (left), takedown from behind the box. (right)
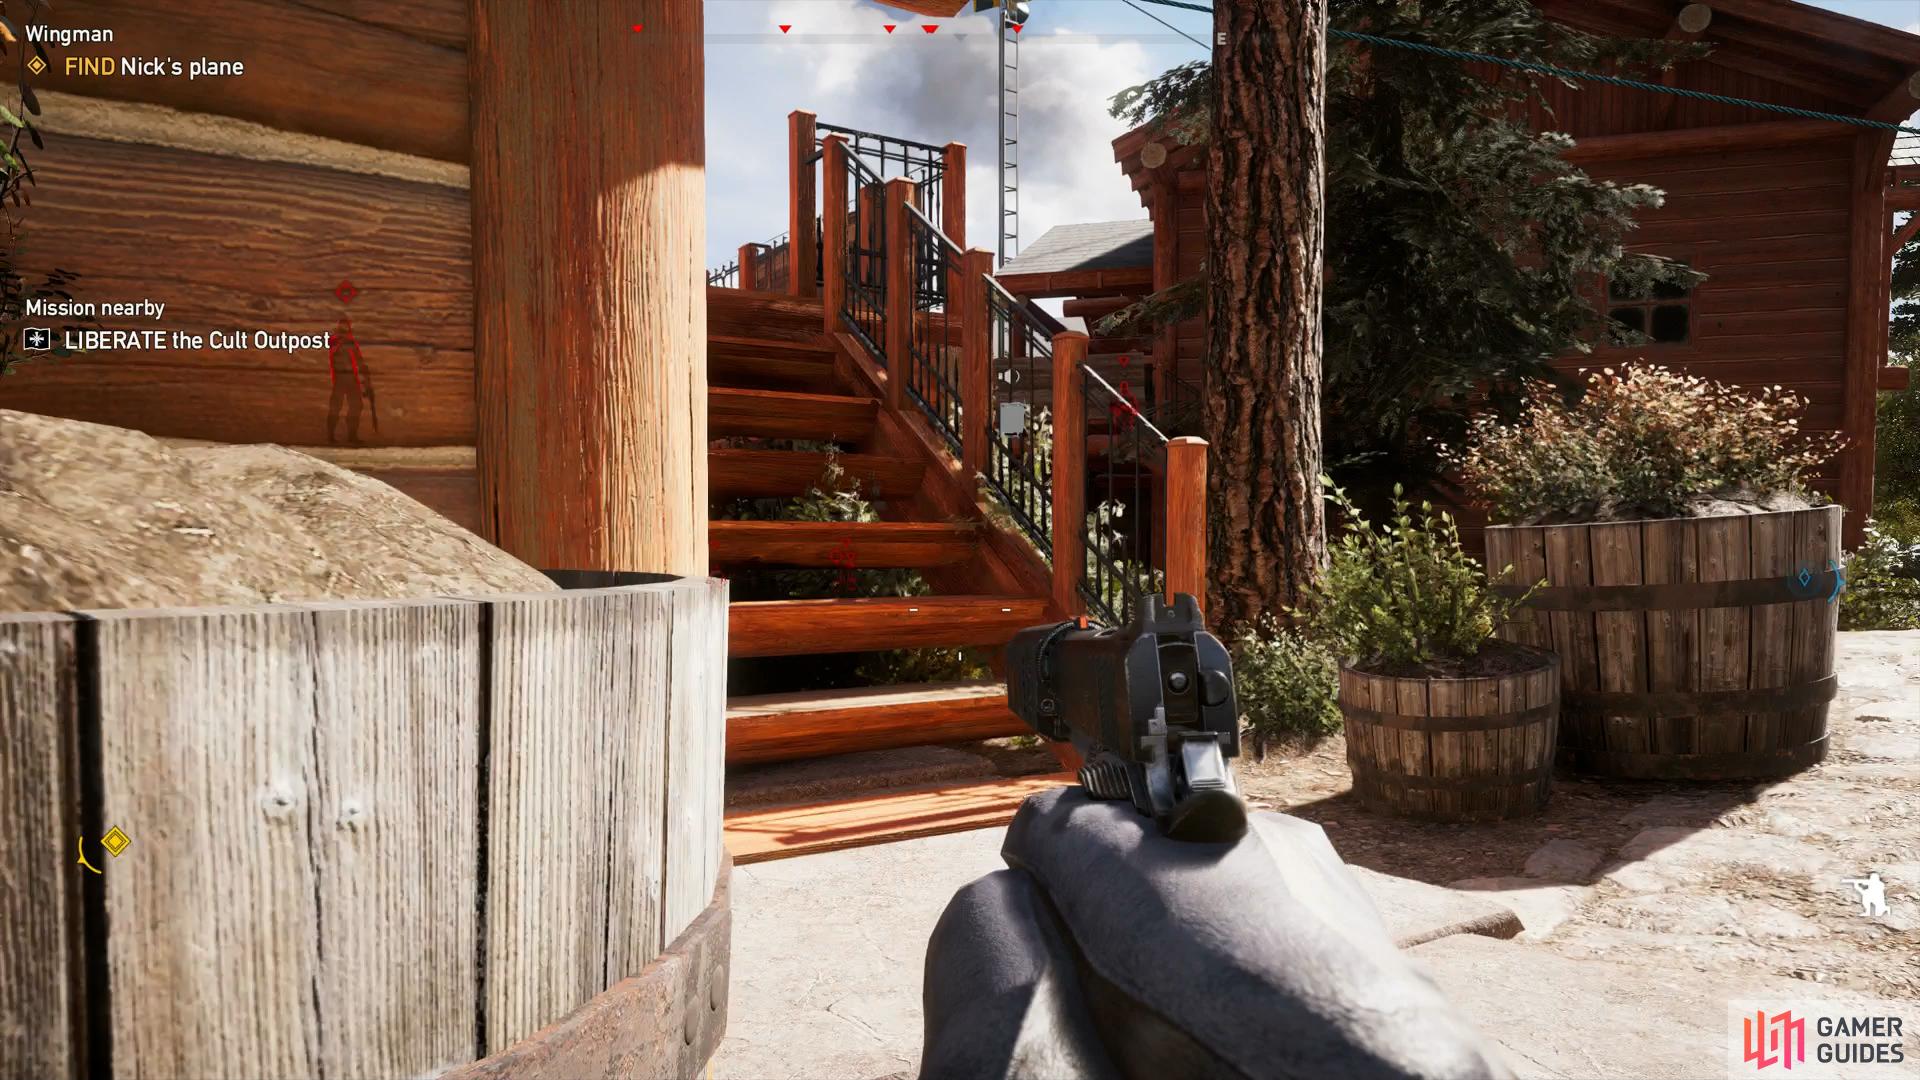
Head back around the side of the house here and position yourself between the two structures. You’ll see a Marksman cultist on the balcony to the left and another to the right near the second alarm. Wait below the stairs of the Marksman cultist and when the right cultist turns his back, quickly takedown the marksman and grab his body before retreating back below the stairs and throwing it behind the house (if you didn’t grab the body here, the other cultist will notice it and head over to inspect, take him down on his journey there).
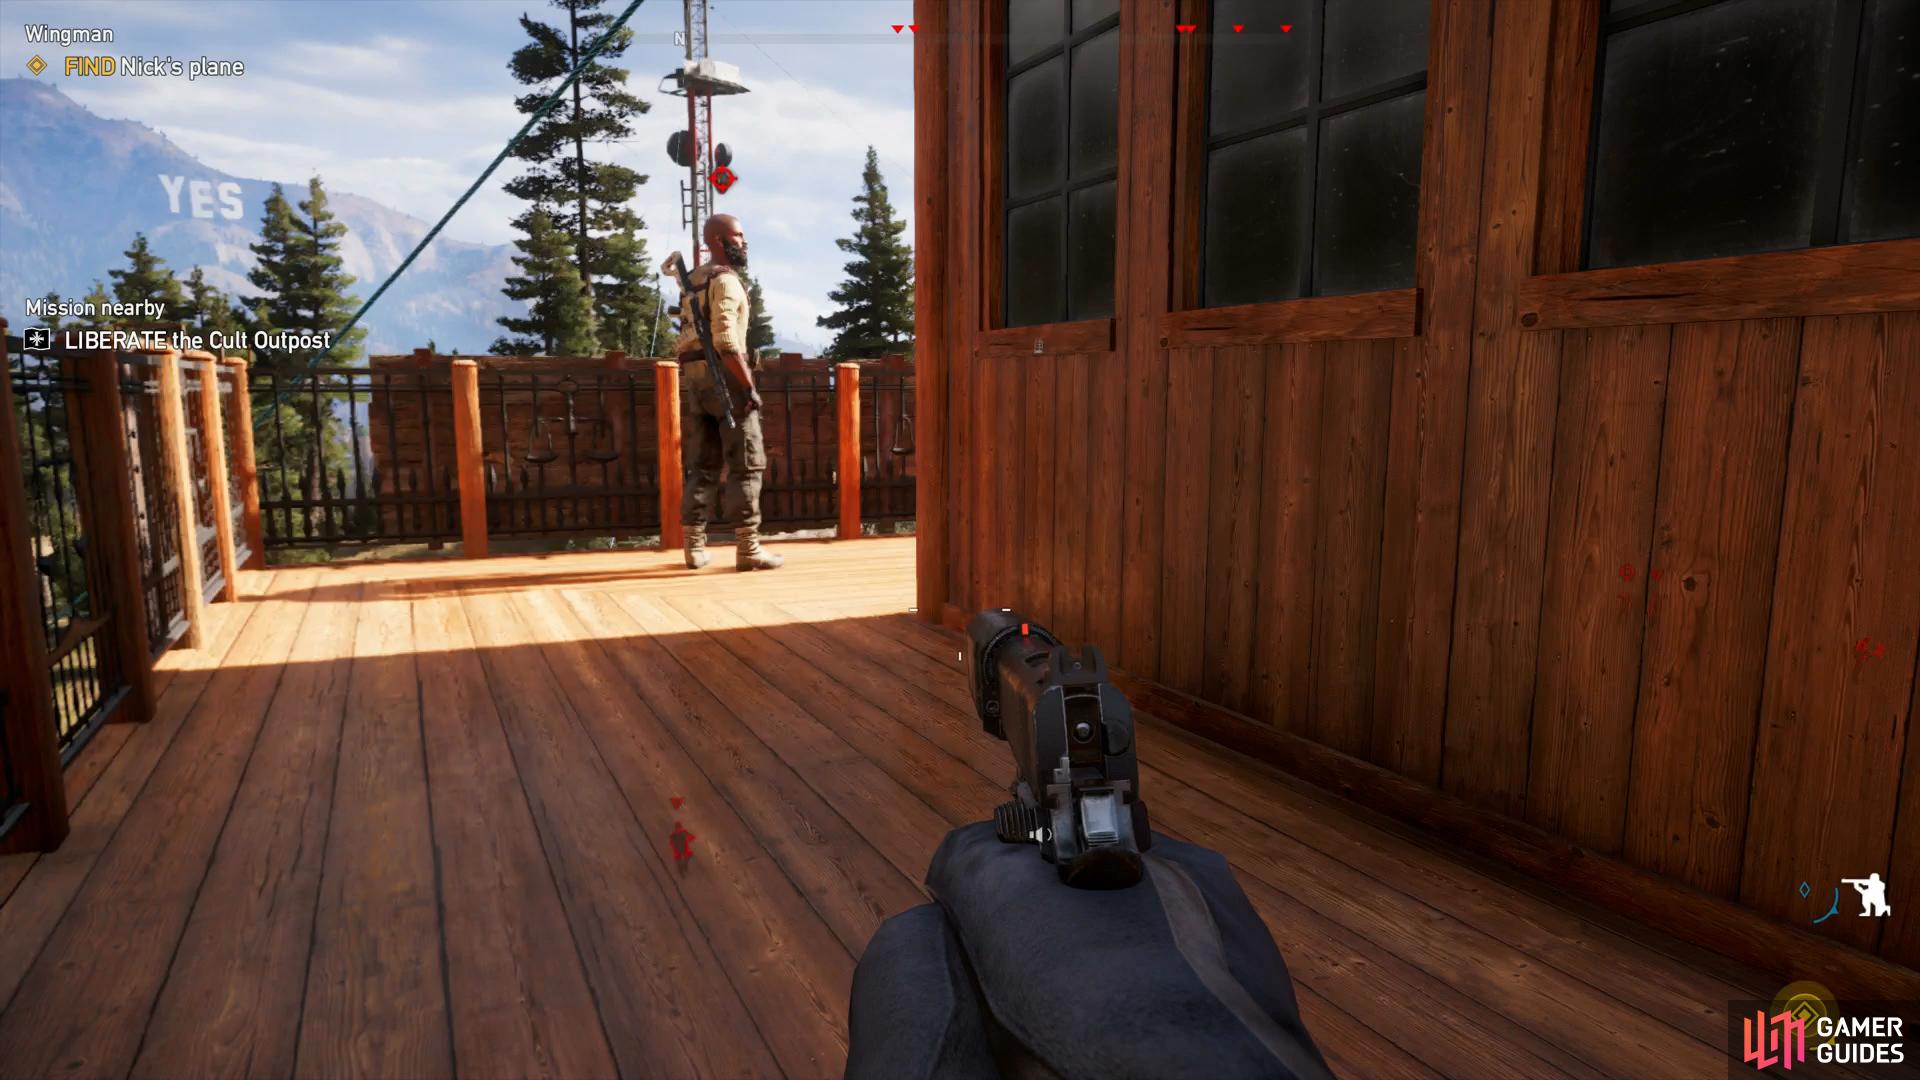
Go over to the stairs on your right now and wait for the cultist to turn his back before taking him down and carefully putting a sileneced bullet into the second alarm here. Go back behind the left of the two houses again and take the ladder up. Carefully ascend the roof ahead and then work your way towards the watchtower and climb over onto it. You’ll be able to sneak up on the cultist here without any problems before looking over the balcony to the last alarm that you marked, peer over and one more bullet puts all of the alarms out of commision.
(1 of 2) Take the left cultist first
Take the left cultist first (left), sneak onto the roof from back to reach this cultist. (right)
Make your way off the roof the way you came and once more return to the passageway between the two houses, there will be a cultist here who is waiting to be taken out. The next two cultists are just in front of the watchtower, wait for the one close to your position and take him out while the one at back isn’t looking before heading over dispatching him.
Just three more cultists remain, the first of your targets being the lone cultist on his own, position yourself with your back to the house and take him out. Quickly pickup the body and take it with you back towards the house, the Marksman cultist patrols here too. Drop the body and takedown the Marksman when he turns around before proceeding to the last cultist and liberating the hardest outpost in Holland Valley, congratulations!
Before you take Nick’s plane, take the time to loot the ranch of all its goodies, of special note you’ll find a Seed Ranch Region Map toward the side of the left house and a Hunting: Deer magazine inside the main lodge on a chair. Finally, in the hangar where Nick’s plane is, jump onto the crates and over the fence to find a safe, some ammo, a Med Kit and an M60 LMG. All that’s left to do now is to find Nick’s plane in the hangar and jump in.
Fly Nick’s Plane
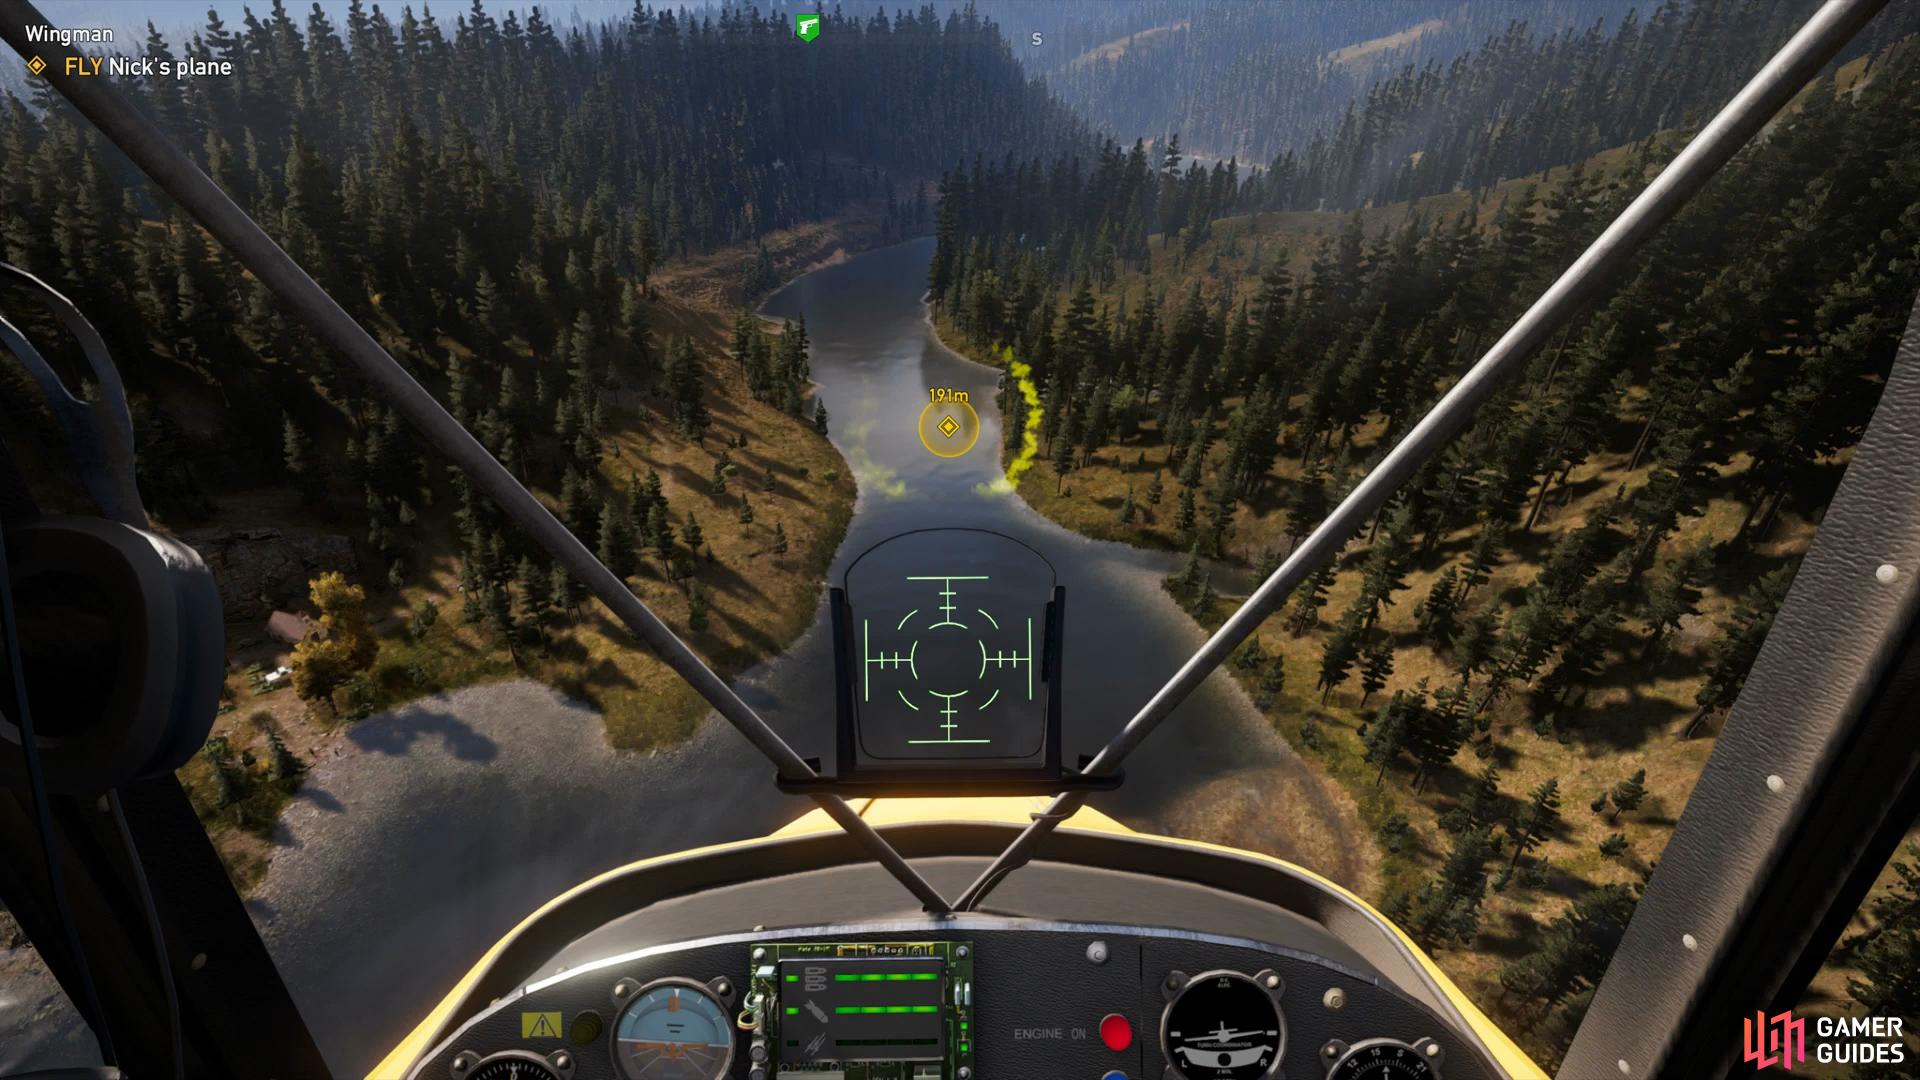
Once you enter the plane, begin to drive it down his runway and you’ll be contacted by him. He’ll give you the lowdown on how to fly along with some basic rings to fly through.
Follow Nick’s instructions as you get more used to how flying works in Far Cry 5, taking care to avoid hitting any trees or flying too low to the water. If you crash the plane, you’ll restart from the hanger again so don’t worry about having to do the entire mission again.
After flying over the bridge, your objective changes to destroying some of the cult properties, namely a silo related to the Light ’Em Up side Mission. You may find it easier to just use your machine gun rather than bombing it. Next up, you’ll want to fire upon the Bliss container (these look like white boxes from the sky) and finally the cultist planes that have yet to depart. Nick will then guide you into how to land his plane on the airstrip, follow his directions carefully and stick the landing and taxi it back to Nick.
Follow Nick’s guidance to familiarize yourself with flying.
Secure Nick’s Home
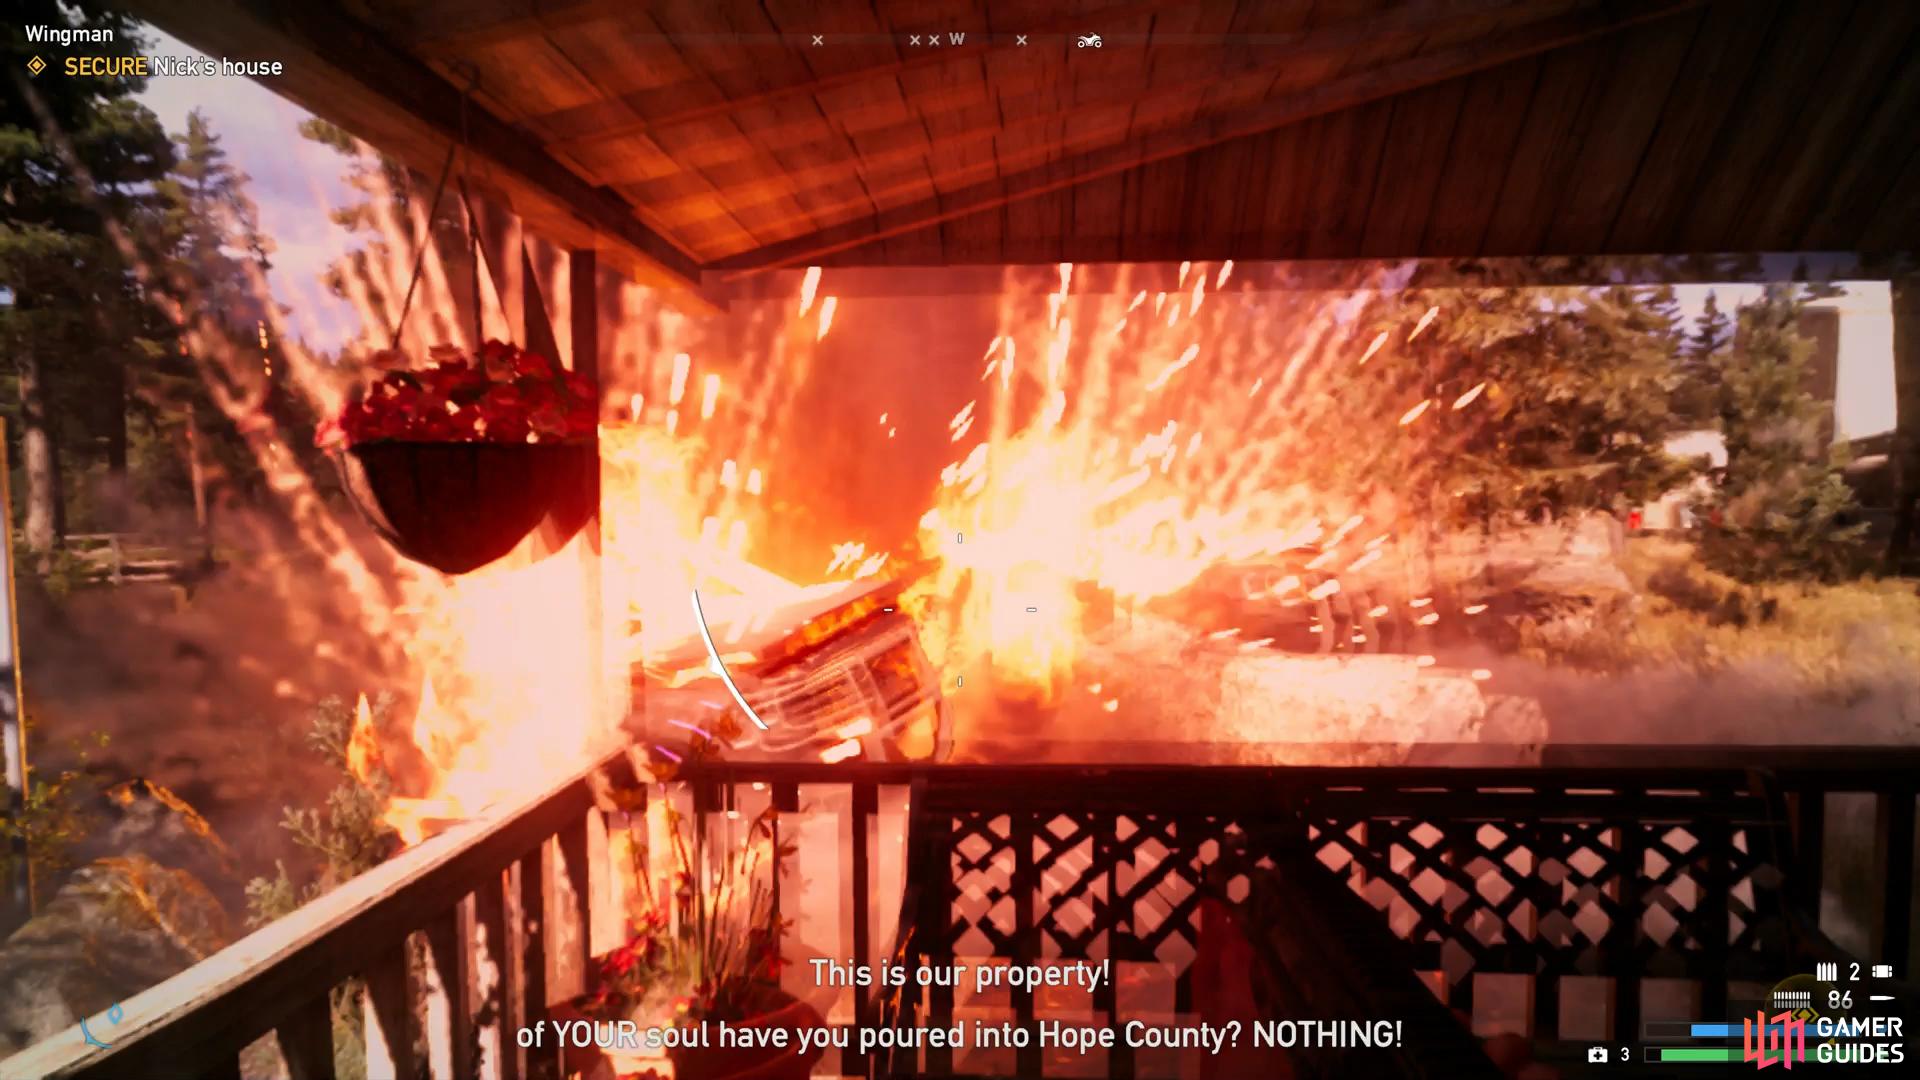
The mission is over yet, the cultists have returned for round two. Stealth is out of the question here so equip your most deadly weapon and get to killing (if you only have a bow, use the handgun or pick up an assault rifle from a dead cultist).
Your main cause of attention is to protect Kim in the house as cultists will enter from time to time, make these your main priority. You’ll notice that most of the cultists are appraoching from the road, careful timing of your explosives can make short work of them before they even fire a bullet.
Secure the hangar
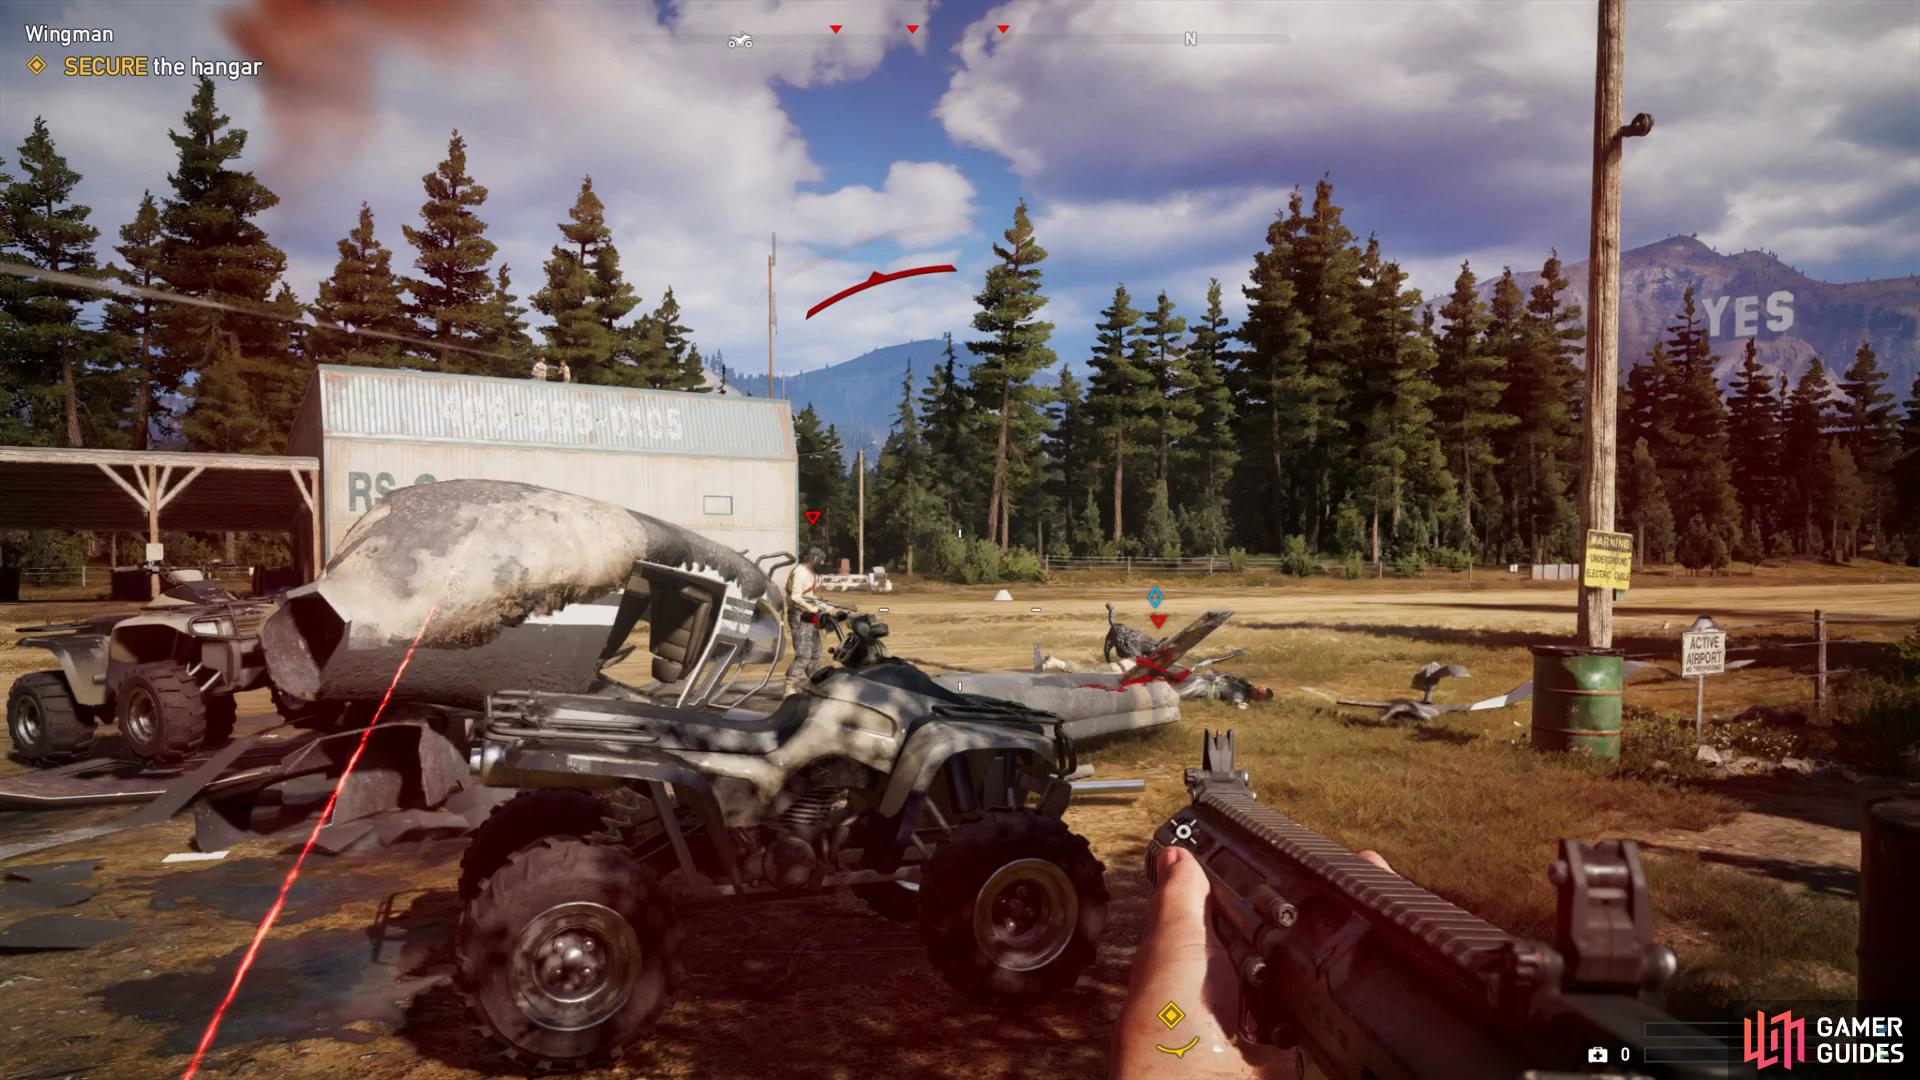
After you defeat the two pickup trucks that drove into toward the house, you’ll need to turn your attention to the hangar itself. Be sure to loot any ammo from the cultists you killed previously and dash over.
You’ll find an initial wave of cultists firing into the hangar, hiding behind boxes. Once they’re dispatched, more will ride in on quads making easy target for explosives again if you have any left. Of more concern are the snipers on the rooftops, Nick will take them out but he’s not quick about it so try to avoid being out in the open and keep to cover.
(1 of 2) Throw an explosive between the two pickups
Throw an explosive between the two pickups (left), take cover from the snipers. (right)
Two more quads will come rolling in before a final two pickup trucks full off cultists, Nick will begin bombing at this point so try to keep to cover and pick them off from safety. Assist Nick in mopping up the remaining cultists and ending this lengthy mission. At this point, Nick will aid you in your journey to liberate Hope County as a specialist.

A Wing And A Prayer
Fly Nick's plane. Hopefully you're not afraid of heights (Solo Campaign only).

20

 Sign up
No Comments