| Mission Acquisition | Rewards |
|---|---|
| Upon completion of Wrath, John Seed | $3000, Holland Valley Liberation |
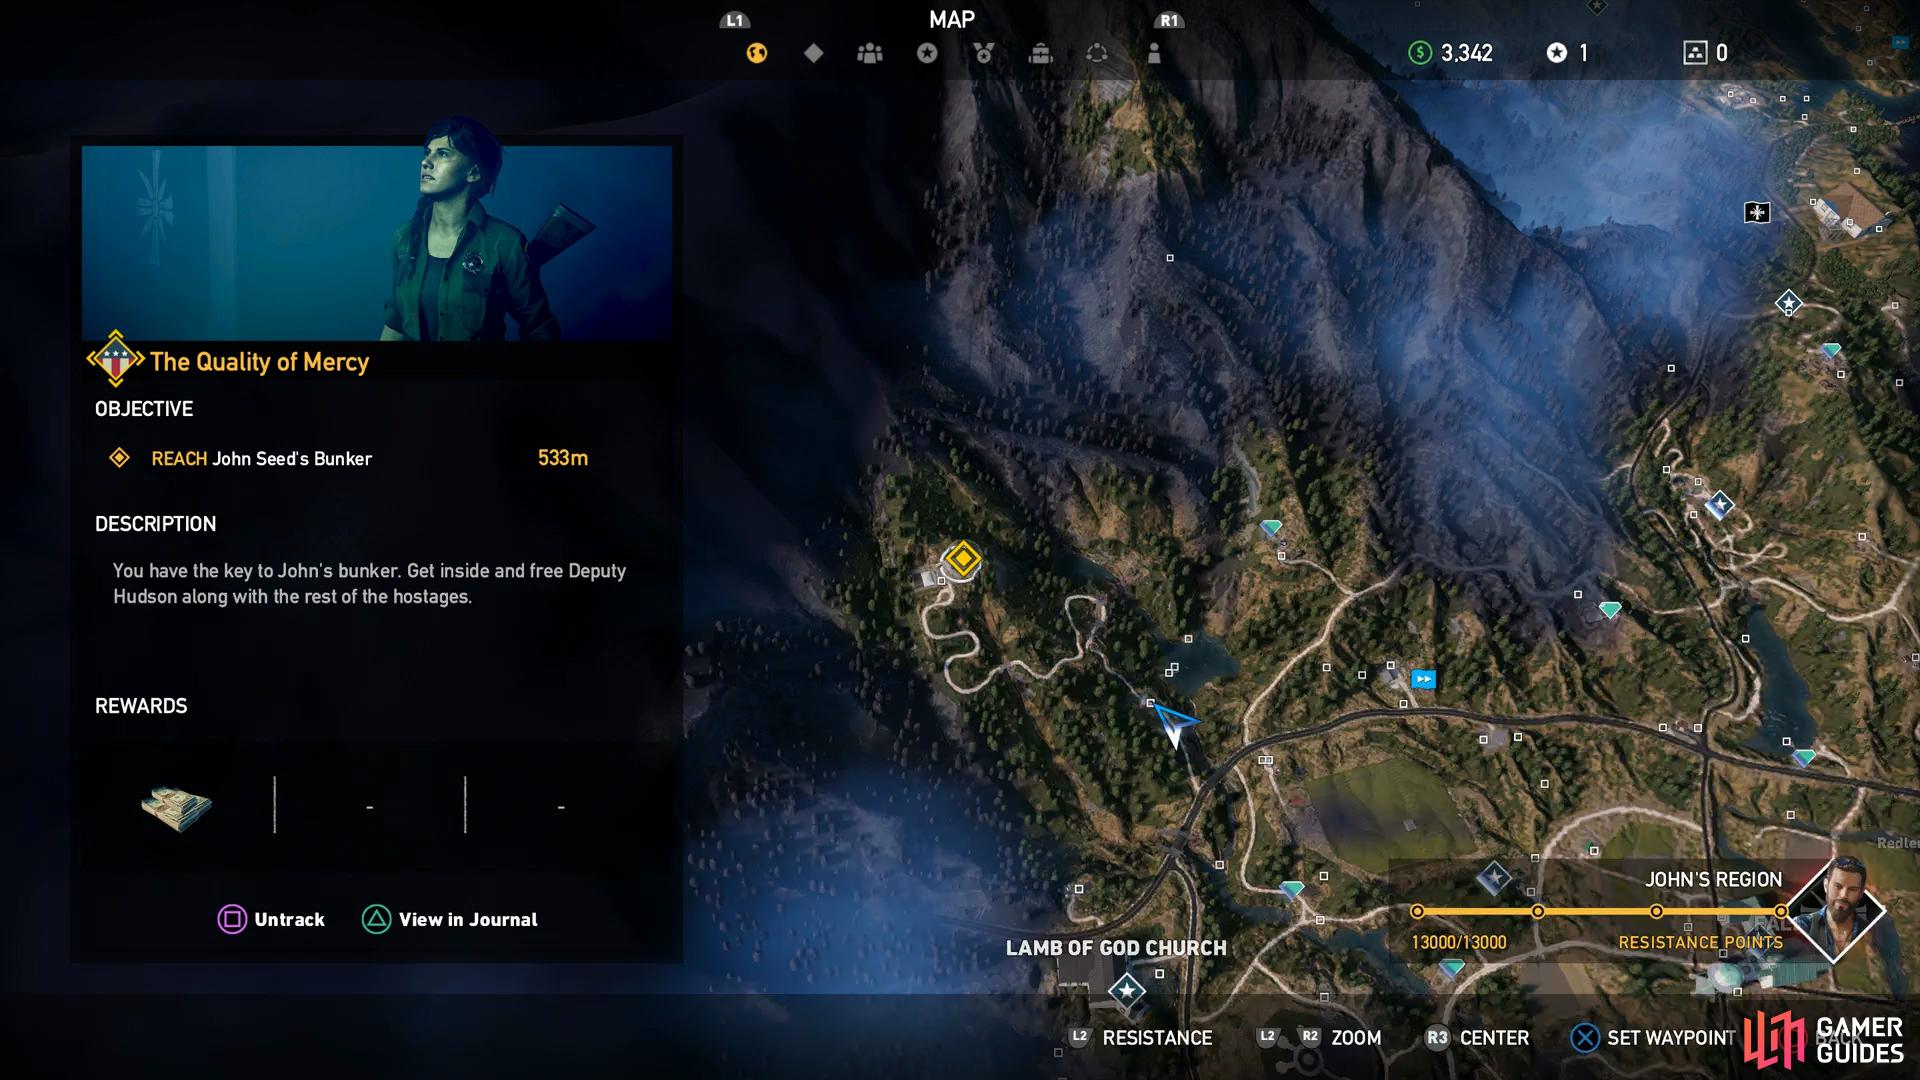
(1 of 2) The mission to liberate Holland Valley starts in the northwest
The mission to liberate Holland Valley starts in the northwest (left), use the button to gain access. (right)
Reach John Seed’s Bunker
You’ll begin this mission automatically after finishing Wrath and obtaining the key to John’s Bunker. This mission is long and tough so make sure you are fully prepared before making the journey such as returning to Fall’s End and stocking up on ammo and Med Kits. Once you’re good to go, make the journey to the Bunker in the northwest of Holland Valley.
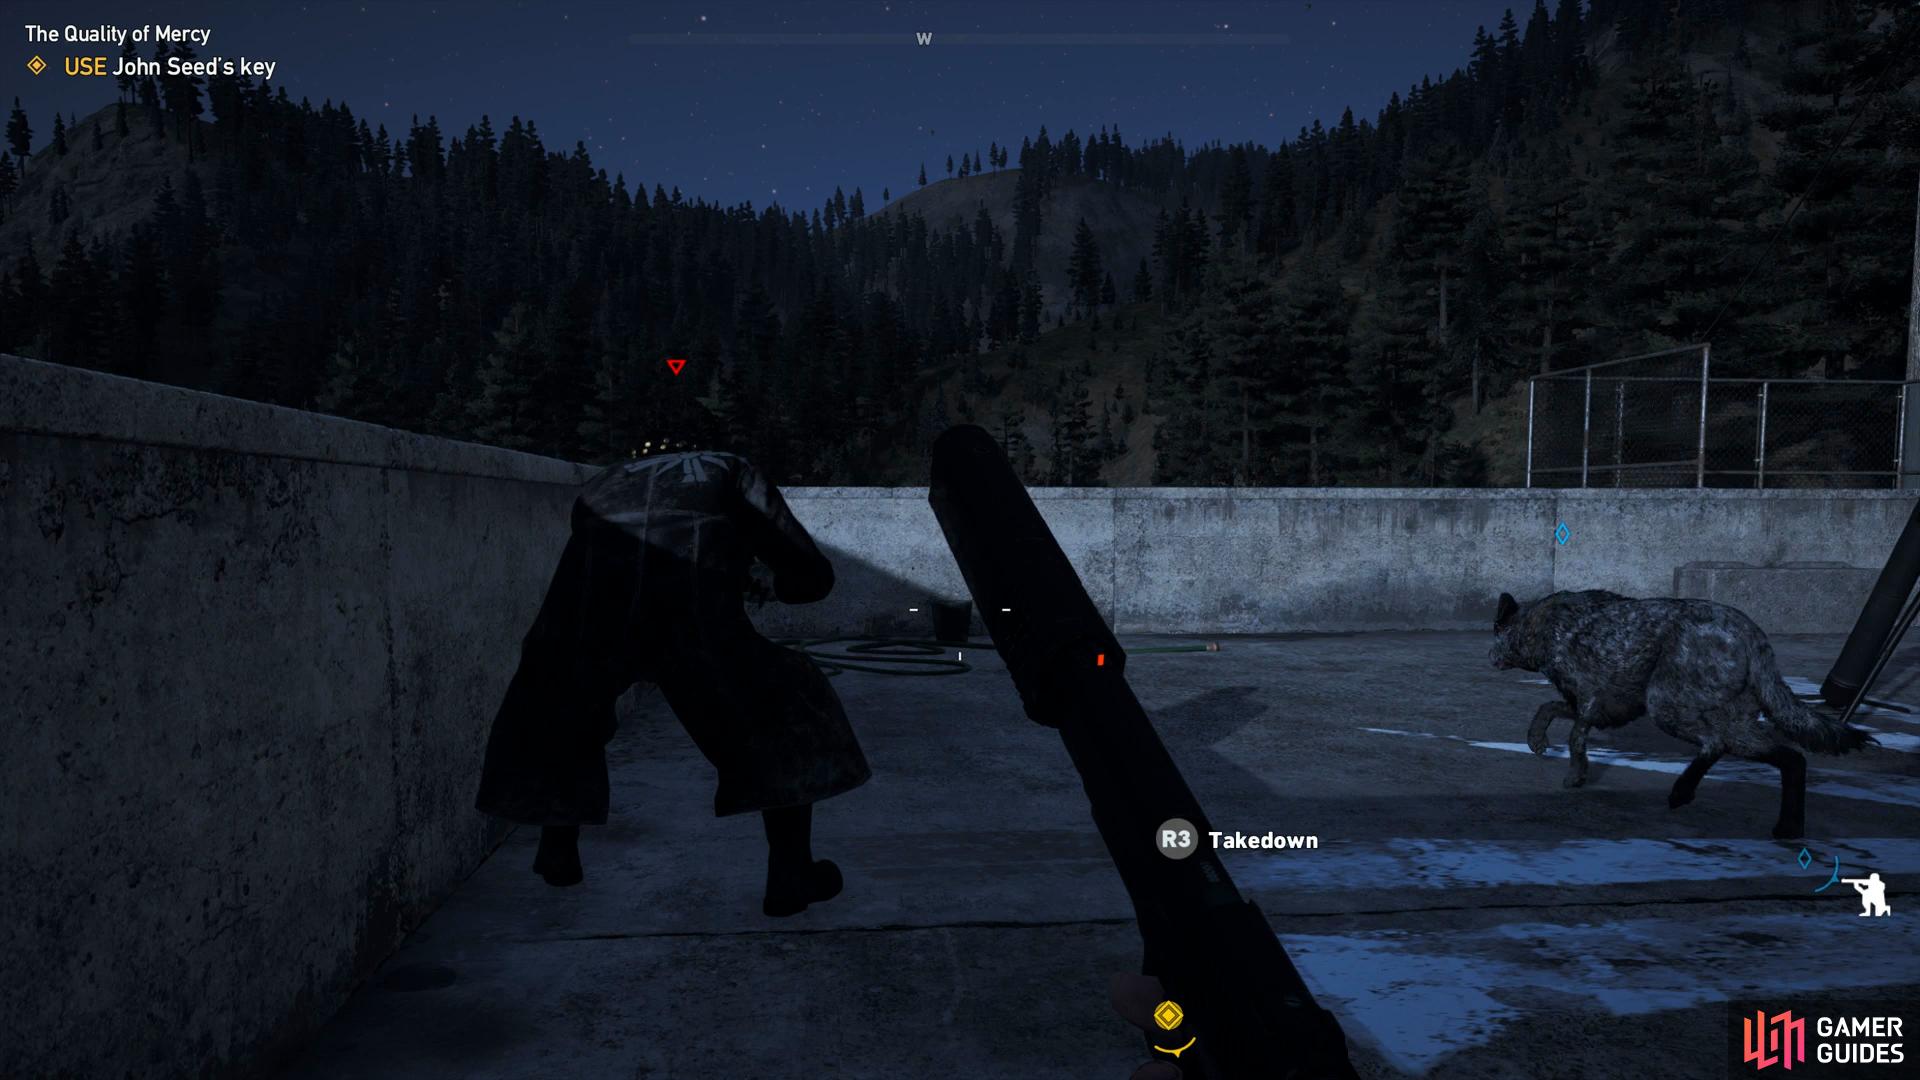
You’ll want to approach from the east side of the bunker and take out the binoculars to scout the area out. You’ll see a Marksman on the top here with a Rocket Launcher among the other cultists so it’s a good idea to enter with as little resistance as possible. Head around the side at the top and enter via a broken fence and take out the two cultists here before dropping down the ladder and taking out the other four. Take the time to loot the bodies to replenish any ammo you may have spent and then open the door into the bunker.
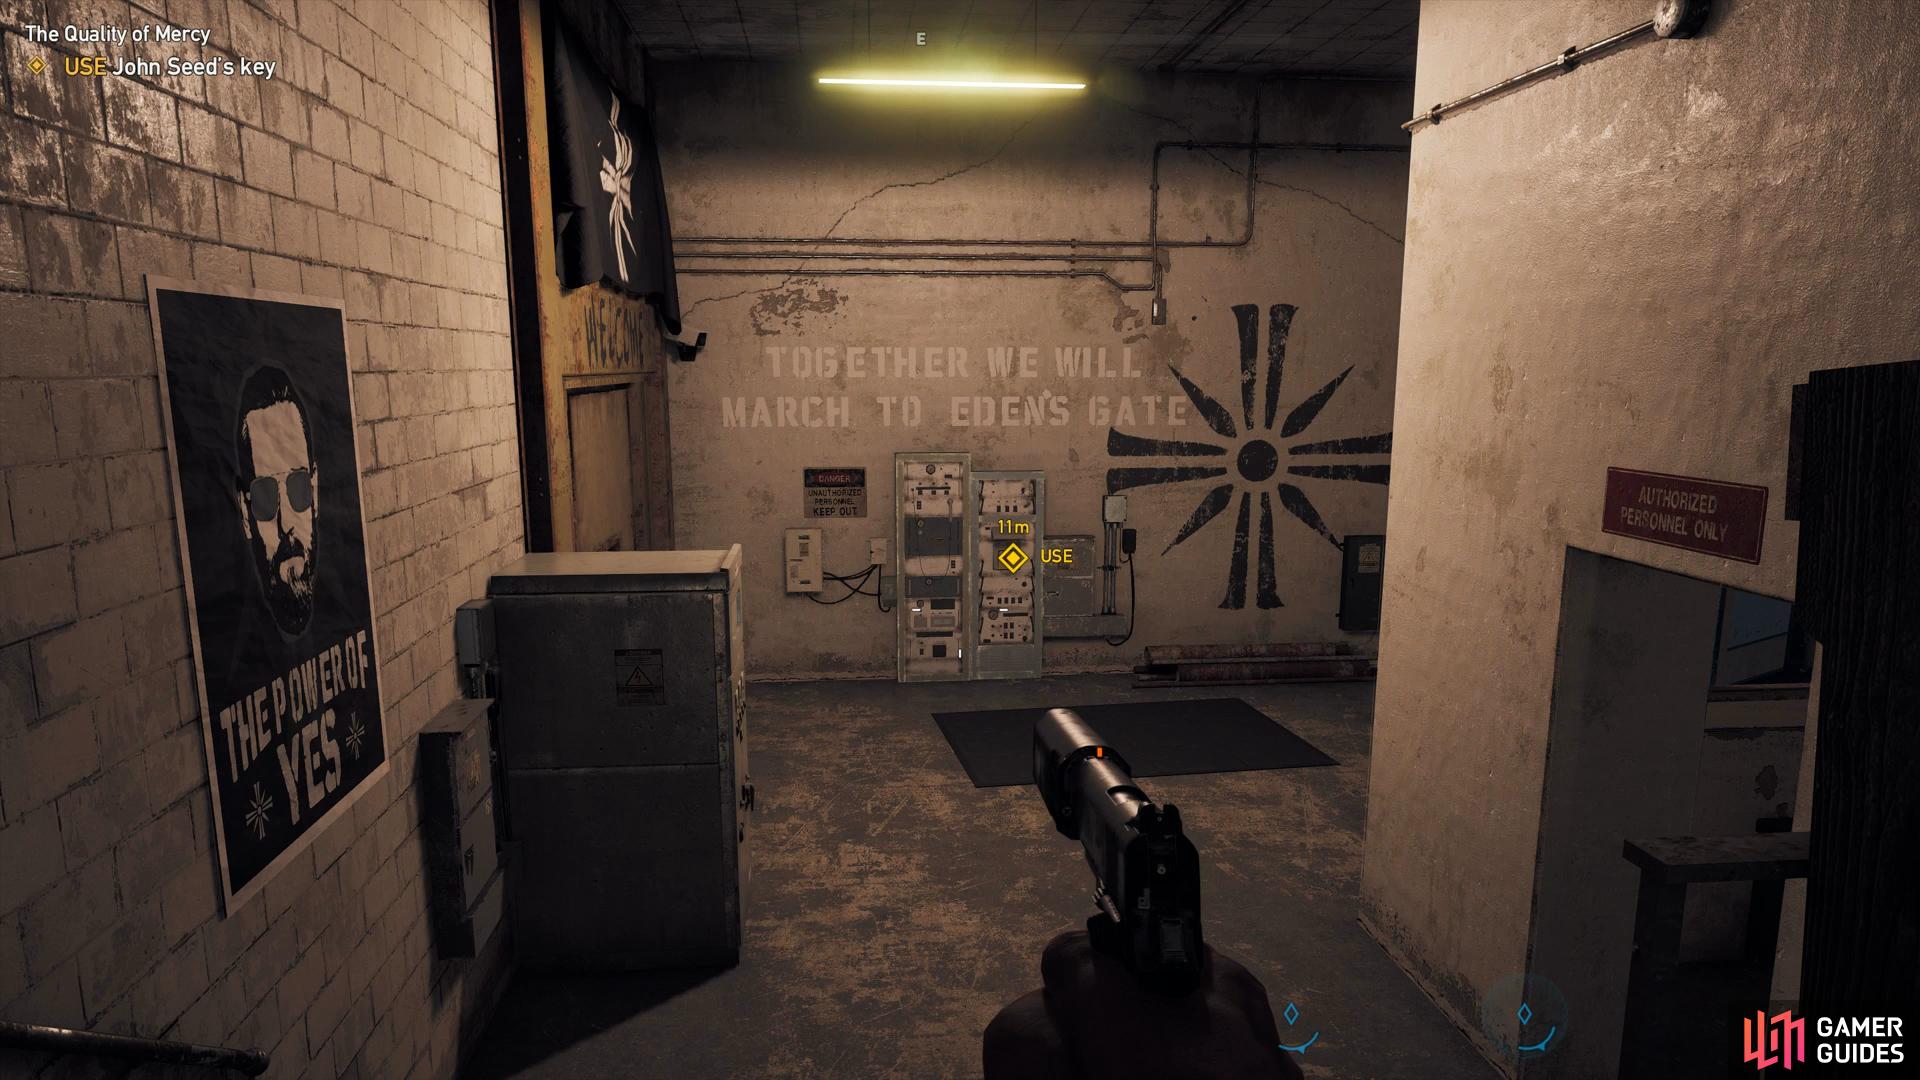
Head down the stairs here quietly, at the bottom is a group of six cultists to greet you and you don’t want to alert them until you’re ready. Get the jump on them with a well timed Proximity Explosive thrown into the centre, you’ll the be able to pick off the remaining few. Continue on and enter the bunker by opening the blast door at the end.
(1 of 2) Go for the cultists on the roof first
Go for the cultists on the roof first (left), a well timed explosive makes quick work of the first group inside the bunker. (right)
Find Deputy Hudson
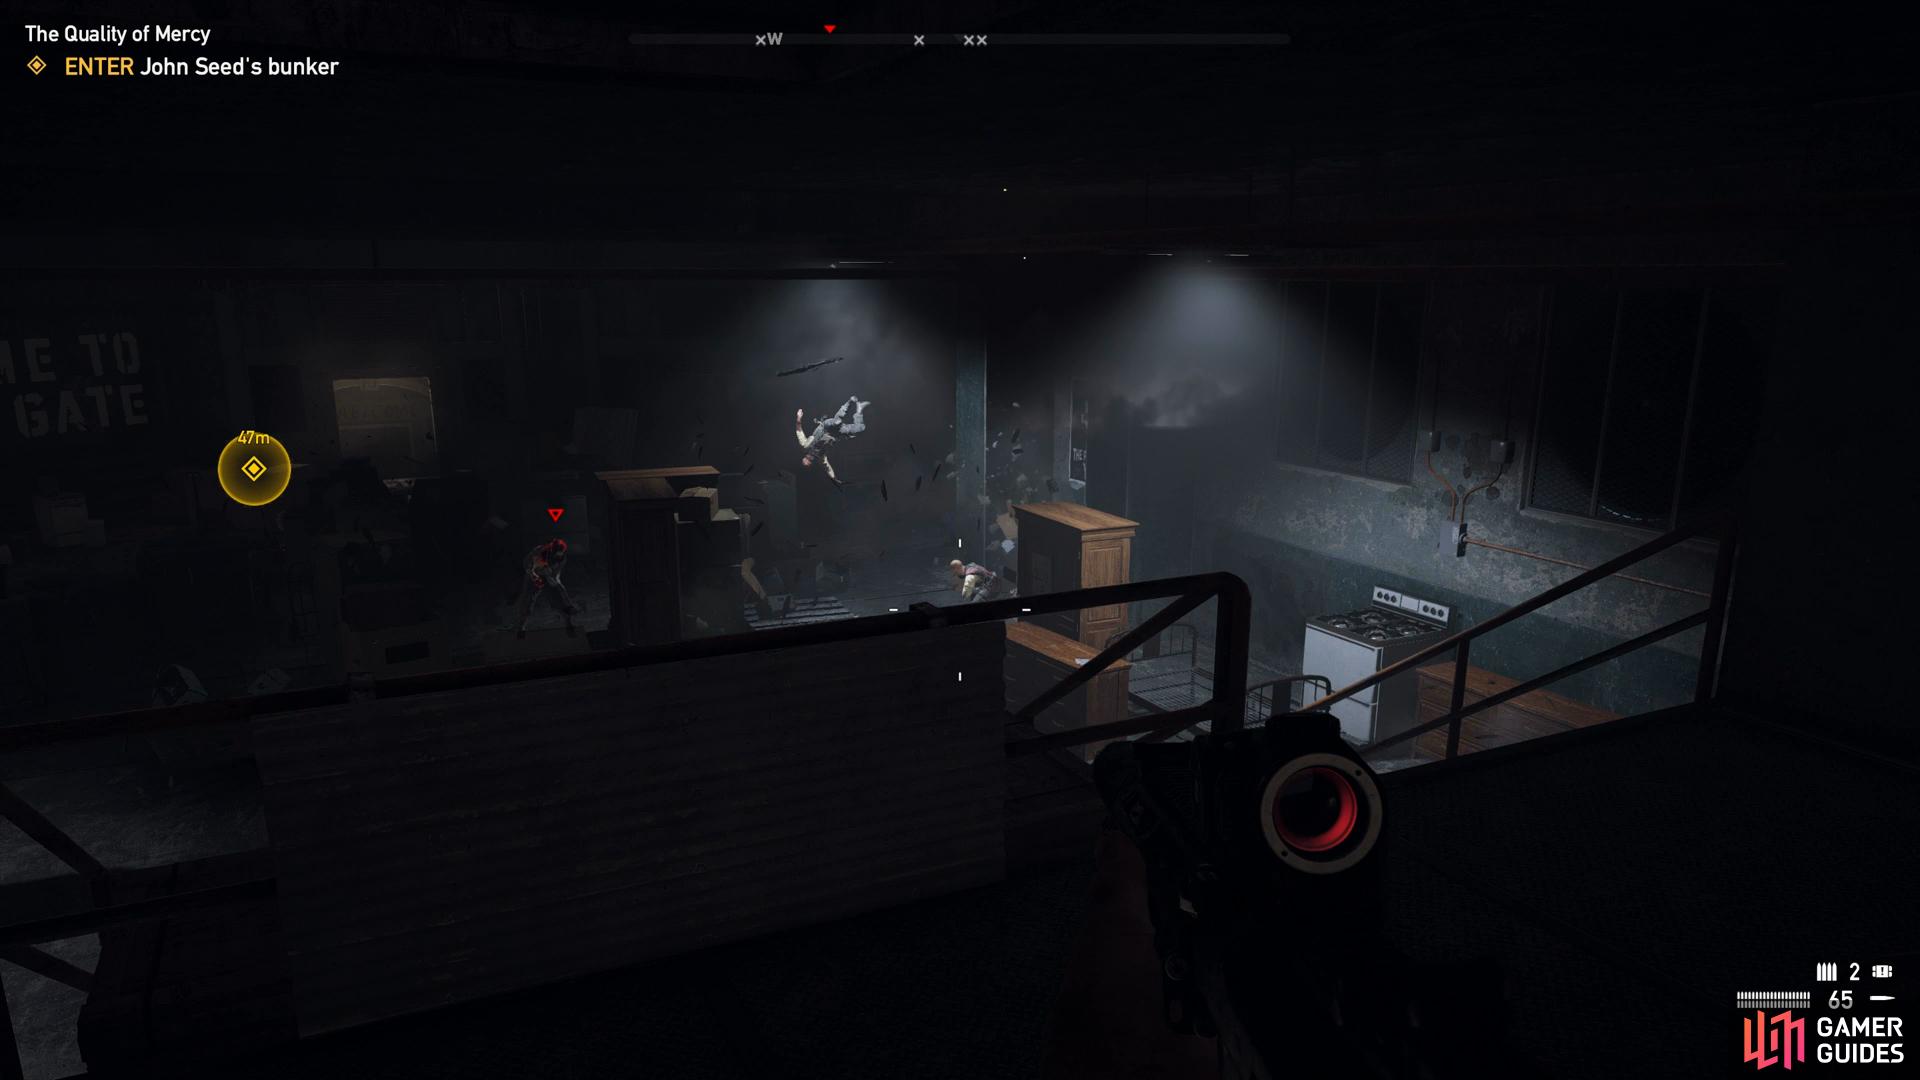
You’ll want to keep to stealth where you can here, if you alert the enemy then the situation can go sour fast. Once you reach the stairs, crouch and hide behind the first crate to your left, there’s a cultist crouched and facing the entrance to the room. Take him down with a silenced weapon and then throw a Proximity Explosive into the entrance waiting for the other cultists to set it off before picking off any survivors.
Continue through to the next door and you should be able to sneak behind the lone guard here for a takedown. The next room will be a corridor leading to your right, sneak in and head to the middle. You can peer out and see a cultist hiding, take him out with a silenced weapon to trigger another group. Throw an explosive into the corridor ahead to kill most of this group leaving you with one or two to finish off.
As you proceed further down this corridor it will come to a split again with two more cultists on the lookout for you. Go left and pick the two off before heading into the door and down the stairs. Continue along the linear path here until you finally reunite with Deputy Hudson.
After the reunion, follow her back the way you came and into the control room, she’ll stay here while you go and rescue the hostages.
(1 of 2) Silently kill this cultists to trigger the group around the corner
Silently kill this cultists to trigger the group around the corner (left), defeat all the enemies before releasing the prisoners. (right)
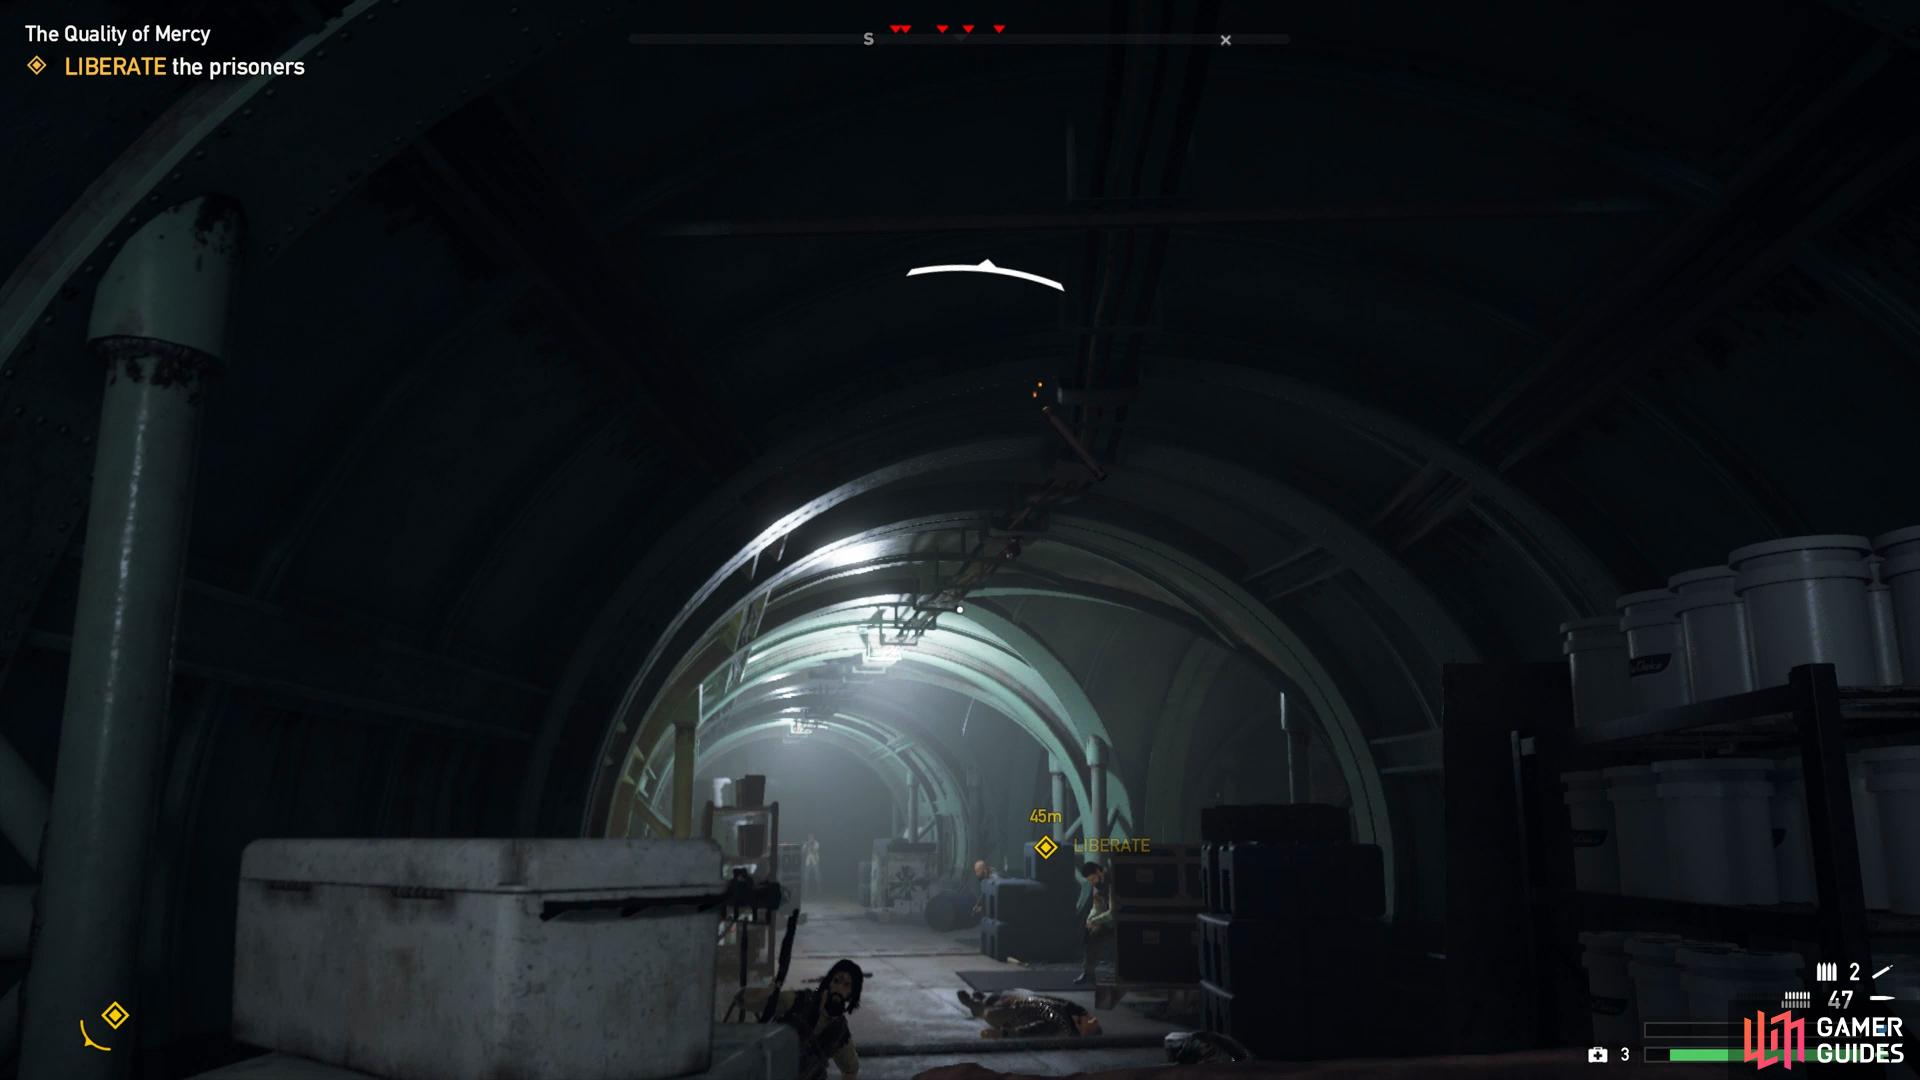
Liberate the prisoners
As you exit the only door here, you’ll be assaulted by a large group of cultists including a sniper so keep to cover near the door and begin picking them off, throwing an explosive into the group to help. Only once you’ve cleared the entire area of cultists should you head over to each cell and liberate the prisoners.
Find the control room
You’ll now need to find the control room to help Hudson access more of the bunker, follow the prisoners and then head into the now open Silo. Turn right and drop down one level to access another corridor that splits to the left or right opting to take the right path.
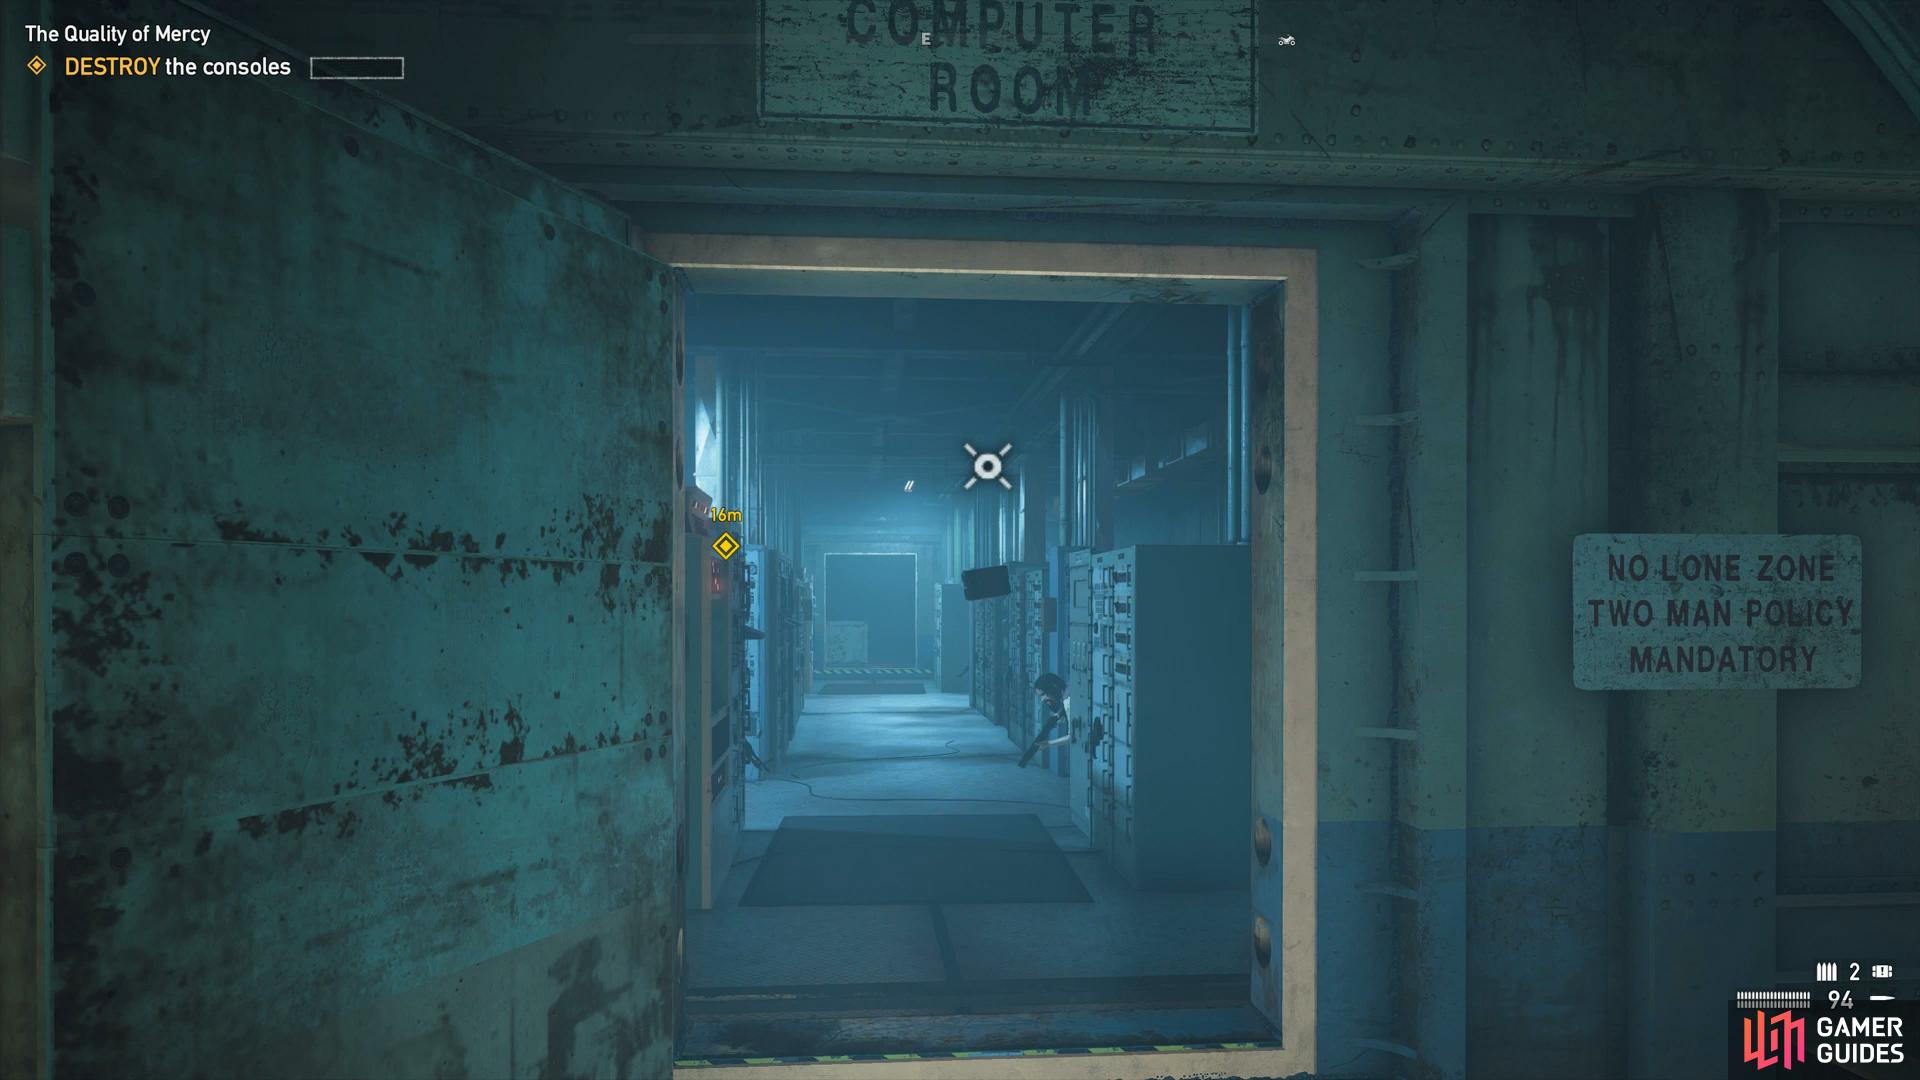
As you approach the control room you’ll get instructions to take out the consoles, you can achieve this by shooting at them or throwing in explosives to take out both cultists and consoles alike. On your return to the Silo you’ll come across another group of cultists rushing you, take them down and enter the Silo.
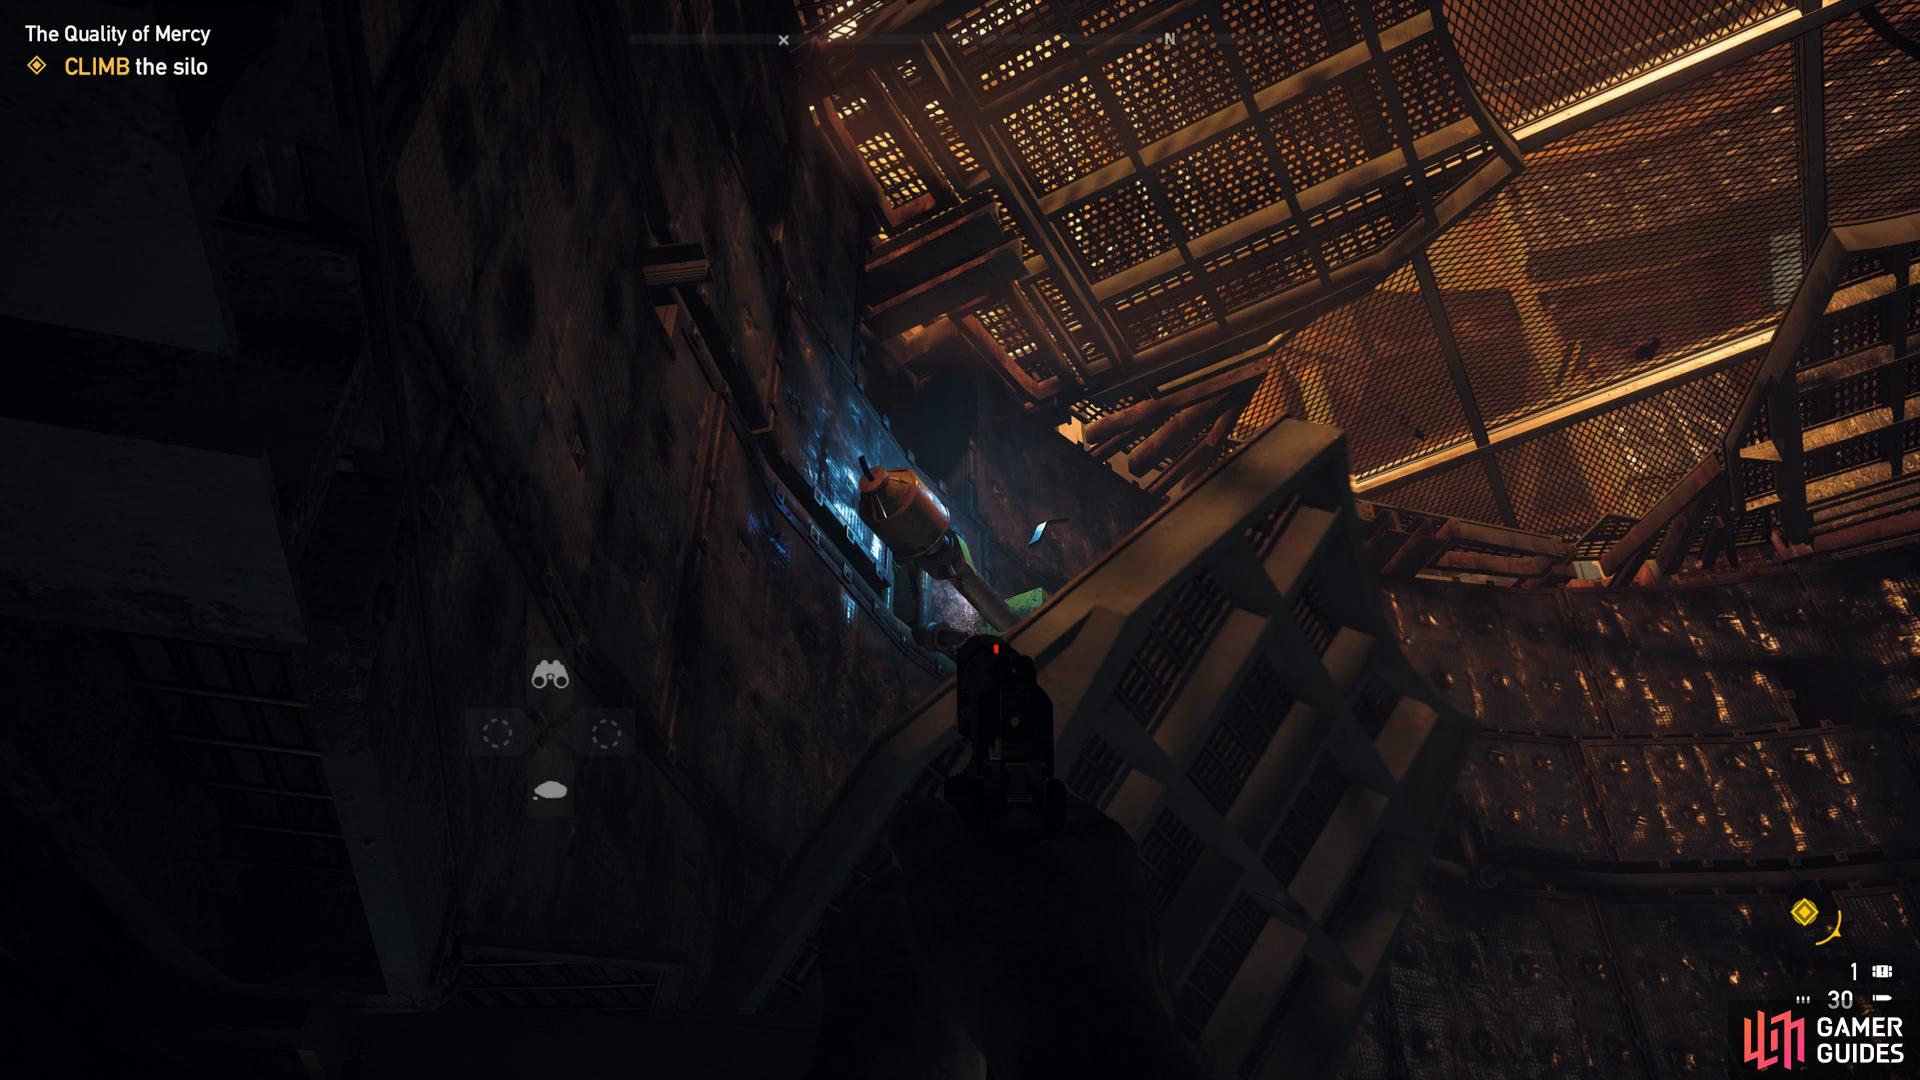
You’ll now need to begin climbing the Silo to the top, start by heading around to the back and jumping onto the platform here. Hudson releases the next for you to jump on before requiring you to shoot the hinges on the next to lower it. Look up here and climb higher and wait for Hudson to release the next set of platforms which you can take around and up another level. Make your way up one more time and then look up to your left to find a hinge for you to shoot allowing you to make a jump across to the exit.
(1 of 2) Two Proximity Explosives should kill all cultists and destroy the consoles
Two Proximity Explosives should kill all cultists and destroy the consoles (left), the final platform is above your head. (right)
Destroy the Bliss containers
Immediately as you exit the Silo you’ll be greeted by more cultists so have your gun ready as soon as you enter the room. You’ll have to take out every single container and barrel in the next set of rooms to trigger an explosion at which point it becomes clear that you need to escape the bunker.
Escape the bunker
It’s about to get hectic now as the bunker will be on fire and you’ll be rushed by enemies. Enter the large area and begin picking off the enemies while avoiding the fire. Make use of everything at your disposal here including all of your explosives.
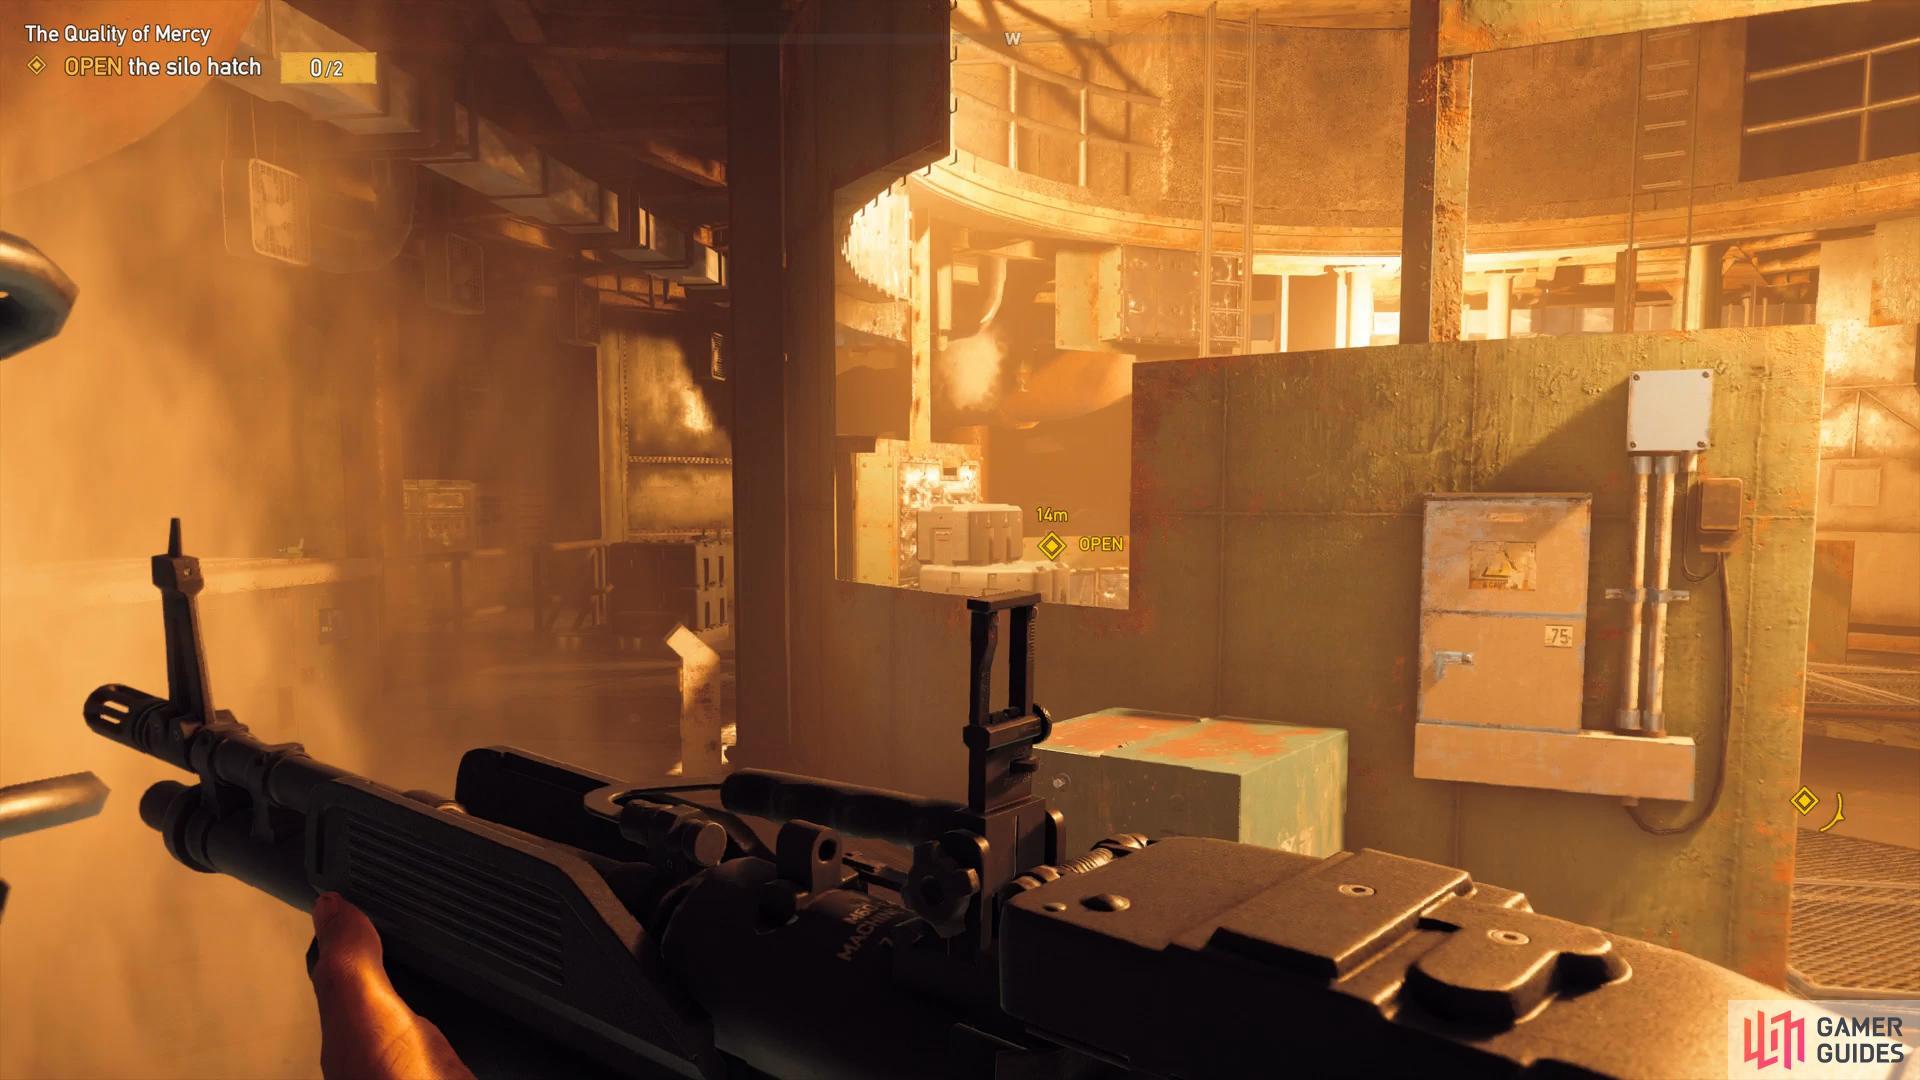
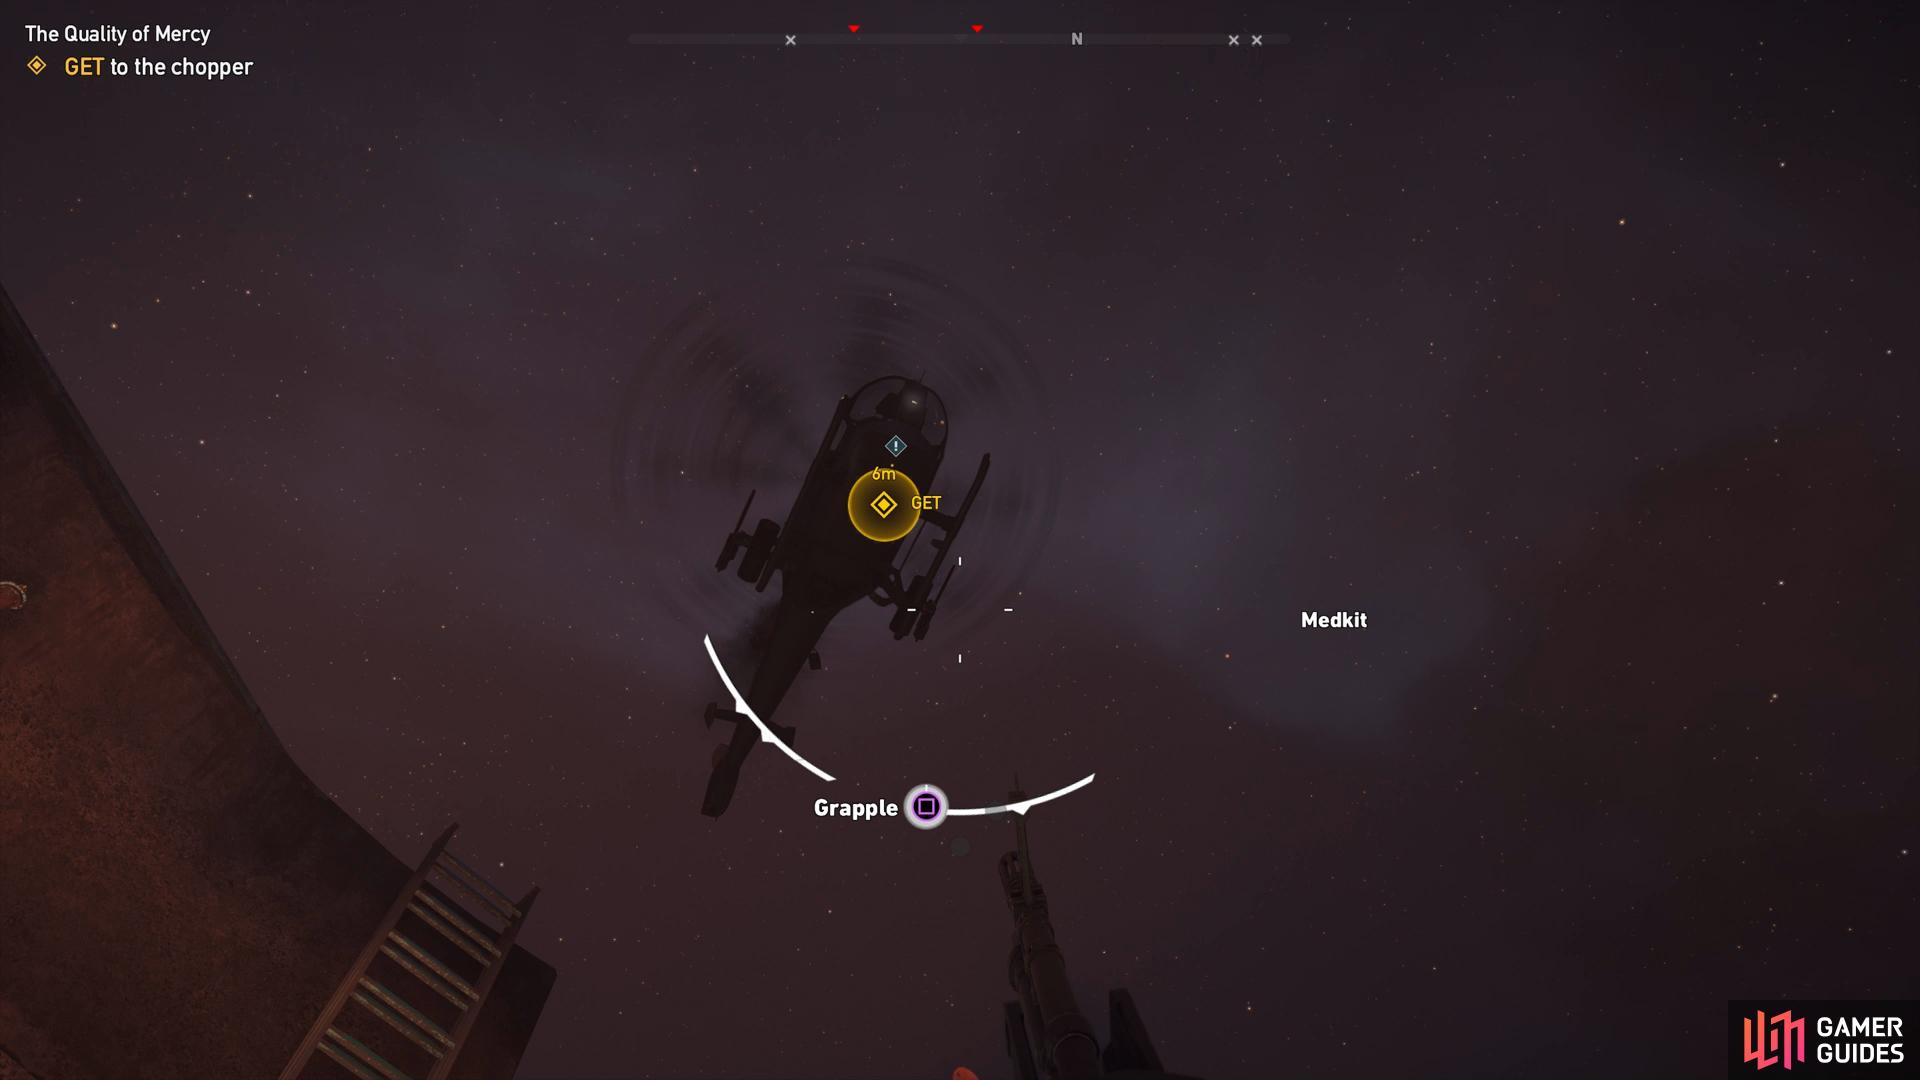
To make your escape, you’ll need to operate the two switches on either side. Once both are open, you need to survive (and avoid the centre as you’re an open target) until the helicopter arrives overhead. Stand under it and look up, use the grapple and escap the bunker once and for all.
(1 of 2) Use the outside of the room and keep moving
Use the outside of the room and keep moving (left), ignore all else and grapple when the helicopter arrives. (right)
The completion of this mission liberates Holland Valley from the terror of John Seed. You’ll still be able to (and should) complete any other missions in the region. Finally, if this is your final region to liberate then head to the [Cult Compound] page for the conclusion.



 Sign up
No Comments