As the name subtly implies, the majority of Act 2’s main region - the Shadow-Cursed Lands (aka Shadowlands) - is plagued by a miasma of darkness, an environmental hazard you’ll have to come to grips with if you want to progress through the area. This page will discuss the effects of the Shadow-Curse and ways to overcome it, especially means by which you can explore the especially concentrated areas of darkness, including information on acquiring the Blessing of Selune and the Pixie’s Blessing in Baldur’s Gate 3.
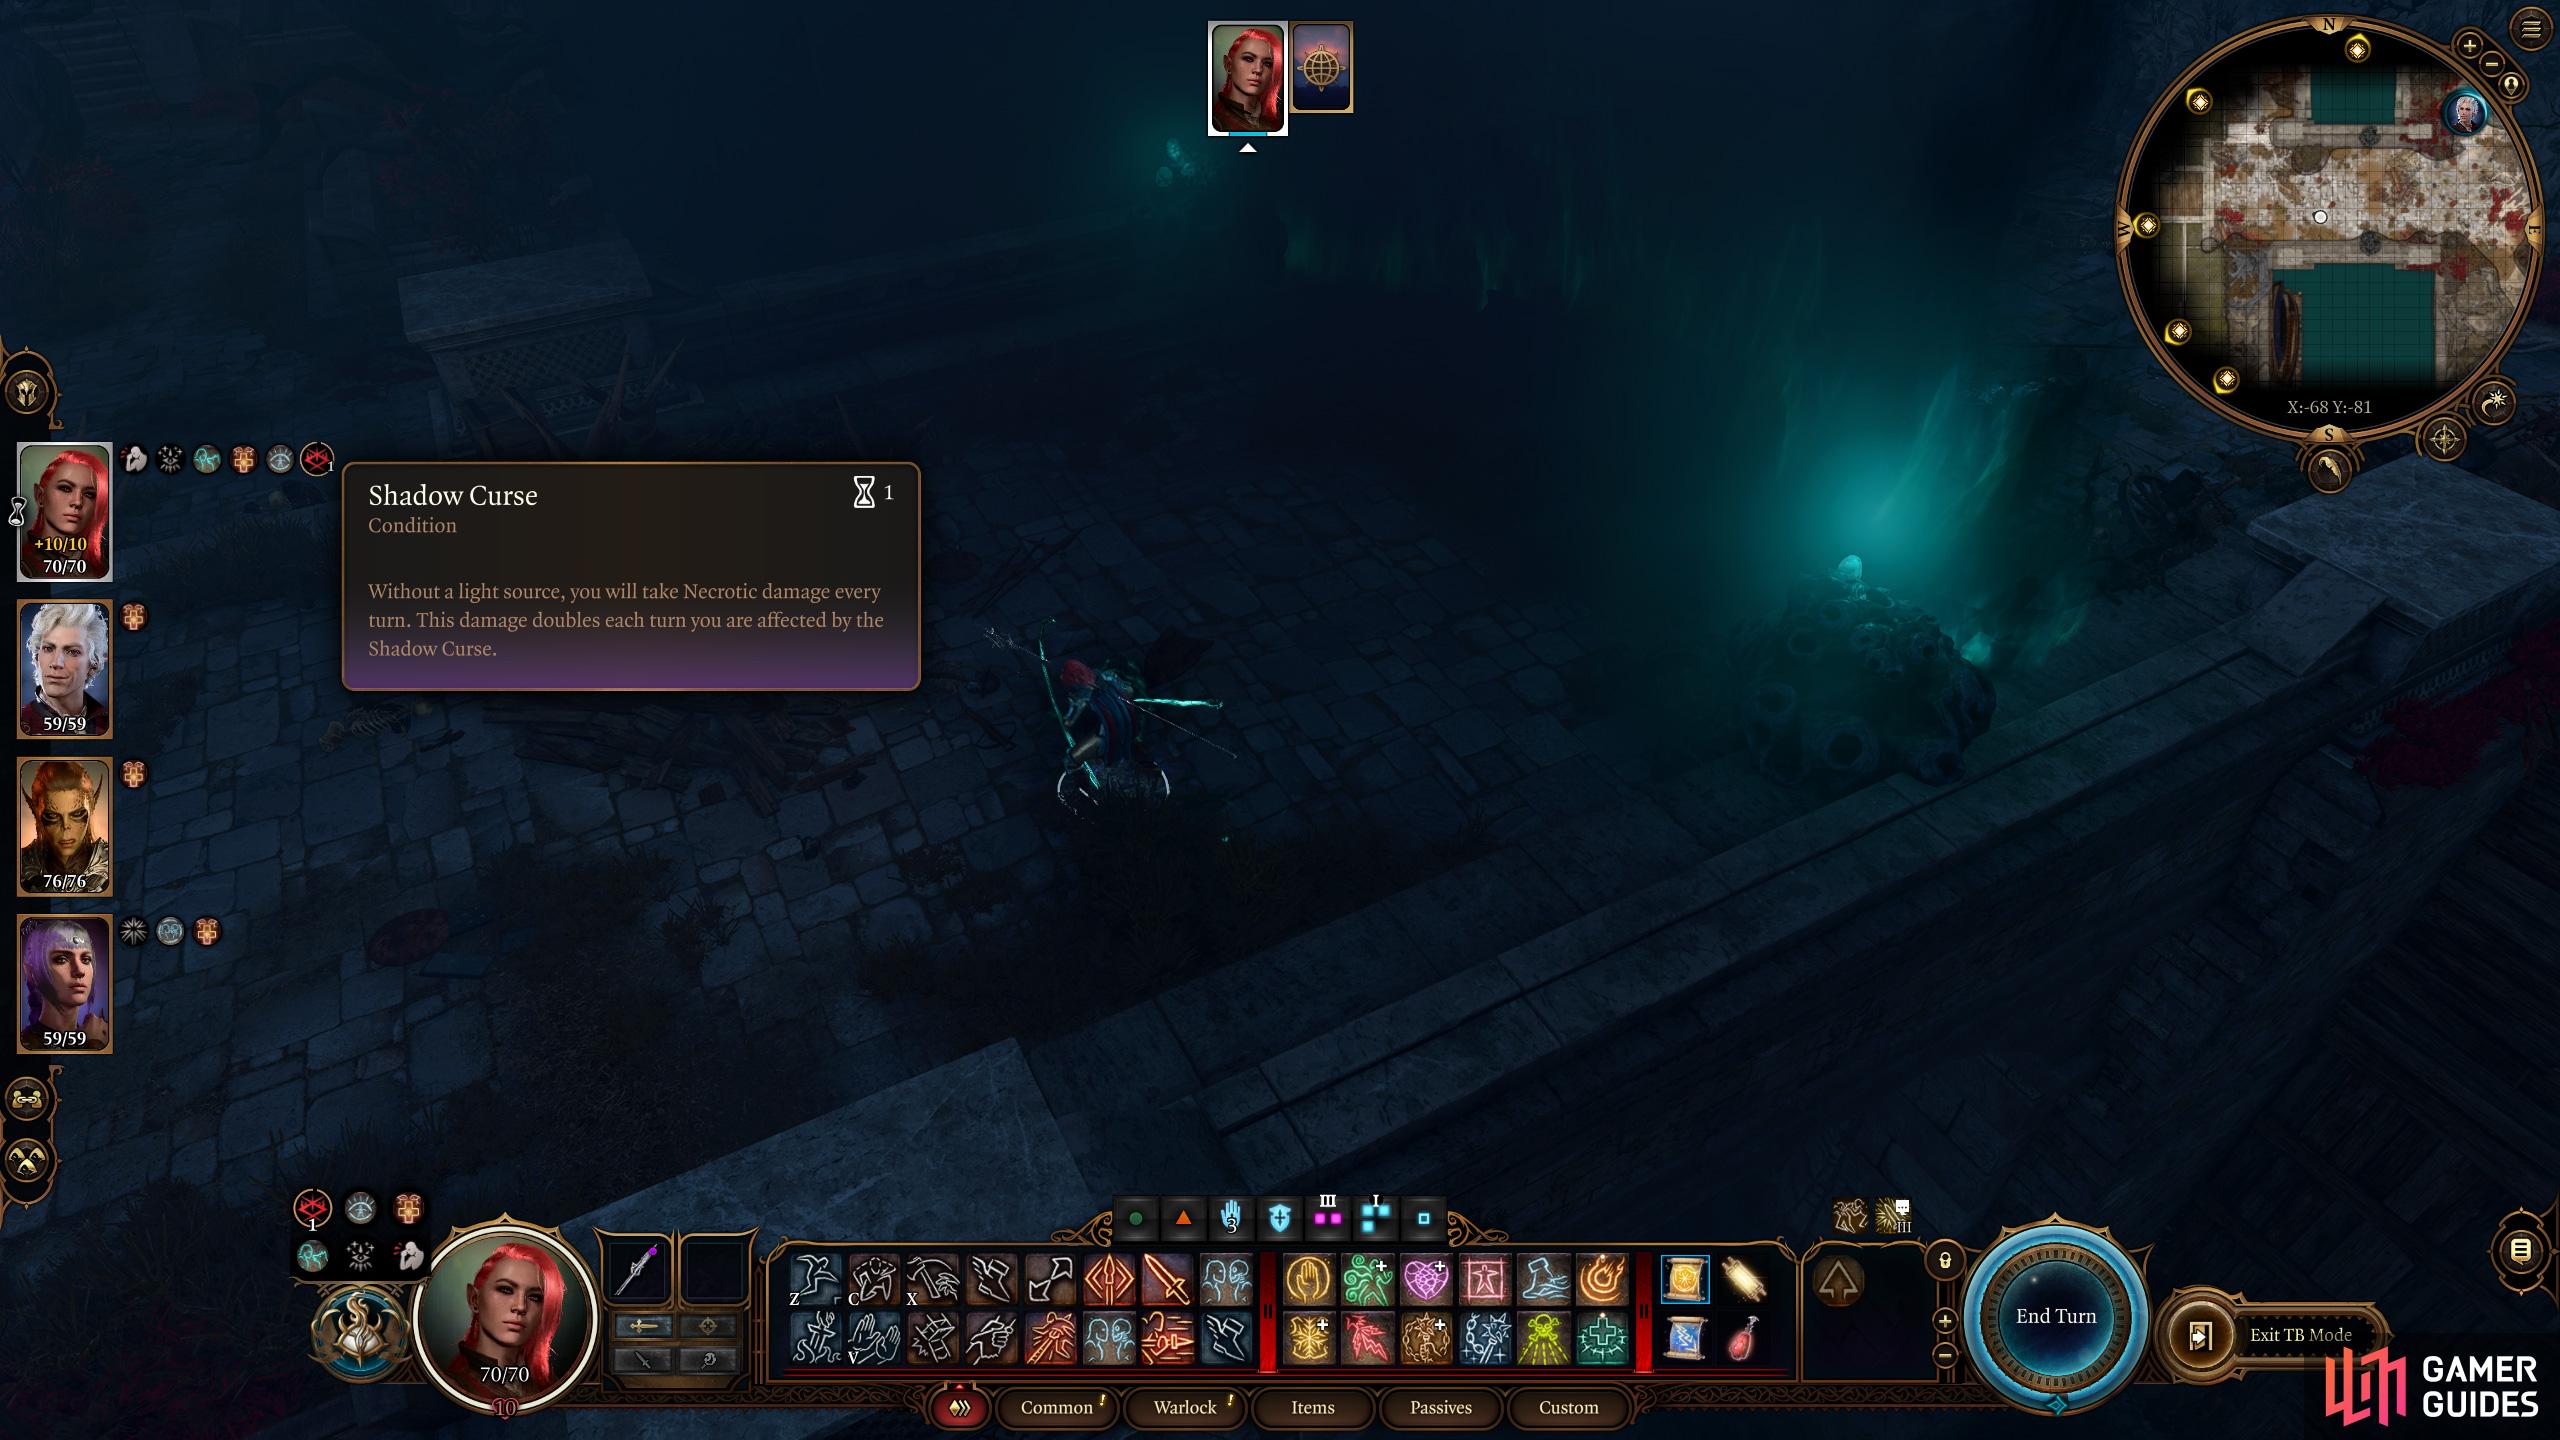
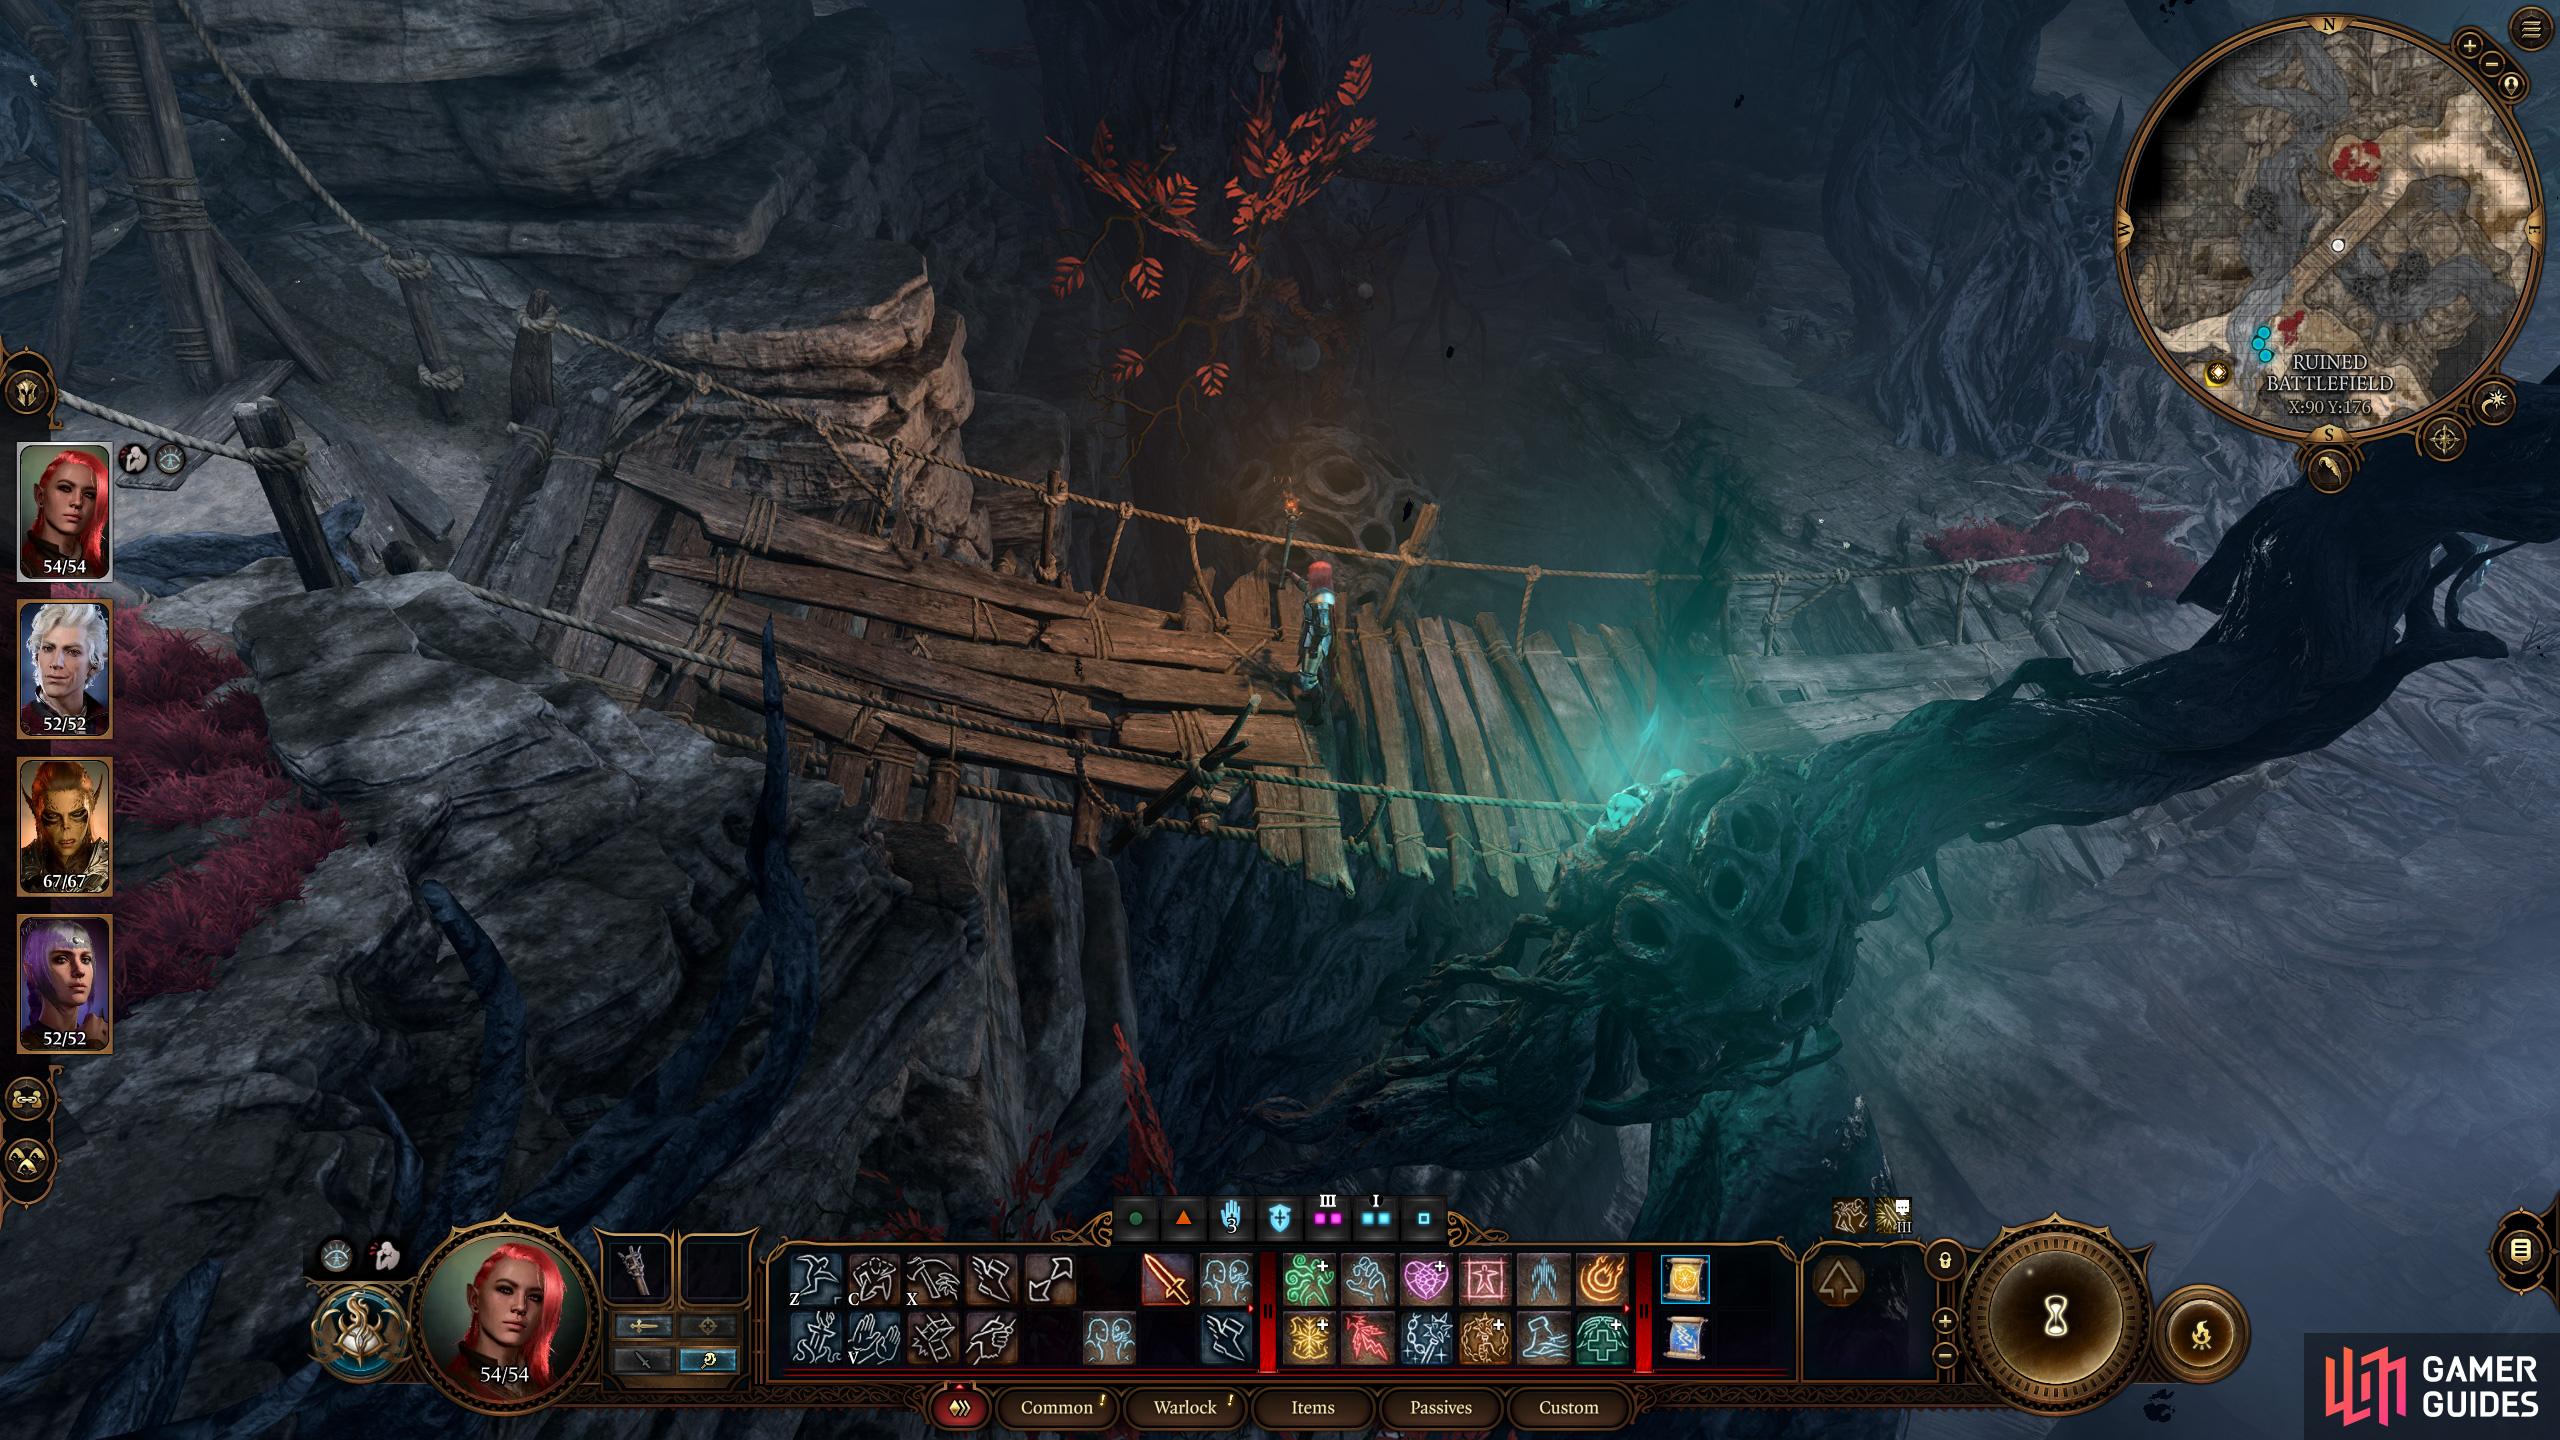
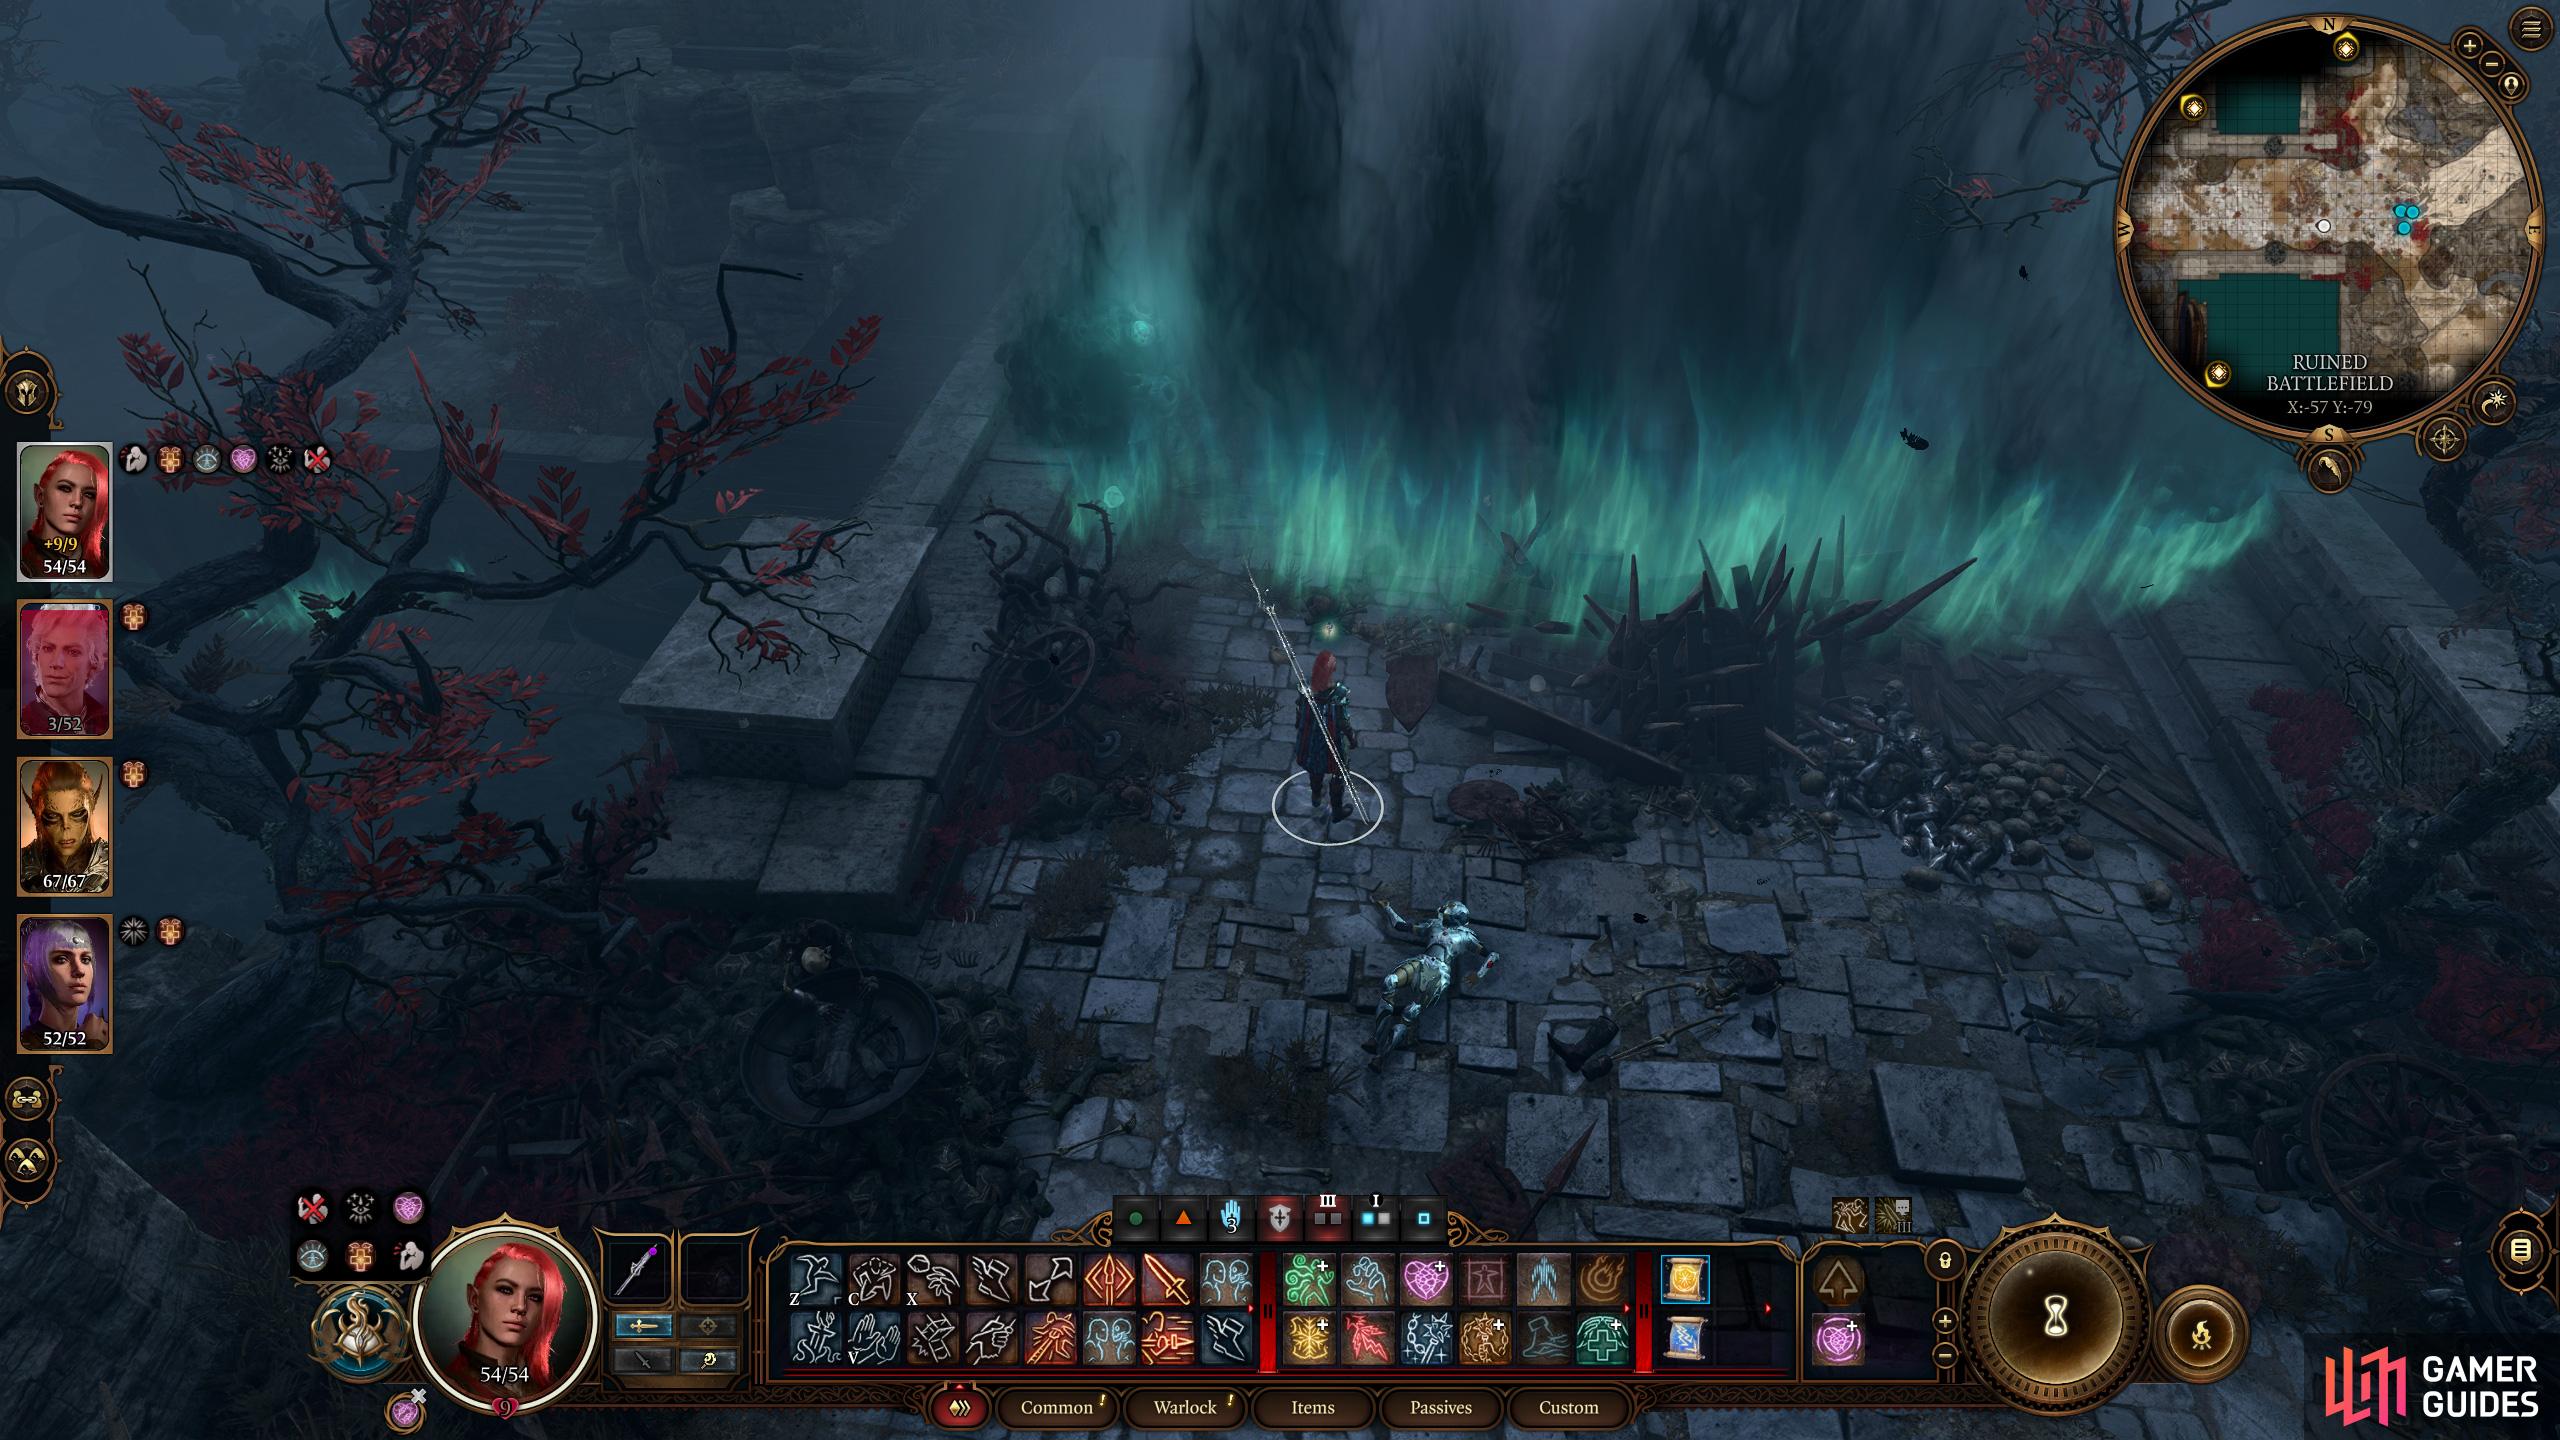
(1 of 3) Stray into the darkness in the Shadowlands and you’ll suffer cumulative necrotic damage.
How to Survive the Shadow Curse in Baldur’s Gate 3
If you’ve indulged in basically any fantasy setting’s lore before, then you know the basics already: light good, dark bad. Things aren’t always so black and white in the Forgotten Realms, but in Act 2, the darkness is indeed a threat. Should you find yourself enveloped in darkness, you’ll incur the “Shadow Curse” debuff, suffering necrotic damage every round you’re exposed, first 2d4, then 4d4, 8d4, etc. Suffice to say, you want to avoid prolonged exposure, and four rounds is probably the longest you’ll survive, five at the most. In addition, some enemies will benefit from the presence of the shadows, gaining concealment if they’re far enough away from a light source. This will make them harder to hit and may even give them the ability to perform hit-and-run attacks, slinking off into the darkness after landing an attack to hide. Once you end up exposed to the Shadow Curse the game will shift to turn-based mode, giving you time to reverse the situation, which you can do by seeking sanctuary or by taking advantage of various sources of light.
As dangerous and supernatural as the Shadow Curse may be, it can be initially held at bay by various mundane means. Any form of light will protect you from the Shadow Curse, including braziers, torches, and even the humble ![]() Light spell and similar magics or enchanted equipment that happens to shed light, like The Blood of Lathander. Lugging a torch around is kind of a chore, so the more Light spells you have, the better off you’ll be, but there are other, less burdensome, more reliable sources of illumination you can seek out, namely the Blessing of Selune, various Moonlanterns and the Pixie’s Blessing.
Light spell and similar magics or enchanted equipment that happens to shed light, like The Blood of Lathander. Lugging a torch around is kind of a chore, so the more Light spells you have, the better off you’ll be, but there are other, less burdensome, more reliable sources of illumination you can seek out, namely the Blessing of Selune, various Moonlanterns and the Pixie’s Blessing.
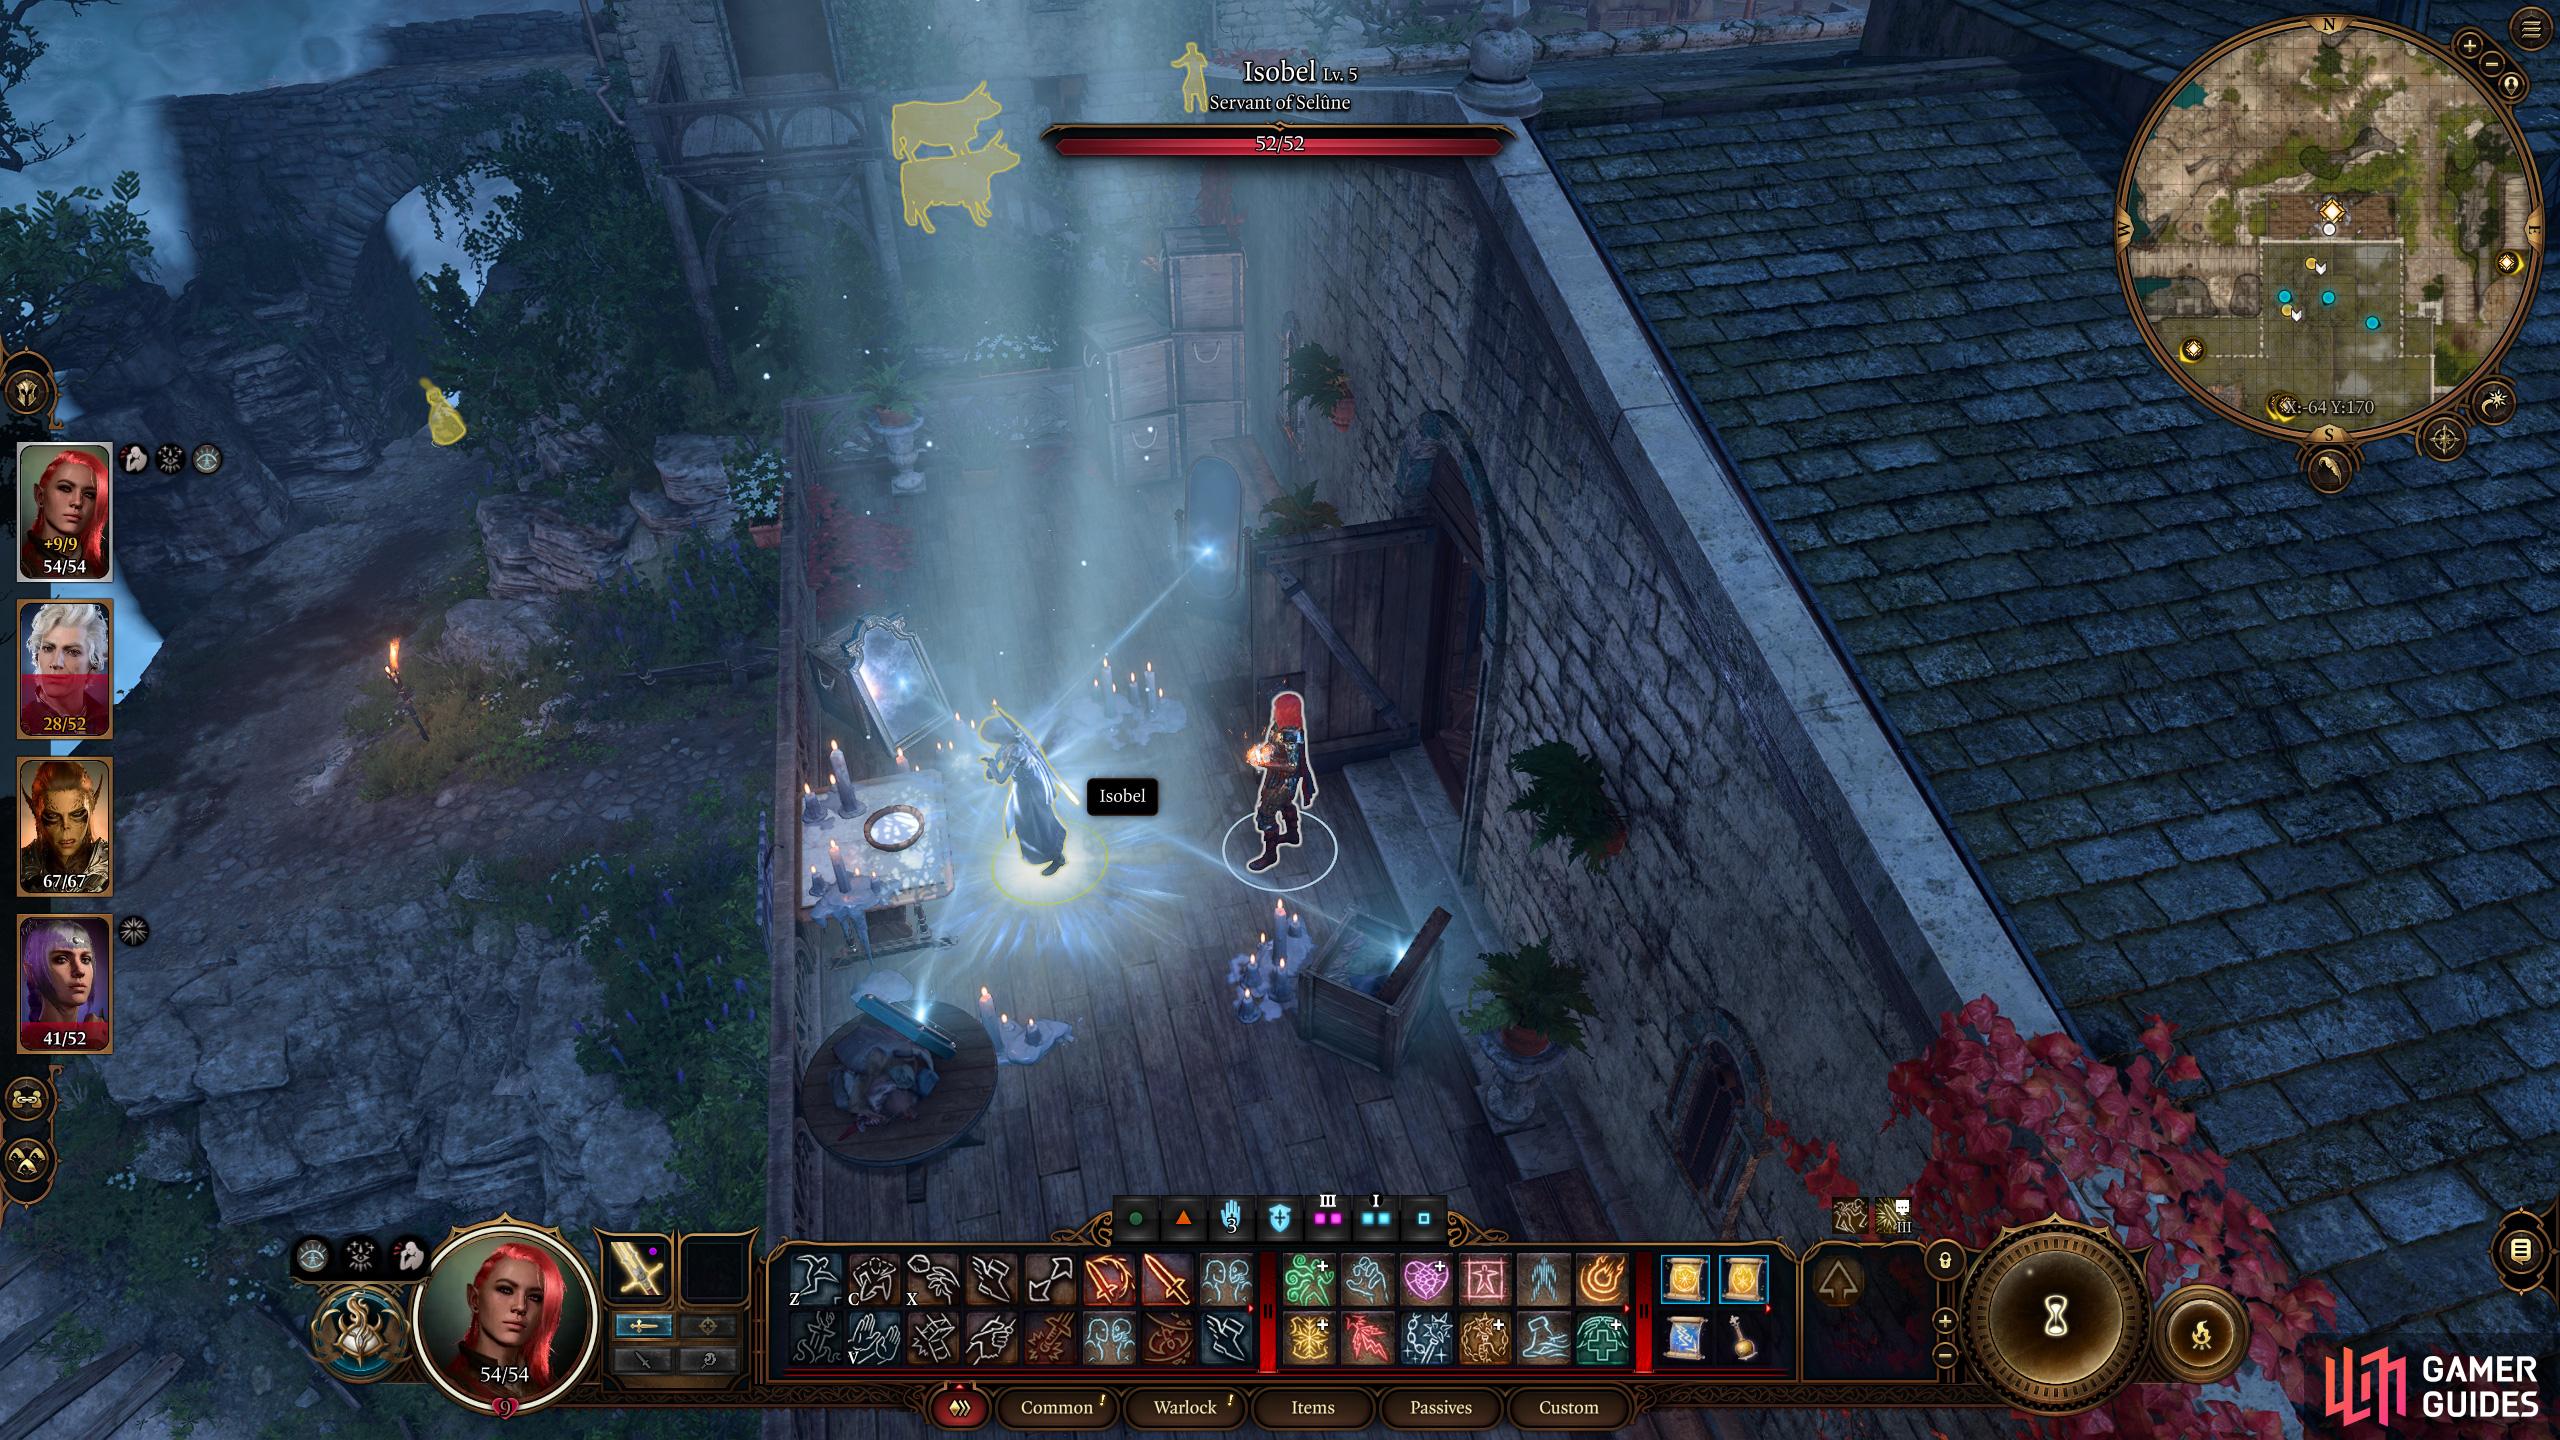
Talk to Isobel at the Last Light Inn to get the Blessing of Selune, which will keep you safe from the general darkness that pervades the area - but not the denser darkness far to the southwest.
How to Get the Blessing of Selune
Depending on whether you entered this Shadow-Cursed region via the Mountain Pass or the Underdark you’ll appear in various areas, and unless you’re clumsily trying to side with the Absolute with no finesse, deception or nuance, you’ll want to make your way to the Last Light Inn sooner rather than later. Not only is this the hub of civilization in this area, but it’s also free from the effects of the Shadow Curse due to the efforts of a priestess named Isobel. When you enter you’ll need to get some chatter out of the way to move the story along, and provided you don’t pick a fight you’ll be tasked with talking to Isobel. Do so and you’ll get the boon Blessing of Selune, which will protect you from the effects of less-concentrated Shadow Curse areas, but more dangerous area - like the environs near Moonrise Tower - are still deadly and will take a more robust protection.
Also note that you’ll be attacked by Flaming Fist Marcus and his minions immediately after your conversation with Isobel. While the outcome of this fight is impactful - if Isobel falls, so too does Last Light - you’ll keep the buff either way. It’ll vanish if you leave the region (say, you return to Act 1), but it should return when you make your way back to Act 2. Long story short, once you get Isobel’s blessing you’ll be protected from less concentrated areas of Shadow Curse, but you still need something to keep you safe against the denser darkness.
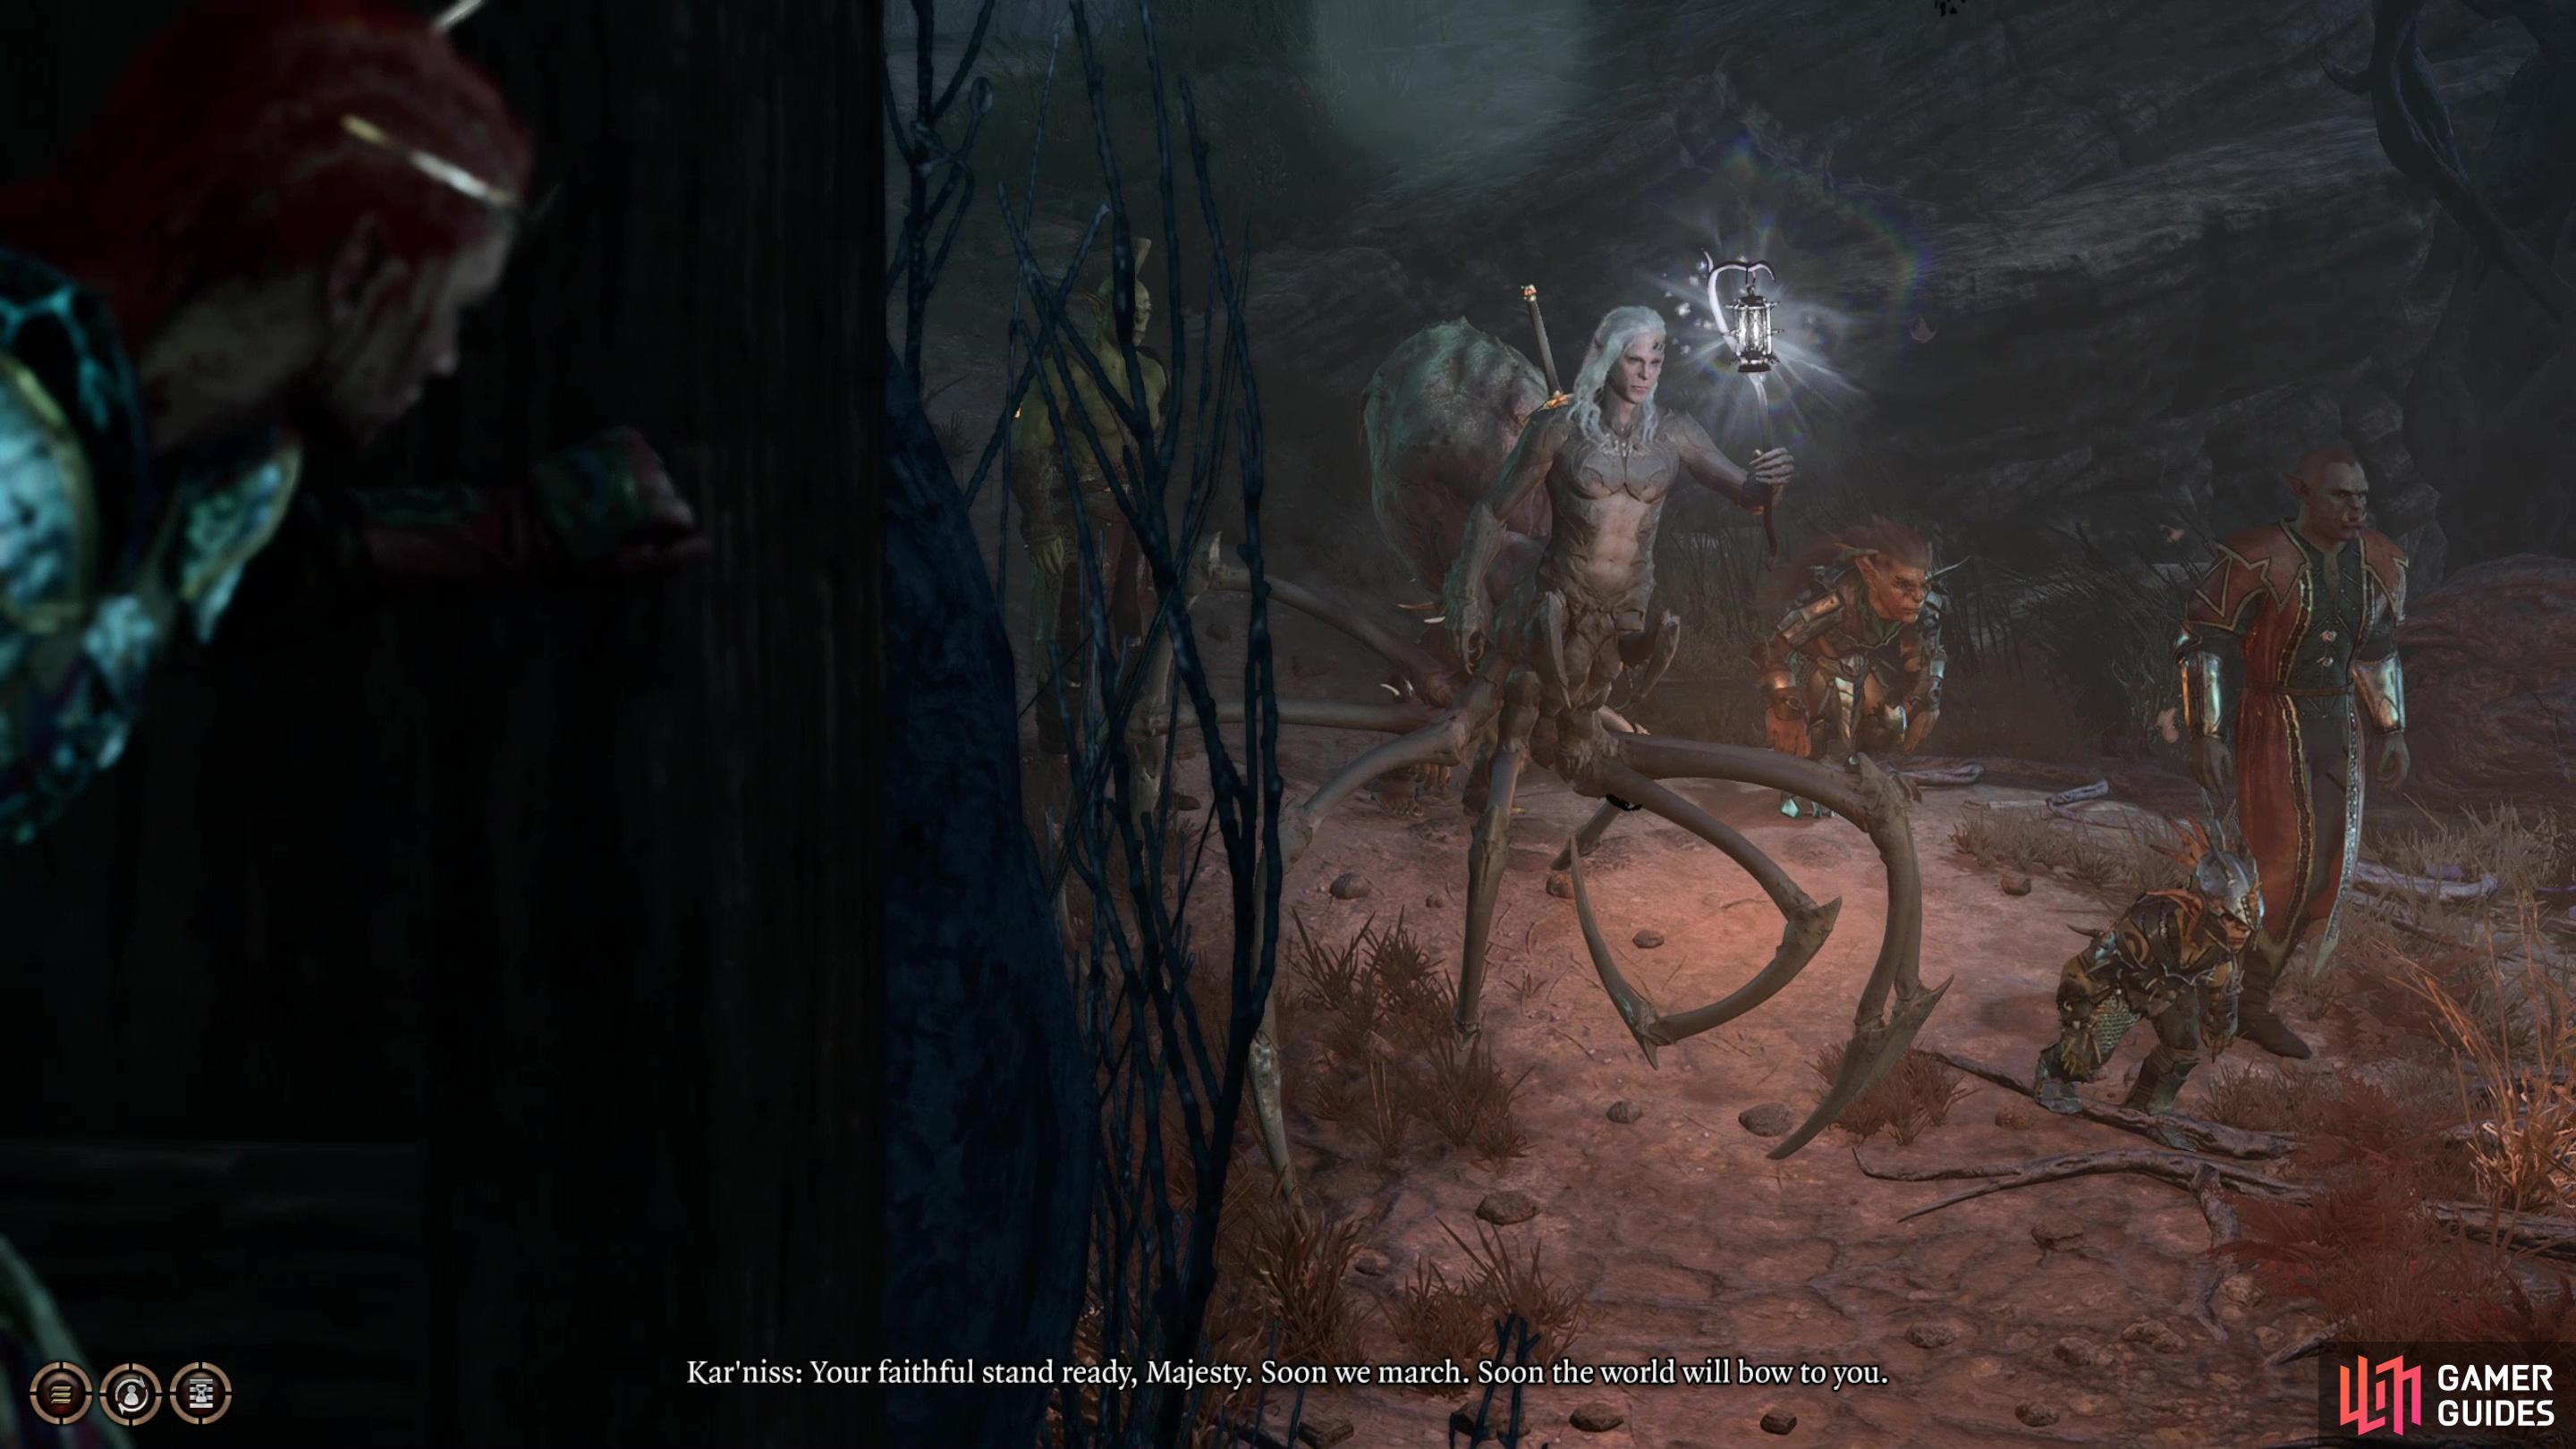
(1 of 6) Whether you entered the Shadowlands via the Mountain Pass or the Underdark, you’ll eventually get an opportunity to fight a drider named Kar’niss.
How to Get the Pixie’s Blessing
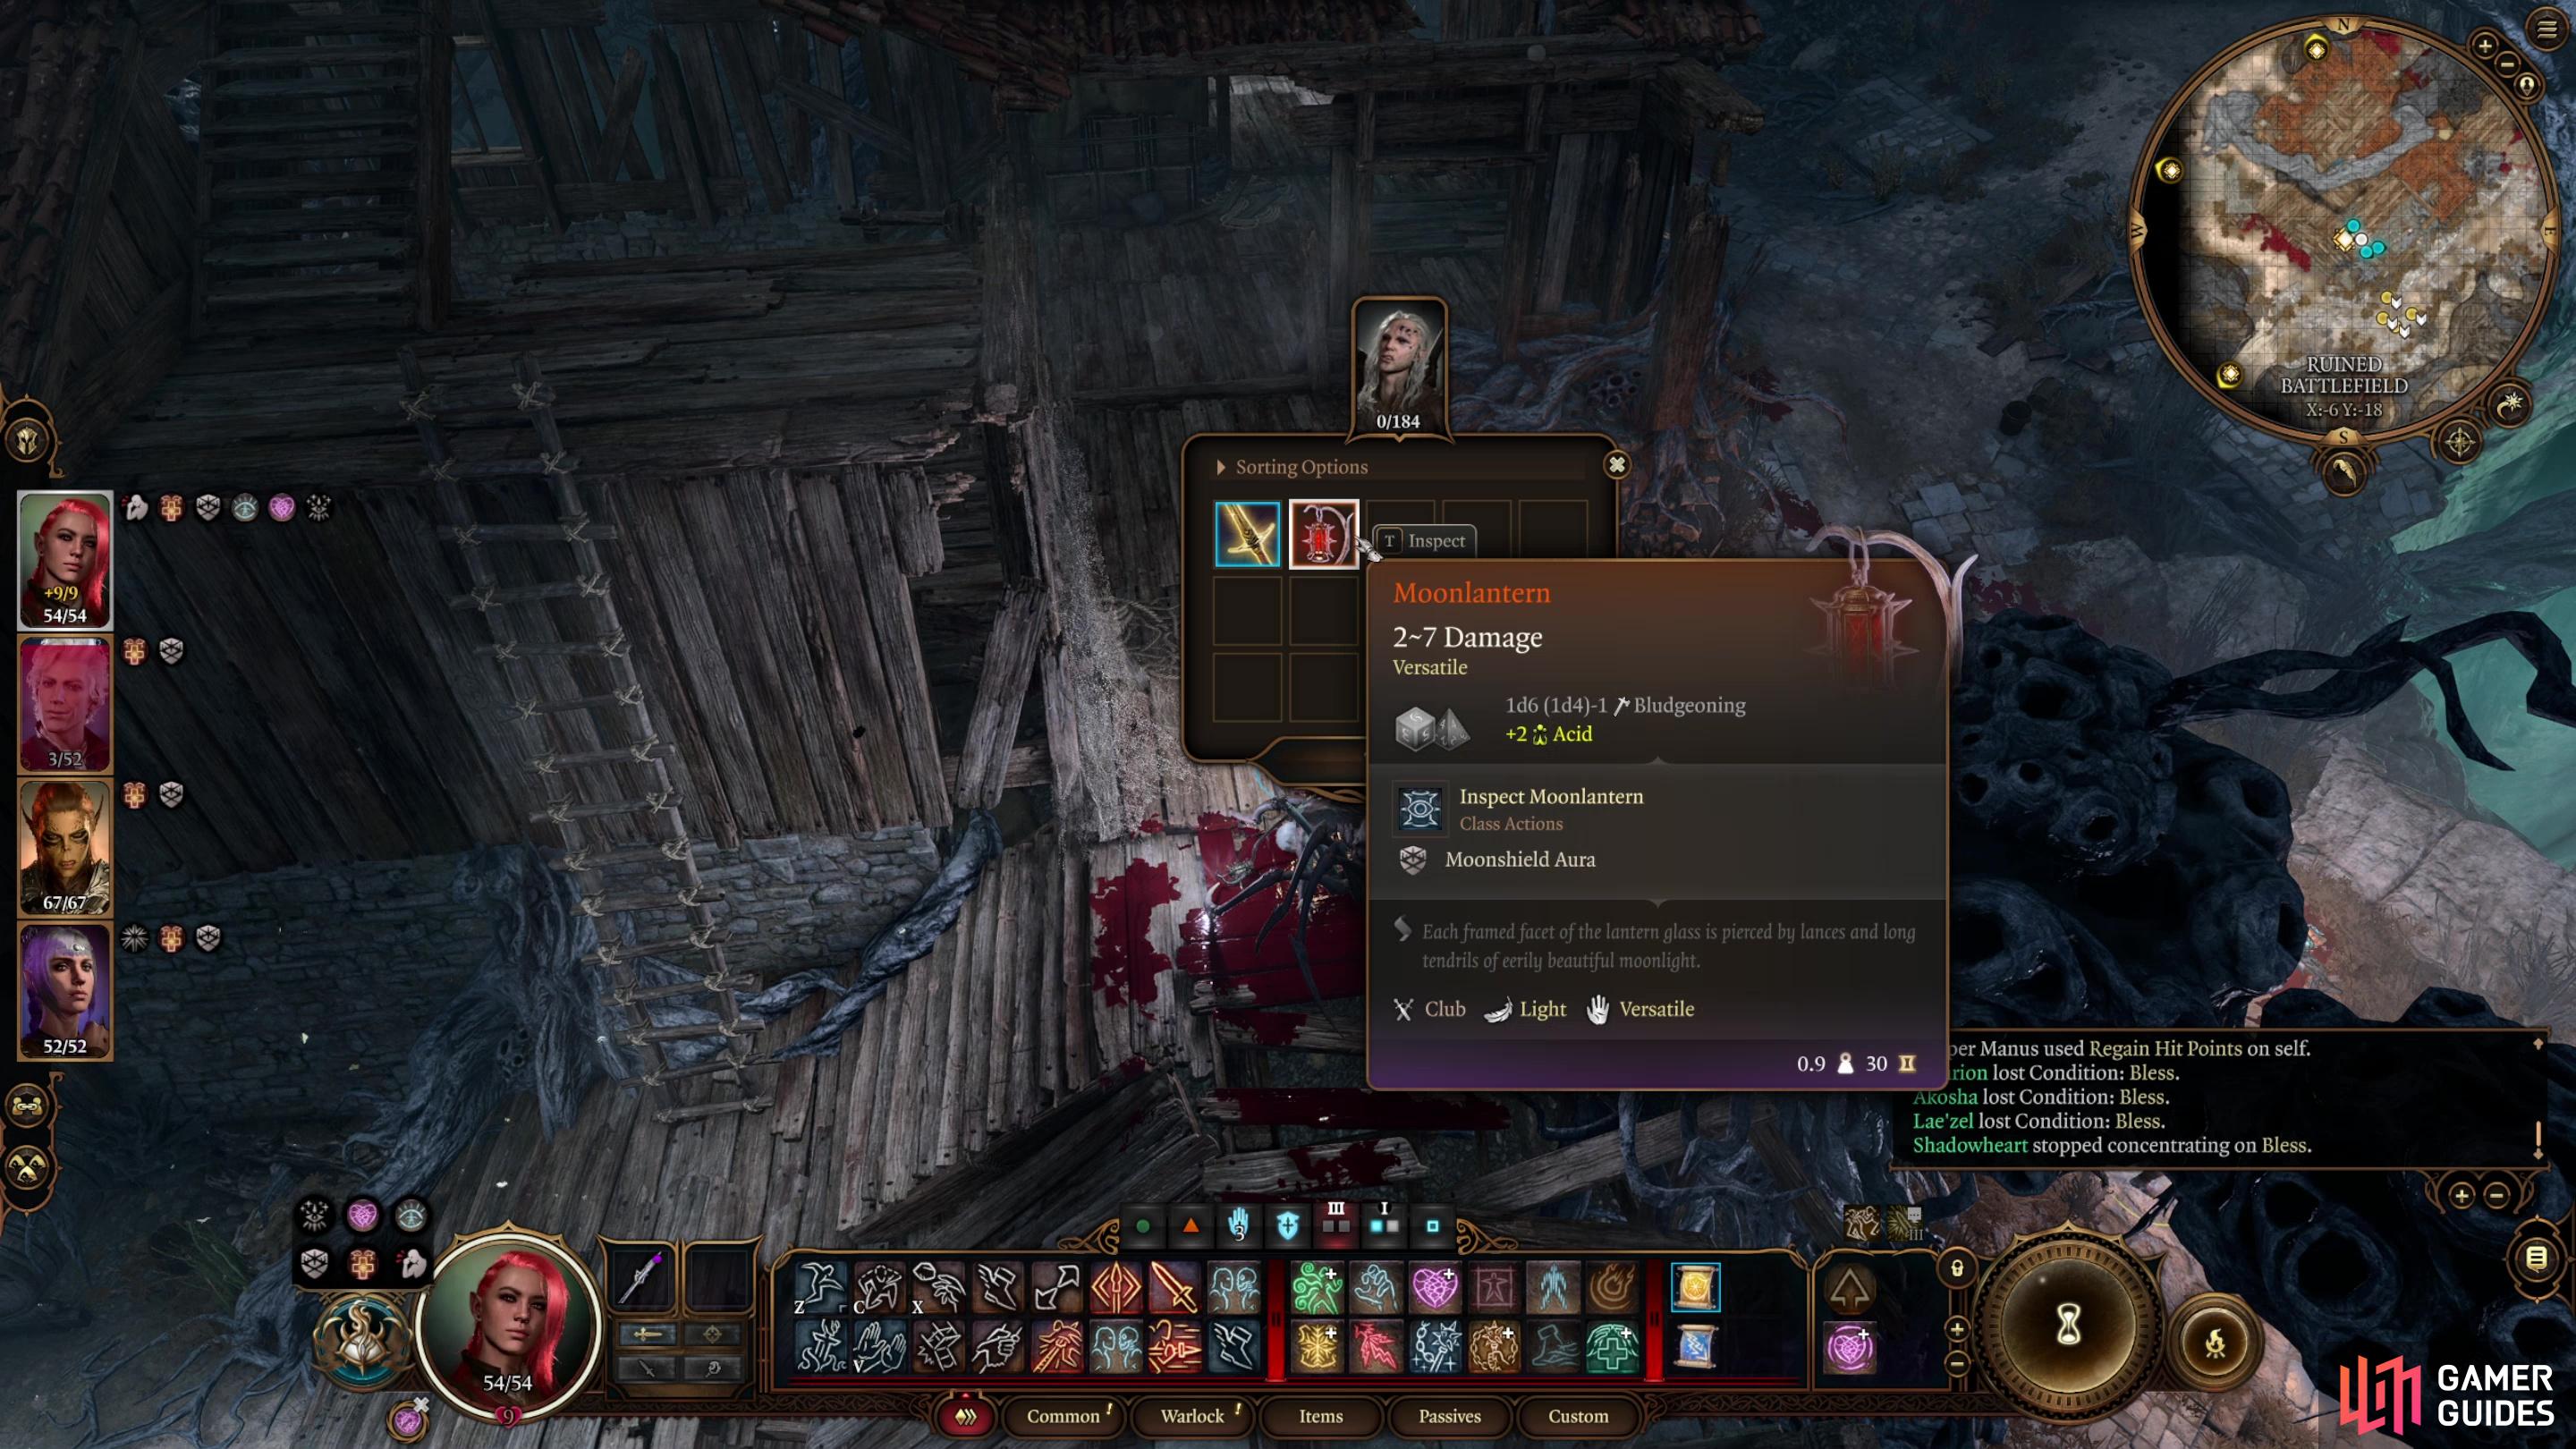
There are a few options for protecting yourself from the effects of the darkest shadows - getting your hands on a ![]() Moonlantern or finding some other boon. Fortunately, you can kill two birds with one stone here, at least if you took the
Moonlantern or finding some other boon. Fortunately, you can kill two birds with one stone here, at least if you took the ![]() Underdark route to the Shadowlands. After that, make your way southwest to Last Light Inn (you’ll likely stumble across an encounter with some Harpers and some shadows, which serves to highlight one of the core conflicts in this region), and when you arrive follow the advice above and you’ll eventually end up talking to Jaheira and Isobel, getting the Blessing of Selune in the process. This isn’t mandatory, but it’s helpful.
Underdark route to the Shadowlands. After that, make your way southwest to Last Light Inn (you’ll likely stumble across an encounter with some Harpers and some shadows, which serves to highlight one of the core conflicts in this region), and when you arrive follow the advice above and you’ll eventually end up talking to Jaheira and Isobel, getting the Blessing of Selune in the process. This isn’t mandatory, but it’s helpful.
Leave via the main (southeastern) bridge and you’ll be stopped by Harper Branthos, who will tell you about an ambush they’re planning on an Absolutist convoy. Agree to go with them and follow them south through the Shadowlands until you reach a ruined house and talk to Harper Branthos again to trigger the ambush. Alternatively if you took the ![]() Mountain Pass you’ll be part of this Absolutist convoy, but can defect when the Harpers attack. Either way, you’ll need to defeat Kar’niss and his allies to claim the drider’s Moonlantern. This is but one way to obtain a Moonlantern check out the linked page for more information on other sources of Moonlanterns.
Mountain Pass you’ll be part of this Absolutist convoy, but can defect when the Harpers attack. Either way, you’ll need to defeat Kar’niss and his allies to claim the drider’s Moonlantern. This is but one way to obtain a Moonlantern check out the linked page for more information on other sources of Moonlanterns.
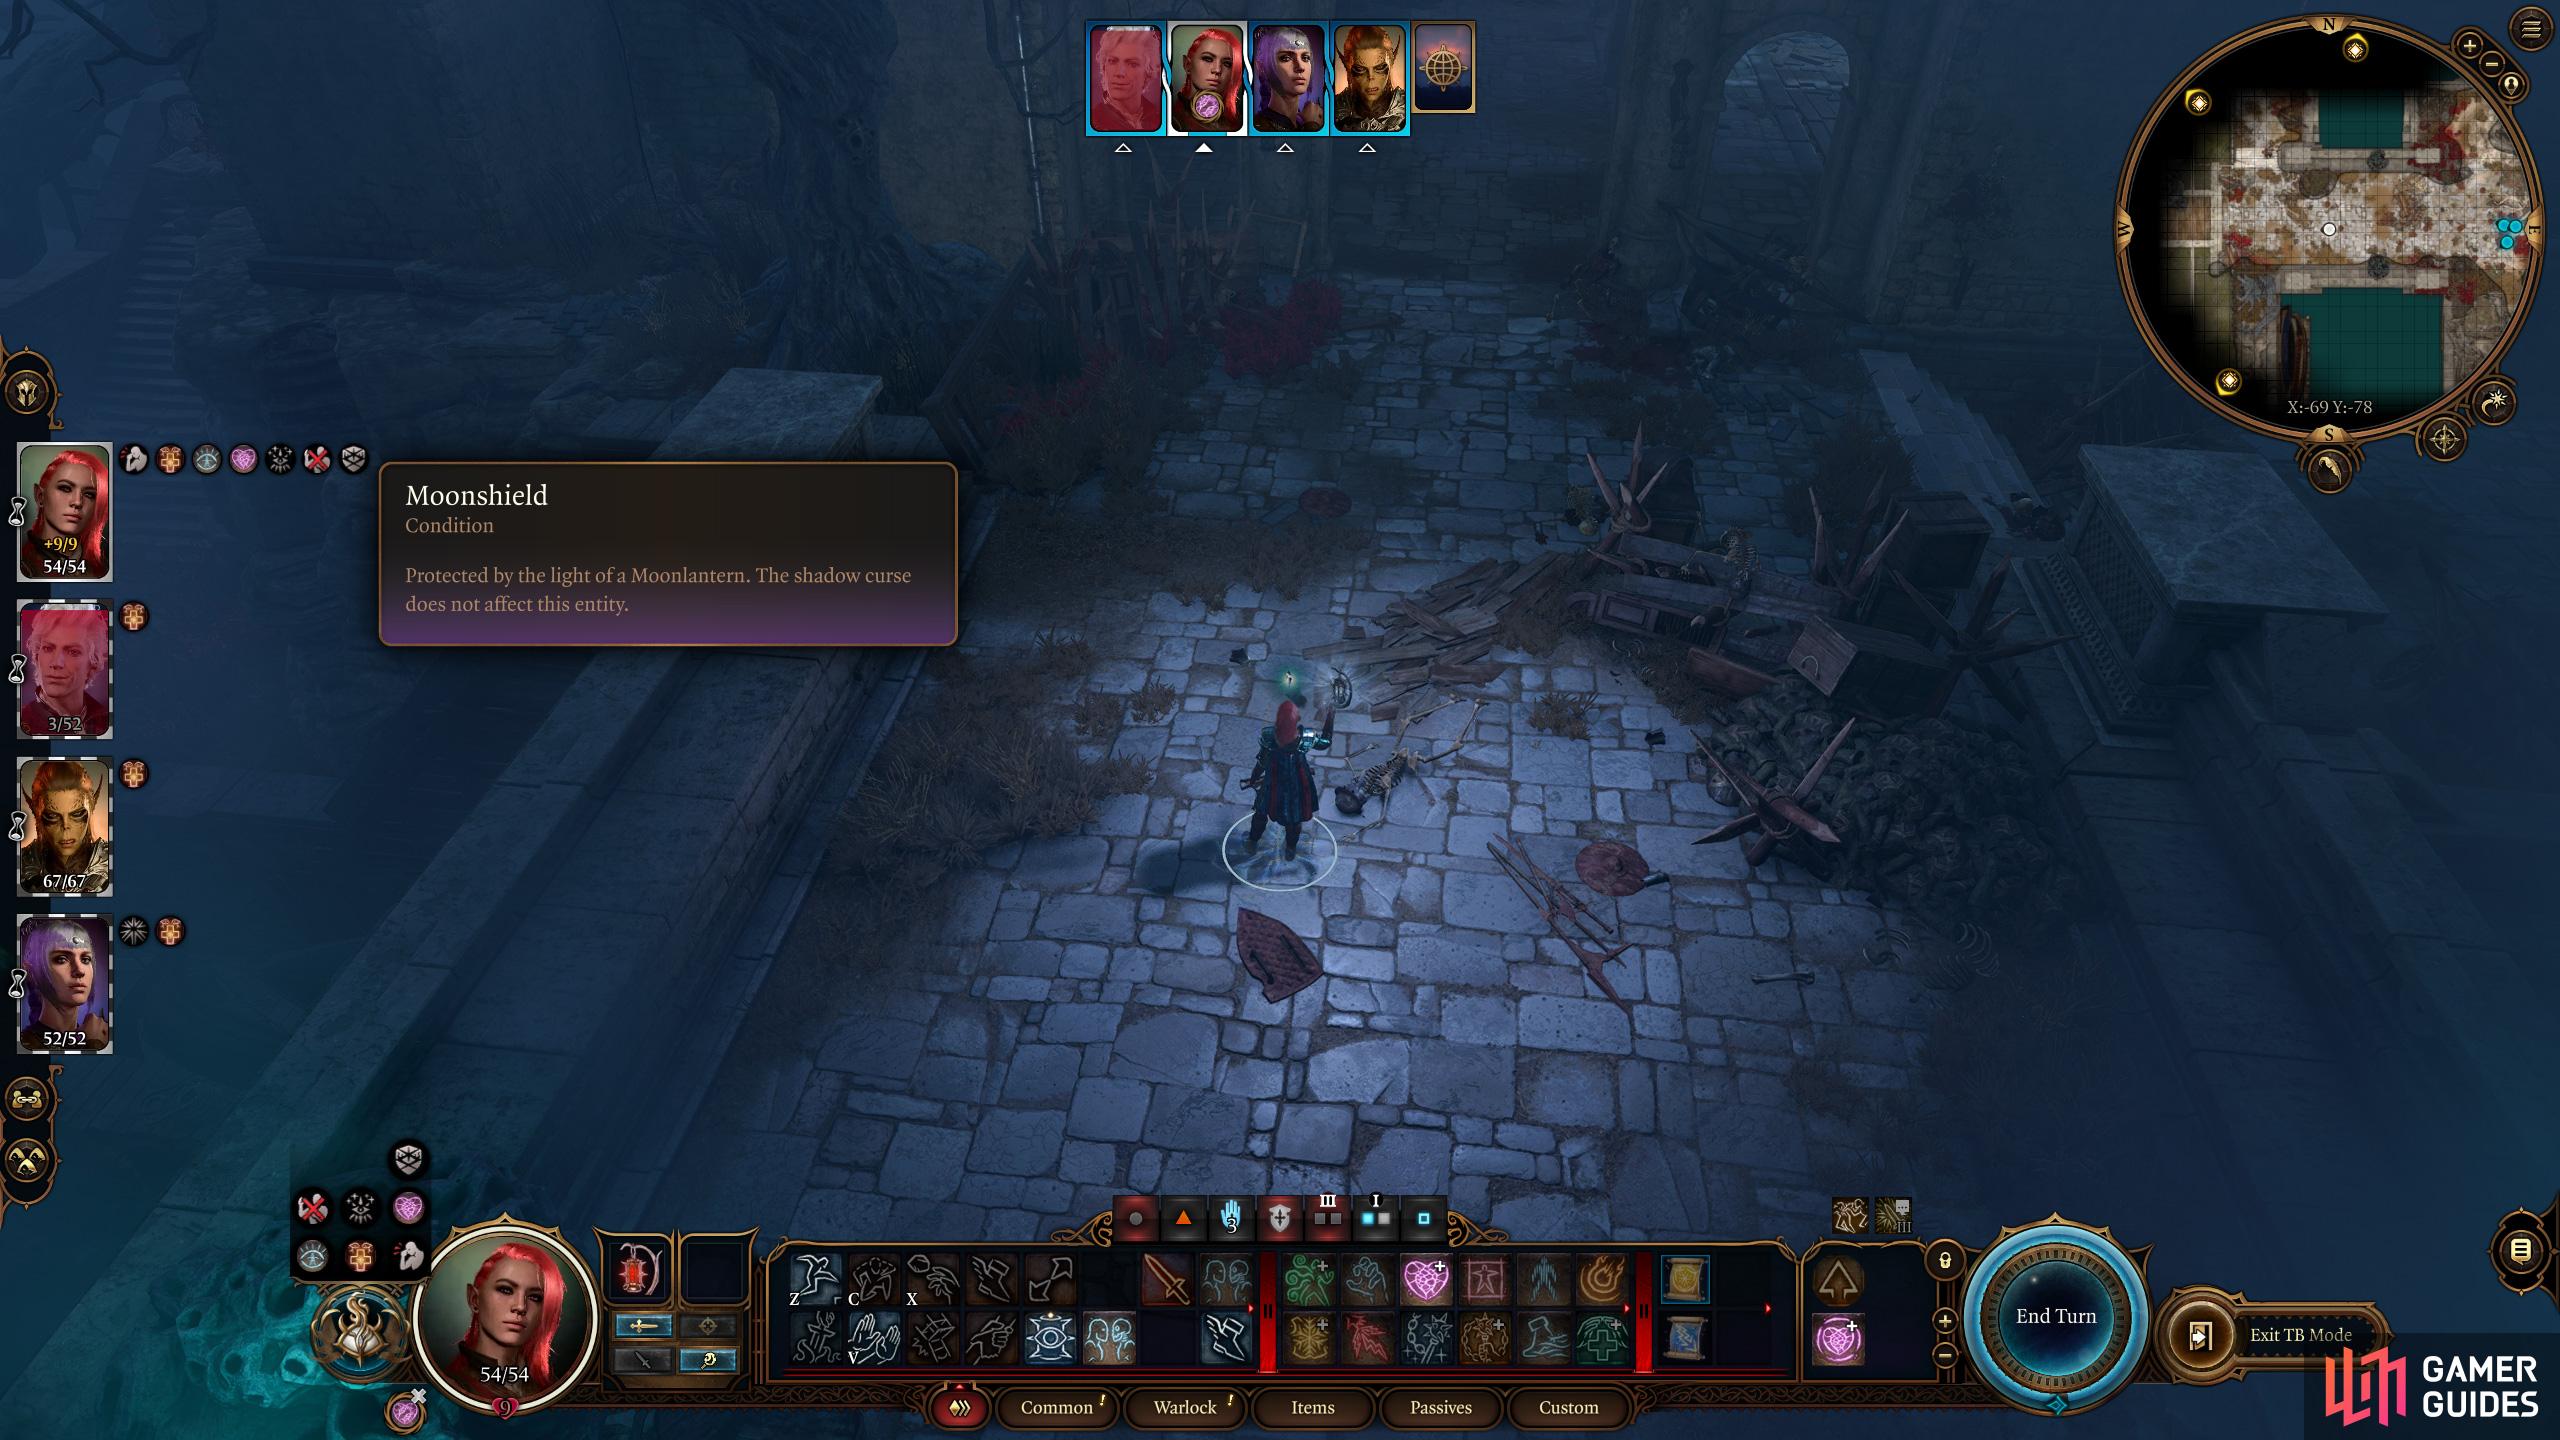
With a Moonlantern equipped you’ll get the Moonshield buff, which will protect you from the worst of the Shadow Curse, allowing you to travel anywhere in Act 2. Of course, you’ll need to have the Moonlantern equipped, and for a caster like ![]() Gale or a Warlock who is keen to just spam
Gale or a Warlock who is keen to just spam ![]() Eldritch Blast, this might not be a significant setback, but having to essentially keep a rather unimpressive club equipped will prove to be a handicap for most characters.
Eldritch Blast, this might not be a significant setback, but having to essentially keep a rather unimpressive club equipped will prove to be a handicap for most characters.
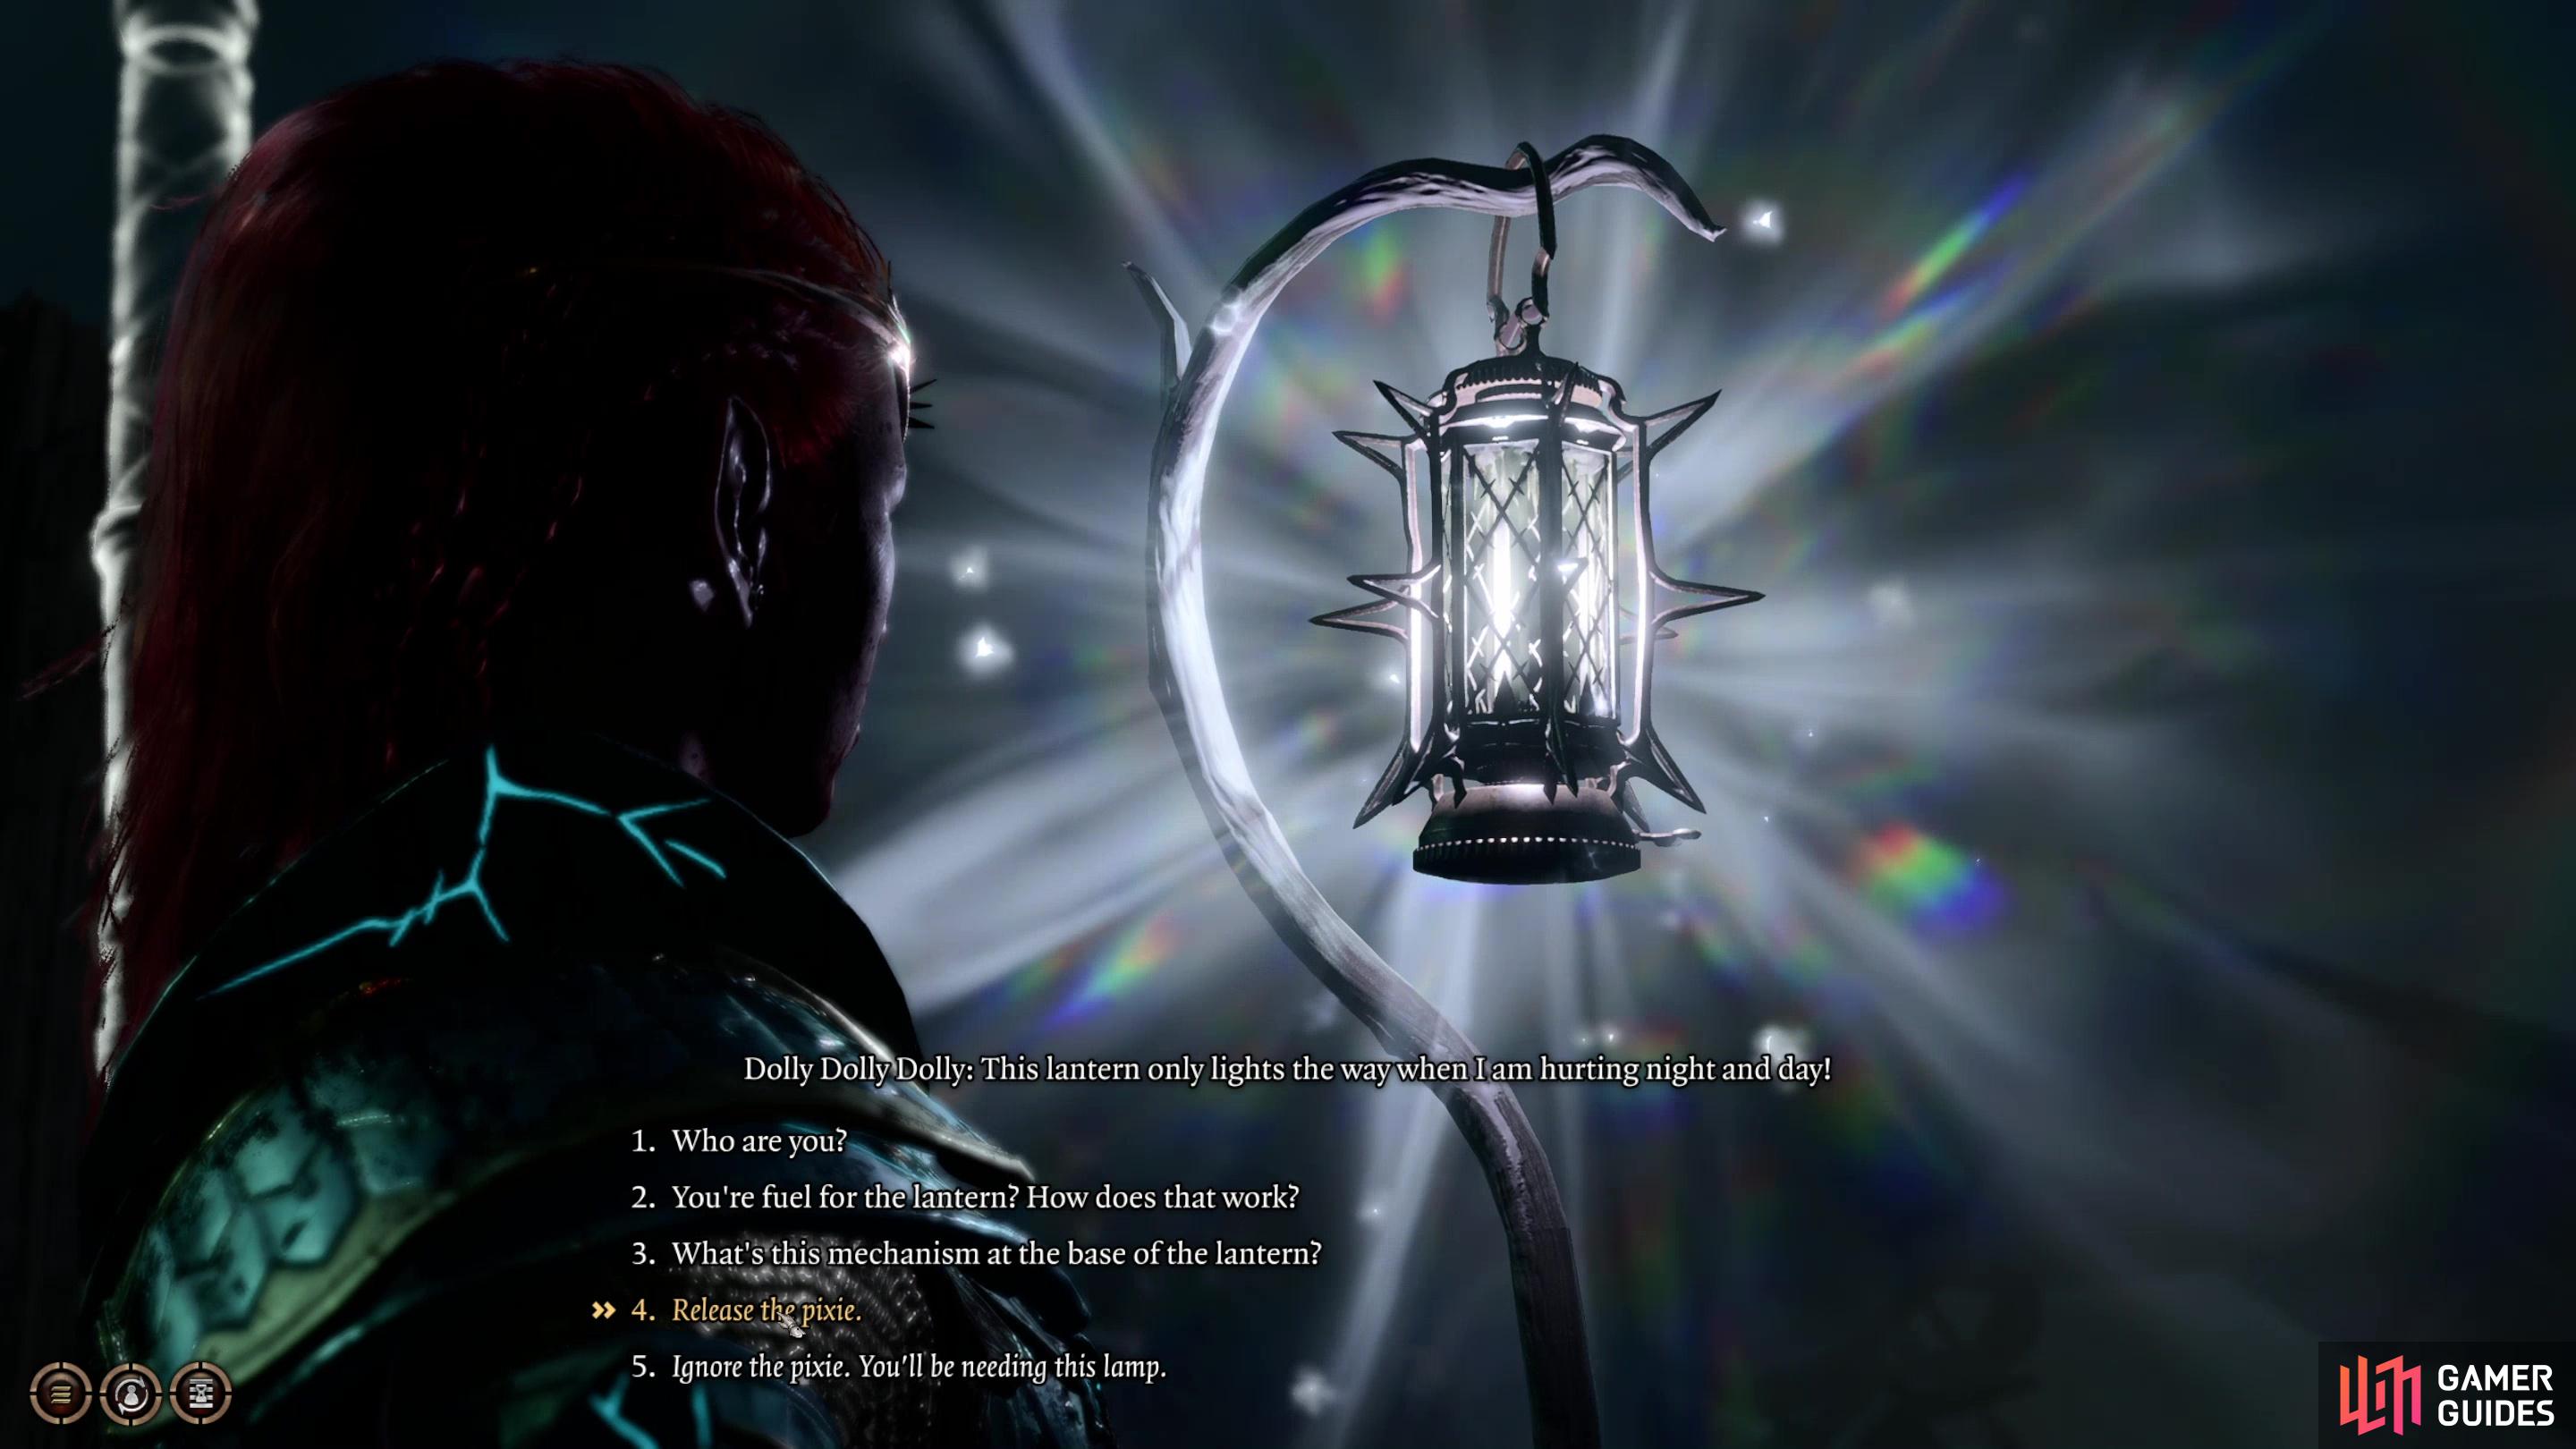
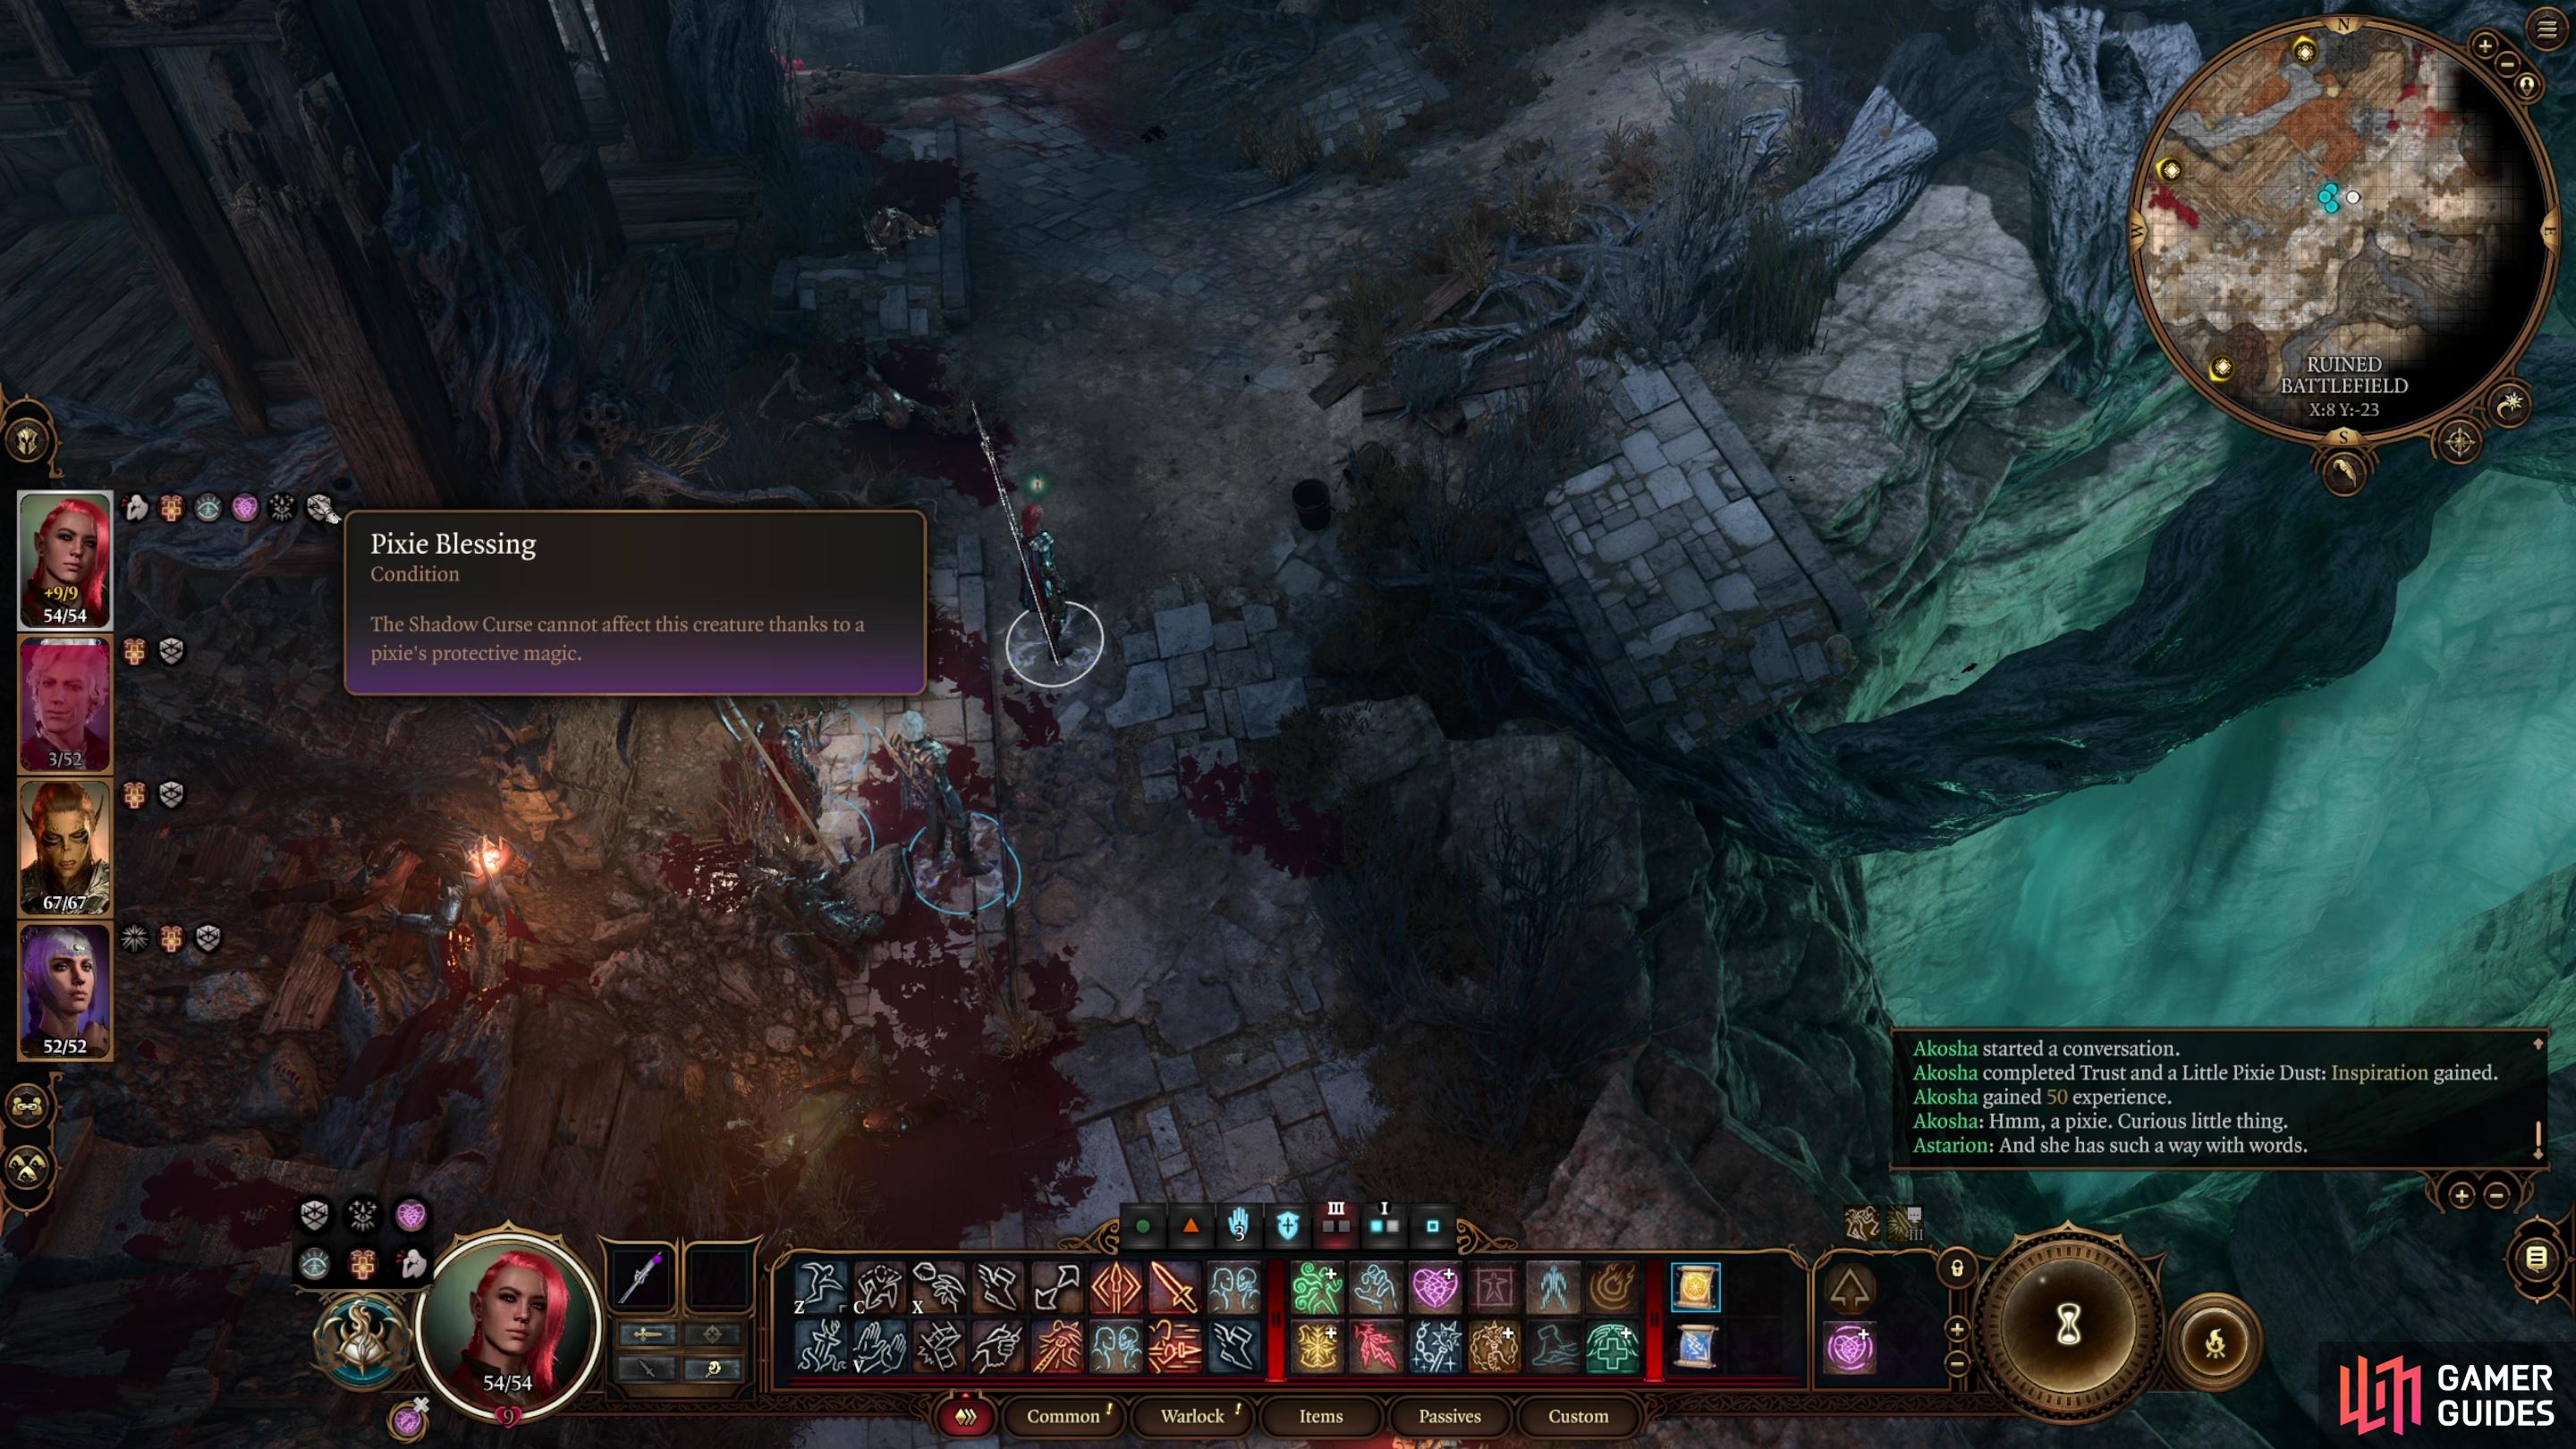
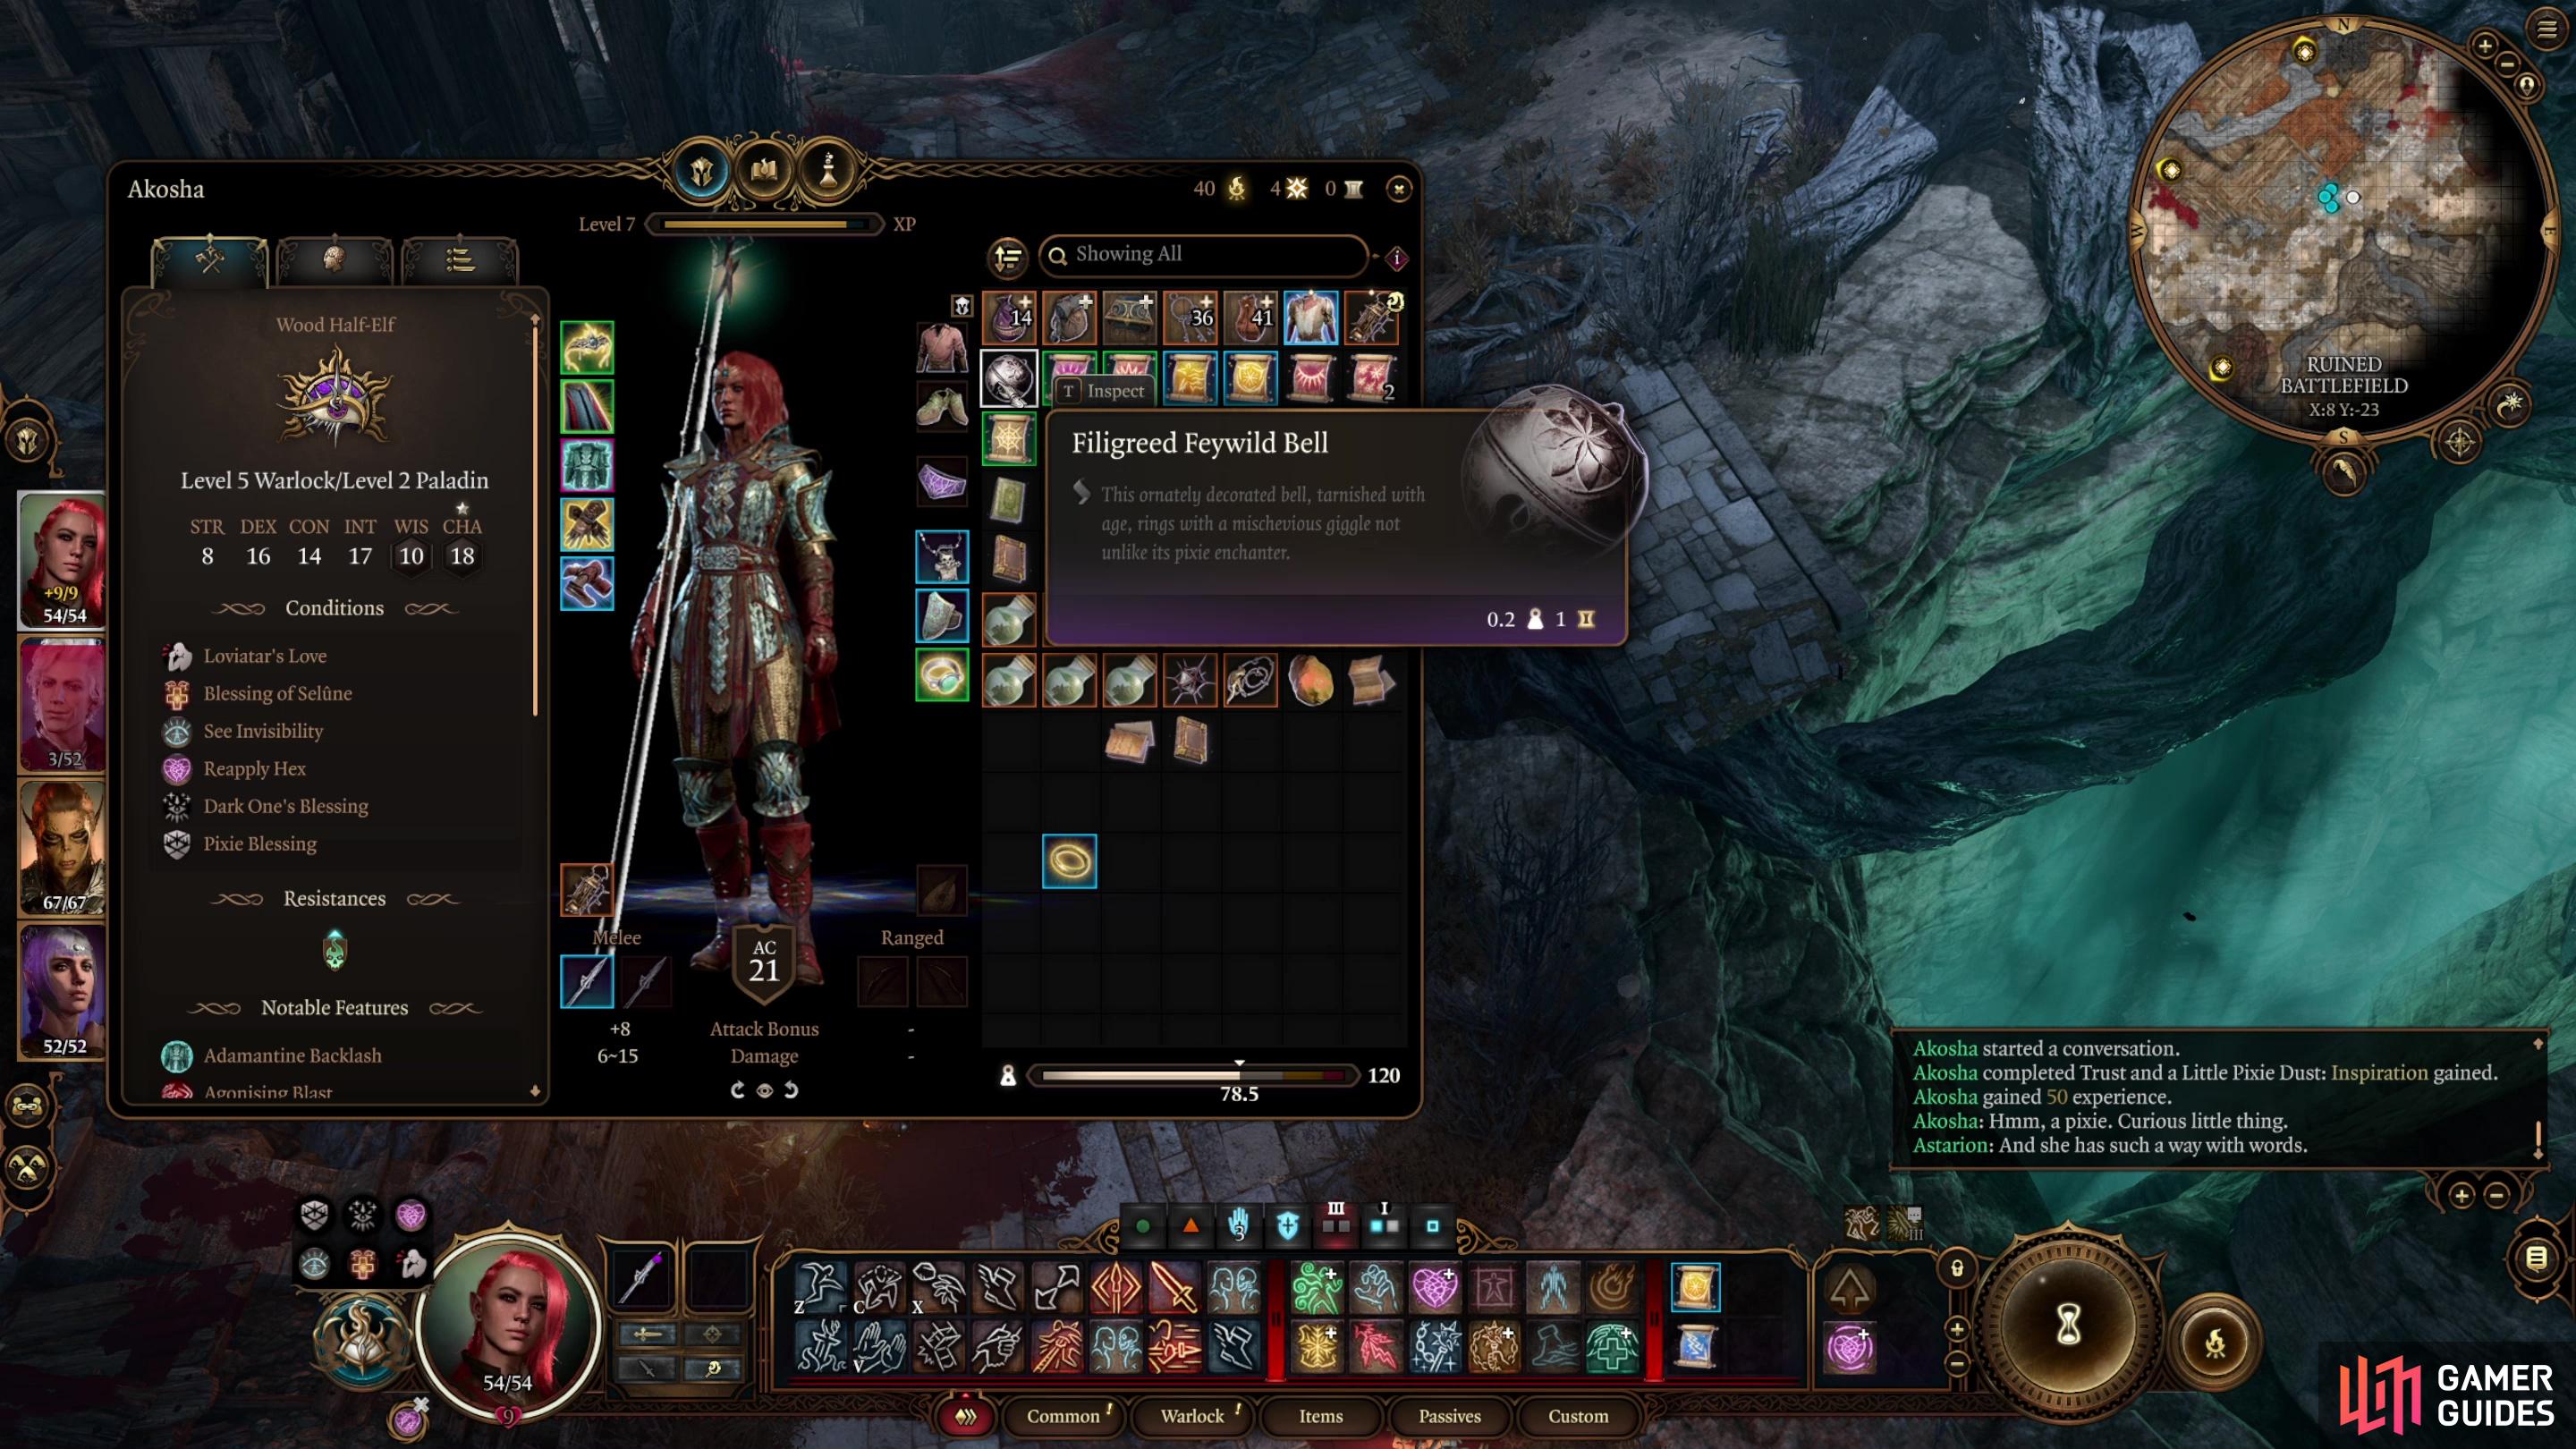
That said, when you pick up Kar’niss’s Moonlantern you’ll get the option to free the fairy within. If you do, the mercurial sprite will promise to make it worth your while, and even if you don’t demand payment, she’ll help you out… if for no other reason than to keep herself out of debt. She’ll immediately provide the Pixie’s Blessing buff, which functions much like the Blessing of Selune save that it can protect you from the most concentrated darkness in the region, much like a Moonlantern. You don’t need to carry anything to enjoy this buff and its effects are indefinite unless you leave the region (say, you return to Act 1 or take a Long Rest, in which case you may need to reapply the effect via the Filigreed Feywild Bell the pixie gives you when you free her. This will summon the pixie again who - if you play her silly game and beg for her help - will reapply the buff. While demeaning yourself for the aid of a fairy can get tedious, having a passive buff that keeps you safe from the Shadow Curse is very convenient, and this is probably the best way to deal with the Act 2’s unique environmental hazard.
Now that you know how to deal with the Shadow Curse, check out the following Act 2 walkthrough pages:
- Find the Blood of Lathander Puzzle in Baldur’s Gate 3
- Baldur’s Gate 3 Act 2 Shadowlands Map
- How to Ambush and Defeat Kar’niss in BG3
- How To Get a Moonlantern in Baldur’s Gate 3
- Investigate the Selunite Resistance in BG3: Last Light Cellar, Mason’s Guild & Potter’s Chest
- How to Wake Up Art Cullagh in Baldur’s Gate 3

 Sign up
No Comments